Moto360のバンドをPebble Steel Metal Stainless Bandに交換してみました。
Pebbleは、AndroidだけでなくiOSのデバイスともペアリング可能なスマートウォッチです。
Pebble SteelはPebbleウォッチの第2弾で、筐体とバンドがステンレススチールのモデルです。
![Pebble_Steel](https://androidlover.net/wp-content/uploads/Pebble_Steel-500x357.jpg)
またPebble Steelは、バンドのみで安価で販売されています。
私はAmazon.comで購入しました。2014/9/24に注文した時には日本に発送してくれましたが、2014/10/14現在は日本への発送不可になっています。
Nuosi Deng New High Quality Stainless Metal Watchband for Pebble Steel Smart Watch & Screen Protector (Matte Black)
Pebble Steel Metal Stainless Band開封
Pebble Steel Metal Stainless Bandの箱です。![moto360-pebble-steel-band1](https://androidlover.net/wp-content/uploads/moto360-pebble-steel-band1-331x500.jpg)
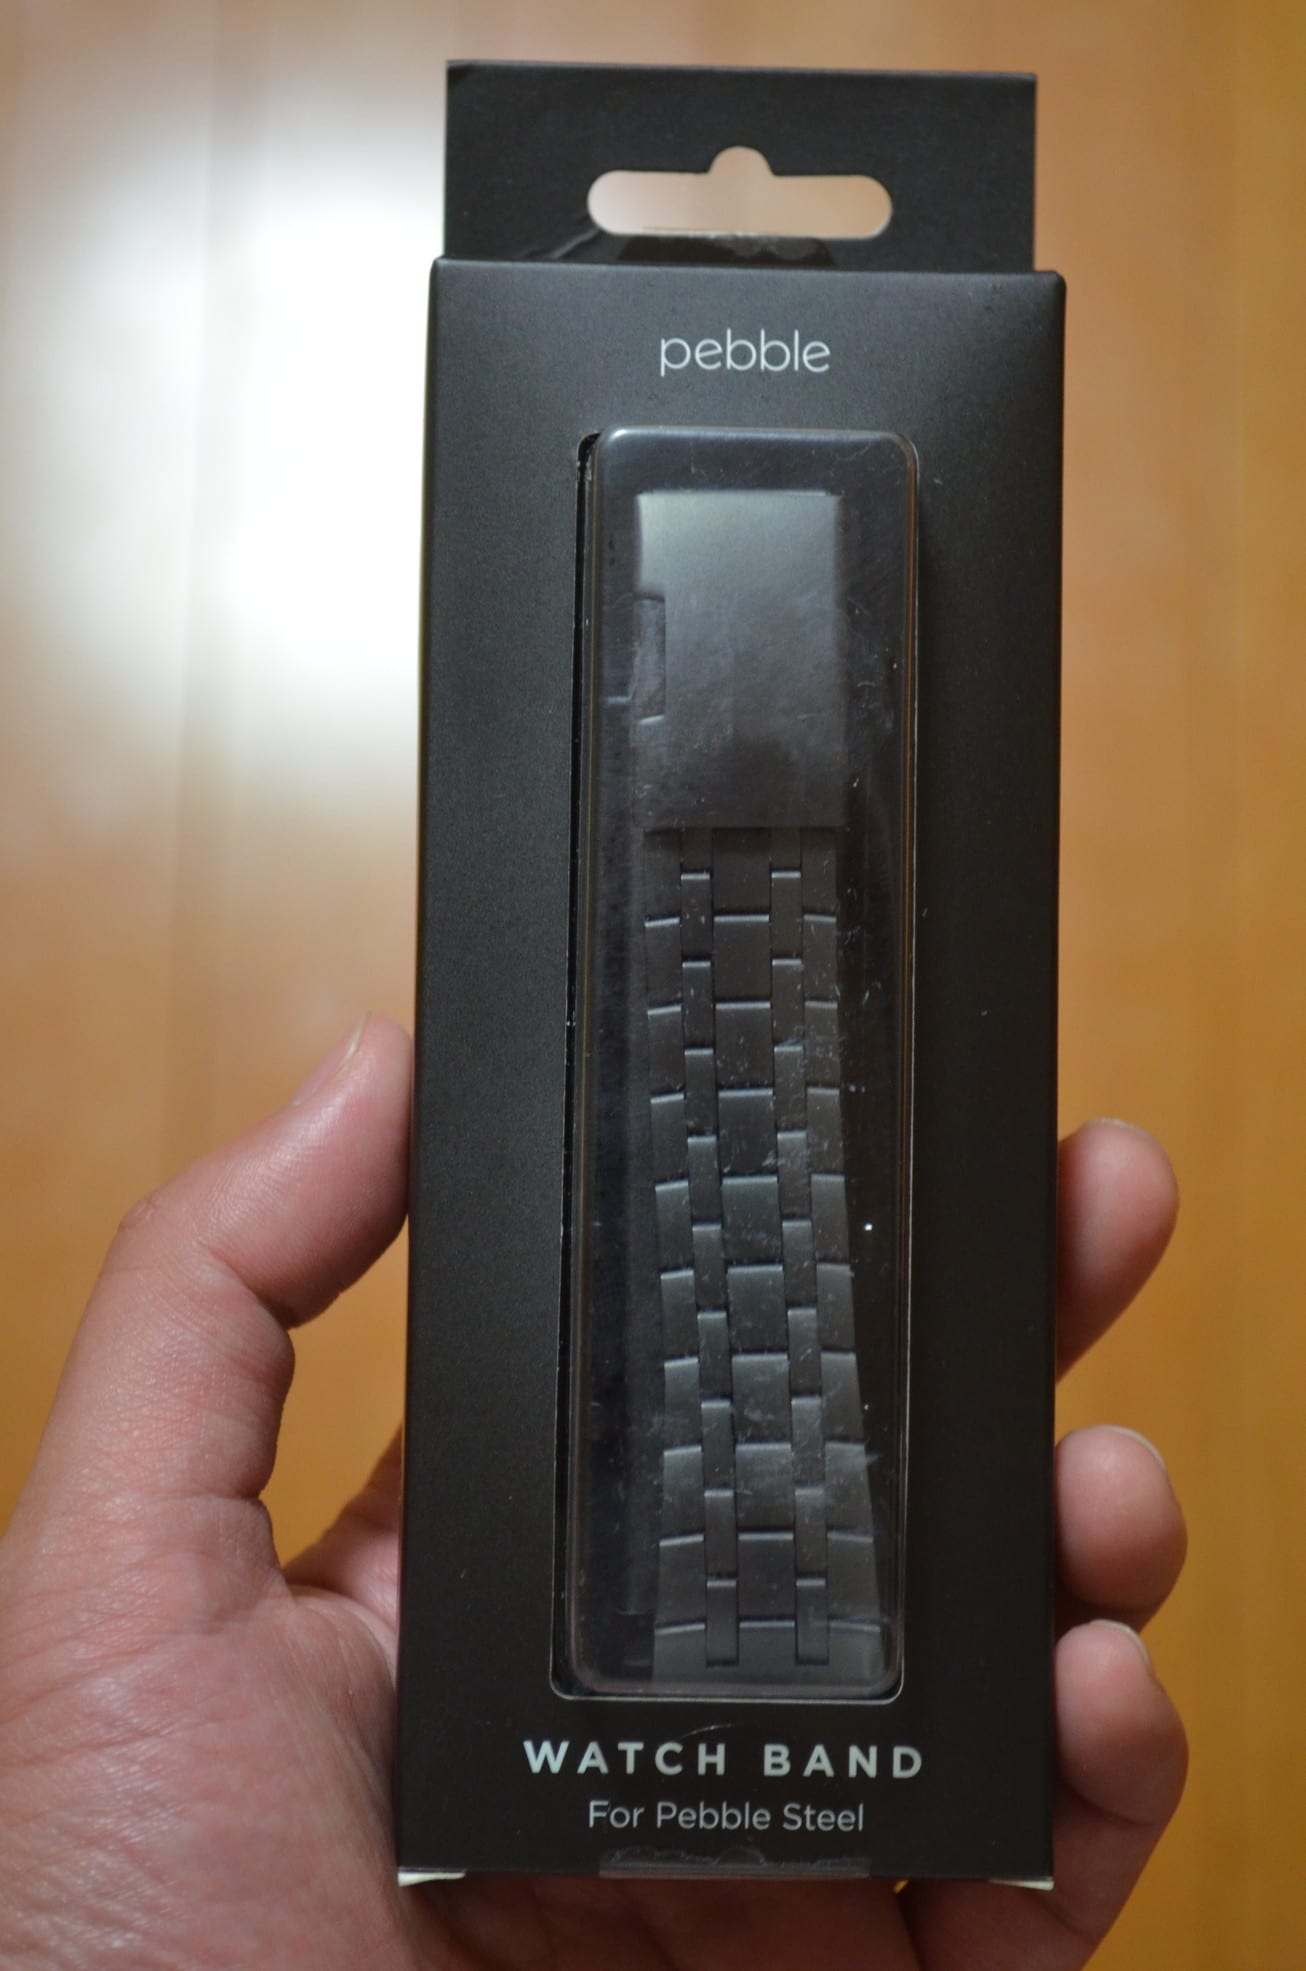
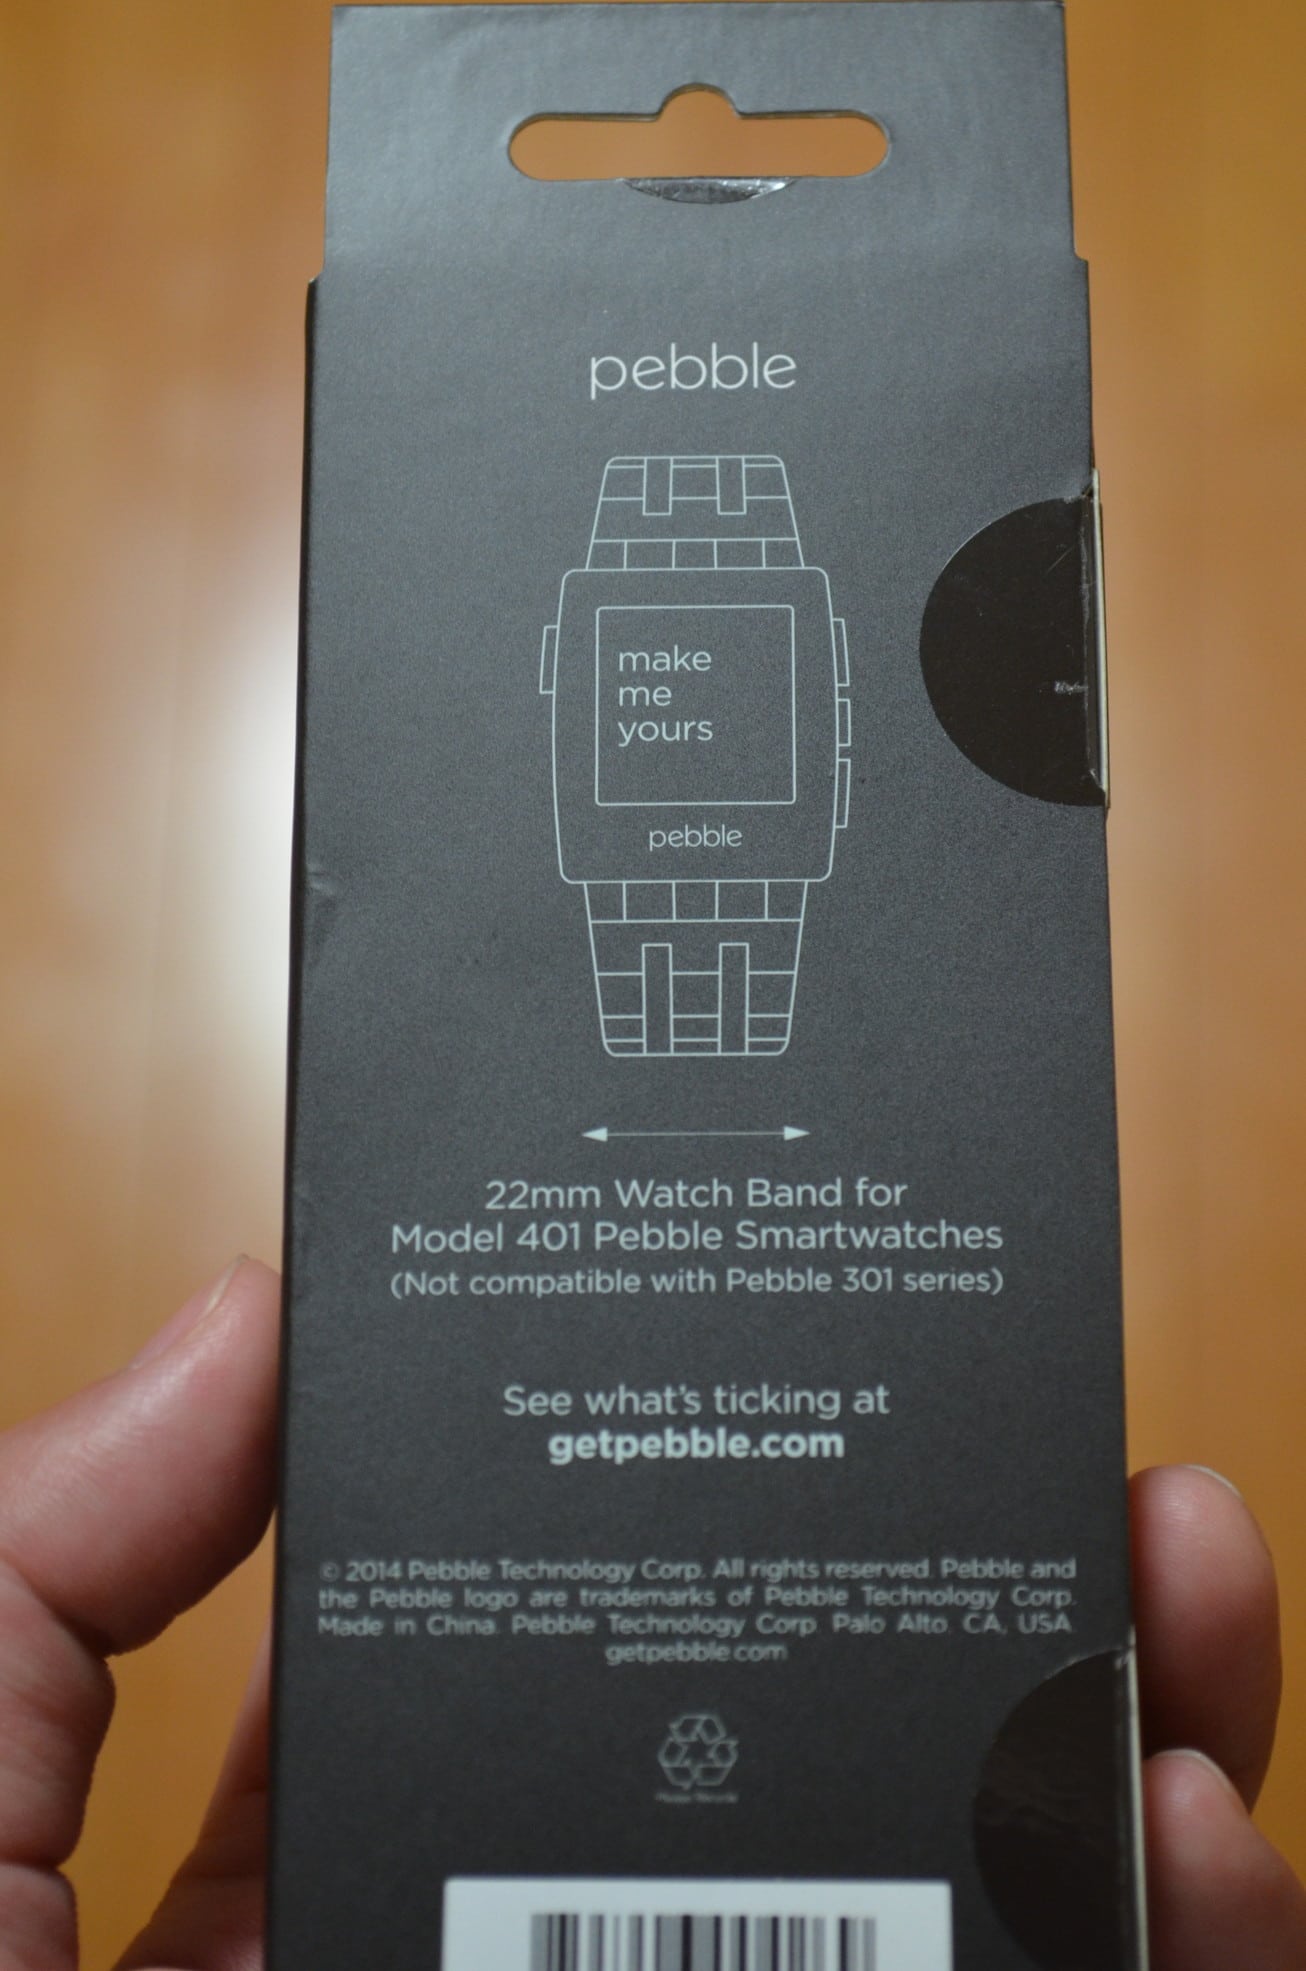
Moto360のバンド幅は22mm。Pebbleも22mmと記載されています。
![moto360-pebble-steel-band2](https://androidlover.net/wp-content/uploads/moto360-pebble-steel-band2-331x500.jpg)
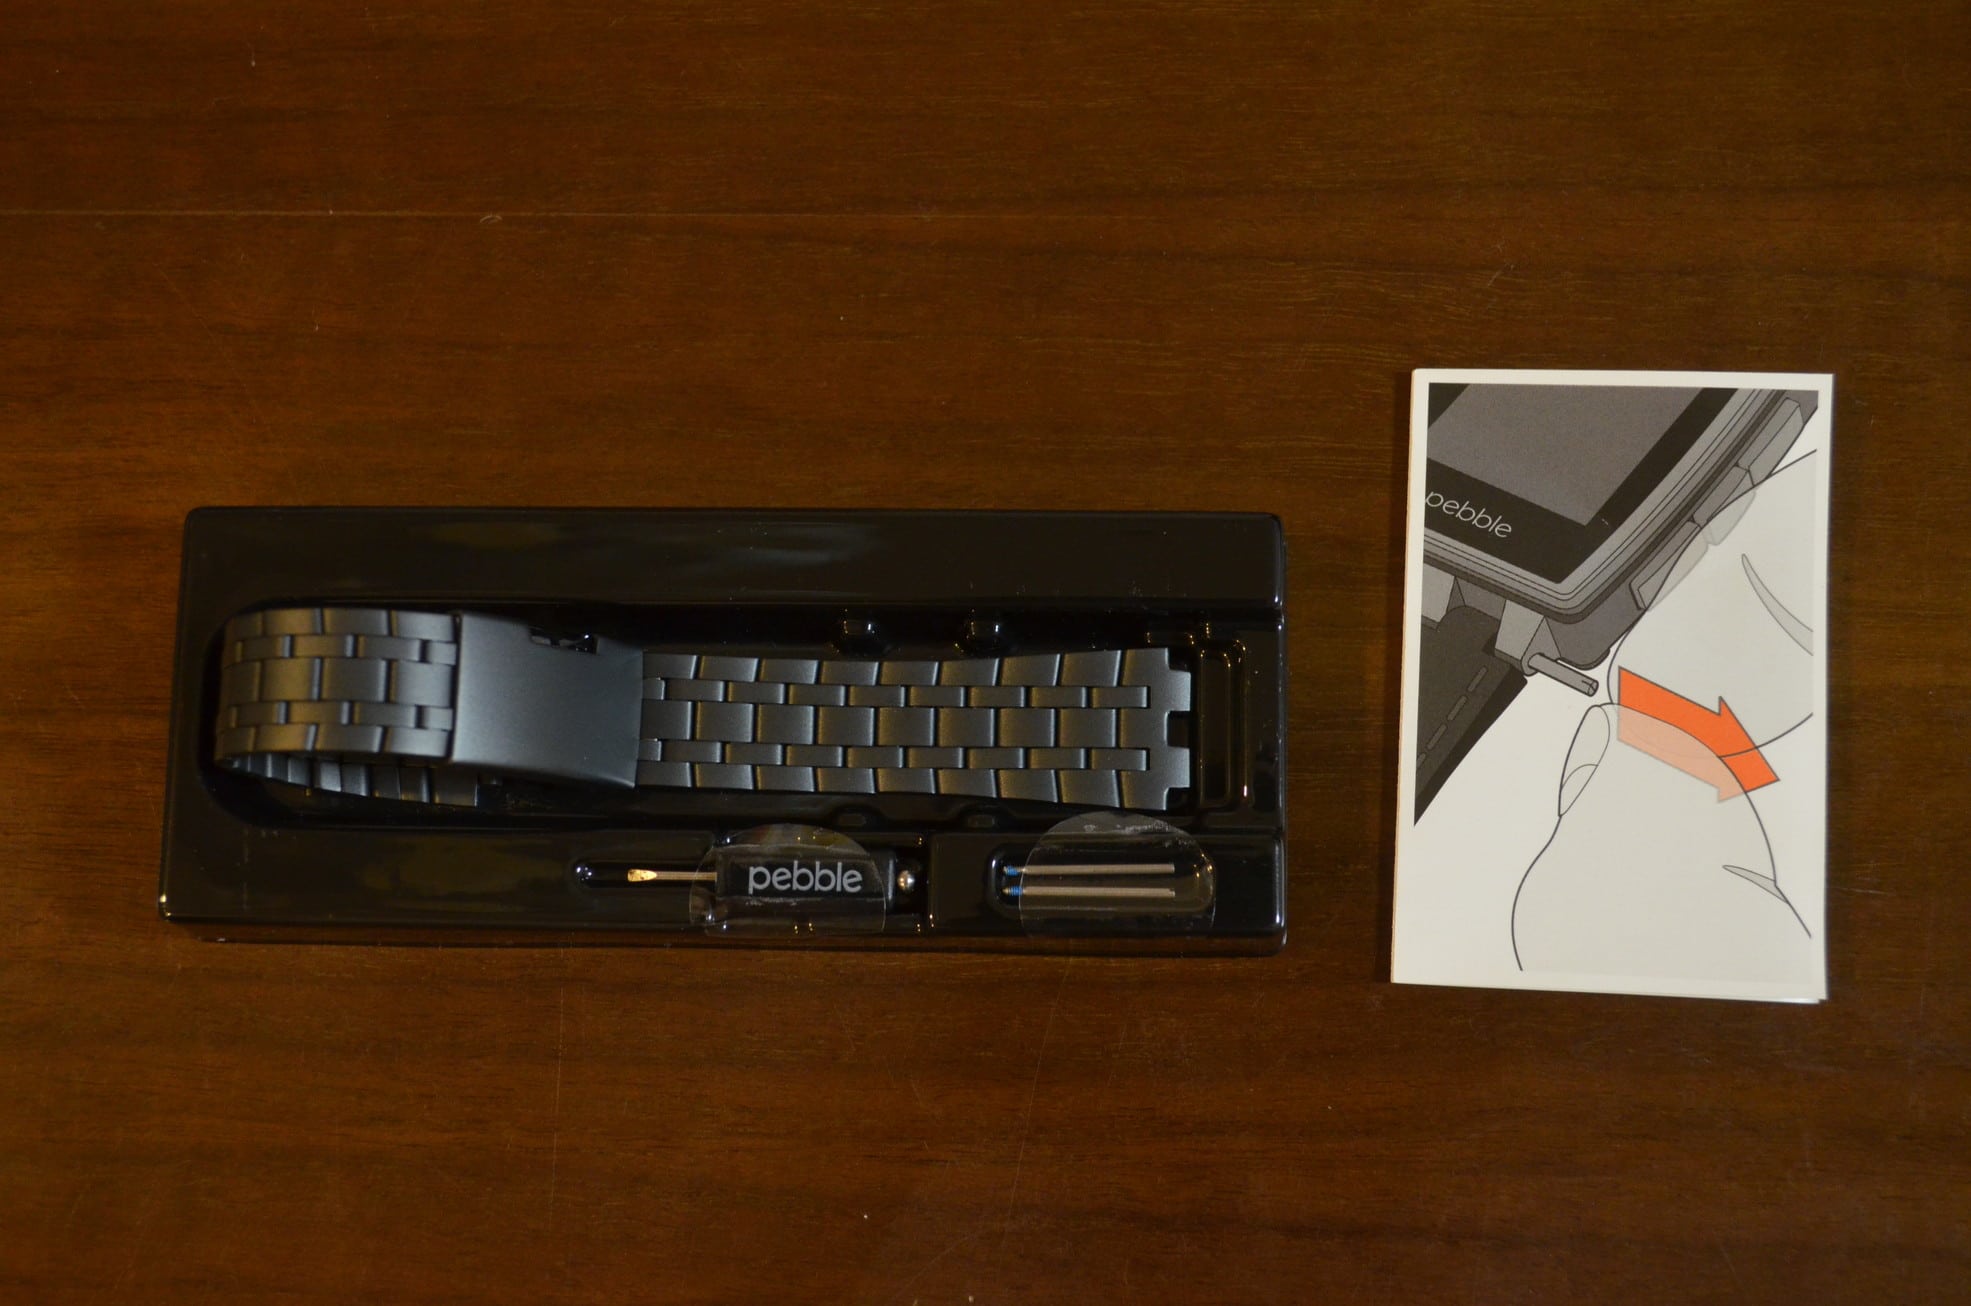
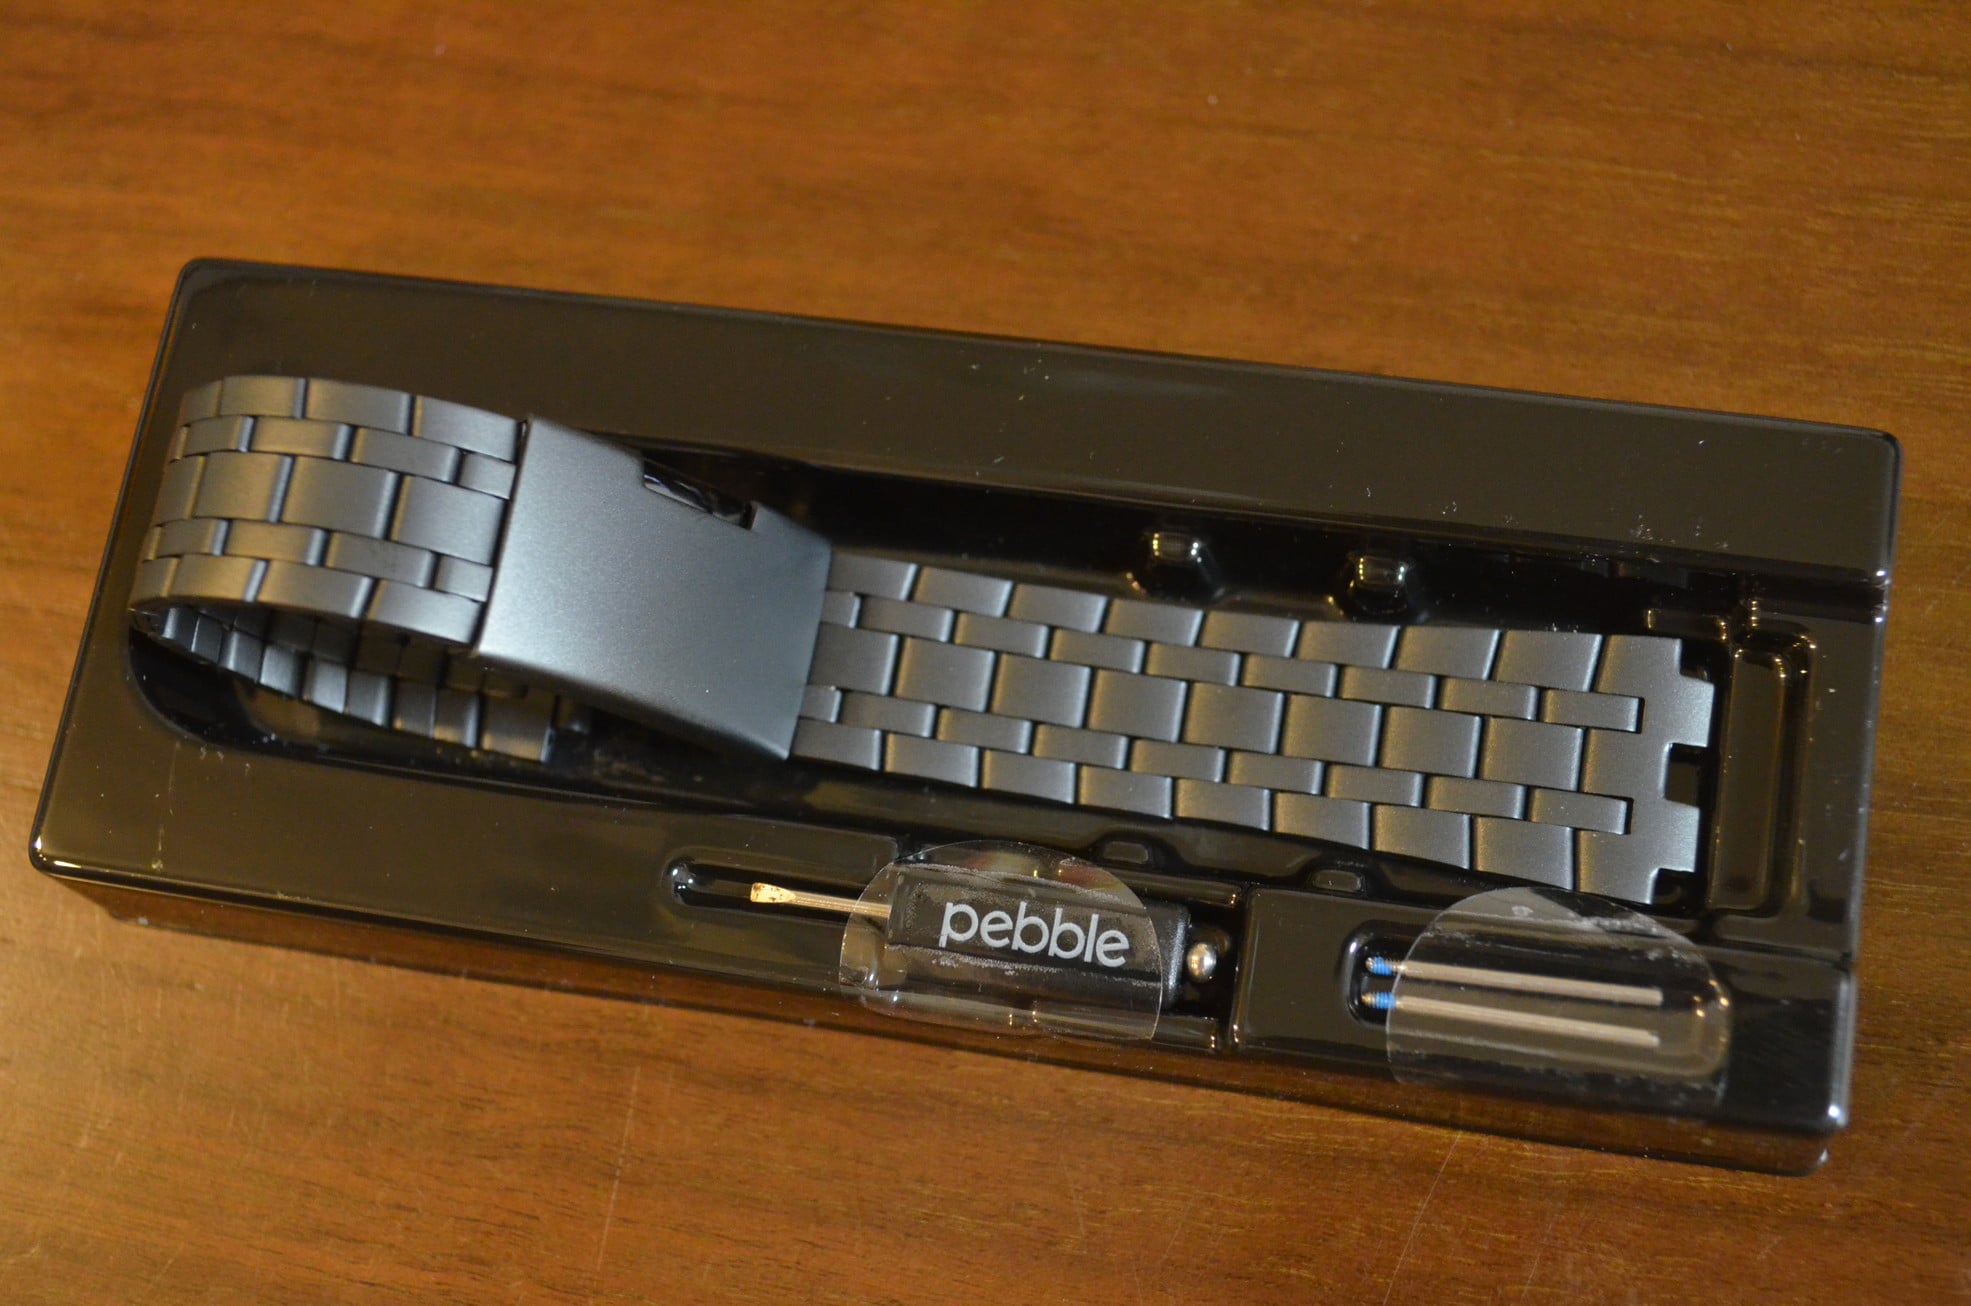
バンドの他にバネ棒やバネ棒外し、簡単な取説が同梱されています。
![moto360-pebble-steel-band3](https://androidlover.net/wp-content/uploads/moto360-pebble-steel-band3-500x331.jpg)
Pebble Steel Metal Stainless Bandの色はまっ黒ではなくグレーです。
![moto360-pebble-steel-band4](https://androidlover.net/wp-content/uploads/moto360-pebble-steel-band4-500x331.jpg)
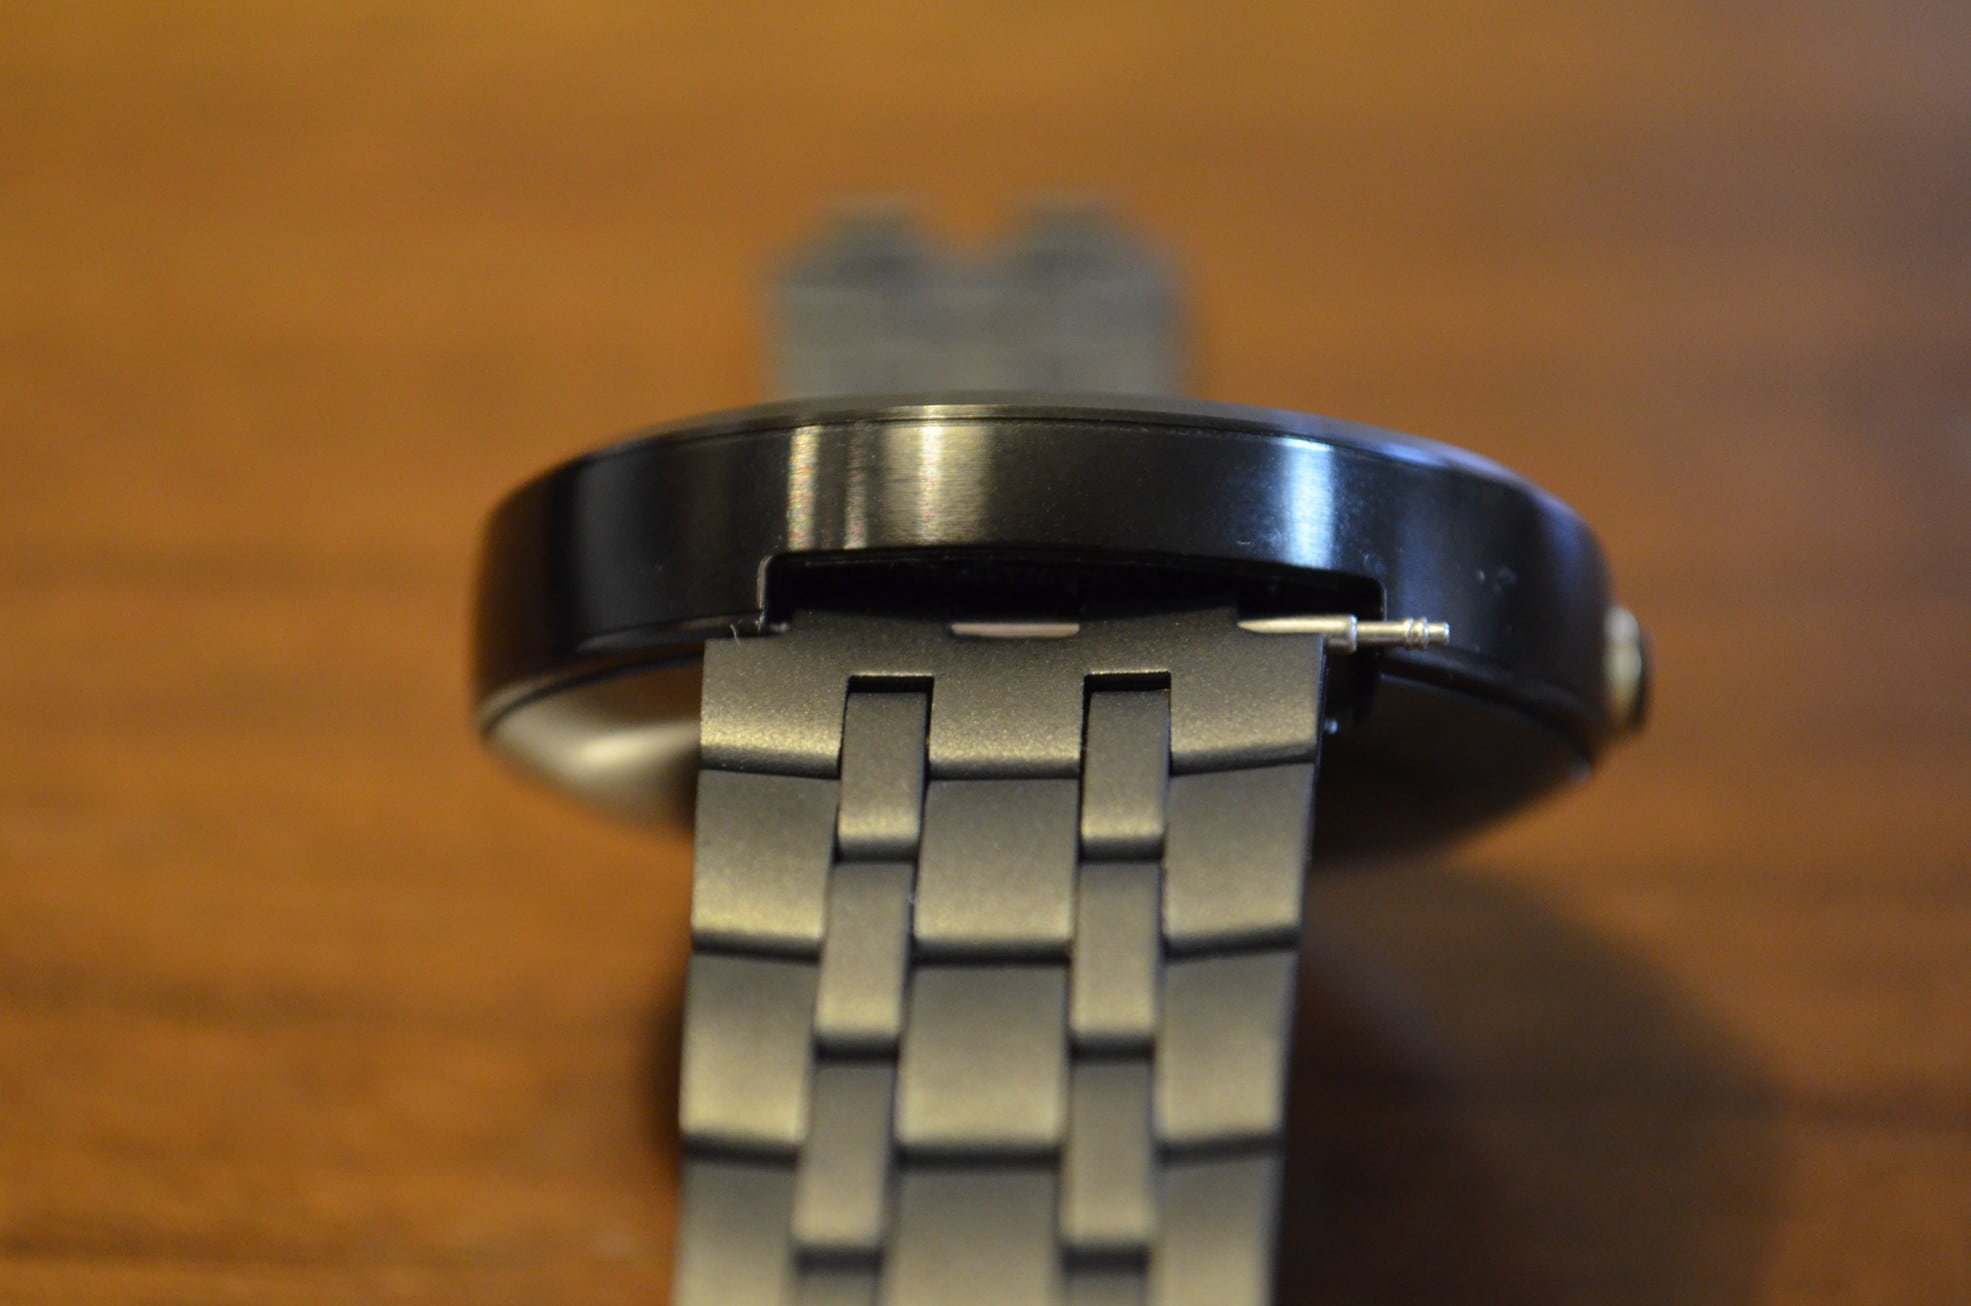
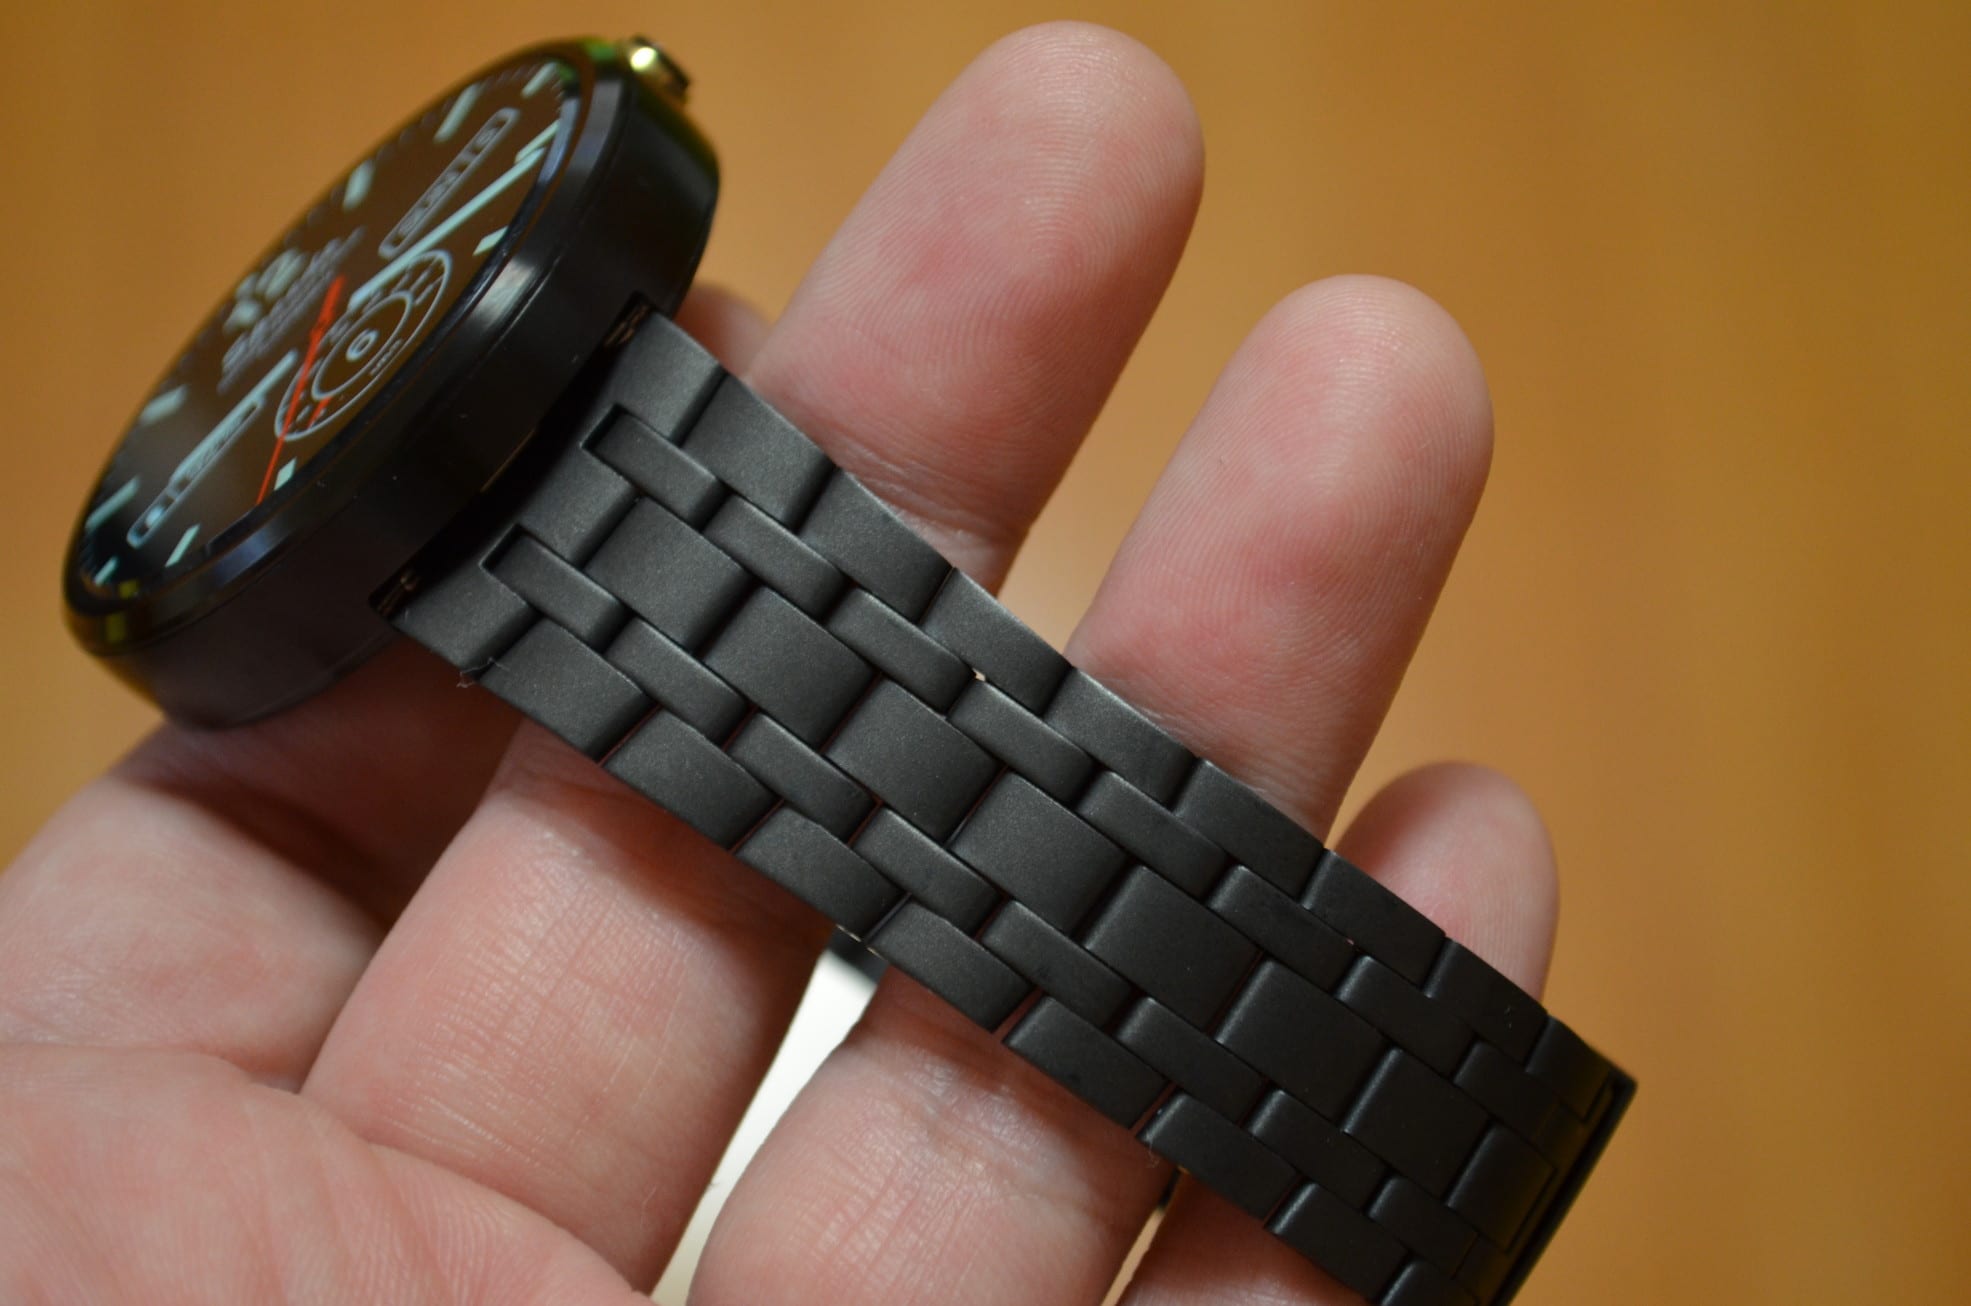
なおMoto360の交換できるバンドには、中央に切り欠きが必要です。切り欠きのあるバンドが意外に少ないのが残念です。
![moto360-pebble-steel-band9.1](https://androidlover.net/wp-content/uploads/moto360-pebble-steel-band9.1-500x331.jpg)
Moto360のブラックレザーと比べると、色の違いが一目で分かります。
![moto360-pebble-steel-band5](https://androidlover.net/wp-content/uploads/moto360-pebble-steel-band5-331x500.jpg)
Moto360のバンド交換方法・手順
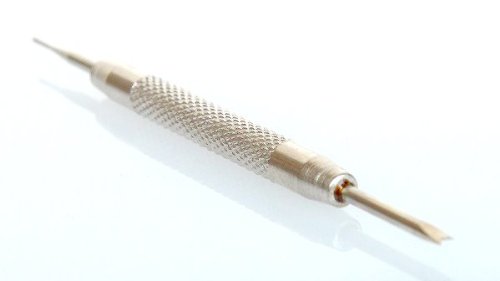
ここからは、Moto360のバンド交換方法・手順を紹介します。私はPebble Steel Metal Stainless Bandに同梱されていたバネ棒外しではなく、別のバネ棒外しを購入したのでこちらを使いました。
バネ棒外し /腕時計 ベルト 交換 工具 腕時計 バンド 腕時計ベルト
![31HBp3etMXL](https://androidlover.net/wp-content/uploads/31HBp3etMXL.jpg)
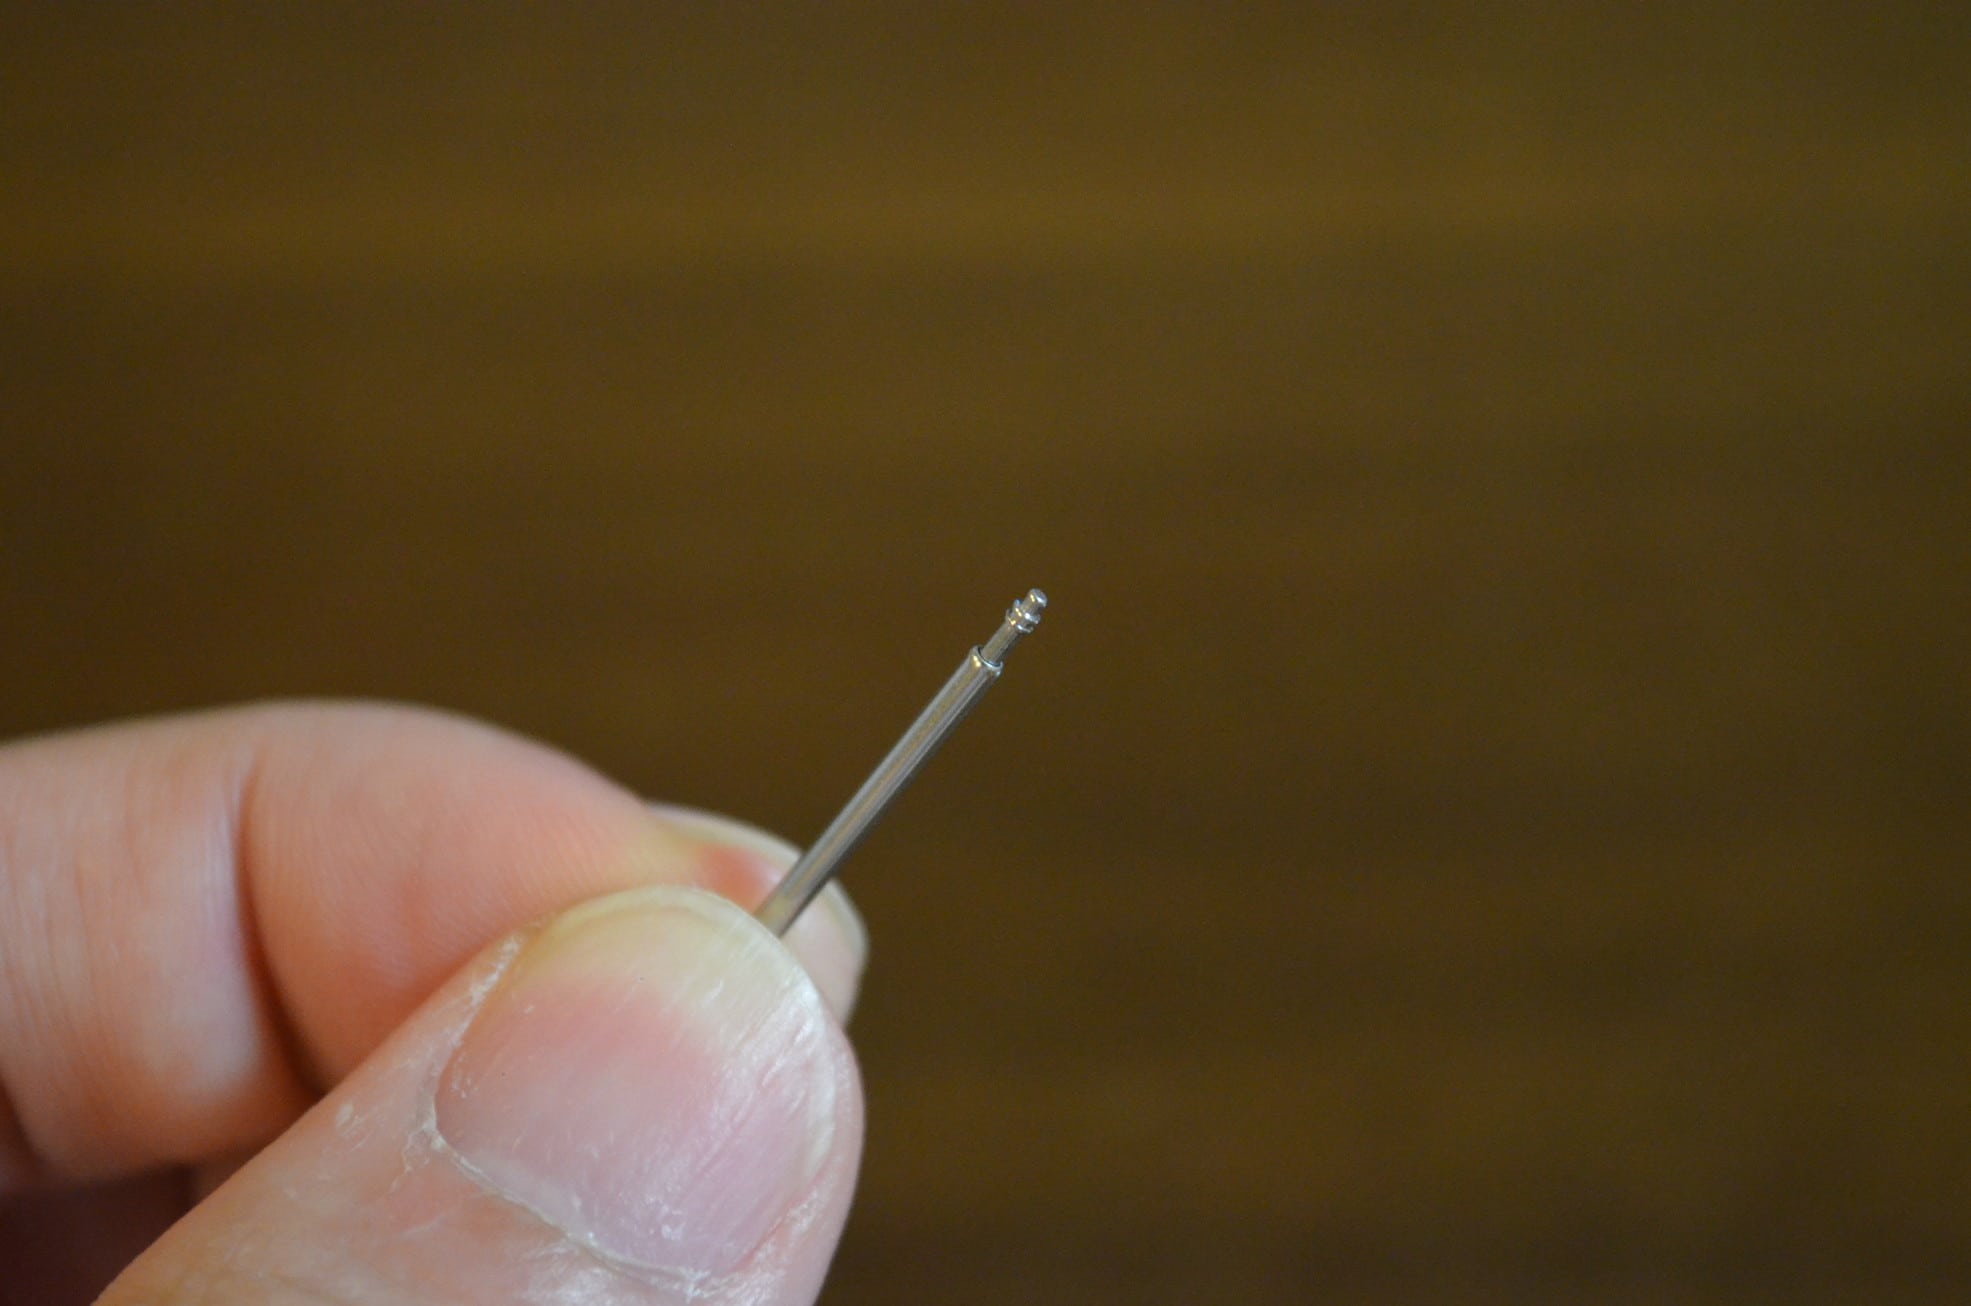
Moto360のバネ棒を外すには、バネ棒外しでレザーバンドを少し中央に寄らせてバネ棒の場所を見やすくすることがポイントです。
![moto360-pebble-steel-band6](https://androidlover.net/wp-content/uploads/moto360-pebble-steel-band6-500x331.jpg)
バネ棒外しは簡単にできます。
![moto360-pebble-steel-band7](https://androidlover.net/wp-content/uploads/moto360-pebble-steel-band7-500x331.jpg)
Moto360のバネ棒は、両側とも伸縮式になっています。
![moto360-pebble-steel-band8](https://androidlover.net/wp-content/uploads/moto360-pebble-steel-band8-500x331.jpg)
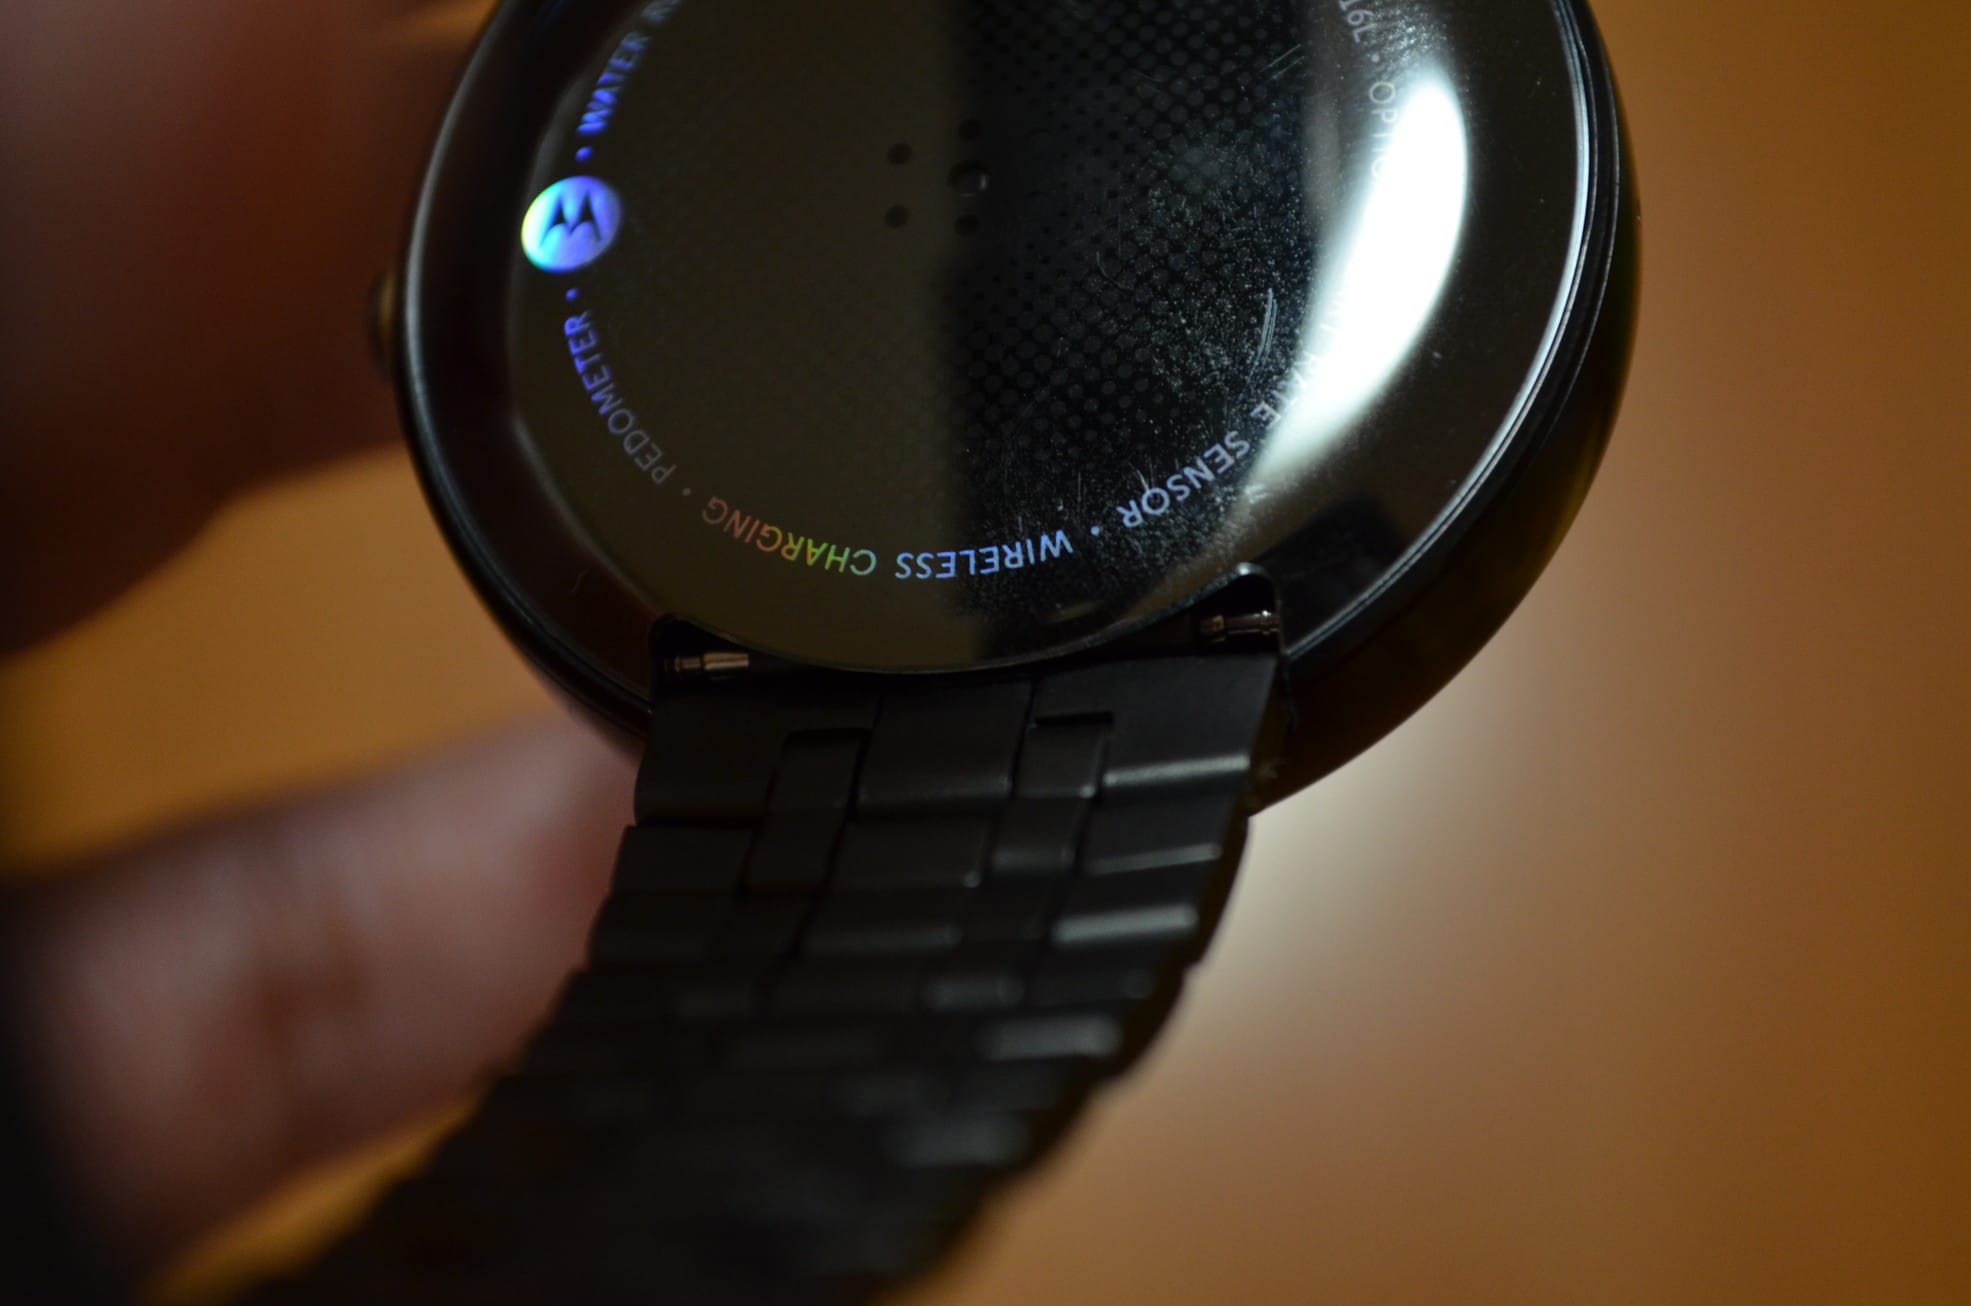
Moto360のバネ棒をPebbleのバンドに入れます。
![moto360-pebble-steel-band9](https://androidlover.net/wp-content/uploads/moto360-pebble-steel-band9-500x331.jpg)
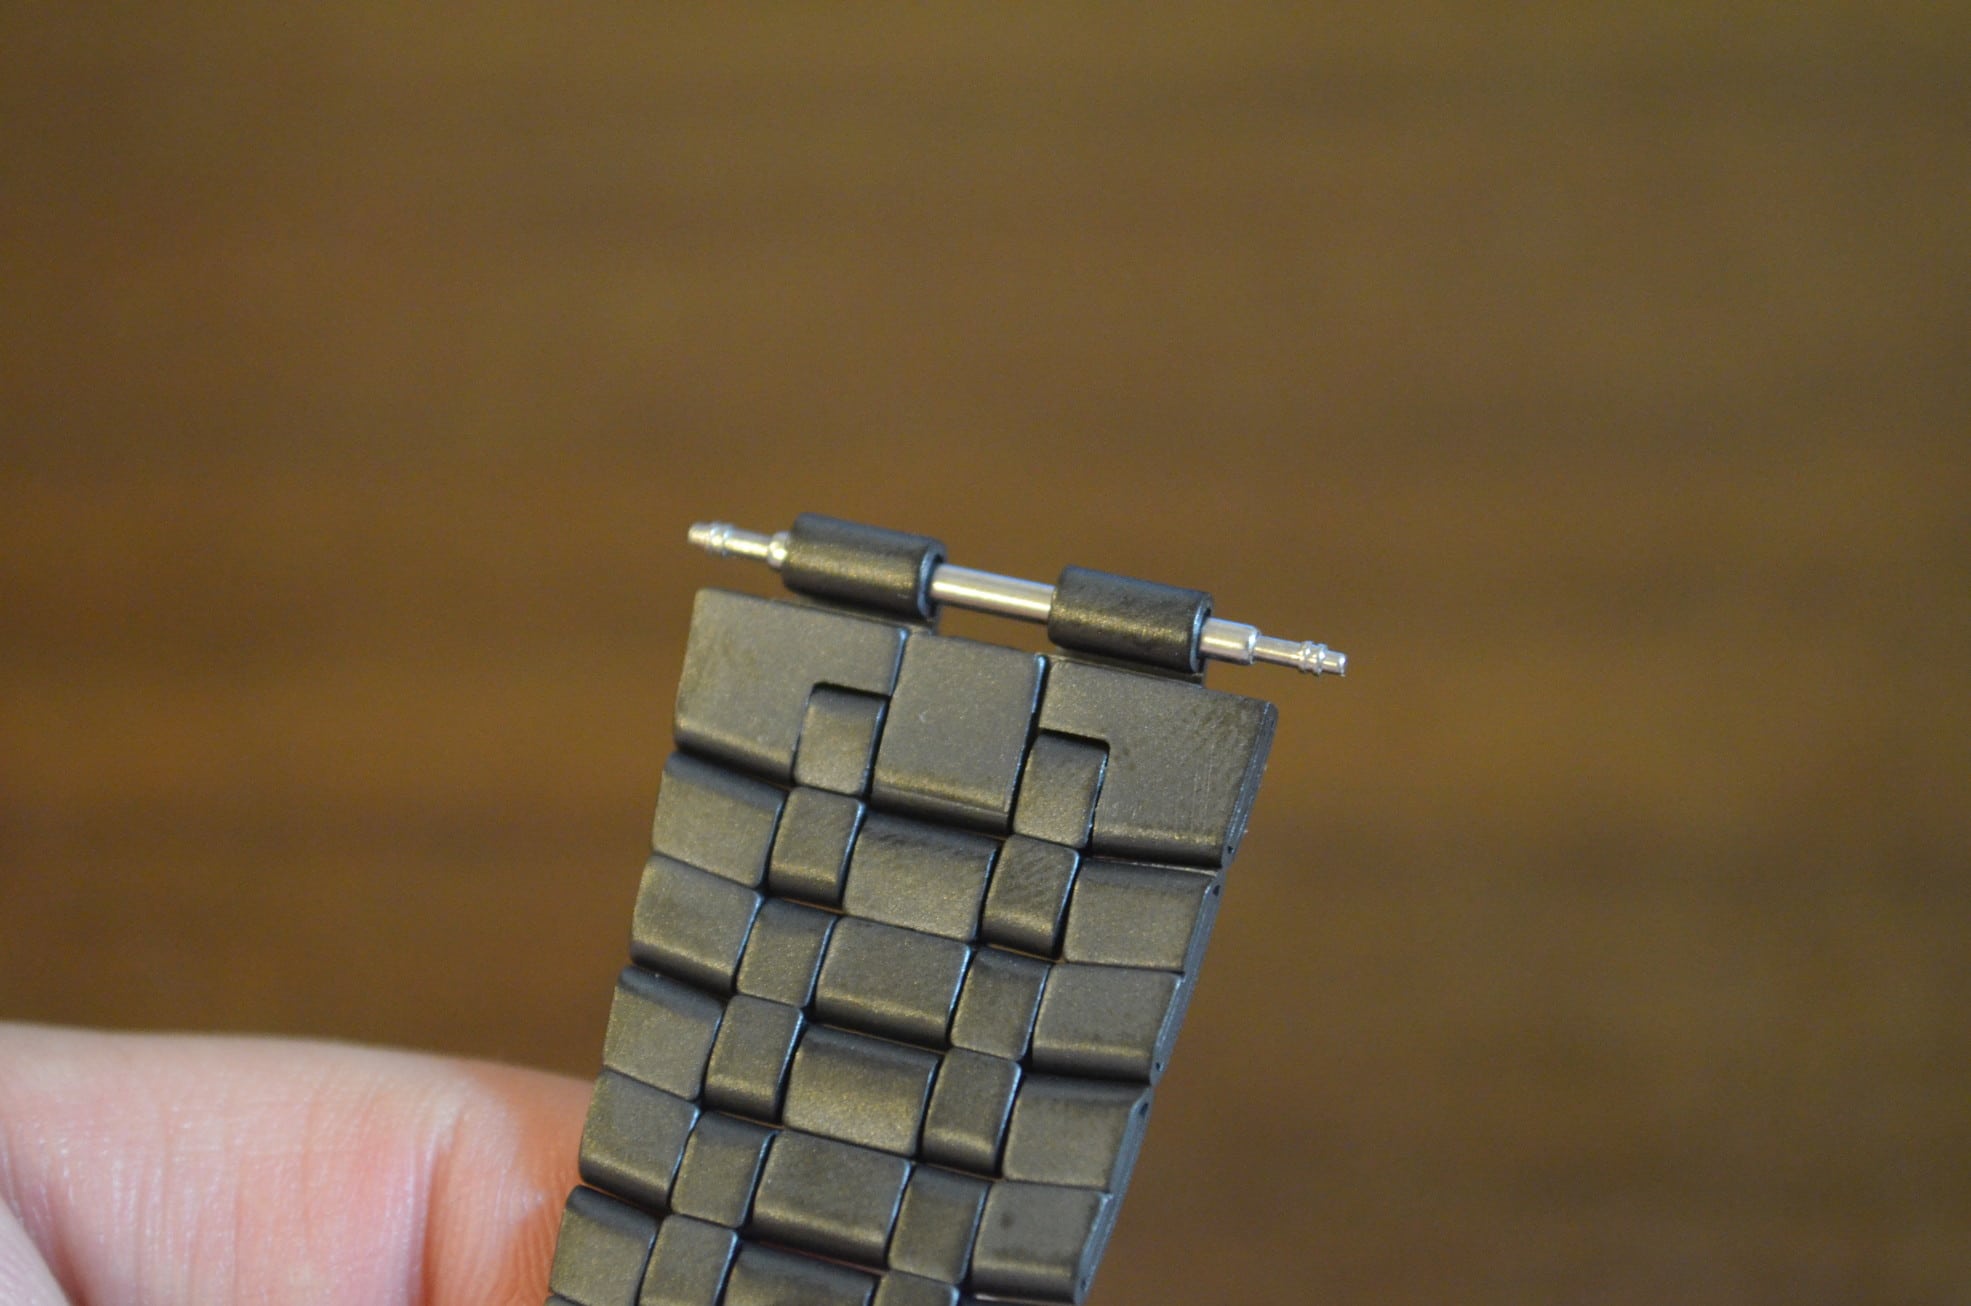
あとはまず片方を入れて、その後バネ棒外しを使ってもう片方を入れました。
![moto360-pebble-steel-band10](https://androidlover.net/wp-content/uploads/moto360-pebble-steel-band10-500x331.jpg)
![moto360-pebble-steel-band11](https://androidlover.net/wp-content/uploads/moto360-pebble-steel-band11-500x331.jpg)
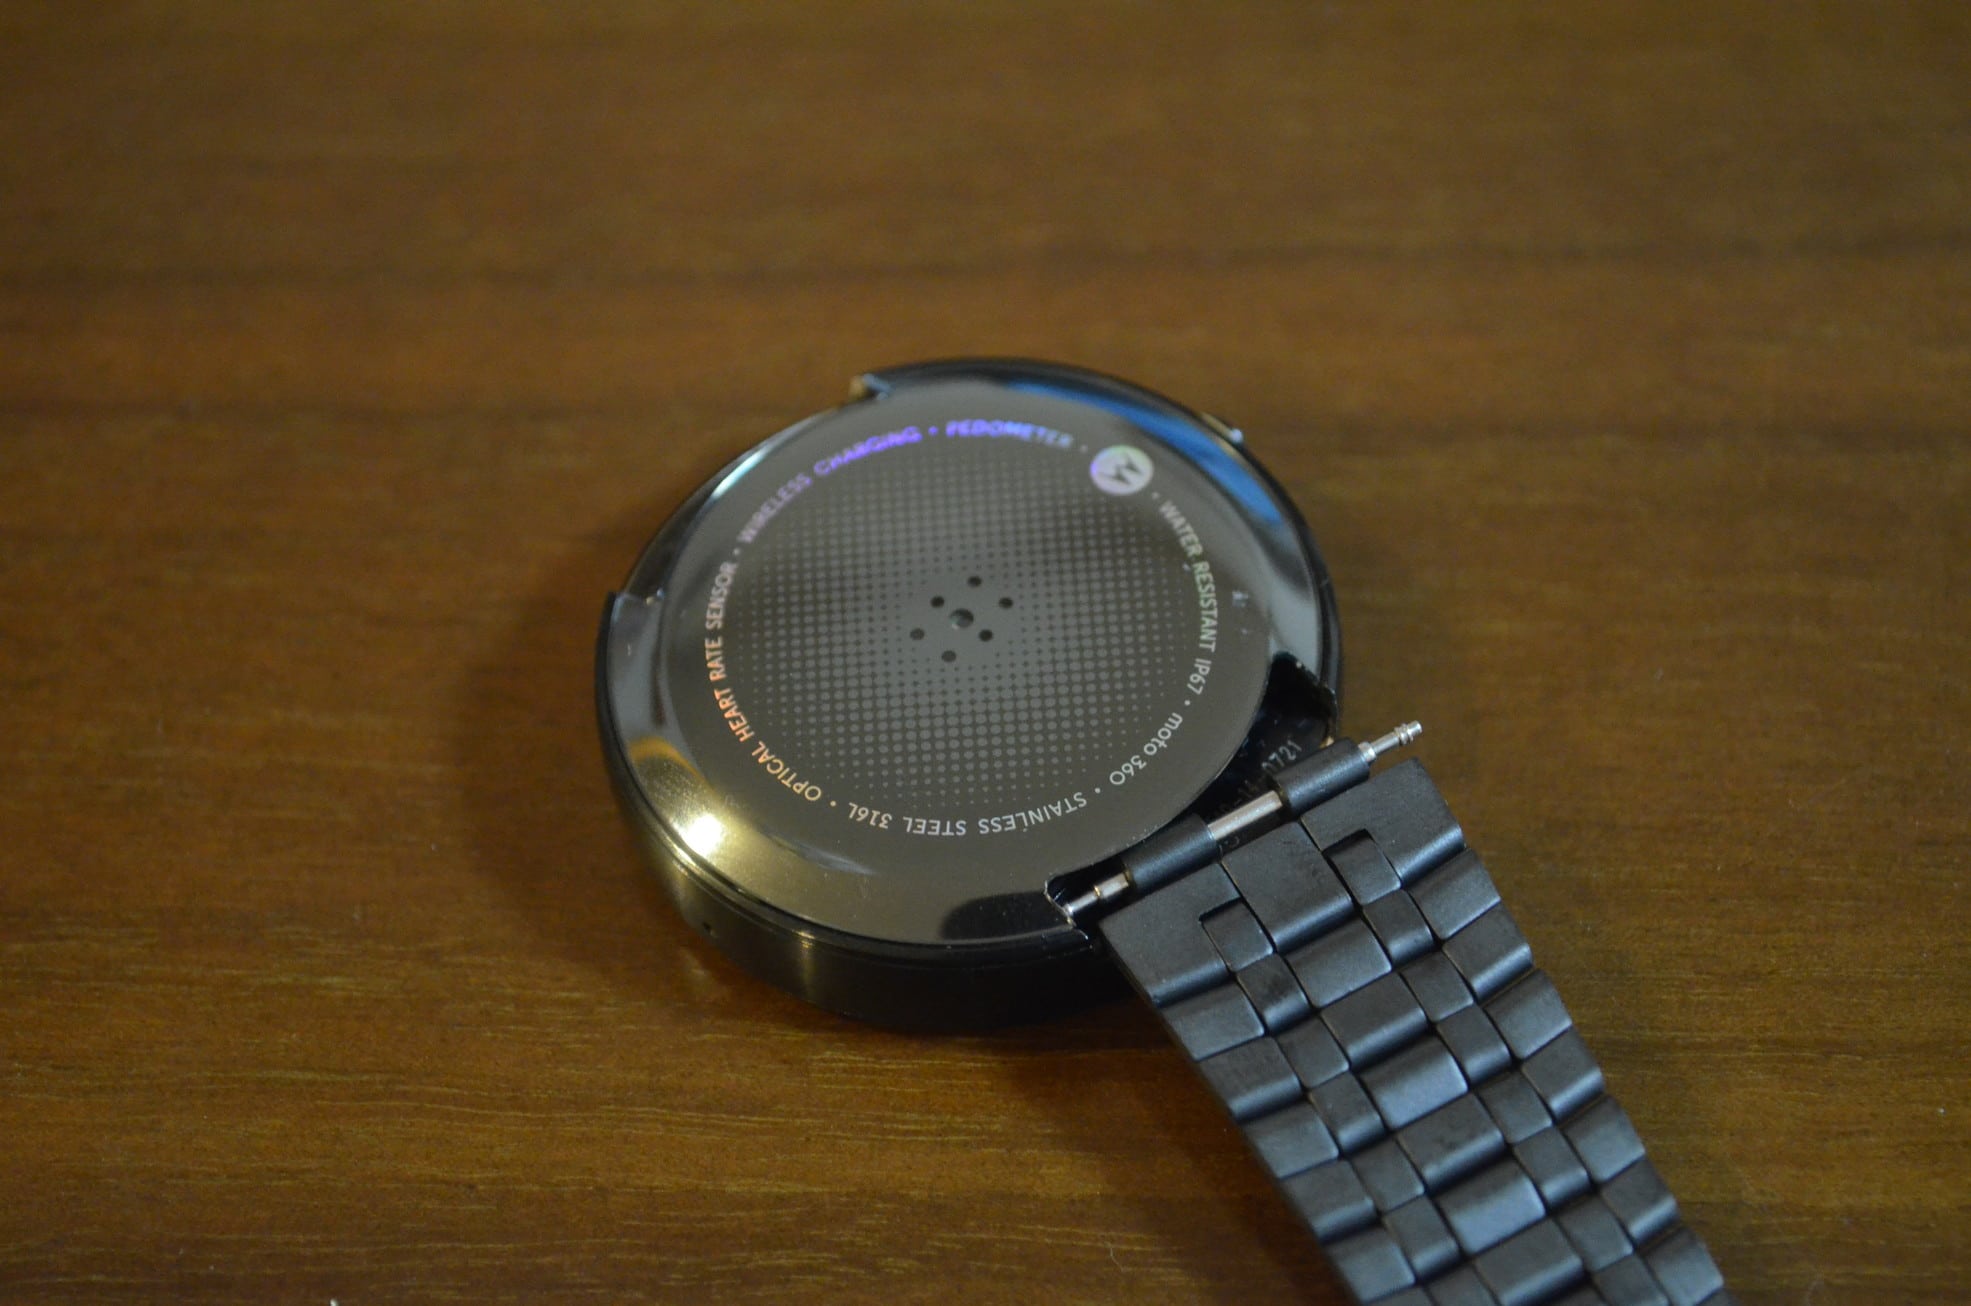
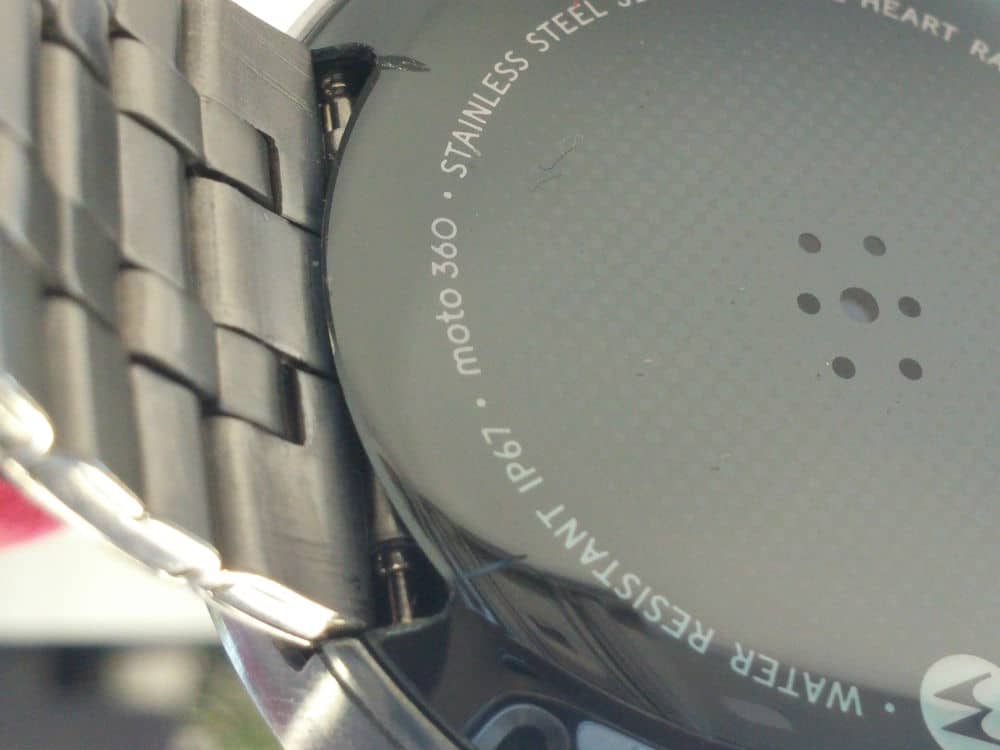
Moto360にPebble Steelのバンドを装着したら、このようになります。
![moto360-pebble-steel-band12](https://androidlover.net/wp-content/uploads/moto360-pebble-steel-band12-500x331.jpg)
Google+などでPebble Steelのバンドに交換したらMoto360の本体が割れたという報告が上がっているので、取り扱いには注意が必要です。
![Moto-360-cracks](https://androidlover.net/wp-content/uploads/Moto-360-cracks-500x375.jpg)
Moto360のバンド交換が完了しました。
![moto360-pebble-steel-band13](https://androidlover.net/wp-content/uploads/moto360-pebble-steel-band13-331x500.jpg)
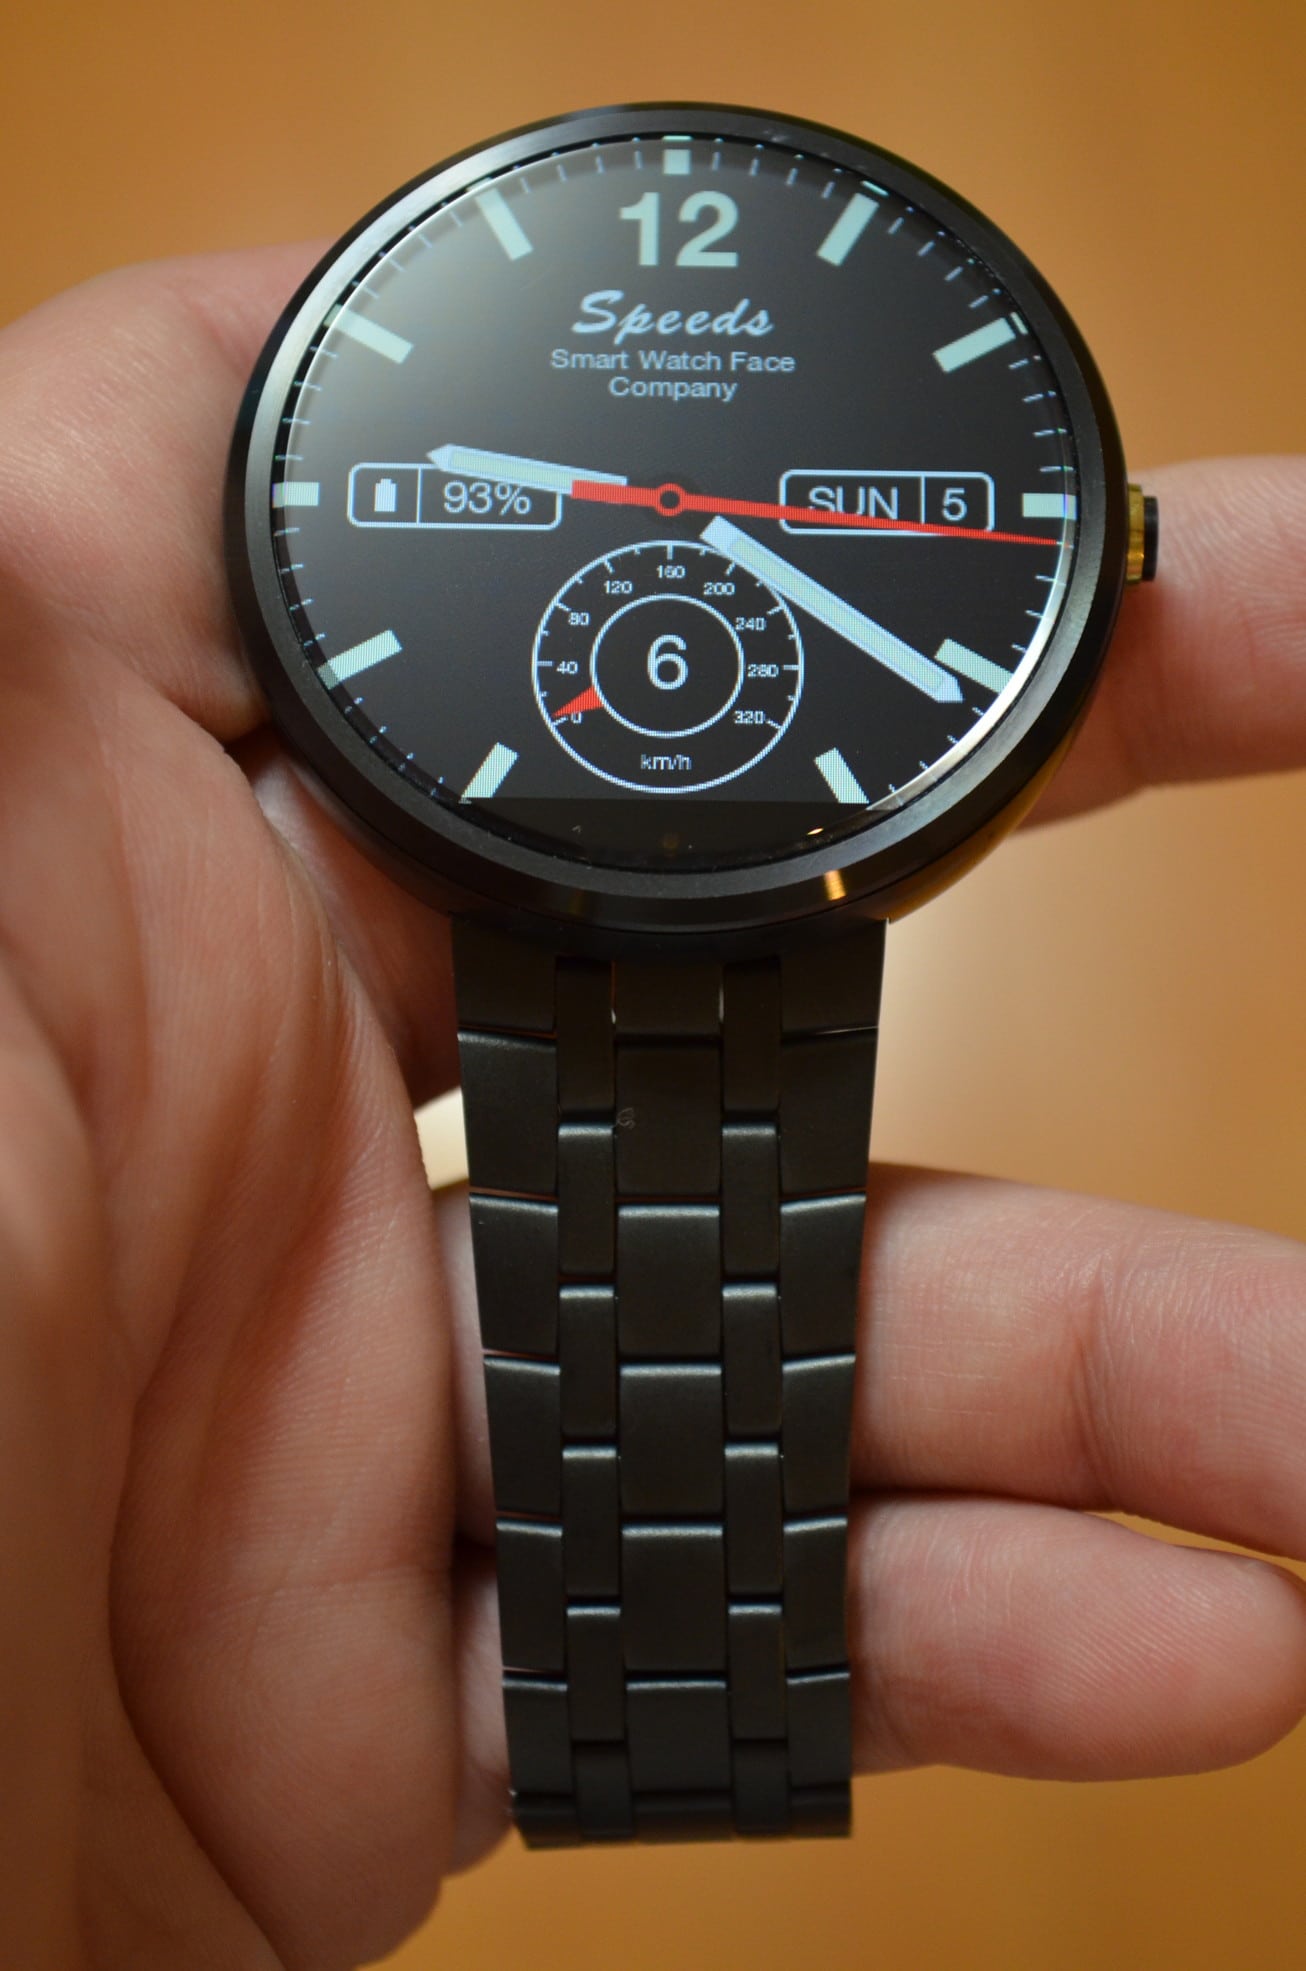
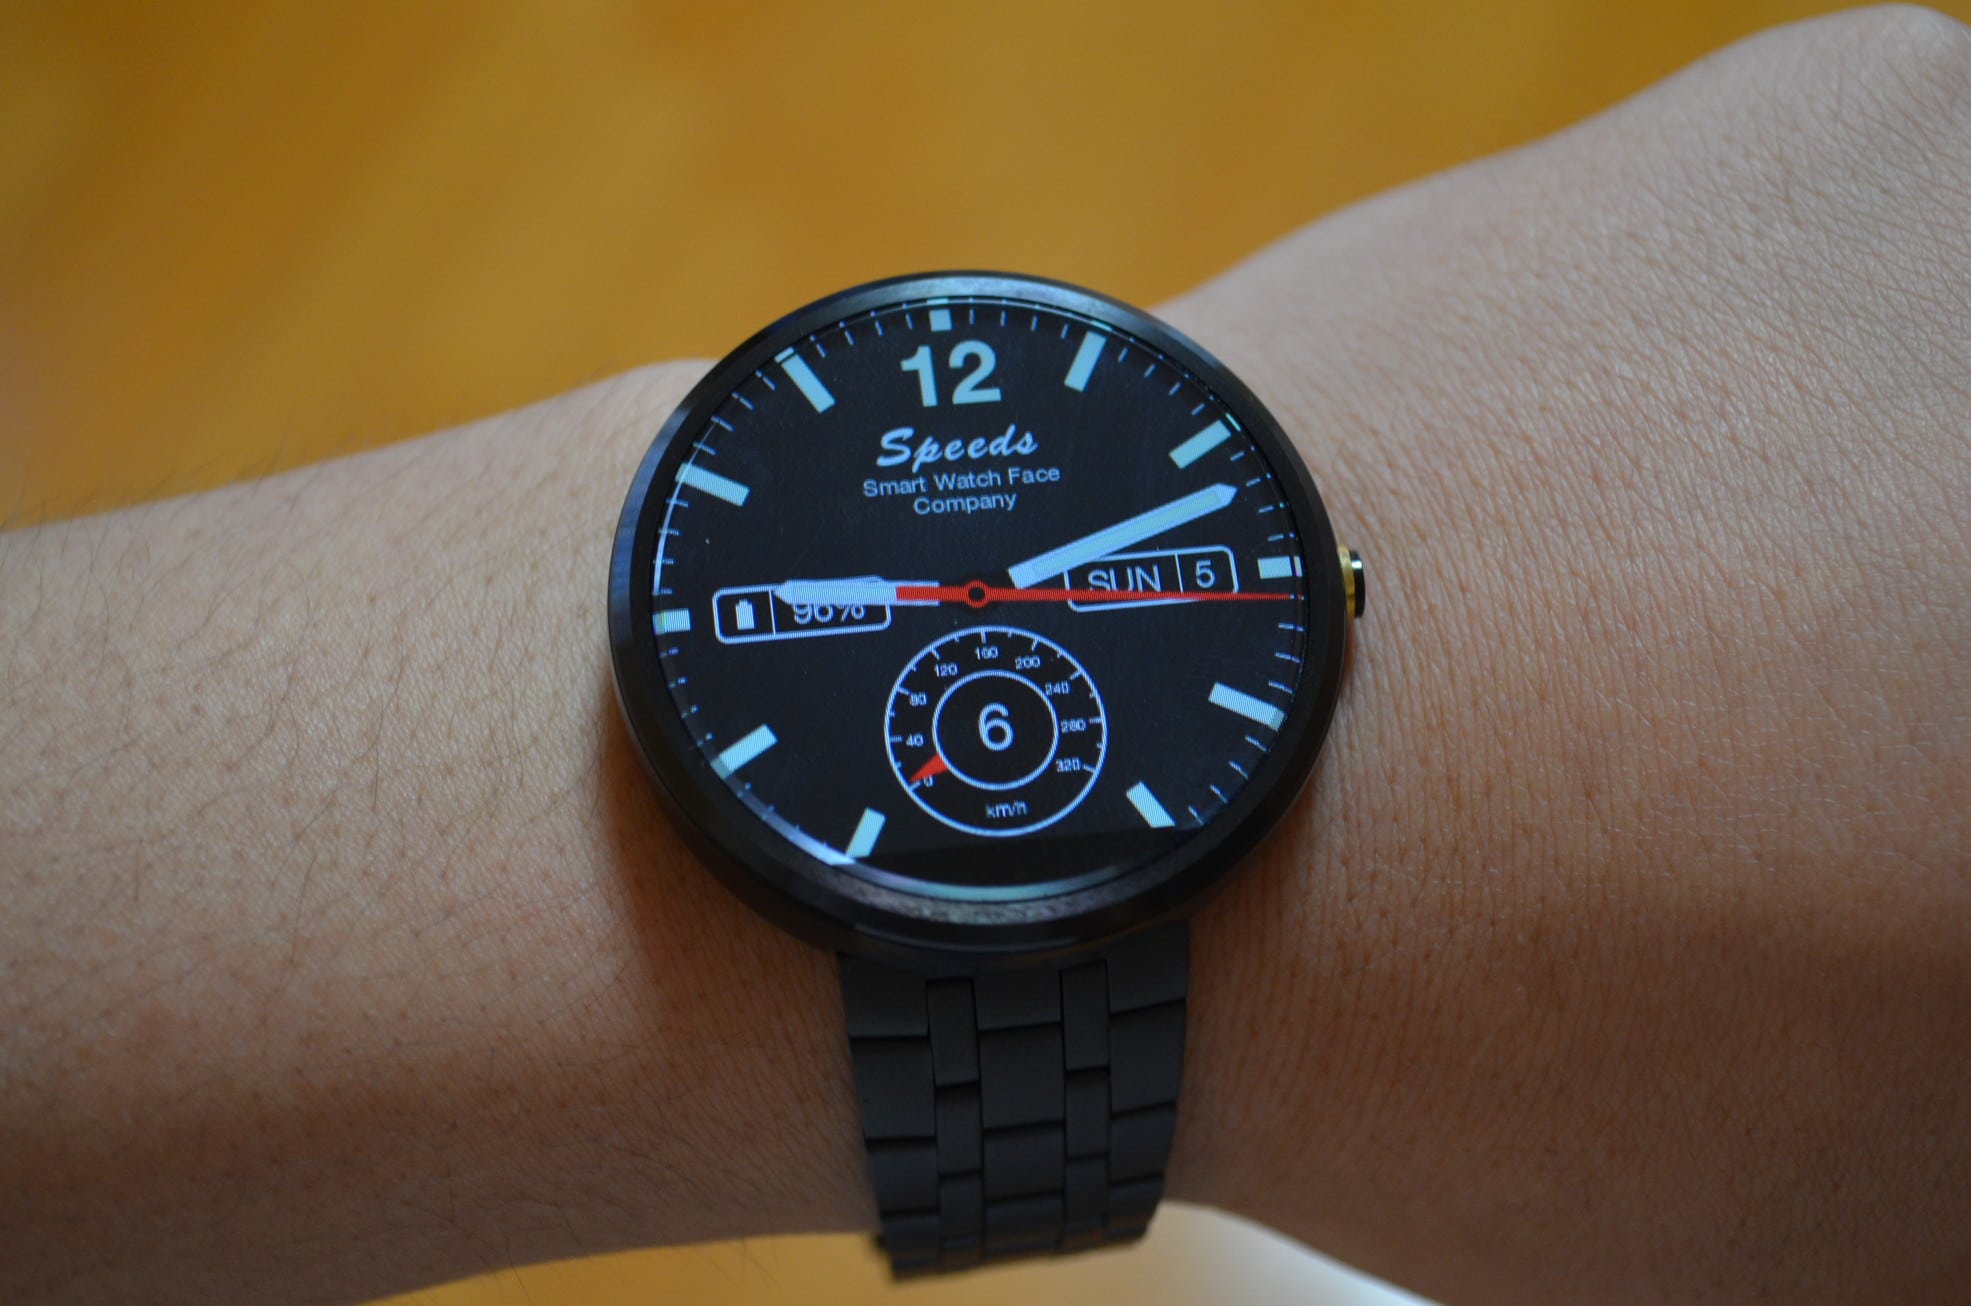
Pebble Steel Metal Stainless Bandは、Moto360本体と色が違うので合わないような気がしていましたが、交換してみると意外に違和感はないです。
![moto360-pebble-steel-band14](https://androidlover.net/wp-content/uploads/moto360-pebble-steel-band14-500x331.jpg)
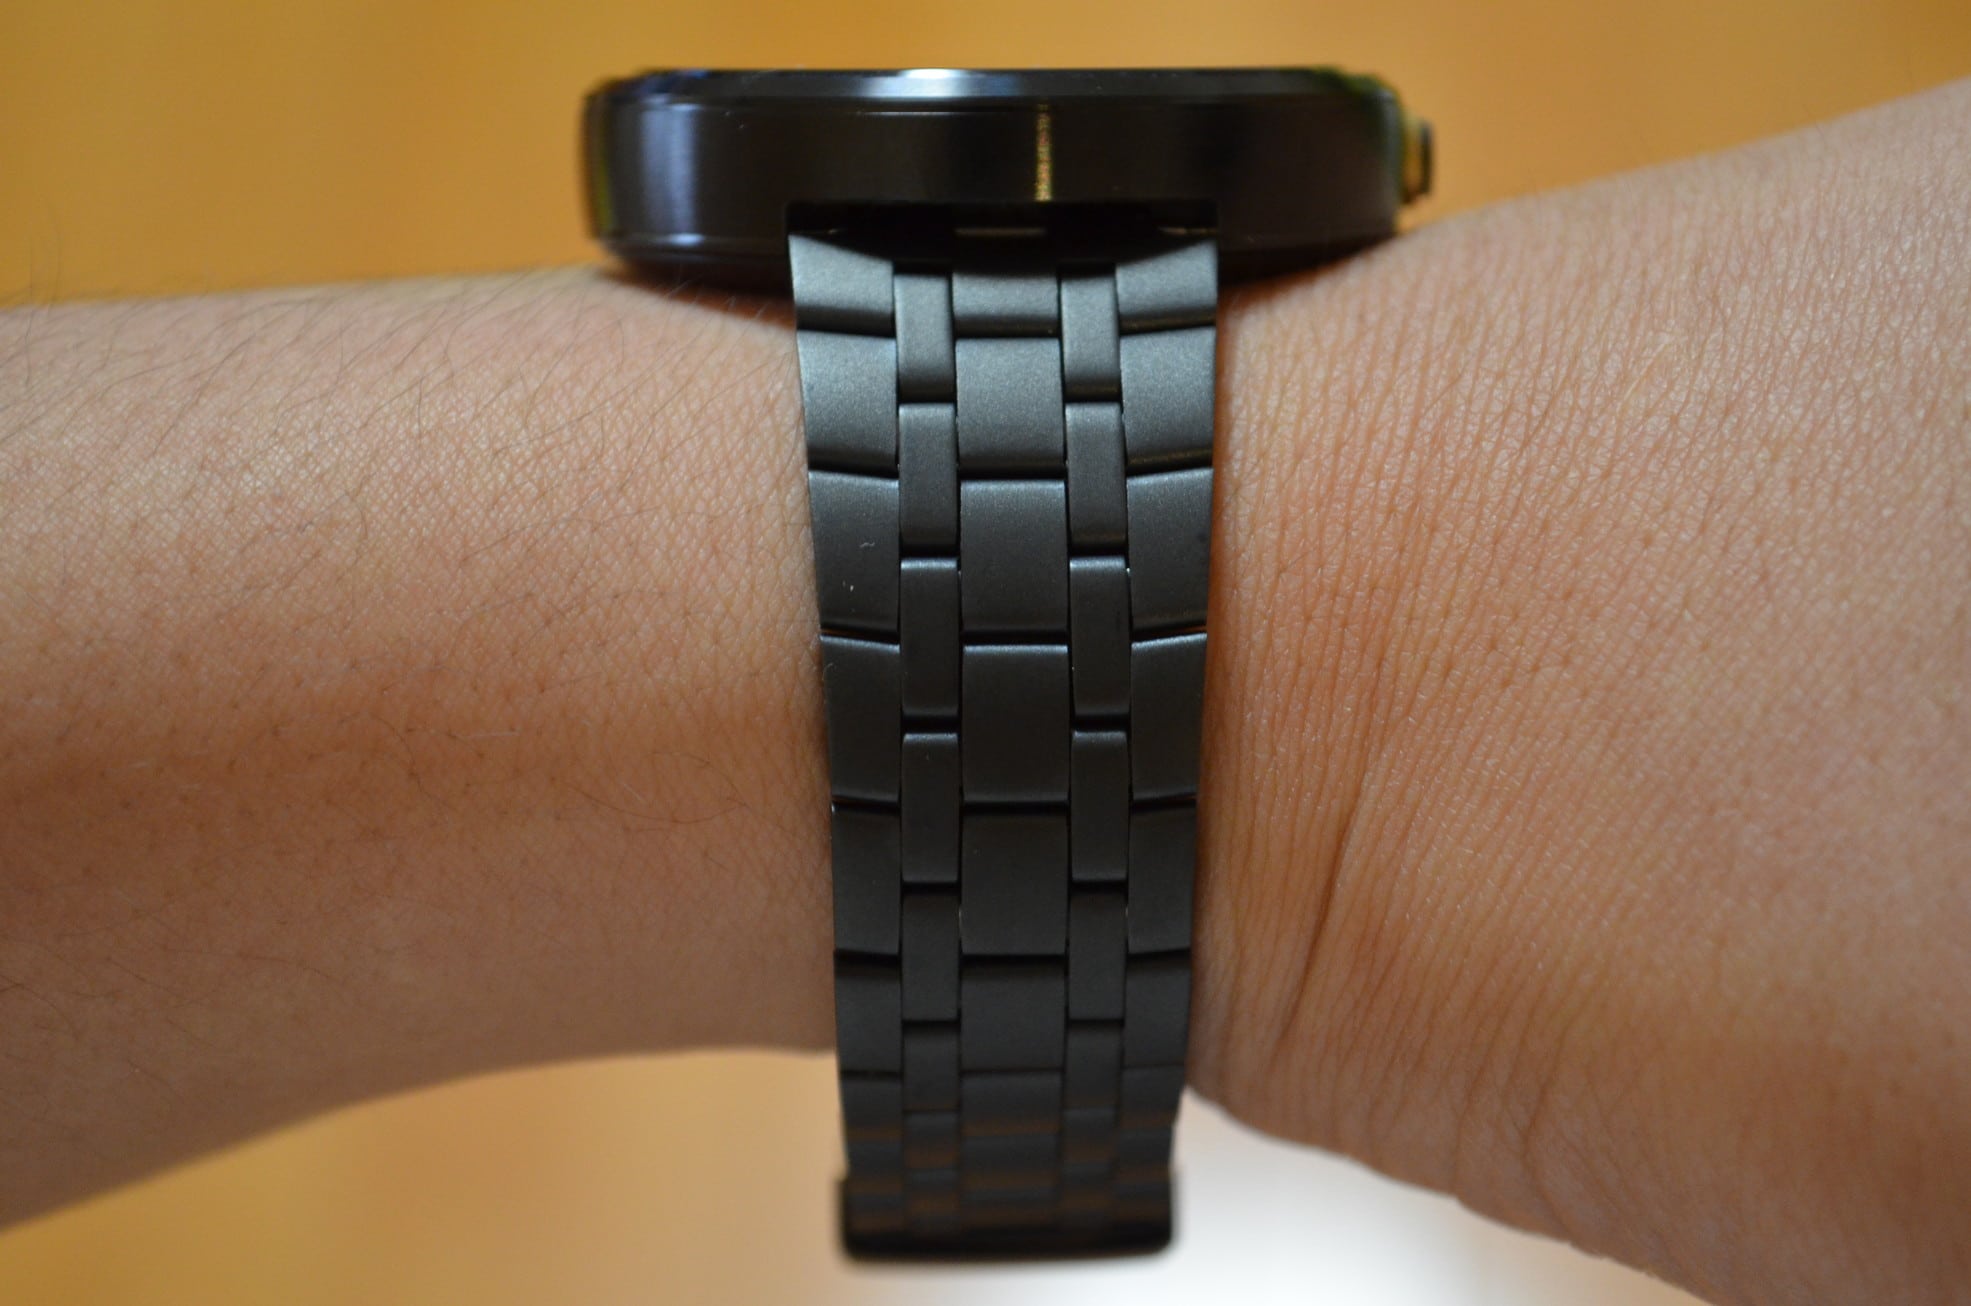
腕につけてみました。レザーバンドと比べると重さは感じます。
![moto360-pebble-steel-band15](https://androidlover.net/wp-content/uploads/moto360-pebble-steel-band15-500x331.jpg)
![moto360-pebble-steel-band16](https://androidlover.net/wp-content/uploads/moto360-pebble-steel-band16-500x331.jpg)
![moto360-pebble-steel-band17](https://androidlover.net/wp-content/uploads/moto360-pebble-steel-band17-500x331.jpg)
バンドが余っているので短くしたいのですが、固くて私にはできませんでした。時計屋さんにお願いした方が早いし傷もつかないと思うので依頼します。
![moto360-pebble-steel-band18](https://androidlover.net/wp-content/uploads/moto360-pebble-steel-band18-500x331.jpg)
Pebble Steel Metal Stainless BandはMoto360を破損するリスクがあるのでおすすめはできませんが、切り欠きがありかつデザインも良い数少ないバンドの1つです。
現在は転送業者を利用する必要があるなど手間もかかることと、11月にはMoto360公式のスチールバンドが発売される見通しなので、これから入手して交換するメリットはあまりありません。
逆に公式のバンドの発売を待てず、スチール製のバンドに早く交換したいというときは、Pebble Steel Metal Stainless Bandぐらいしか選択肢がないです。
興味のある人は試してみてください。