
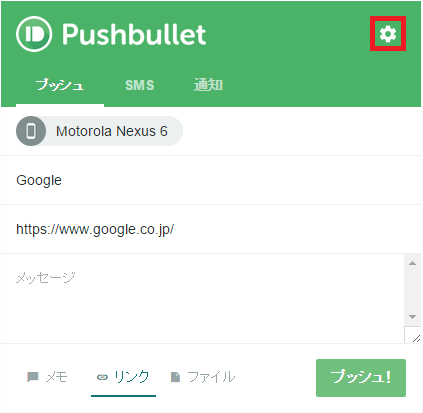
PCでChromeブラウザを起動してPushbulletのアイコンをクリックします。

設定アイコンをクリックします。
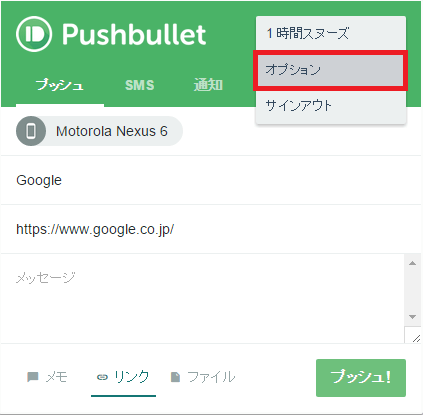
「オプション」をクリックします。
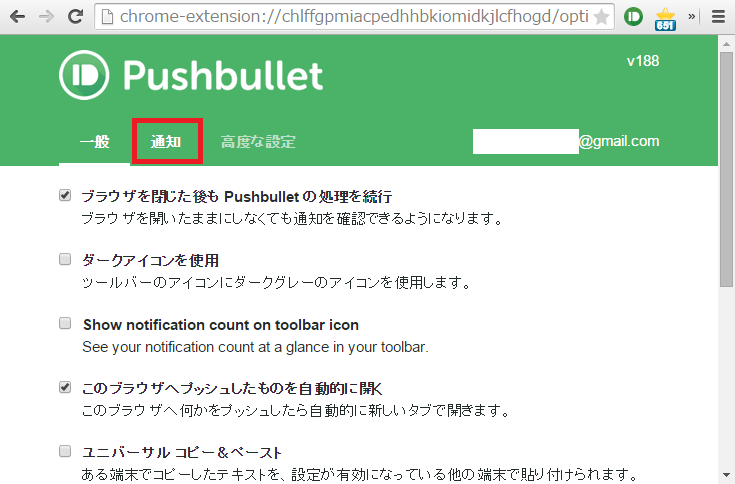
「通知」をクリックします。
「通知を自動的に隠すまでの時間」の項目を変更します。標準設定は「30 seconds(30秒)」となっています。
通知を自動で隠すまでの時間の選択肢は30秒か8秒の2択となっています。短くしたい場合は「8 seconds」を、長くしたい場合は「30 seconds」を選びます。
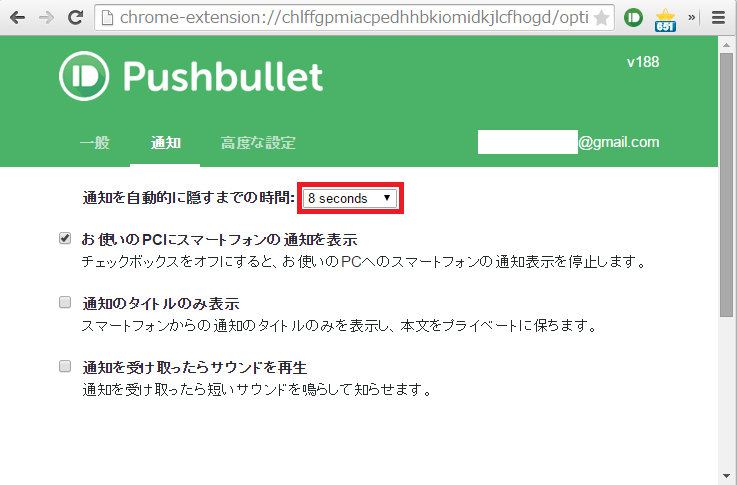
自分の好みに合わせて選択してみてください。
PushBulletでPCにポップアップされる通知の表示時間を短くする方法は以上です。