目次
Google Keepのリストアイテム(チェックリスト)形式ToDoメモの特徴
Google Keepのリストアイテム(チェックリスト)形式のToDoメモの特徴は、名前の通りチェックボックス付きのメモであることです。チェックボックスにチェックを入れれば取り消し線が入るので一目で完了していることが分かったり、チェックリストの順番を並び替えて優先順位の高いものを上から順に並べることなどもできます。

ToDoリストや買い物リストとしても使えるので、Google Keepのメモ機能の中で私が一番よく使っている機能がリストアイテムです。
Google Keepでリストアイテム(チェックリスト)形式ToDoメモを作成する
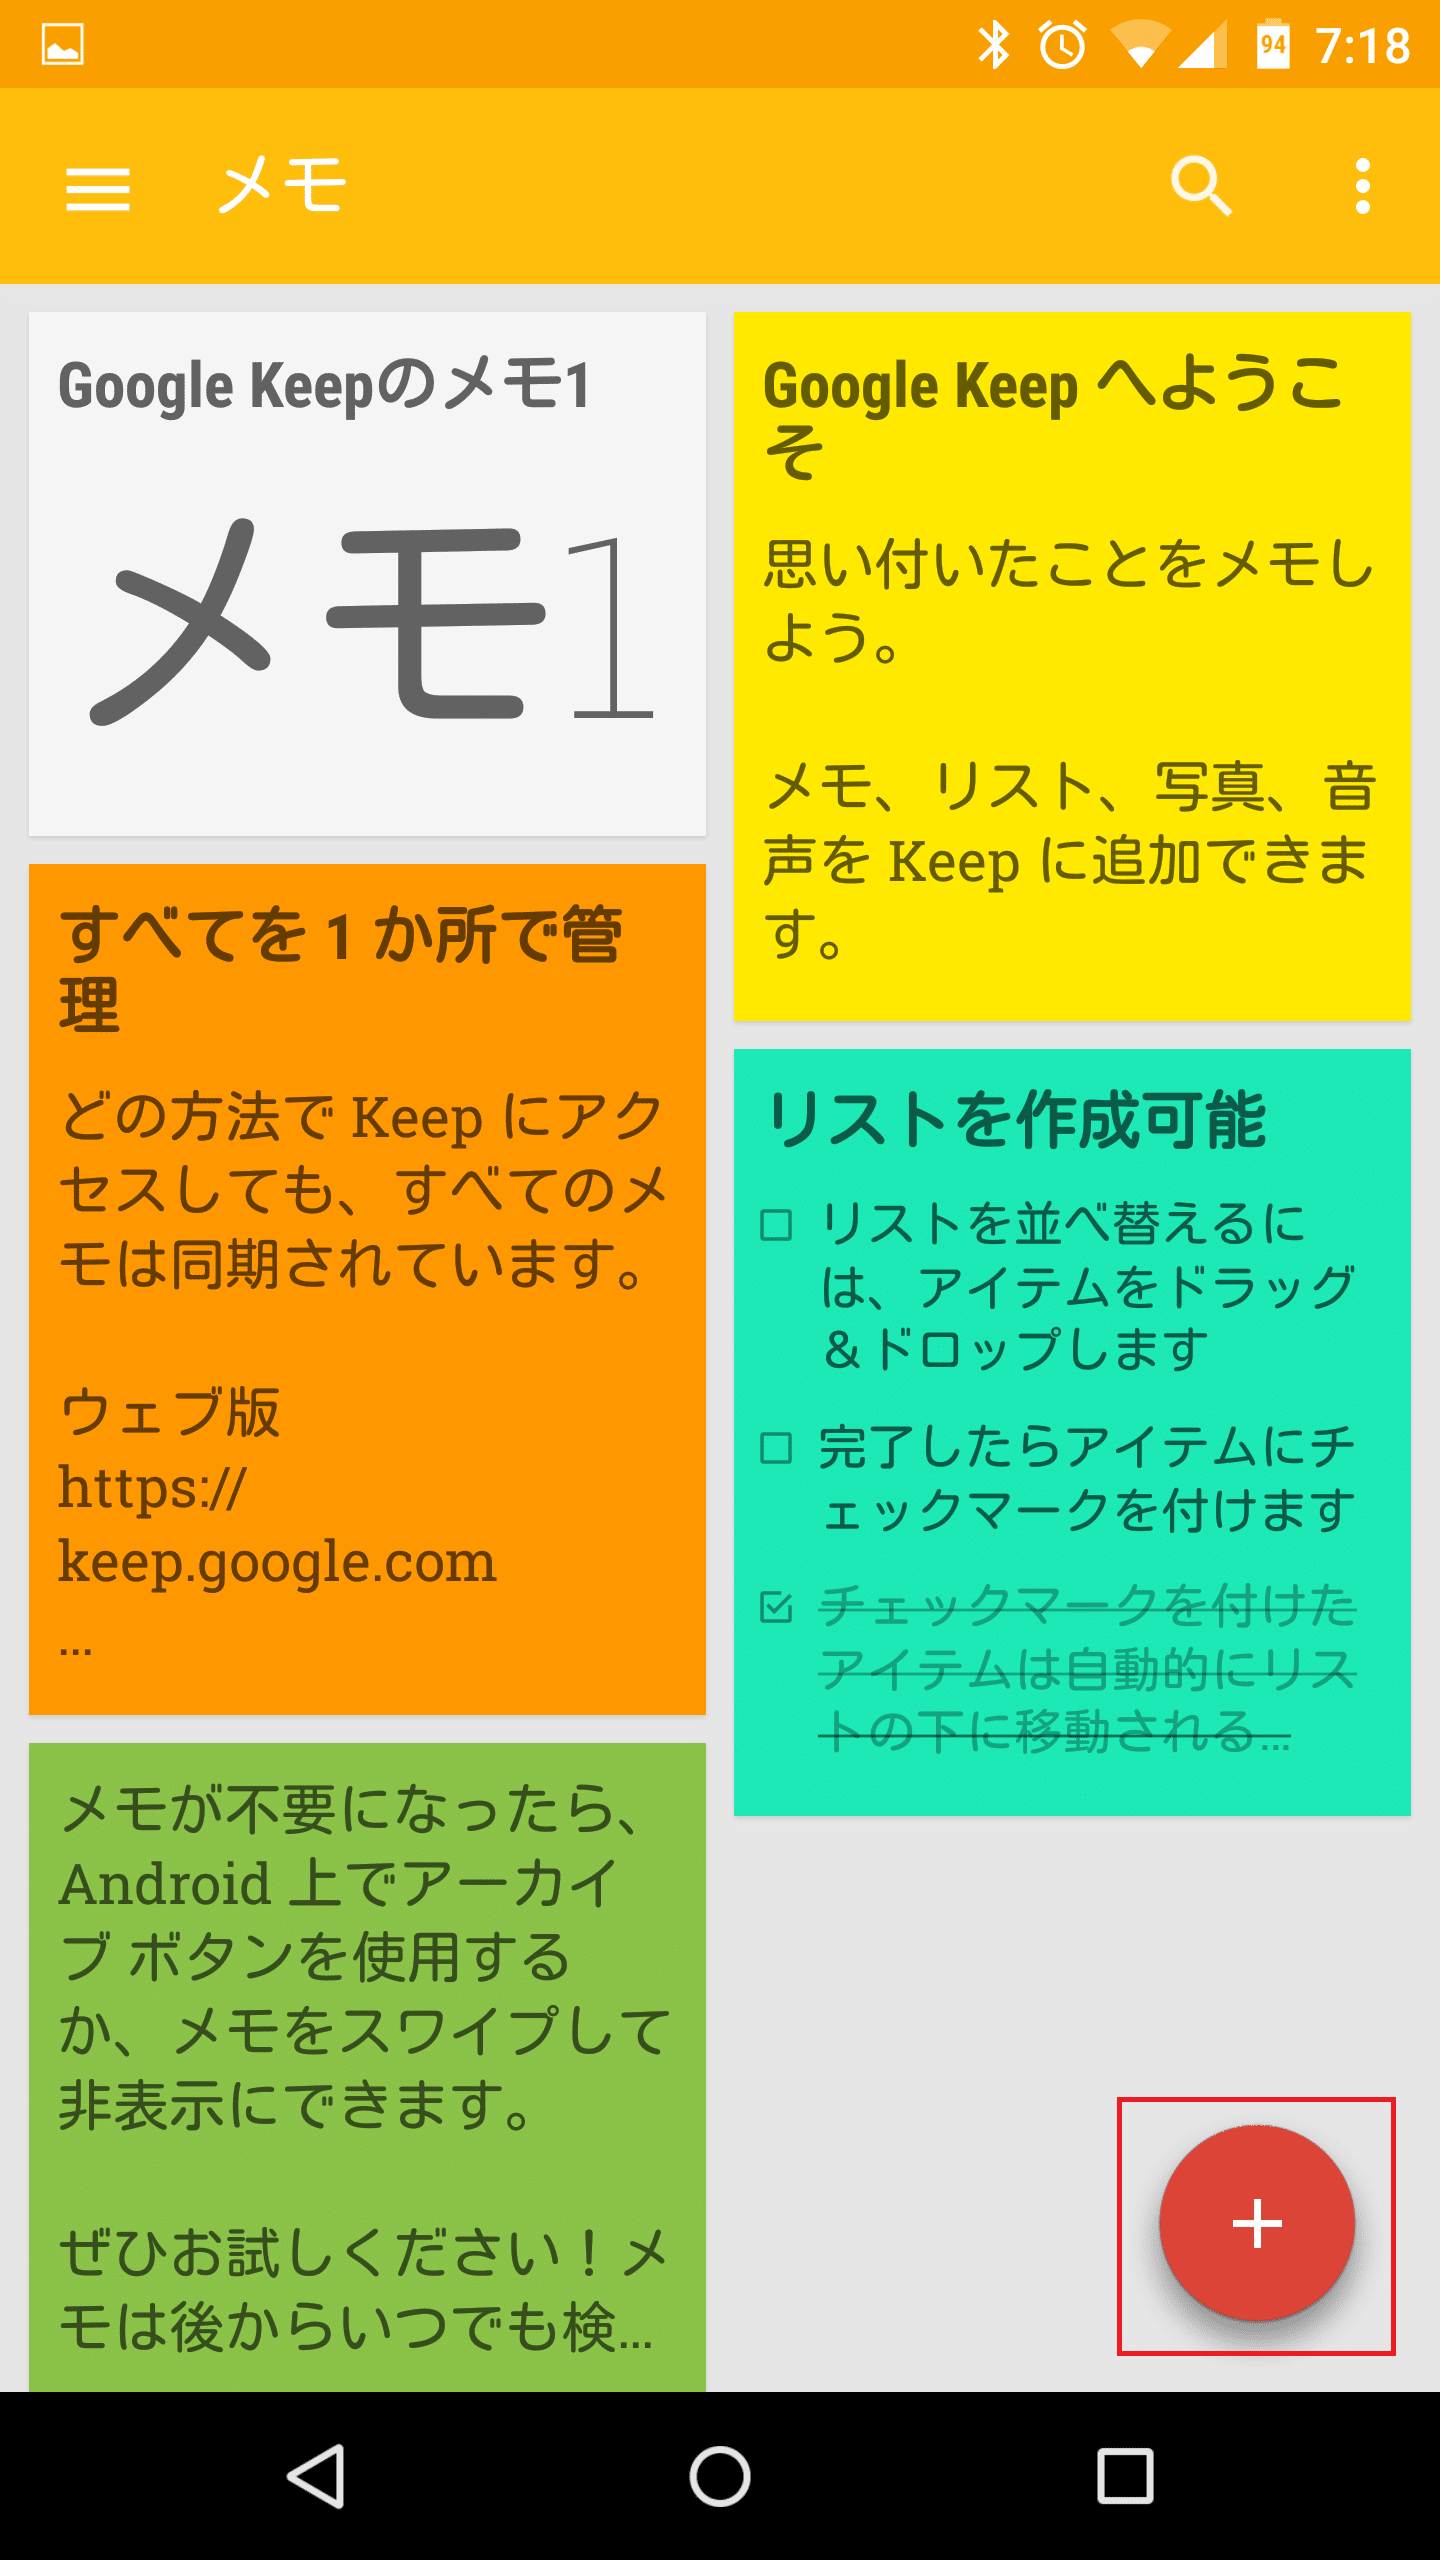
まずはGoogle Keepでリストアイテム(チェックリスト)形式のToDoメモを作成する方法です。Google Keepの右下の「+」アイコンをタップします。
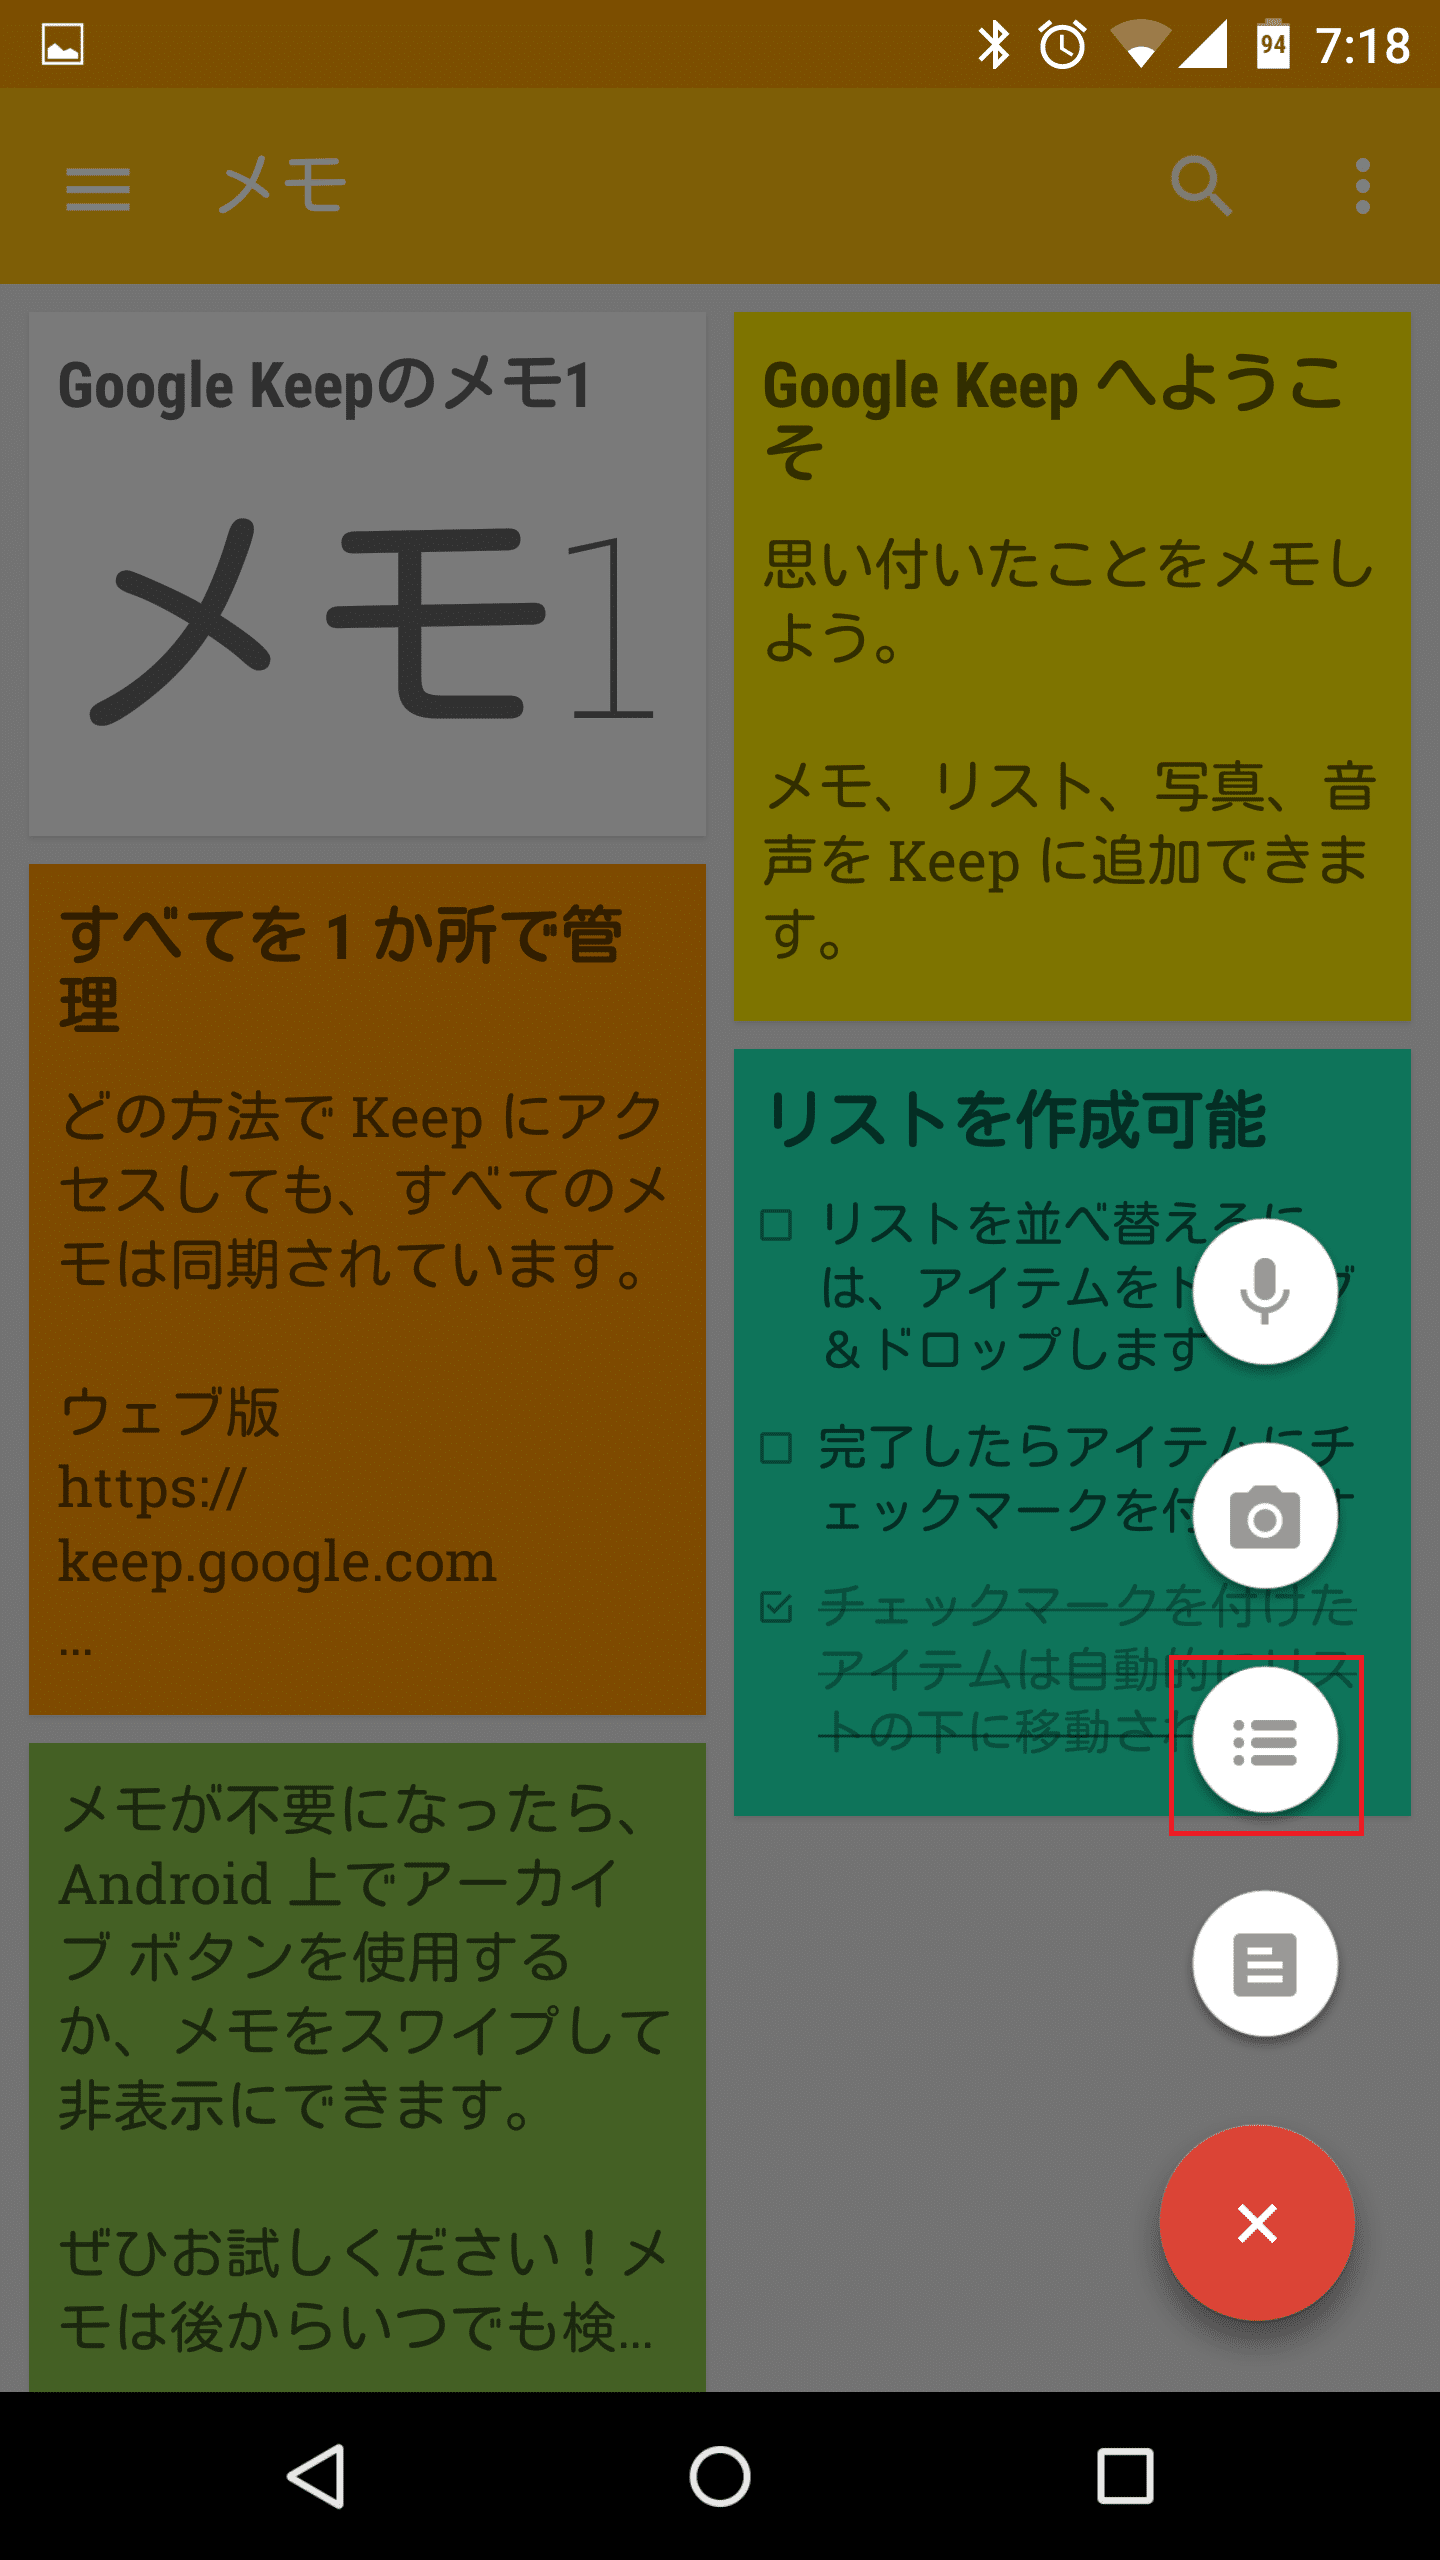
赤枠で囲ったアイコンをタップします。
タイトルとチェックボックス付きのメモ入力エリアがあります。
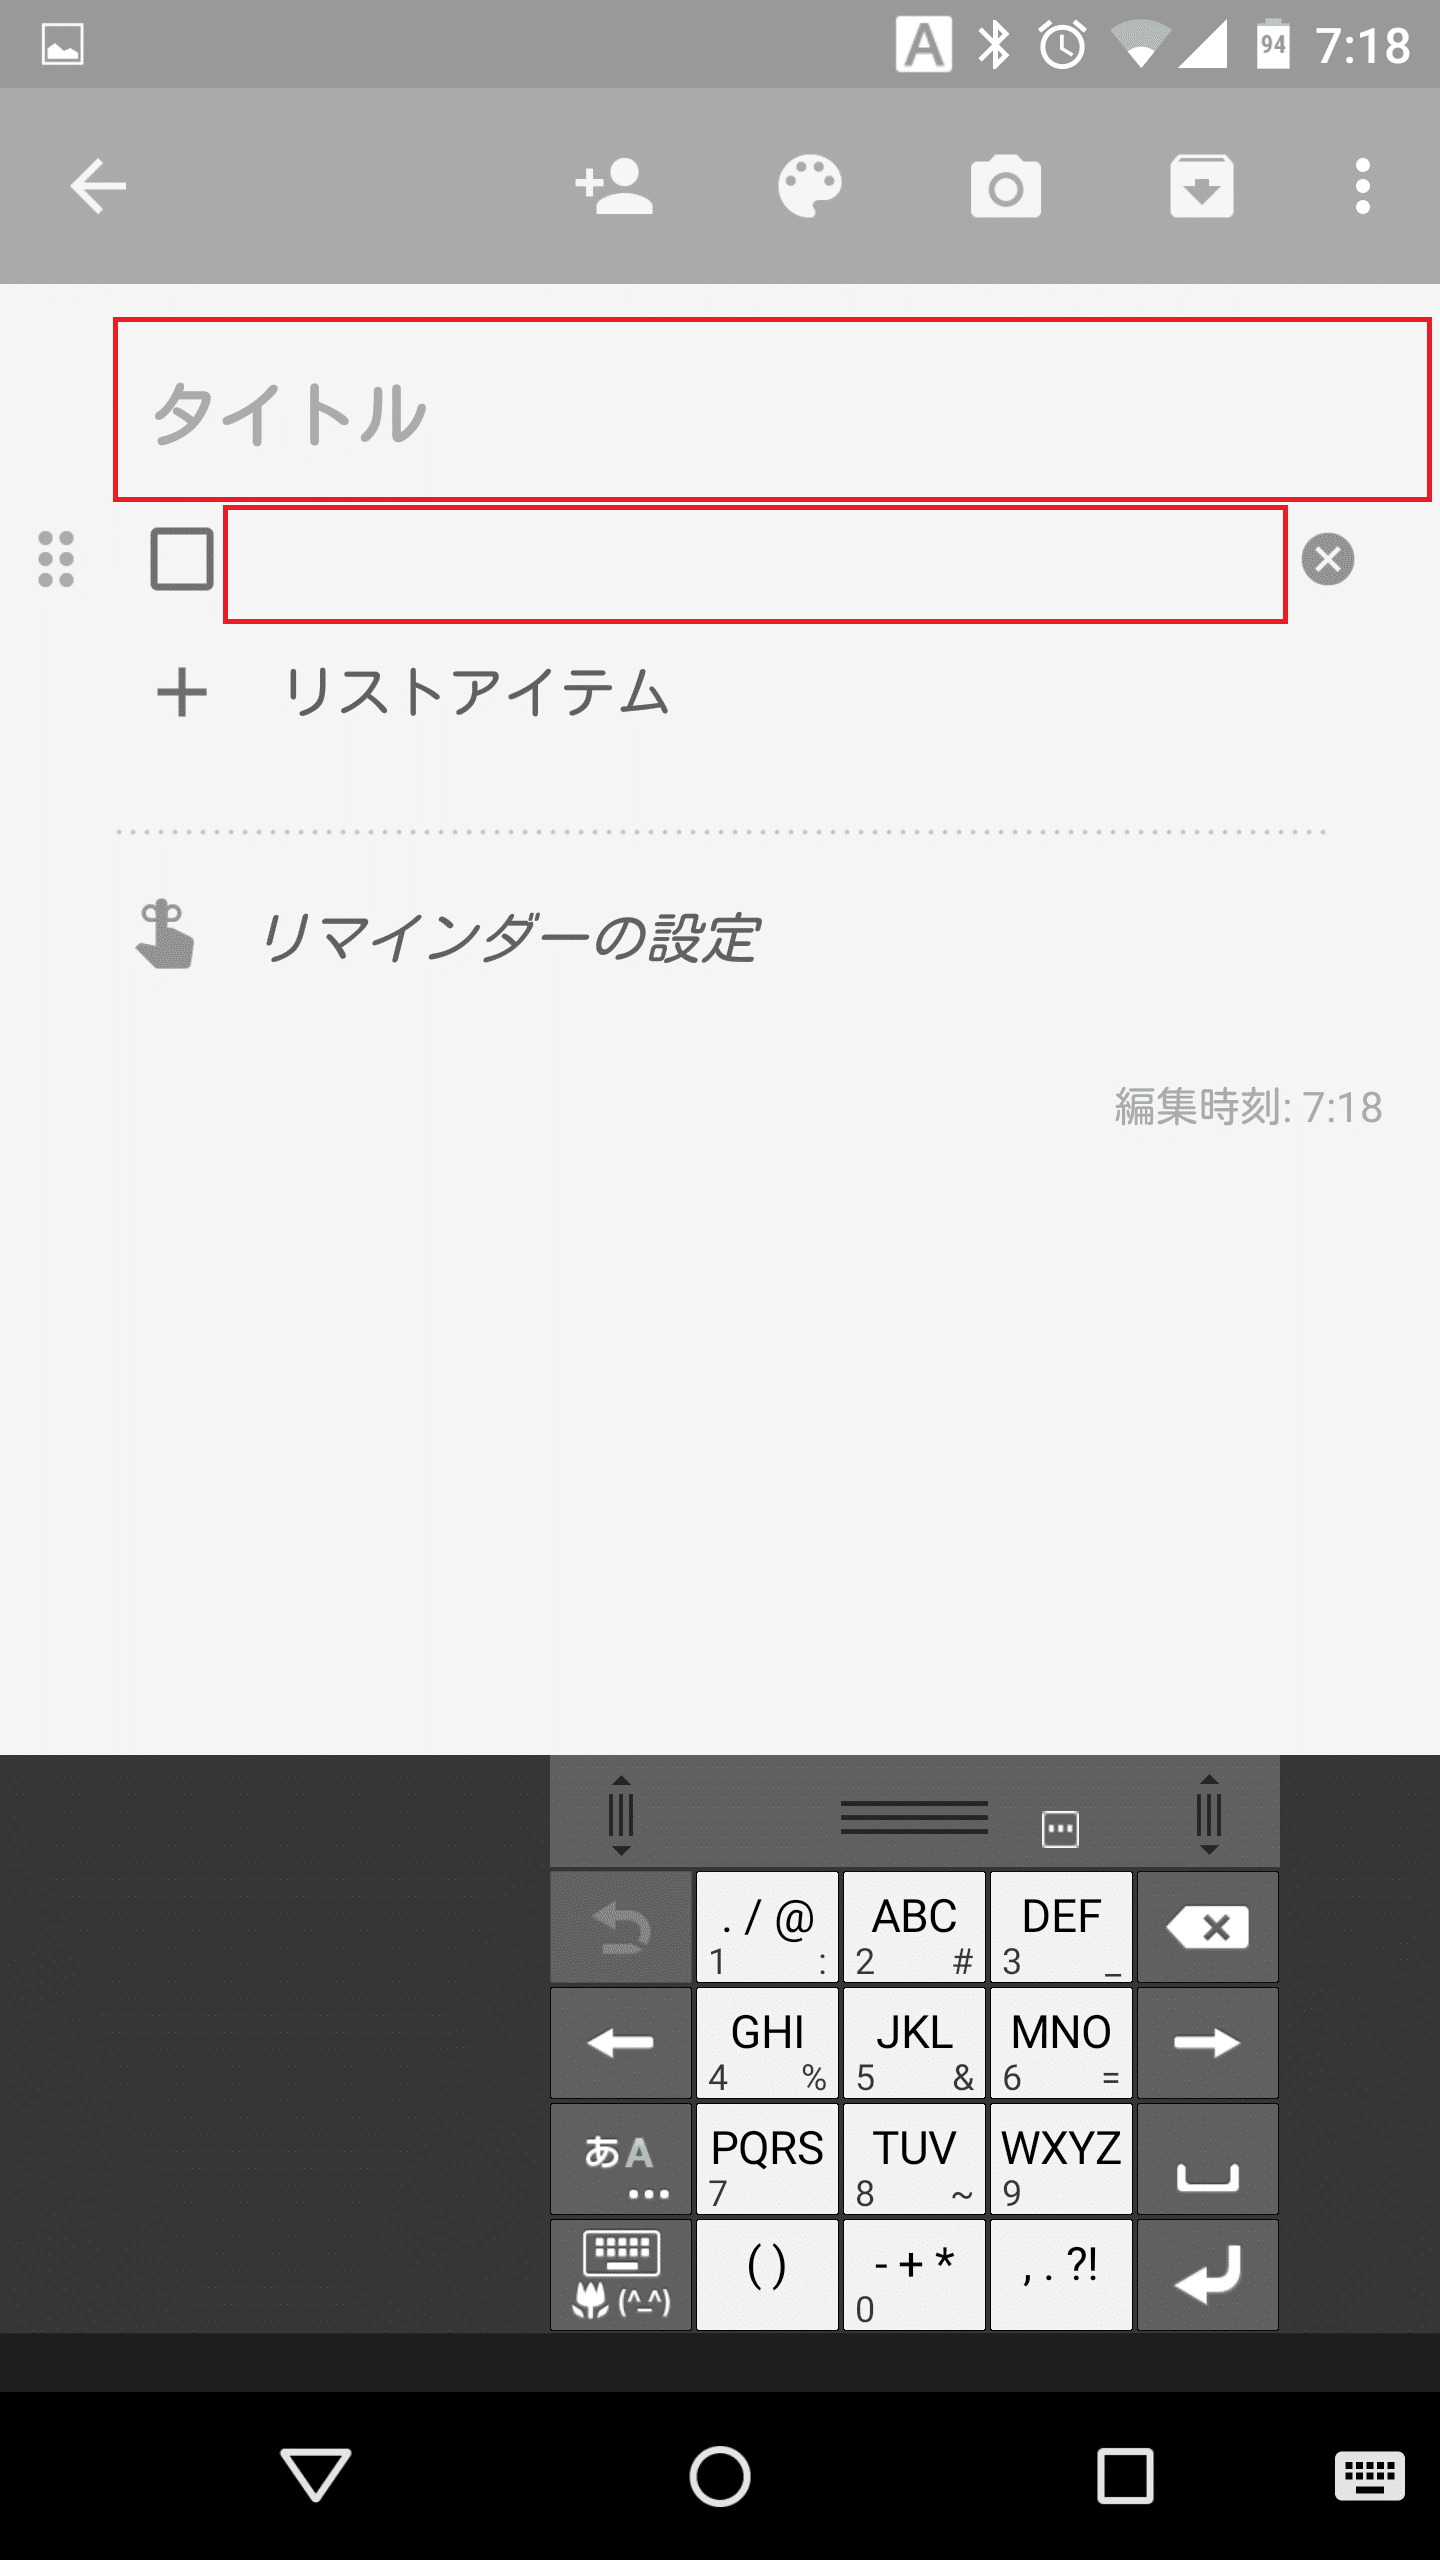
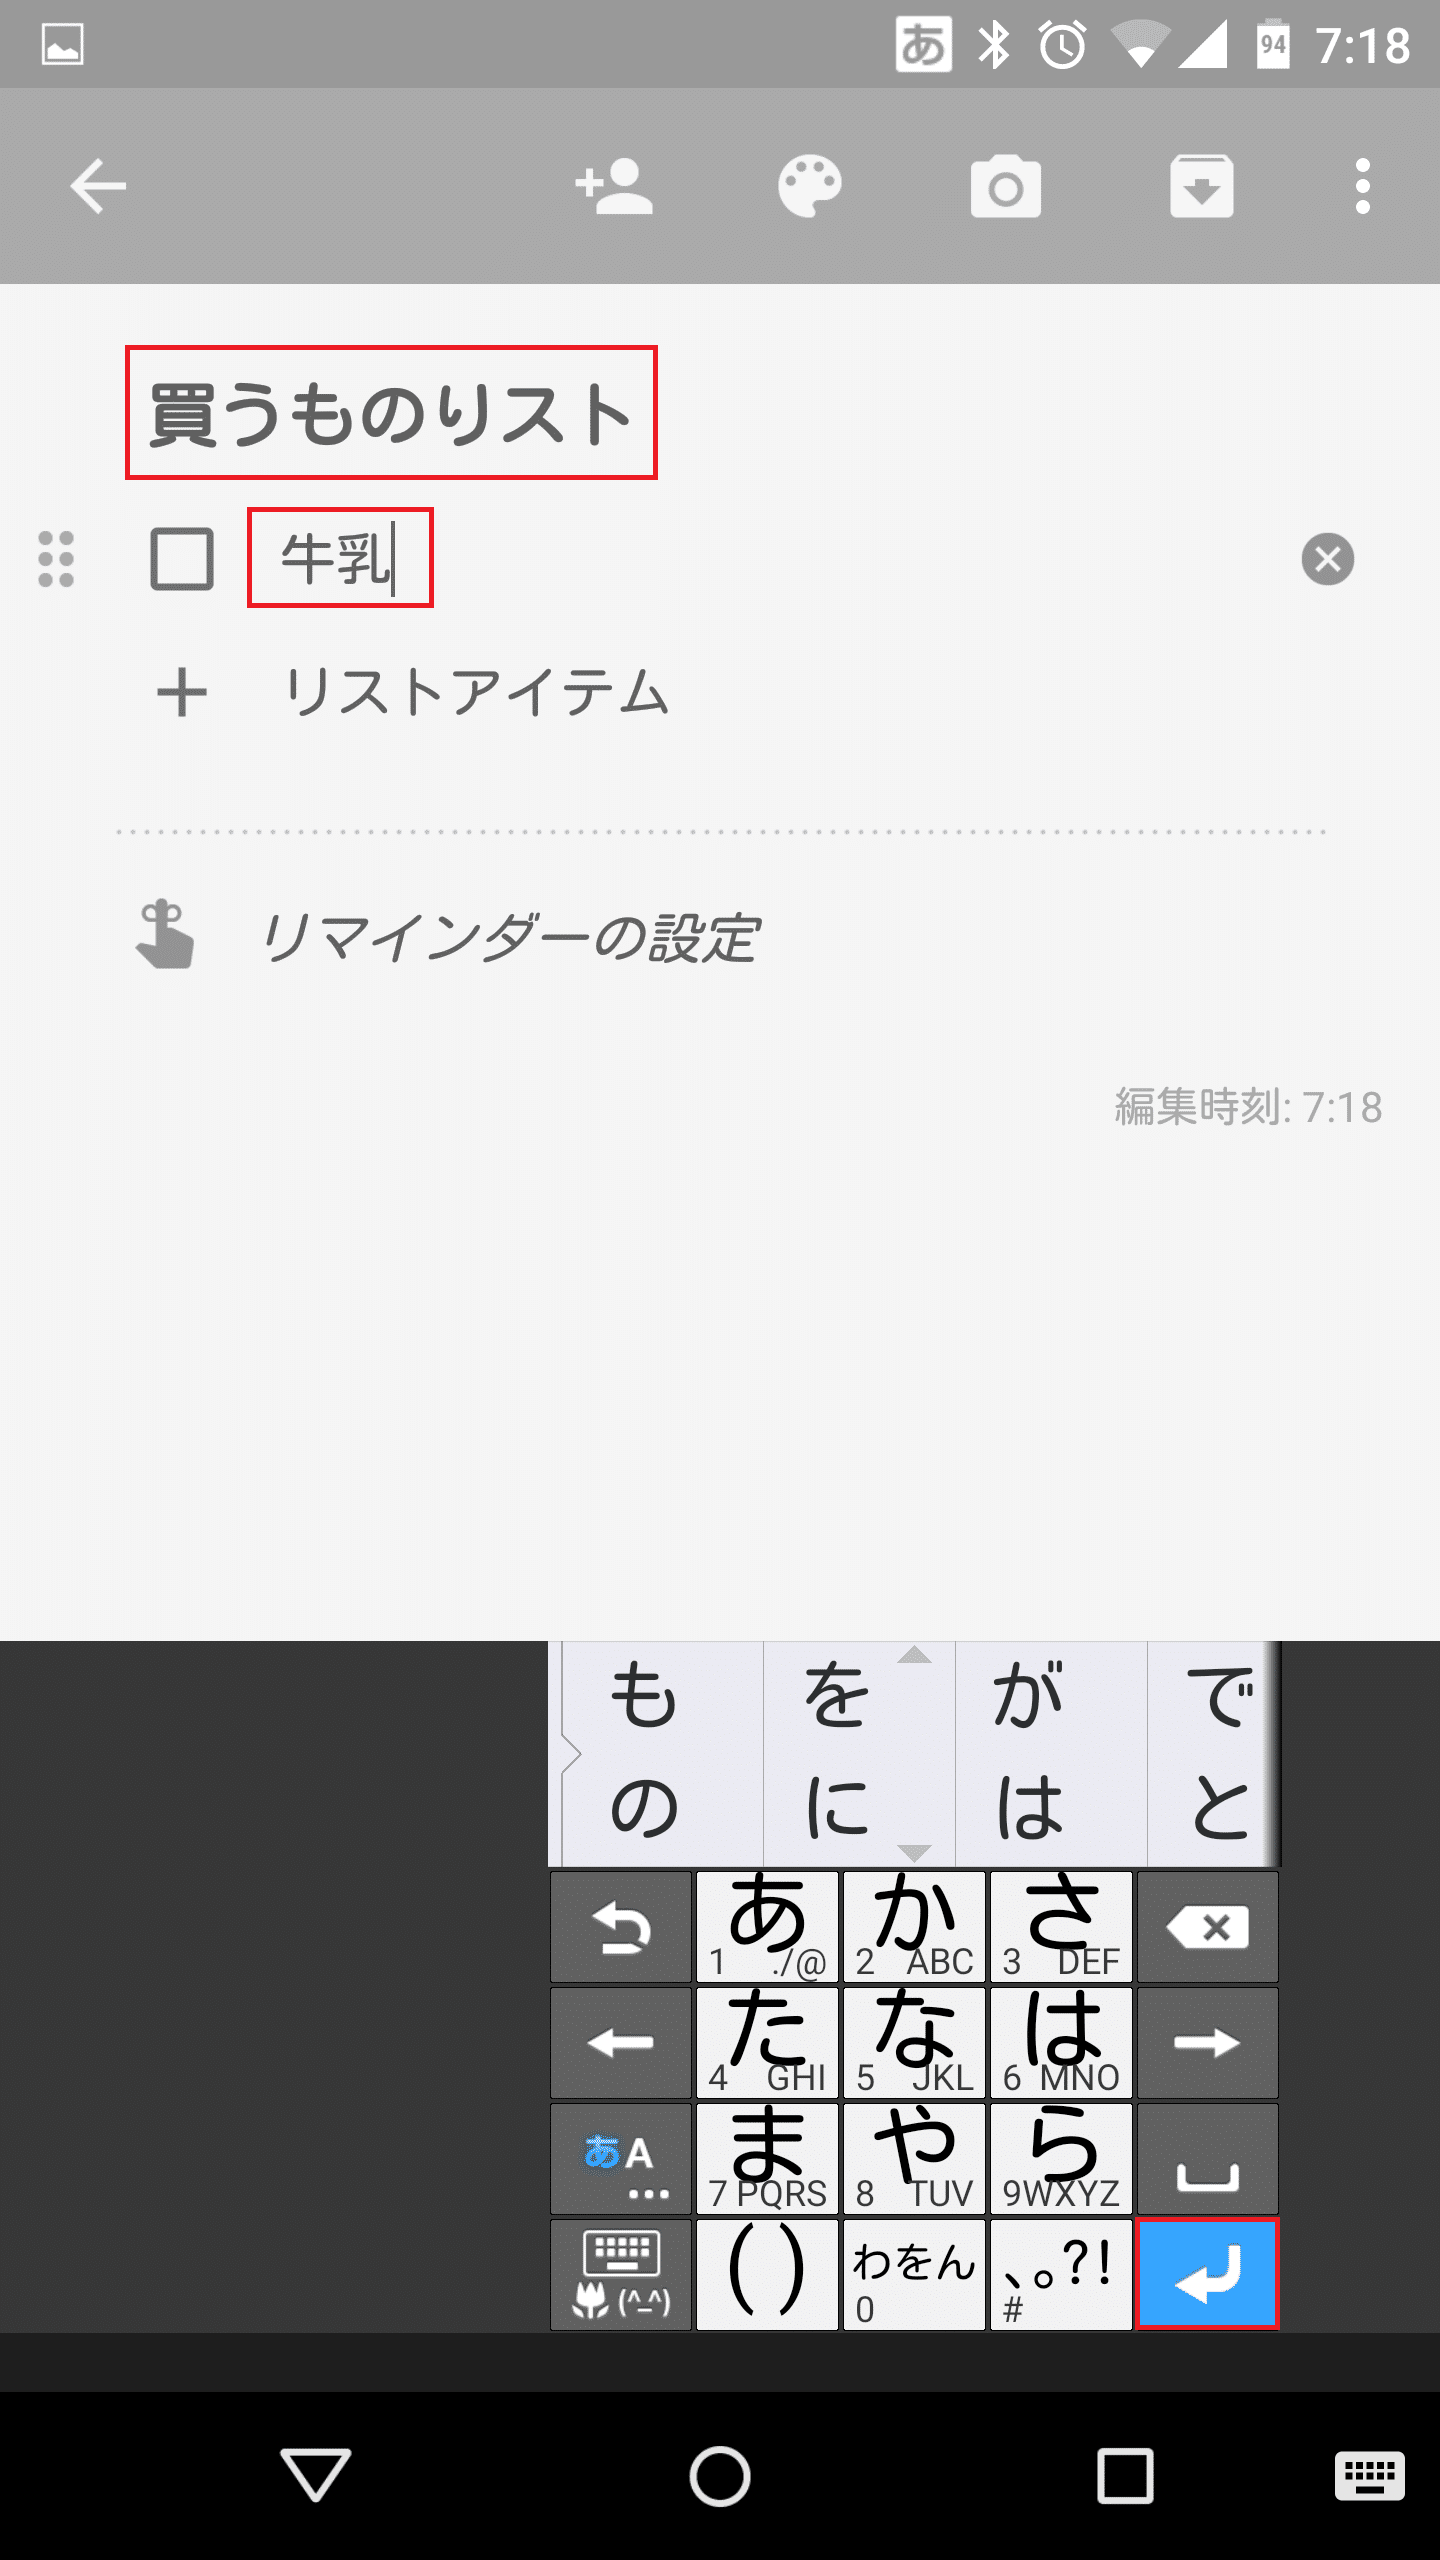
タイトルとメモを入力します。リストアイテムを増やしたいときは文字入力アプリのEnterキーを押すか「+ リストアイテム」をタップします。
リストアイテムのエリアが追加されました。

メモの入力が終わったら戻るキーを押します。

リストアイテム形式のメモが保存されました。

Google Keepのリストアイテム(チェックリスト)形式ToDoメモの使い方
ここからは、メモを作成する以外のGoogle Keepのリストアイテム(チェックリスト)形式ToDoメモの使い方を紹介します。Google Keepのリストアイテムのチェックボックスにチェックを入れる
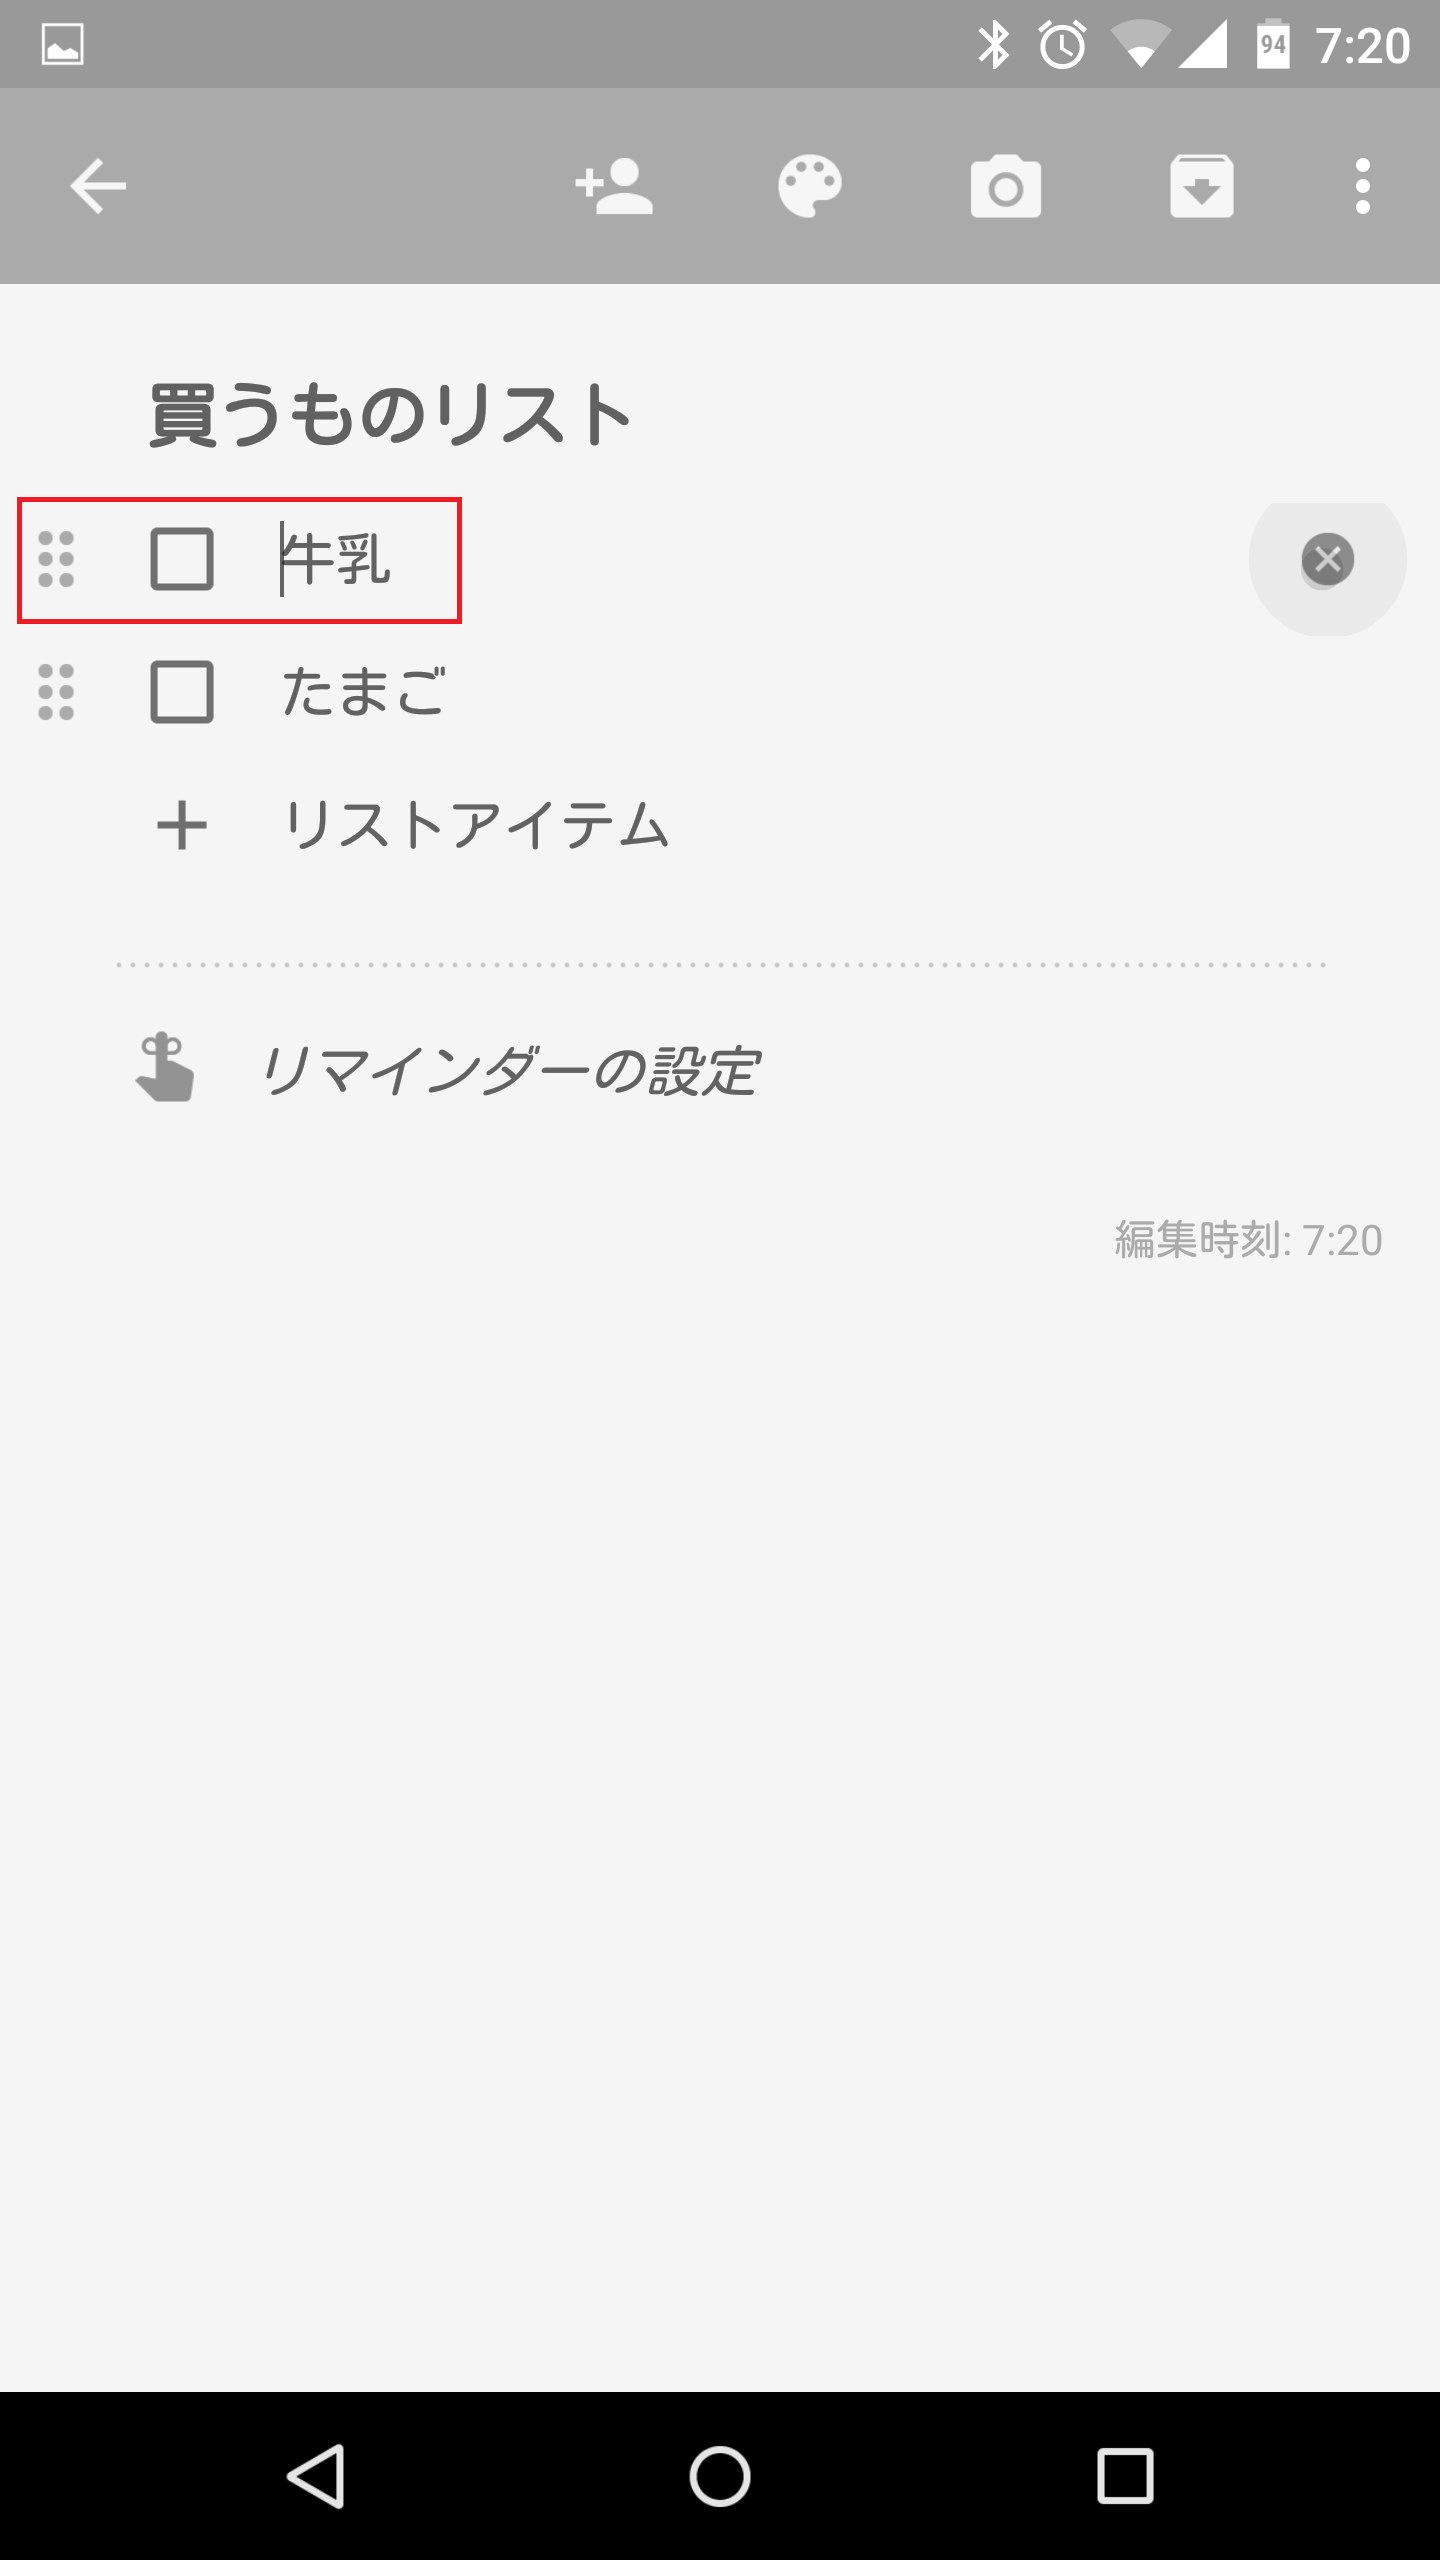
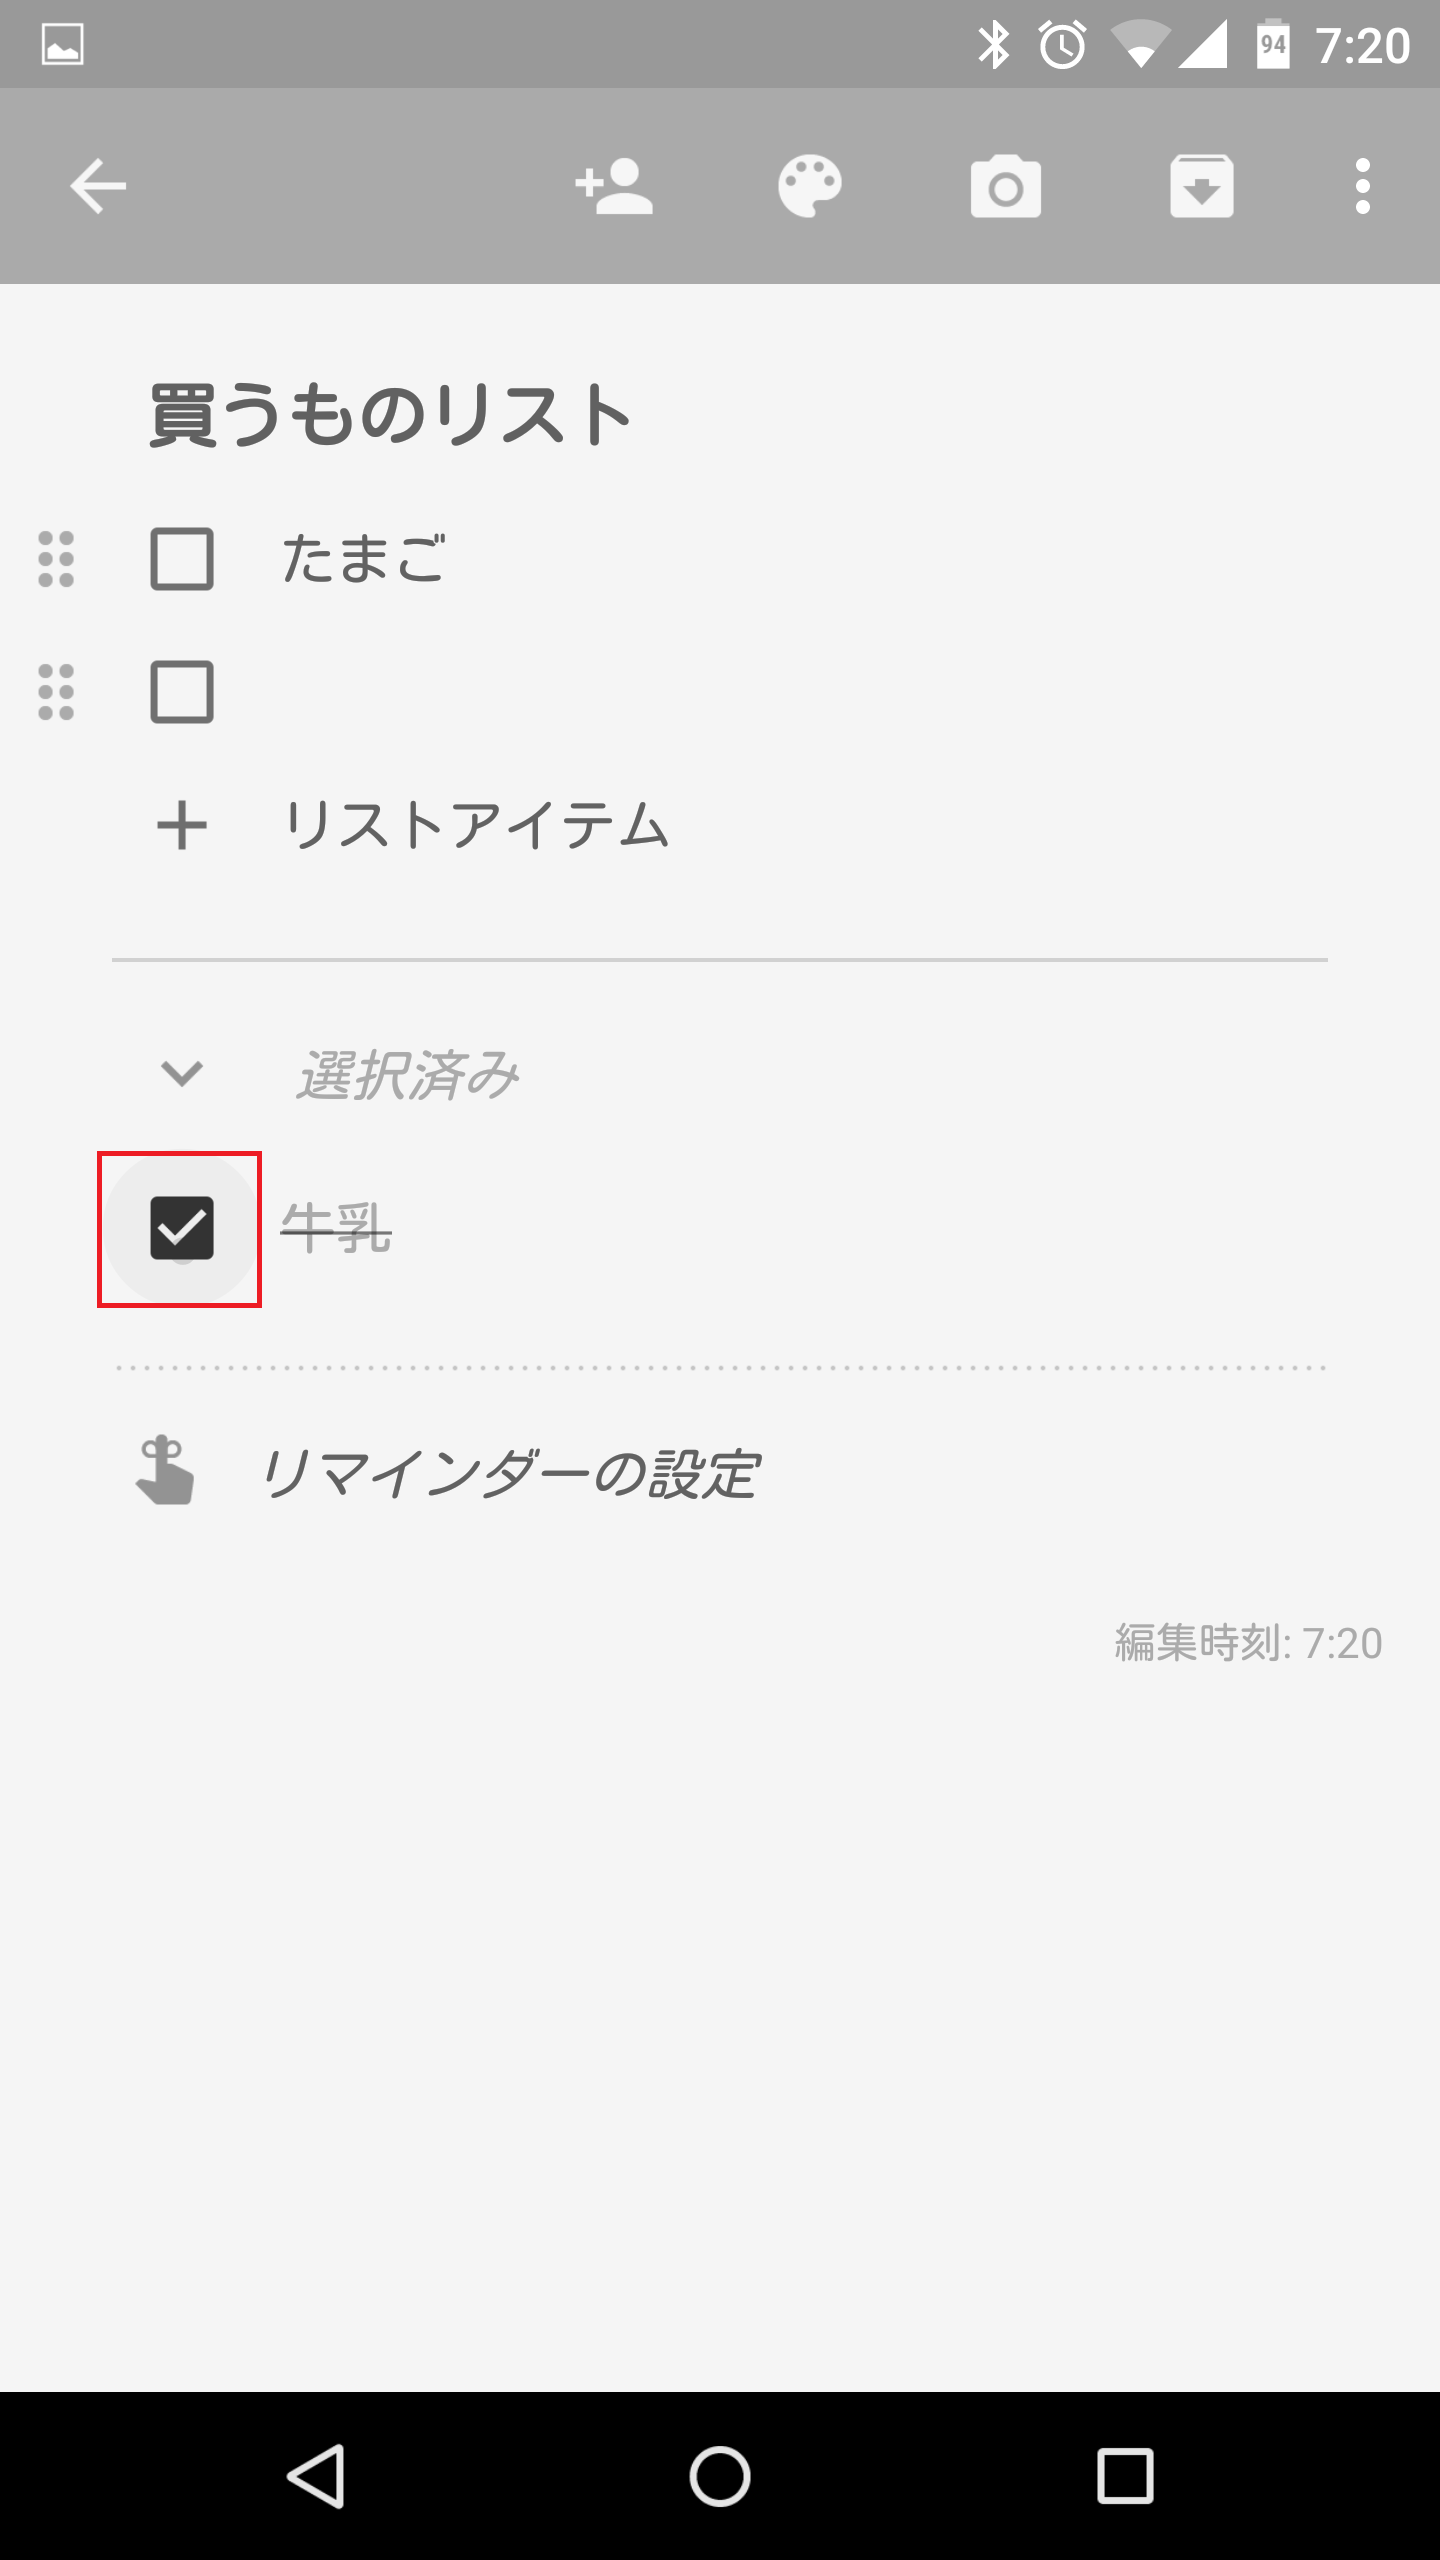
Google Keepのリストアイテムにはチェックボックスがありますが、このチェックボックスにチェックを入れることで完了を意味する使い方ができます。「牛乳」にチェックを入れてみます。

取り消し線の入った「牛乳」が「選択済み」の項目に移動しました。
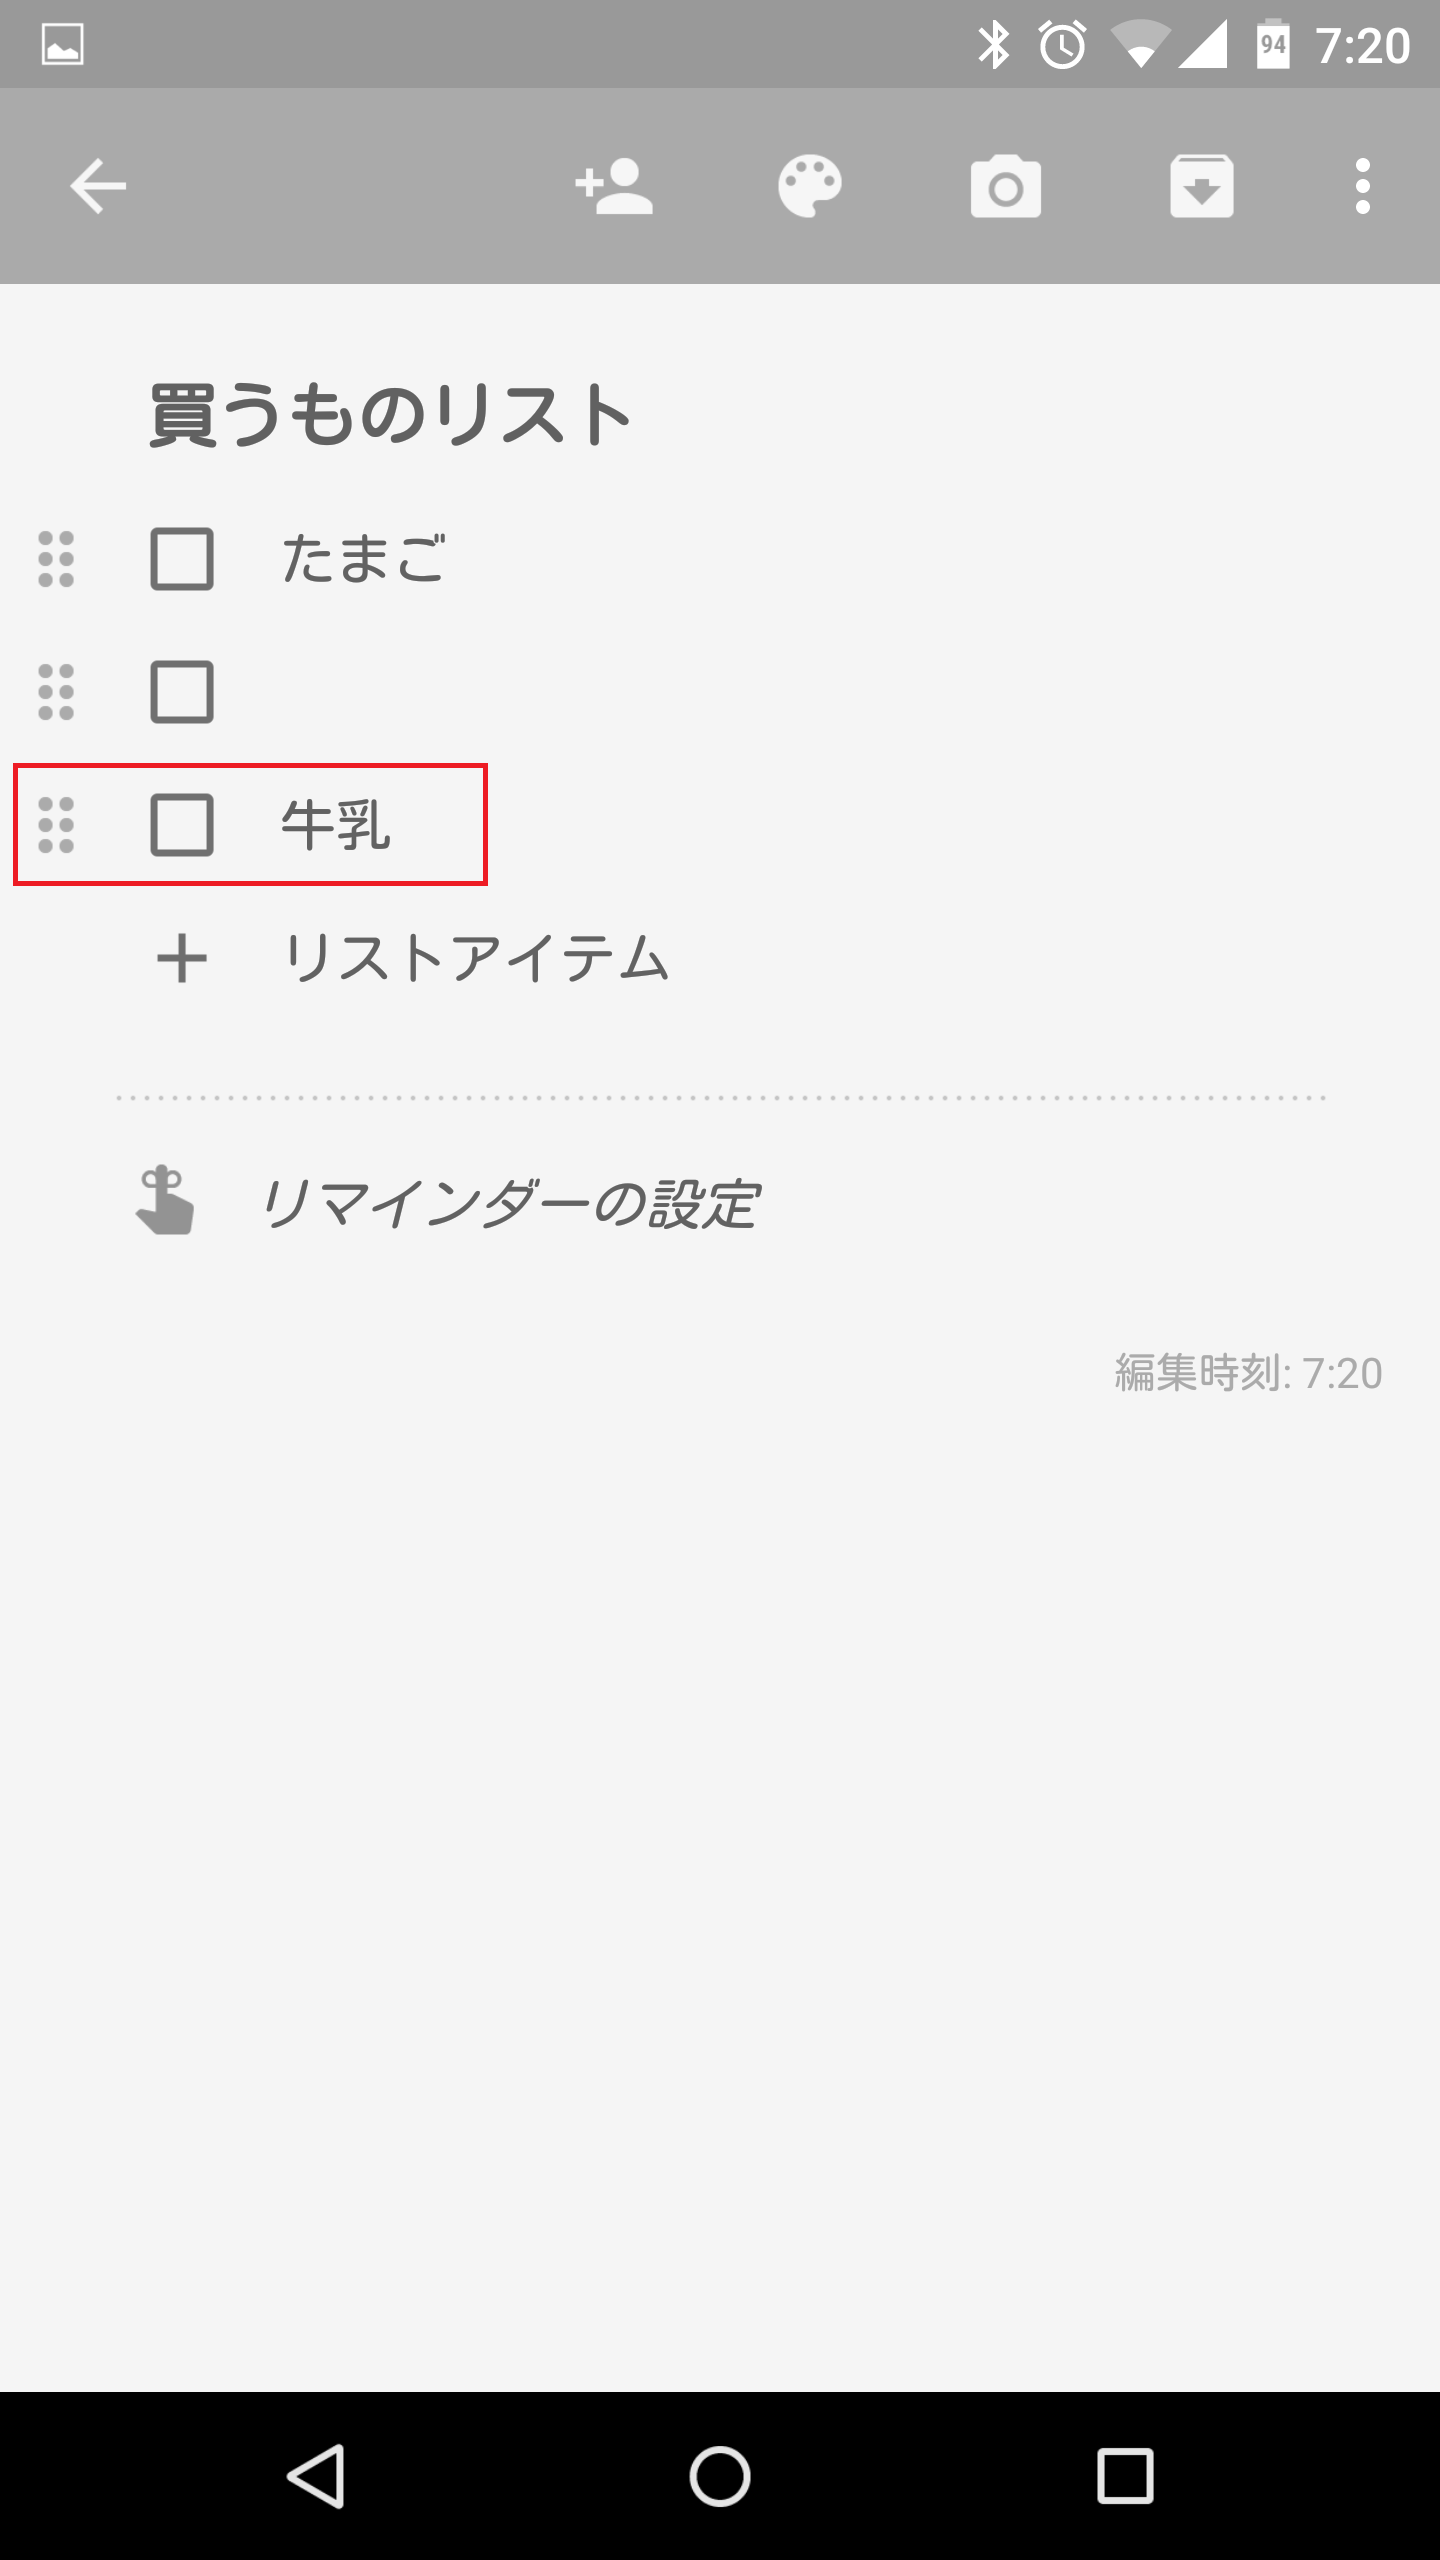
チェックが入ったチェックボックスを再度タップすると・・・
ToDoリストに戻ってきます。
Google KeepのリストアイテムのToDoリストを並べ替える
Google Keepでは、リストアイテムのToDOリストを並べ替えることができます。左側の赤枠で囲ったアイコンをタップしたまま上にもっていきます。

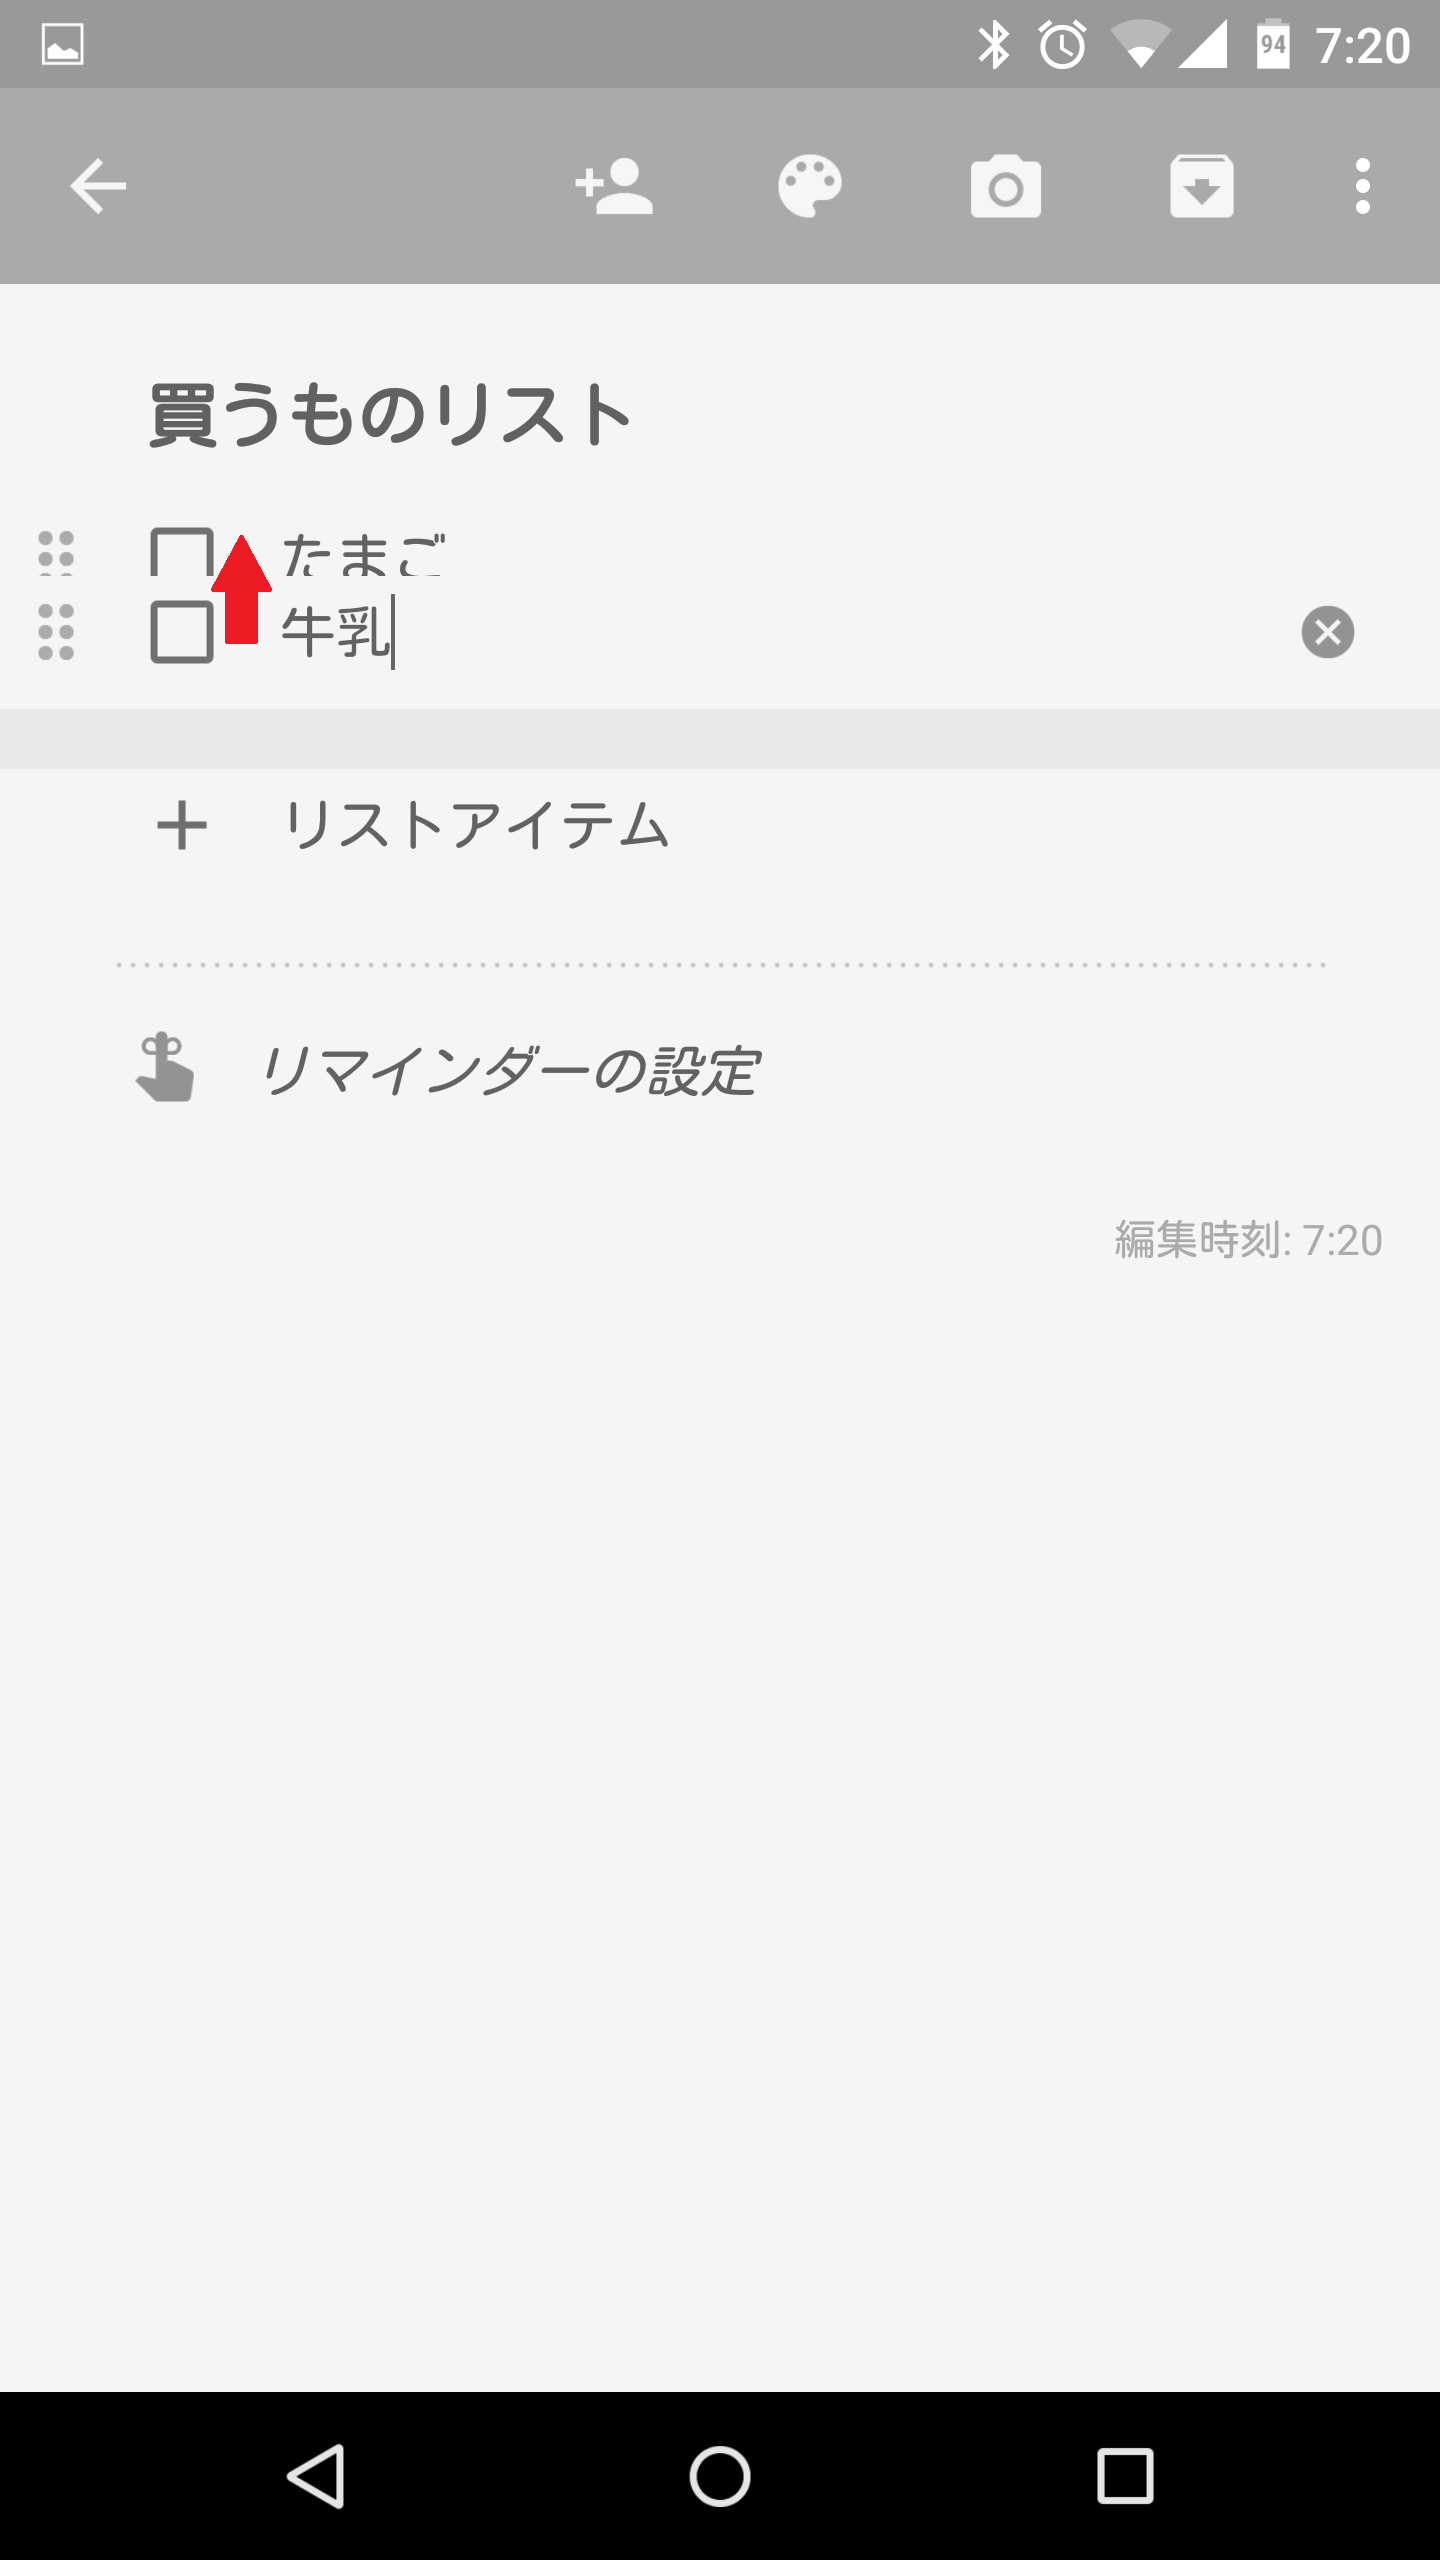
これでToDoリストを並べ替えることができます。
Google KeepのリストアイテムのToDoリストを削除する
Google Keepでは、いらなくなったToDOリストを削除することもできます。削除したいリストの右側にある「x」アイコンをタップします。
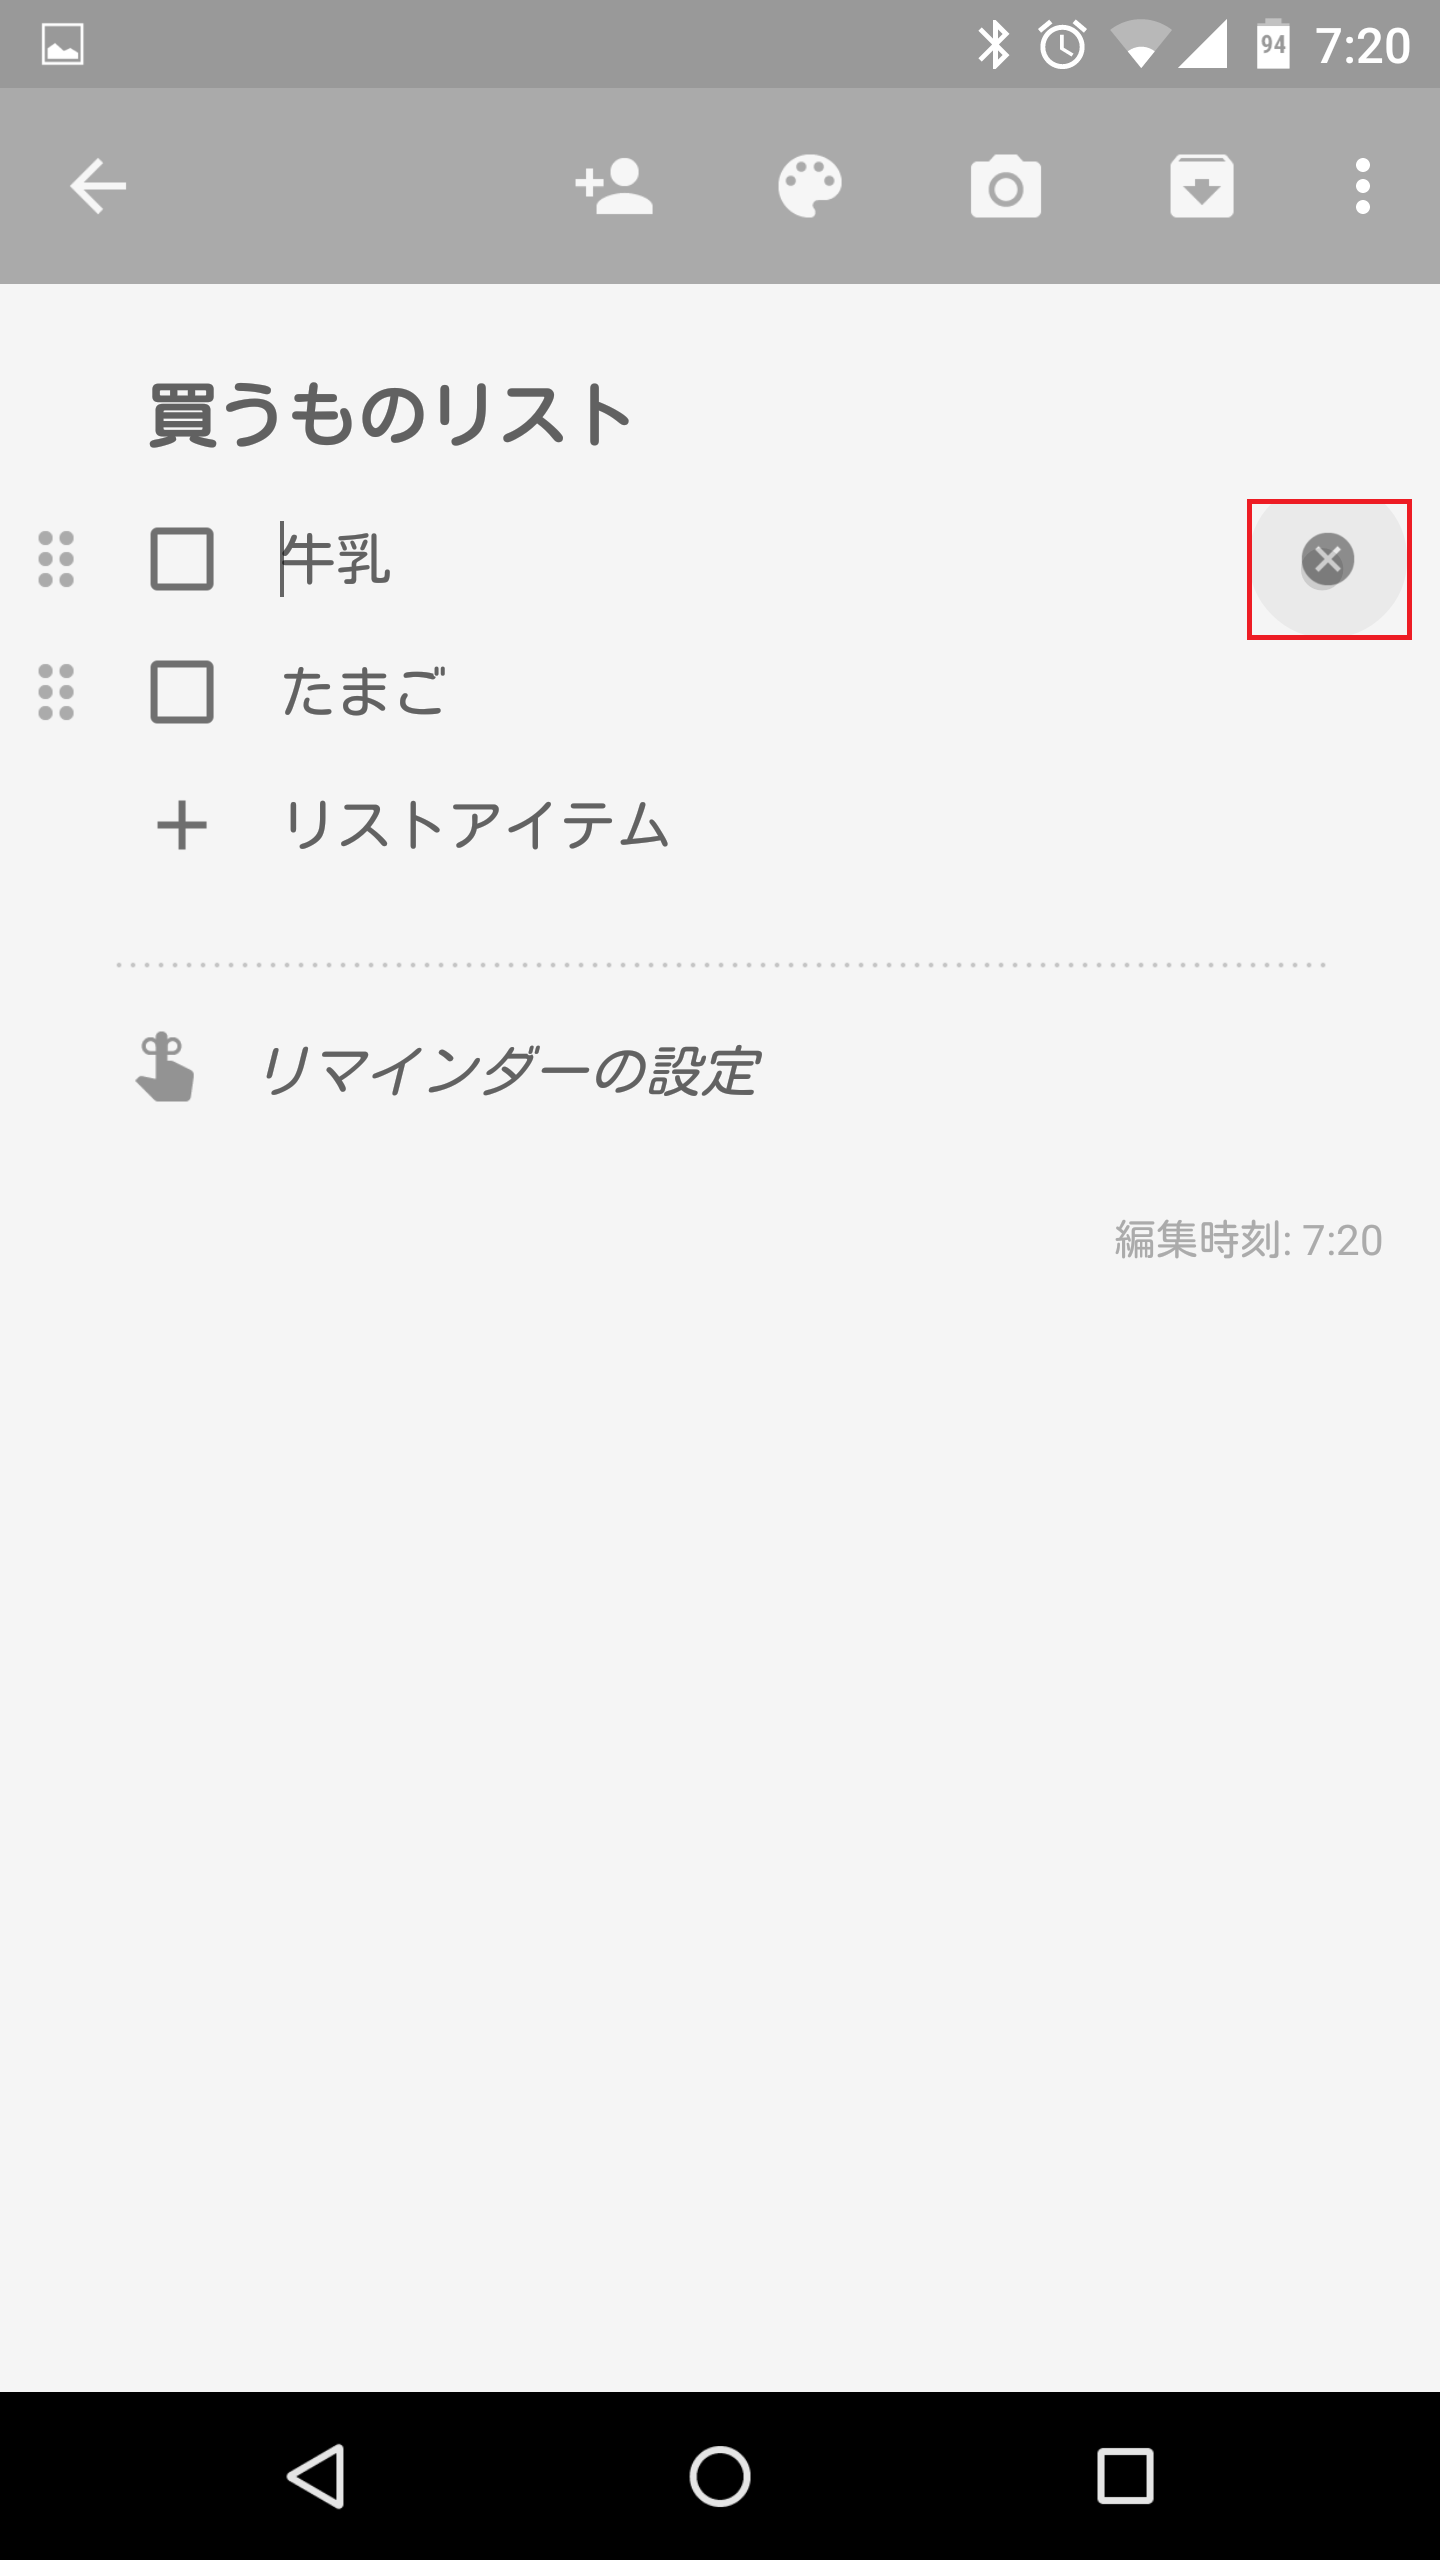
リストから消えました。

Google Keepのリストアイテム(チェックリスト)形式ToDoメモの設定
Google Keepのリストアイテム(チェックリスト)は、レイアウトを変更できる設定などがあります。以下に設定を紹介しておきます。
「新しいリストアイテムの追加」の位置を変更する
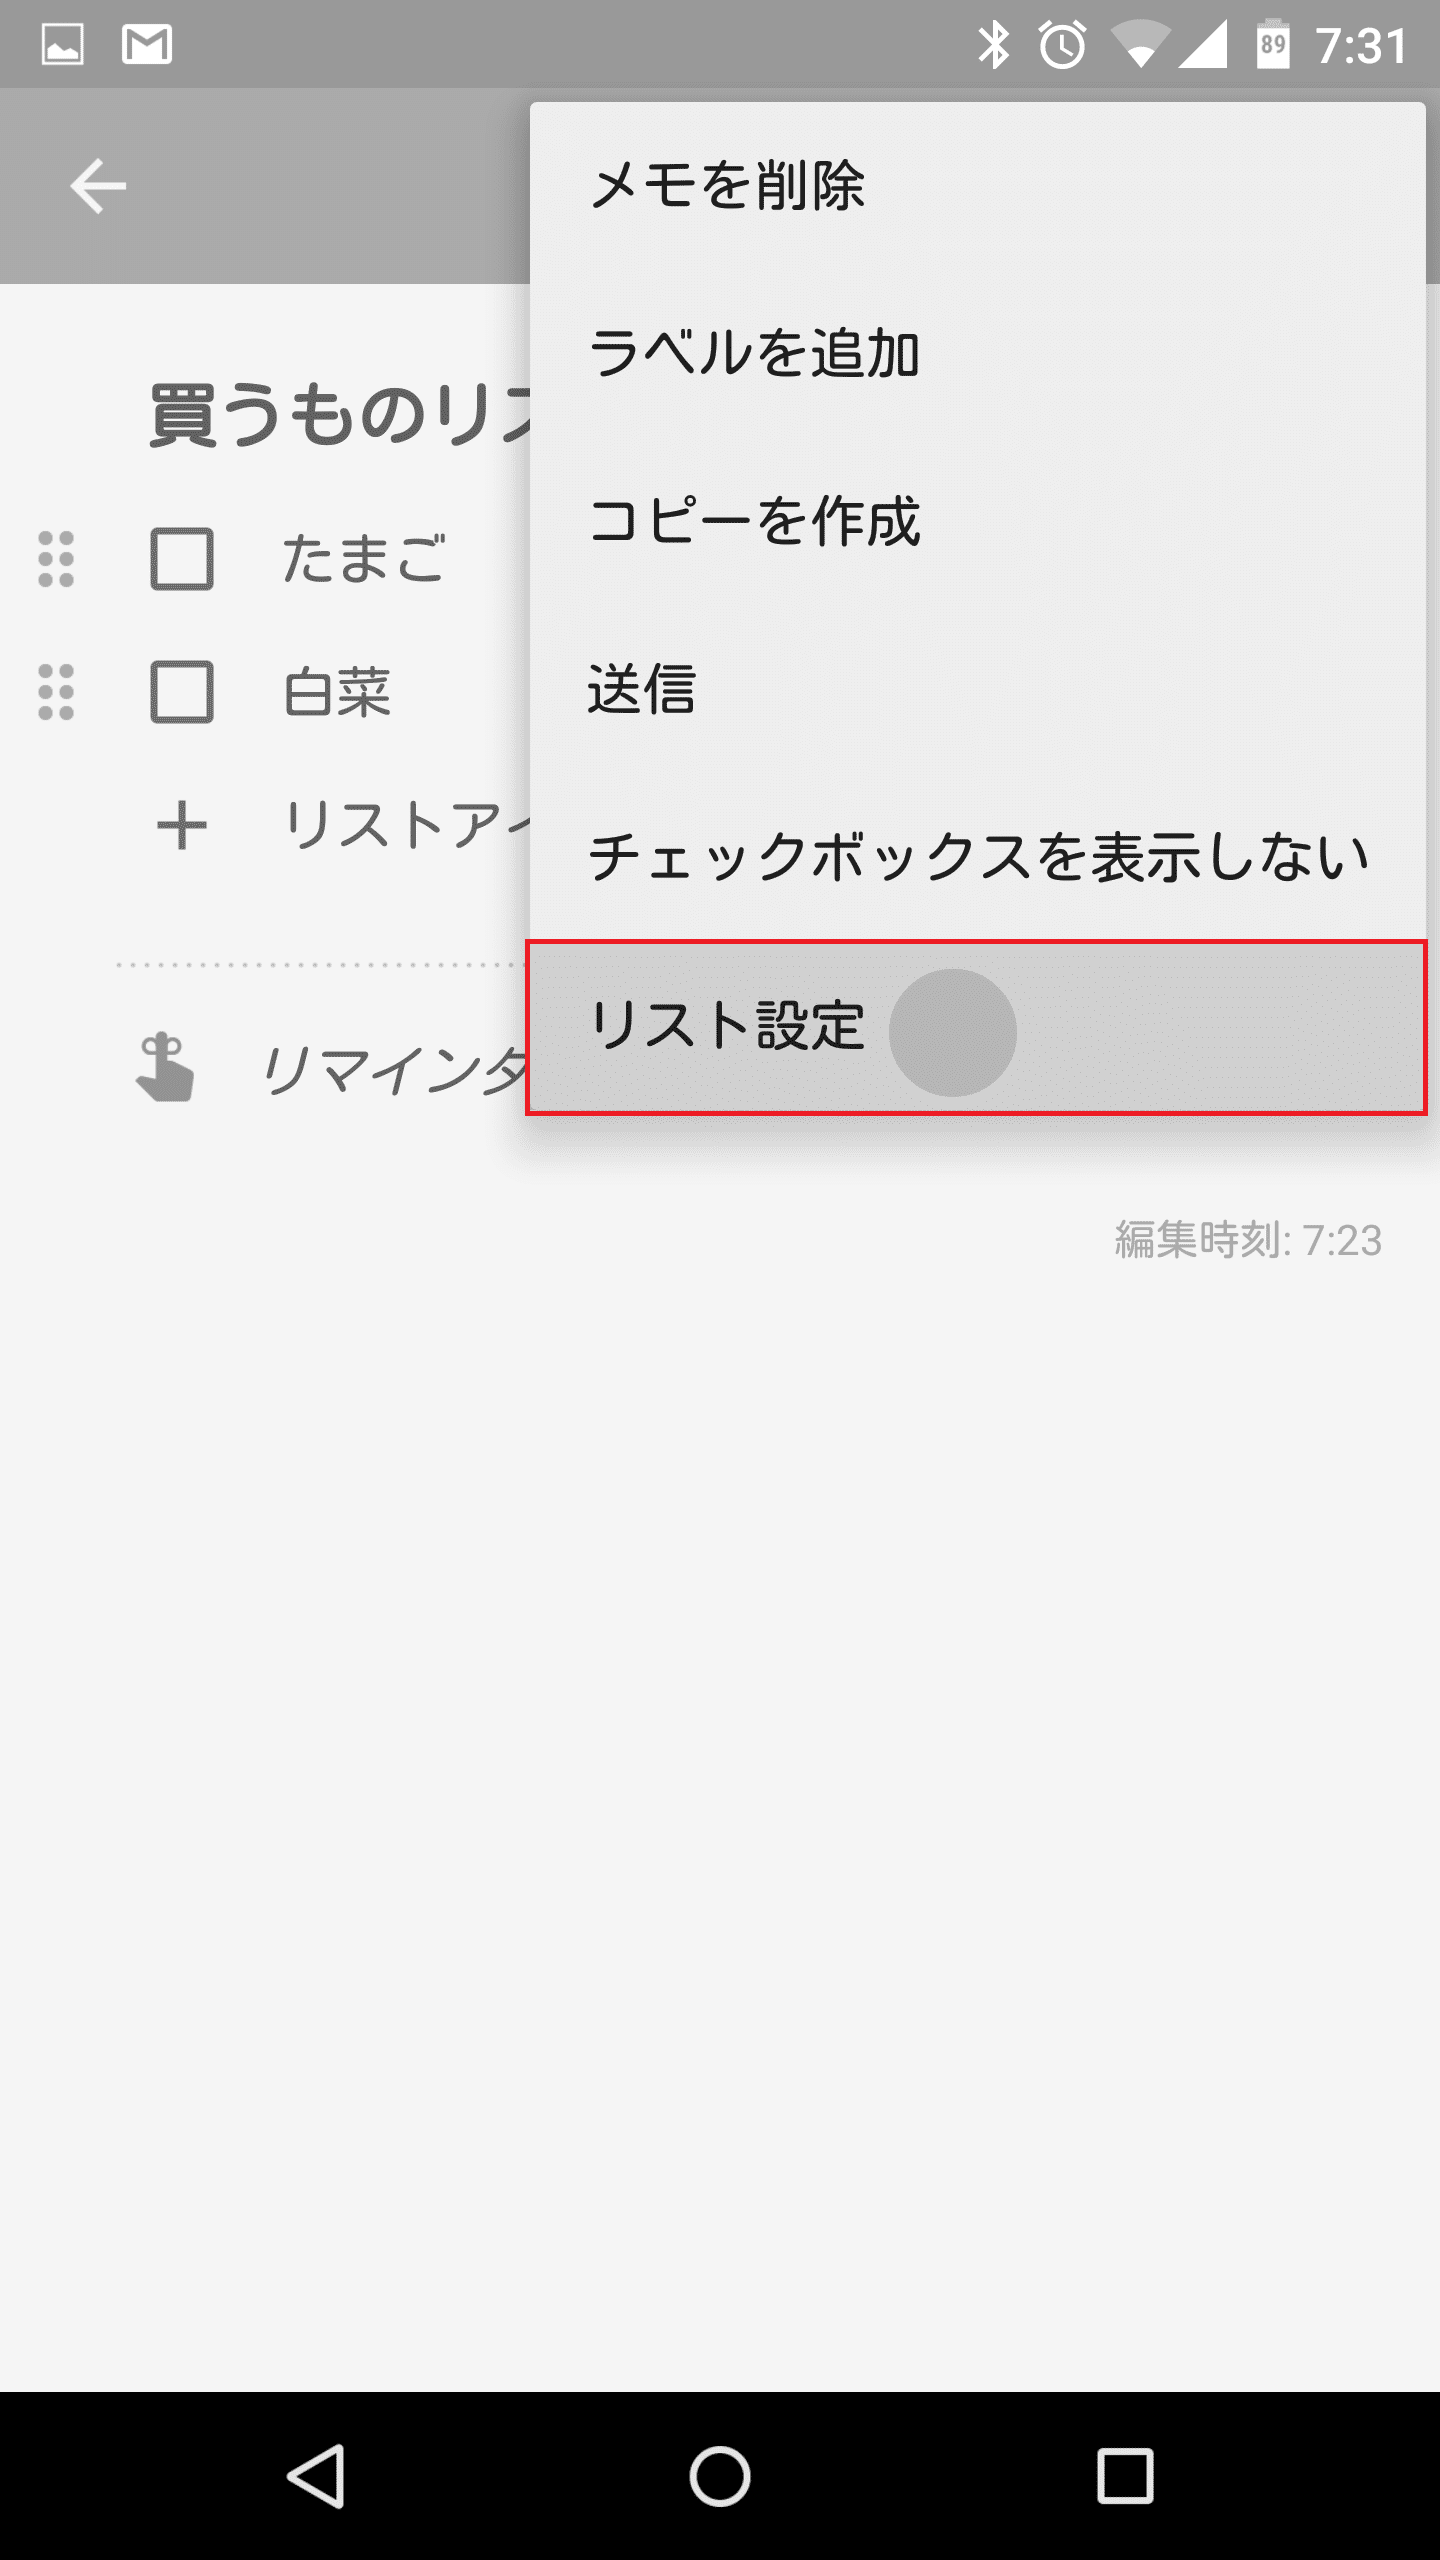
Google Keepでは、リストアイテムを追加する「新しいリストアイテムの追加」の位置を変更することができます。リストアイテムを開いた状態で右上のメニューキーをタップします。

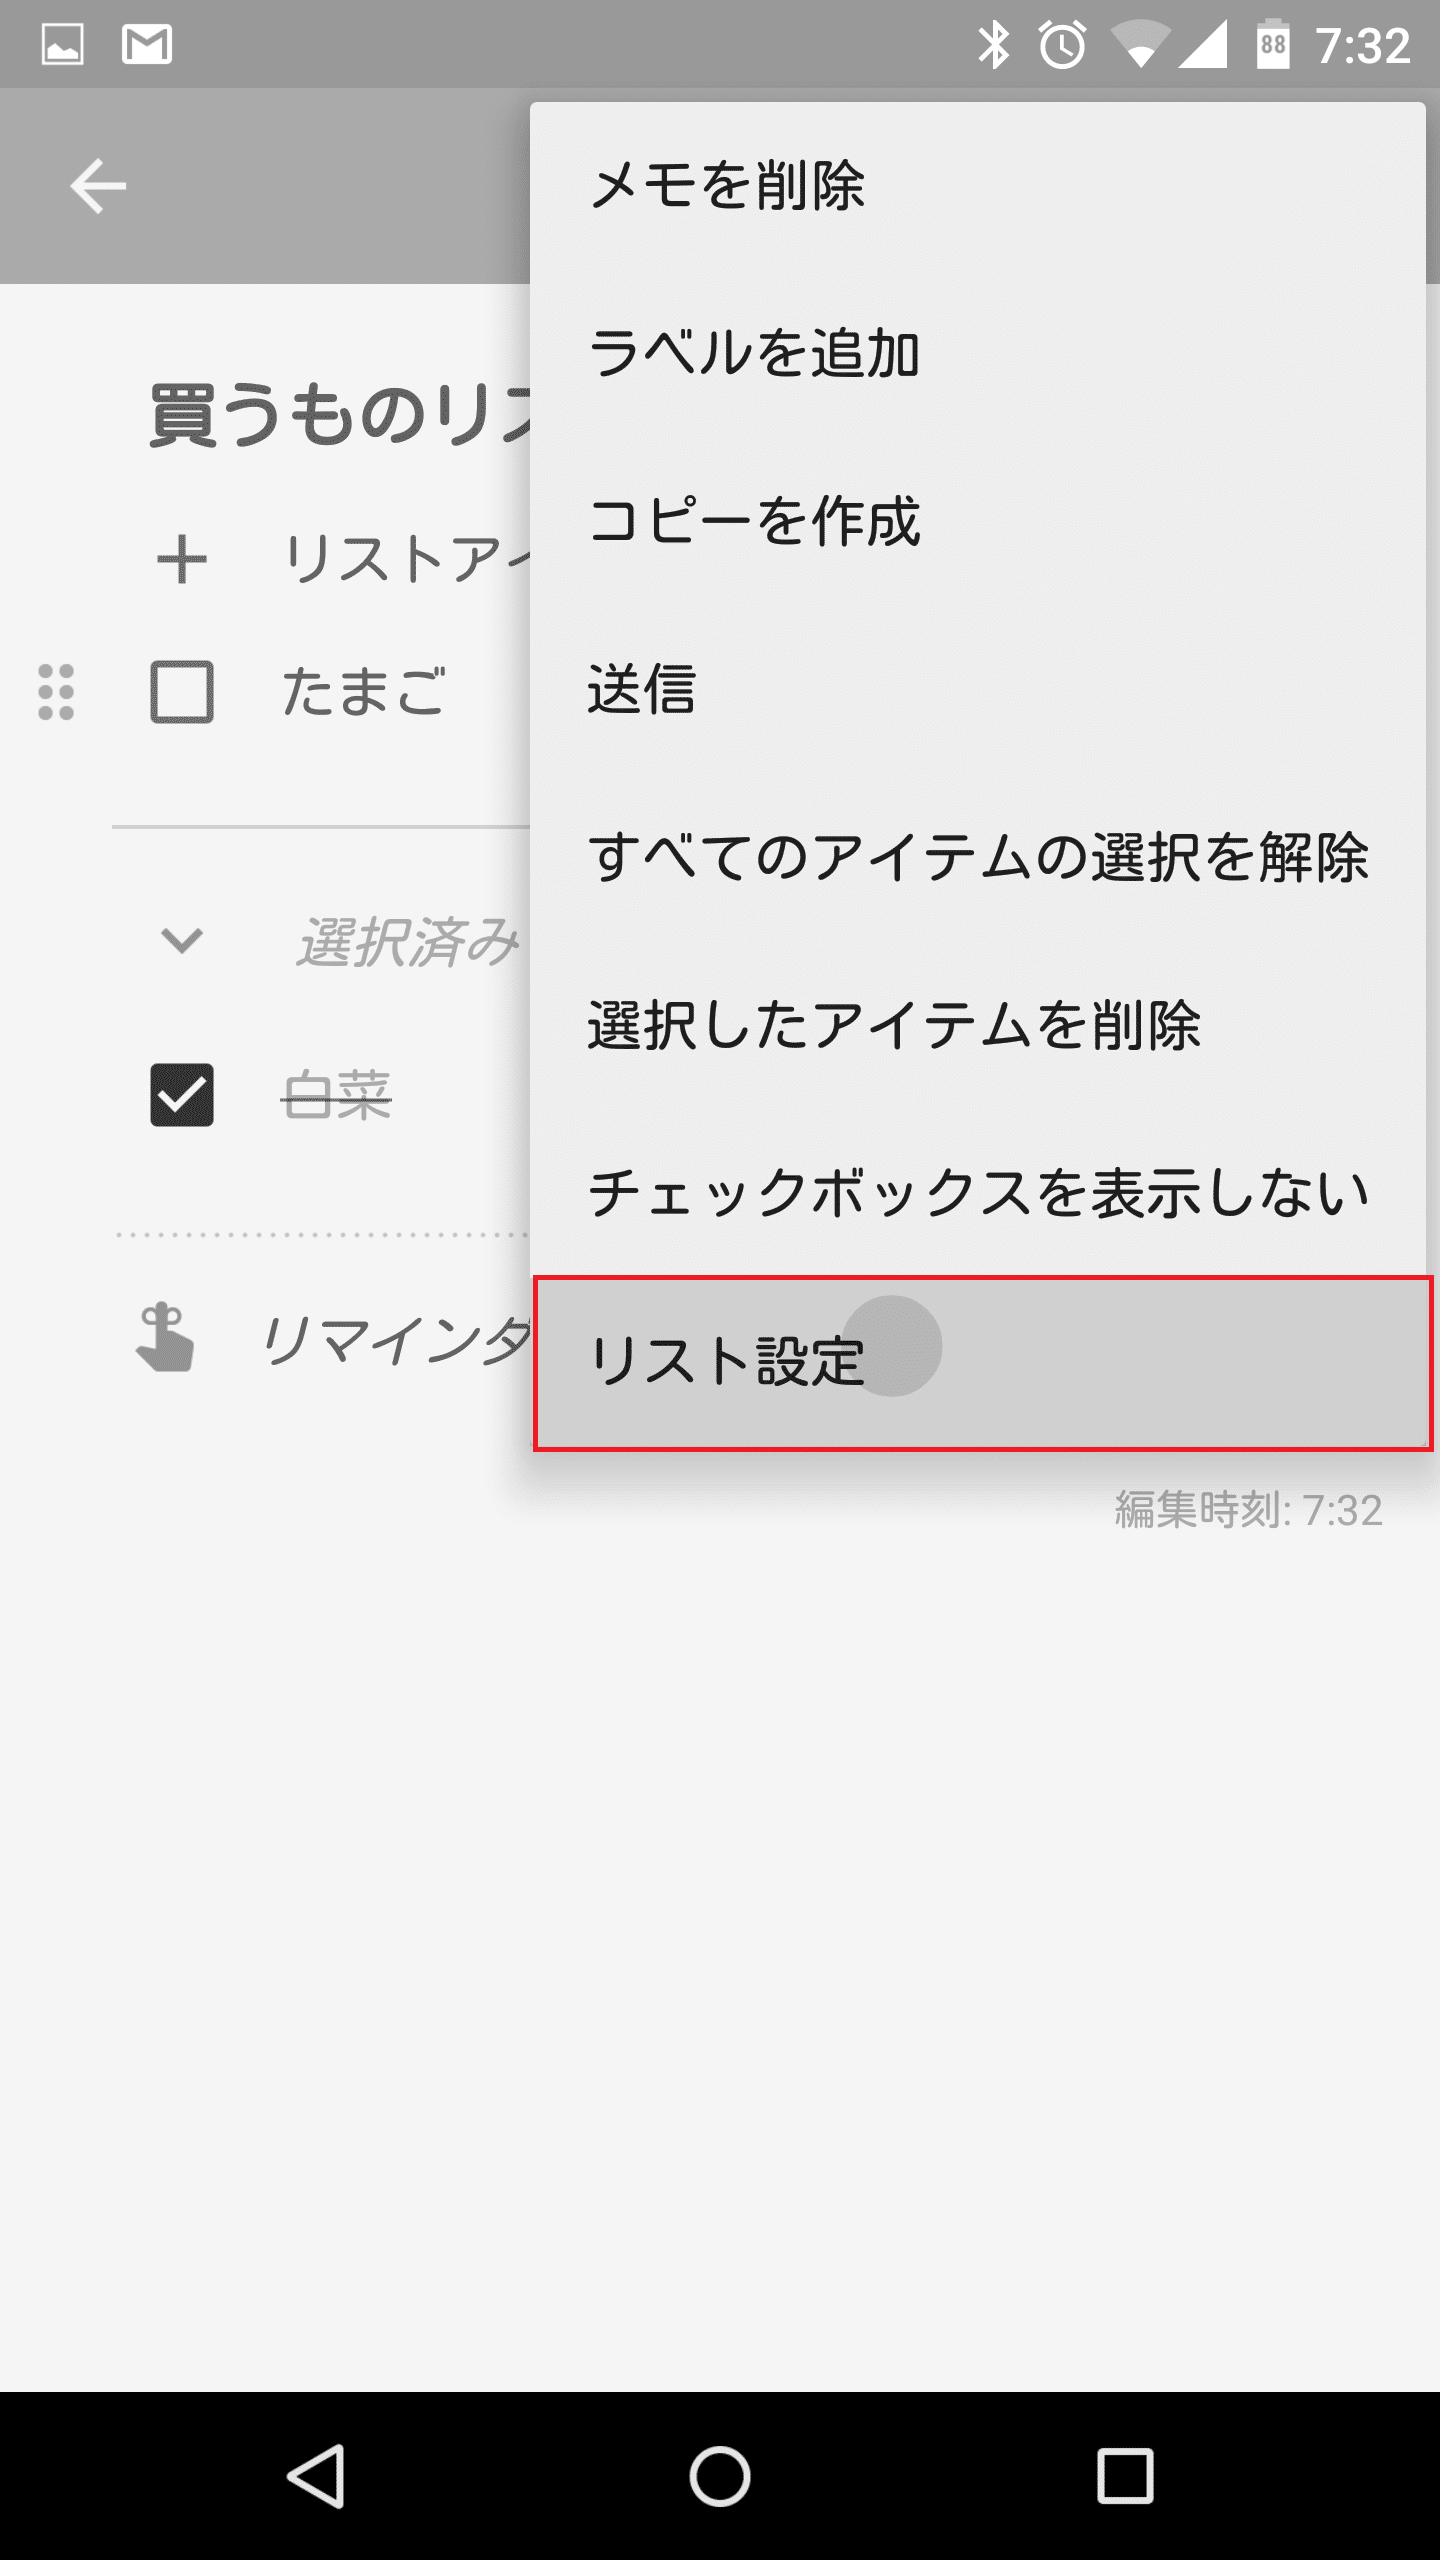
「リスト設定」をタップします。
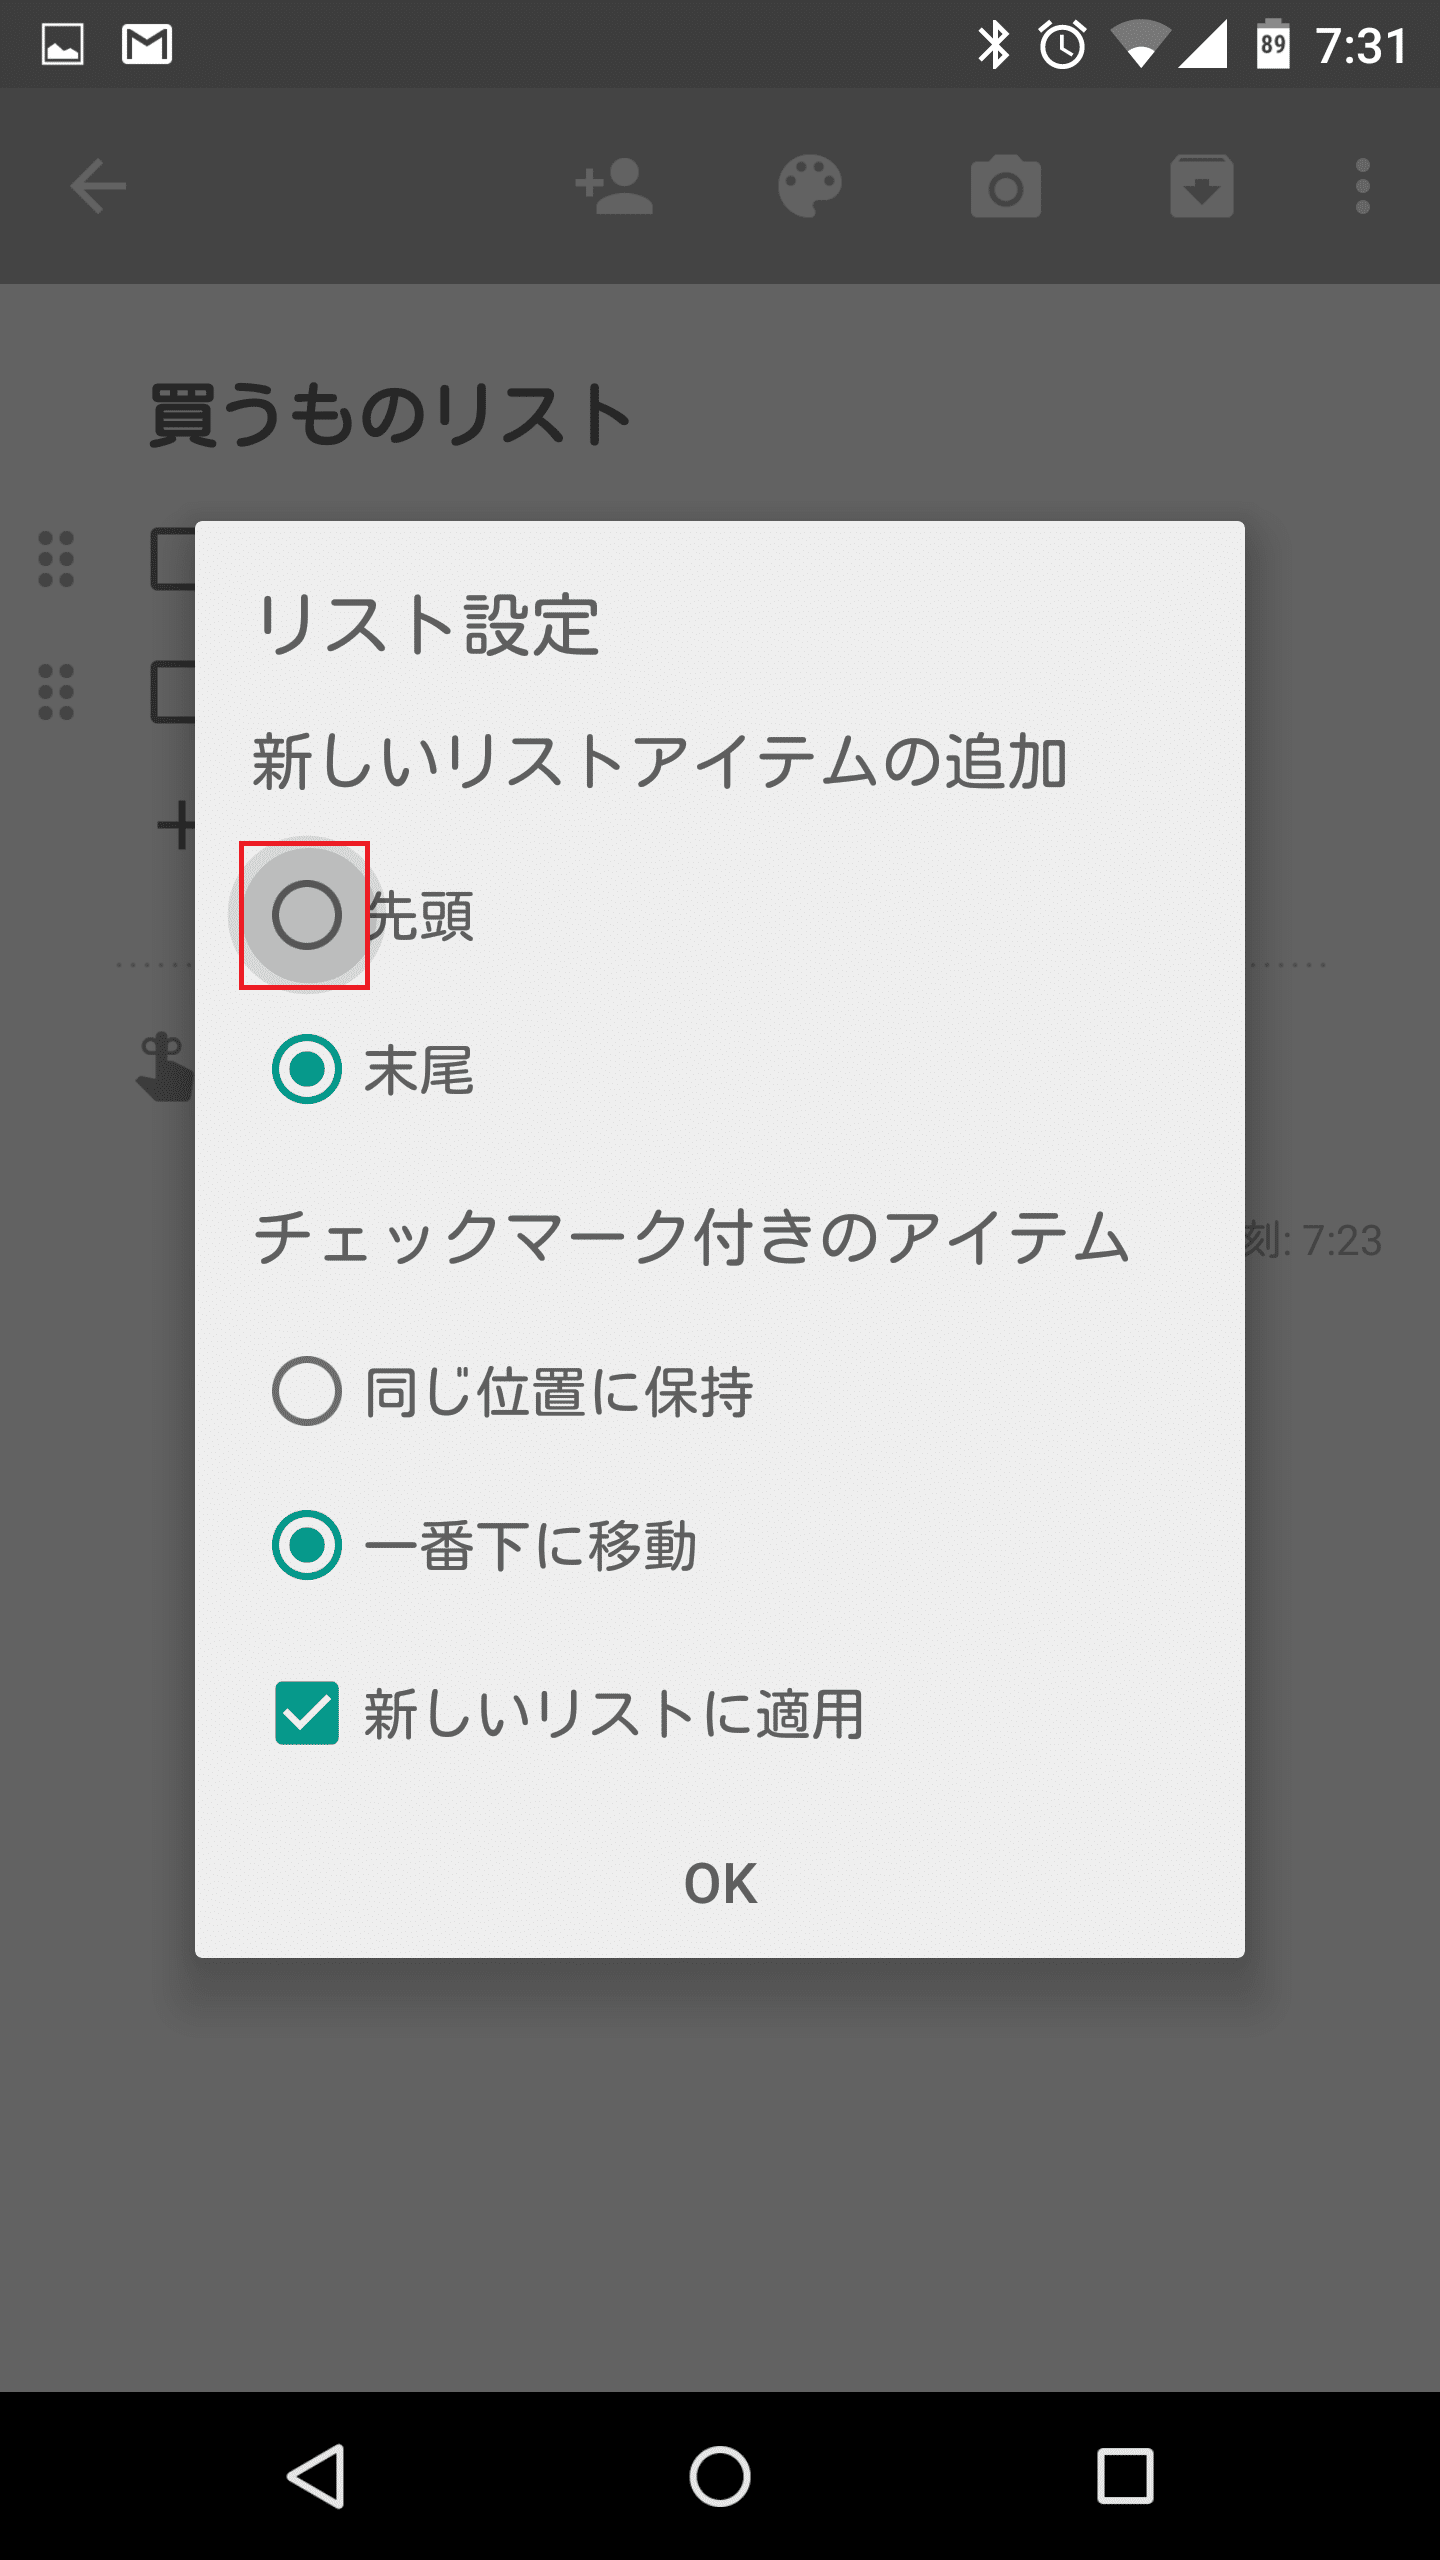
「新しいリストアイテムの追加」の項目の「先頭」にチェックを入れます。
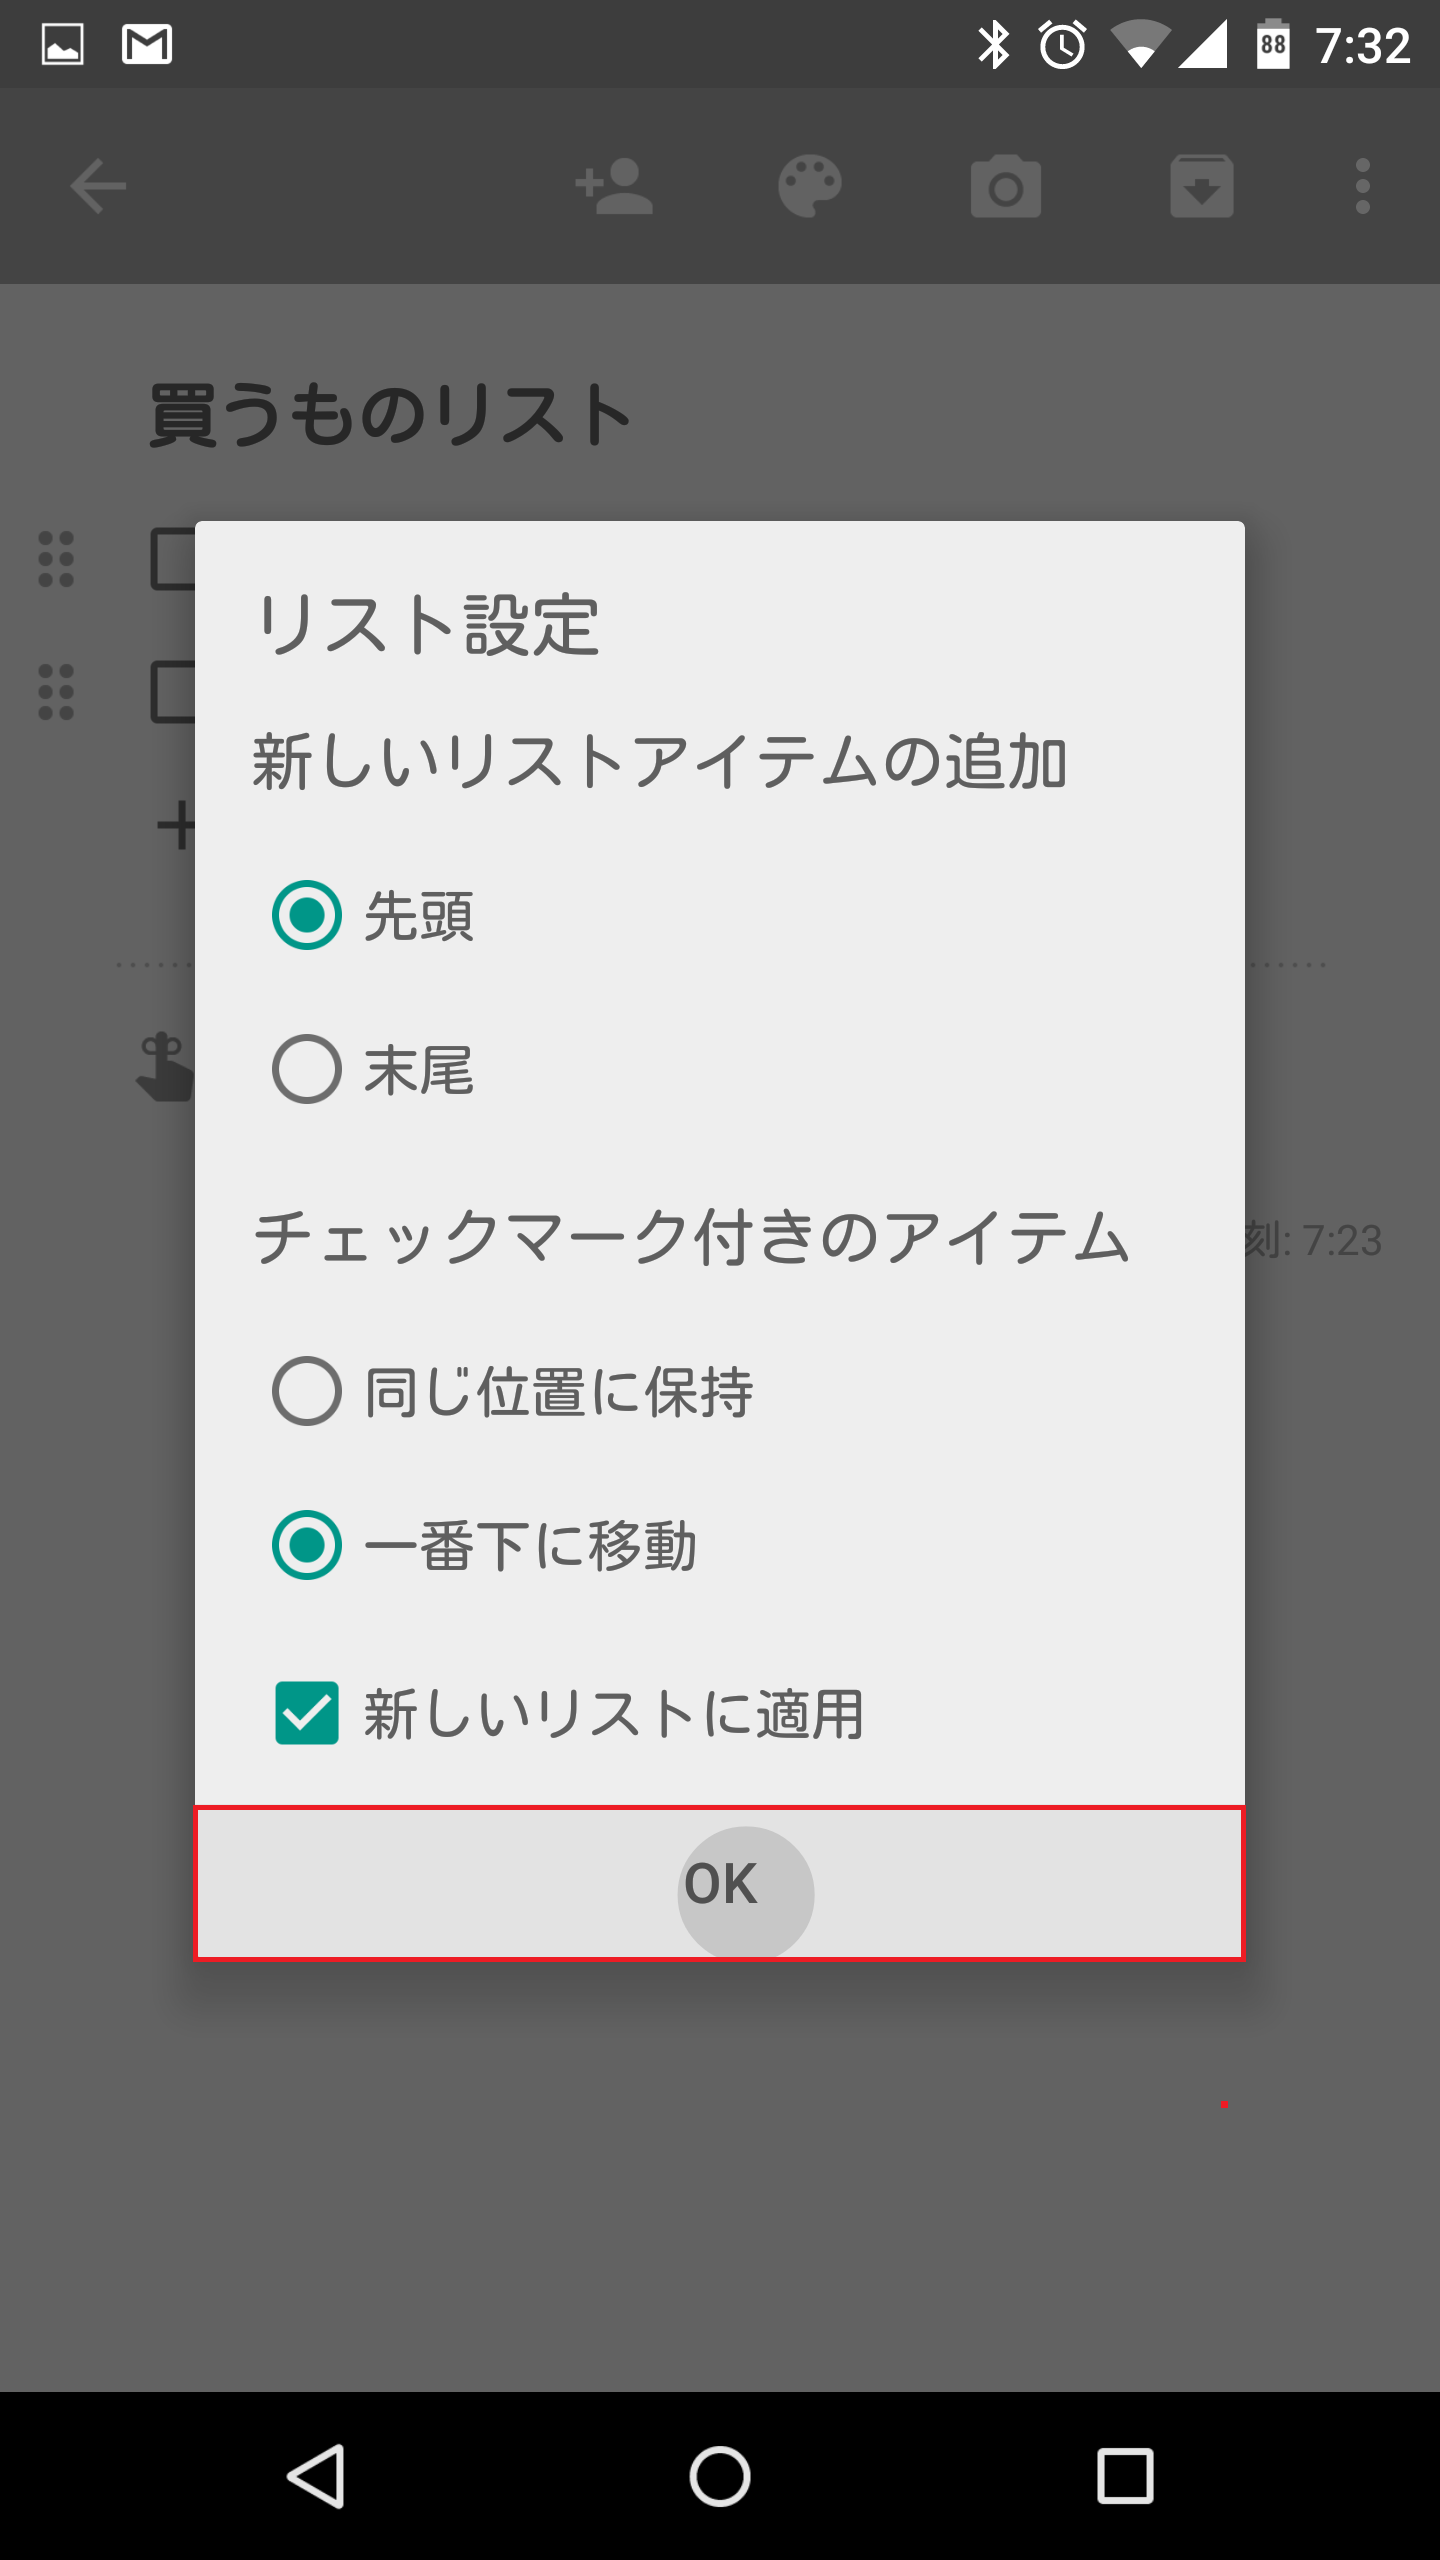
「OK」をタップします。
すると、「+ リストアイテム」が上部に移動しました。

チェックマーク付きのメモの位置を変更する
Google Keepでは、チェックマーク付きのメモの位置を変更することができます。標準設定では、チェックマーク付きのメモは「選択済み」の項目にあります。この位置を変更します。
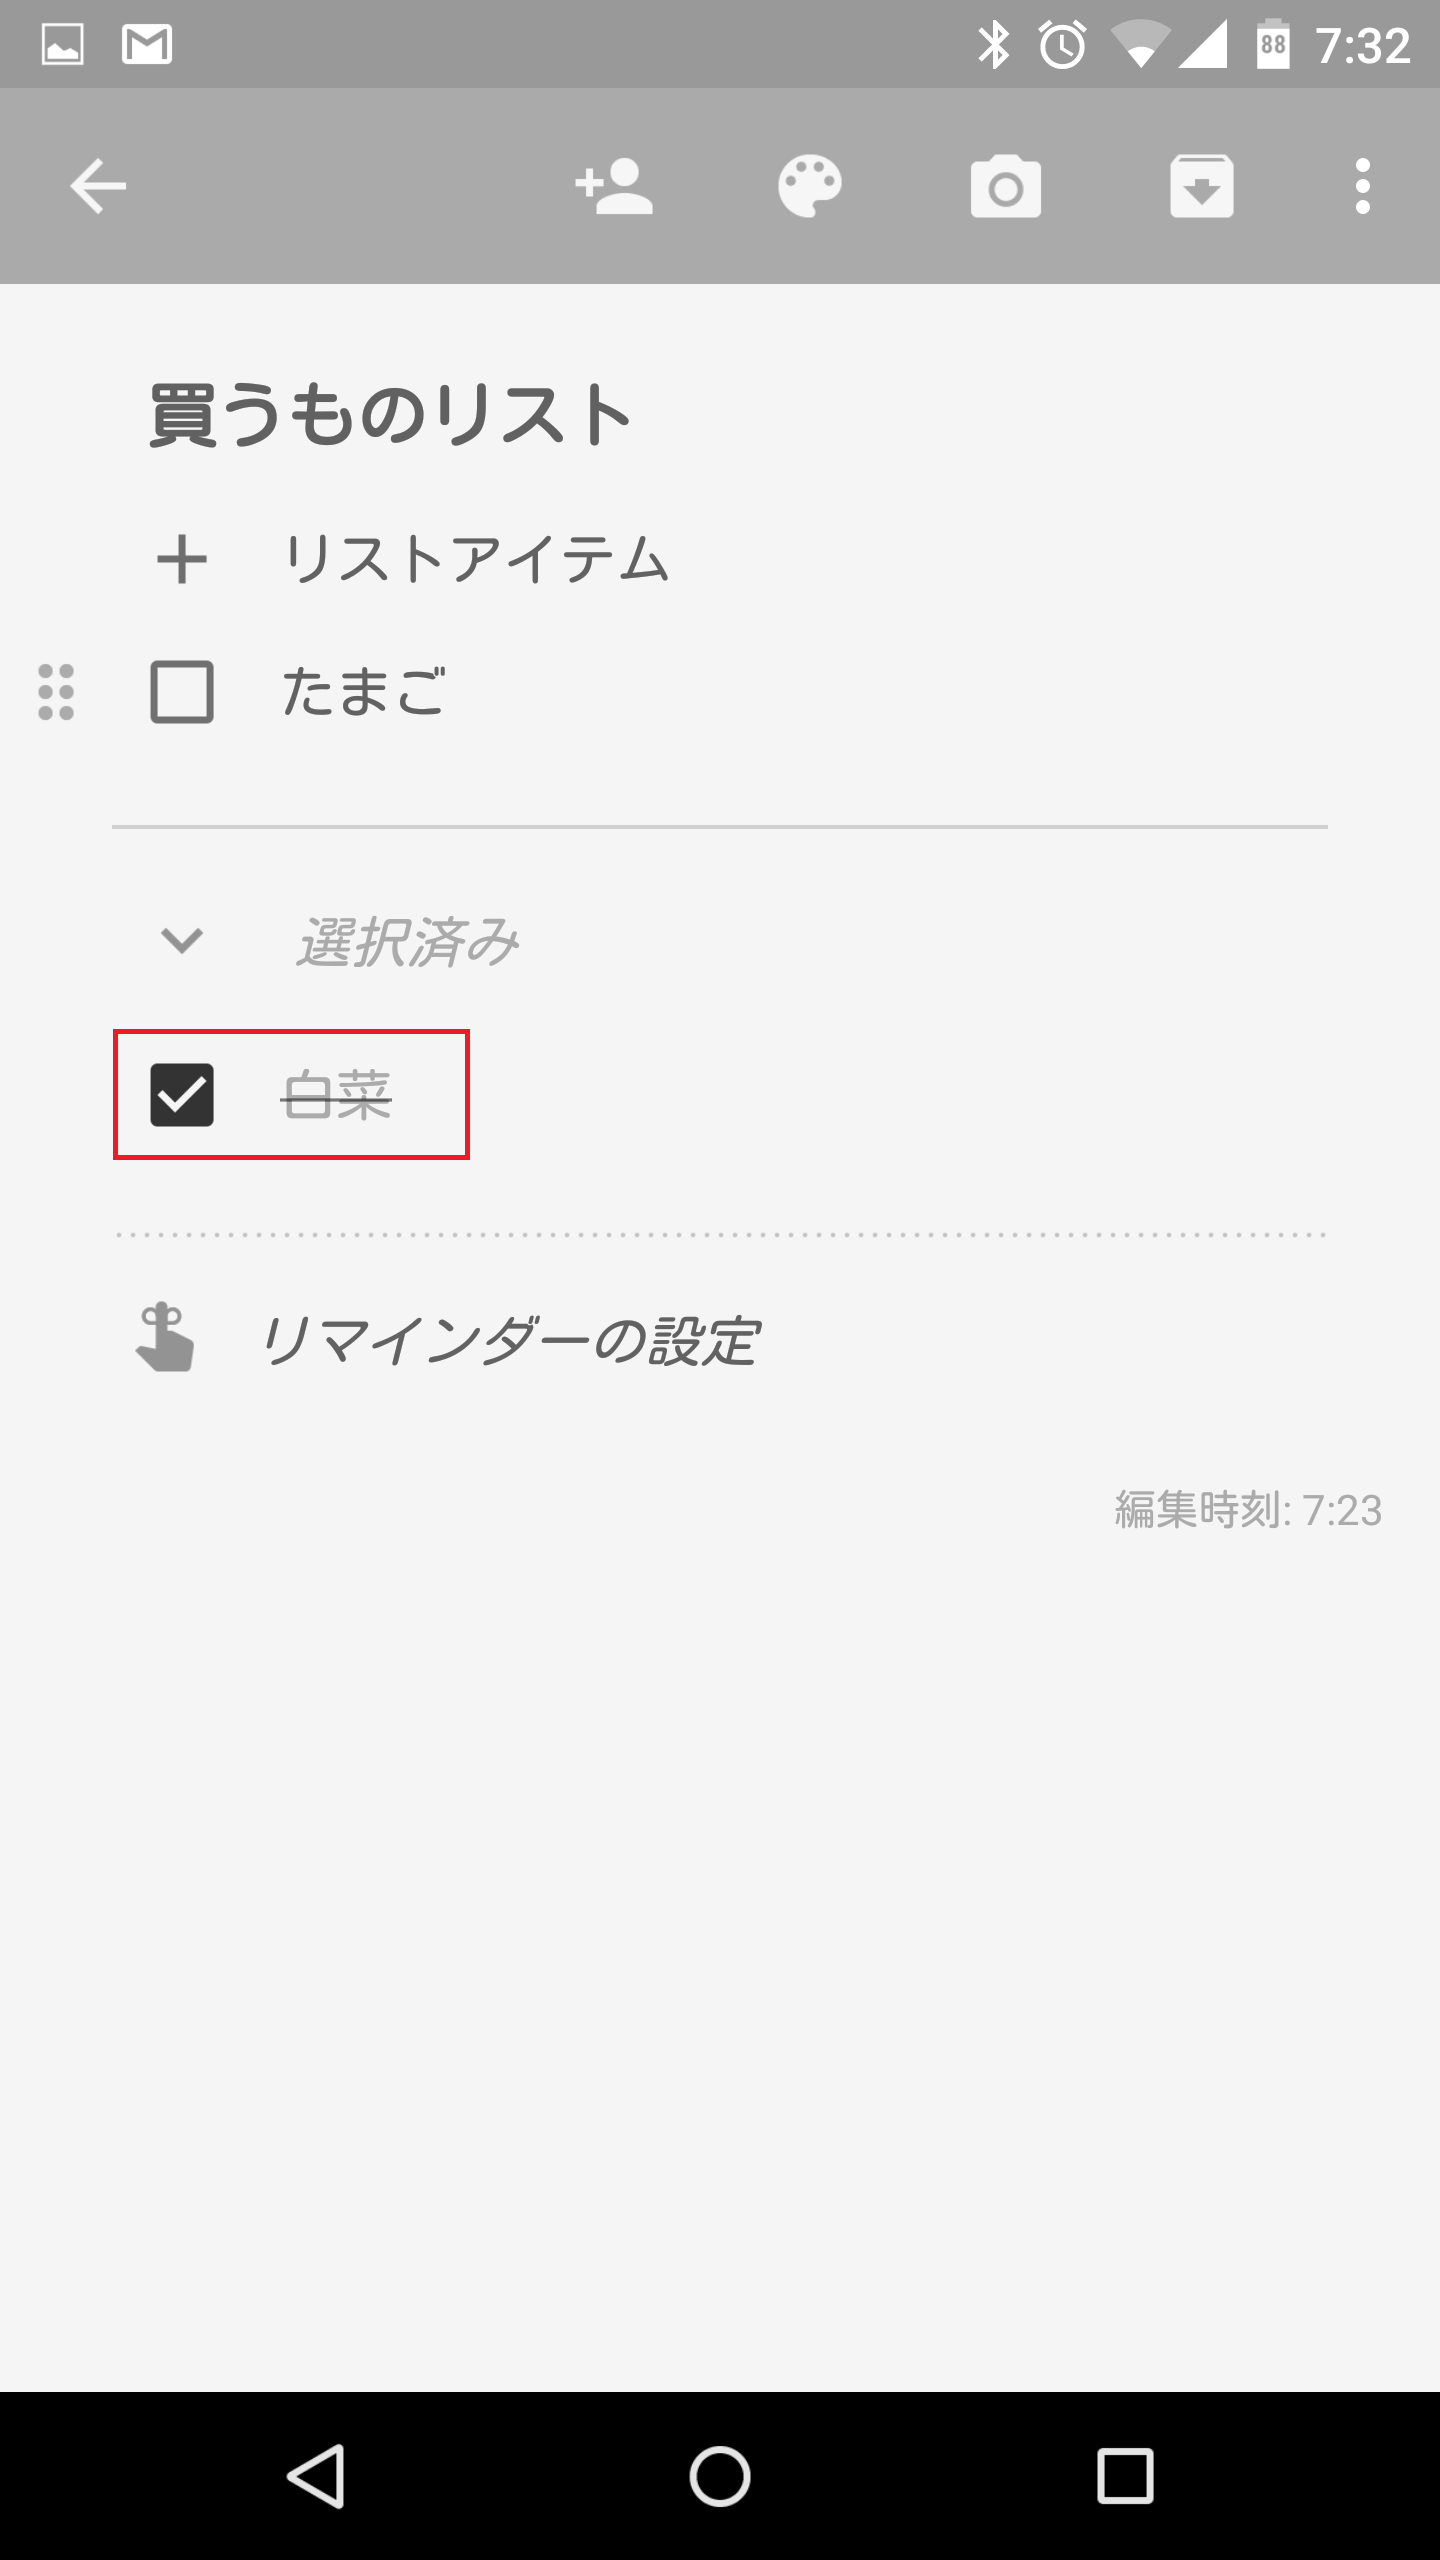
メニュー>リスト設定をタップします。
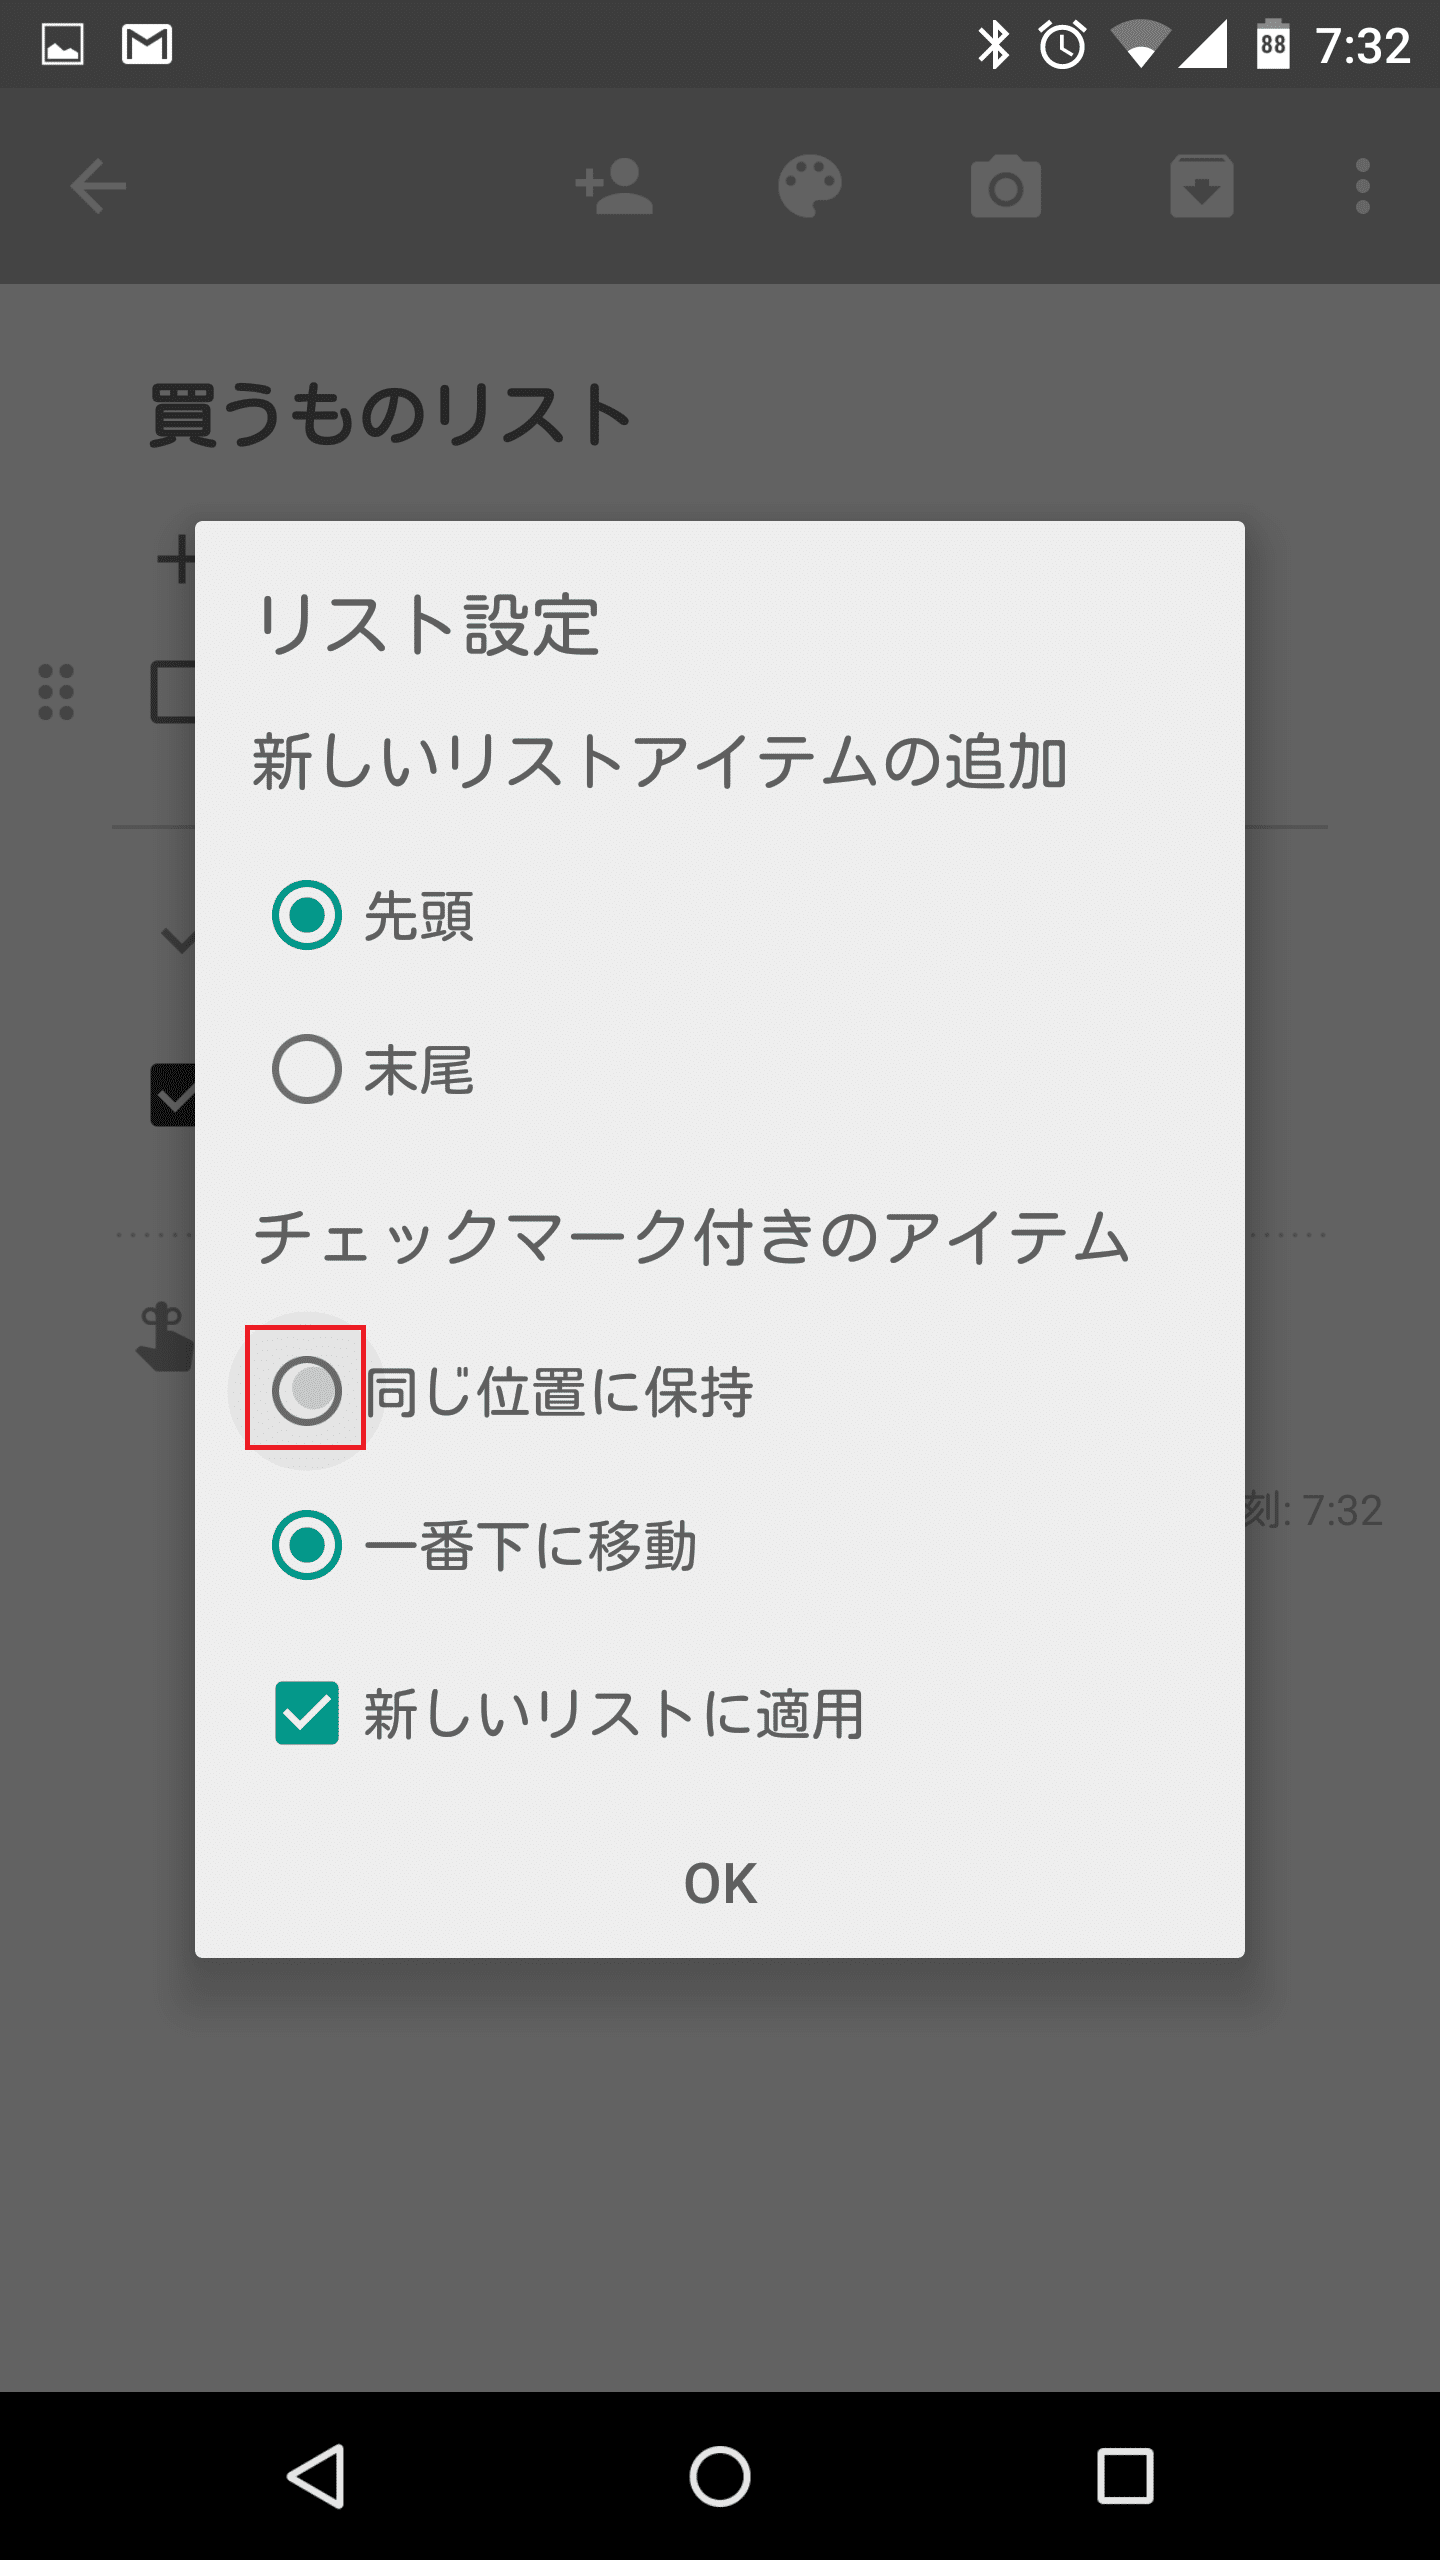
「チェックマーク付きのアイテム」の項目の「同じ位置に保持」にチェックを入れます。
「OK」をタップします。
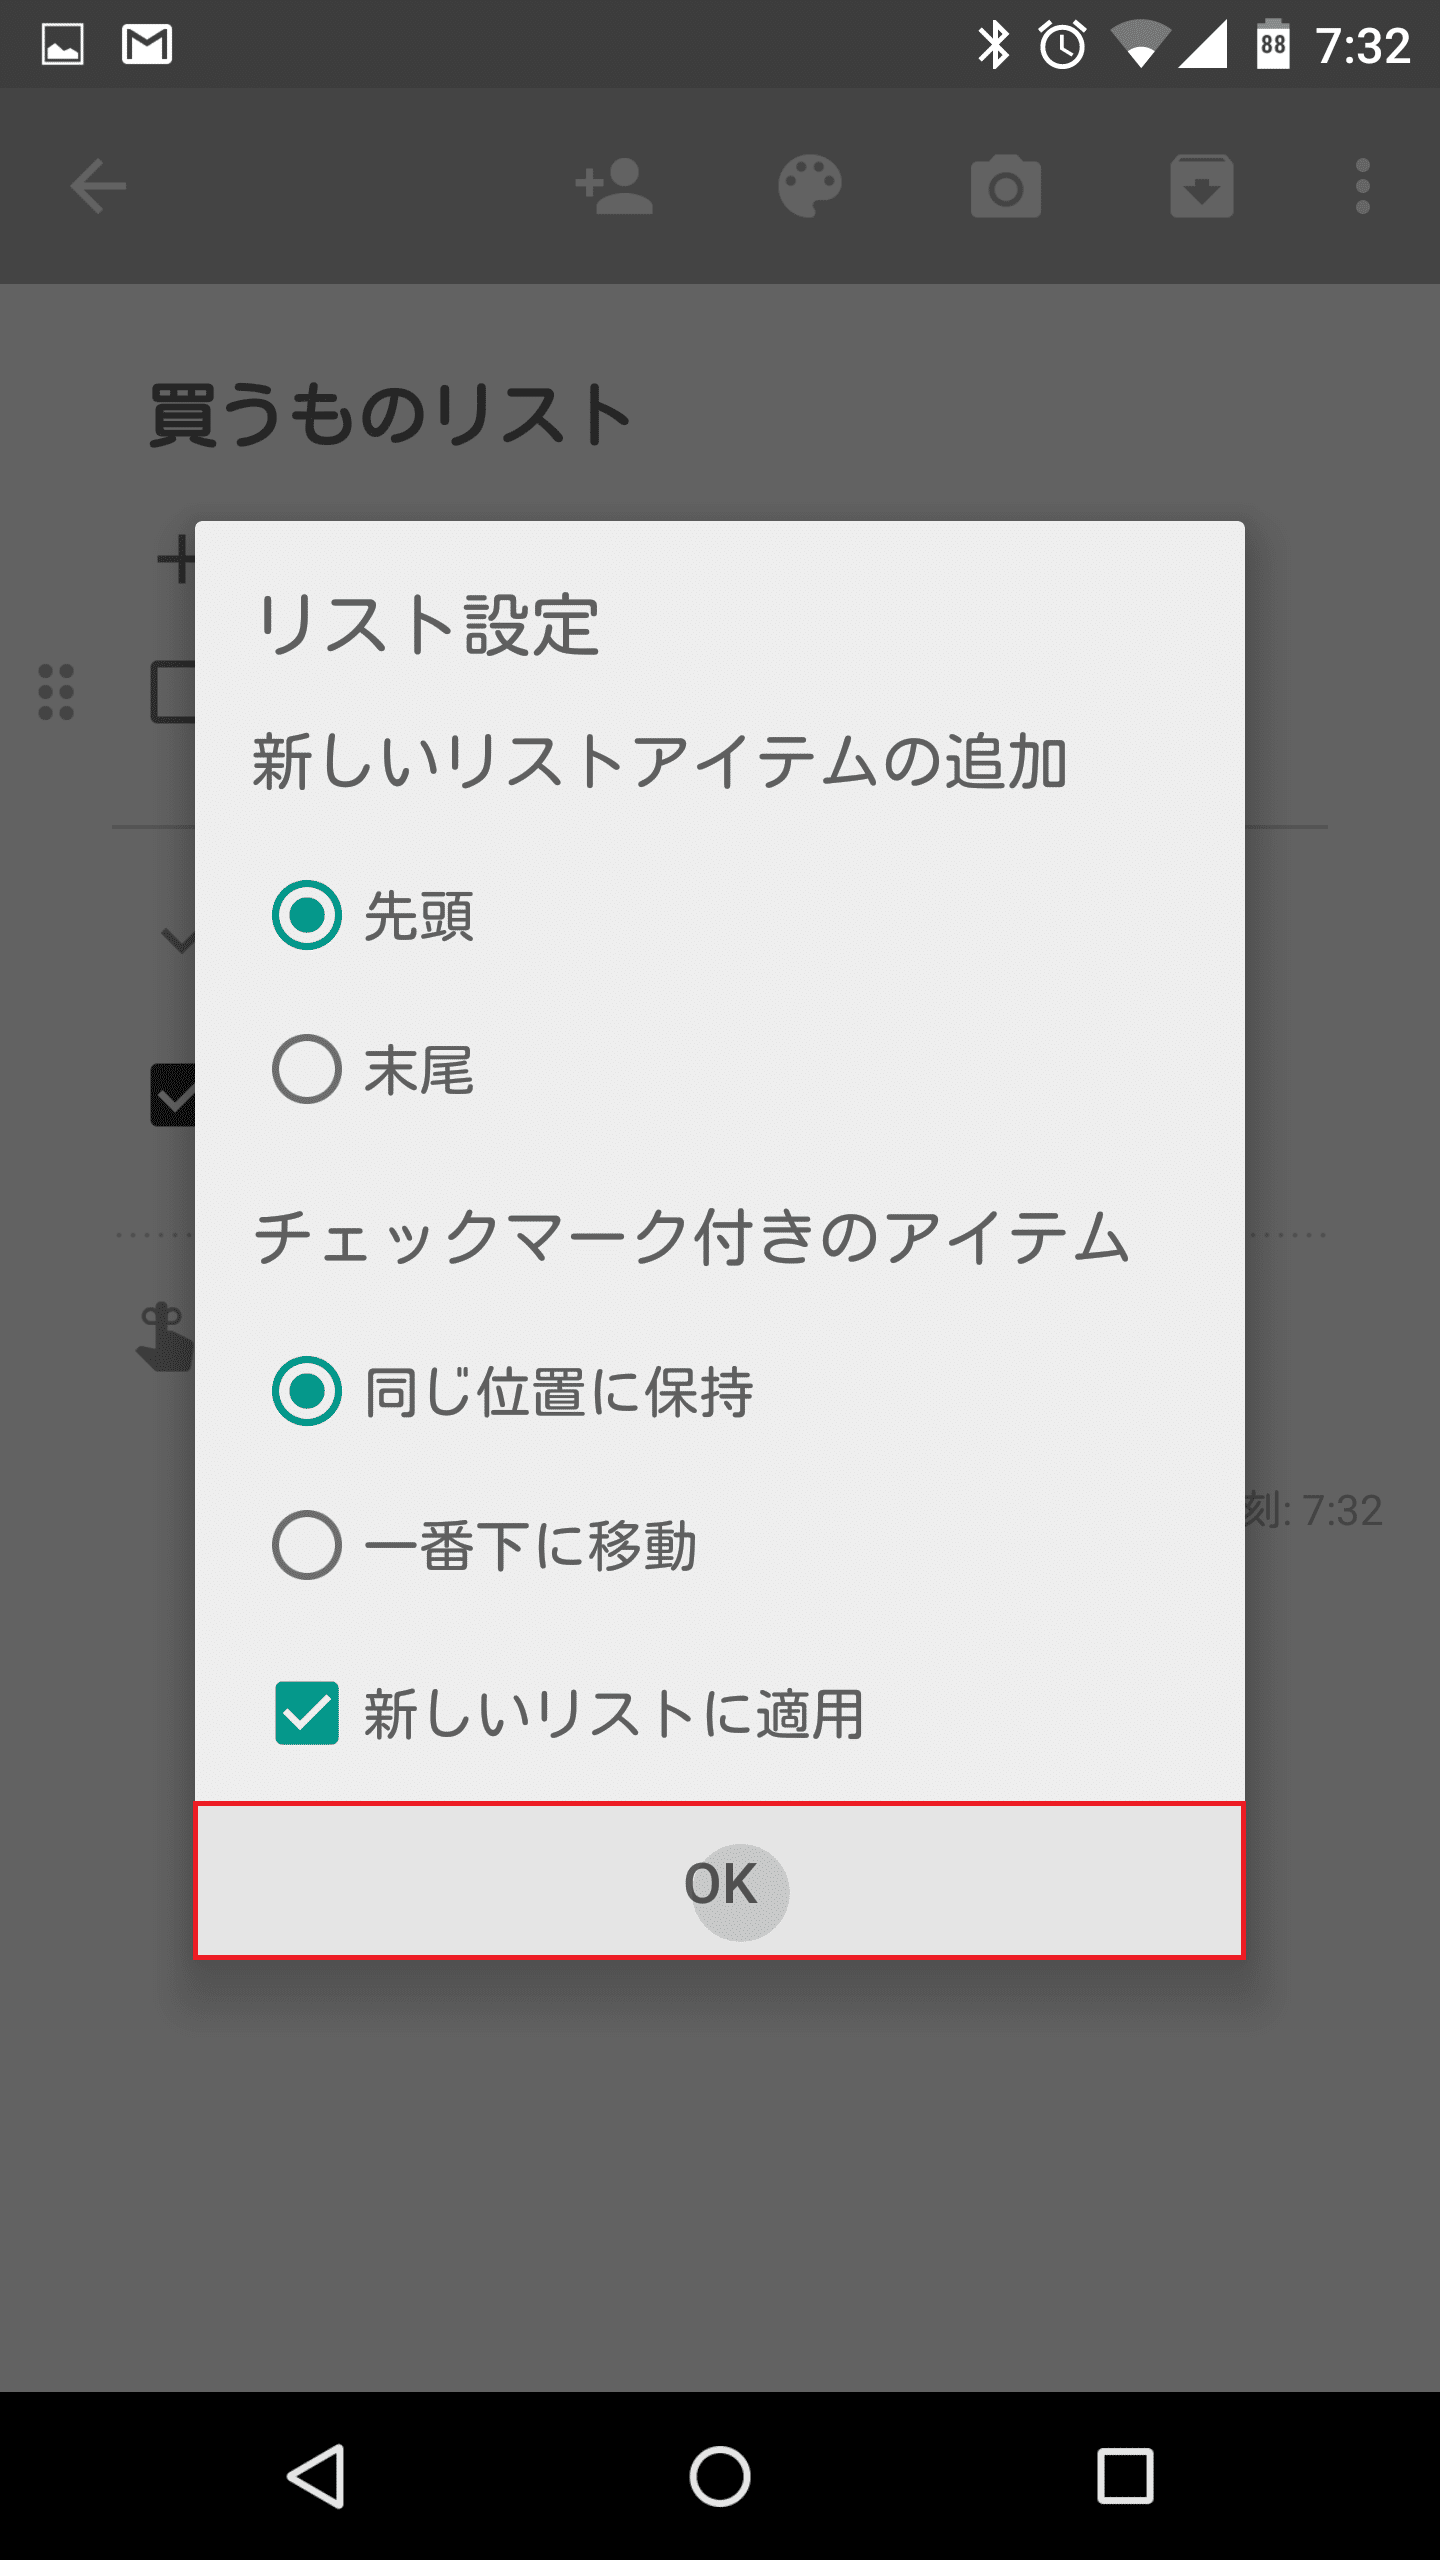
すると、チェックマーク付きのメモがまだチェックされていないメモと同じ位置に表示されるようになりました。
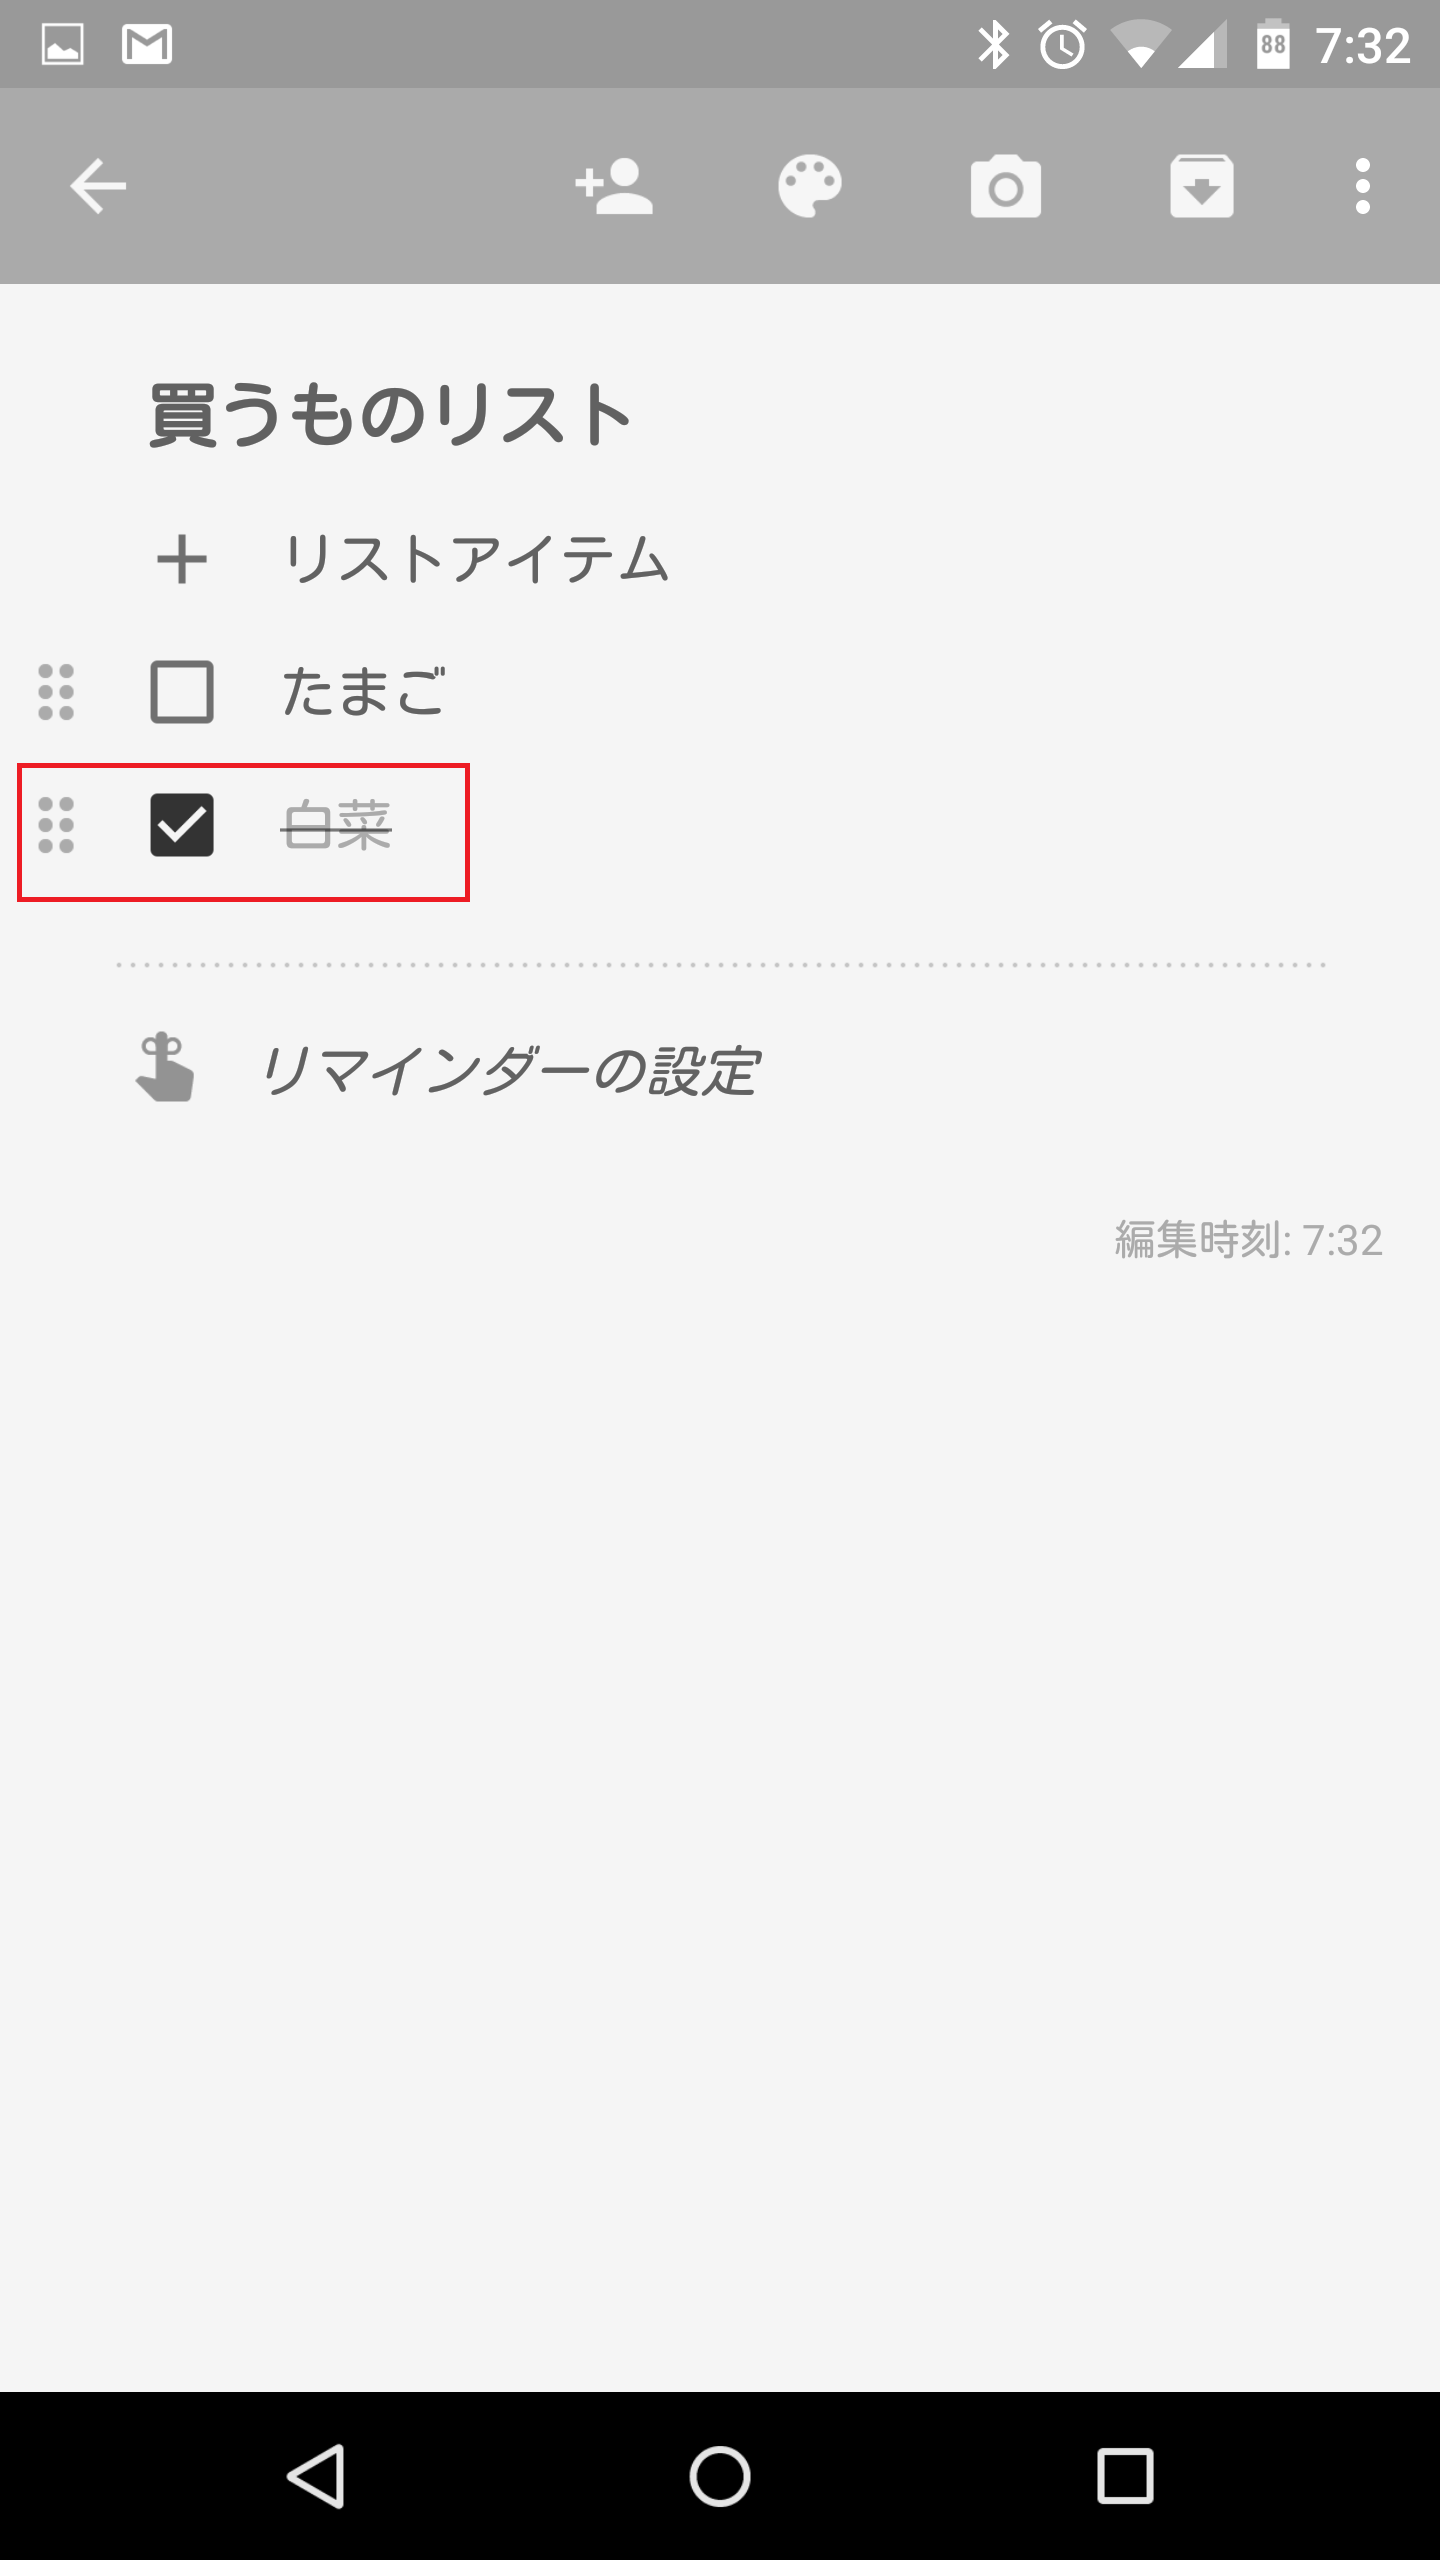
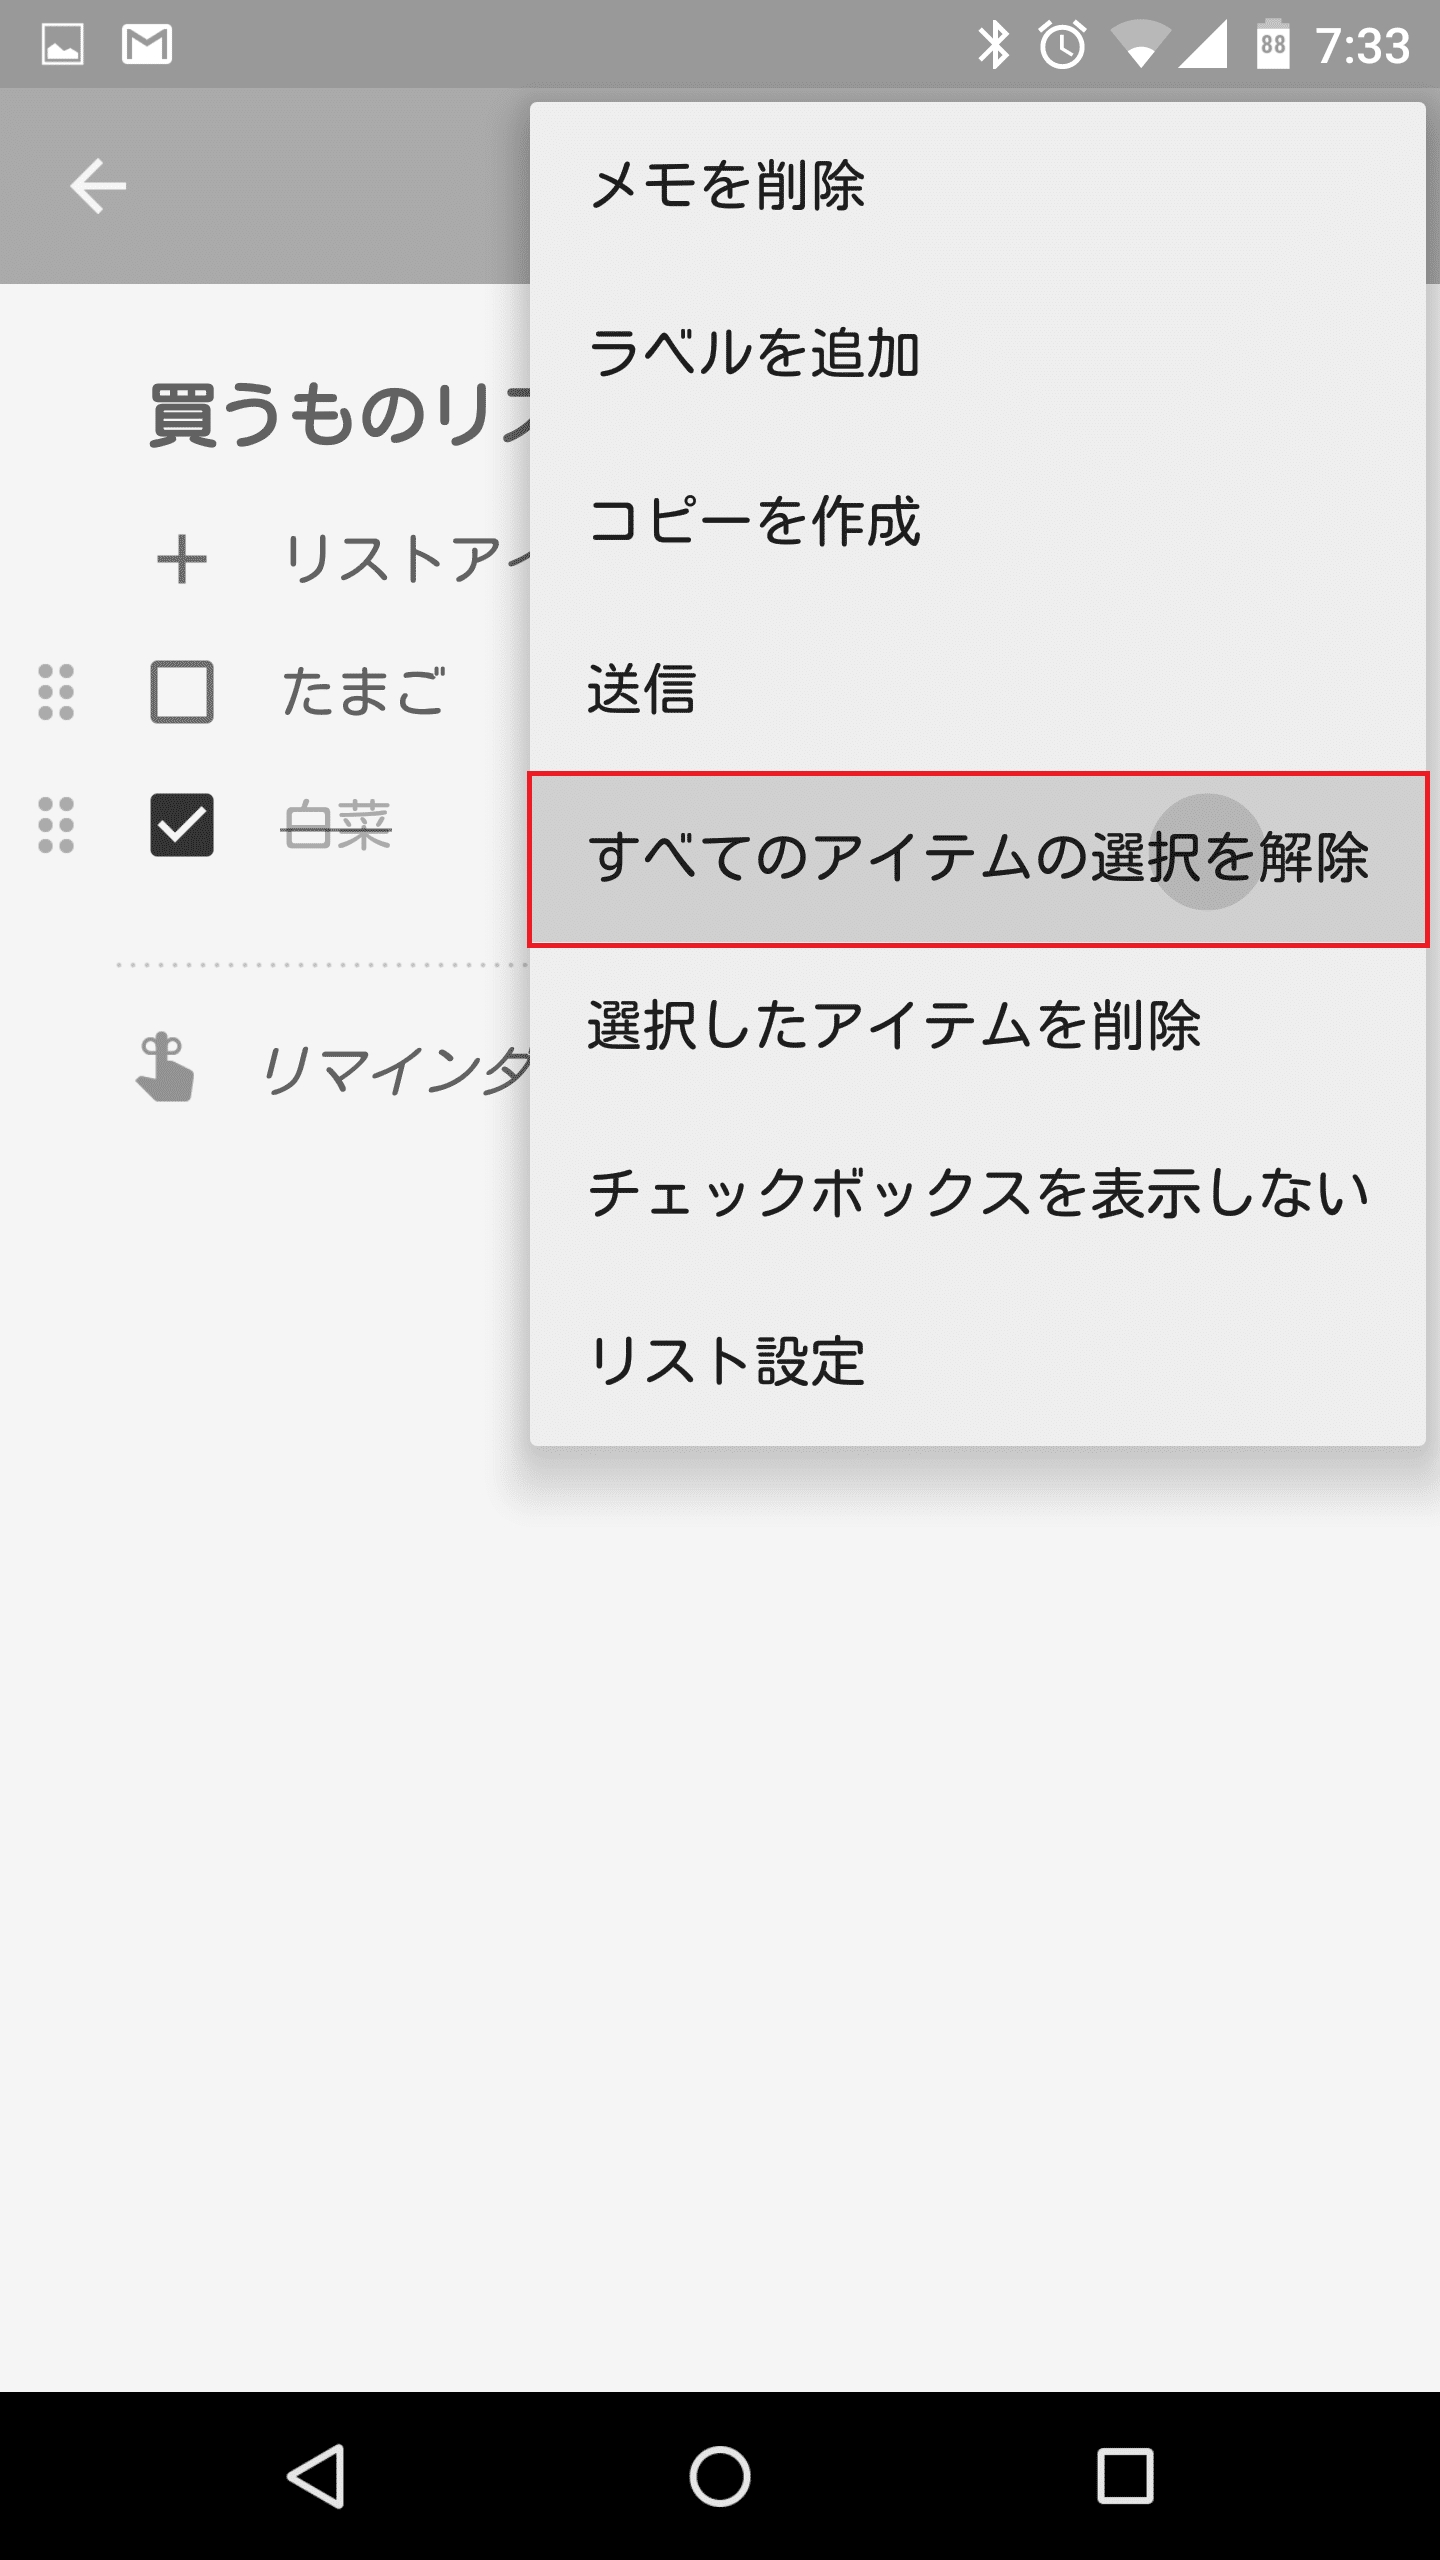
全てのチェックマーク付きのメモのチェックを一括で外す
Google Keepでは、全てのチェックマーク付きのメモのチェックマークを一括で外すこともできます。メニュー>すべてのアイテムの選択を解除をタップします。
すると、チェックマーク付きのメモのチェックが外れました。

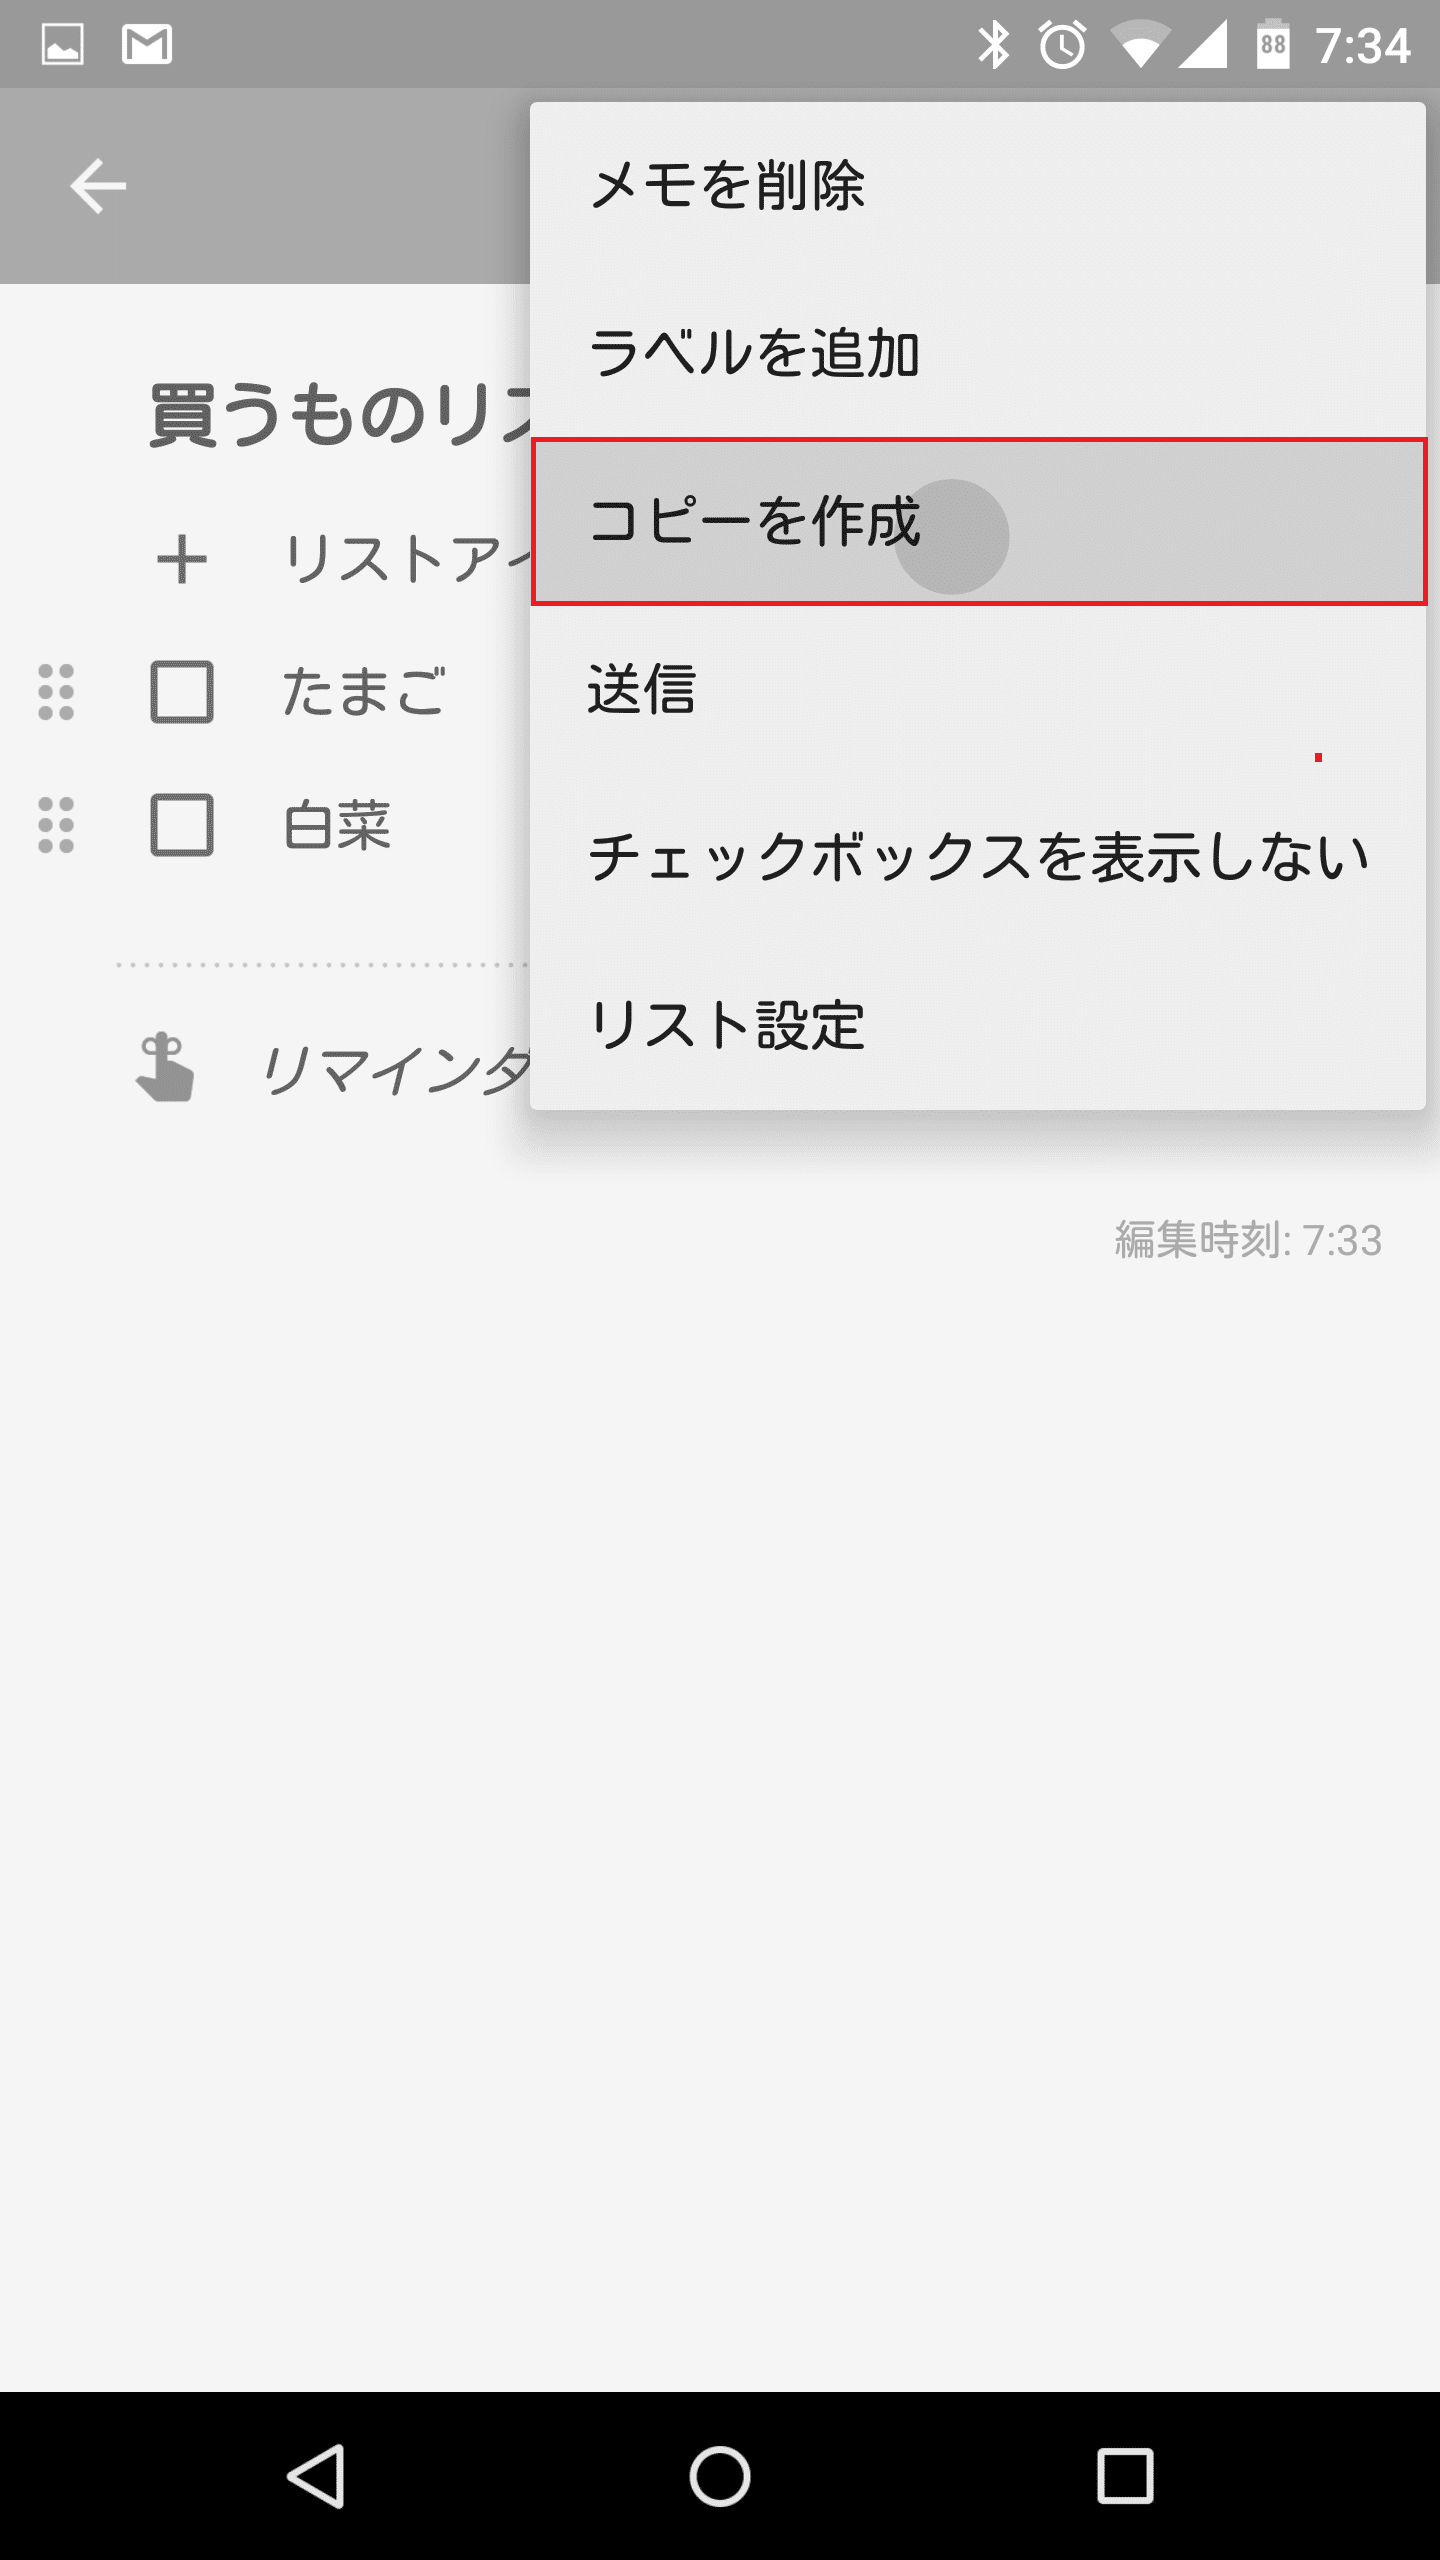
Google Keepのリストアイテム(チェックリスト)のコピーを作成する
Google Keepでは、すでにあるリストアイテムのコピーを作成することもできます。メニュー>コピーを作成をタップします。
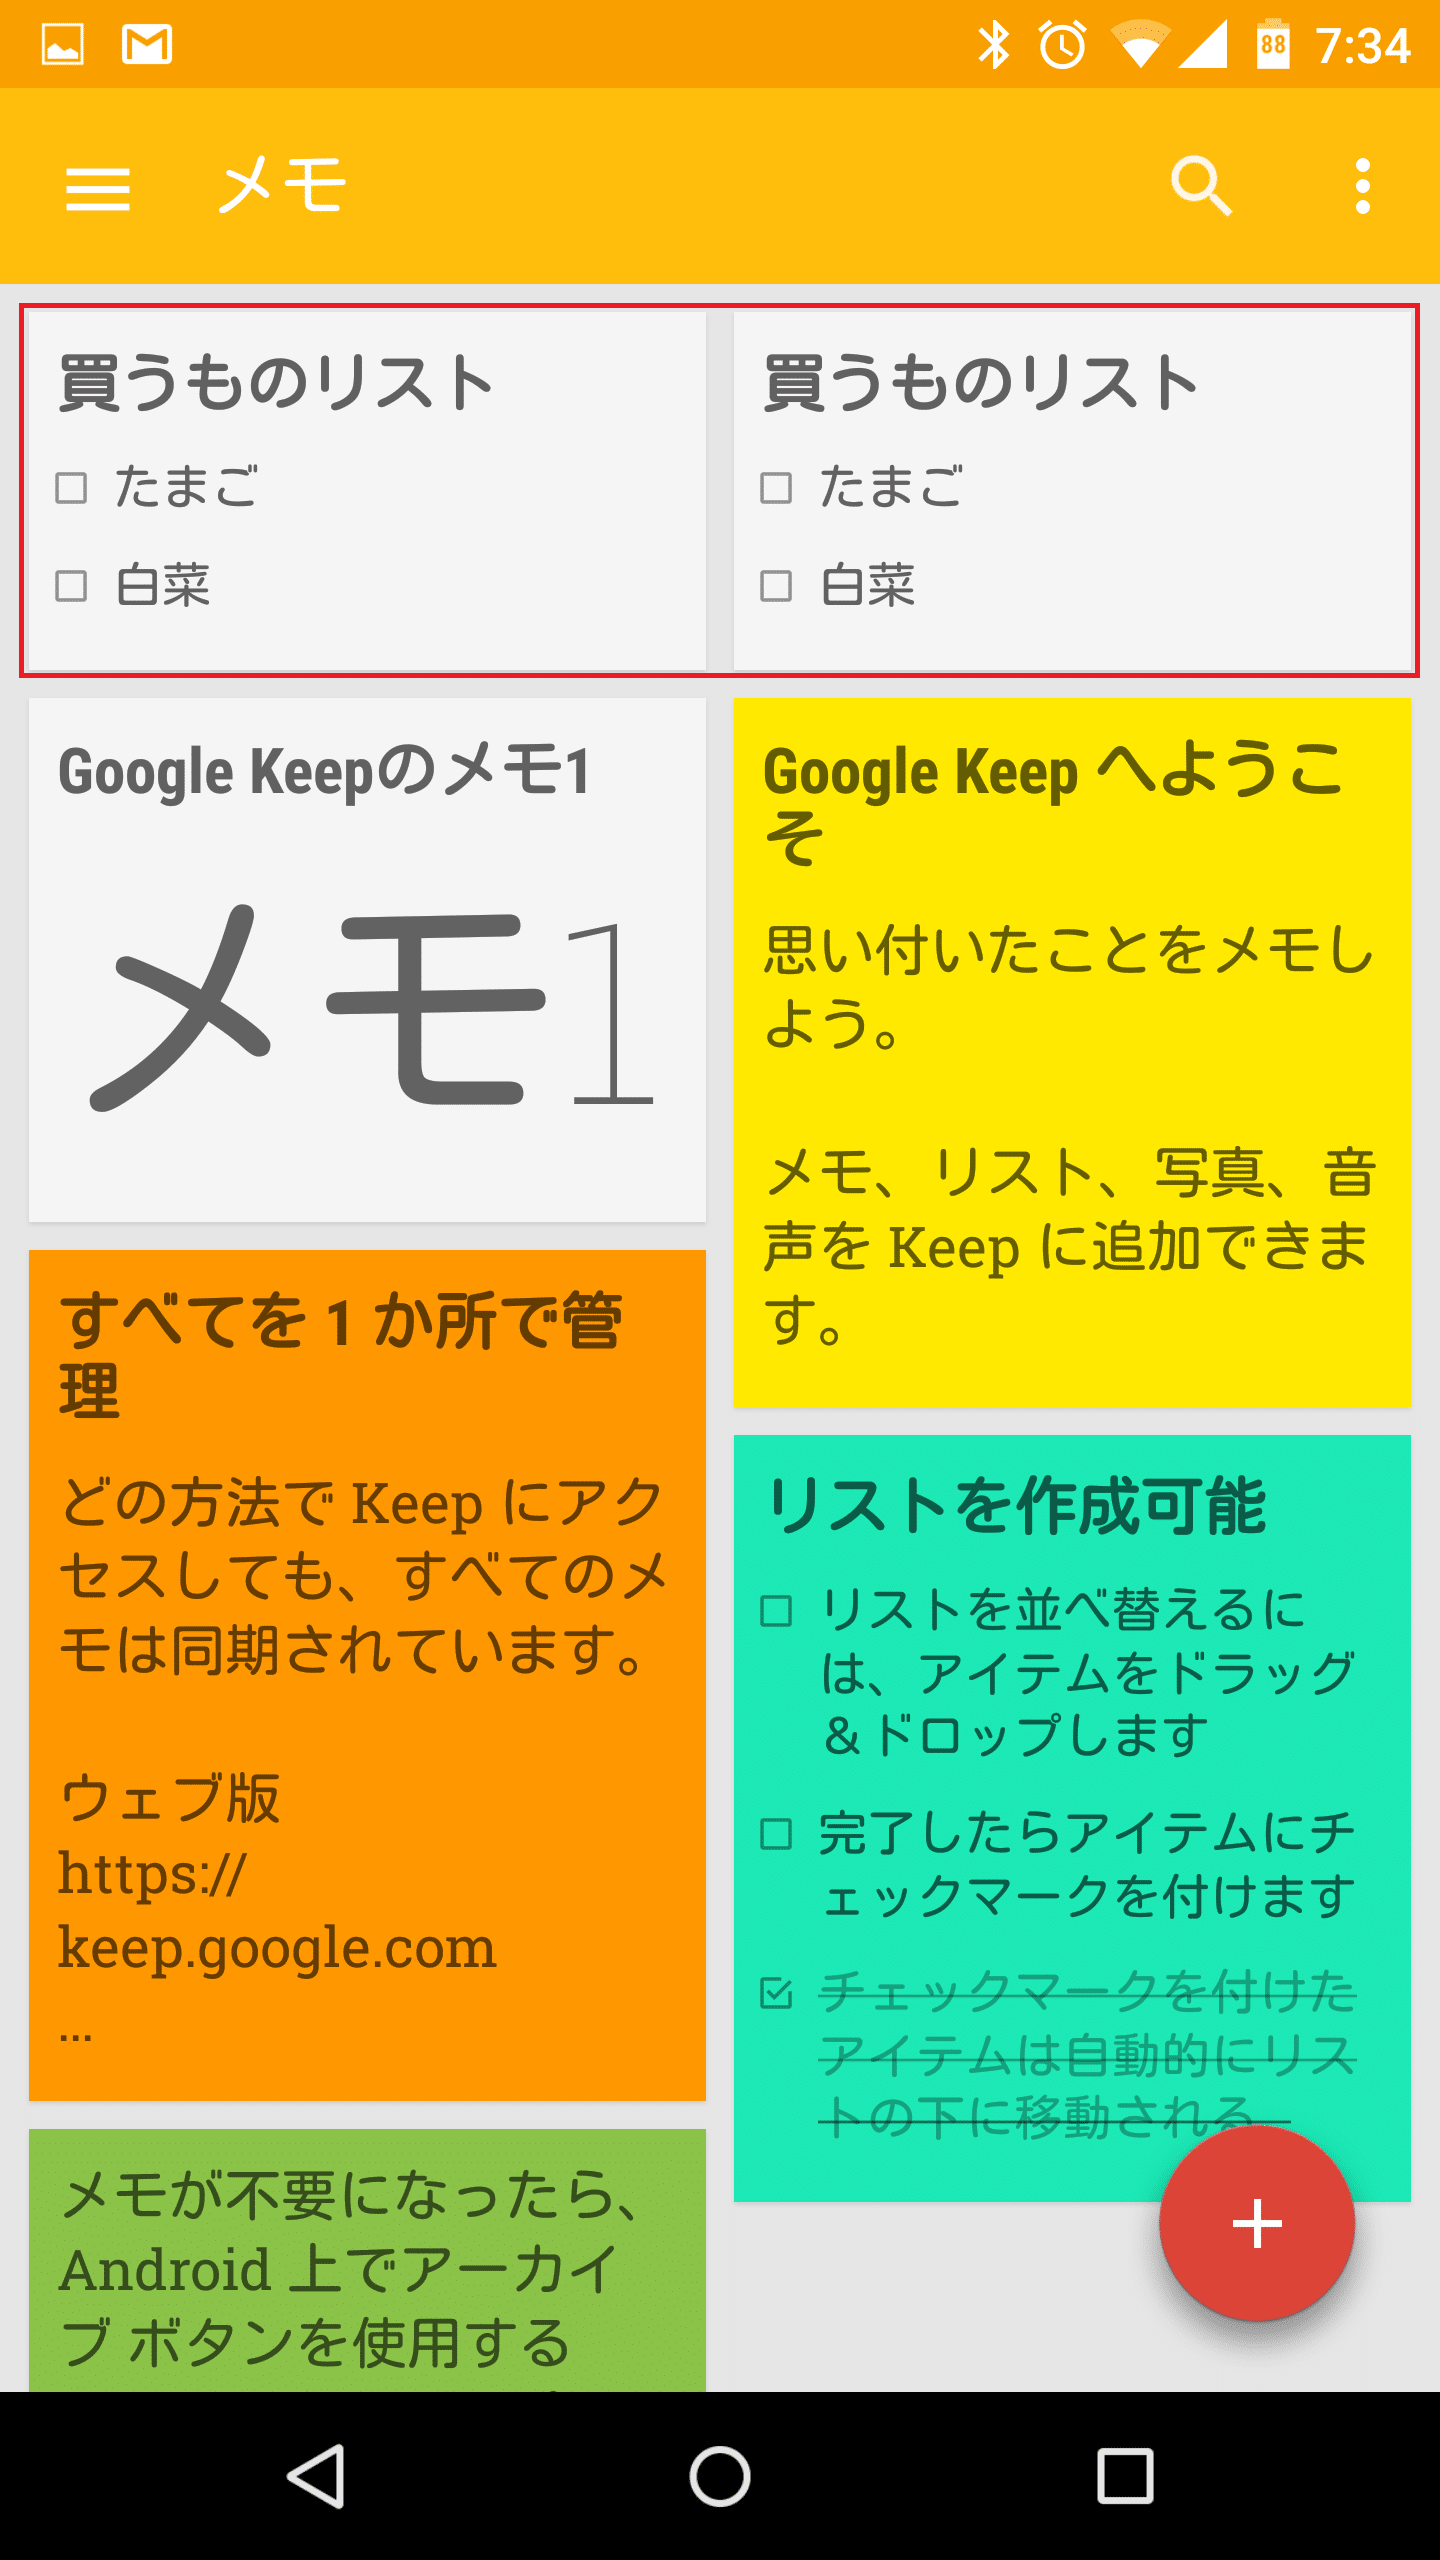
すると、リストアイテムが複製されました。
Google Keepでリストアイテム(チェックリスト)形式のToDoメモを作成する方法と使い方は以上です。
なお、Google Keepではリストアイテム(チェックリスト)以外にもテキストメモや音声メモ、手書きによるメモなどの作成も可能です。Google Keepで作成できるメモとその使い方などの詳細はGoogle Keep(グーグルキープ) Android版の使い方。テキストや写真、音声をメモできる、ウィジェット対応のGoogle製ToDoメモアプリ。を参照してください。