そこでこのページでは、Microsoft純正のExcel Androidスマートフォン版の使い方と使える機能を解説します。
目次
- Micorsoft Excel Androidスマホ版の特徴
- Excelの閲覧だけでなく新規作成や編集も無料でできる
- Microsoft Excel Androidスマホ版のインストール方法
- Microsoft Excel Androidスマホ版の使い方
- Excelブックを新規作成する
- 名前を付けて保存する
- 上書き保存する
- セル内に文字を入れる
- 文字を太字にする
- 文字を斜めにする
- 文字に下線を入れる
- 罫線でセルに線を引く
- セルを塗りつぶす
- フォントの色を変更する
- セル内の文字を上詰めで表示する
- セル内の文字を下詰めで表示する
- セル内の文字を中央揃えにする
- セル内の文字を右寄せにする
- セルを結合して中央揃えにする
- 折り返して全体を表示する
- セルのスタイルを変更する
- 表示形式を変更する
- セルを挿入する
- セルを削除する
- セル内の文字や書式を消す
- オートSUMを使う
- 並び替えとフィルターを適用する
- 文字列を検索する
- セルの列の幅を広げる(狭める)
- セルの行の幅を広げる(狭める)
- セルの列を入れ替える
- セルの行を入れ替える
- Excelブックを共有する
Micorsoft Excel Androidスマホ版の特徴
Microsoft Excelの特徴は、まずは「Microsoft公式アプリ」であることです。Excelブックの閲覧や新規作成、編集できるAndroidアプリはいくつかありますが、Excelの生みの親であるMicrosoftがリリースしたExcelアプリはMicrosoft純正です。
プレビュー版のため改良の余地はあるかもしれませんが、使いやすさと互換性・再現性の高さには期待できます。
Excelの閲覧だけでなく新規作成や編集も無料でできる
Microsoft ExcelのAndroidスマホ版では、Excelの閲覧だけでなく新規作成や編集も無料でできます。これまでの純正以外のAndroid向けExcelアプリでは、Excelブックの閲覧は無料でできても編集は有料というものもありました。
Microsoft公式のアプリで、しかもExcel文書の閲覧だけでなく編集も無料でできるのはうれしいですね。
Microsoft Excel Androidスマホ版のインストール方法
Microsoft Excel Androidスマホ版はまだプレビューとして公開されているだけなので、Google Playからすぐにインストールできるわけではありません。Microsoft Excel Androidスマホ版のプレビューをインストールするには、テスターとして参加する必要があります。詳しい手順は、Microsoft、Androidスマートフォン向けWord、Excel、Powerpointのプレビュー版を公開。プレビュー版のベータテストプログラム参加方法の紹介。を参照してください。
Microsoft Excel Androidスマホ版の使い方
ここからは、Microsoft Excel Androidスマホ版の使い方を紹介していきます。Excelブックを新規作成する
Excelブックを新規作成するには、「+ 新規」をタップします。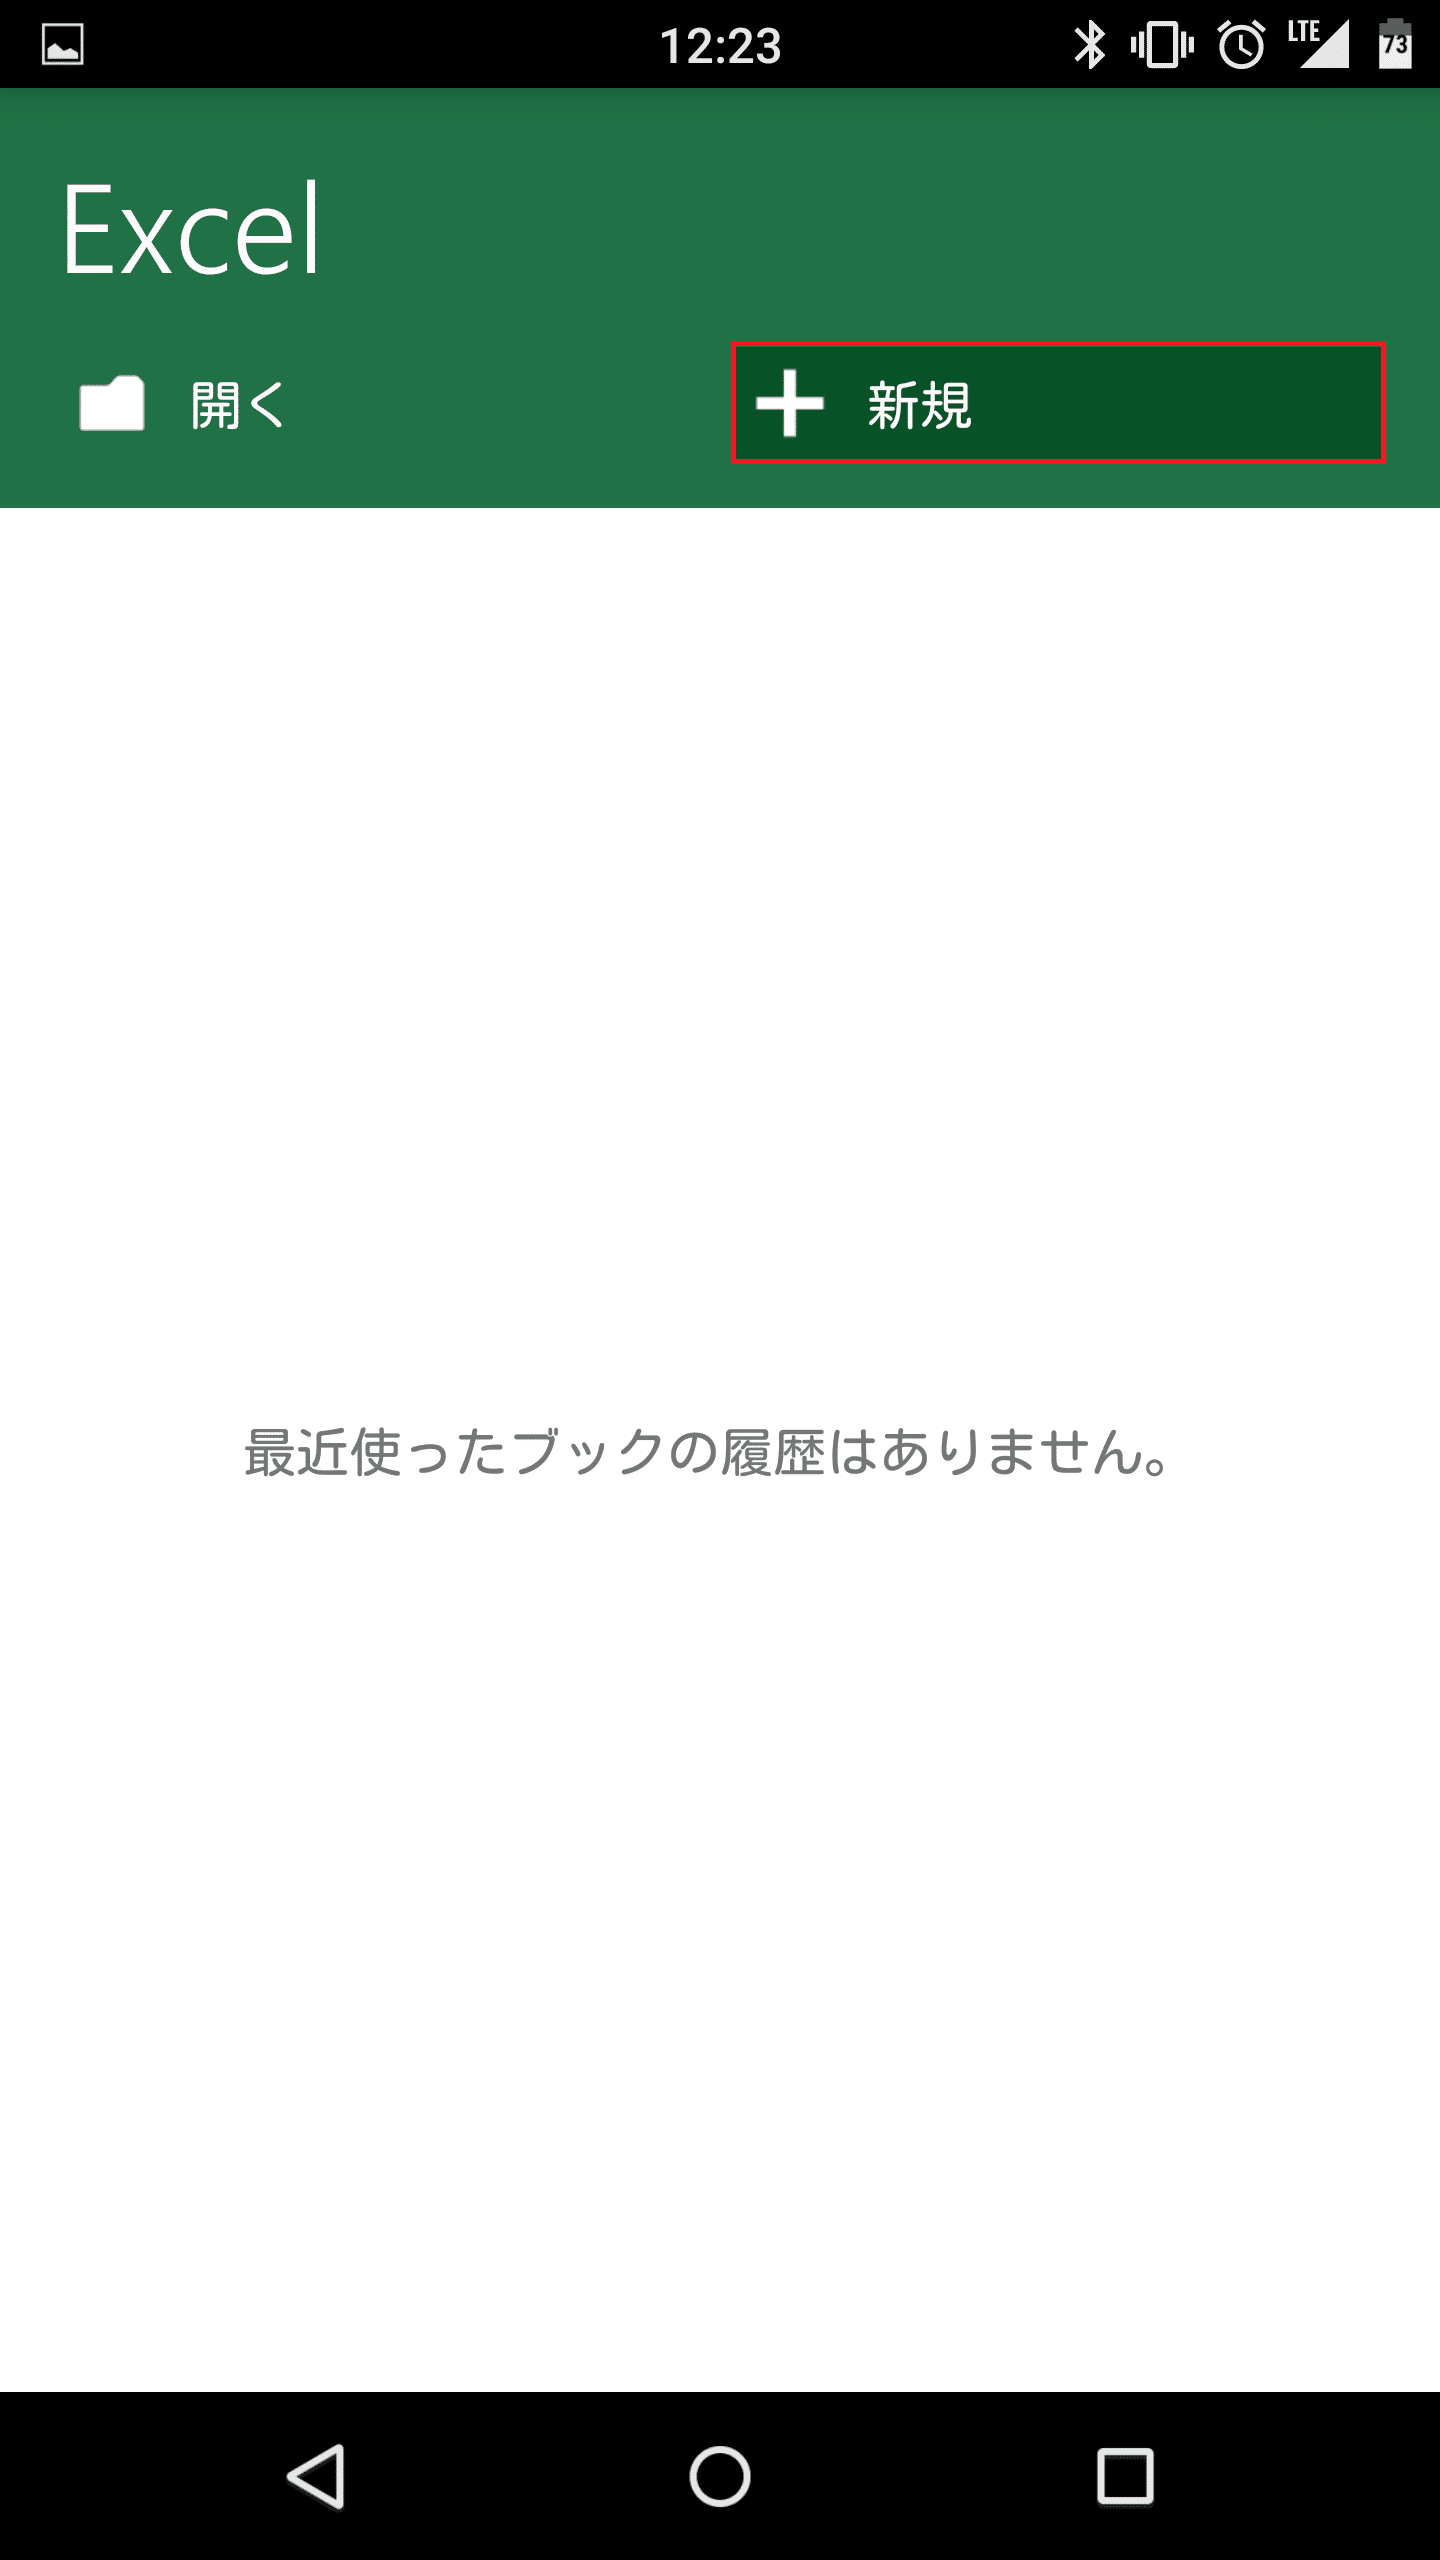
新規作成時に選べるテンプレートは以下の通りです。
「空白のブック」
「リストの作成」
「リストの合計」
「タスクの管理」
「マイ マネーの管理」
「個人予算表」
「家計簿」
「クレジットカード支払い計算」
「住宅ローン計算シート」
「大学の科目管理シート」
「大学比較シート」
「家事管理シート」
「1週間の業務スケジュール」
「日毎の予定」
「12か月のカレンダー」
「タイム シート」
「請求書」
「旅費管理シート」
「旅行計画シート」
「オンライン販売の管理シート」
「プレゼント計画シート」
「個人資産」
「ワークアウト記録」
「ビデオ ゲームの管理シート」
テンプレートは多種多様なラインナップとなっています。今回は「空白のブック」でExcelブックを新規作成します。

名前を付けて保存する
Excelブックを名前を付けて保存するには、左上のメニューアイコンをタップします。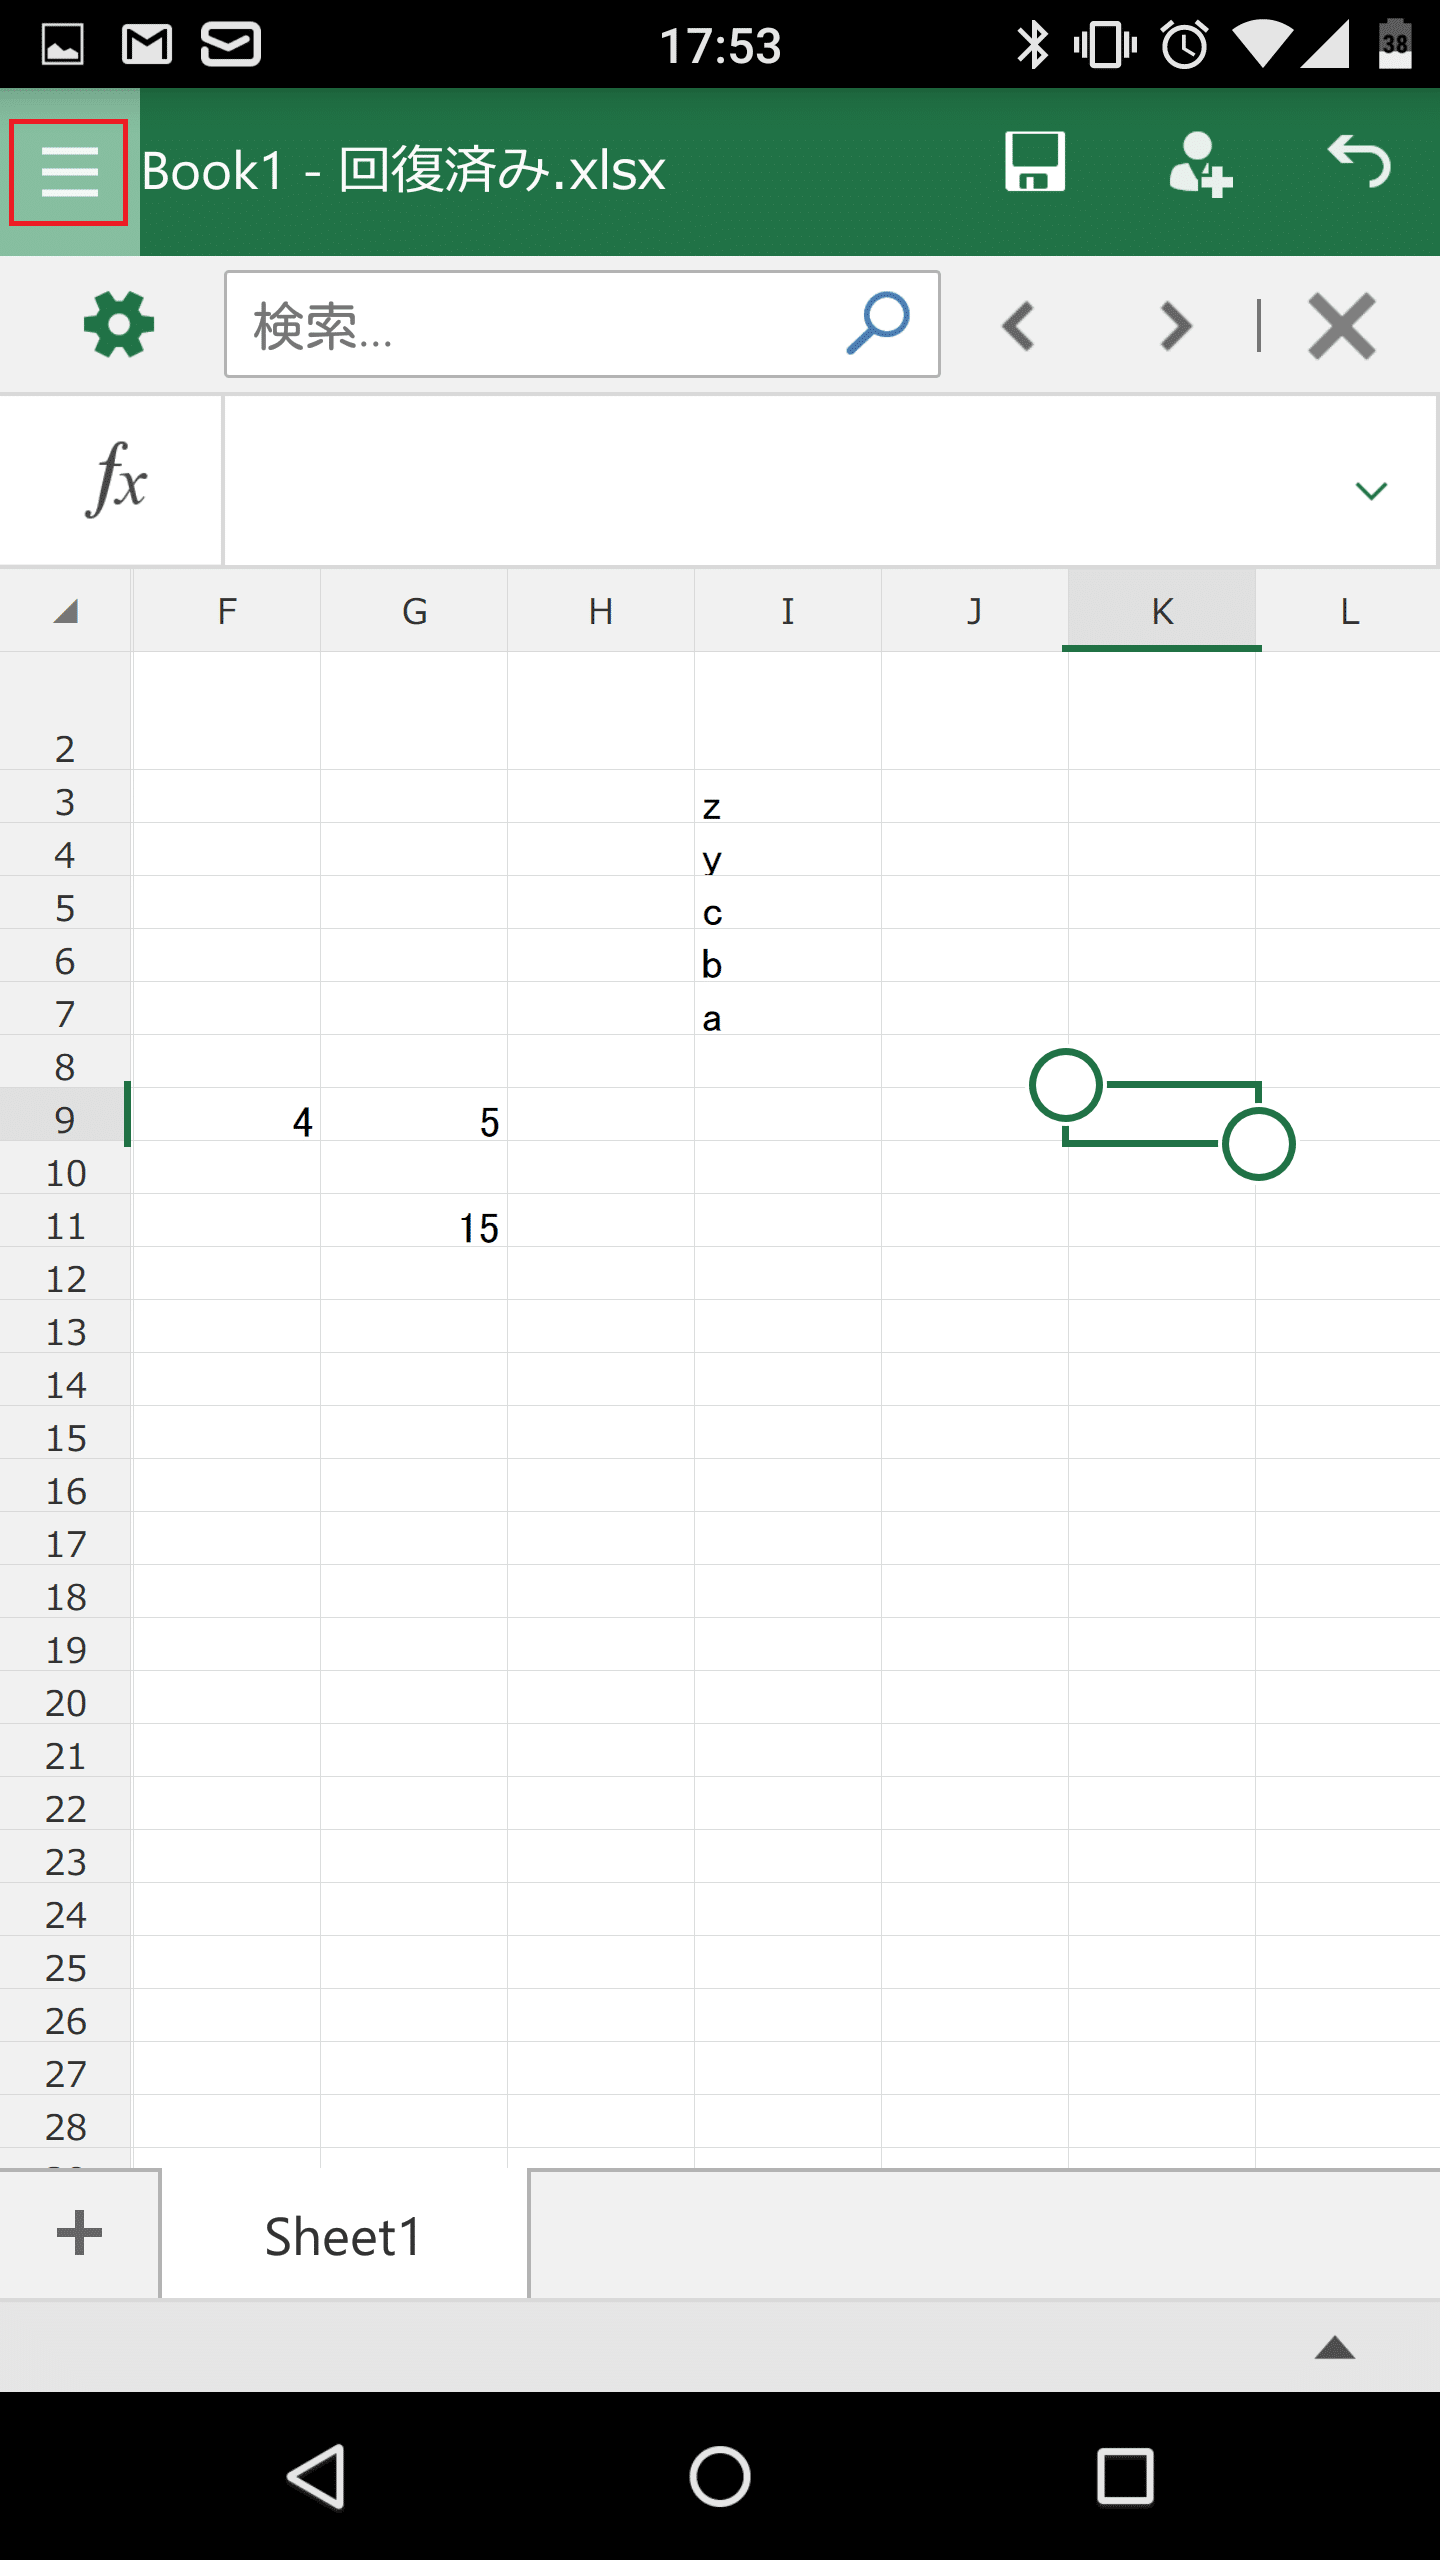
「名前を付けて保存」をタップします。

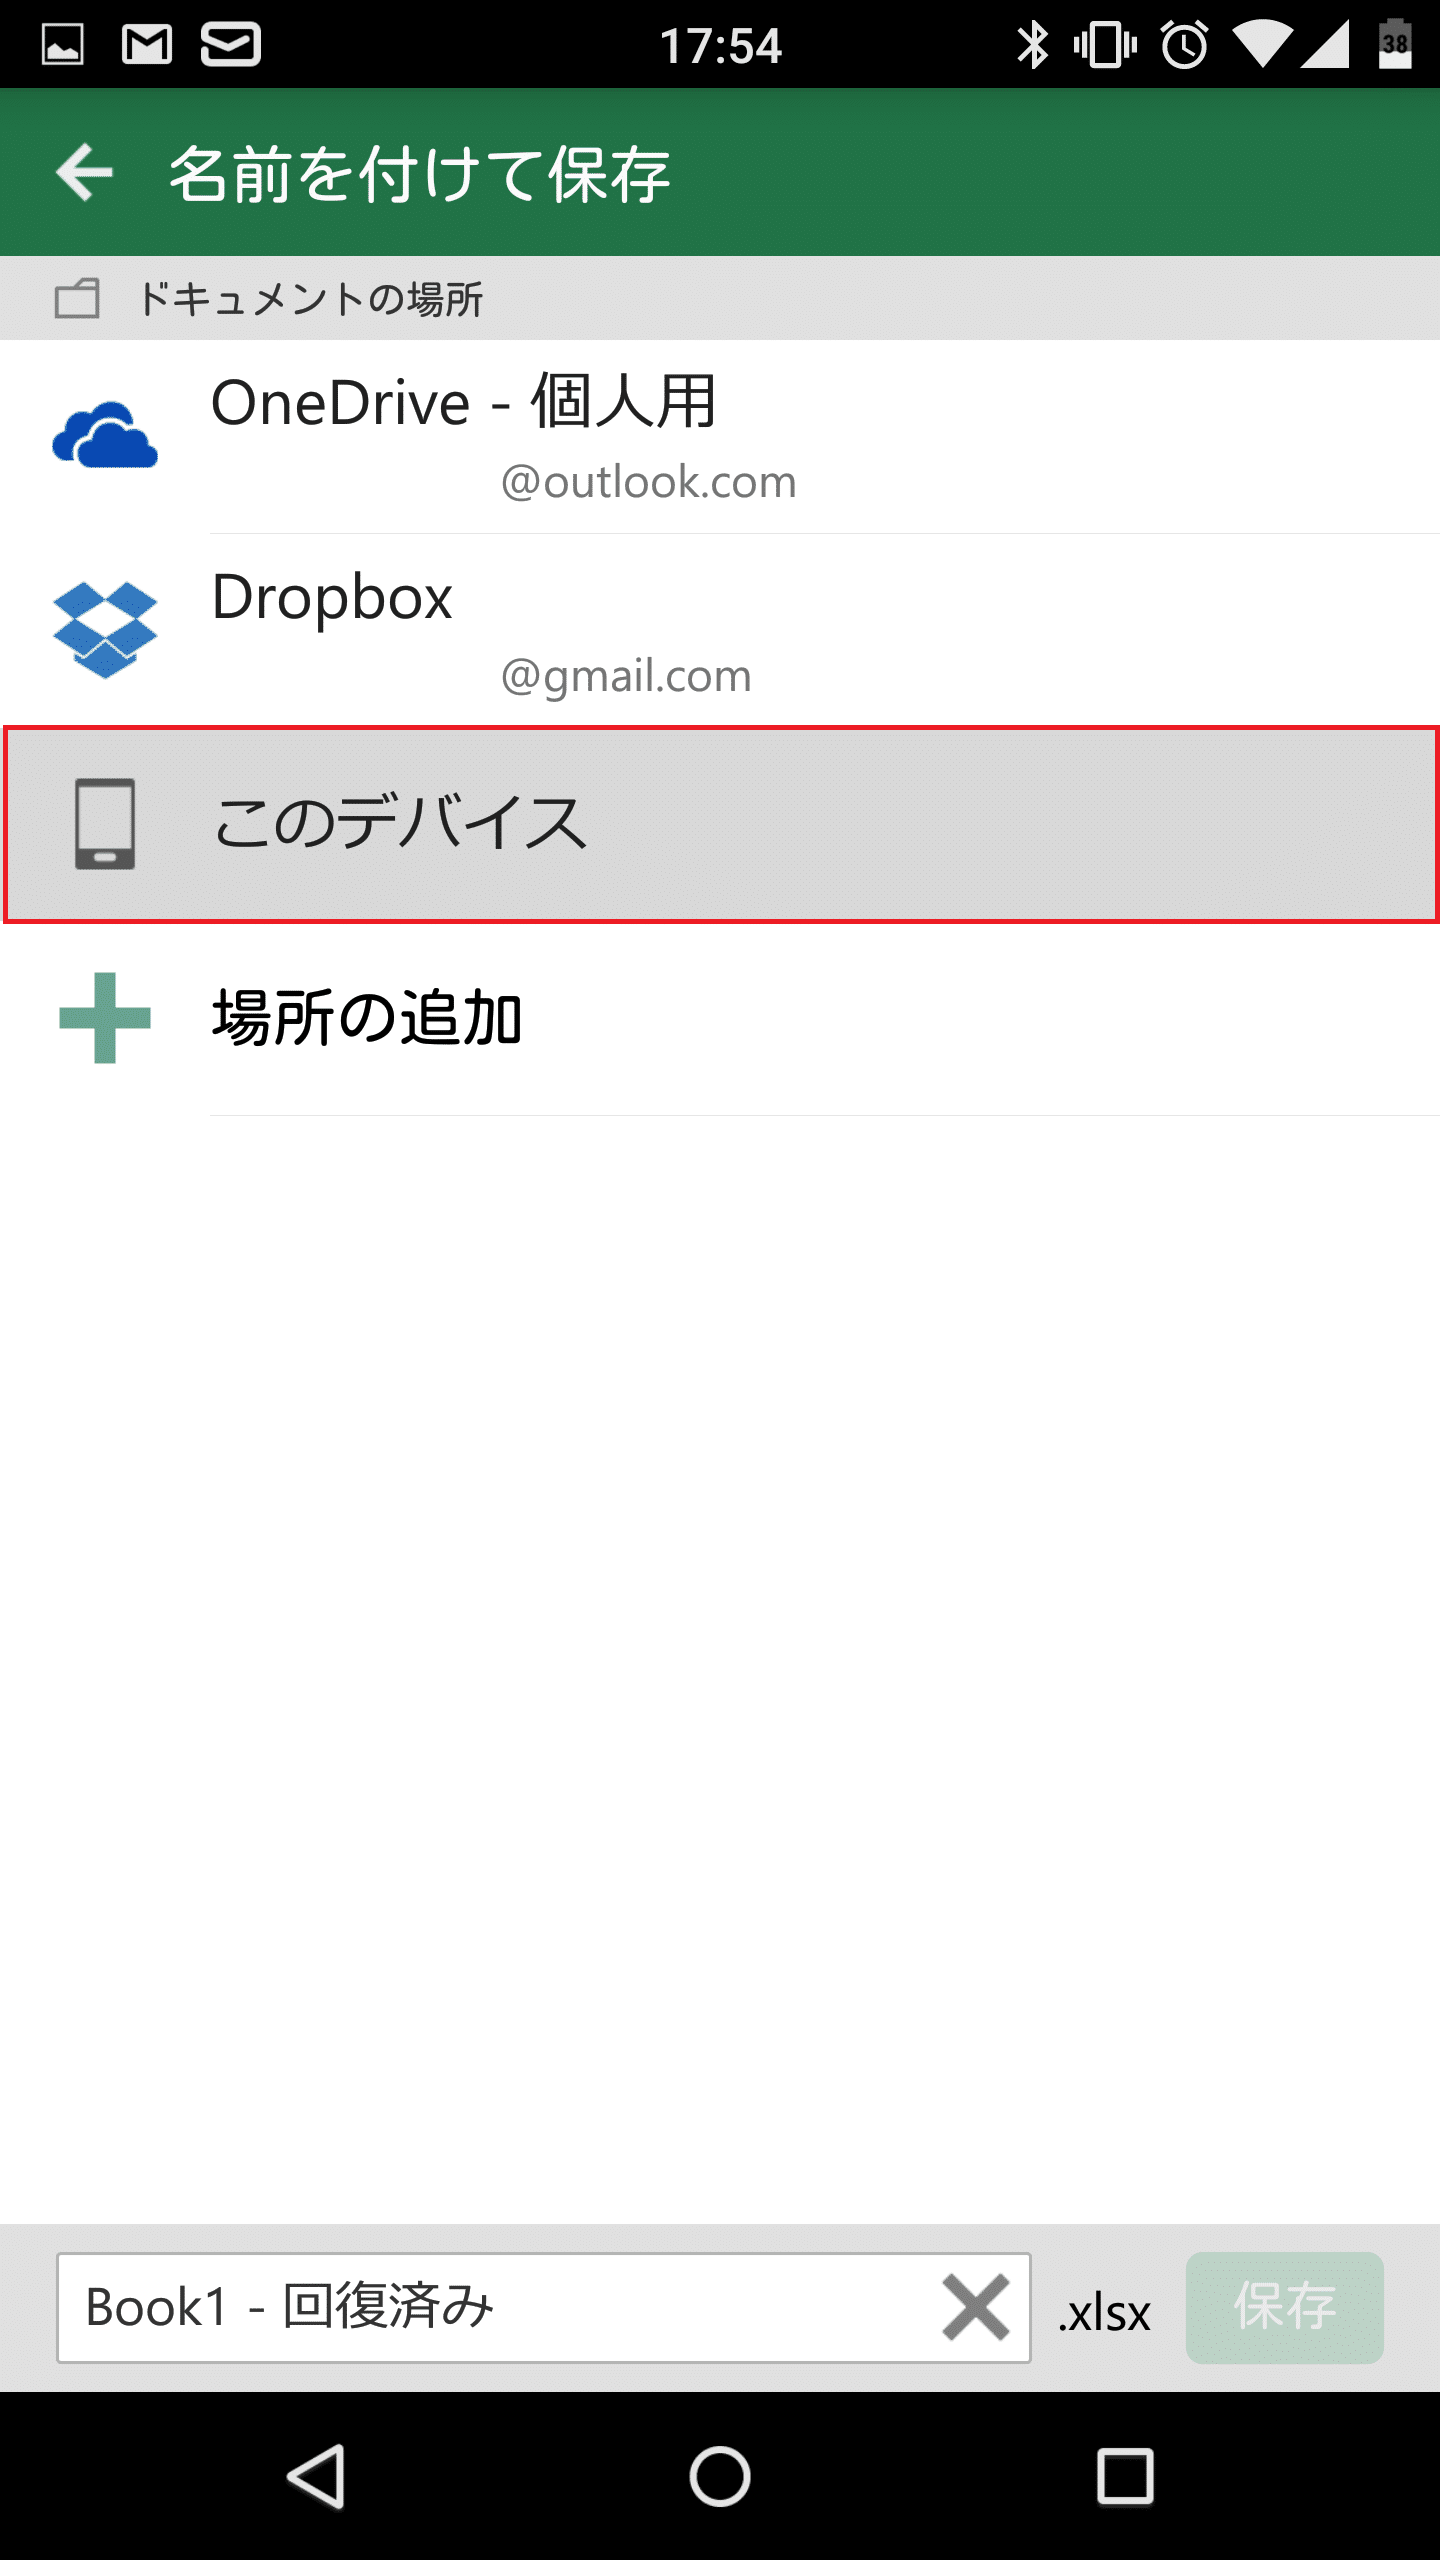
OneDrive、Dropbox、Androidスマホから保存先を選べます。今回はAndroidスマホを選びました。
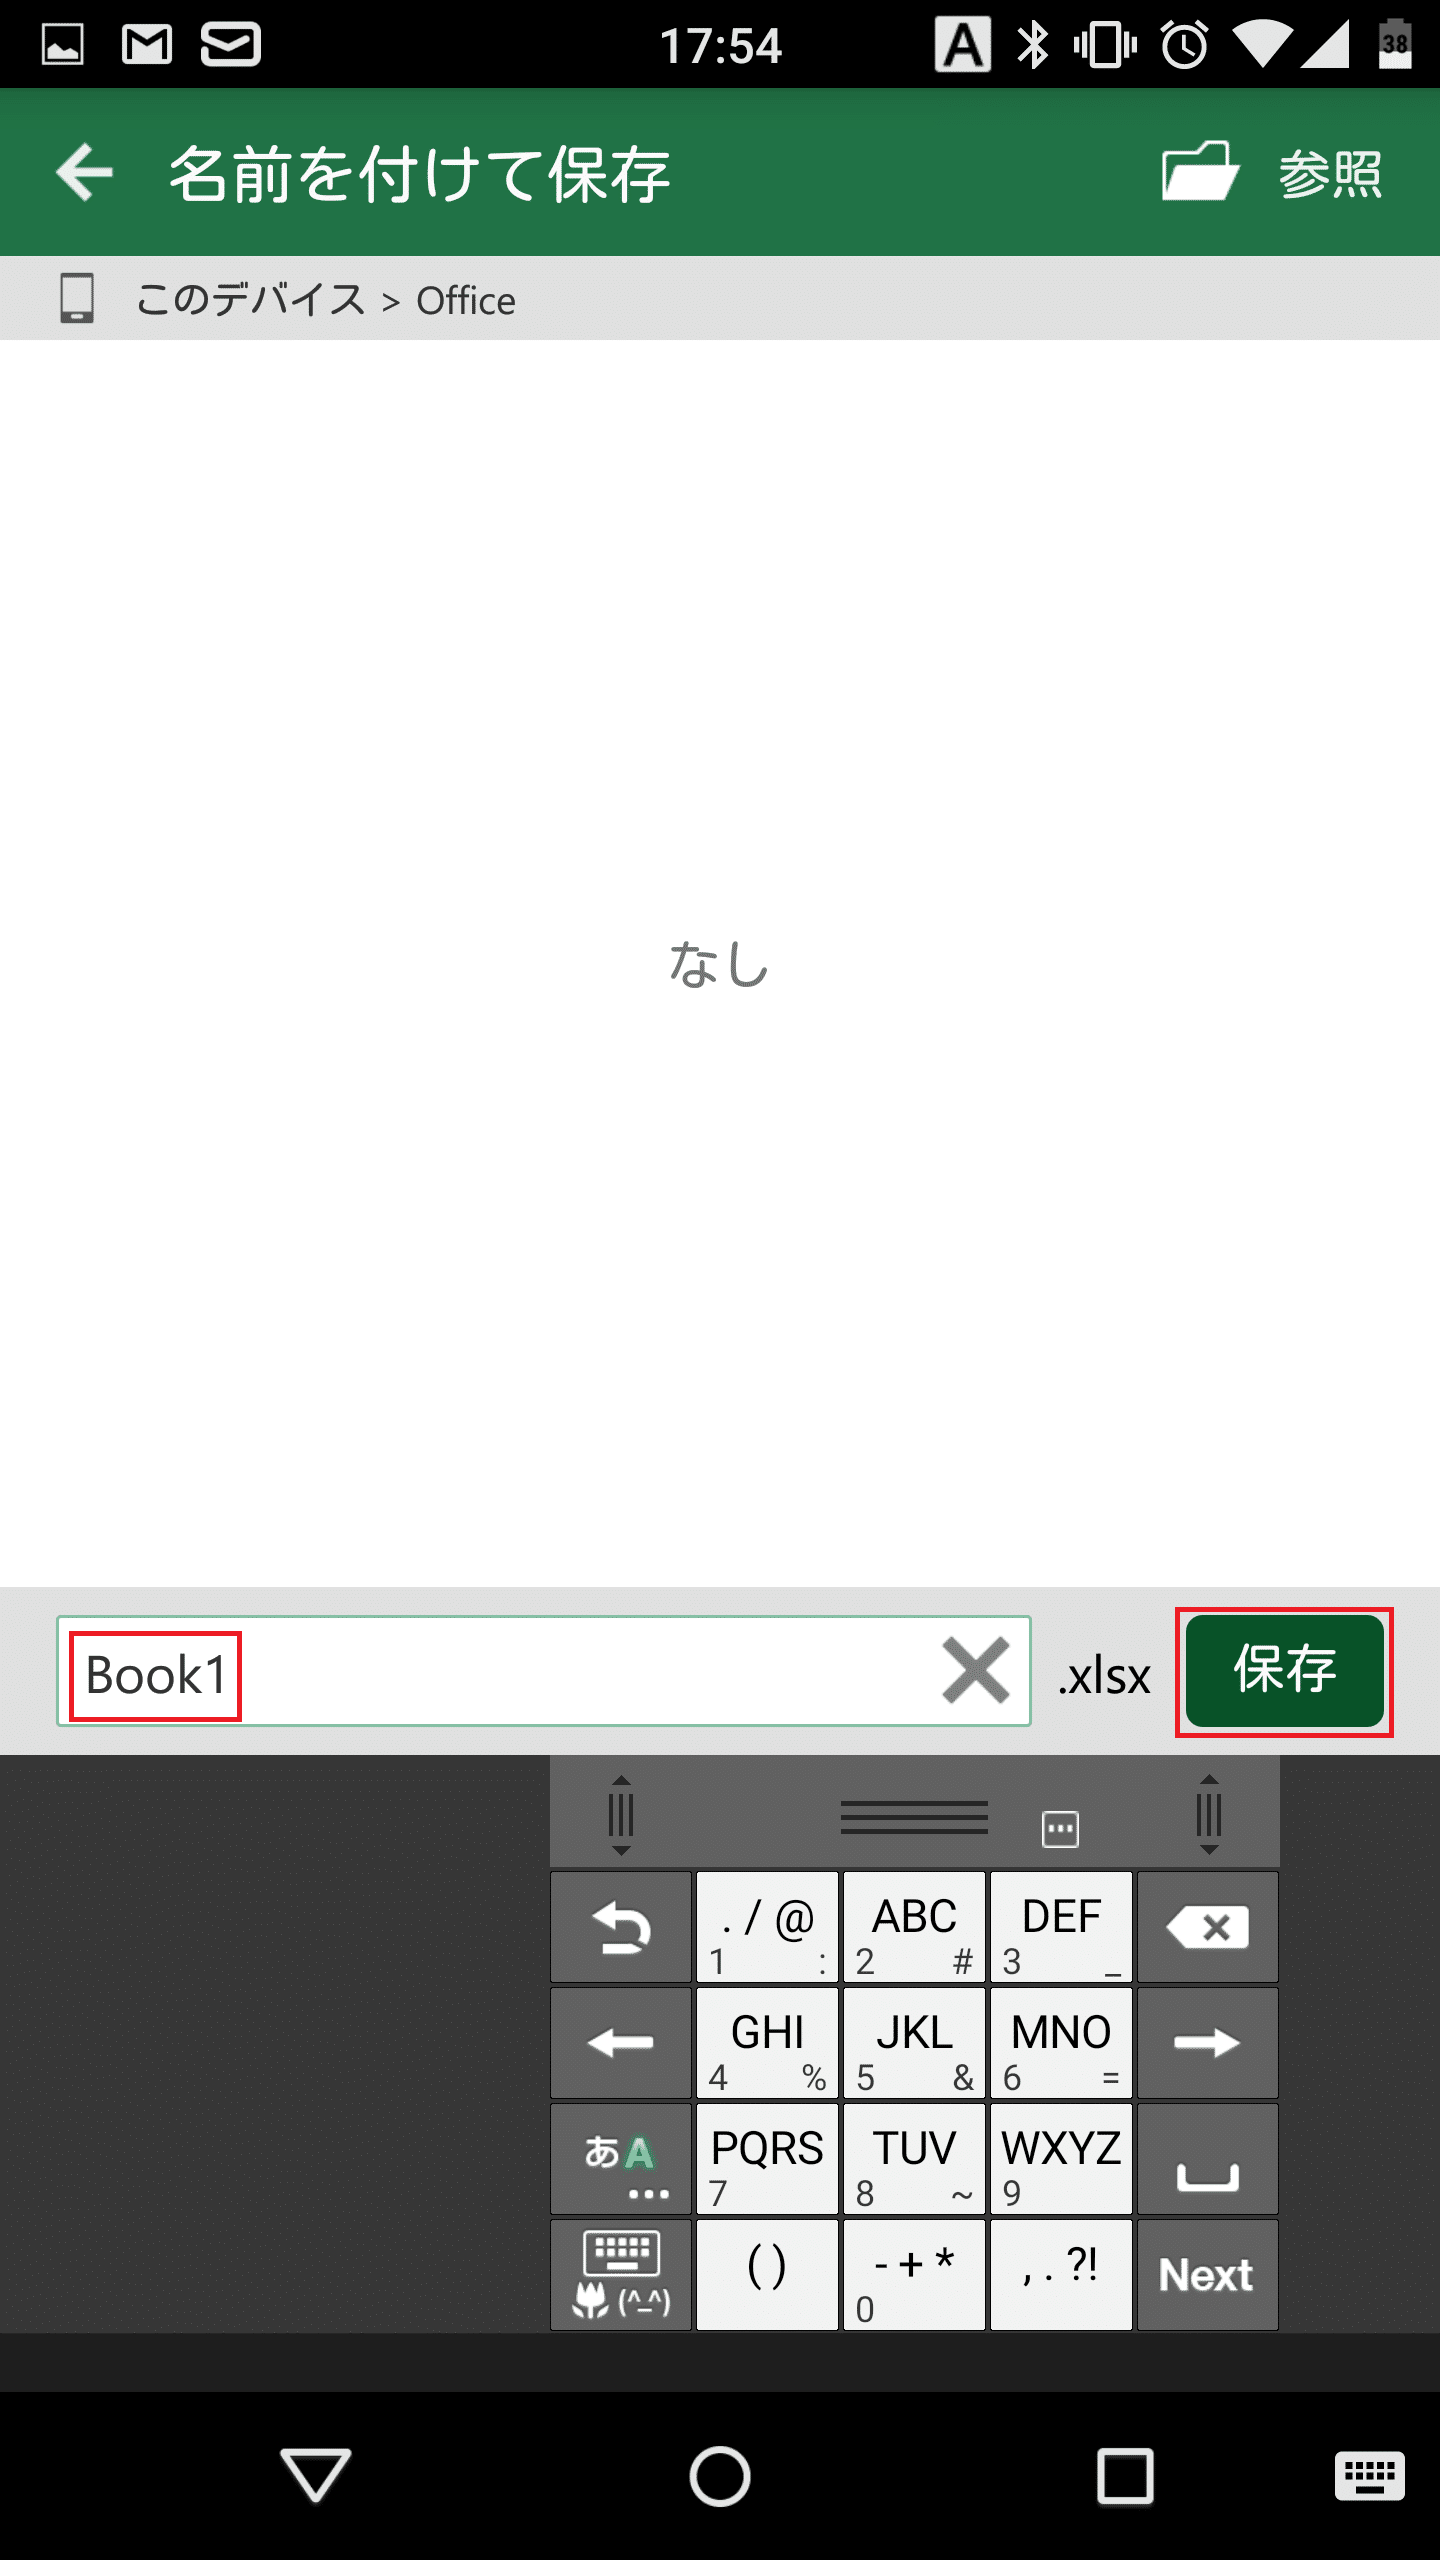
保存したいフォルダをタップして指定します。

ブック名を付けて「保存」をタップします。
Excelブックが保存されました。
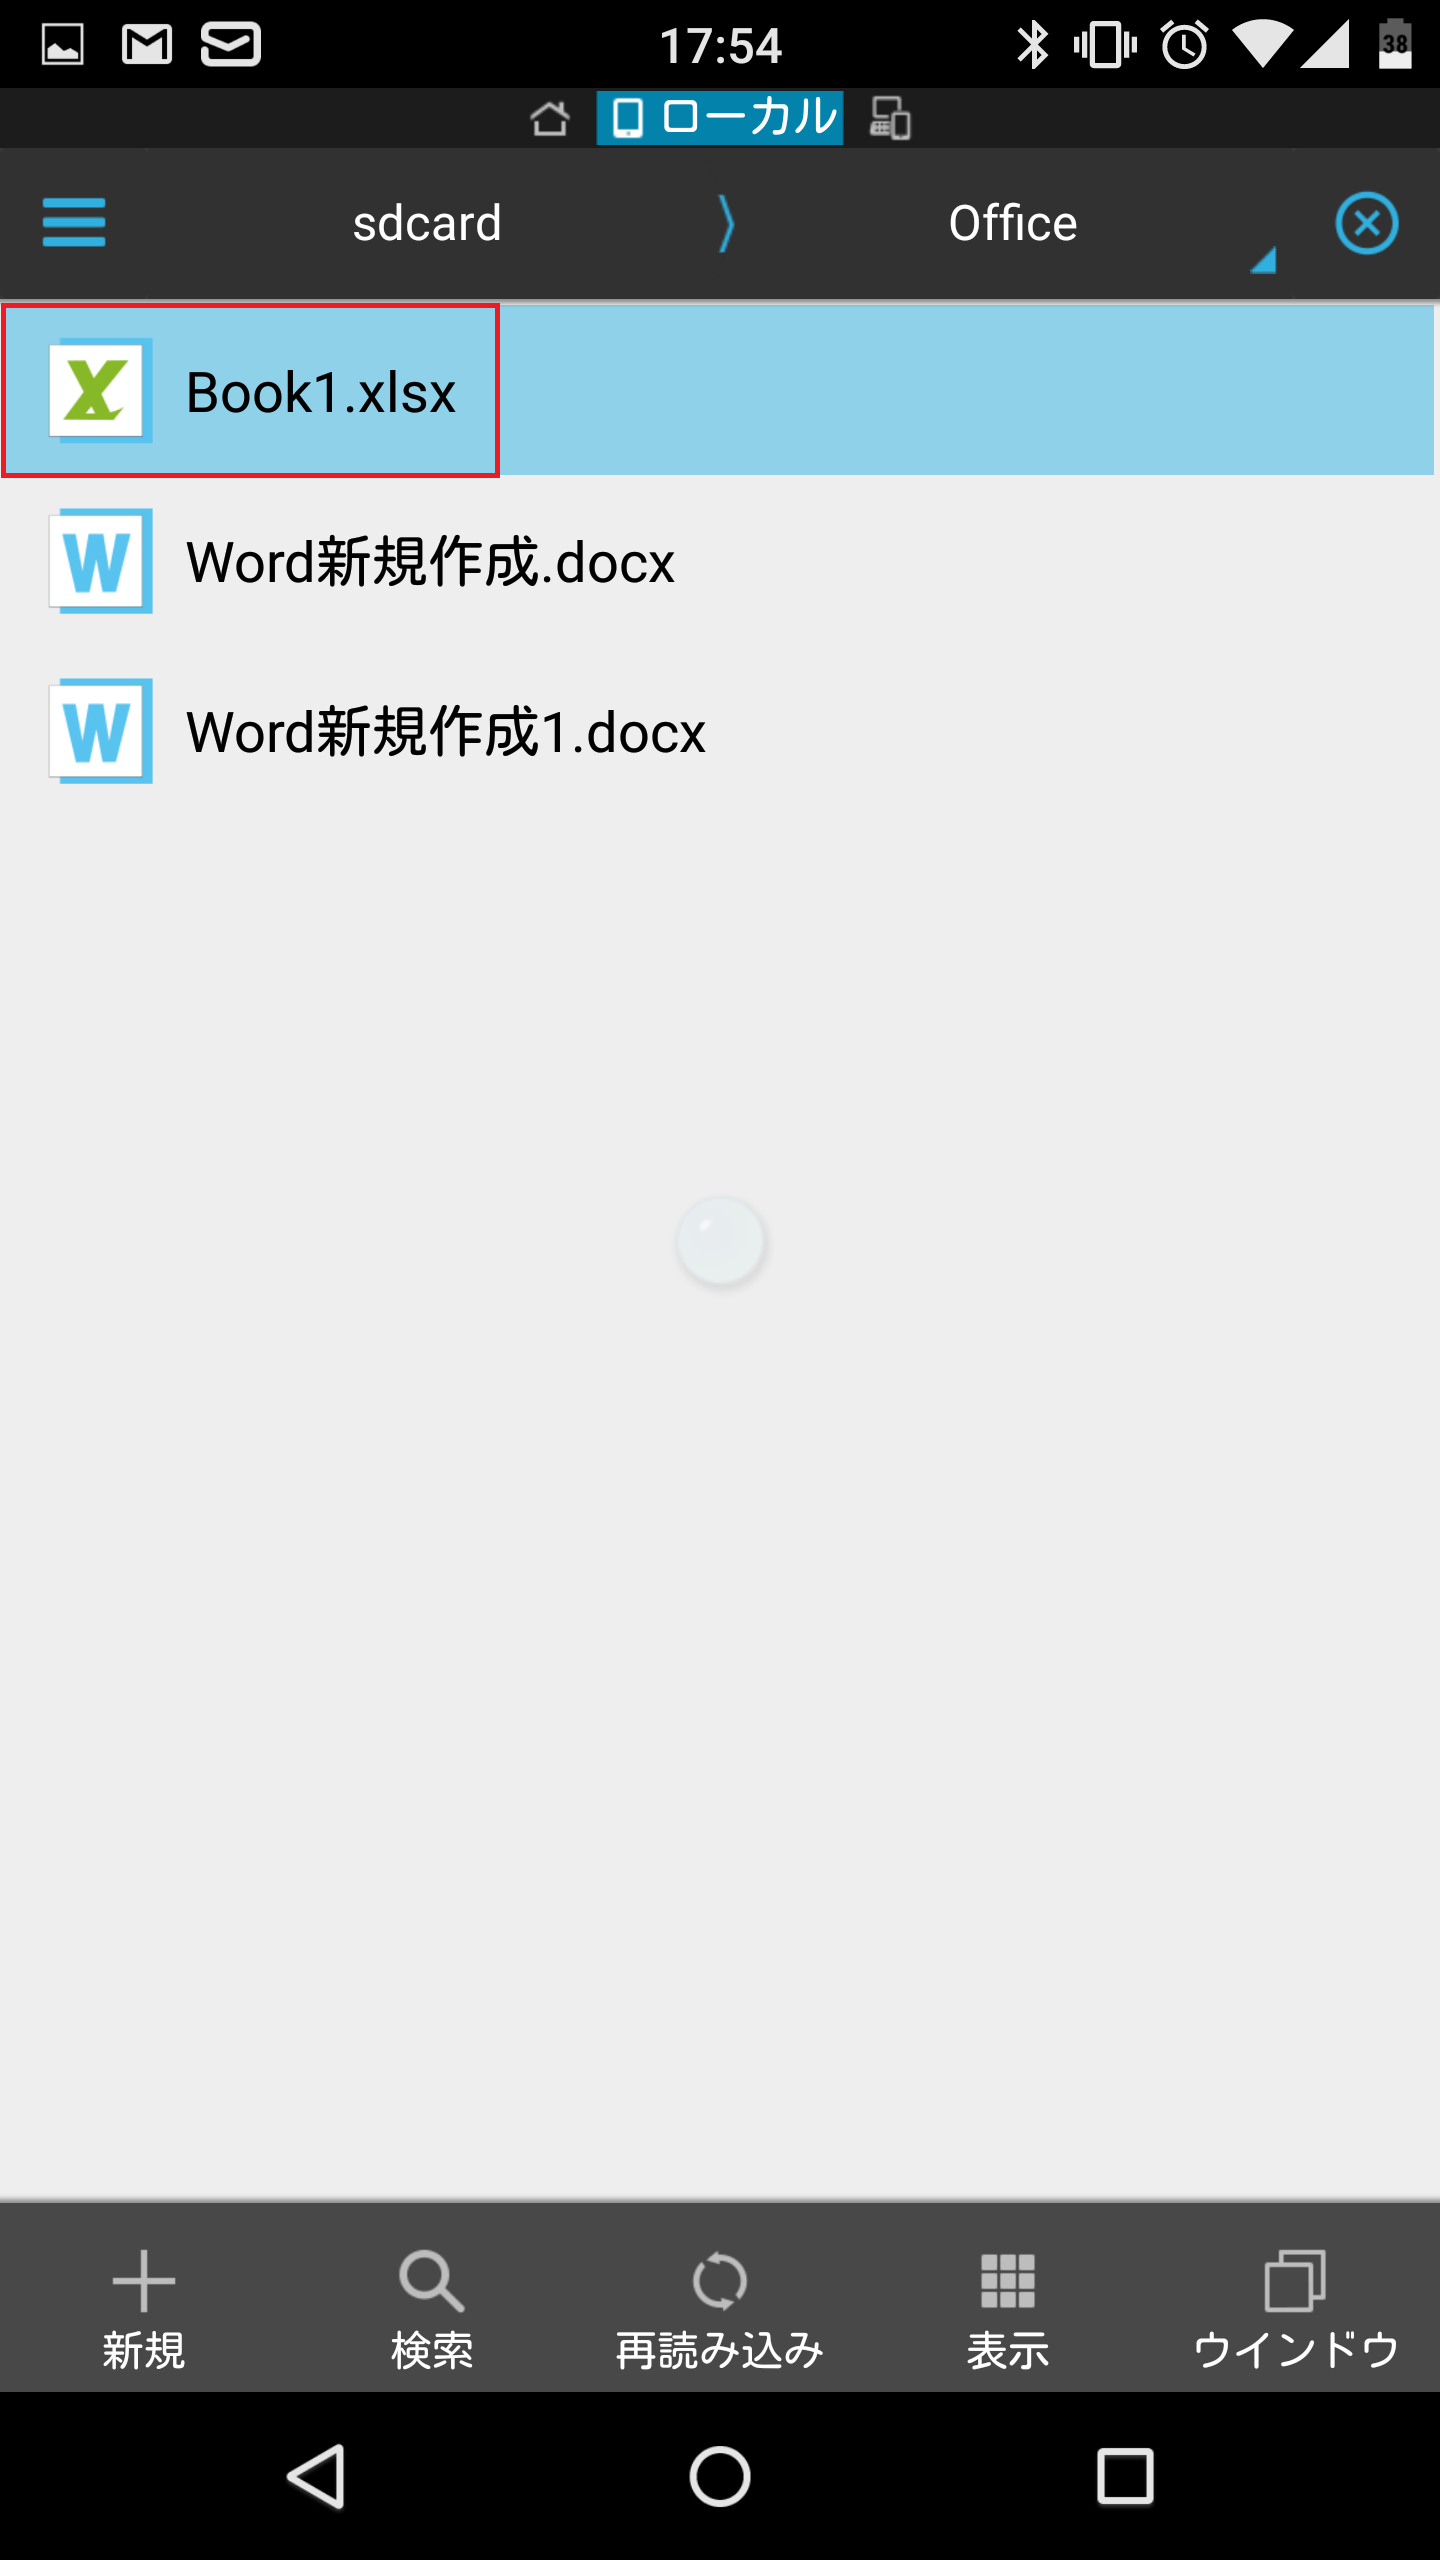
Excelブックをタップすると、ブックを開くアプリ候補一覧にExcelが表示されます。

上書き保存する
上書き保存する方法は2つあります。1つめは、フロッピーアイコンをタップする方法です。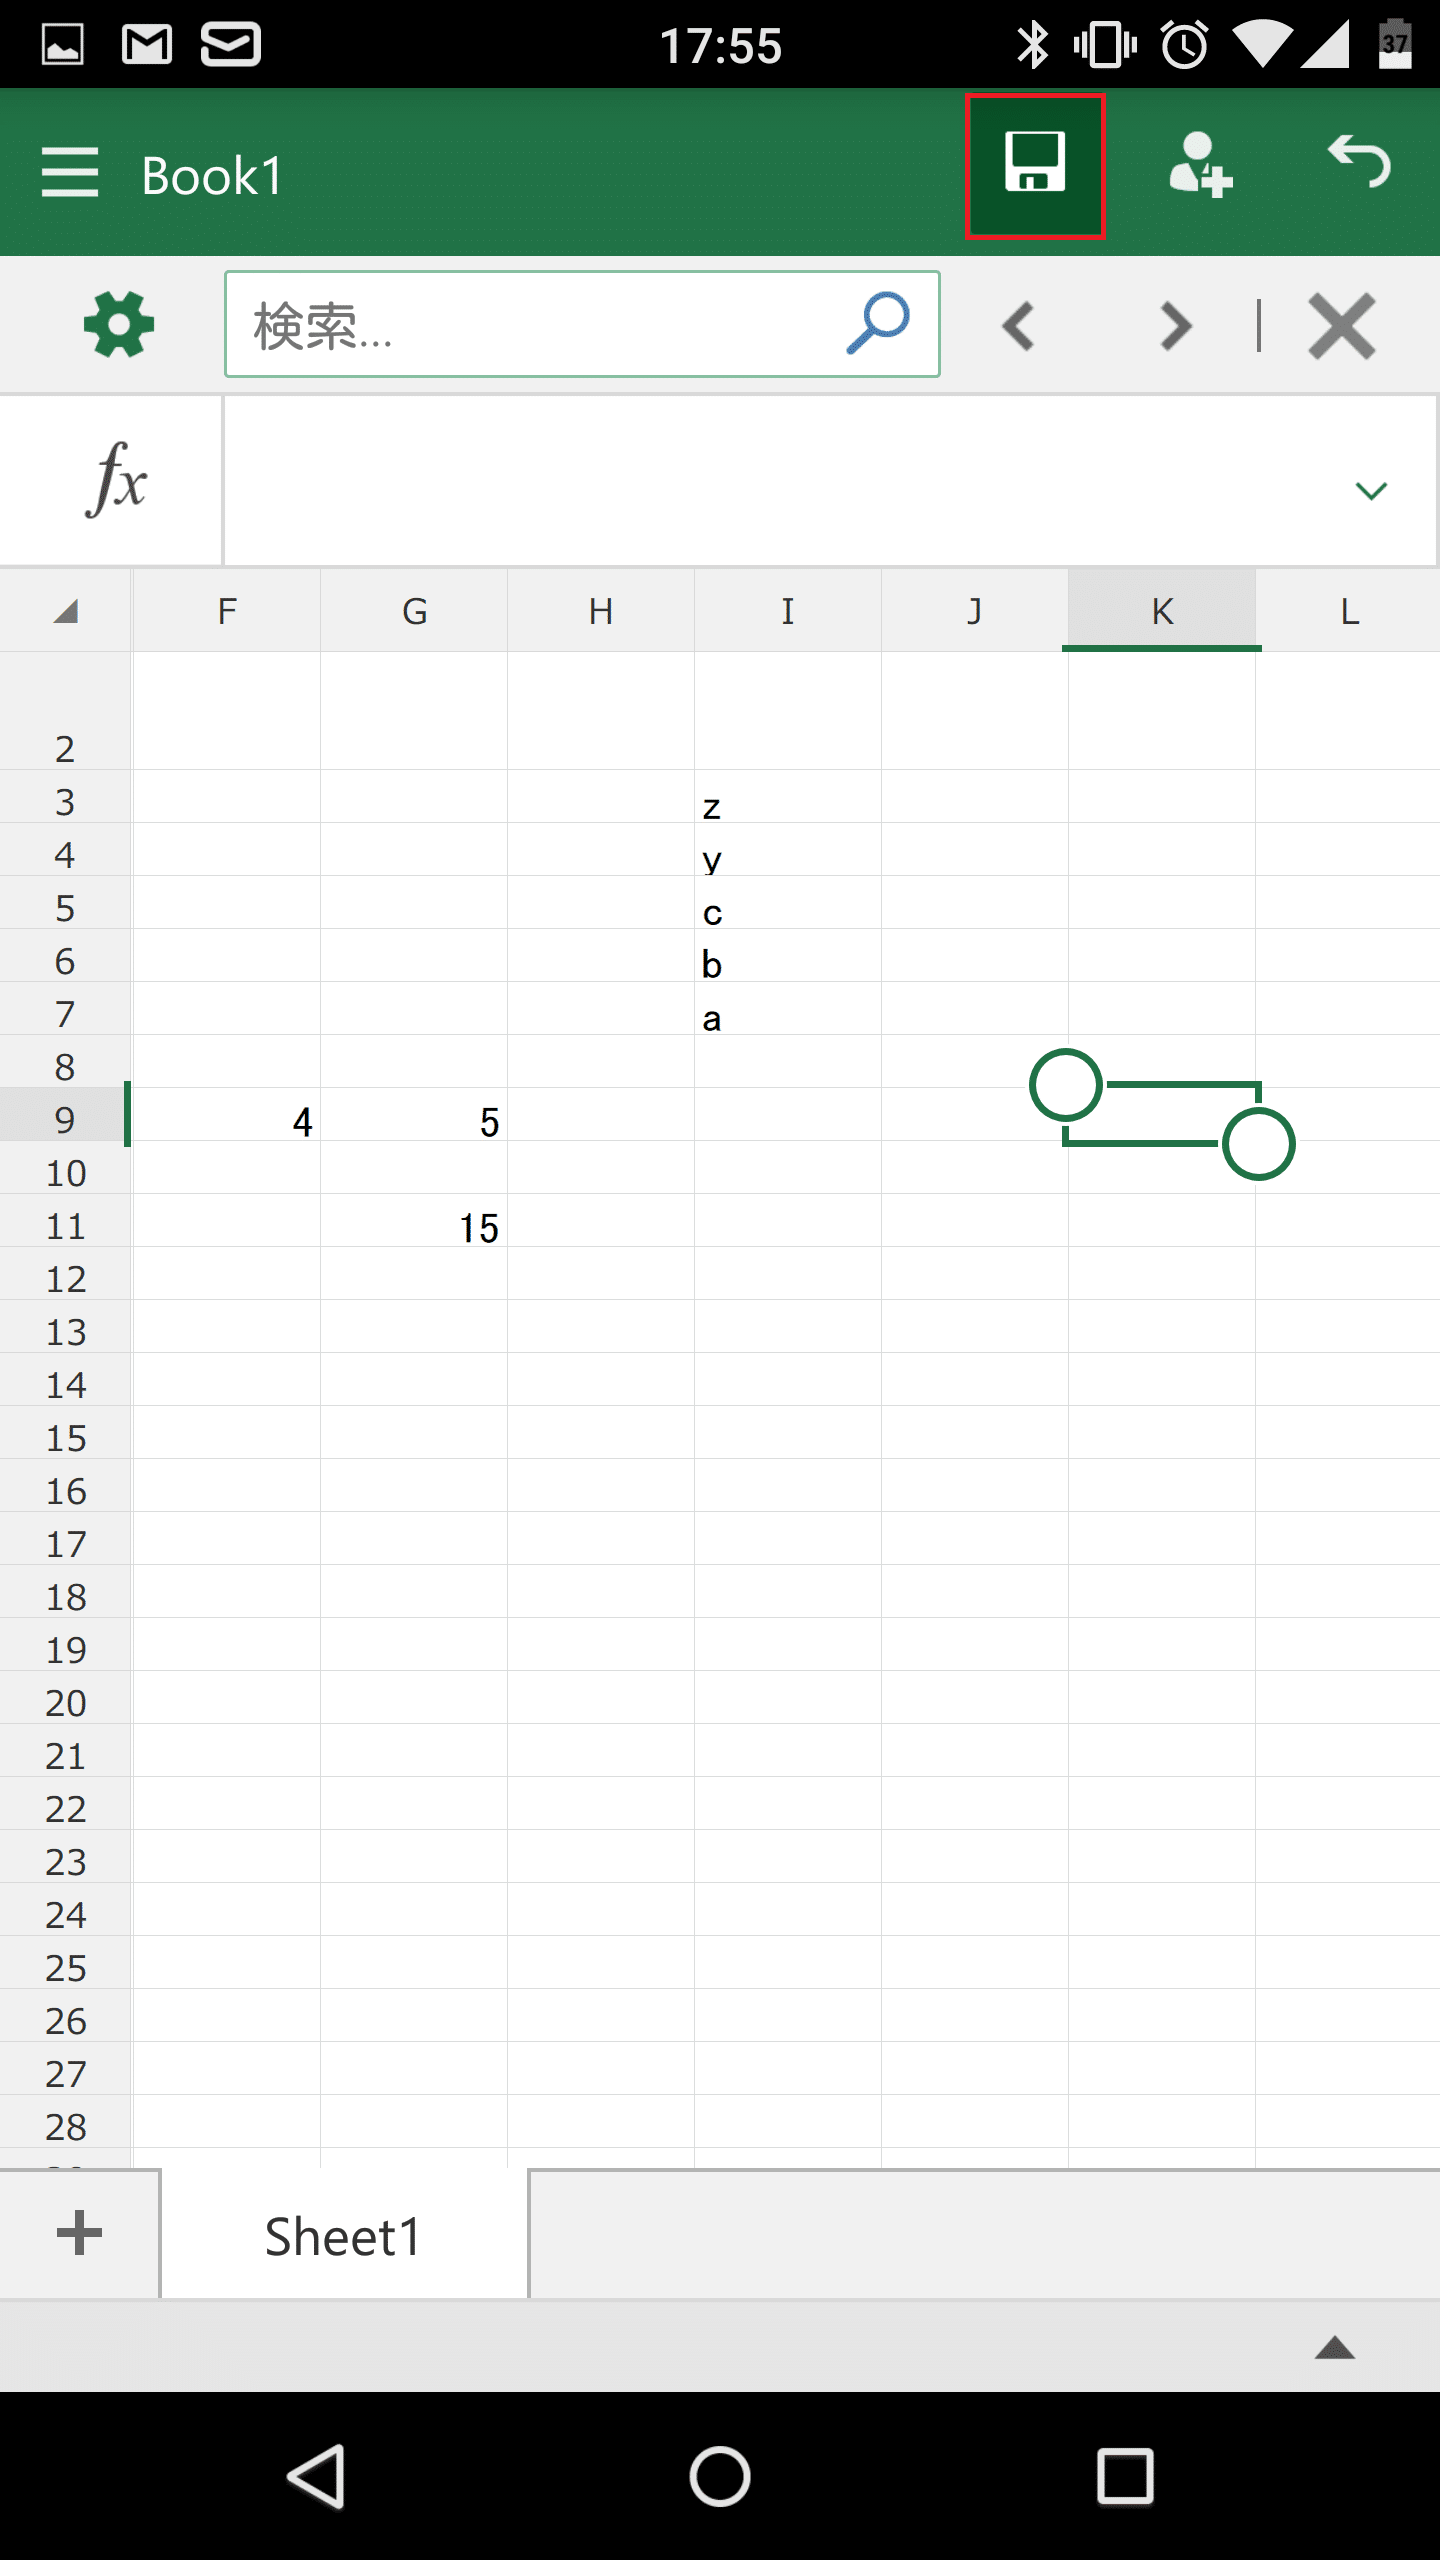
2つめはメニューアイコンから「上書き保存」をタップする方法です。好みの方法で上書き保存してください。

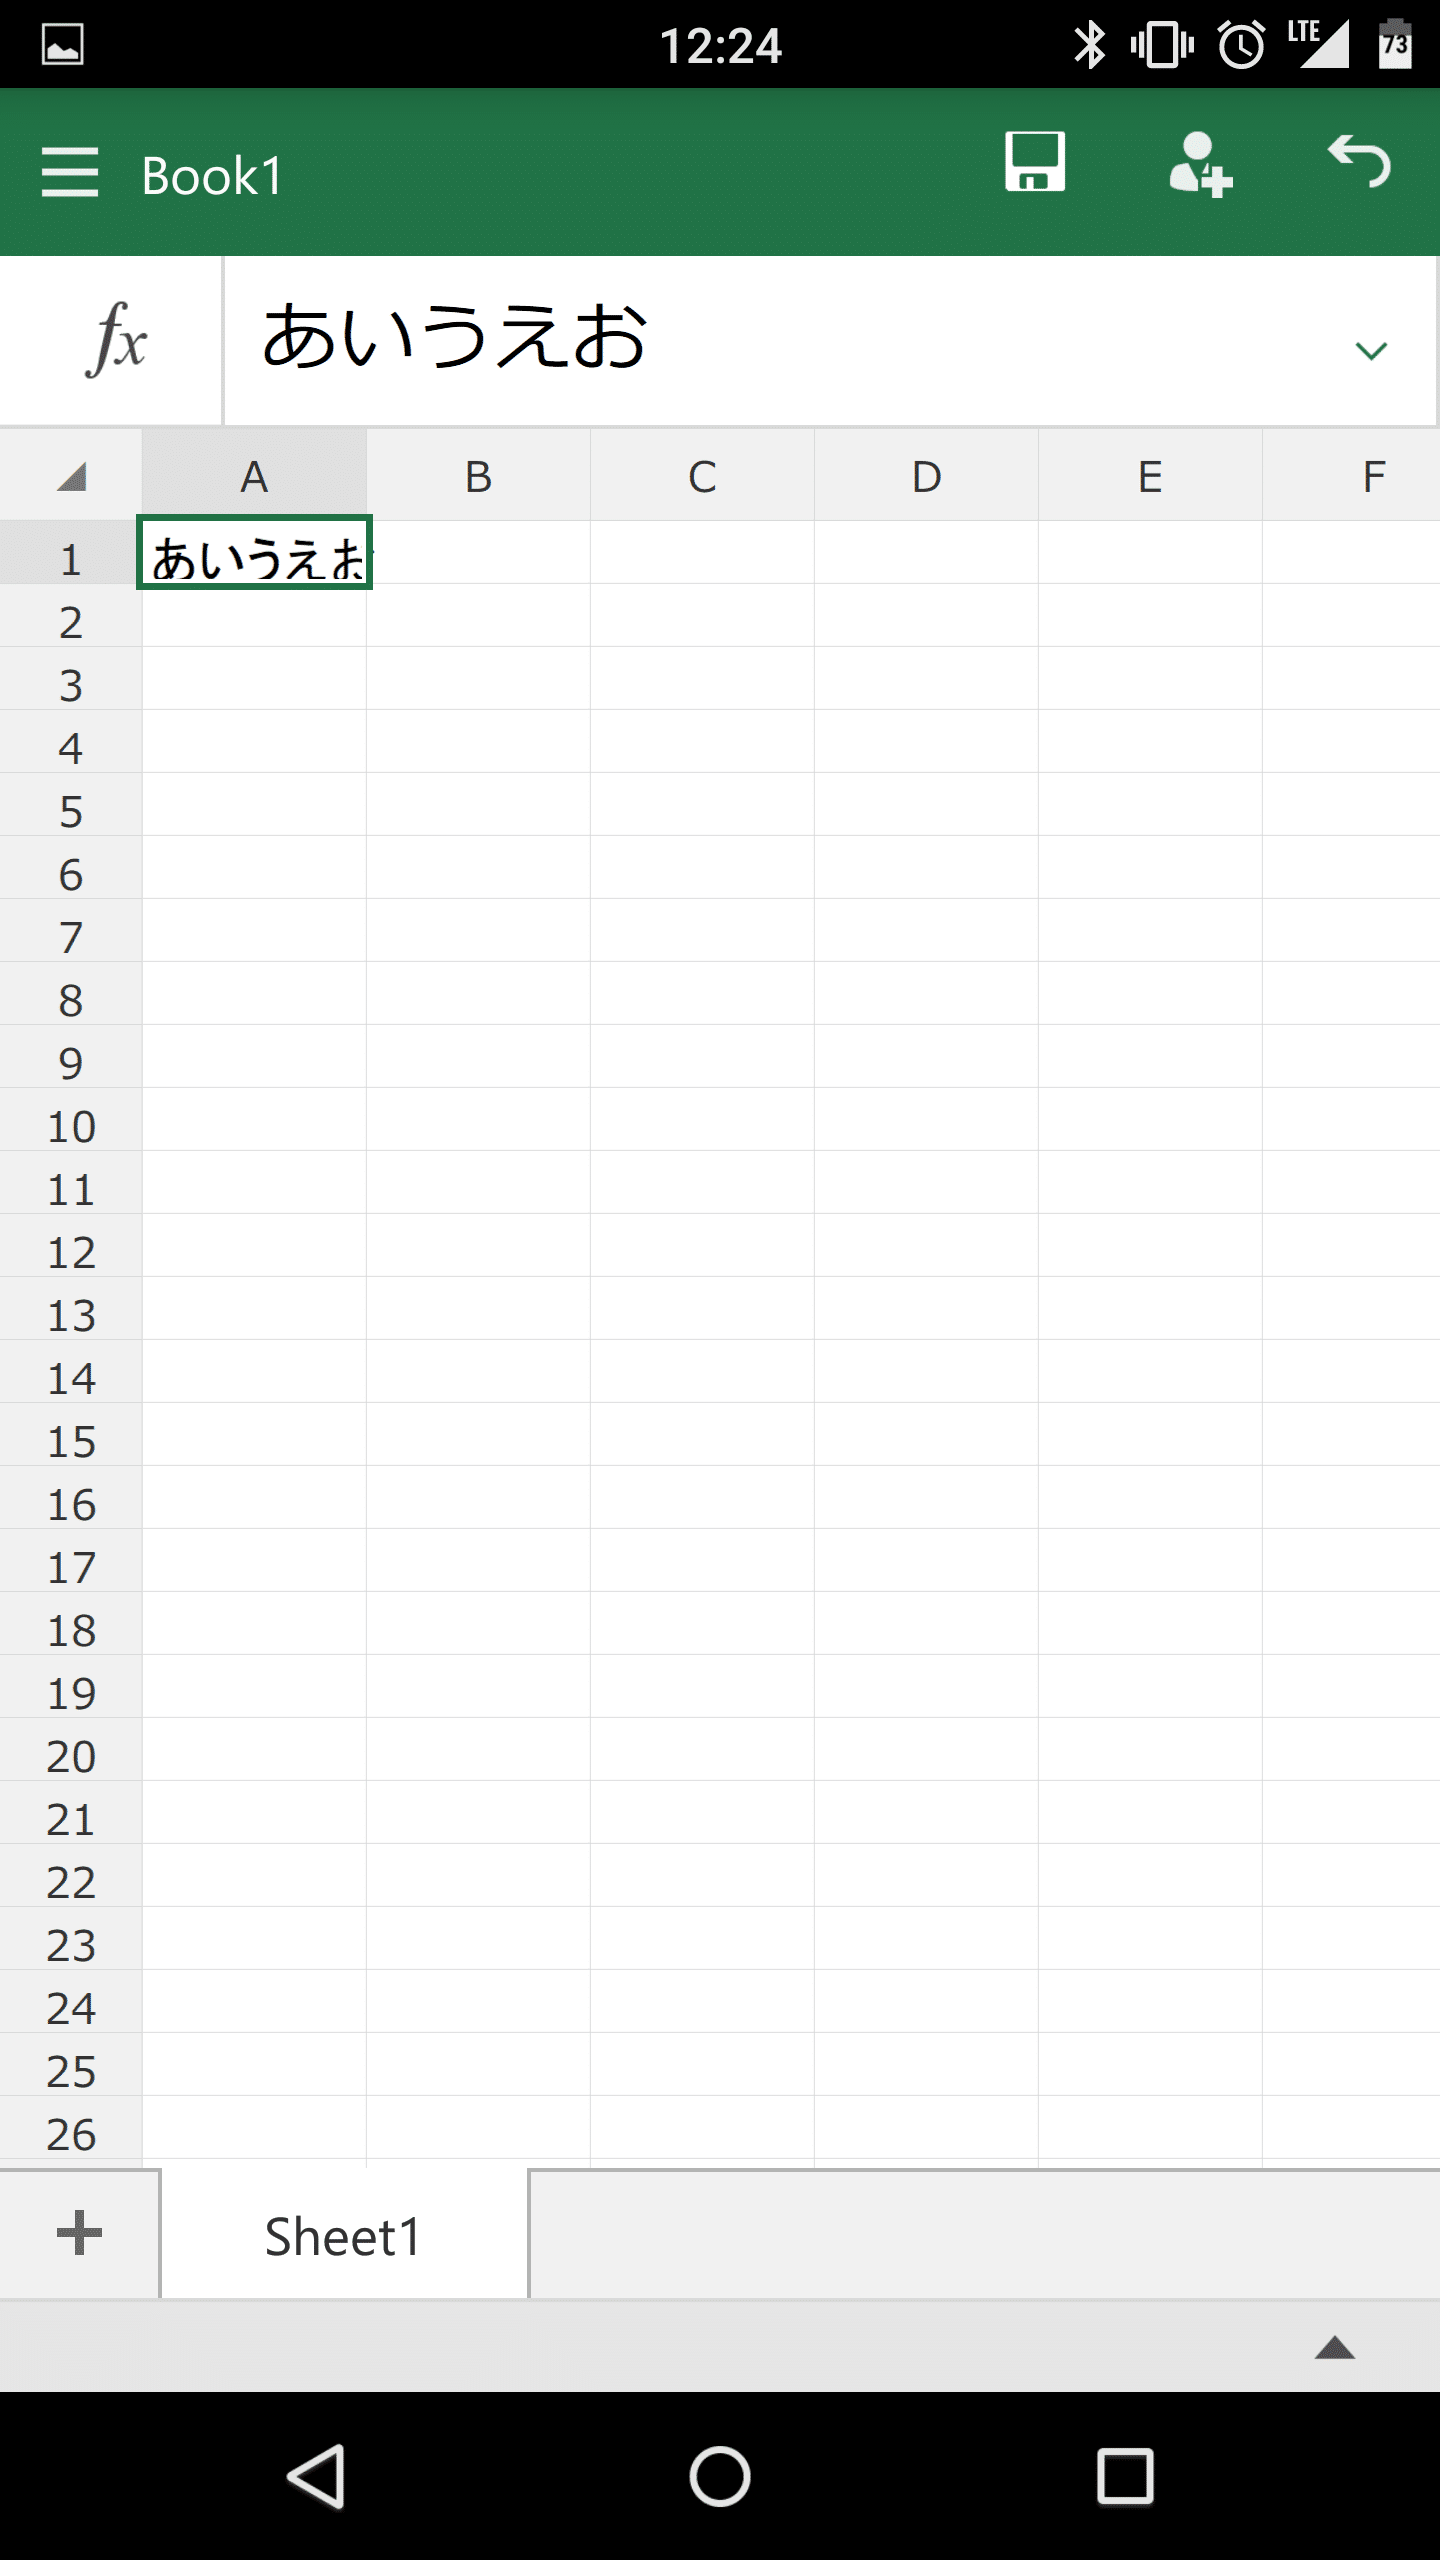
セル内に文字を入れる
Microsoft Excel Androidスマホ版でセル内に文字を入れるには、文字を入力したいセルをダブルタップします。
すると、文字入力ができる状態になって文字をセルに入れることができます。文字の入力が終わったら、右上のチェックマークをタップして確定します。
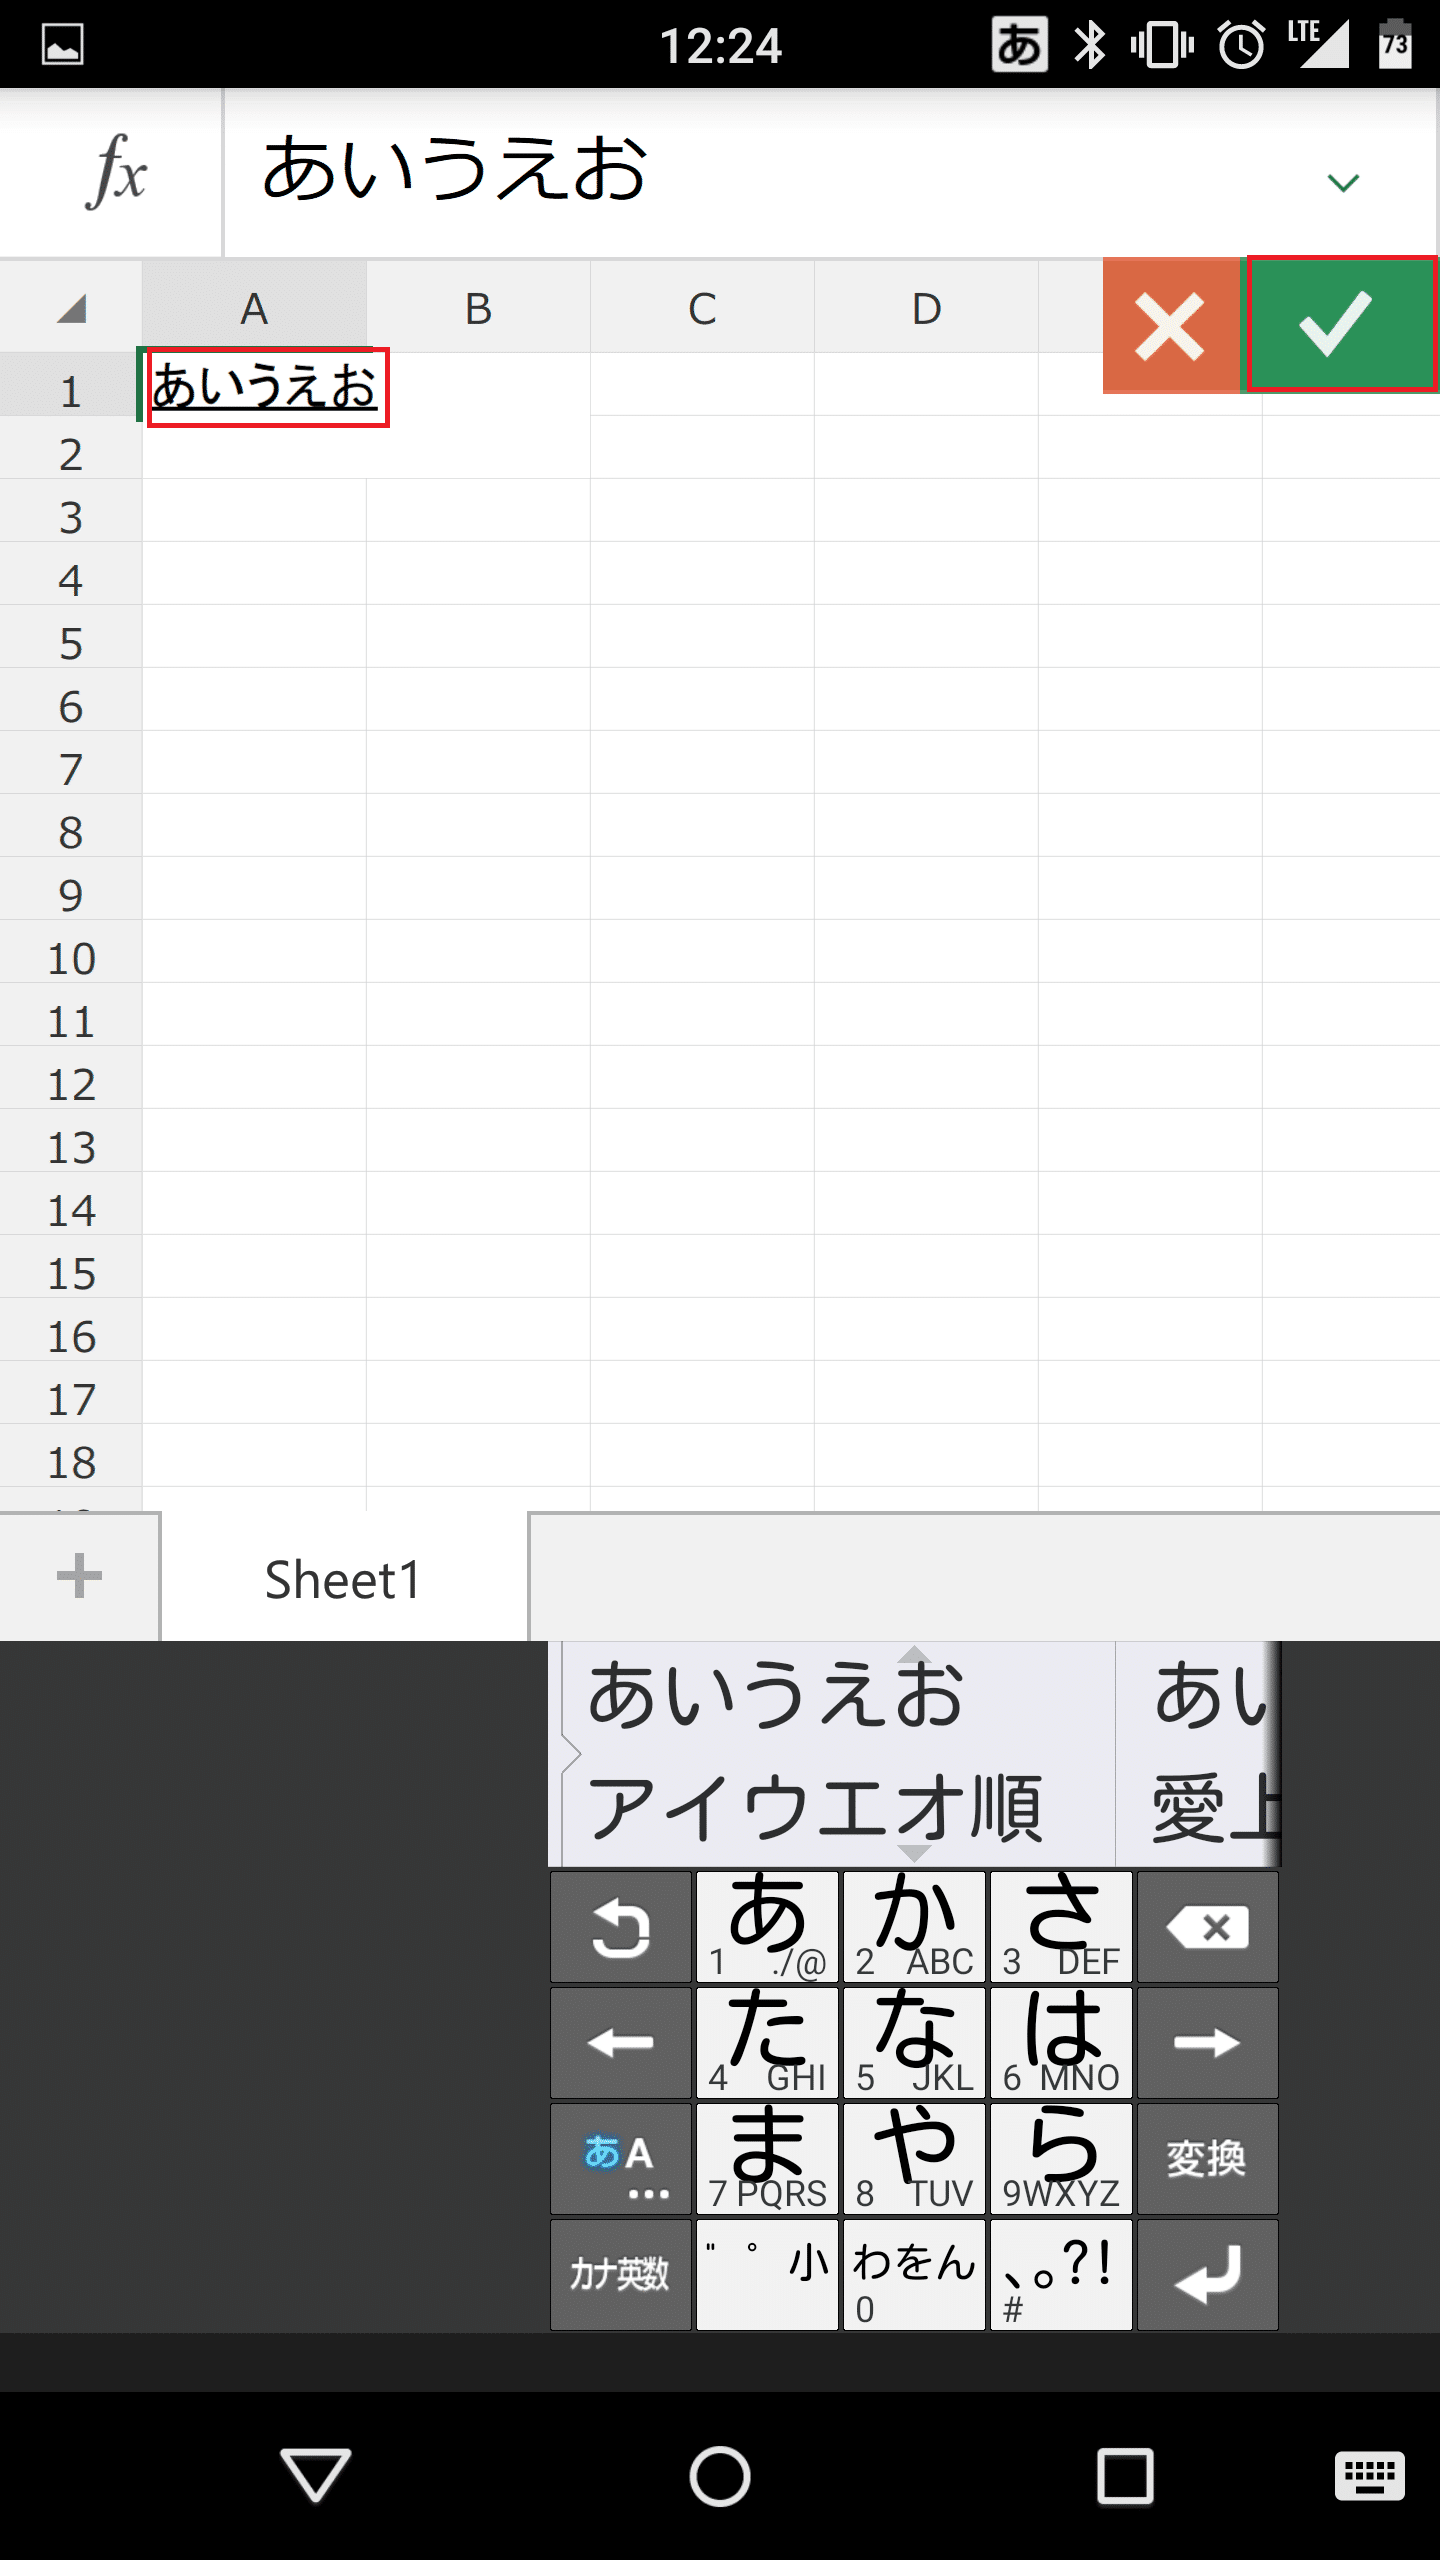
セルに文字が入りました。
文字を太字にする
文字を太字にするには、右下の「▲」をタップします。
「B」をタップします。
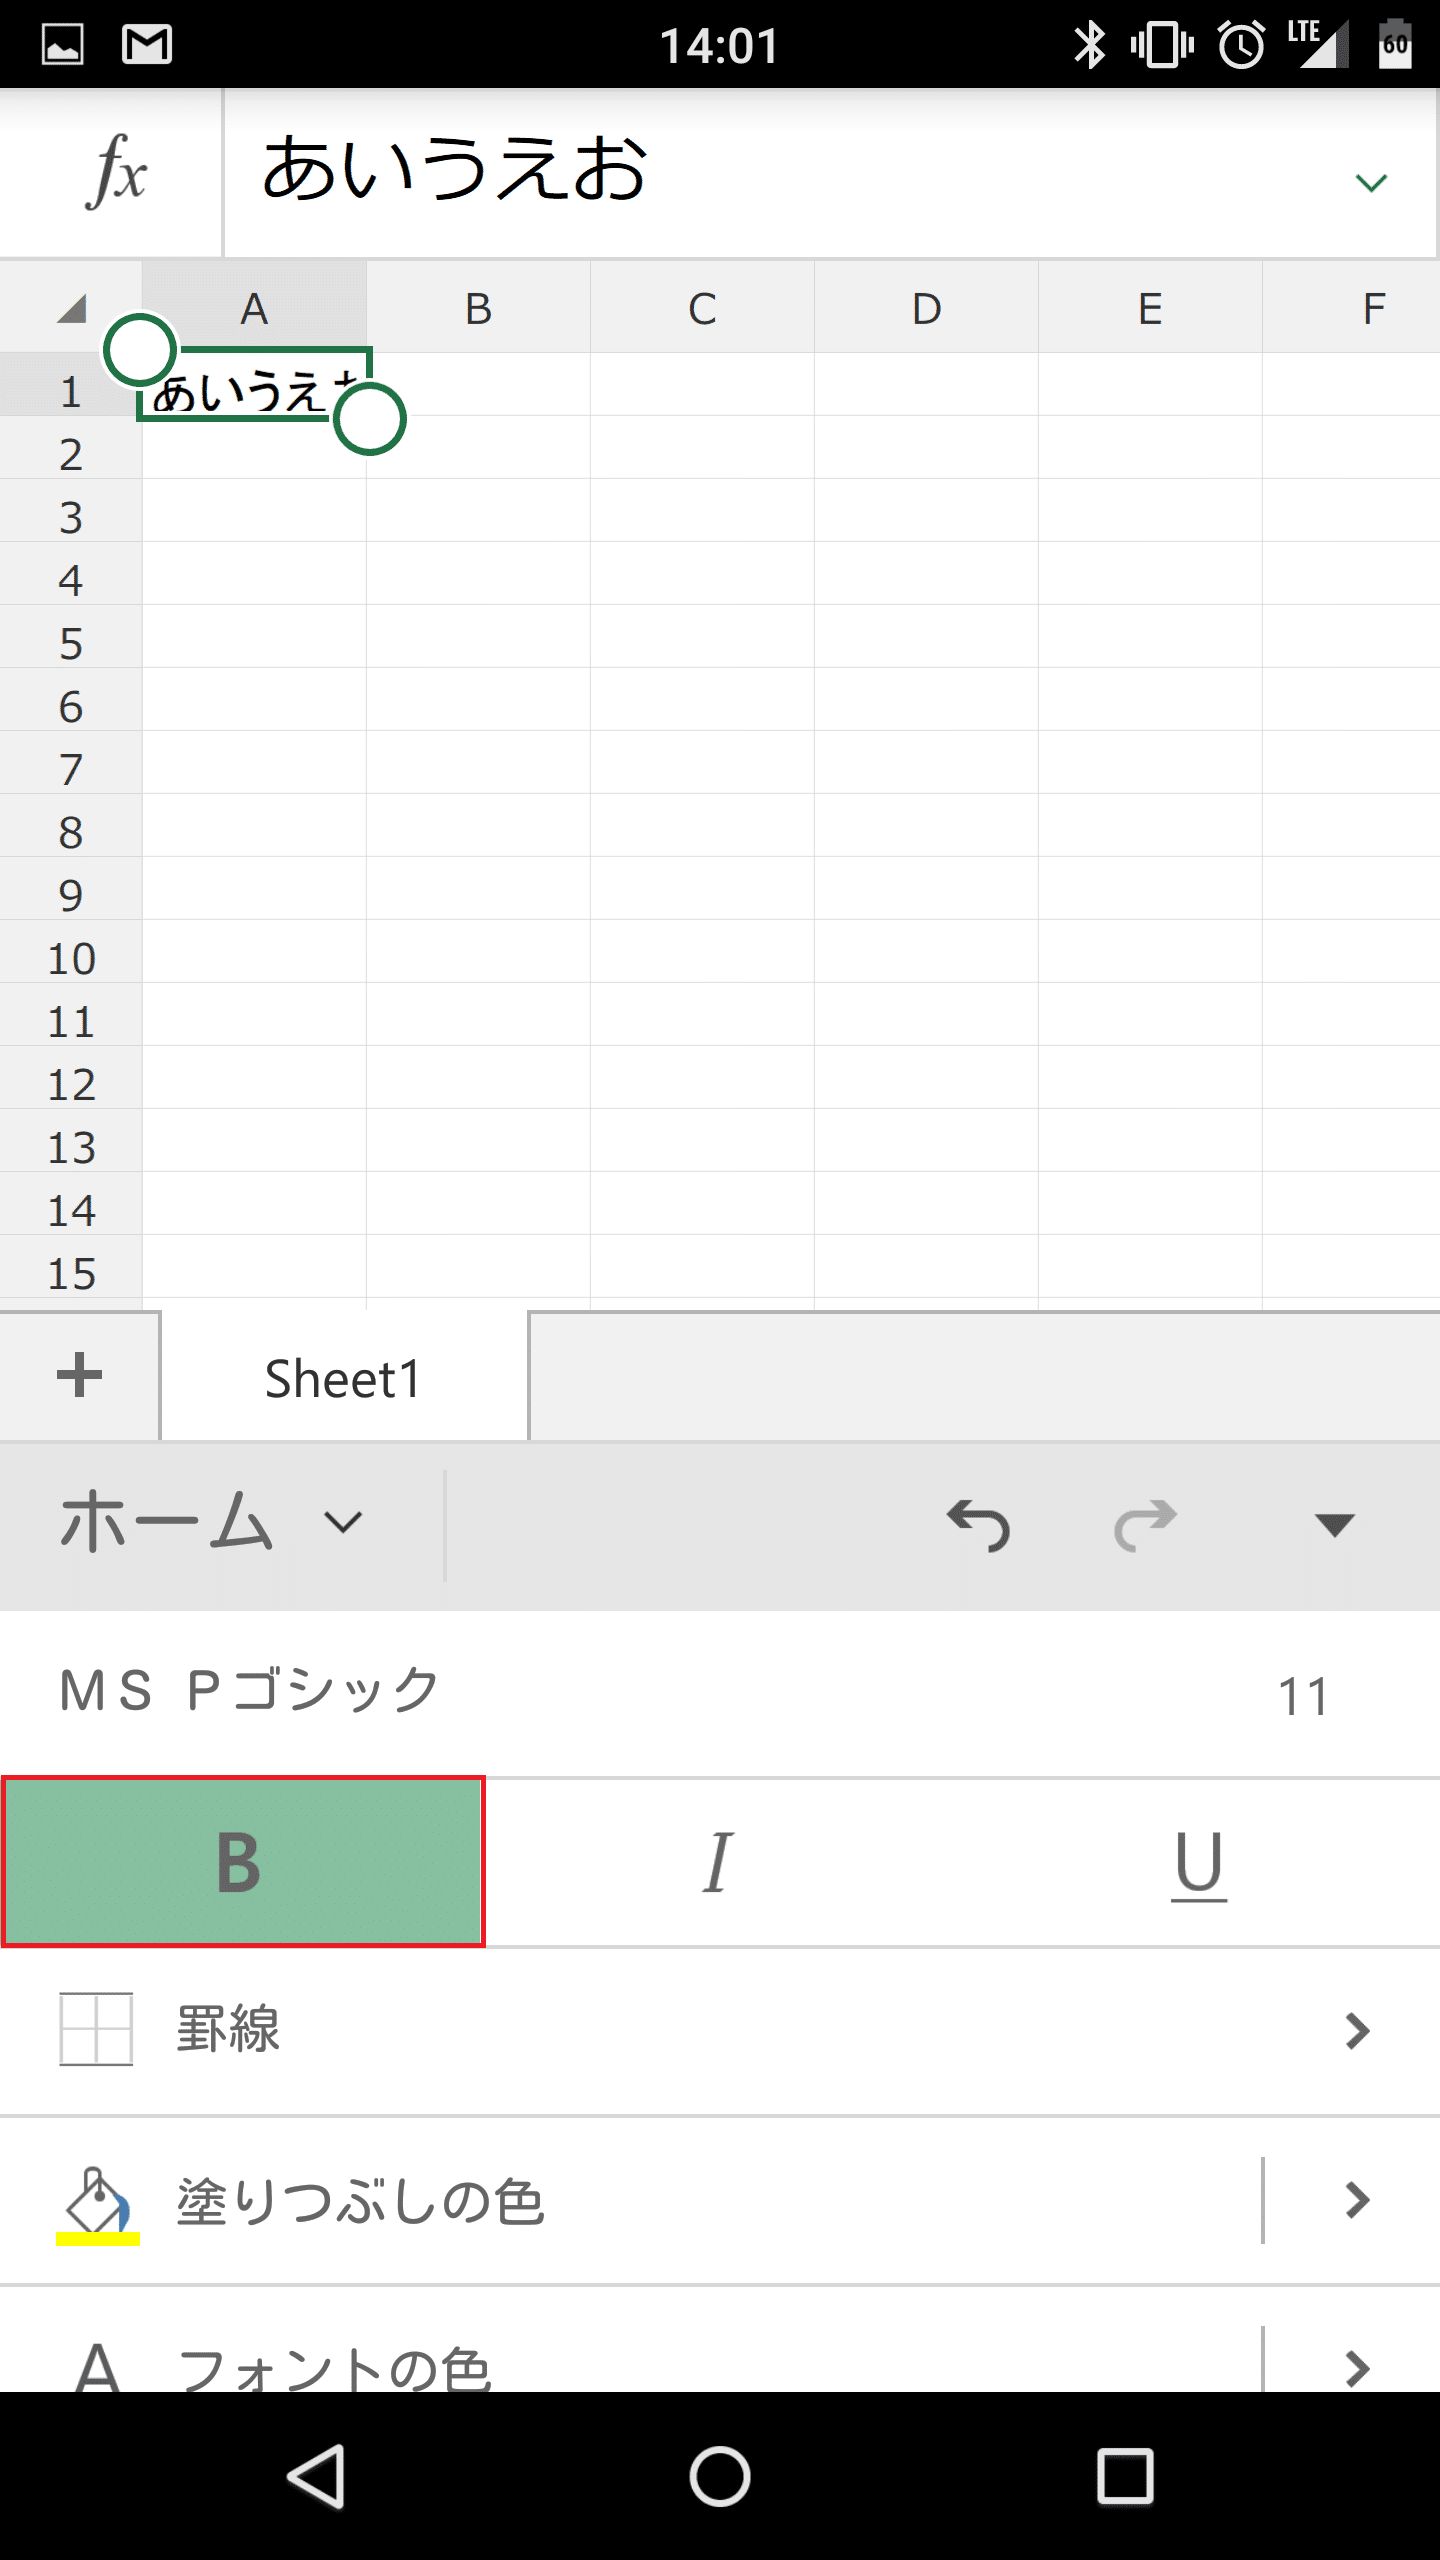
文字が太字になりました。
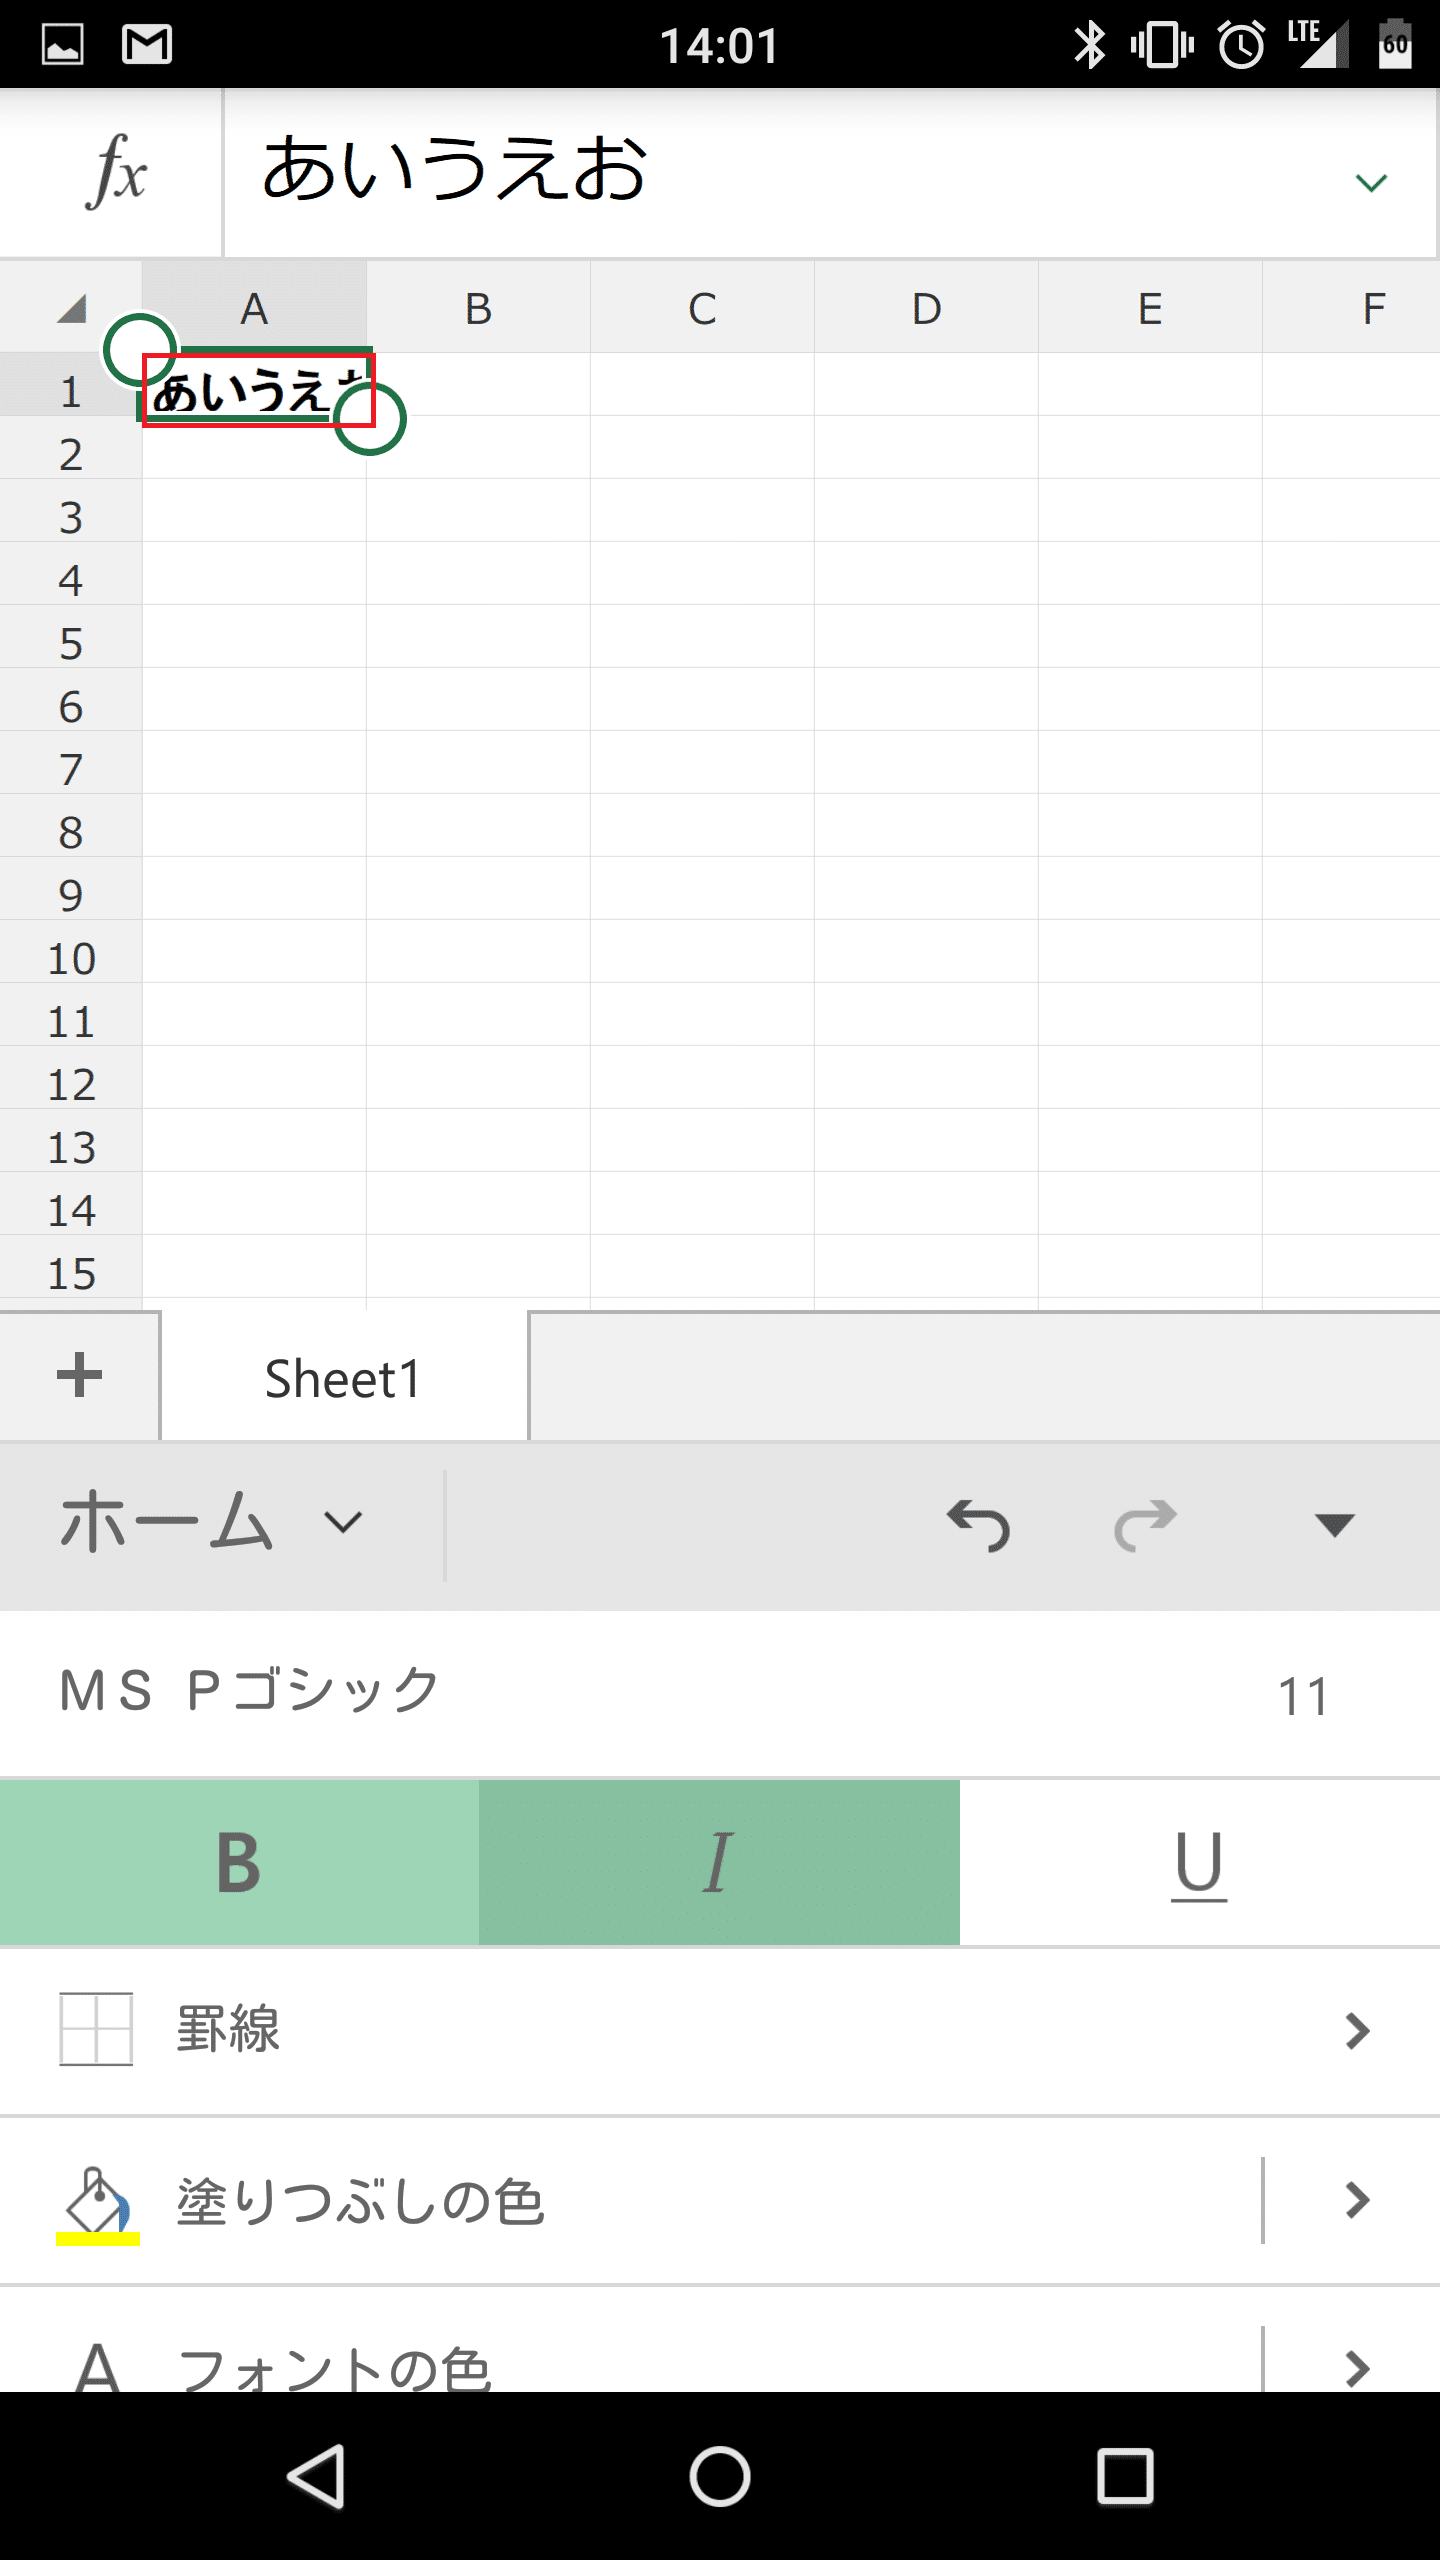
文字を斜めにする
文字を斜めにするには、「I」をタップします。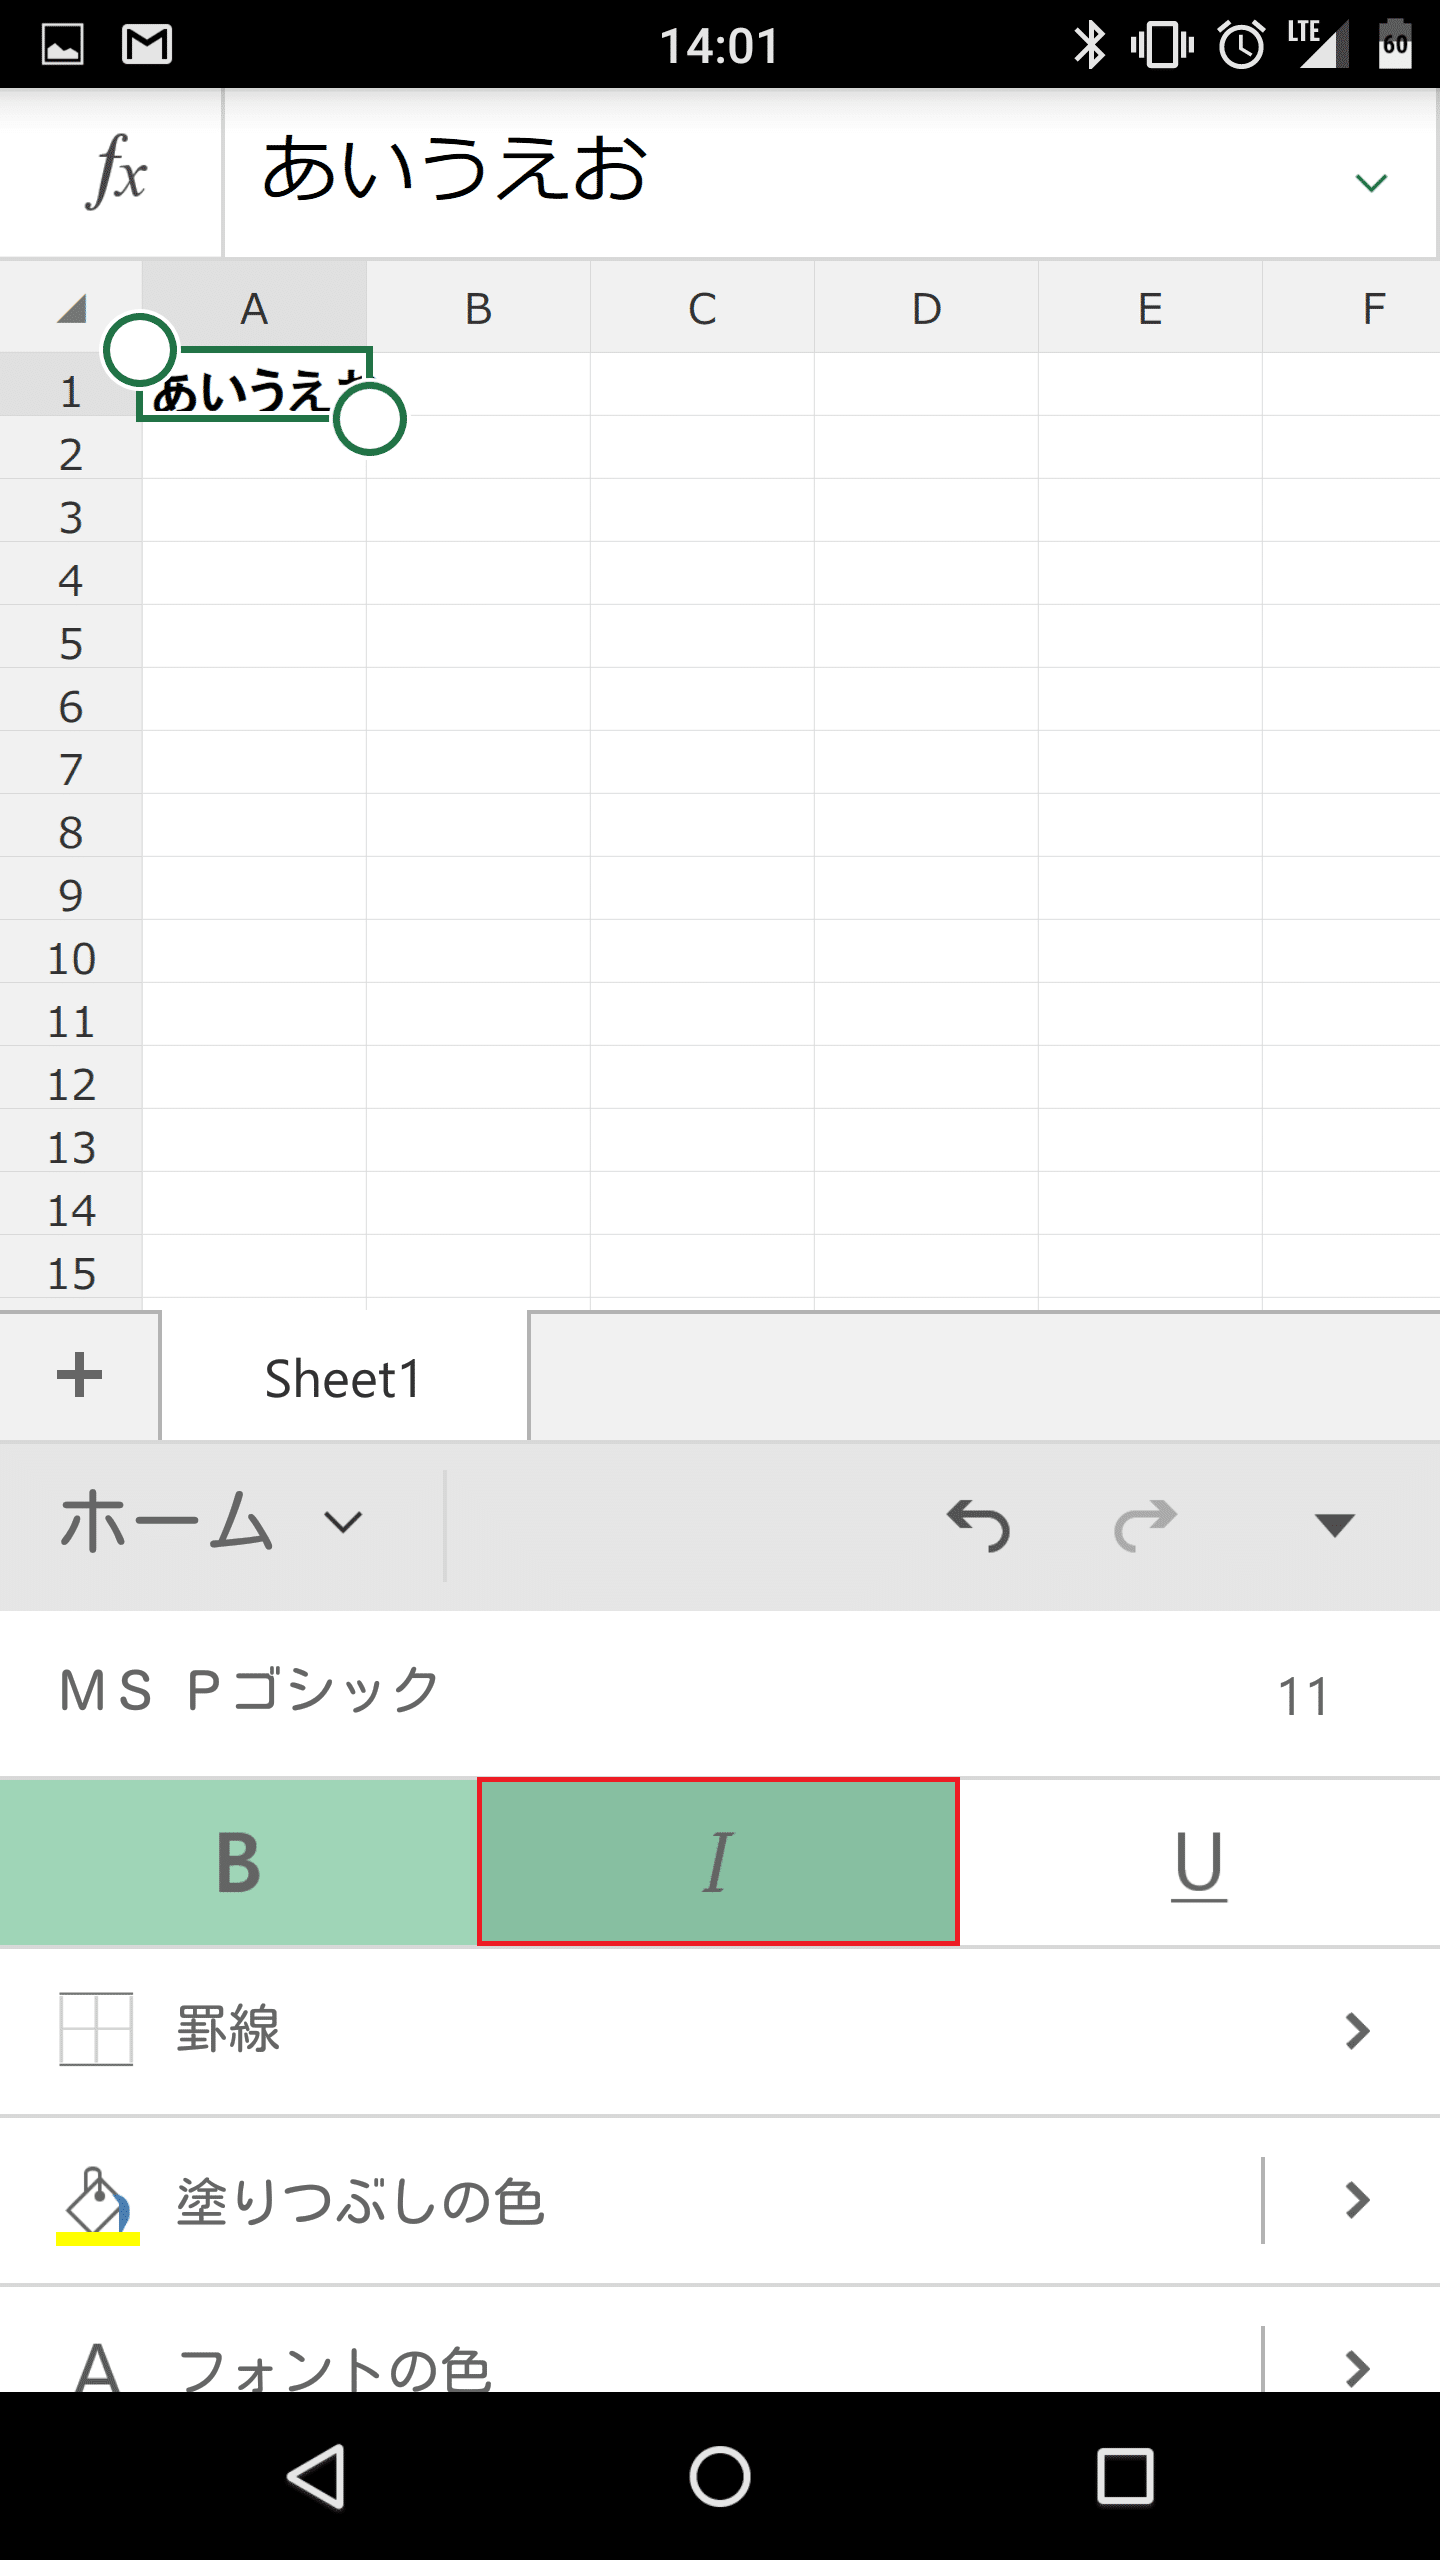
文字が斜めになりました。
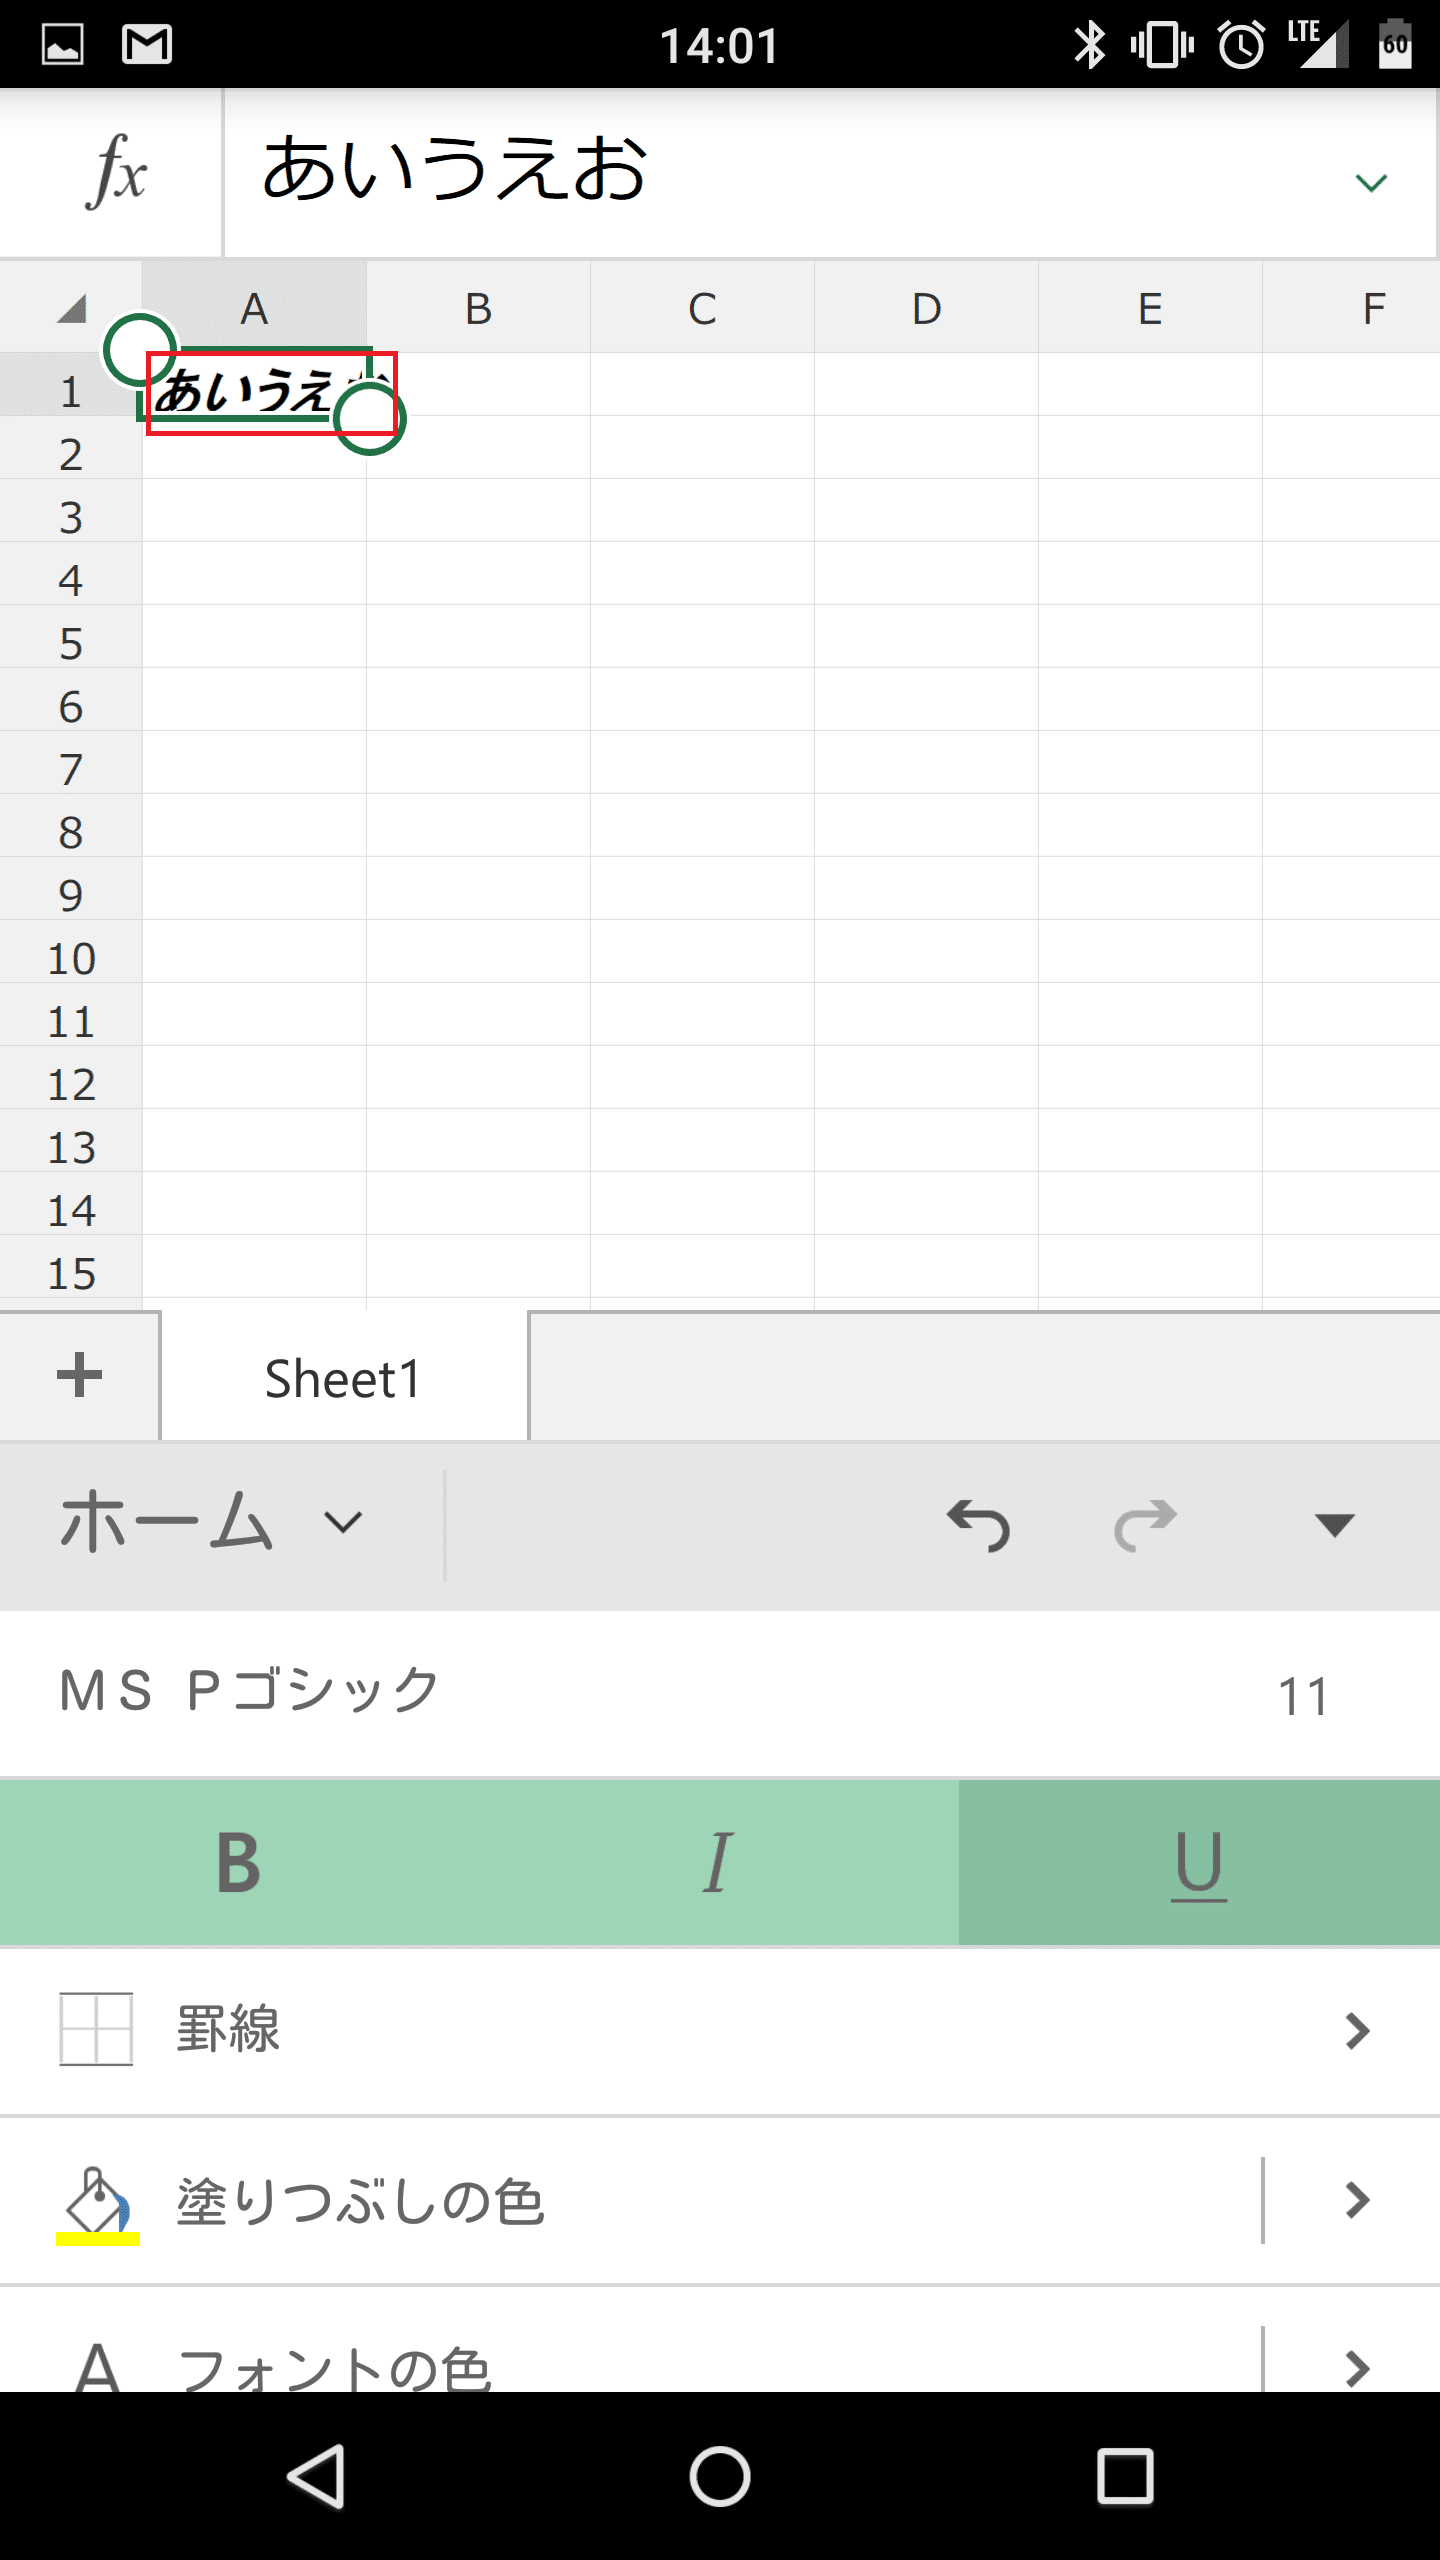
文字に下線を入れる
文字に下線を入れるには「U」をタップします。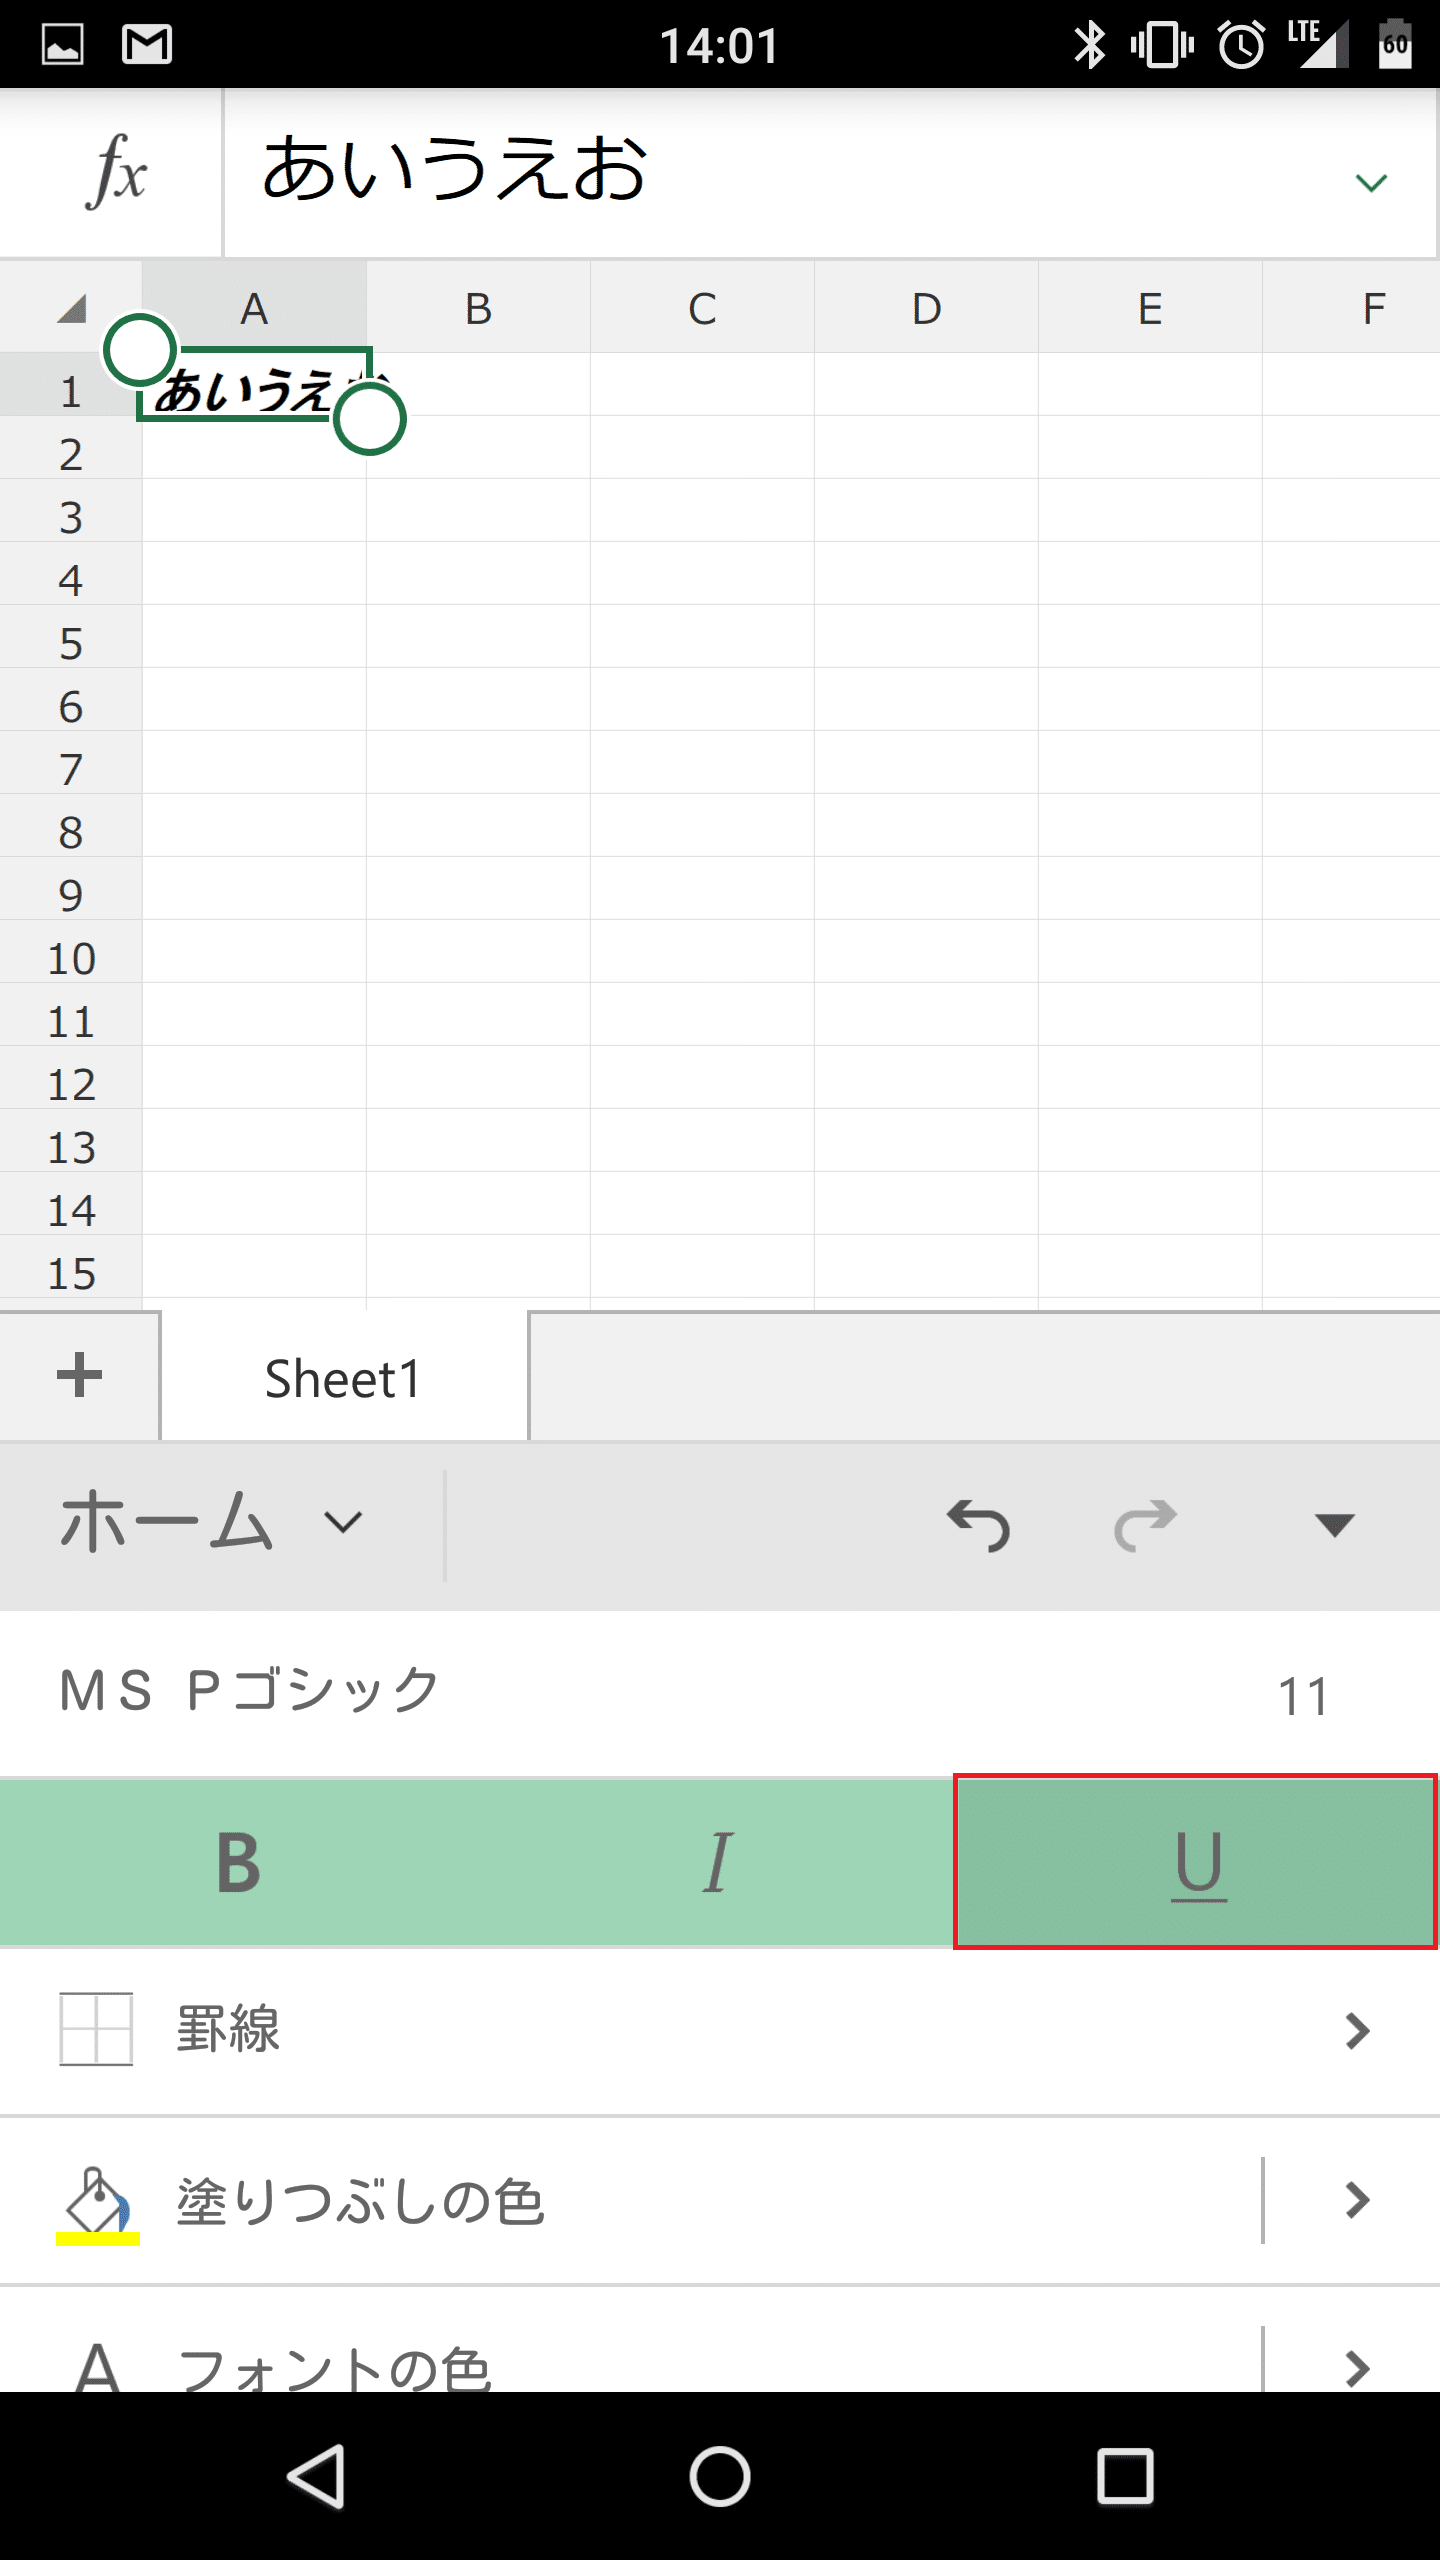
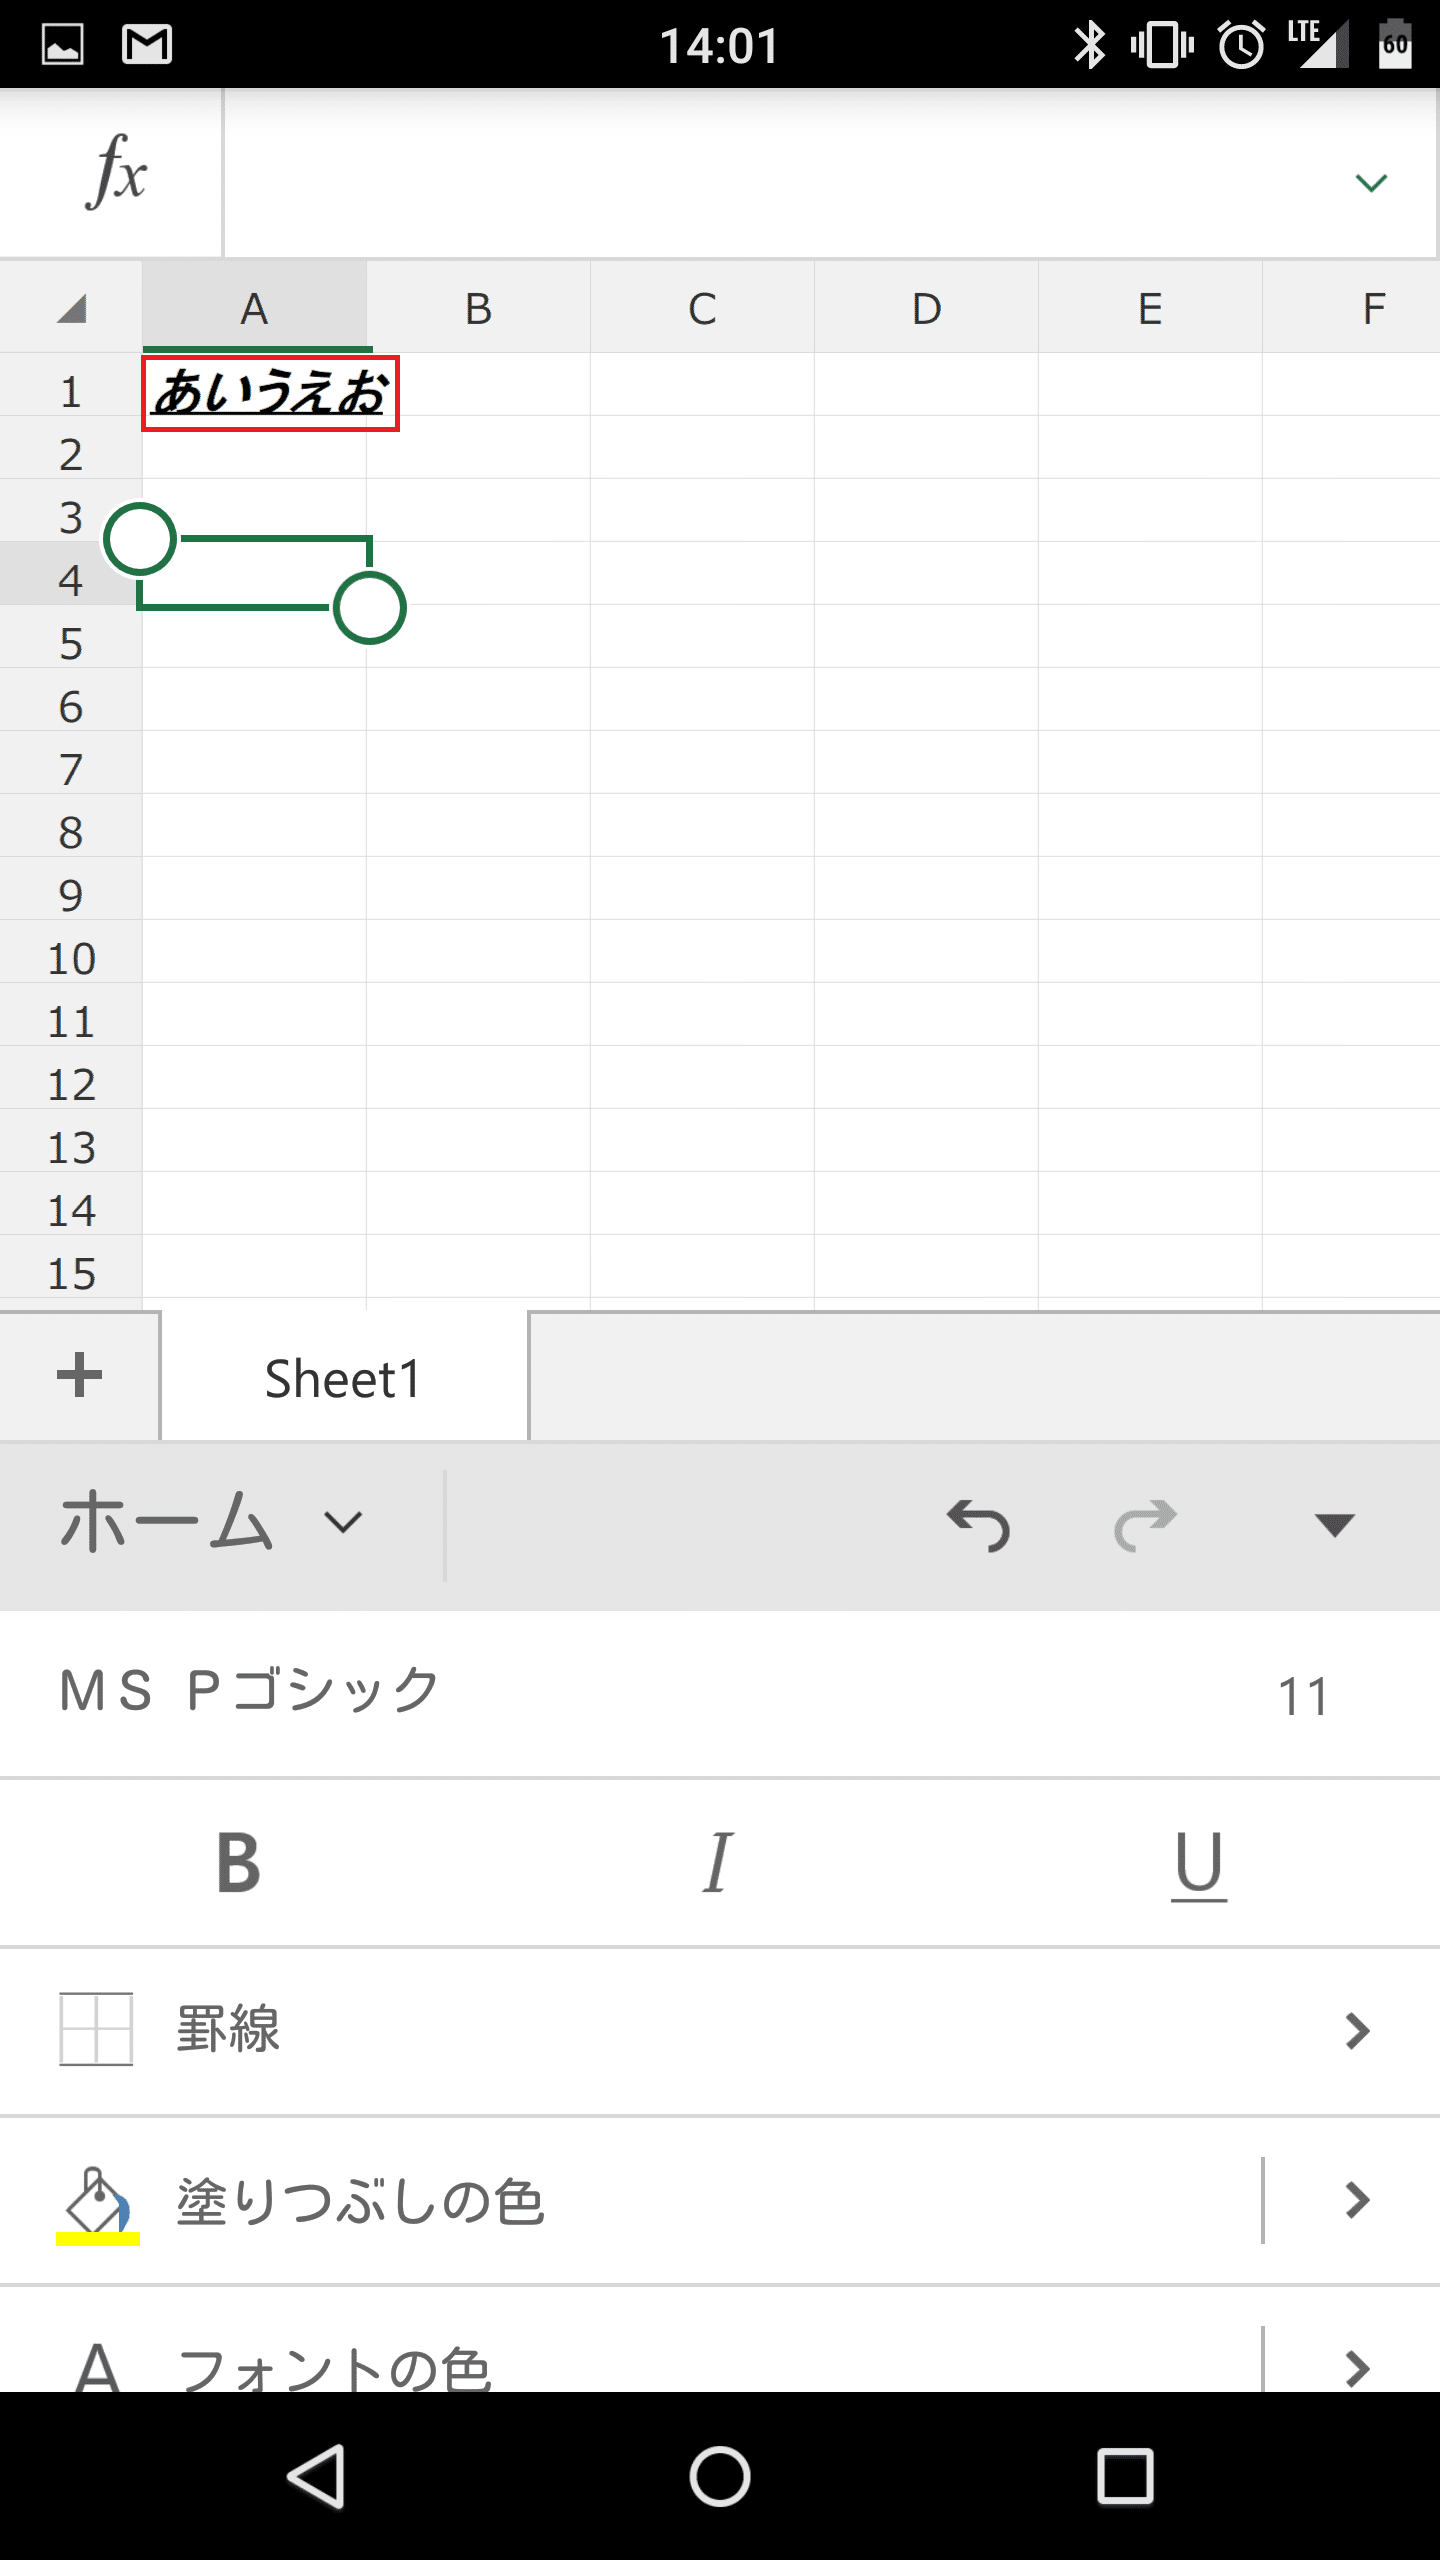
文字に下線が入りました。
罫線でセルに線を引く
罫線でセルに線を引くには、罫線を入れたいセルを選んだ後に「罫線」をタップします。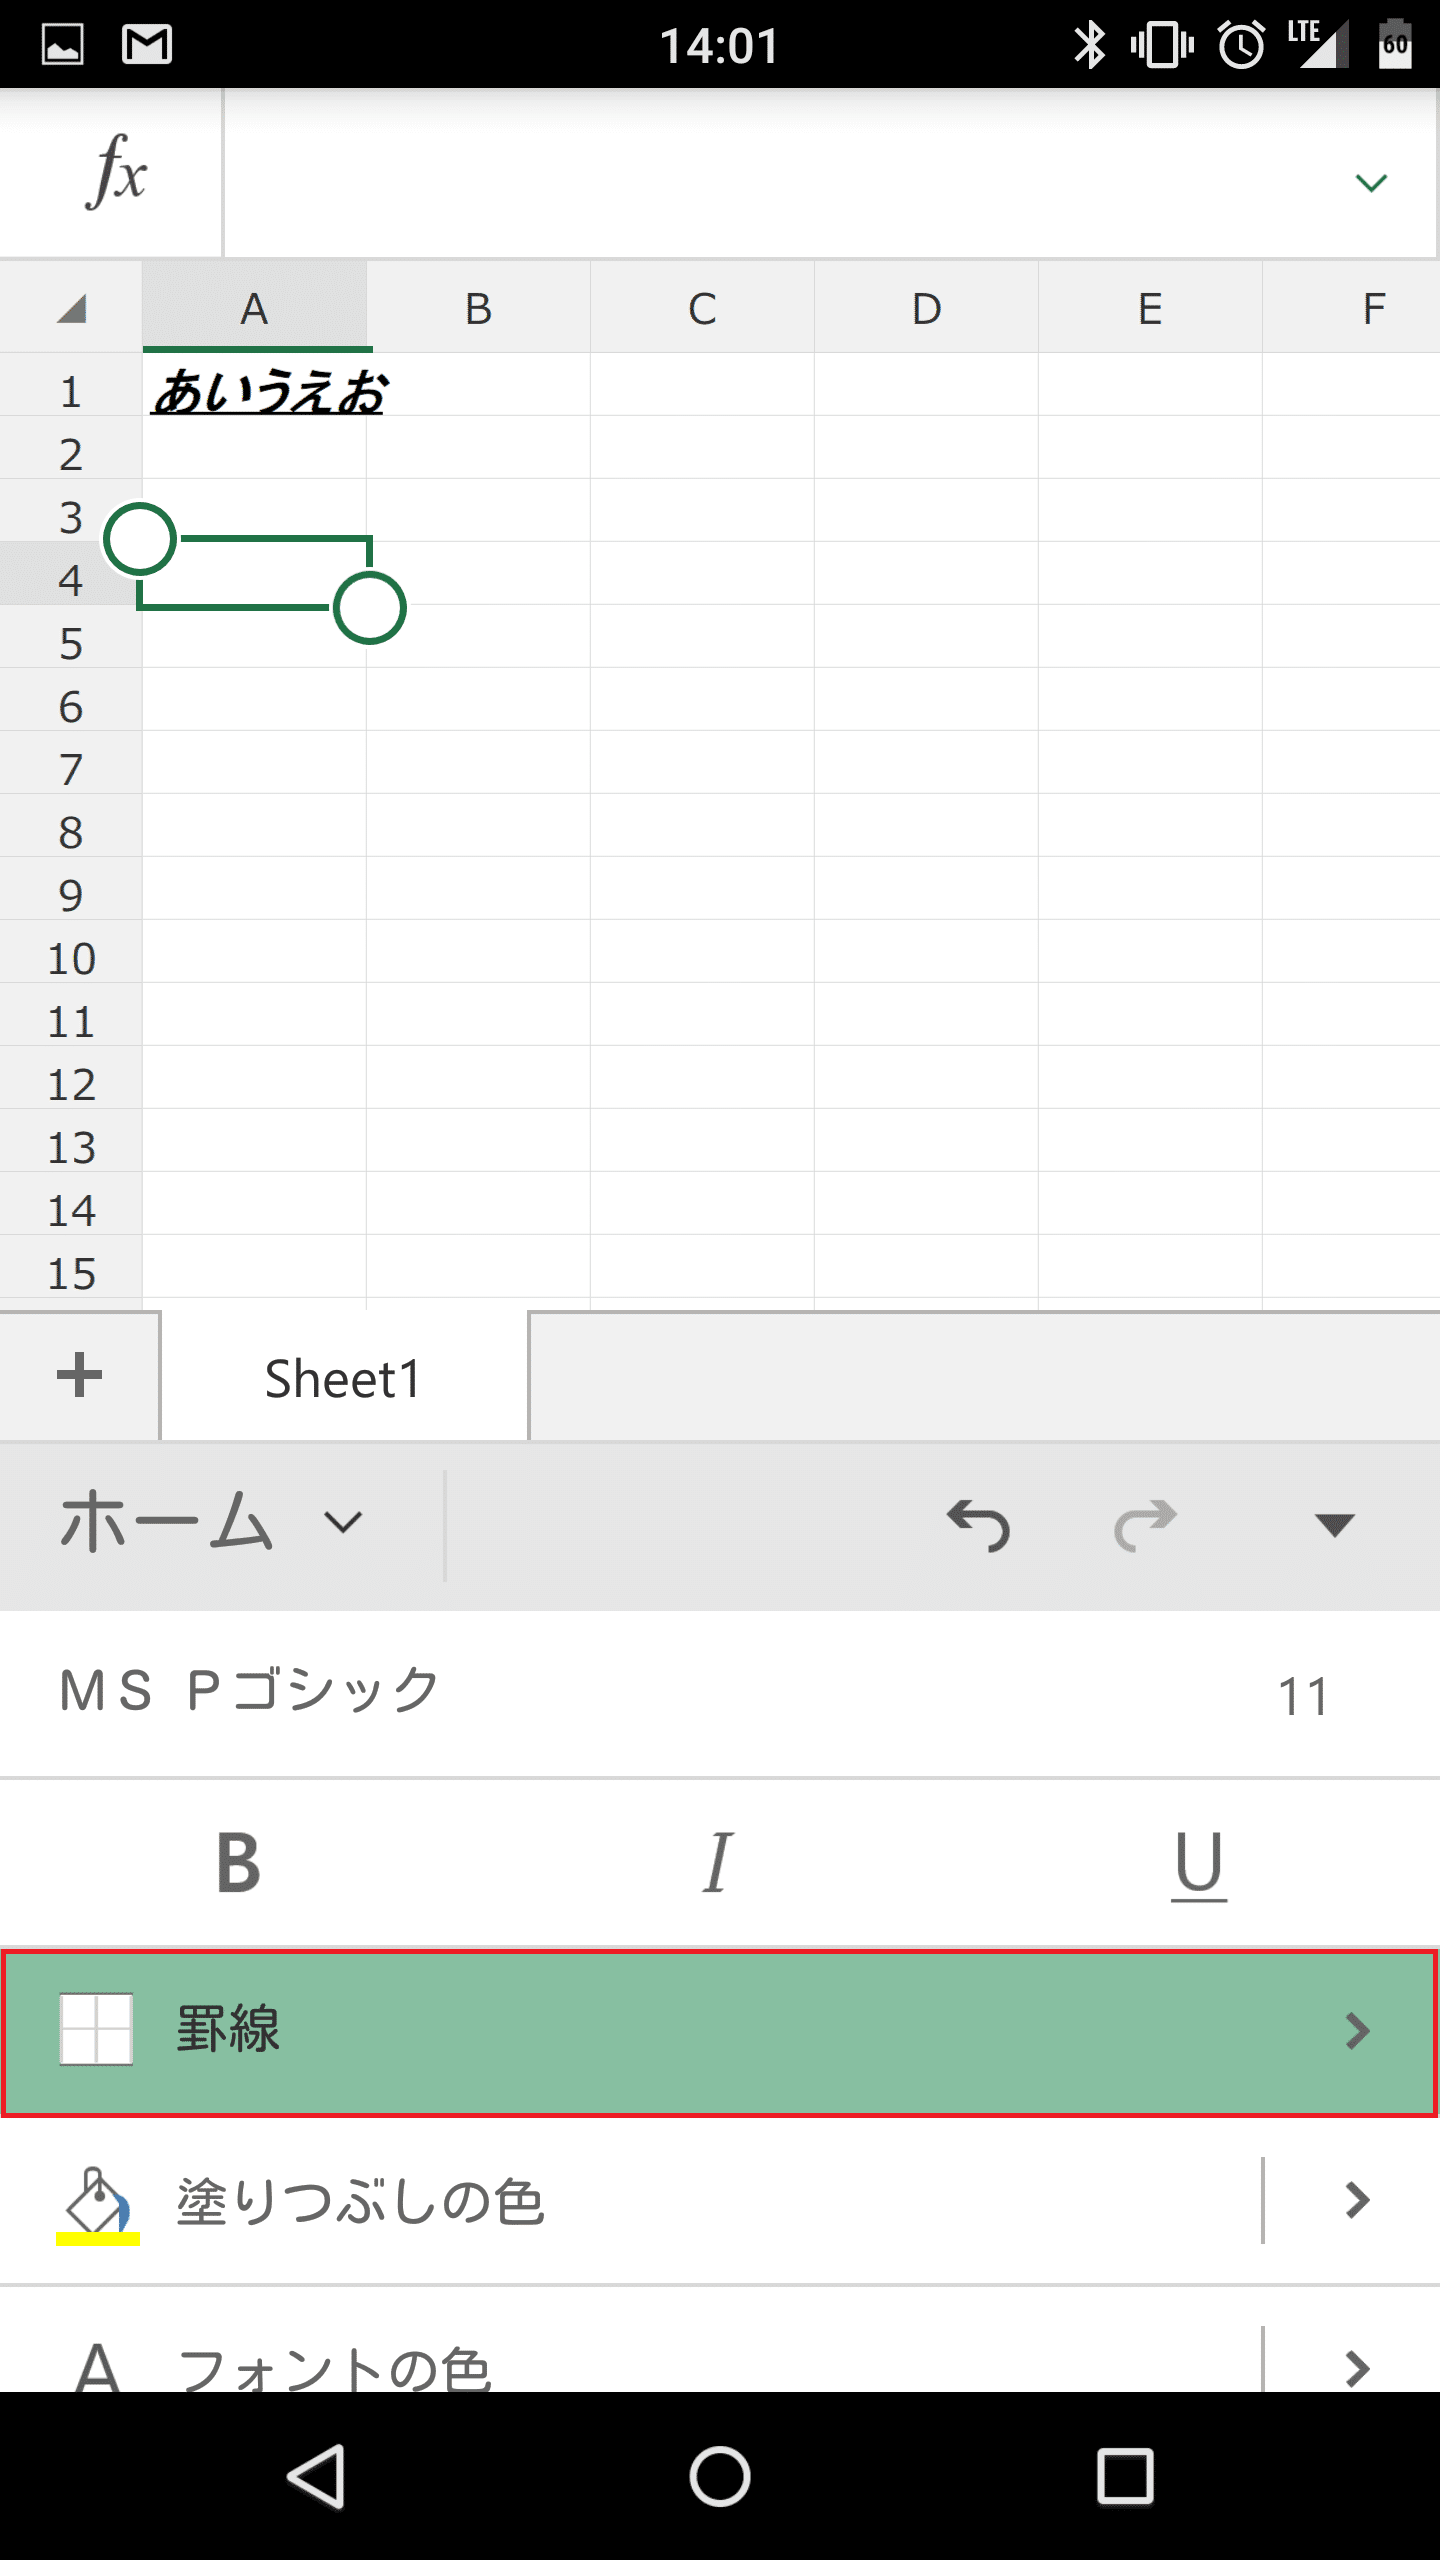
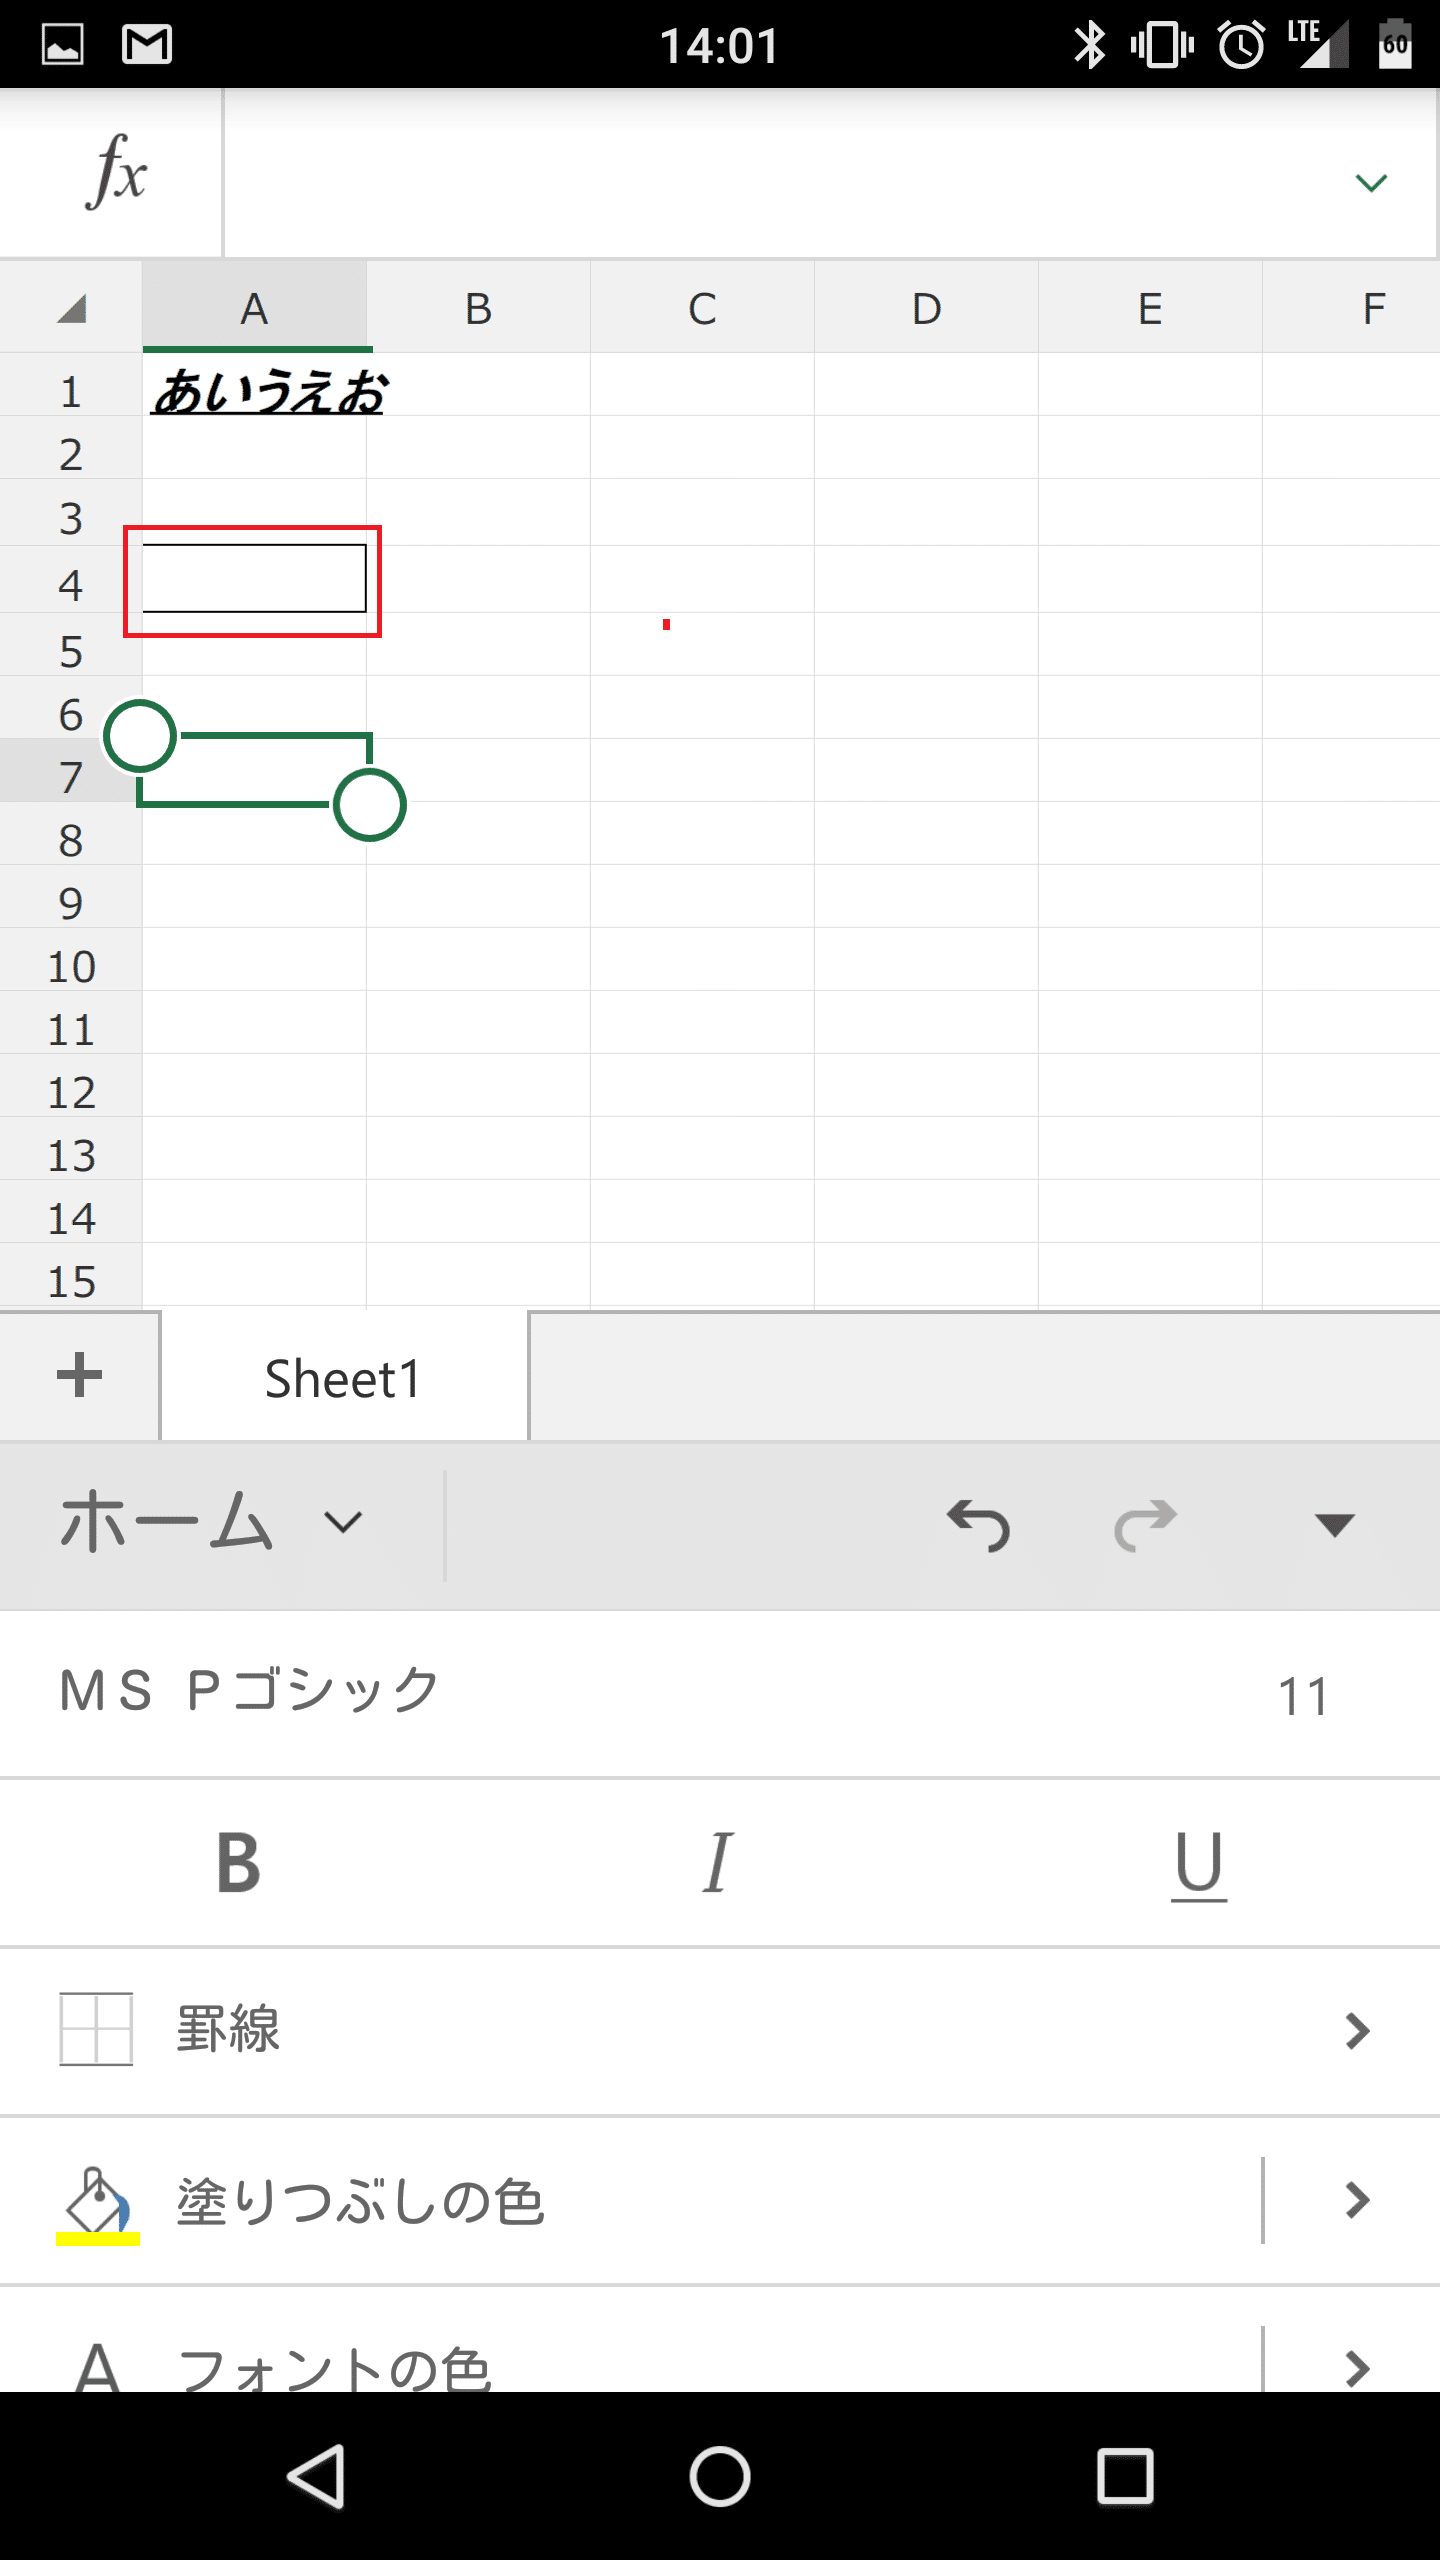
罫線の種類は、Windows版Excelとほぼ同じです。この中から選んでタップします。

セルに線が入りました。
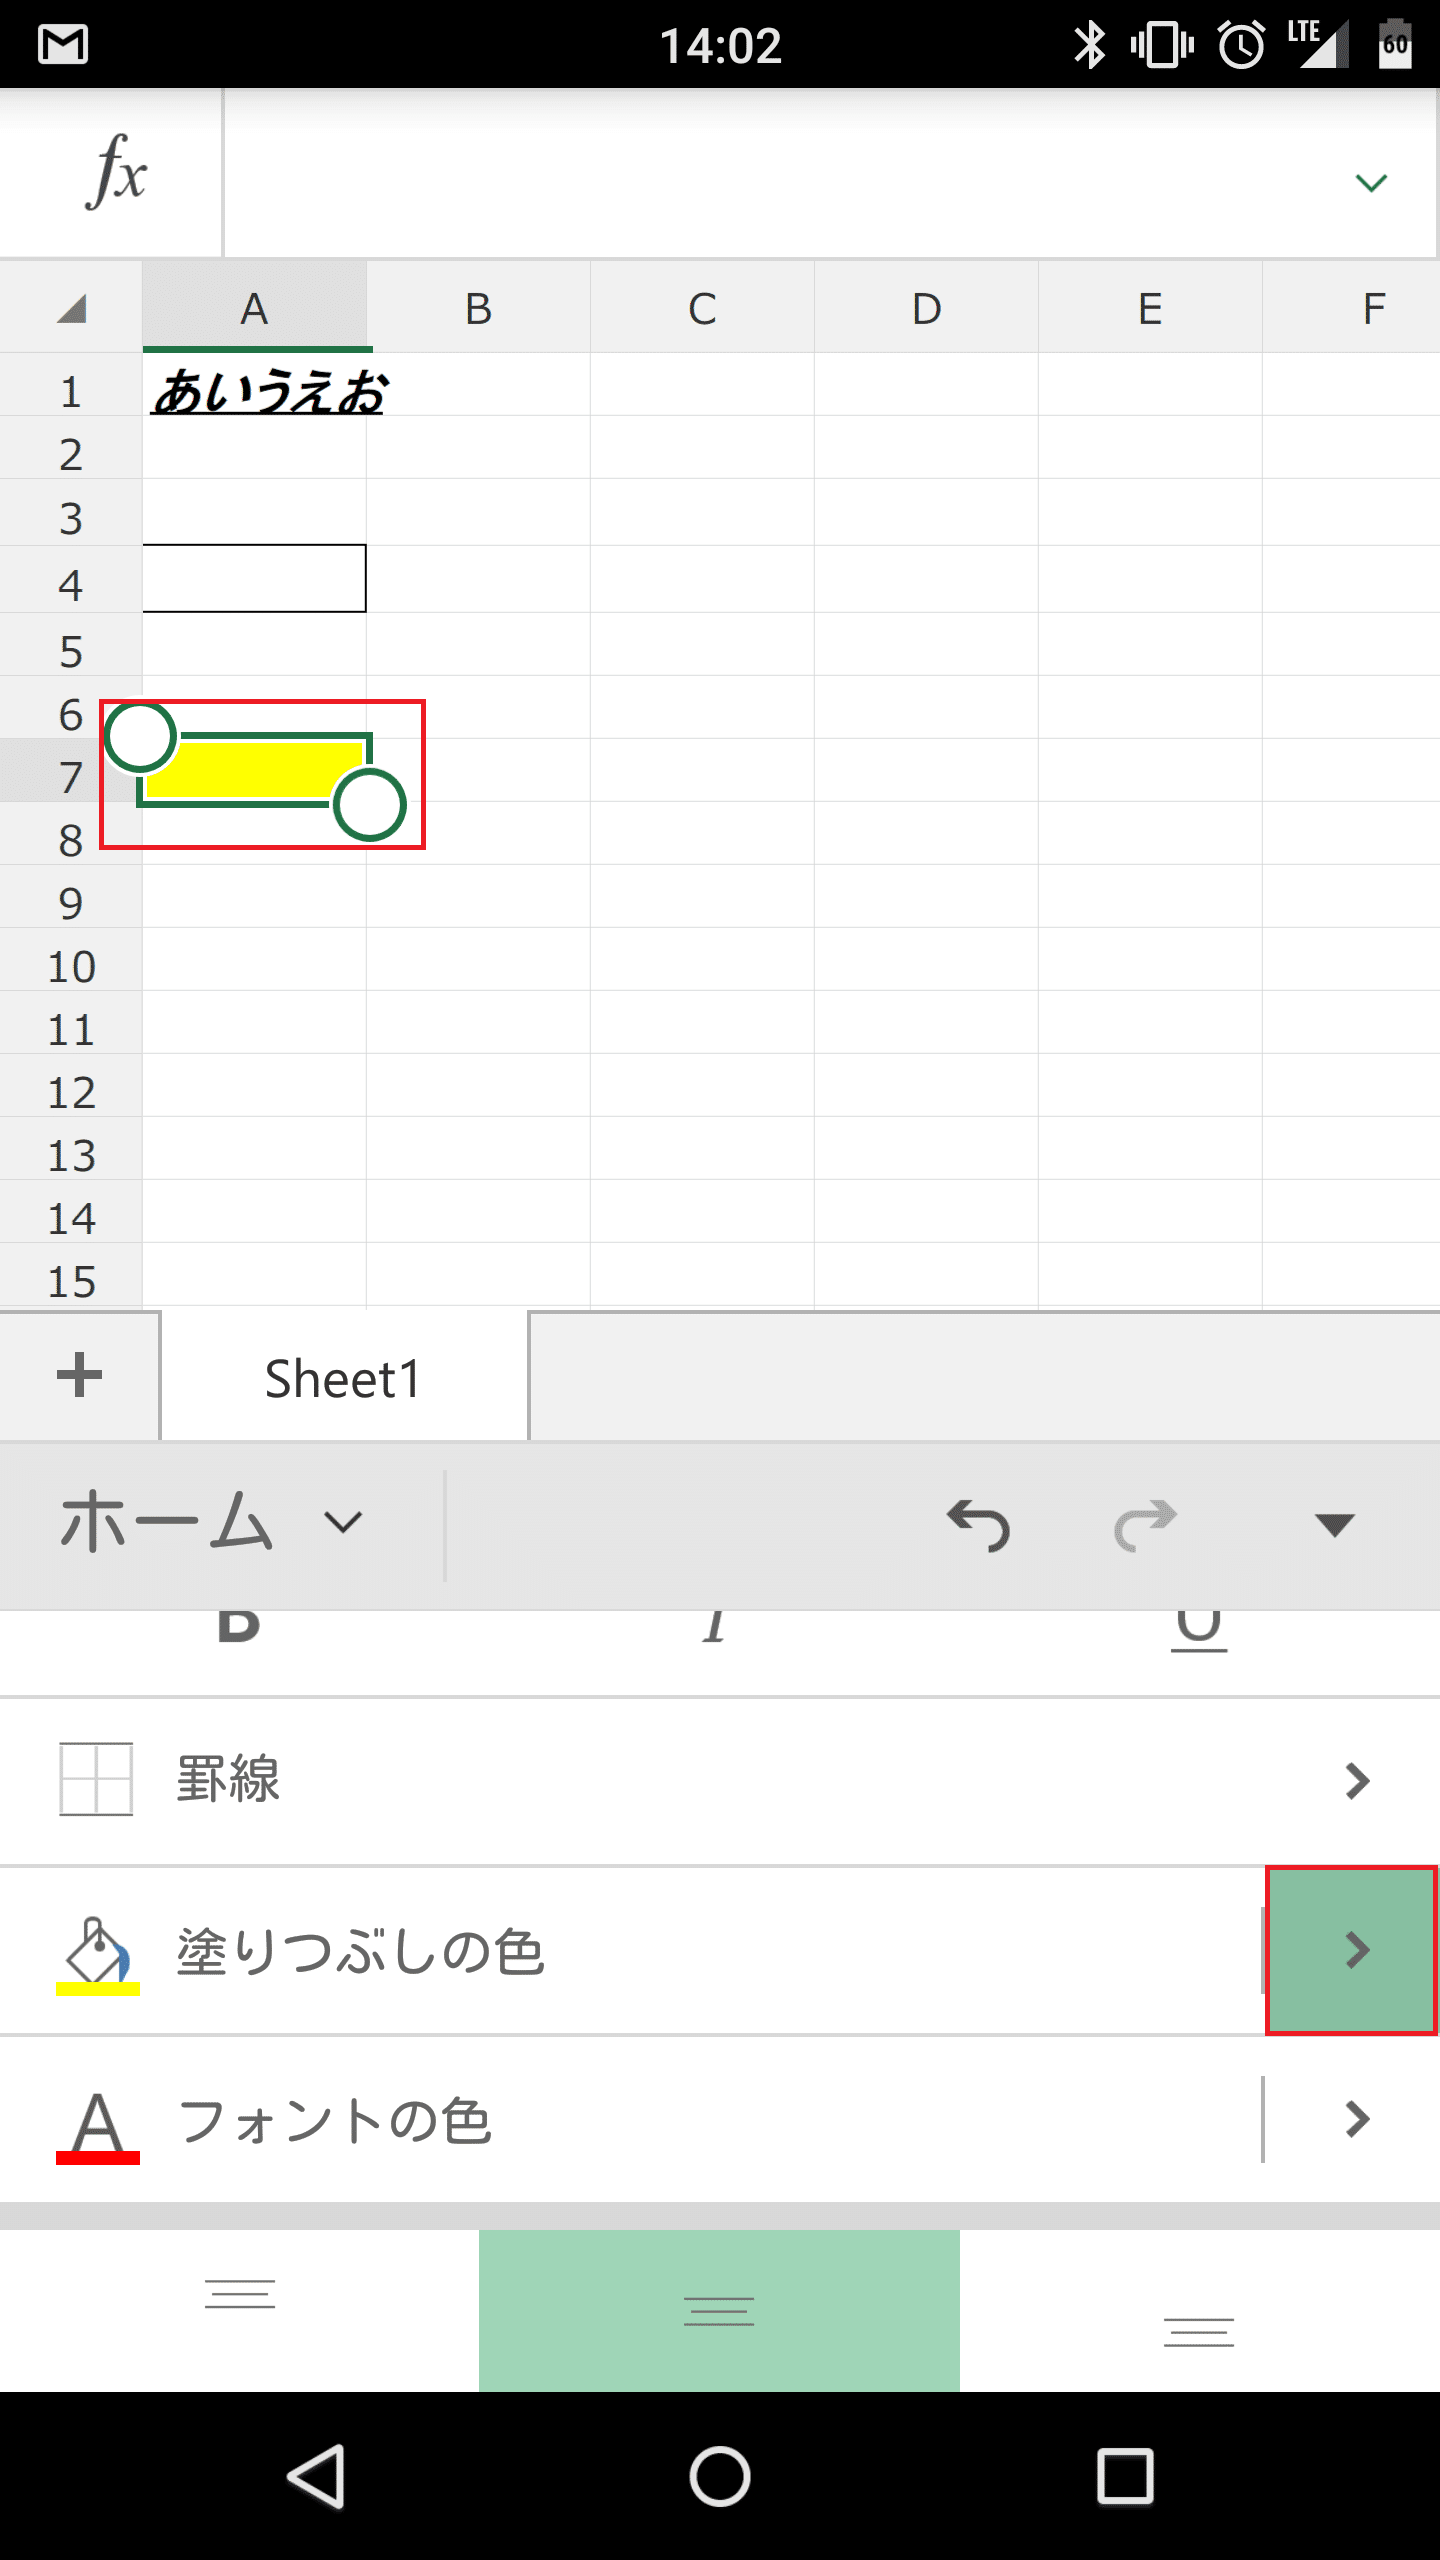
セルを塗りつぶす
セルを塗りつぶすには、塗りつぶしたいセルを選んで「塗りつぶしの色」をタップします。
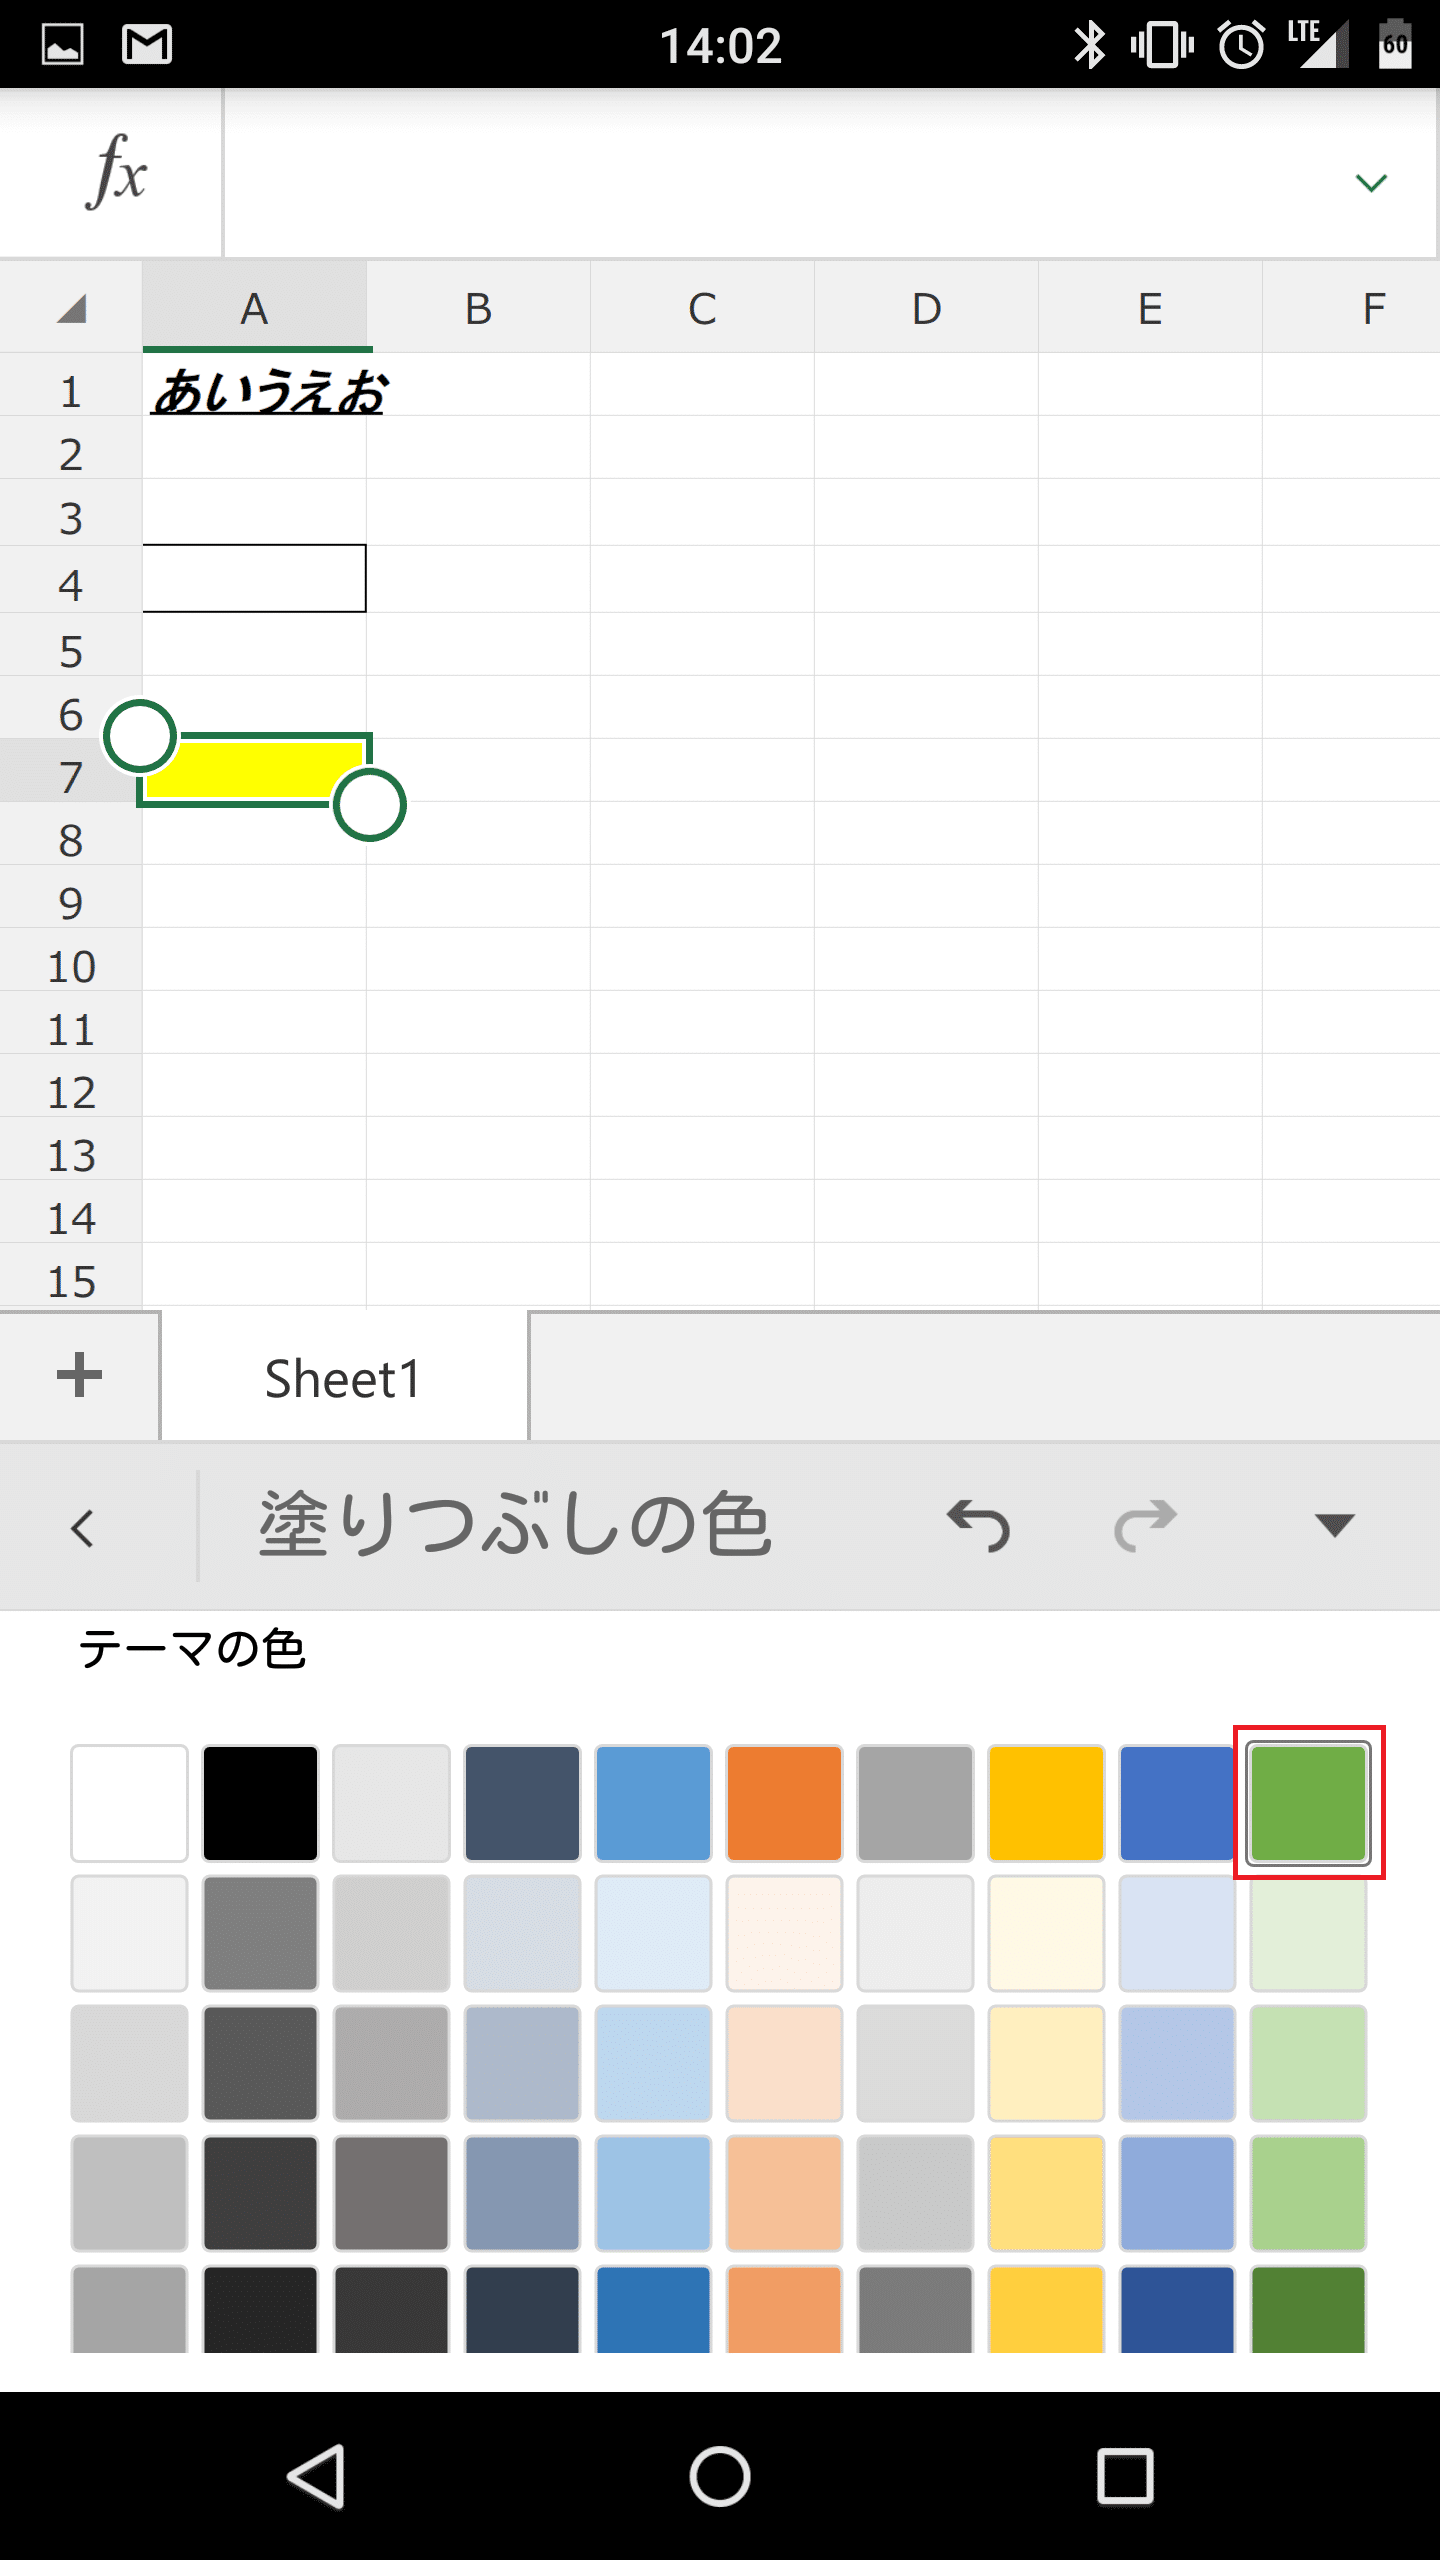
セルが塗りつぶされました。塗りつぶす色を変更したい場合は、「>」をタップします。
この色の中から選びます。

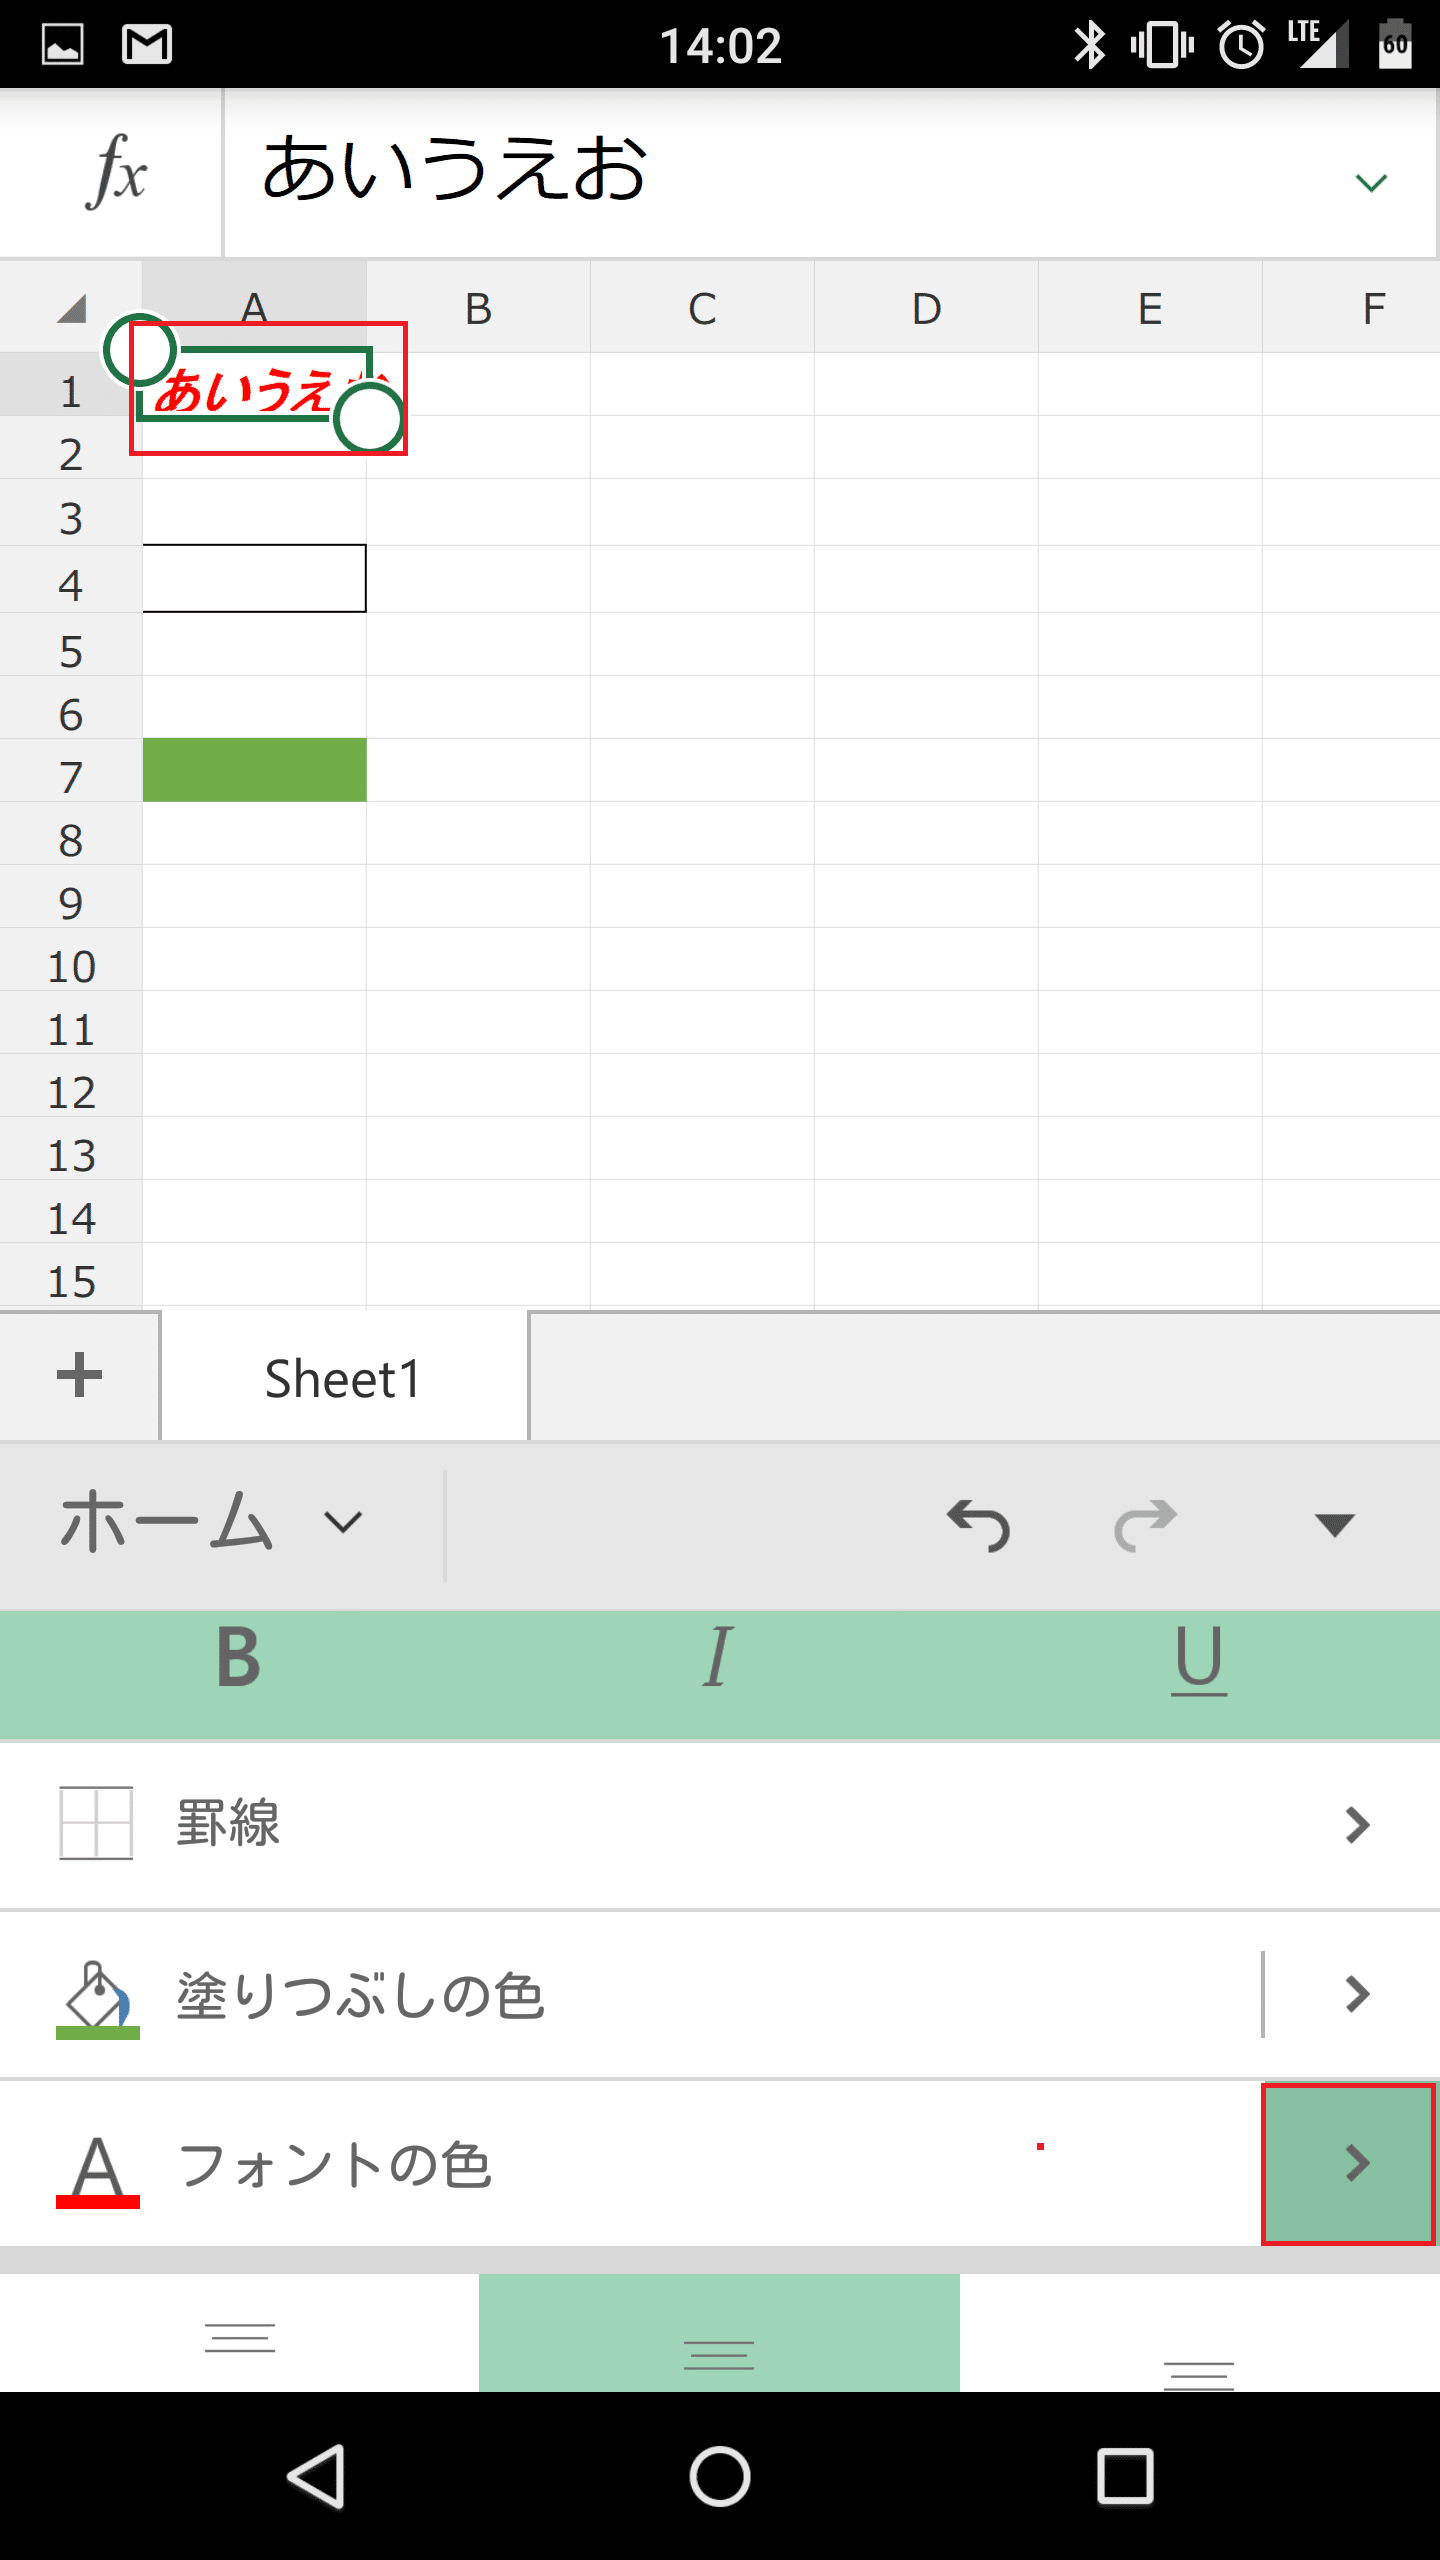
フォントの色を変更する
フォントの色を変更するには、「フォントの色」をタップします。
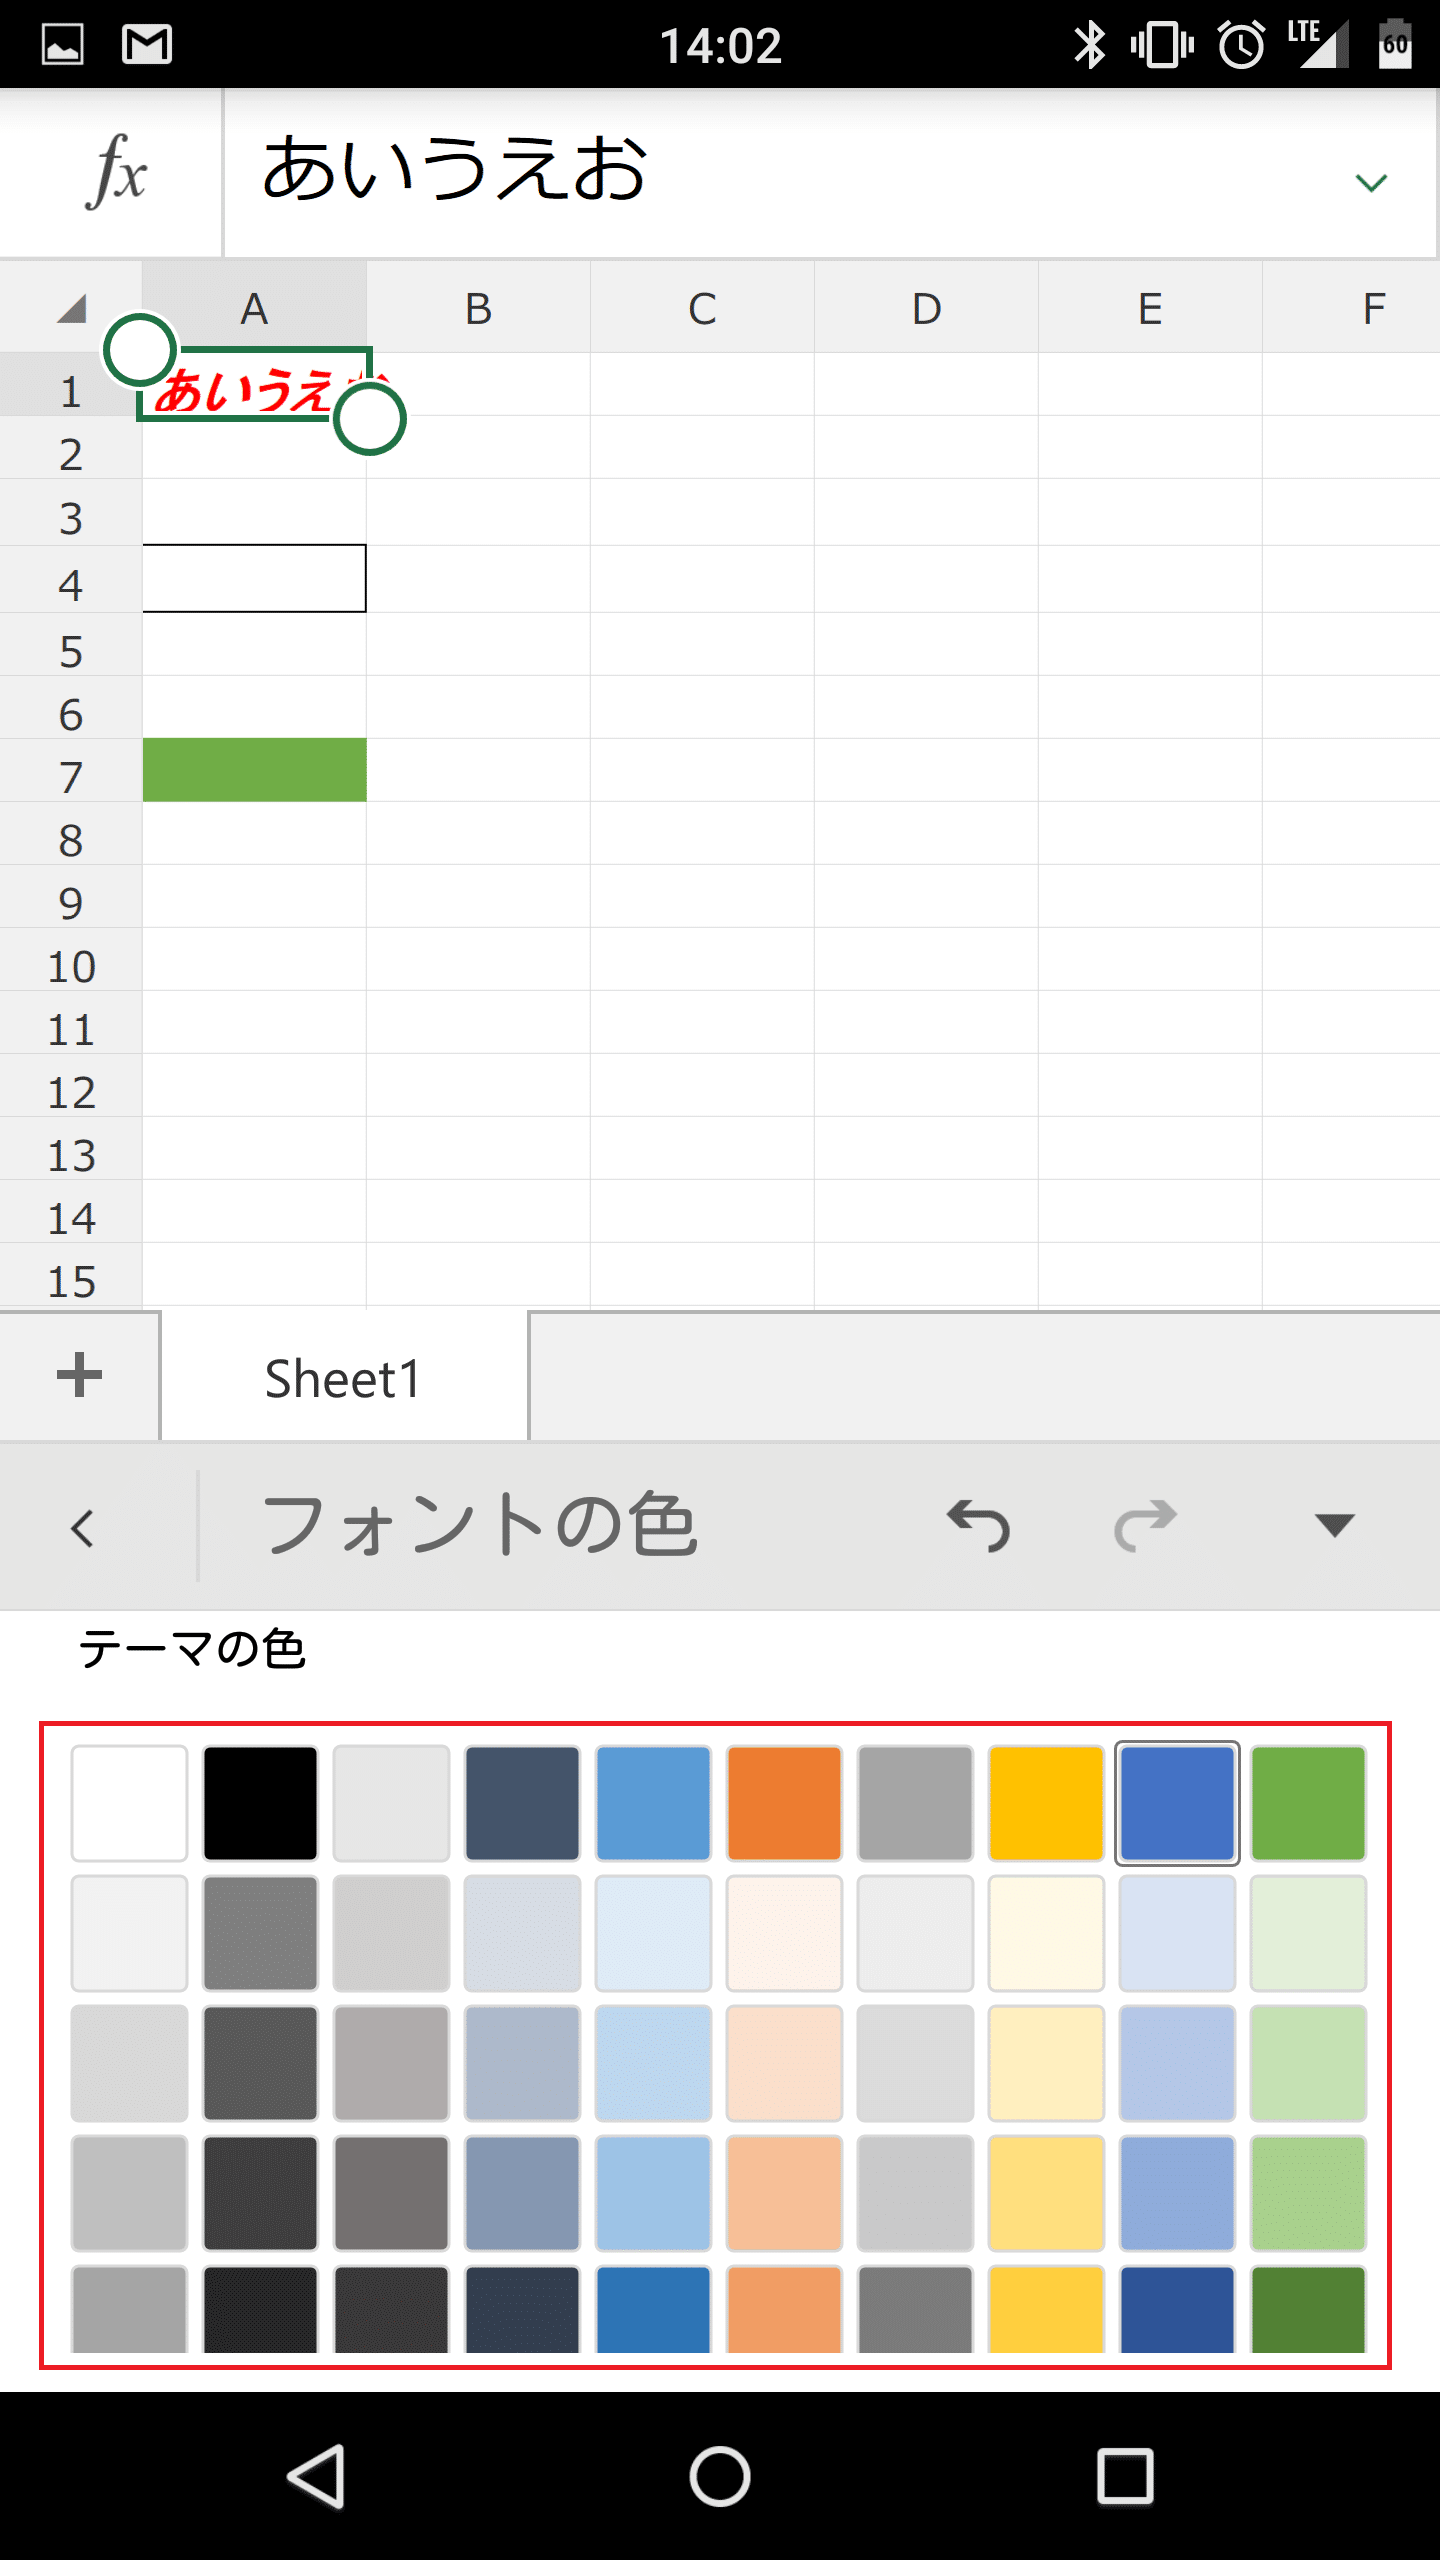
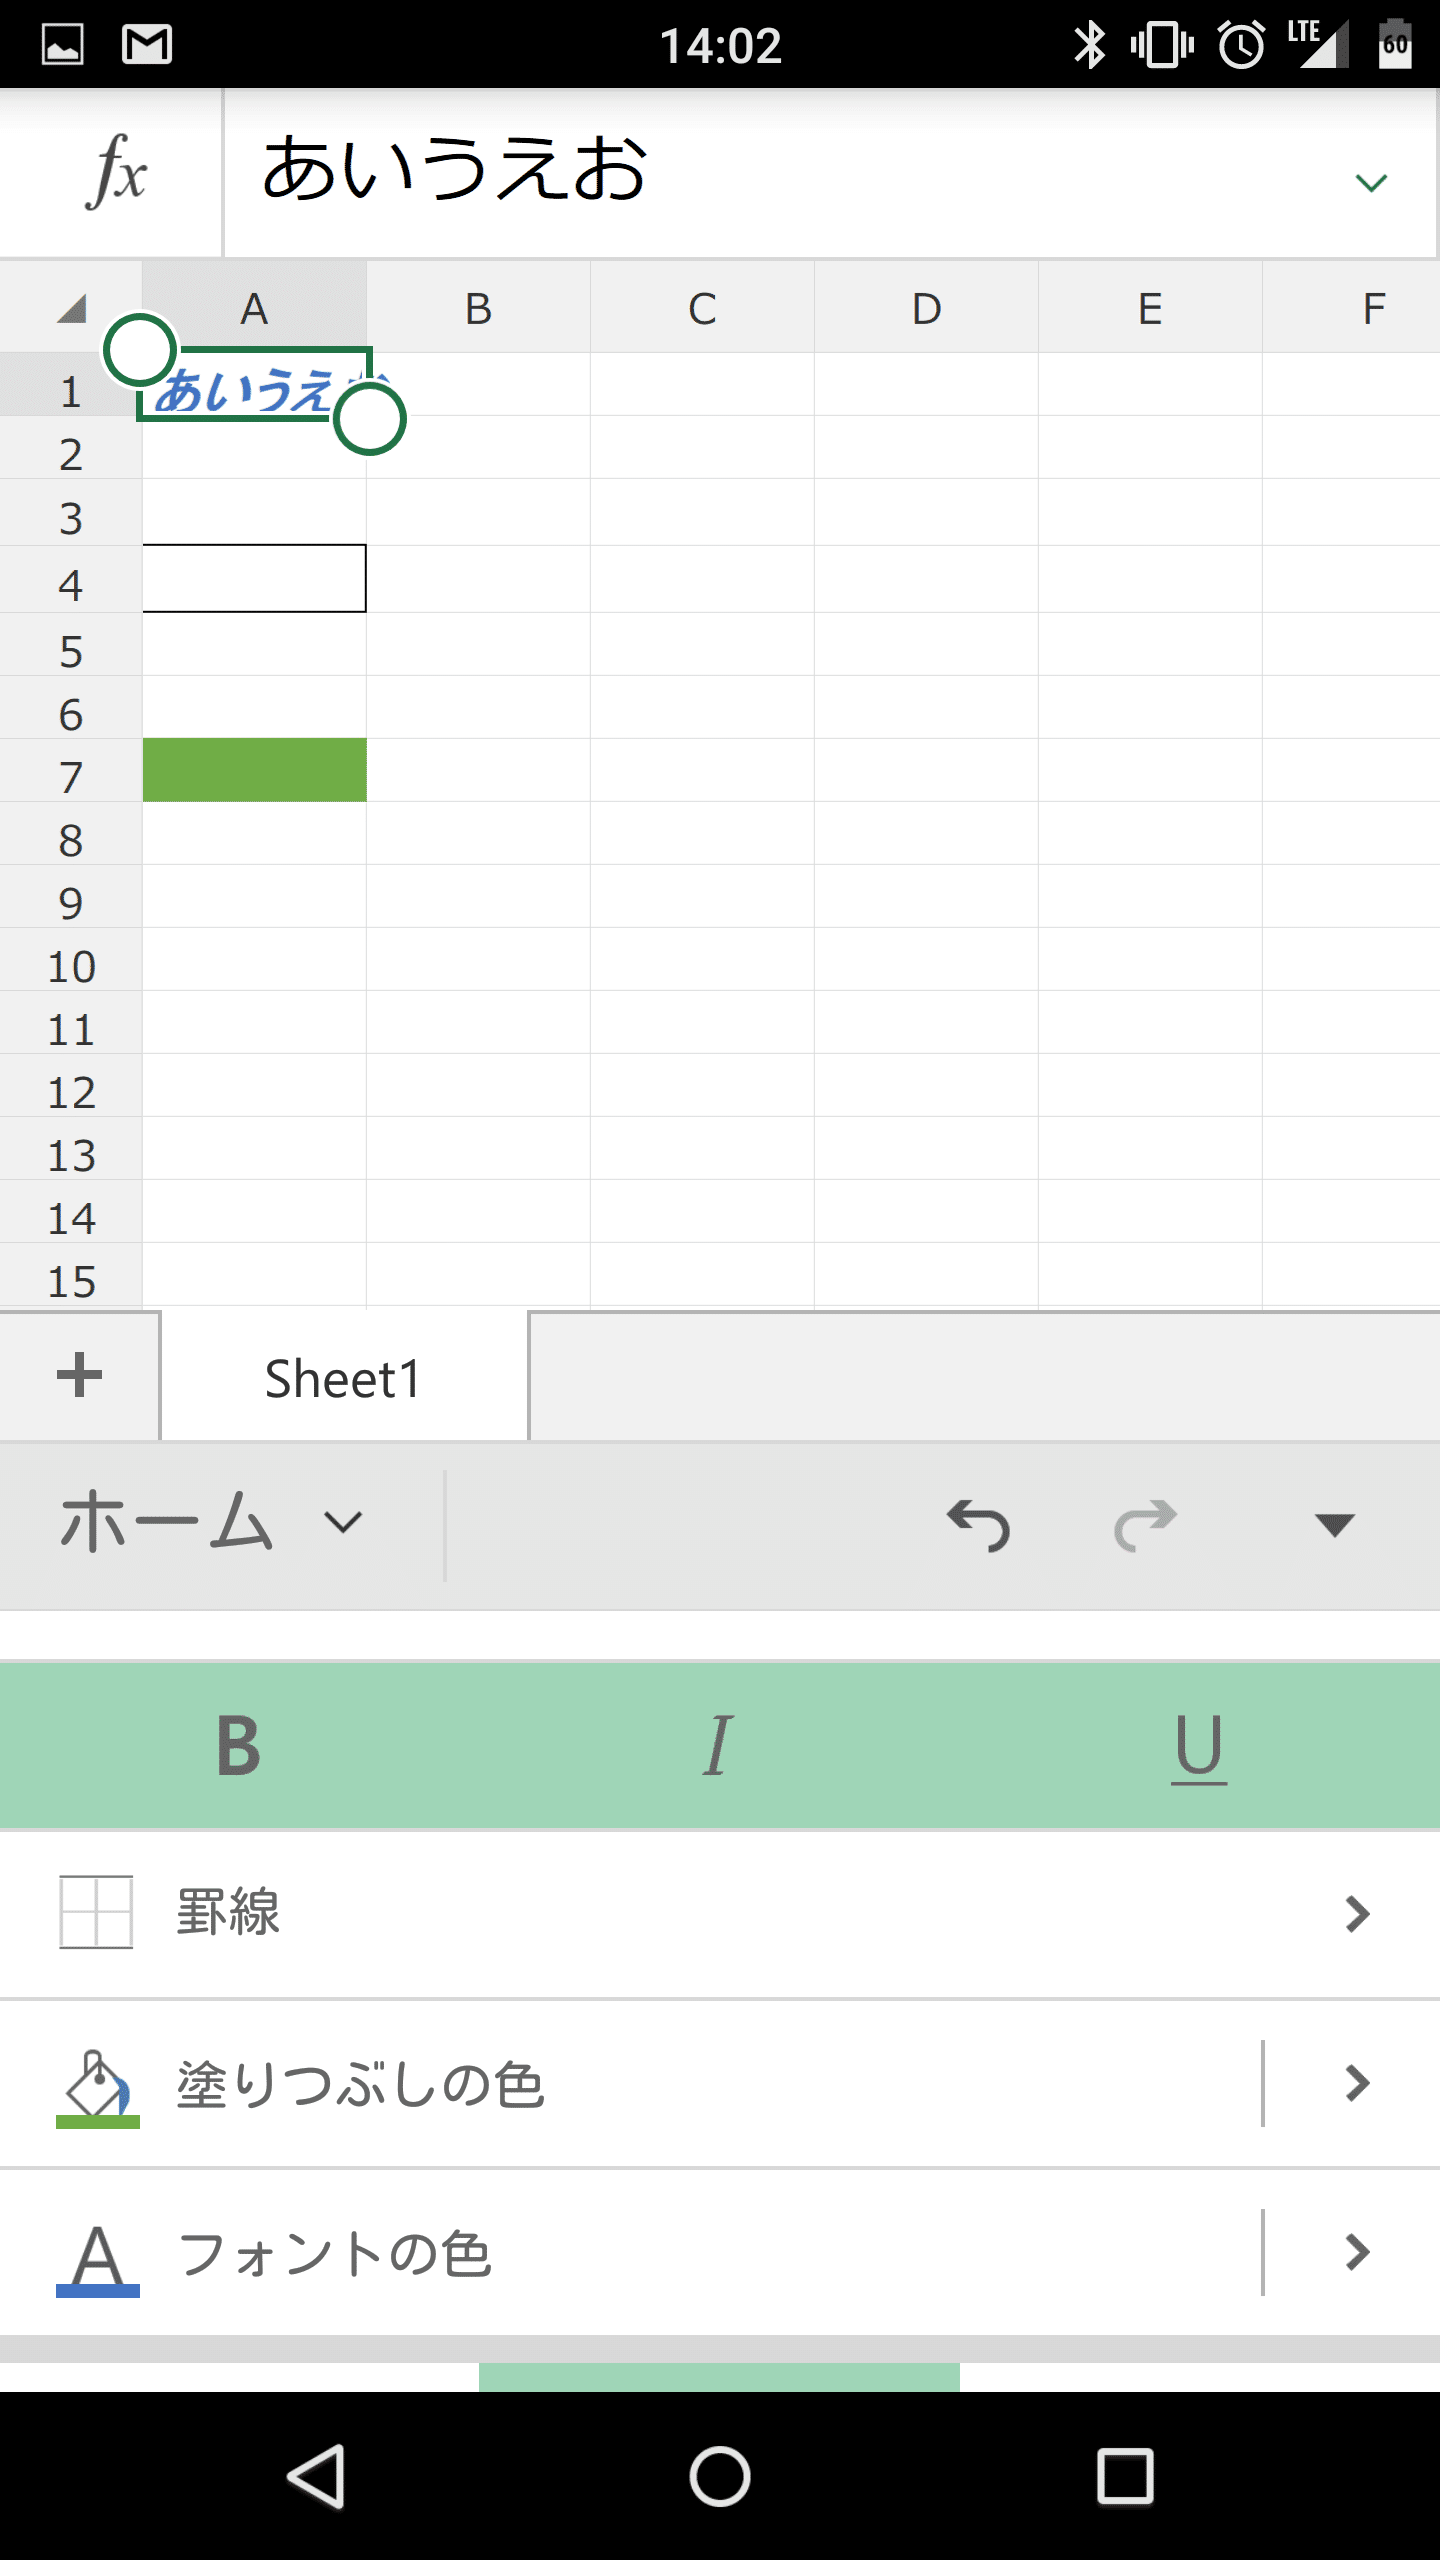
フォントの色が変わりました。フォントの色を他の色にしたい場合は、「>」をタップします。
セルの色と同じようにフォントの色も選ぶことができます。
セル内の文字を上詰めで表示する
セル内の文字を上詰めで表示するには、赤枠で囲ったアイコンをタップします。
文字が上詰めで表示されました。
セル内の文字を下詰めで表示する
セル内の文字を下詰めで表示するには、赤枠で囲ったアイコンをタップします。
文字が下詰めで表示されました。

セル内の文字を中央揃えにする
セル内の文字を中央揃えにするには、赤枠で囲ったアイコンをタップします。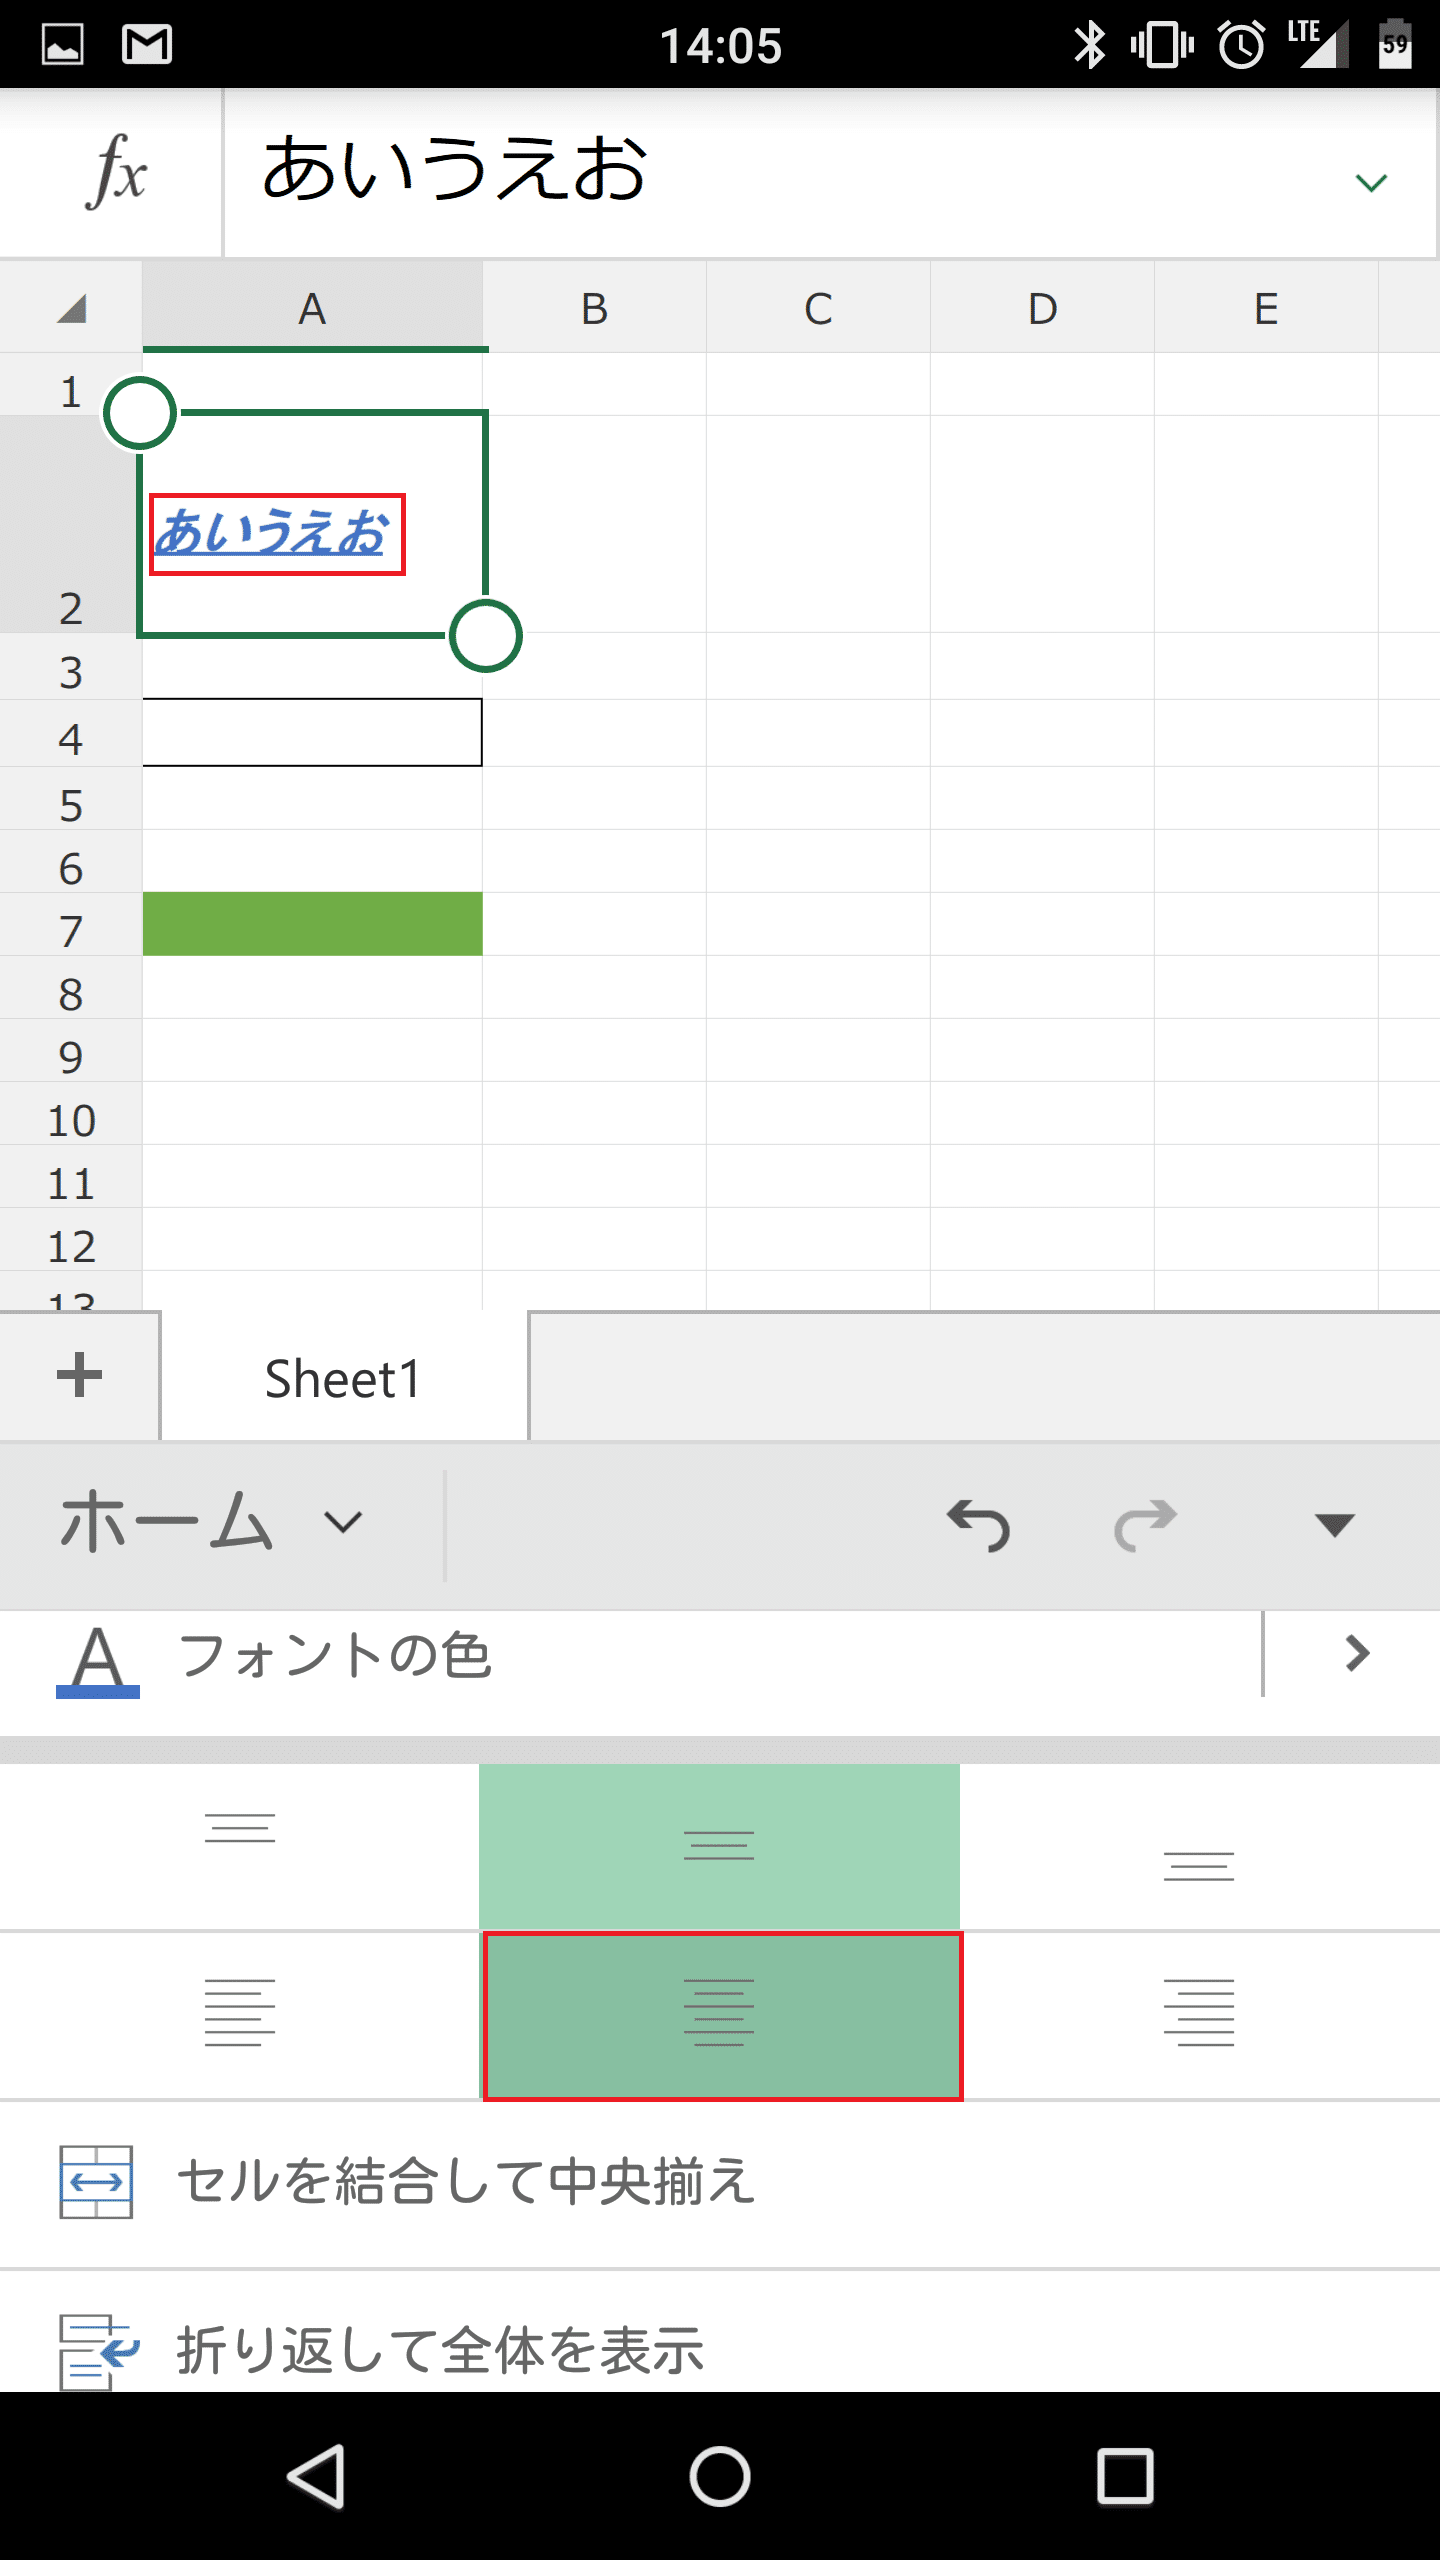
文字が中央に表示されました。
セル内の文字を右寄せにする
セル内の文字を右寄せにするには、赤枠で囲ったアイコンをタップします。
文字が右寄せになりました。
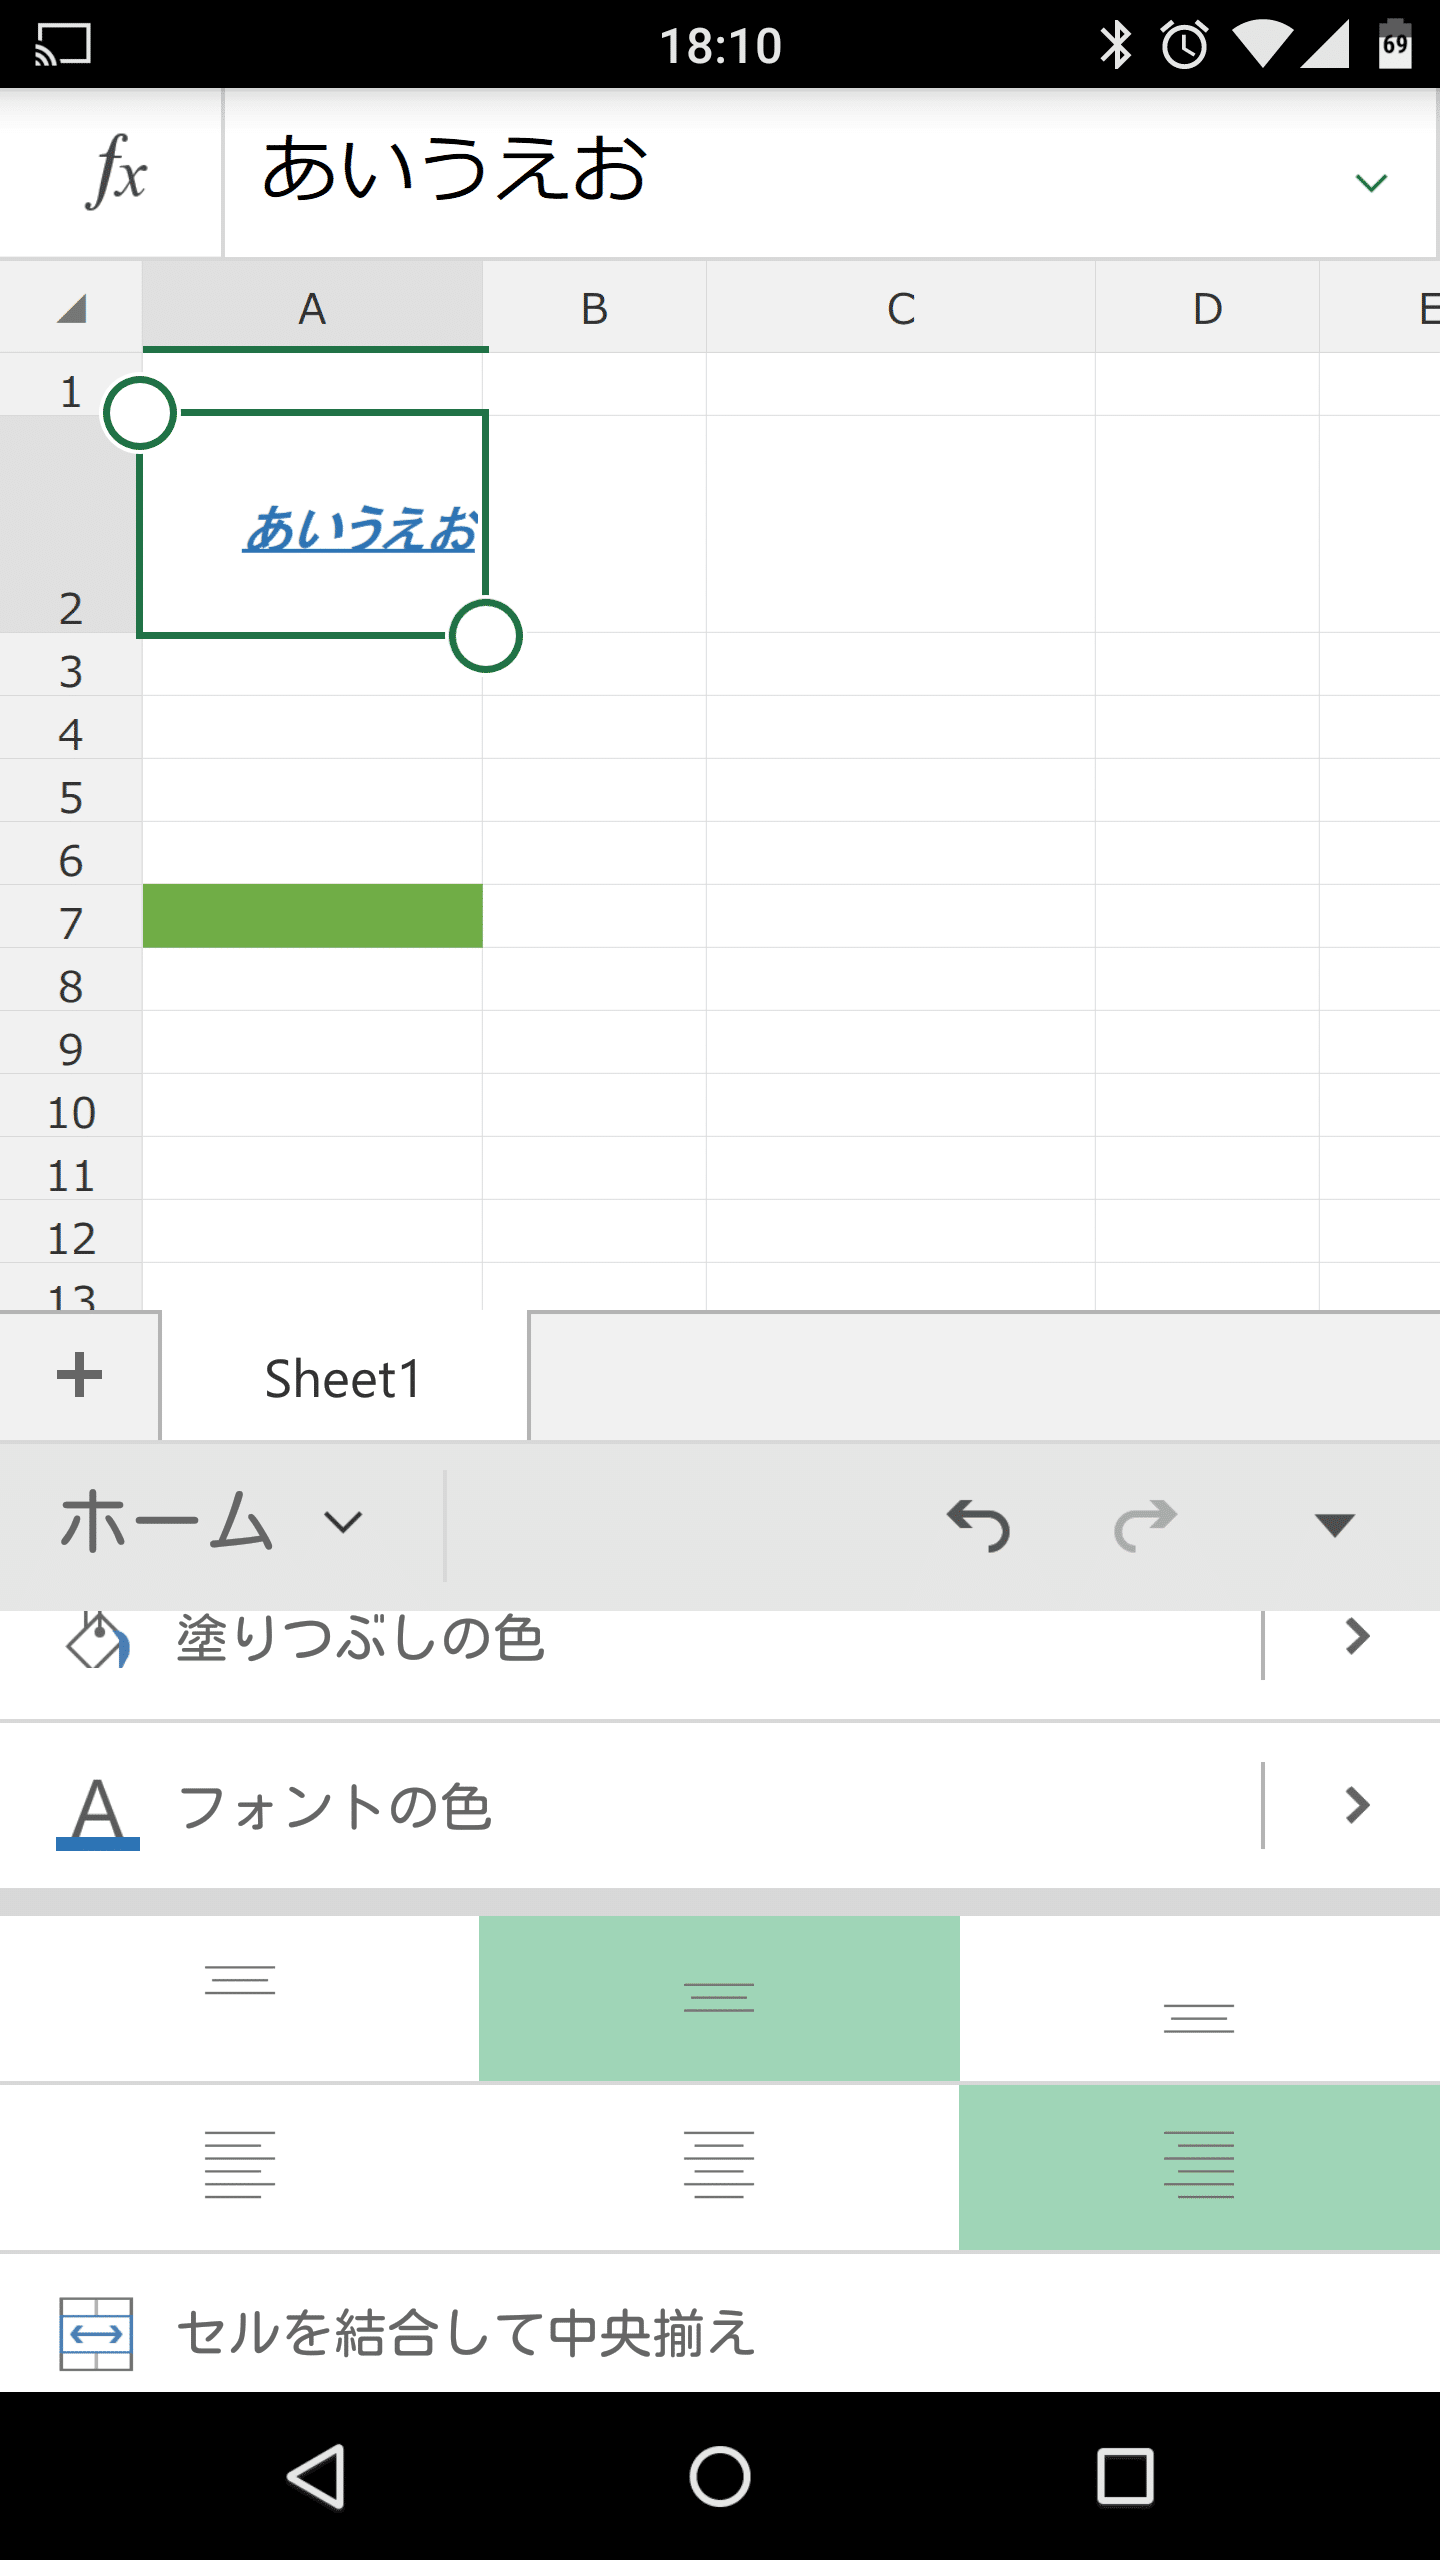
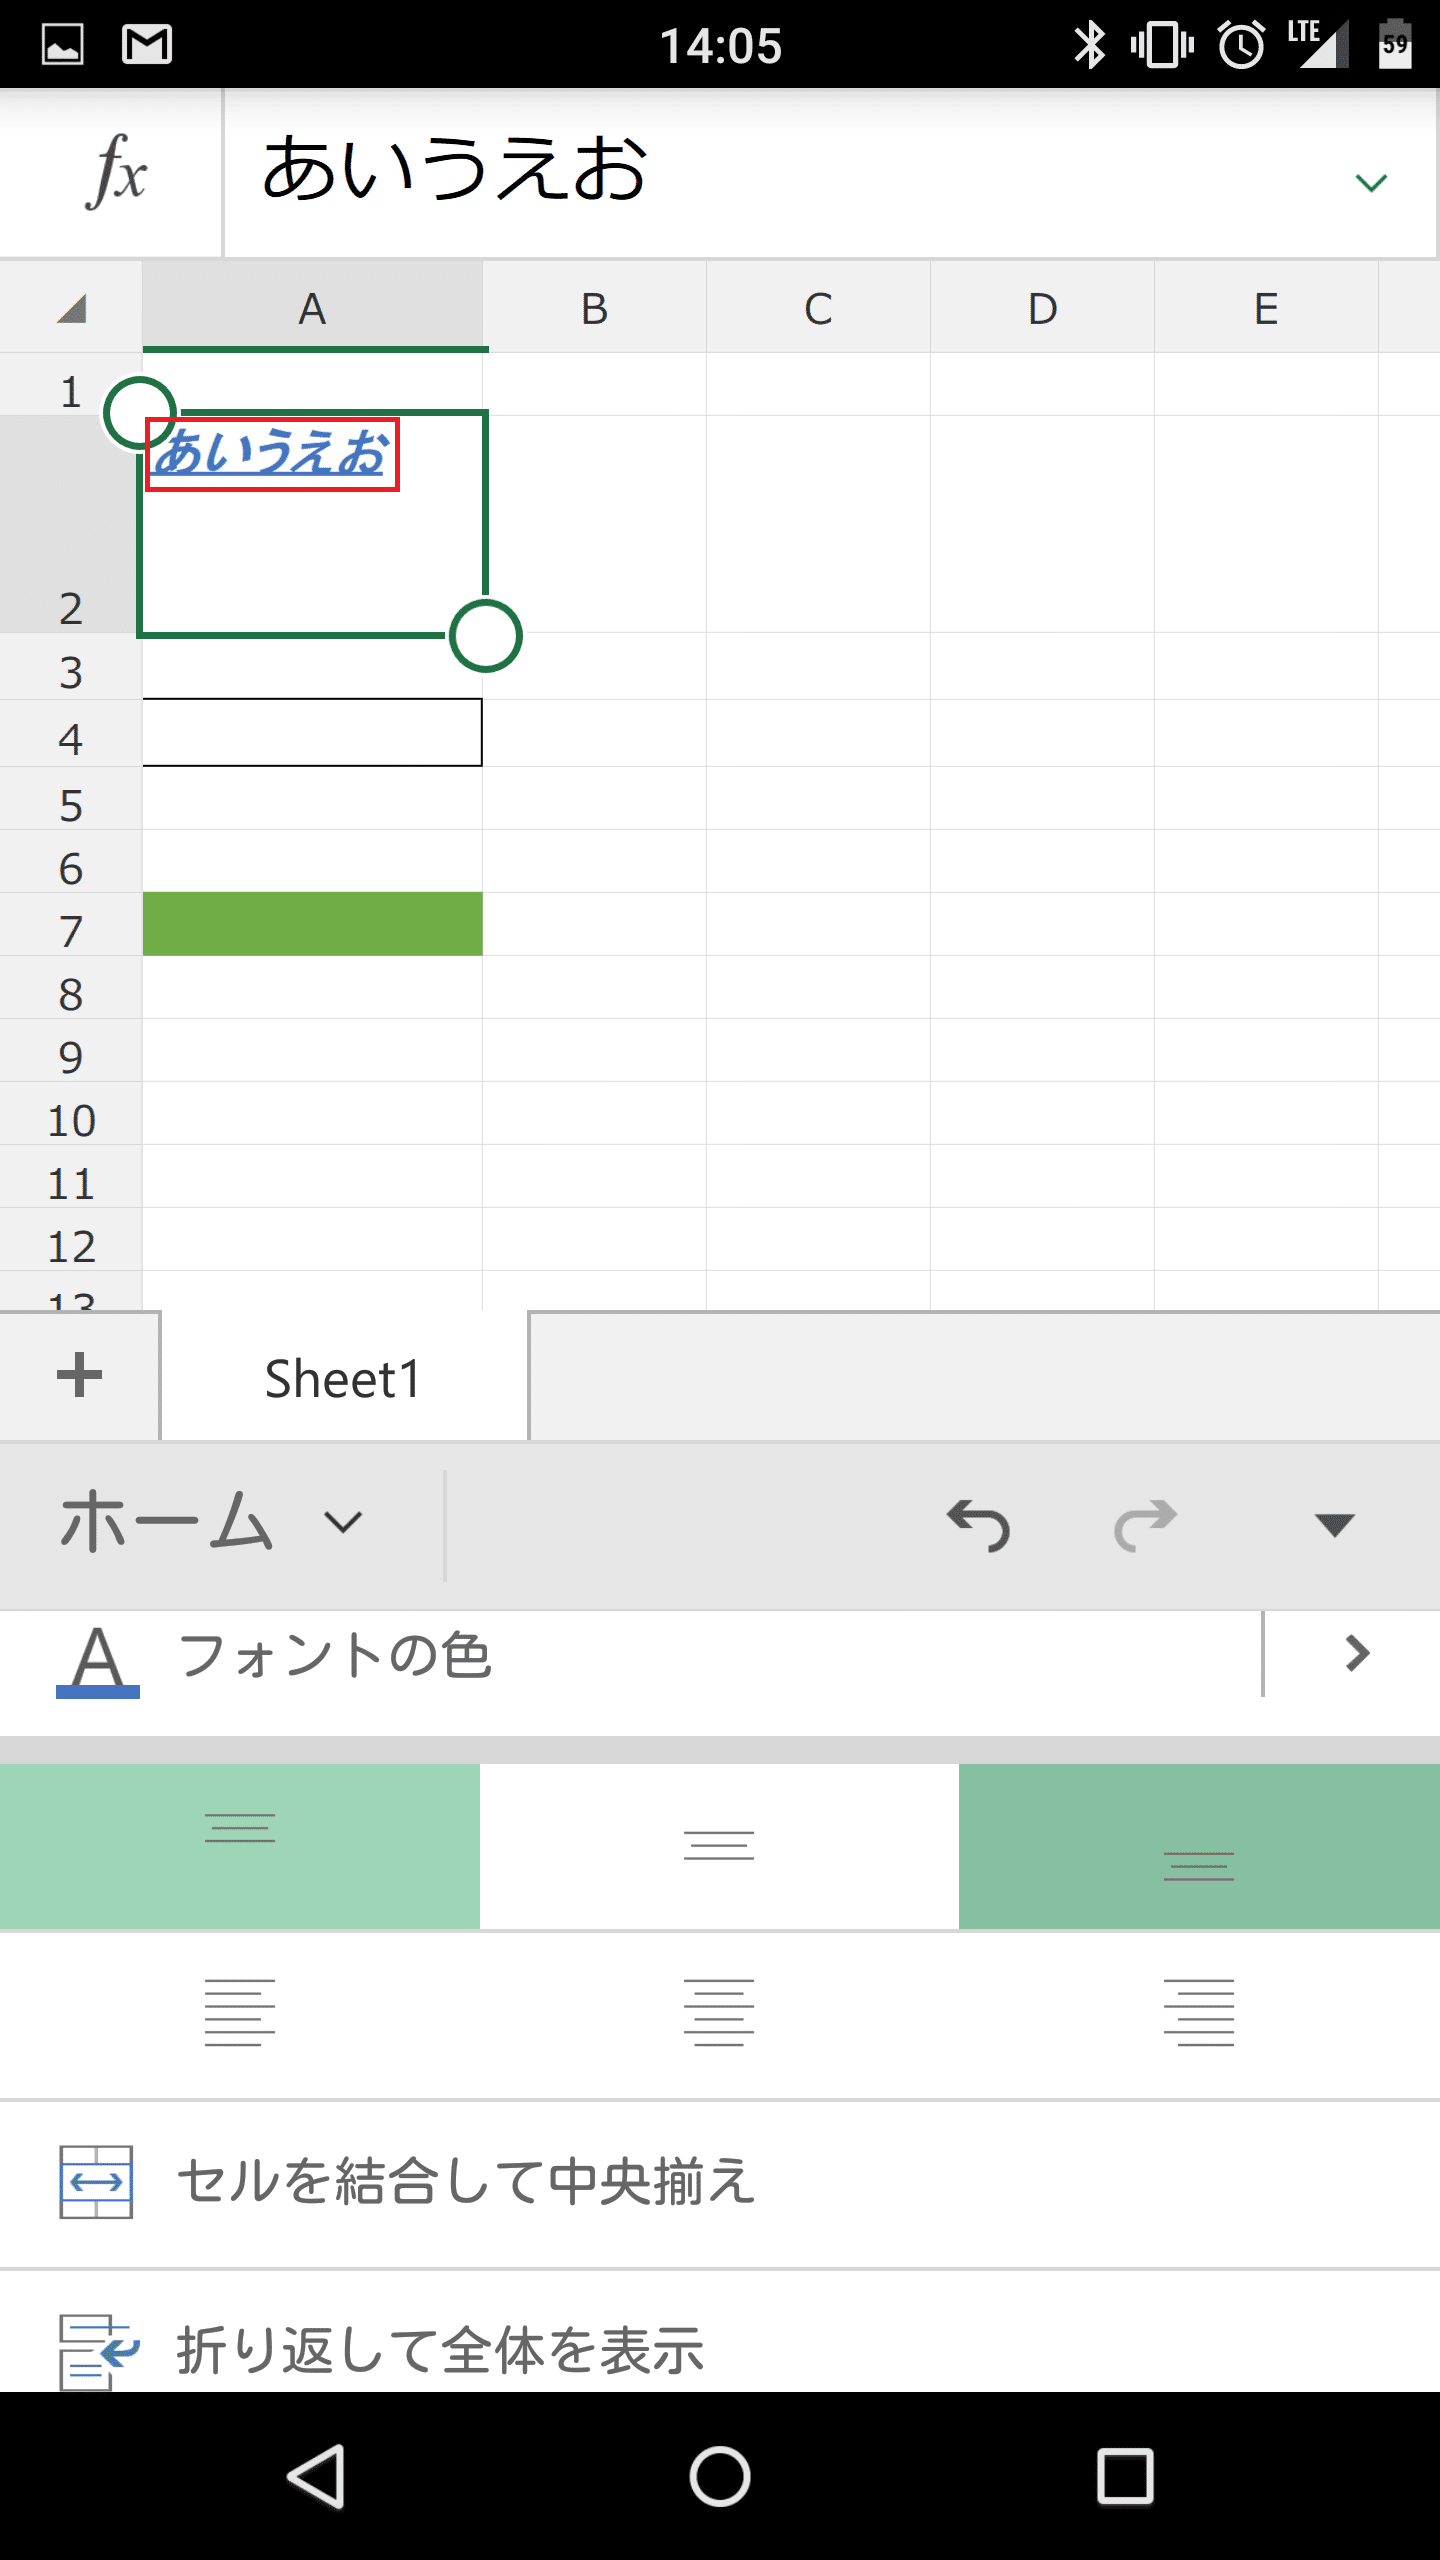
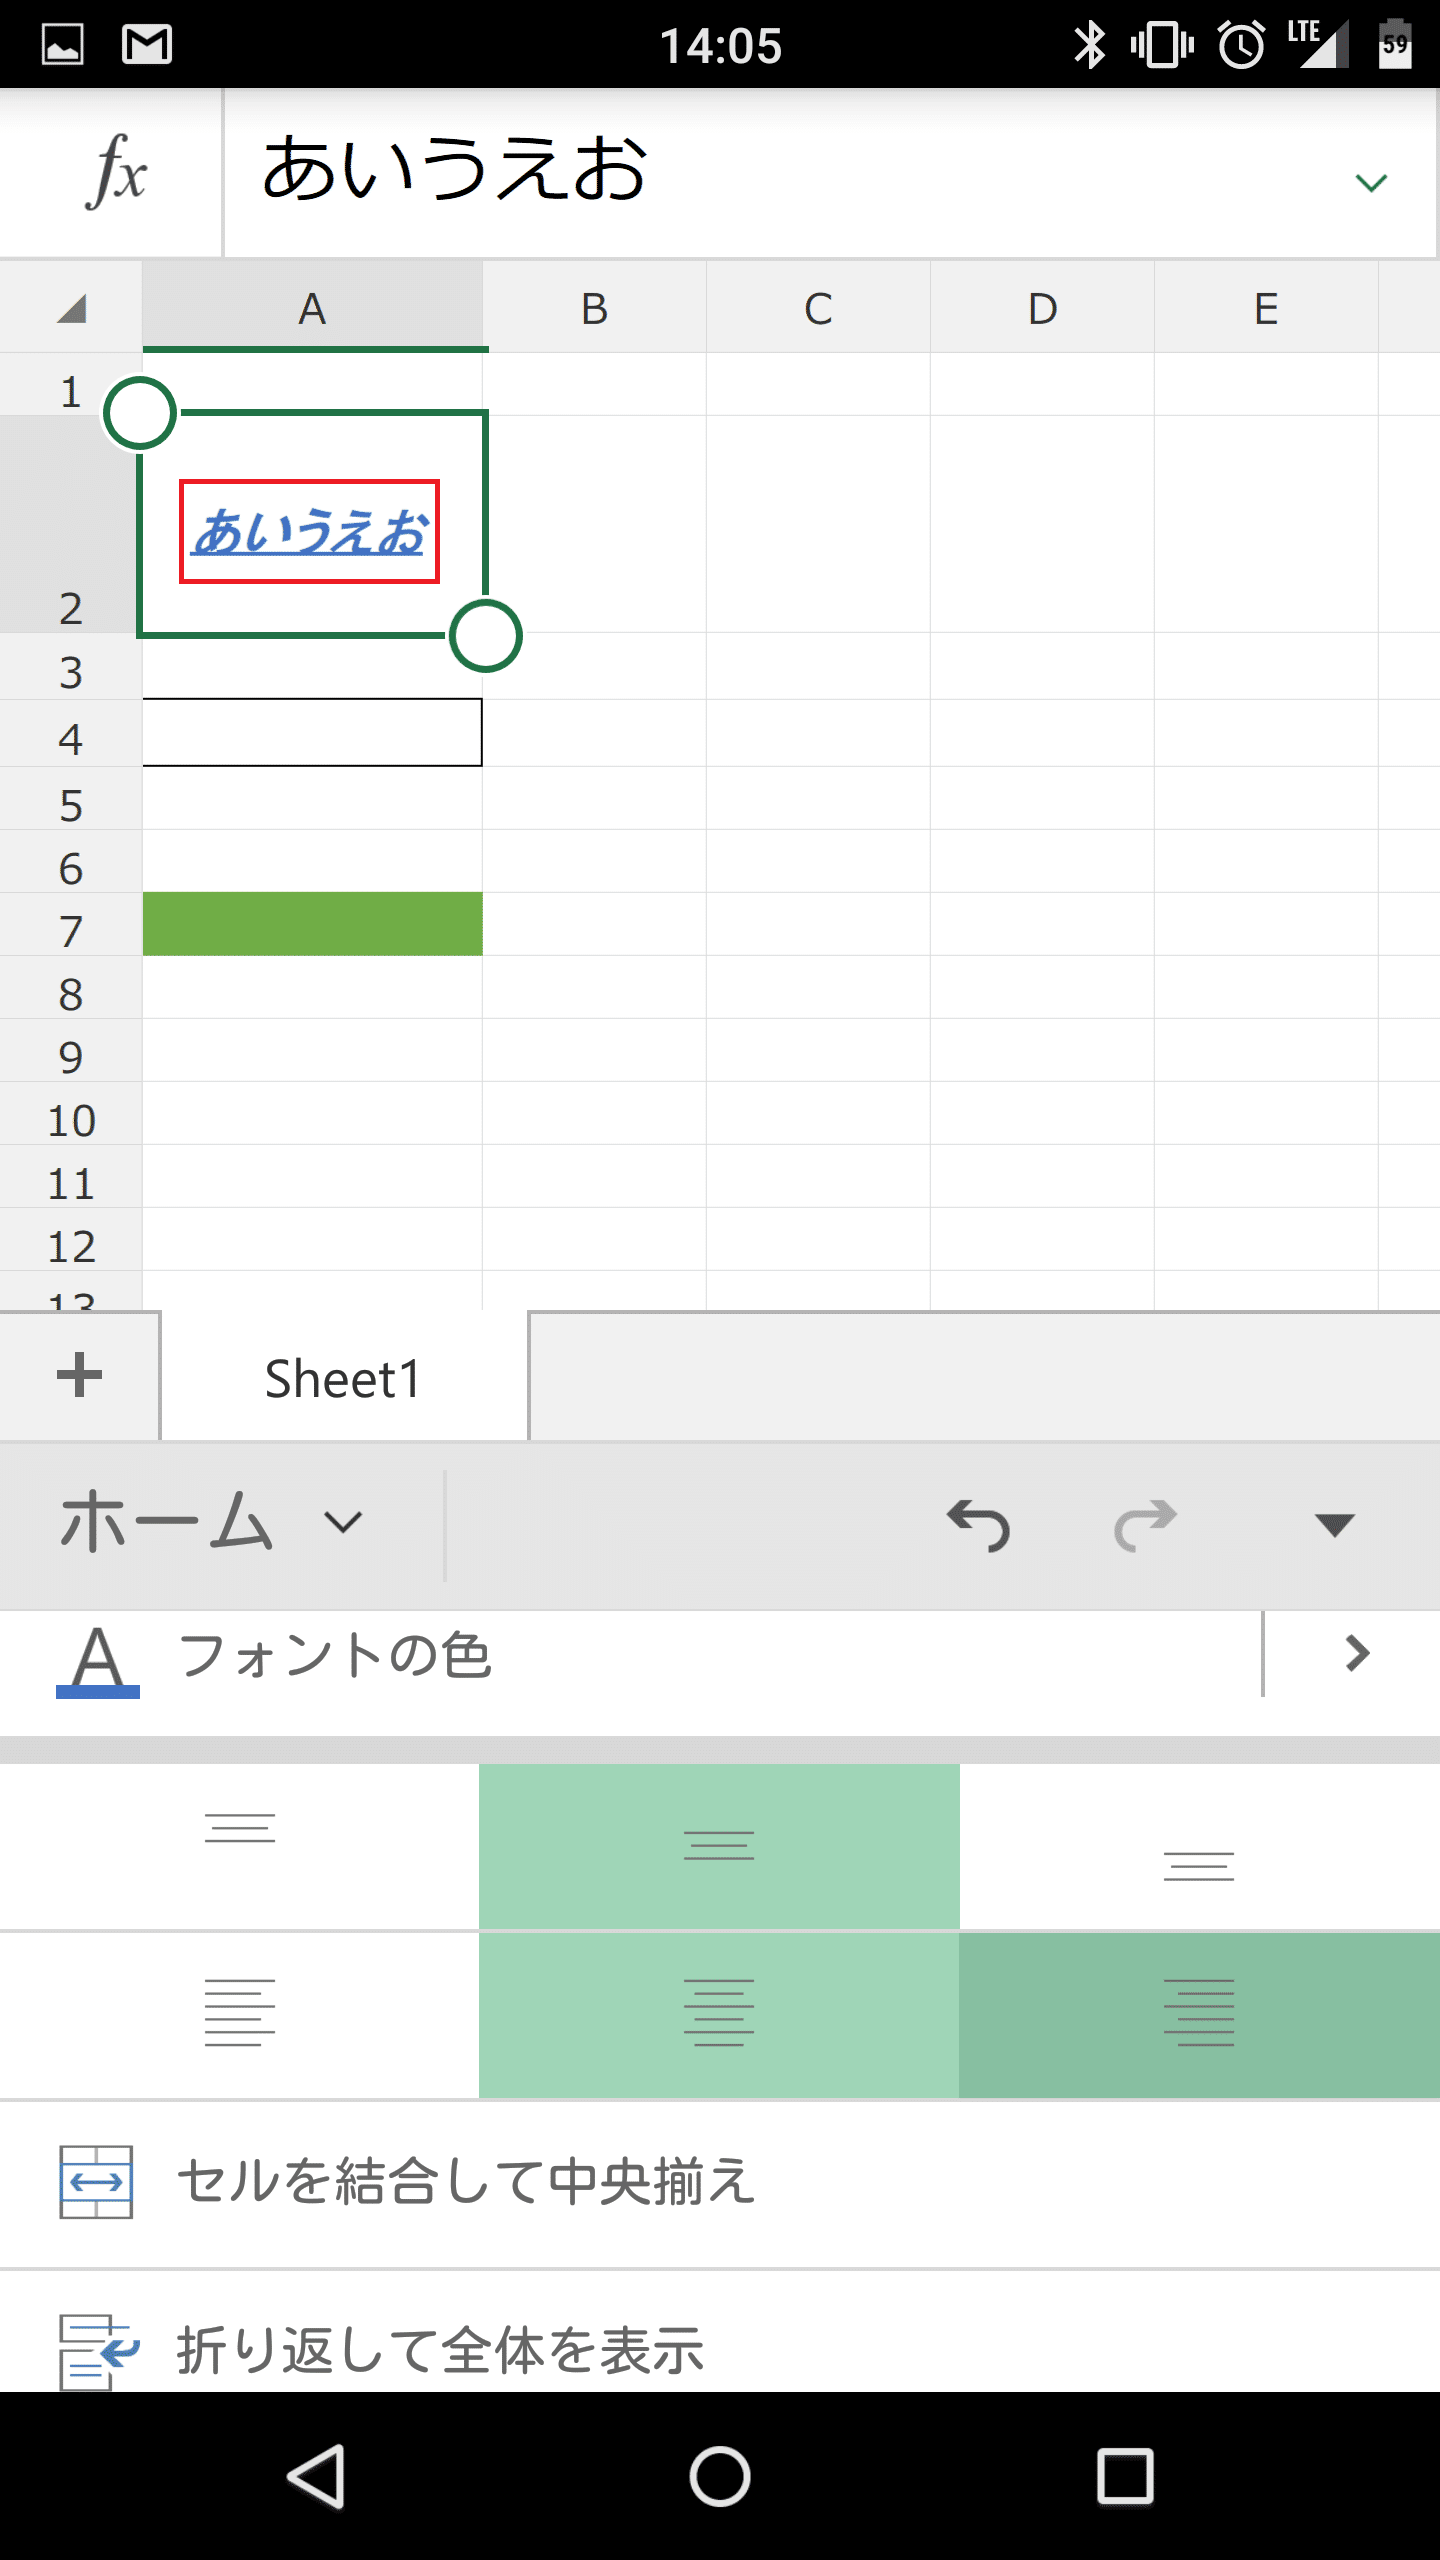
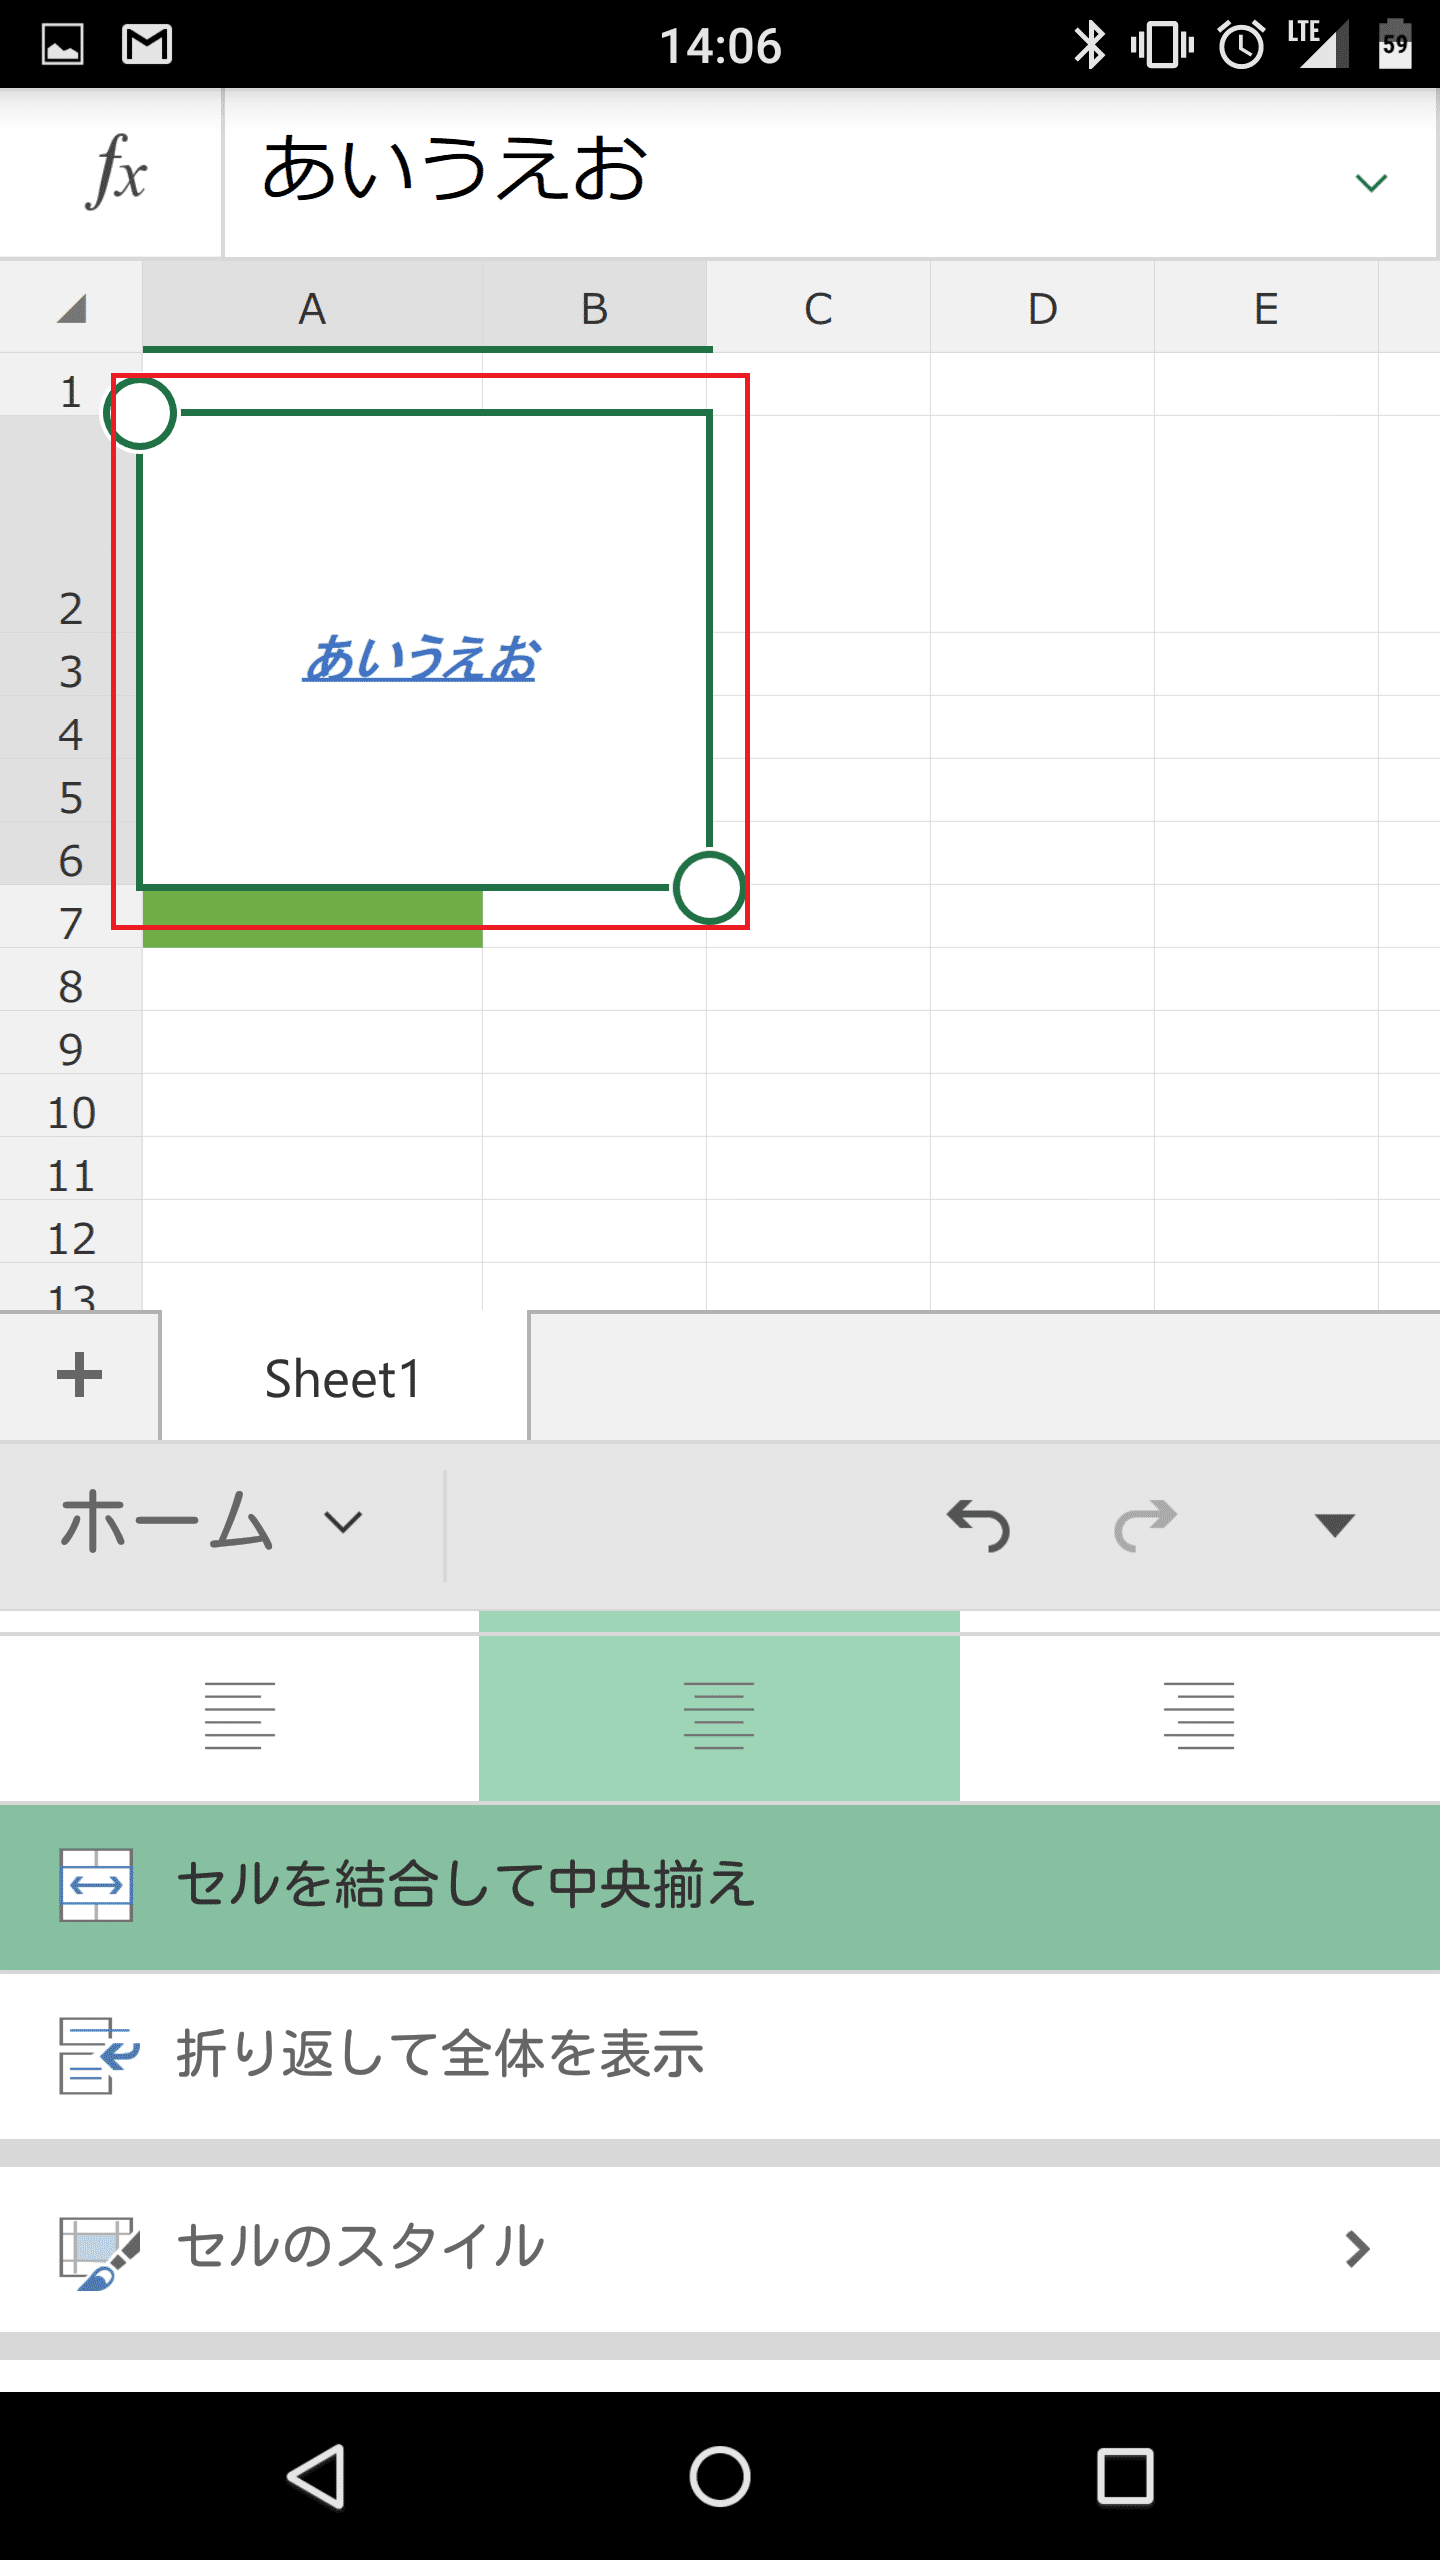
セルを結合して中央揃えにする
セルを結合して中央揃えにするには、結合したいセルを選択して「セルを結合して中央揃え」をタップします。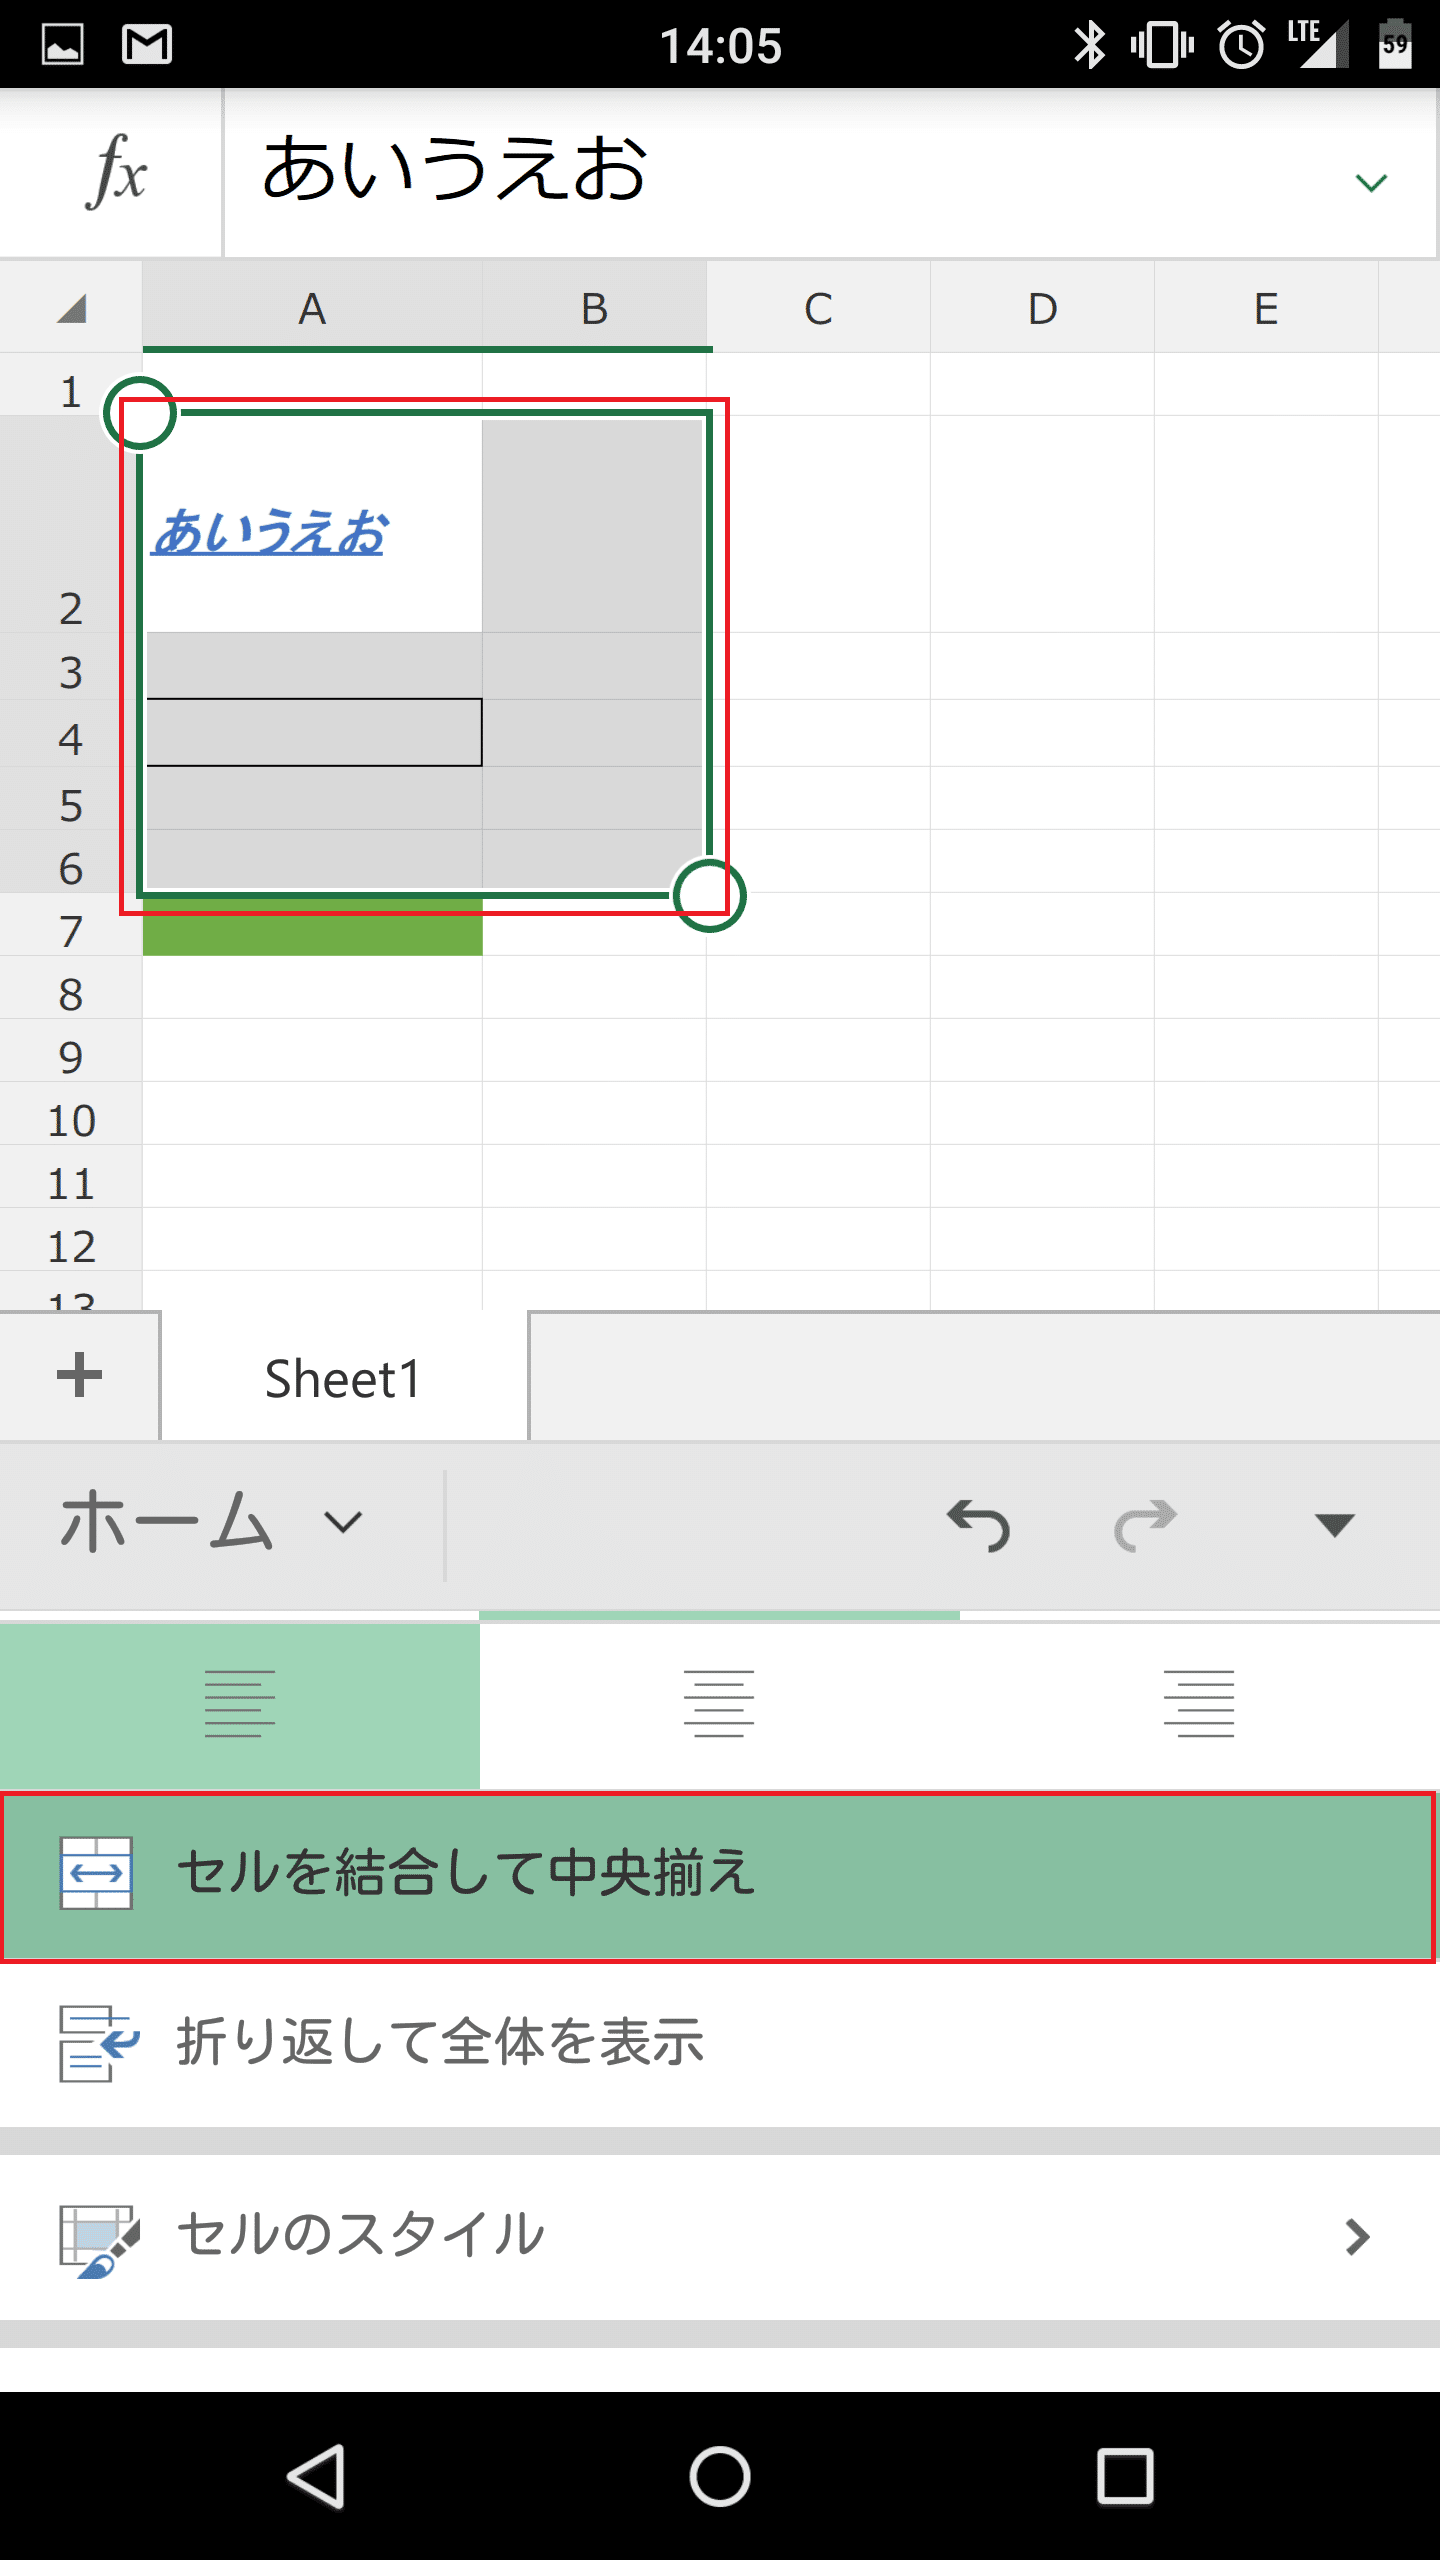
選択したセルが結合して、文字は中央揃えになりました。
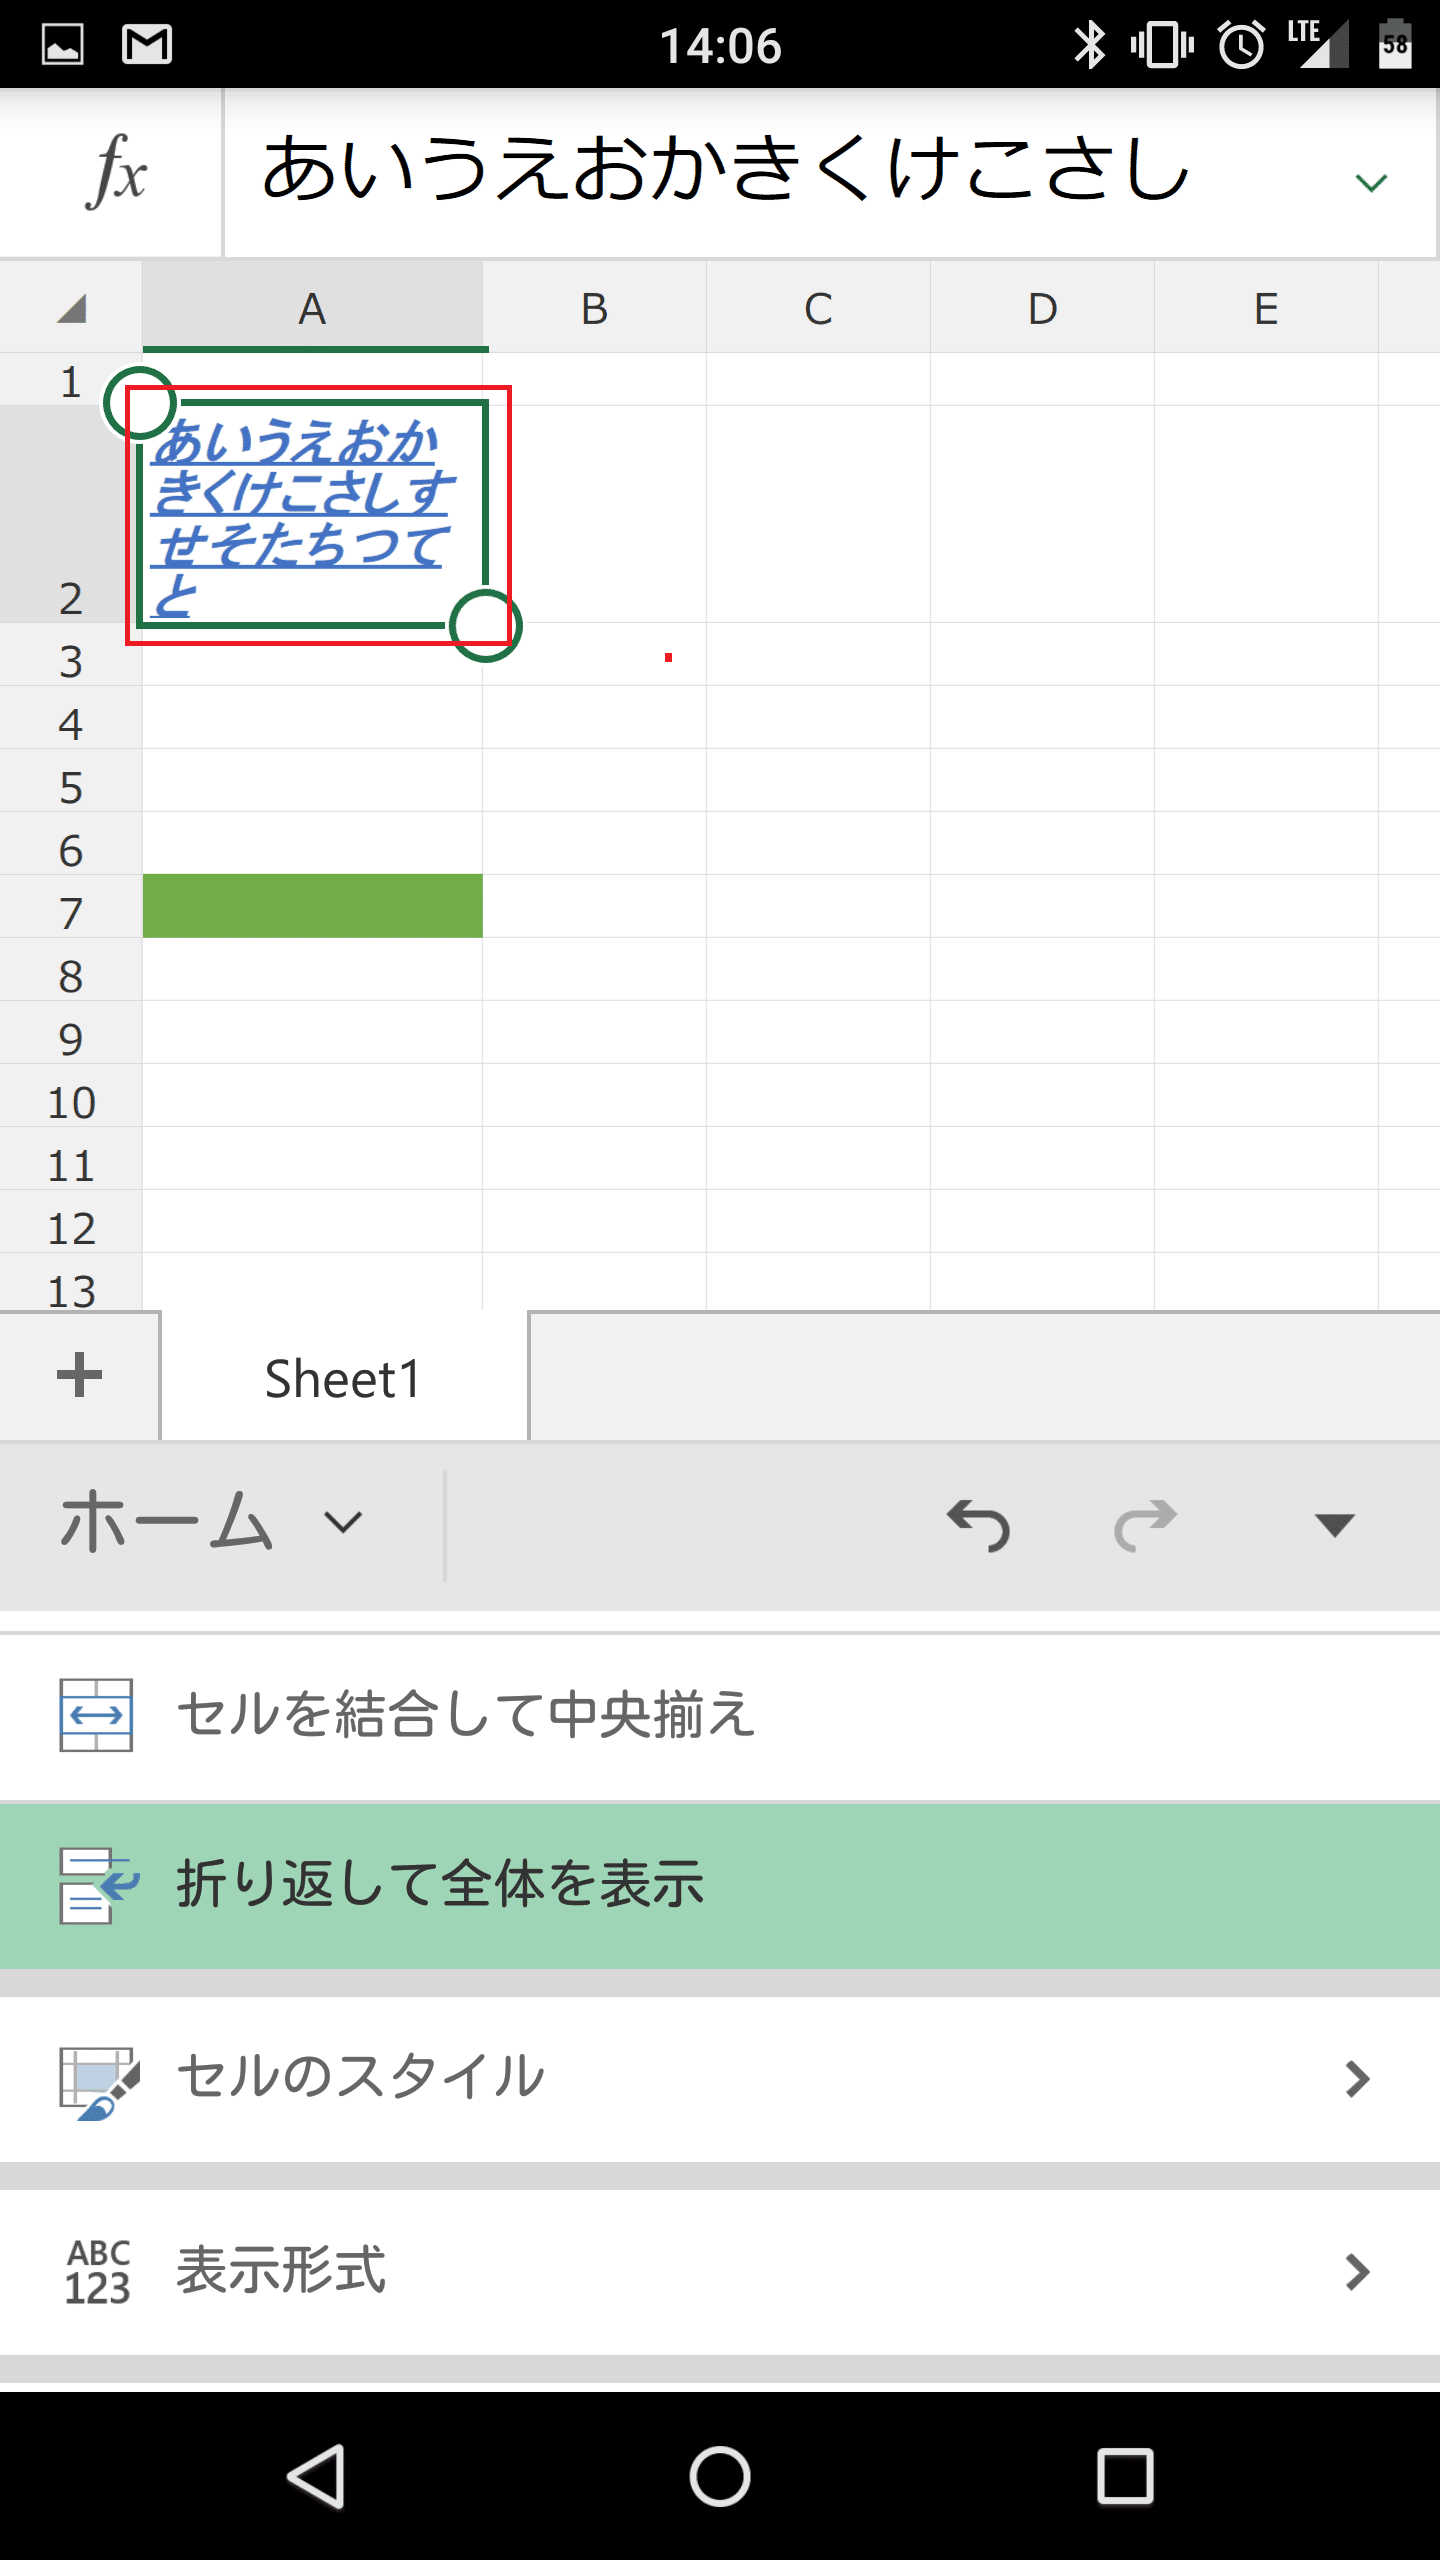
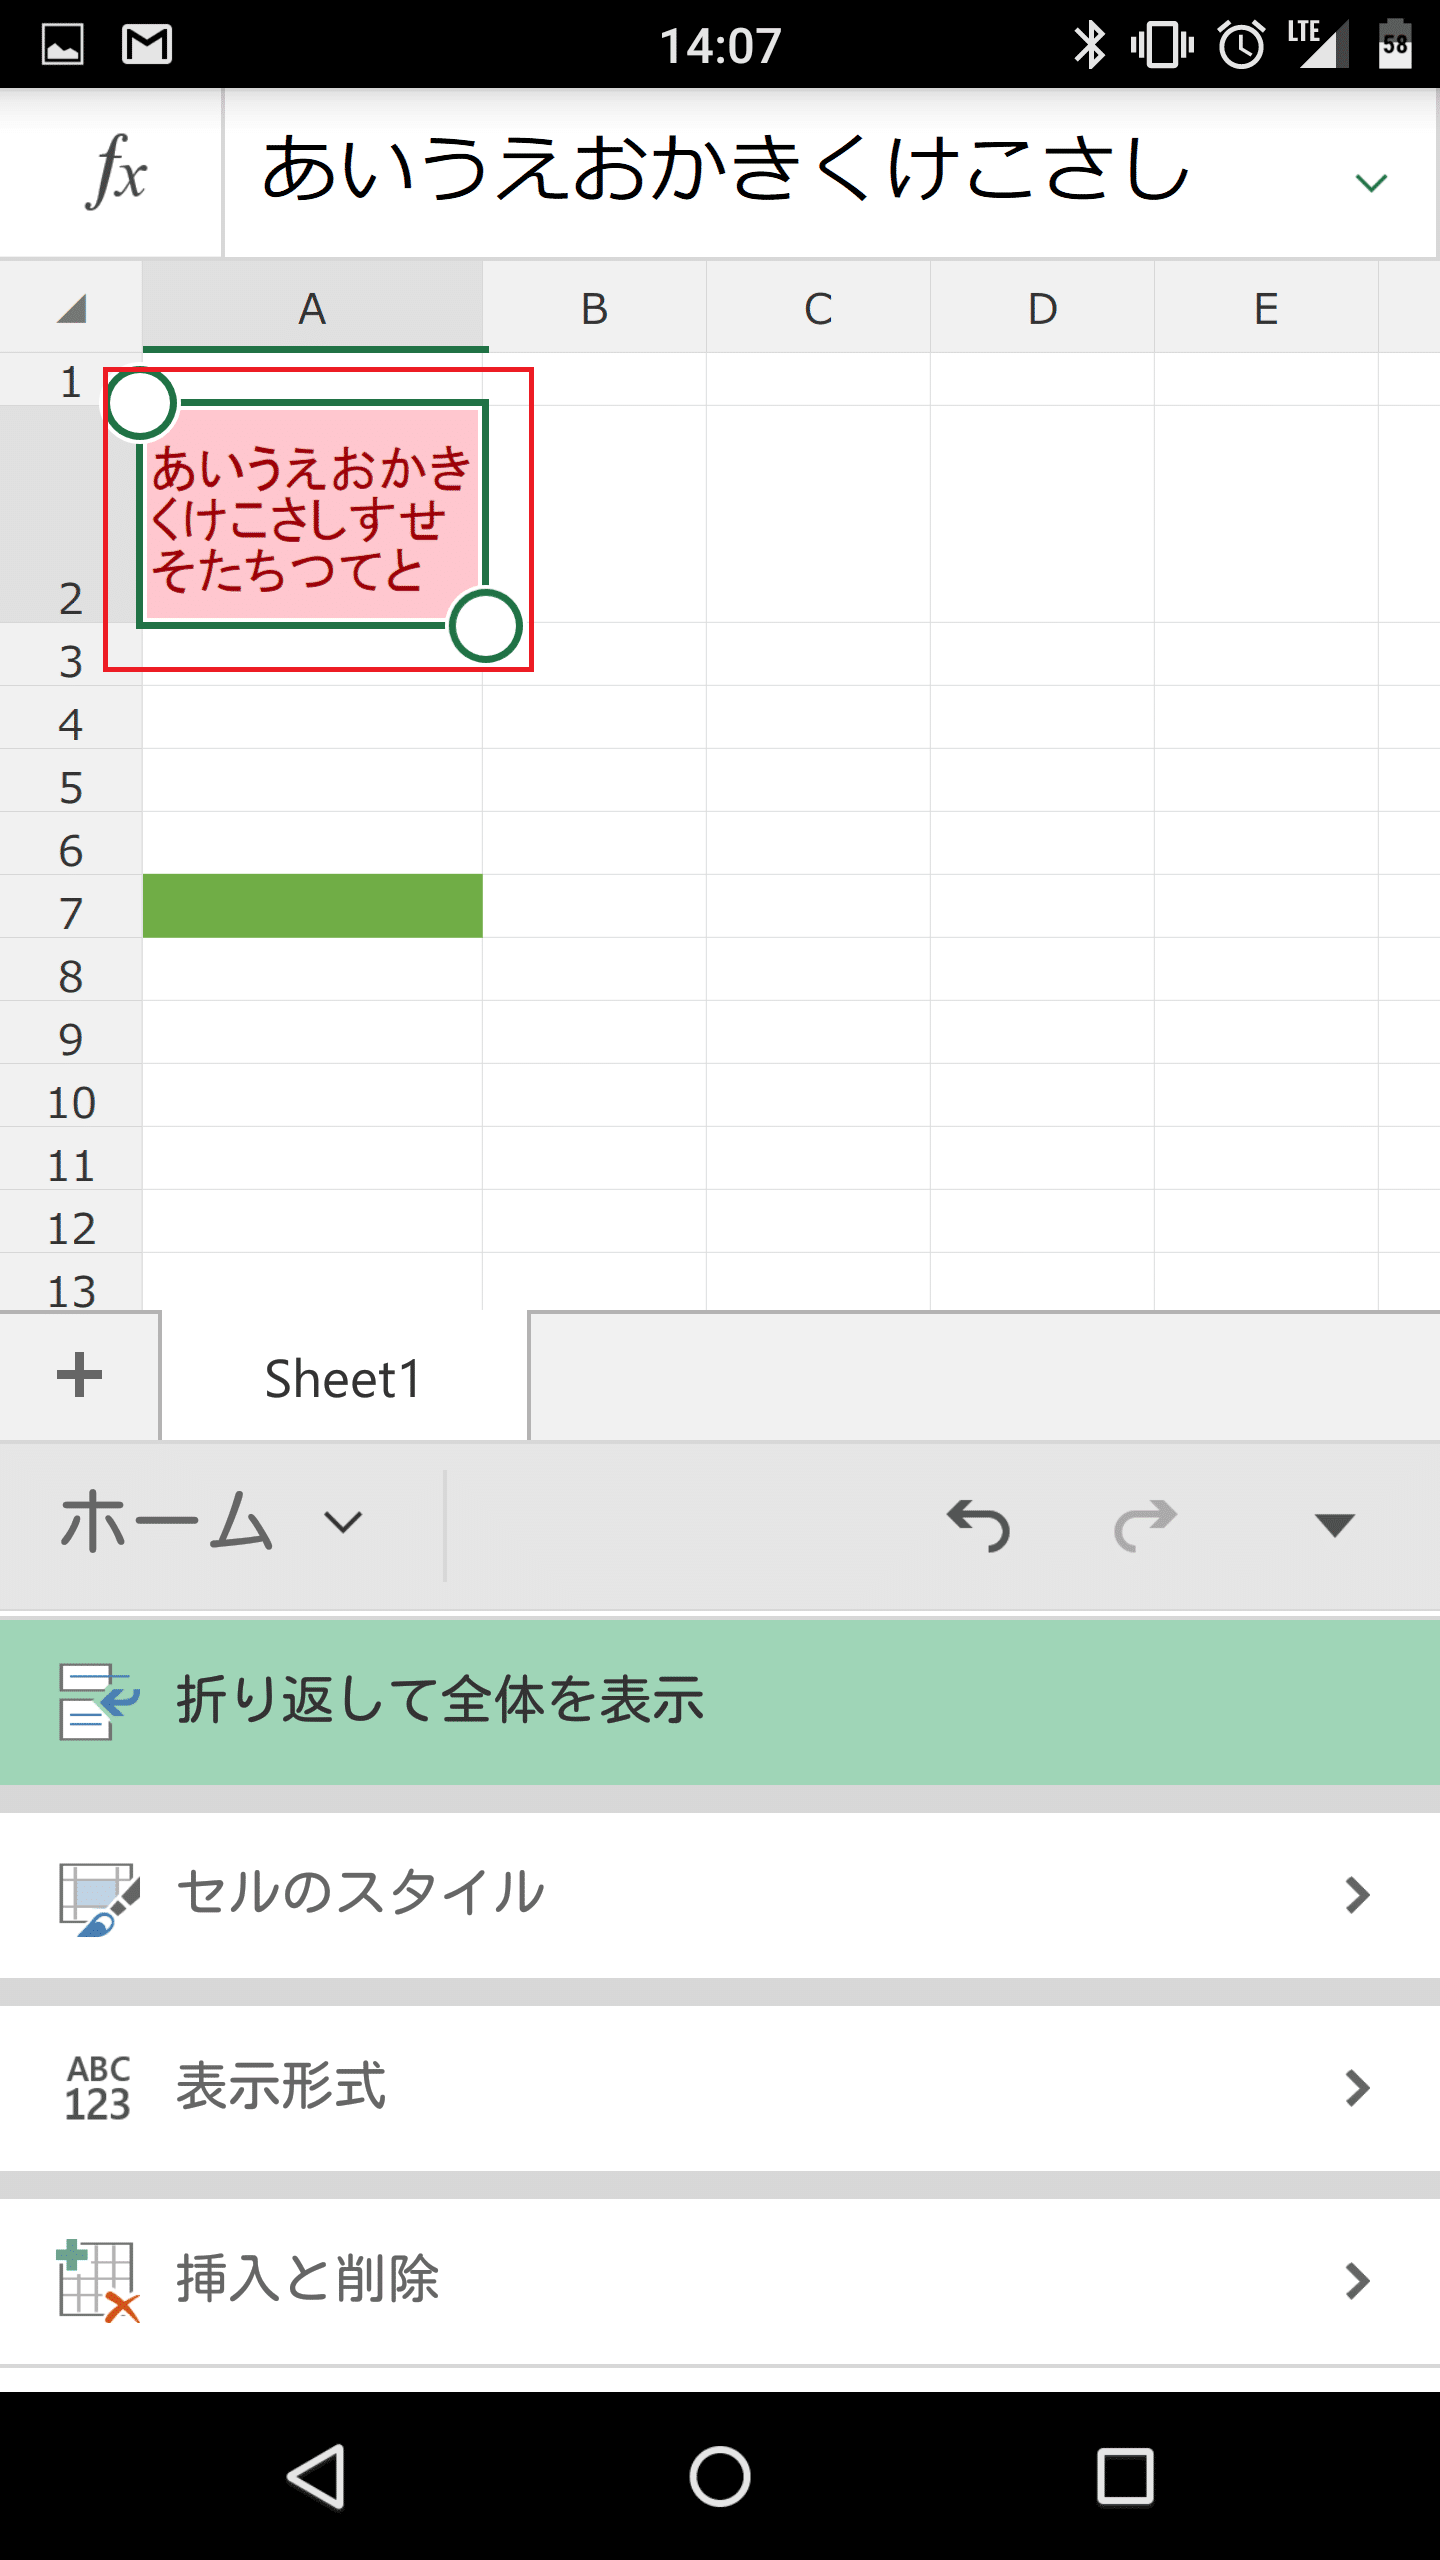
折り返して全体を表示する
セル内で文字が長すぎる場合に折り返して全体を表示するには、該当のセルを選んだ状態で「折り返して全体を表示」をタップします。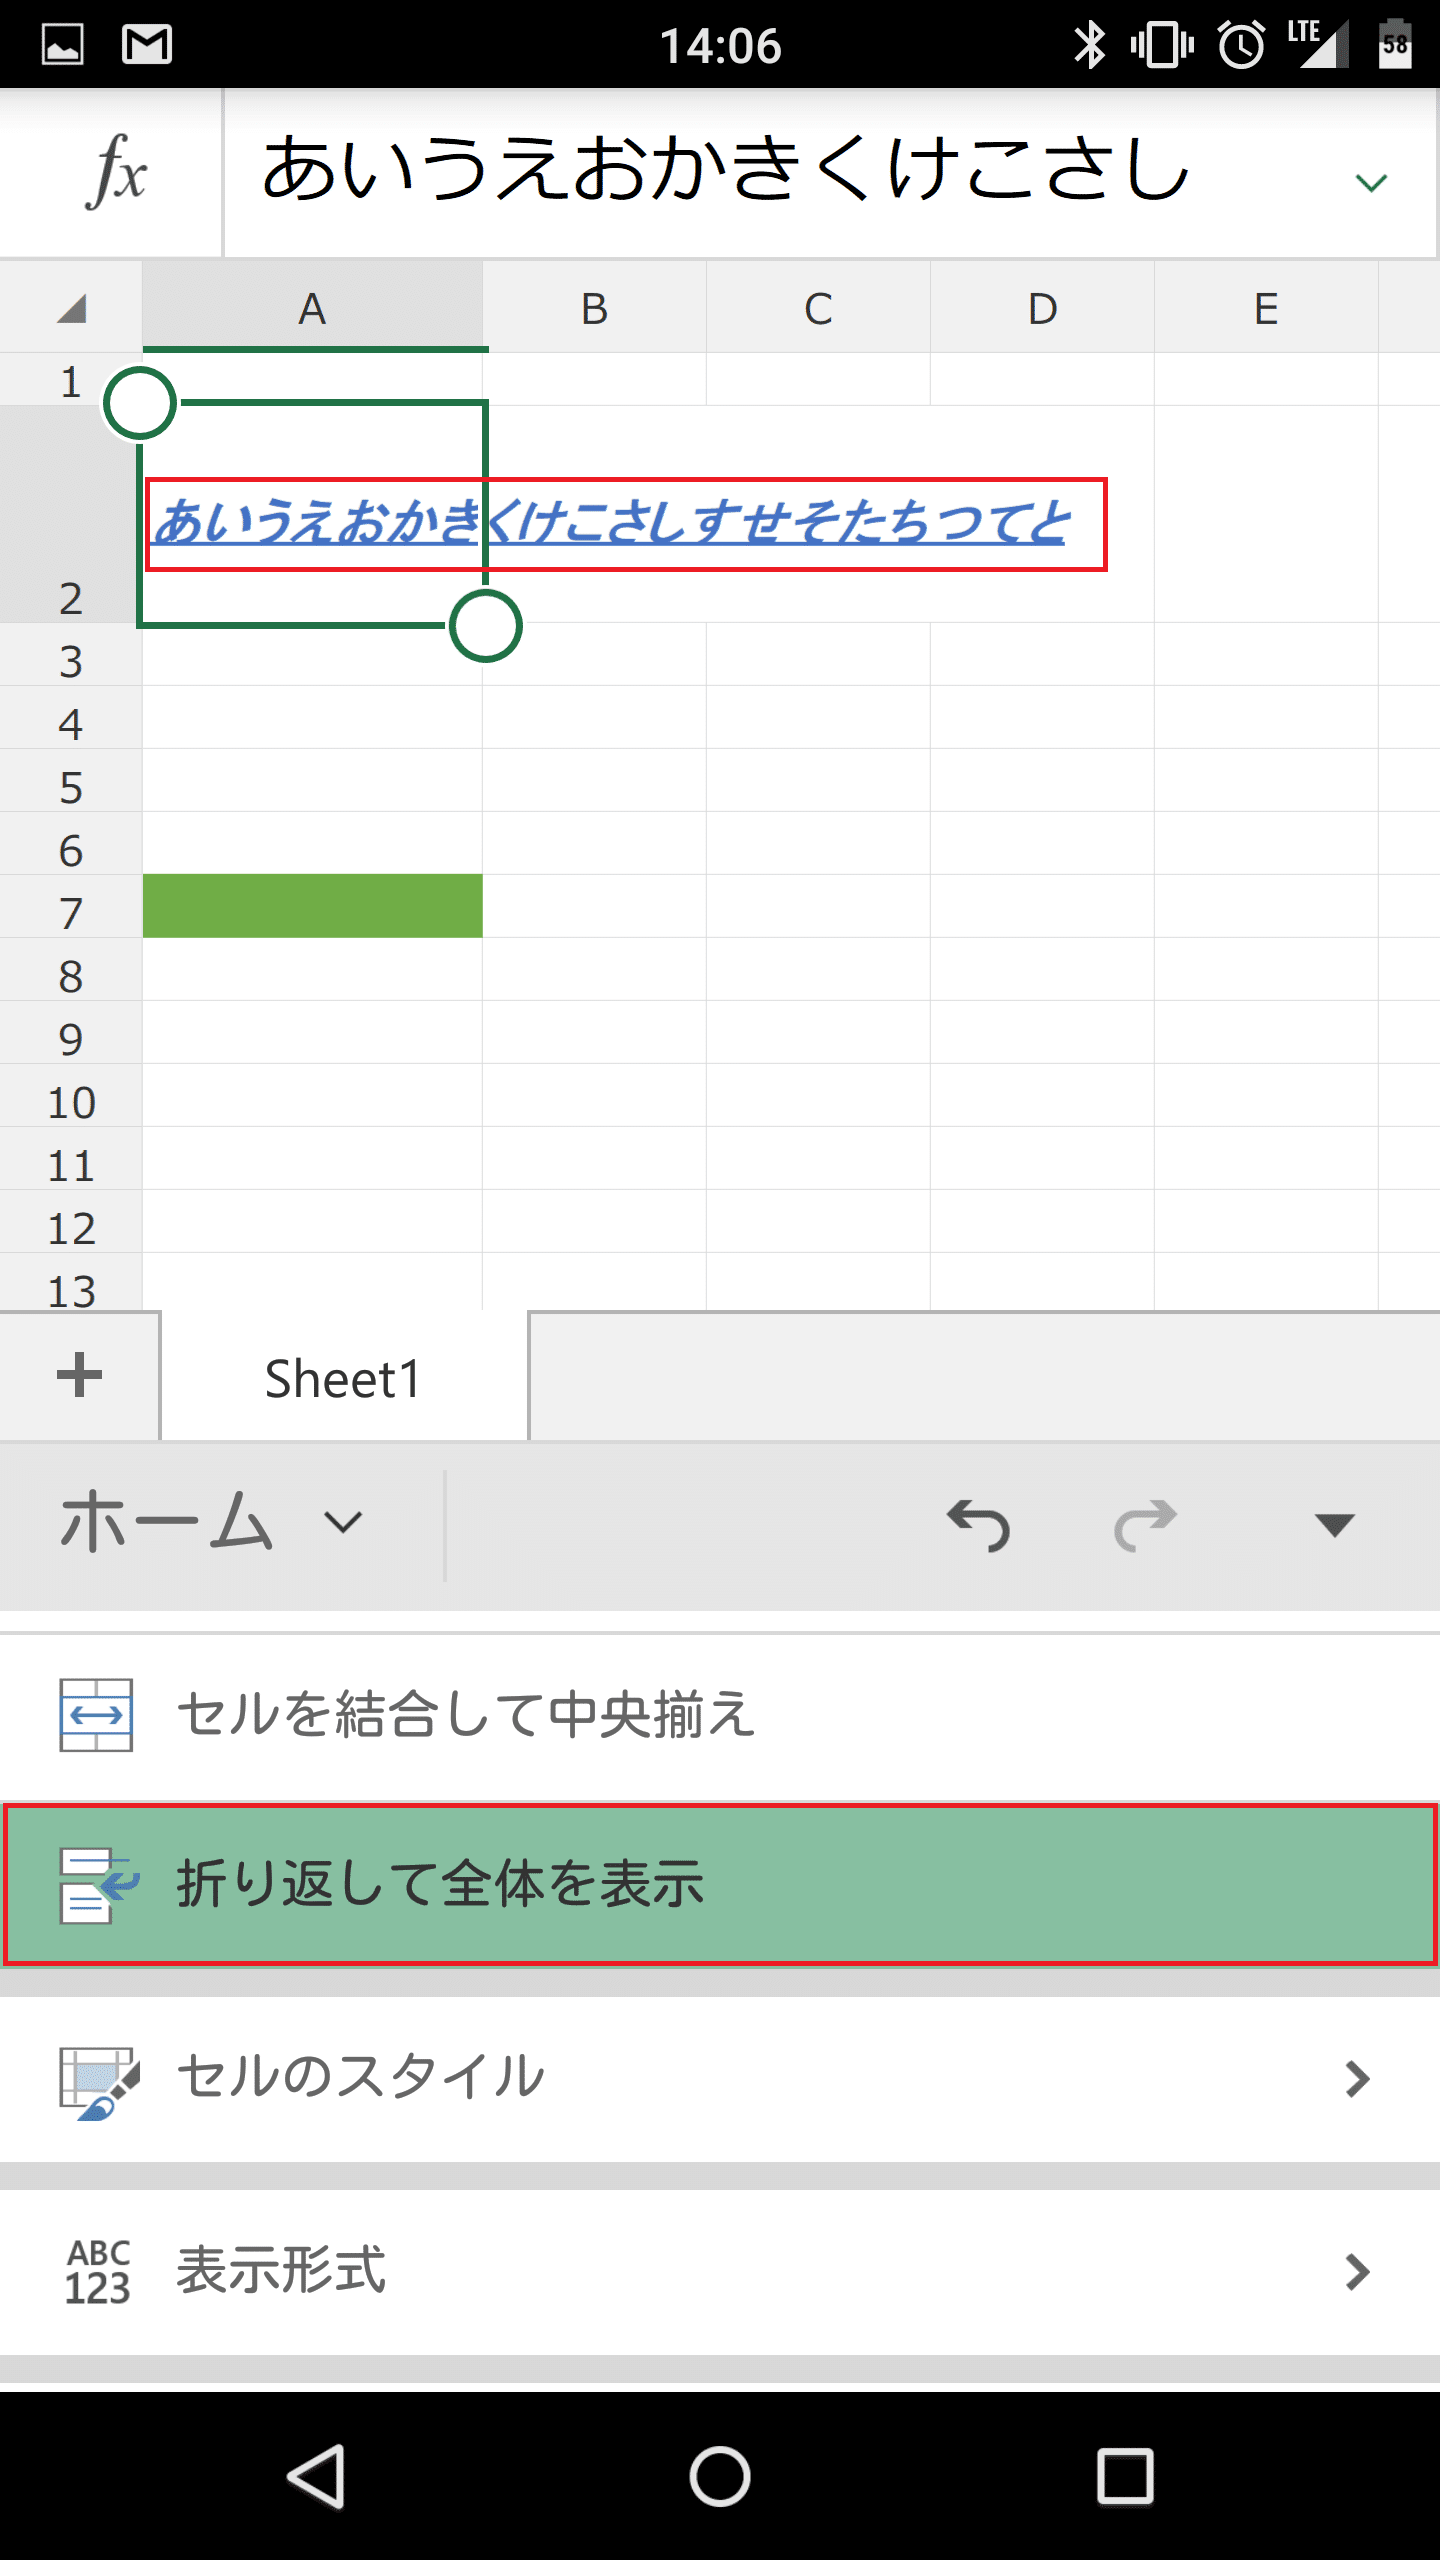
セル内に文字が収まりました。
セルのスタイルを変更する
セルのスタイルを変更するには、「セルのスタイル」をタップします。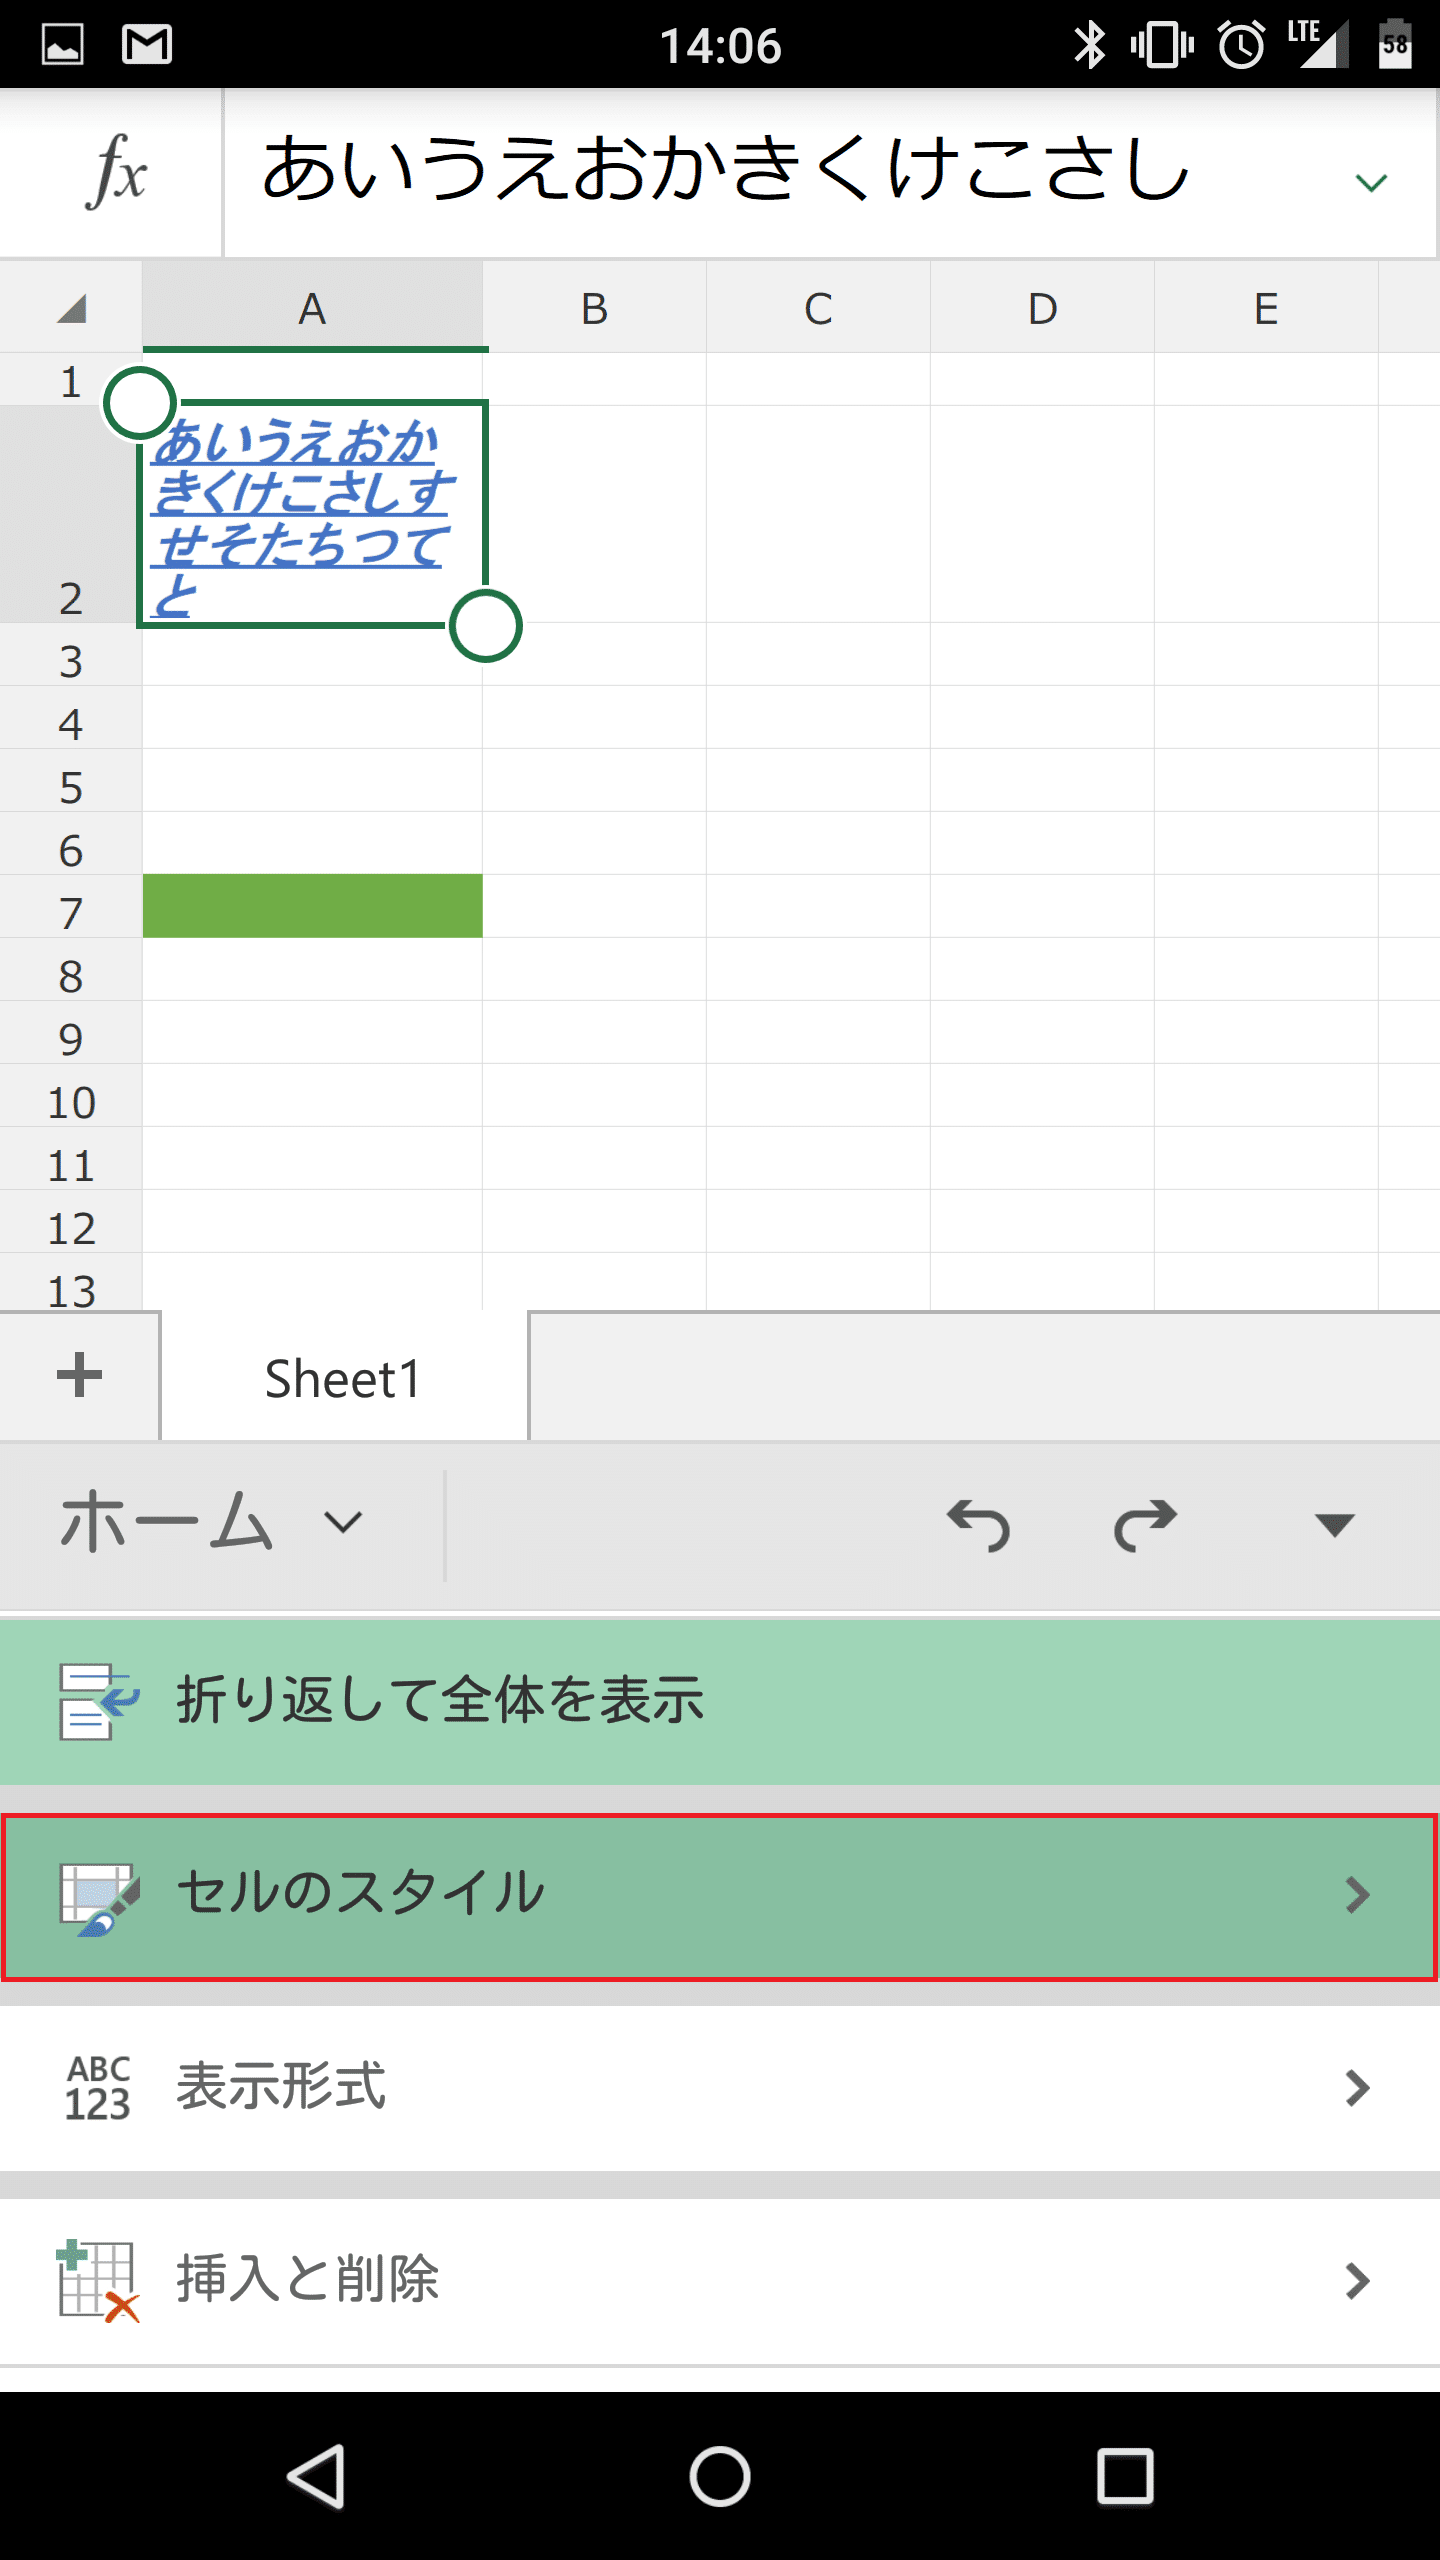
スタイルのテンプレートがあるので、その中から選びます。
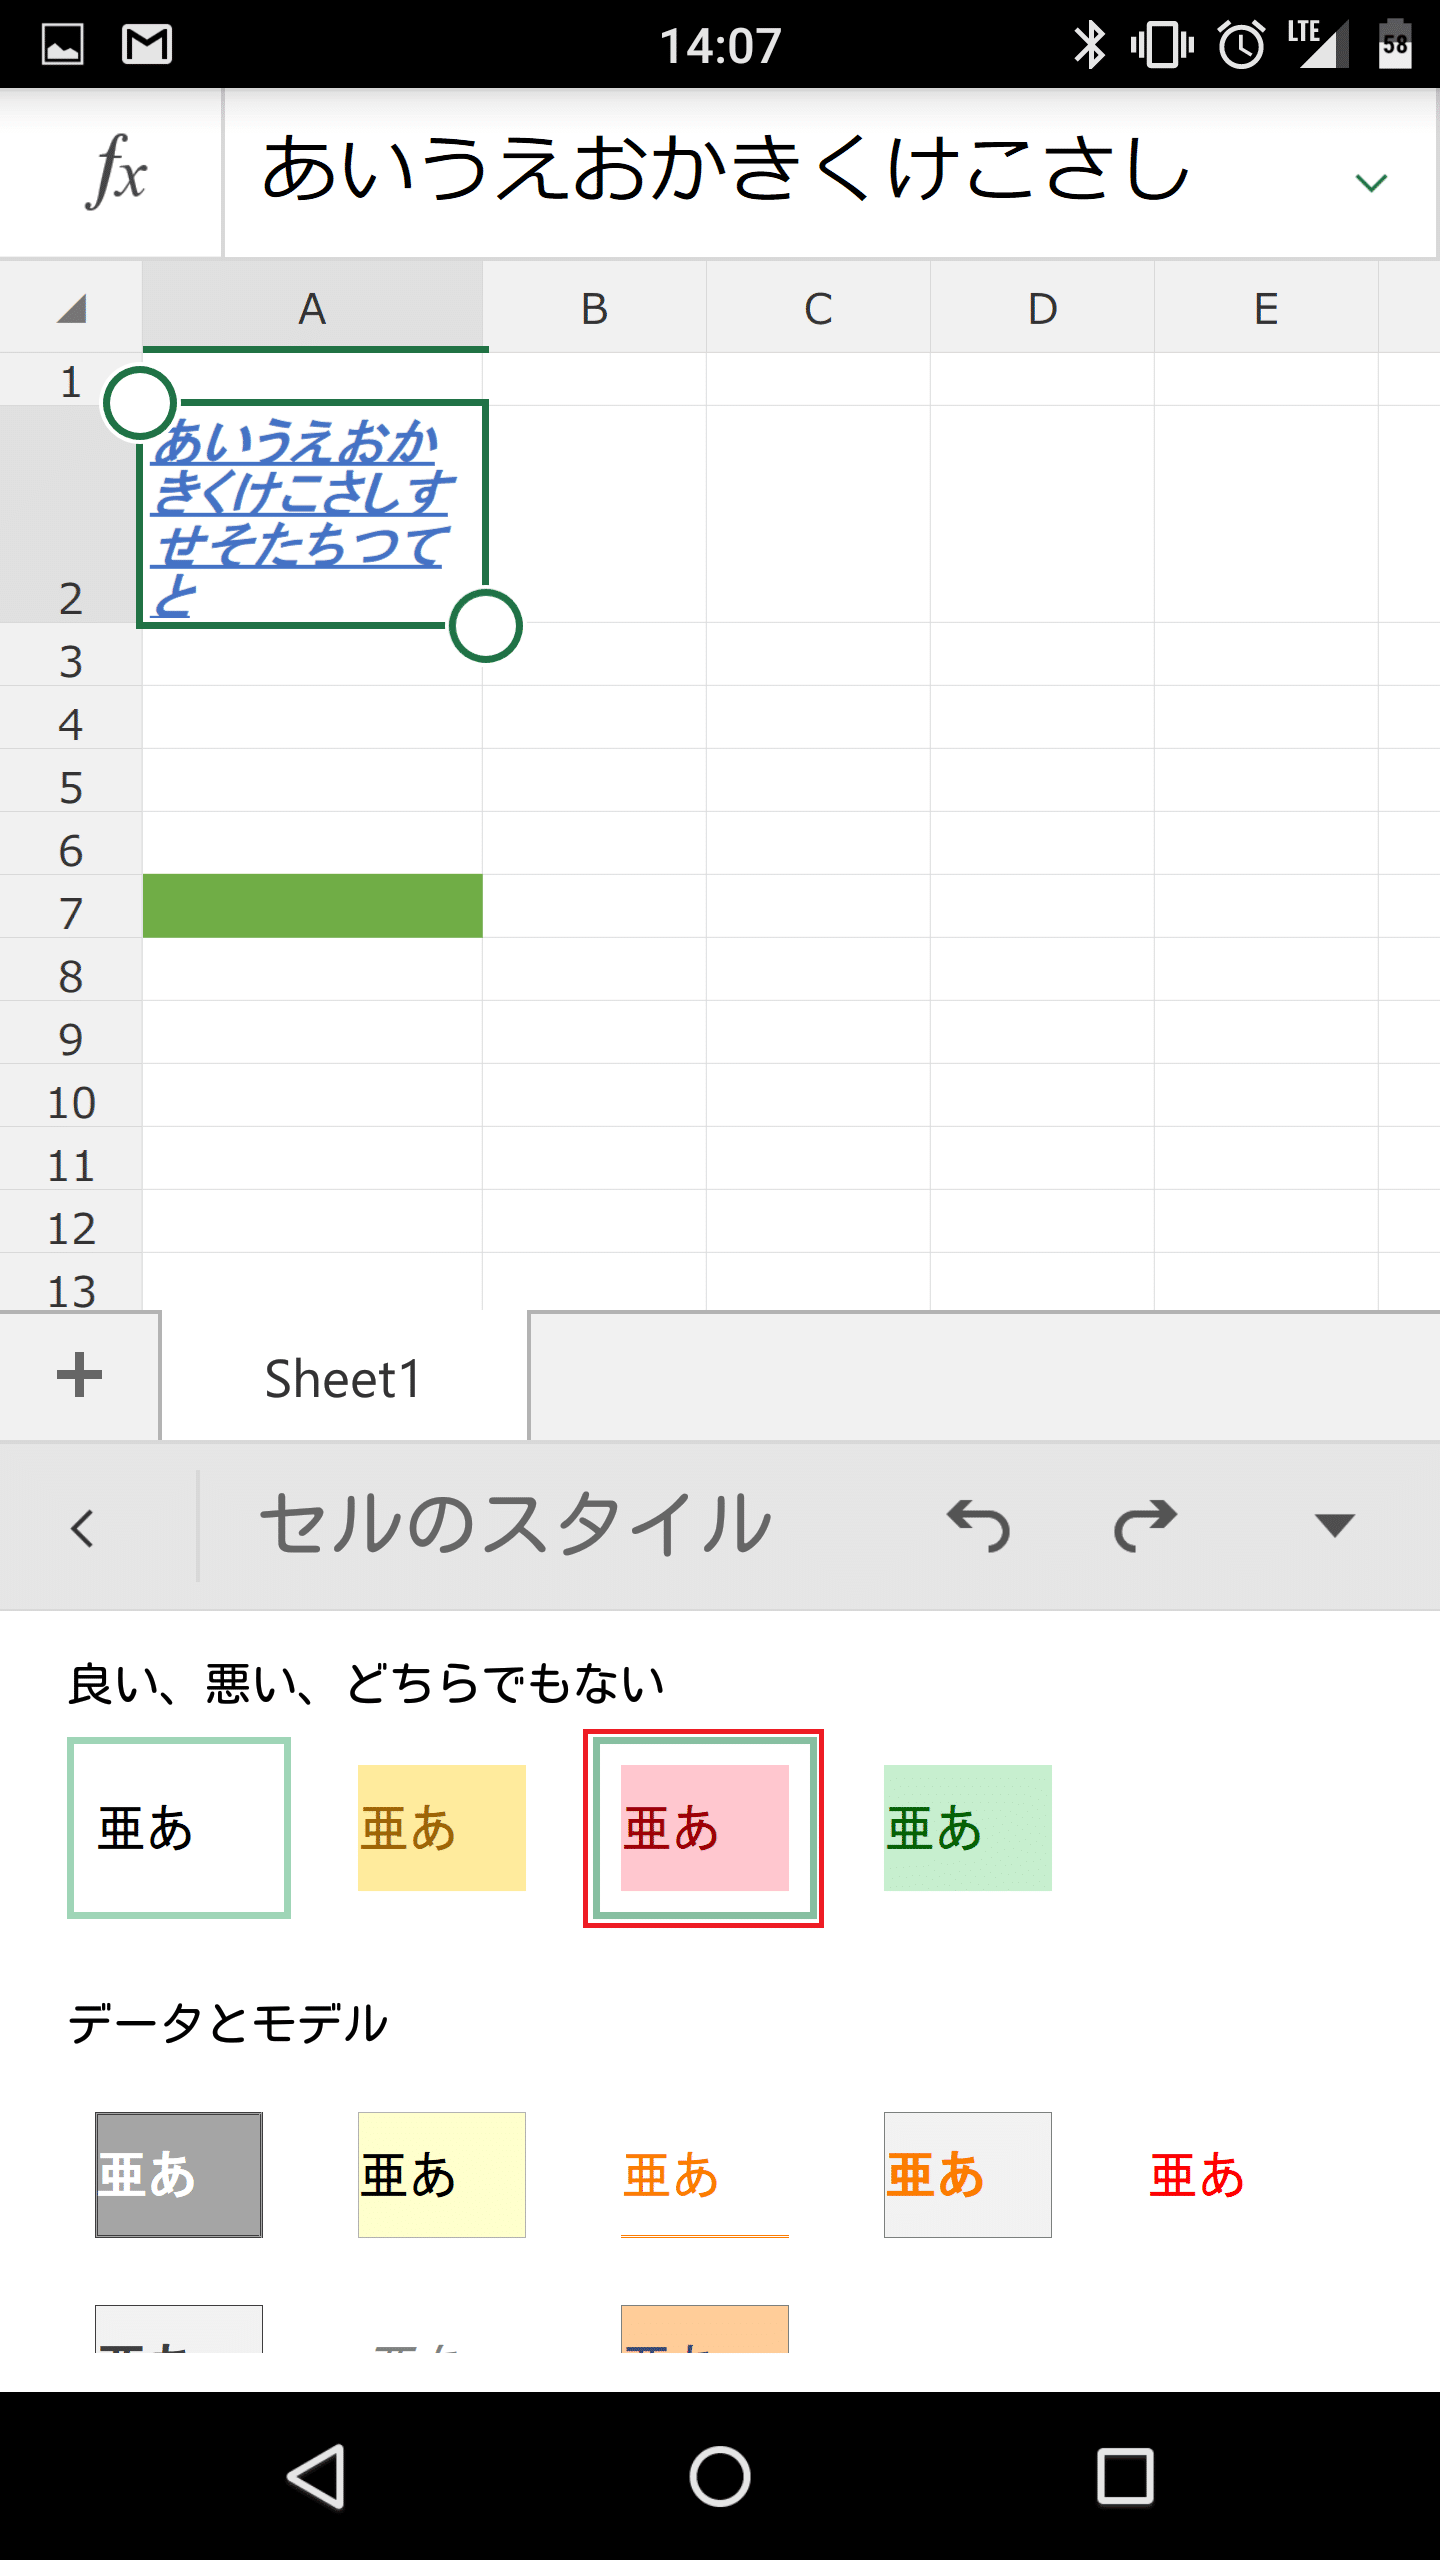
スタイルが適用されました。

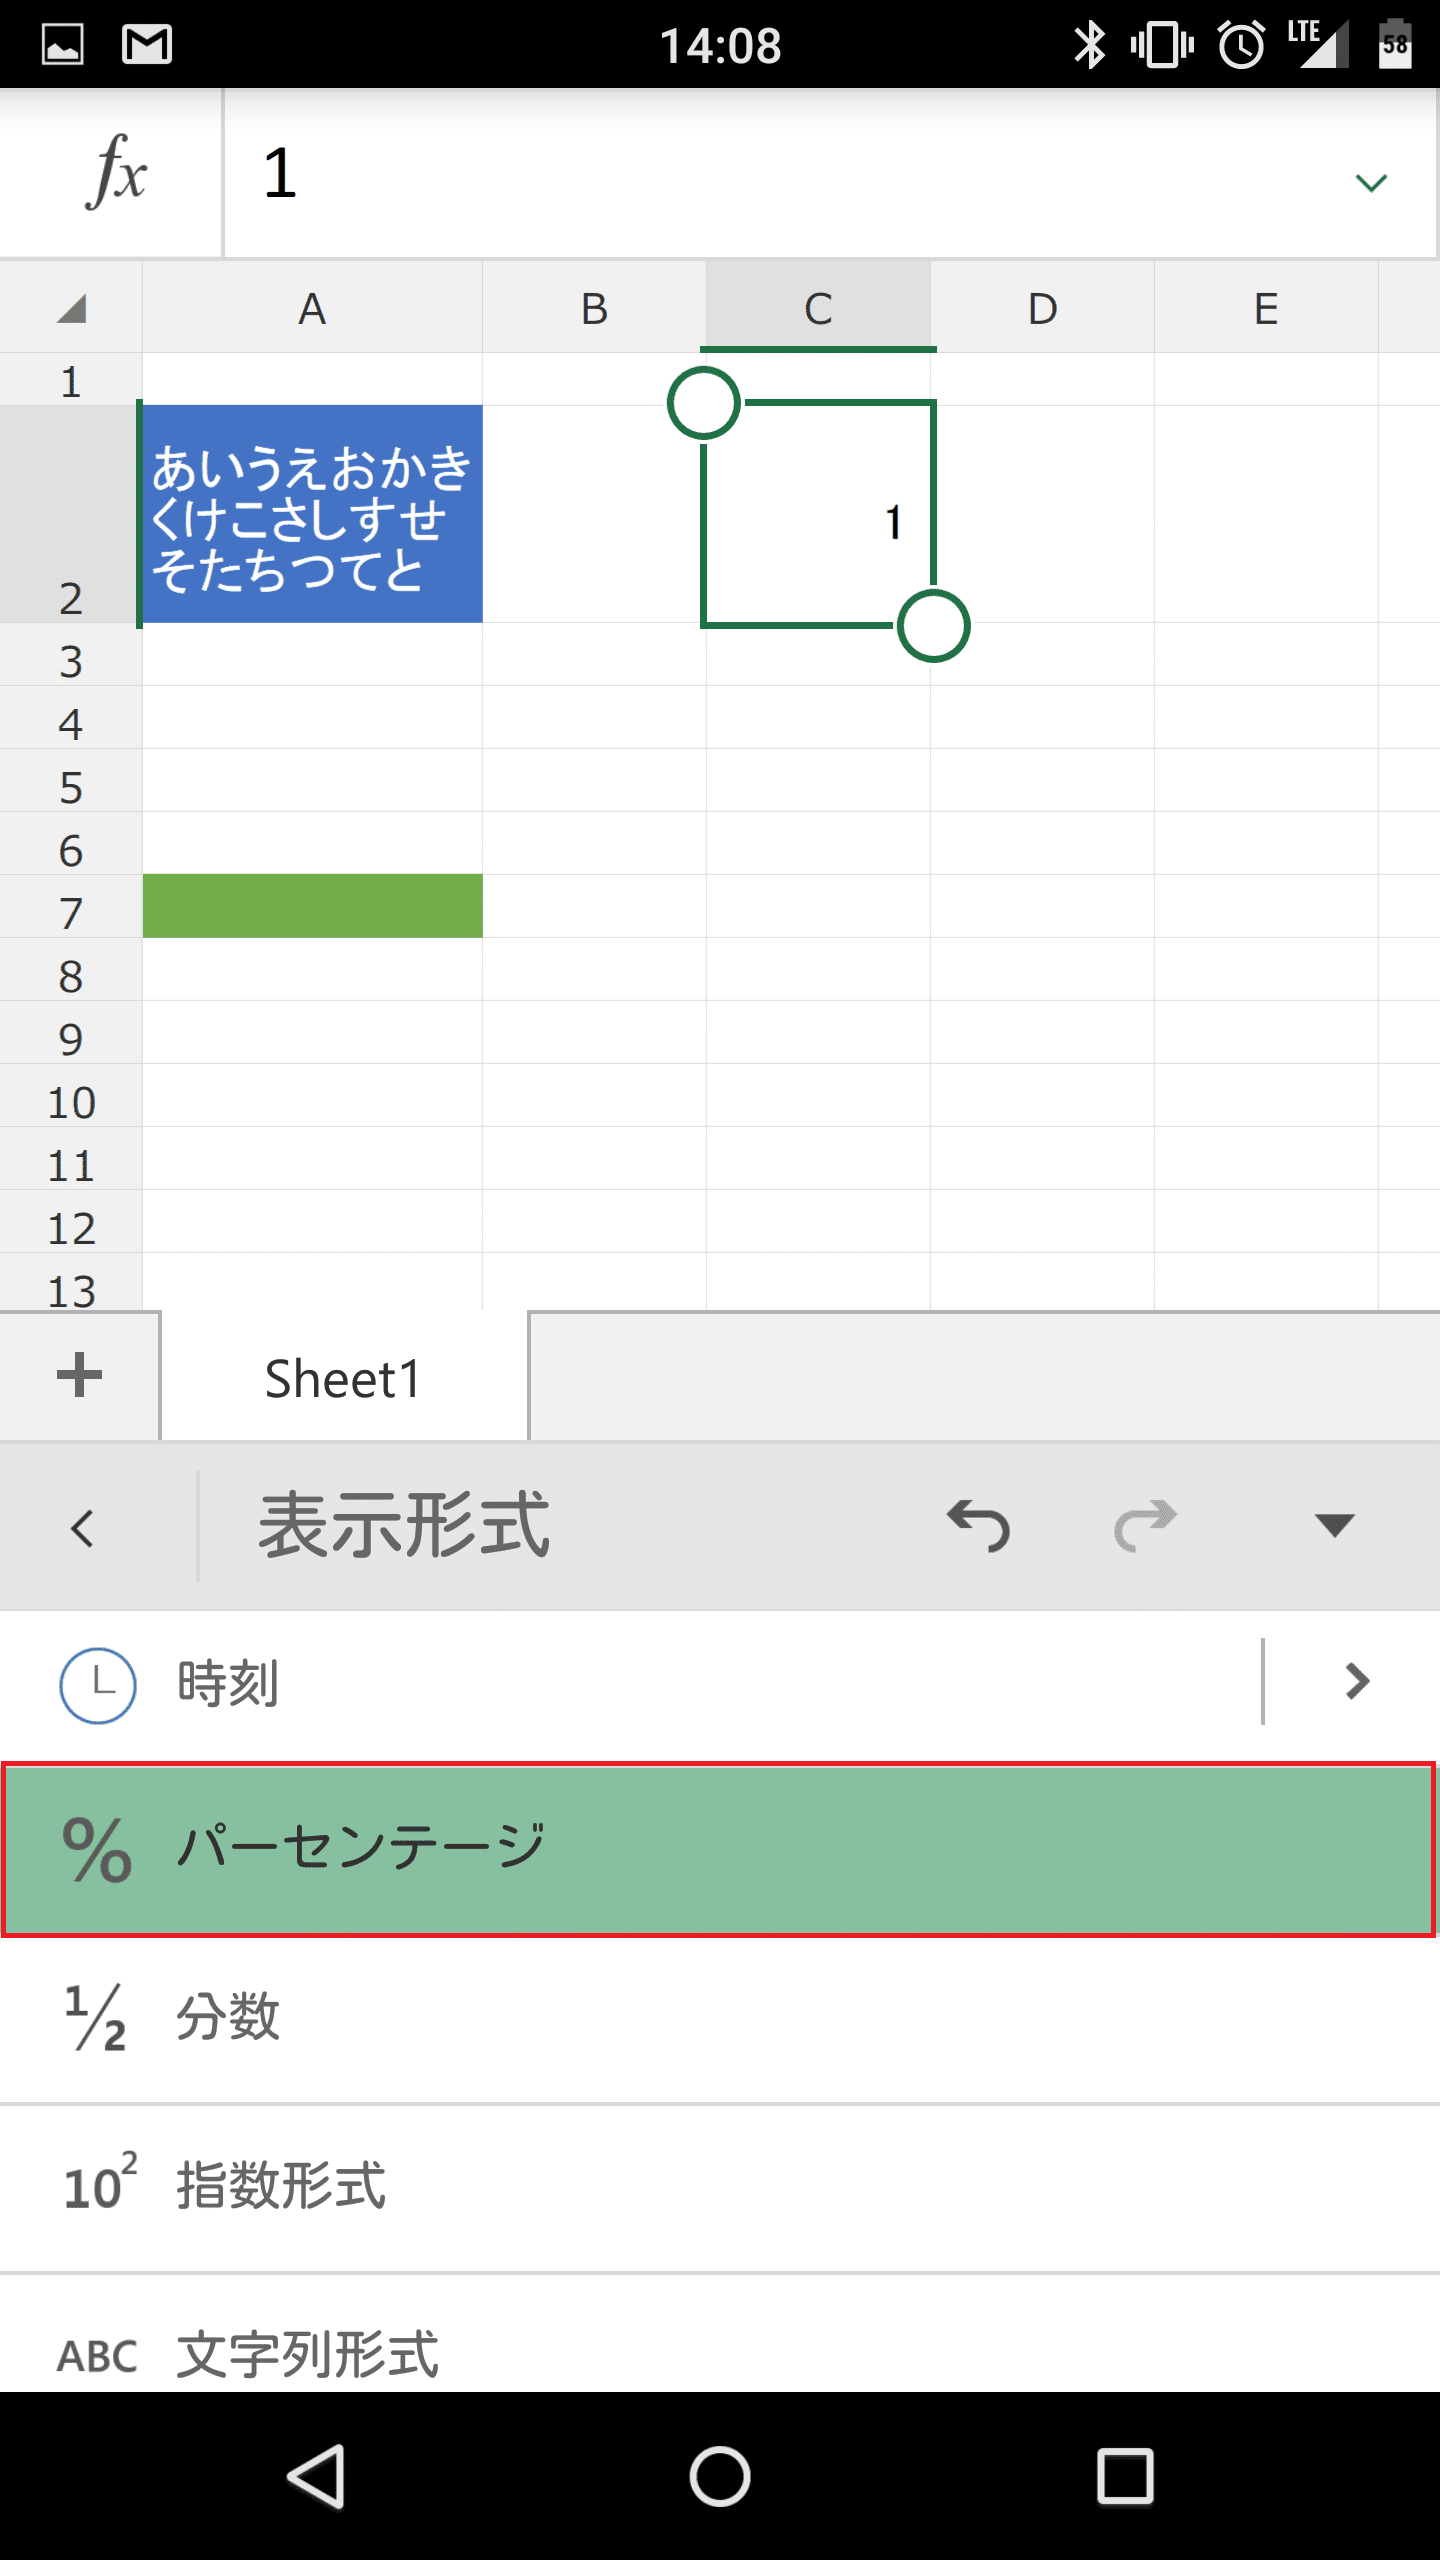
表示形式を変更する
表示形式を変更するには、表示形式を変更したいセルを選択状態にして「表示形式」をタップします。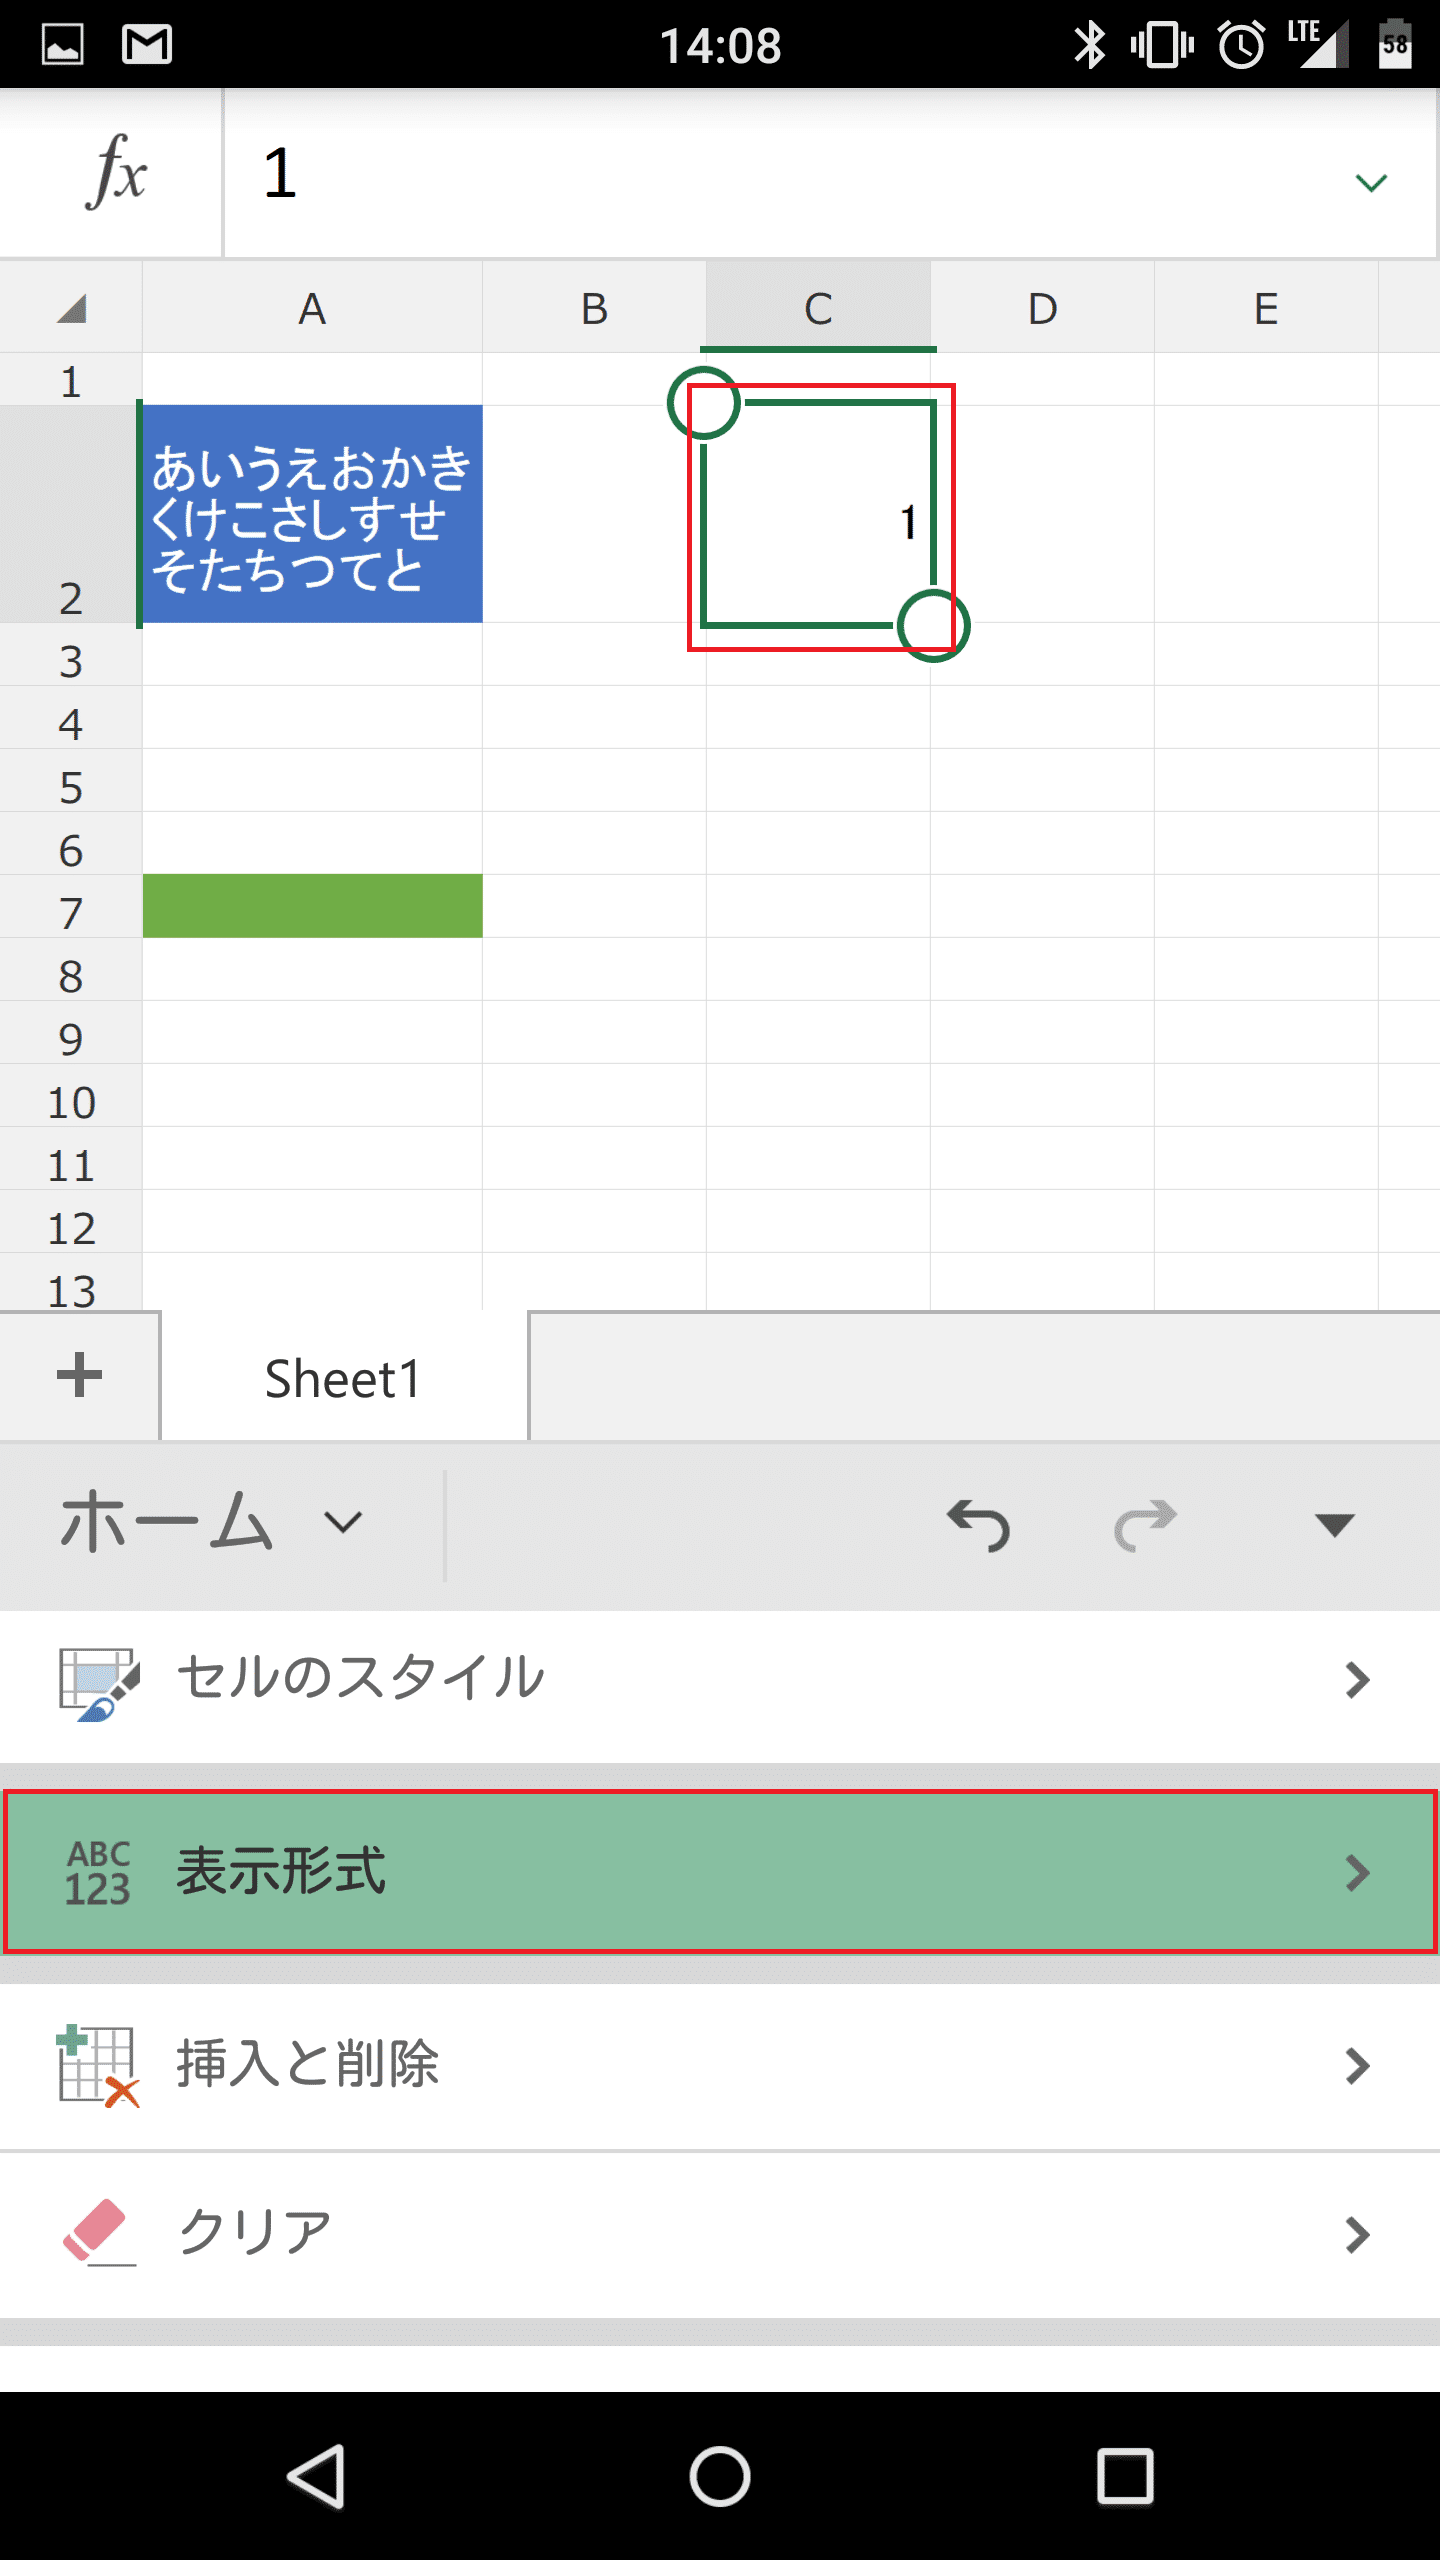
デフォルトでは「標準」になっているので、これを変更してみます。
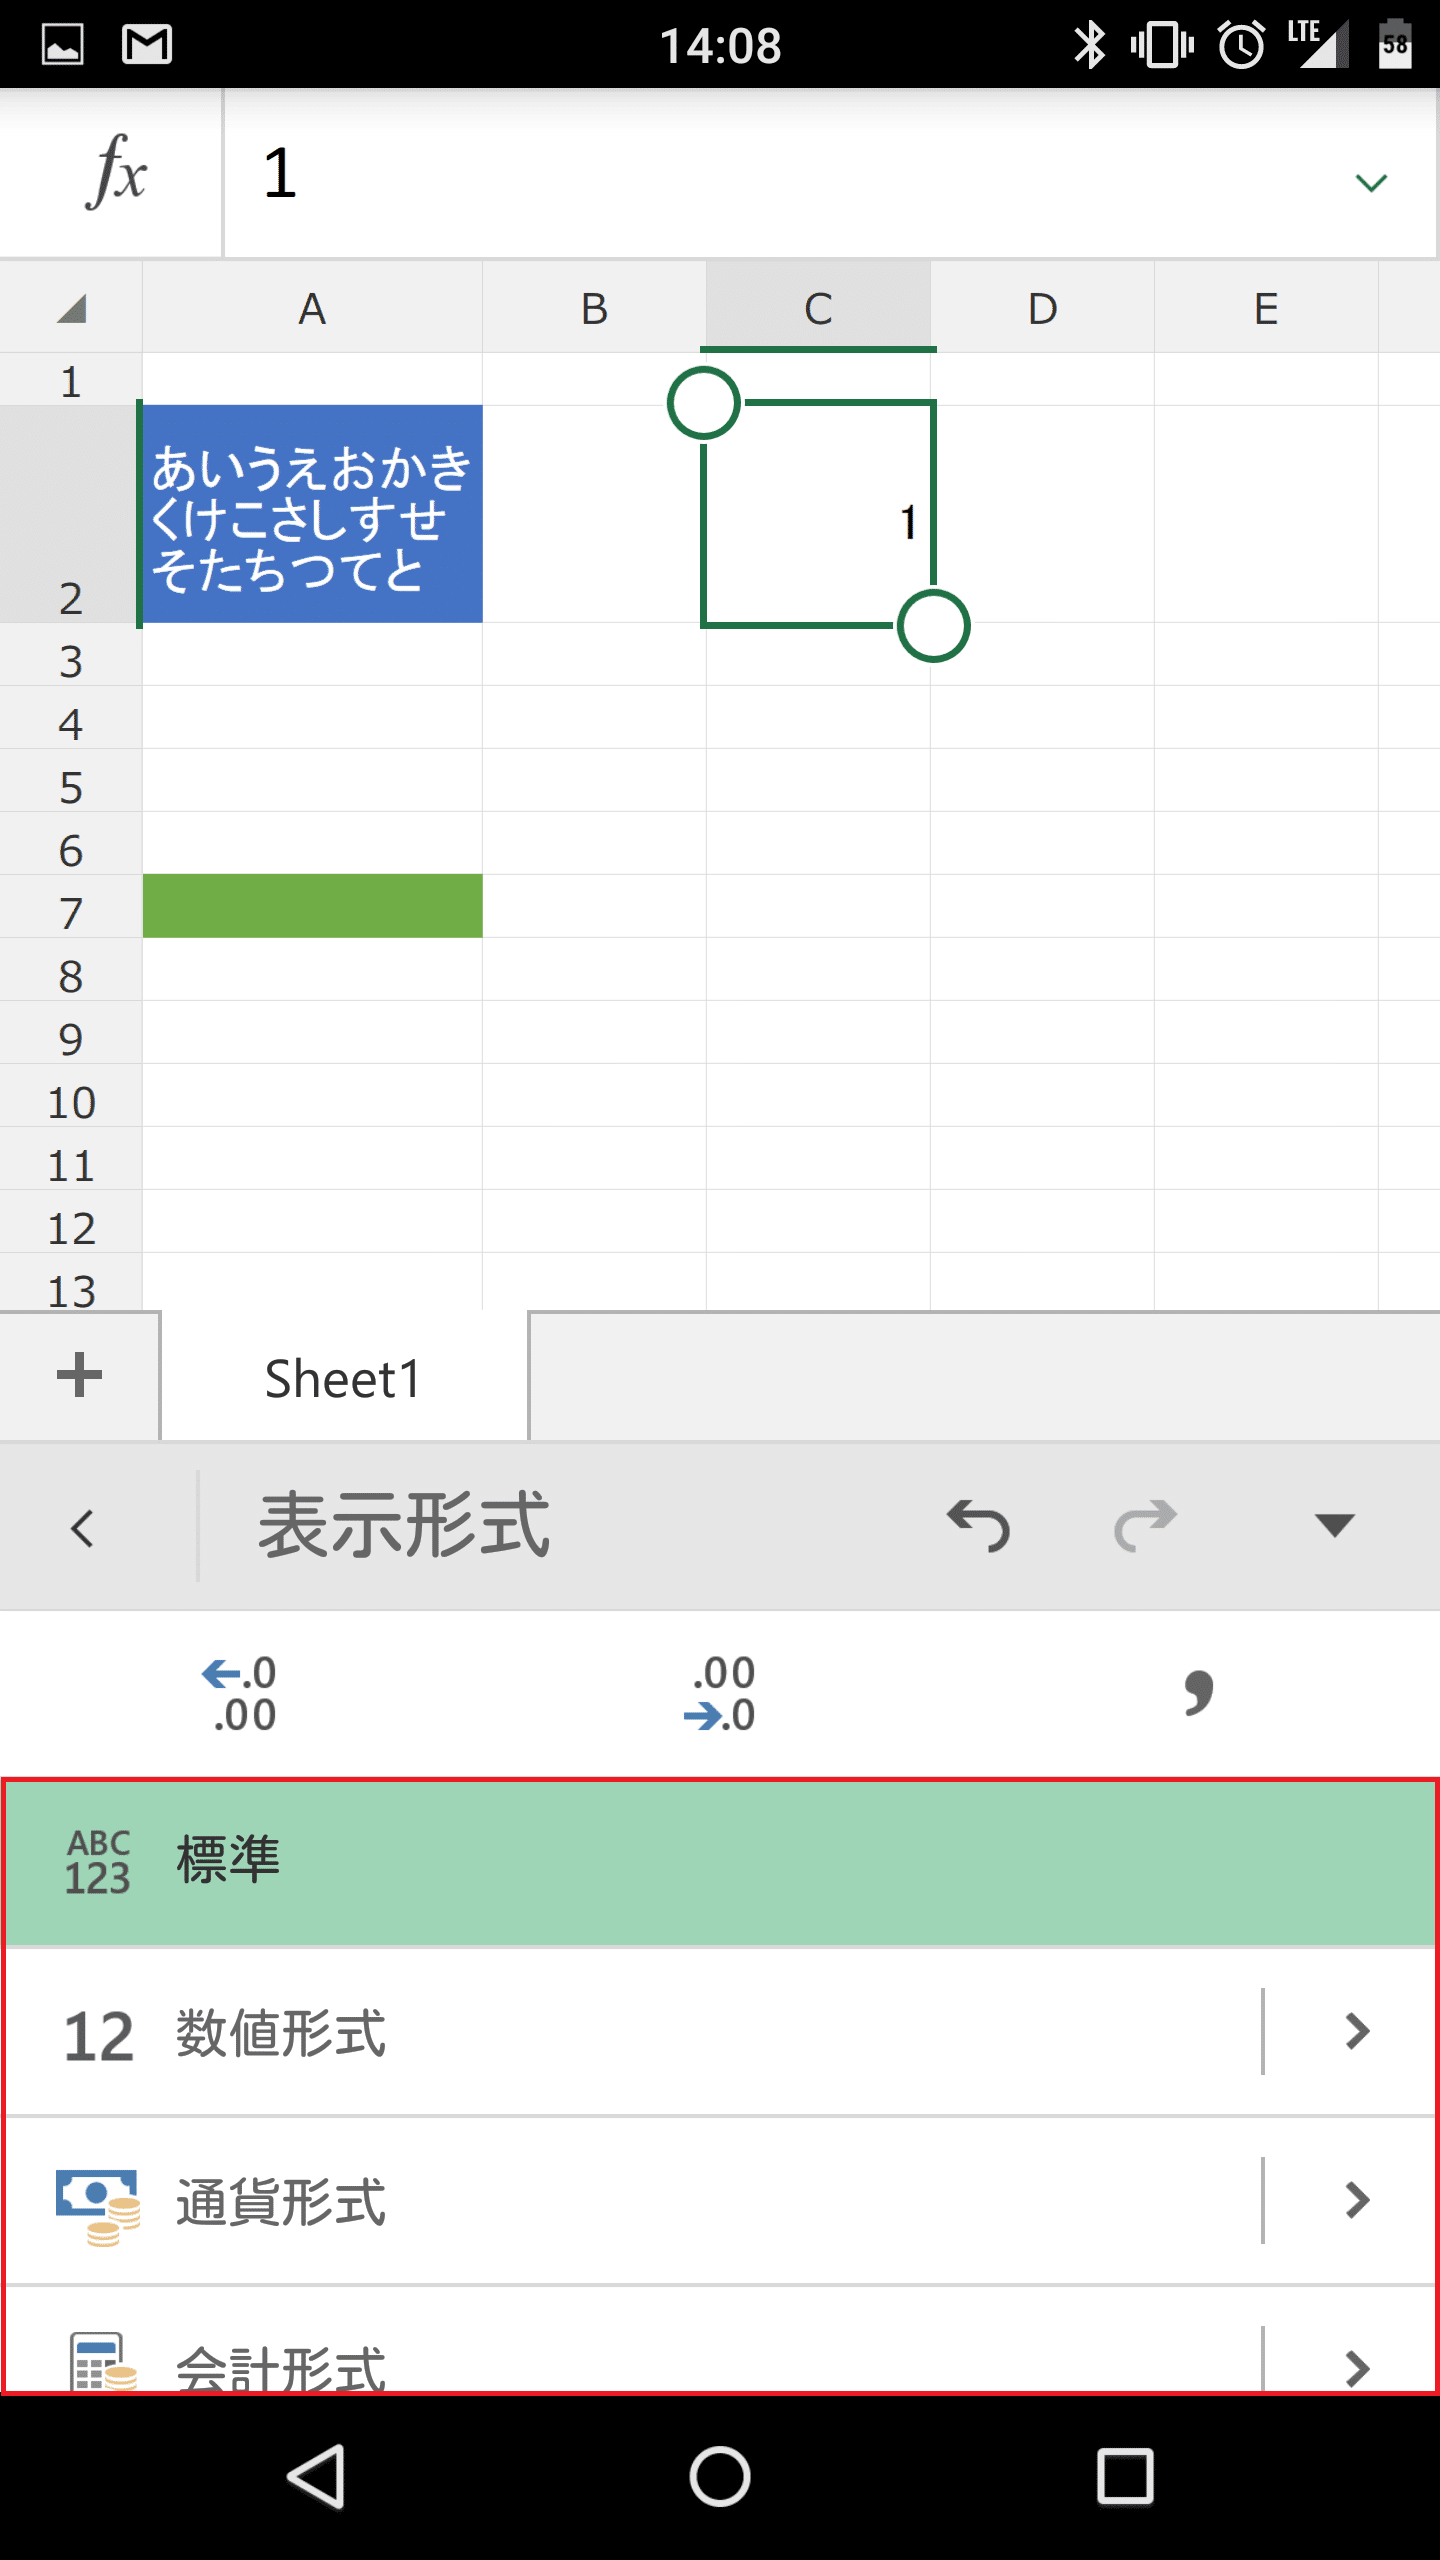
「パーセンテージ」を選んでみます。
「100%」と表示されました。

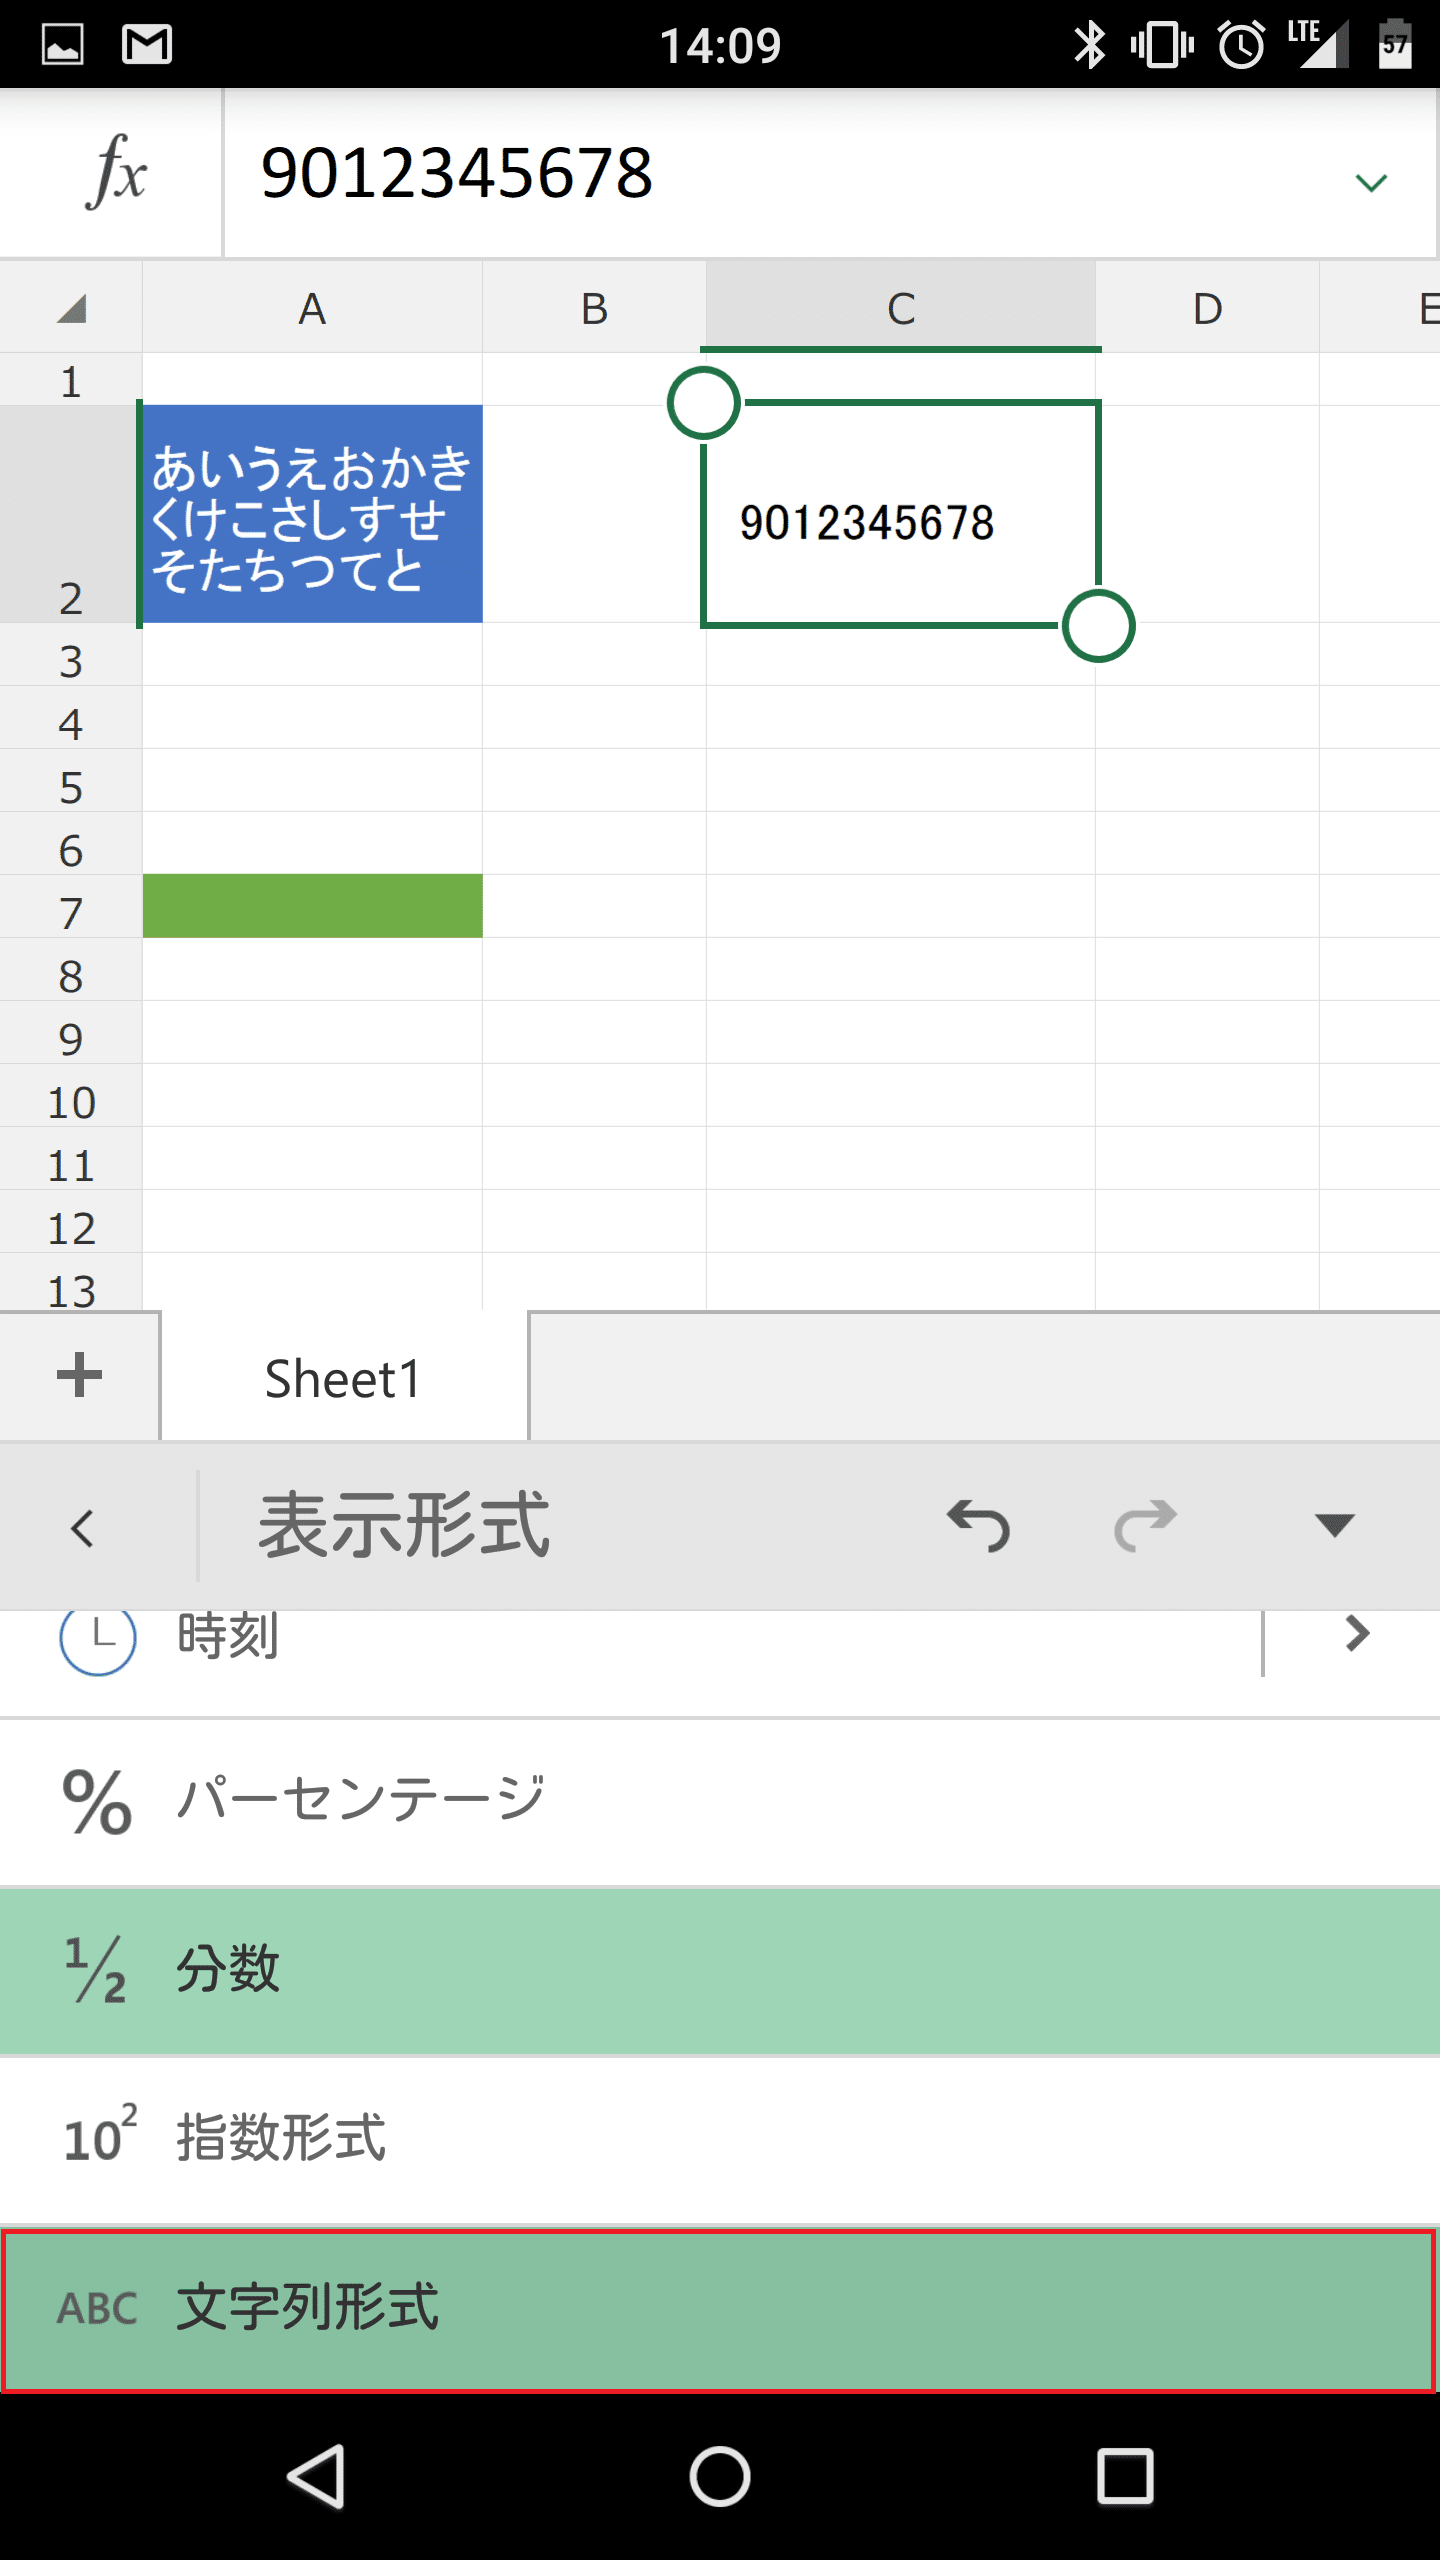
例えば、セル内に0から始まる数字を入力して確定すると・・・

初めの0が強制的に消されてしまいます。

そんな時は「表示形式」をタップします。

「文字列形式」をタップして選びます。
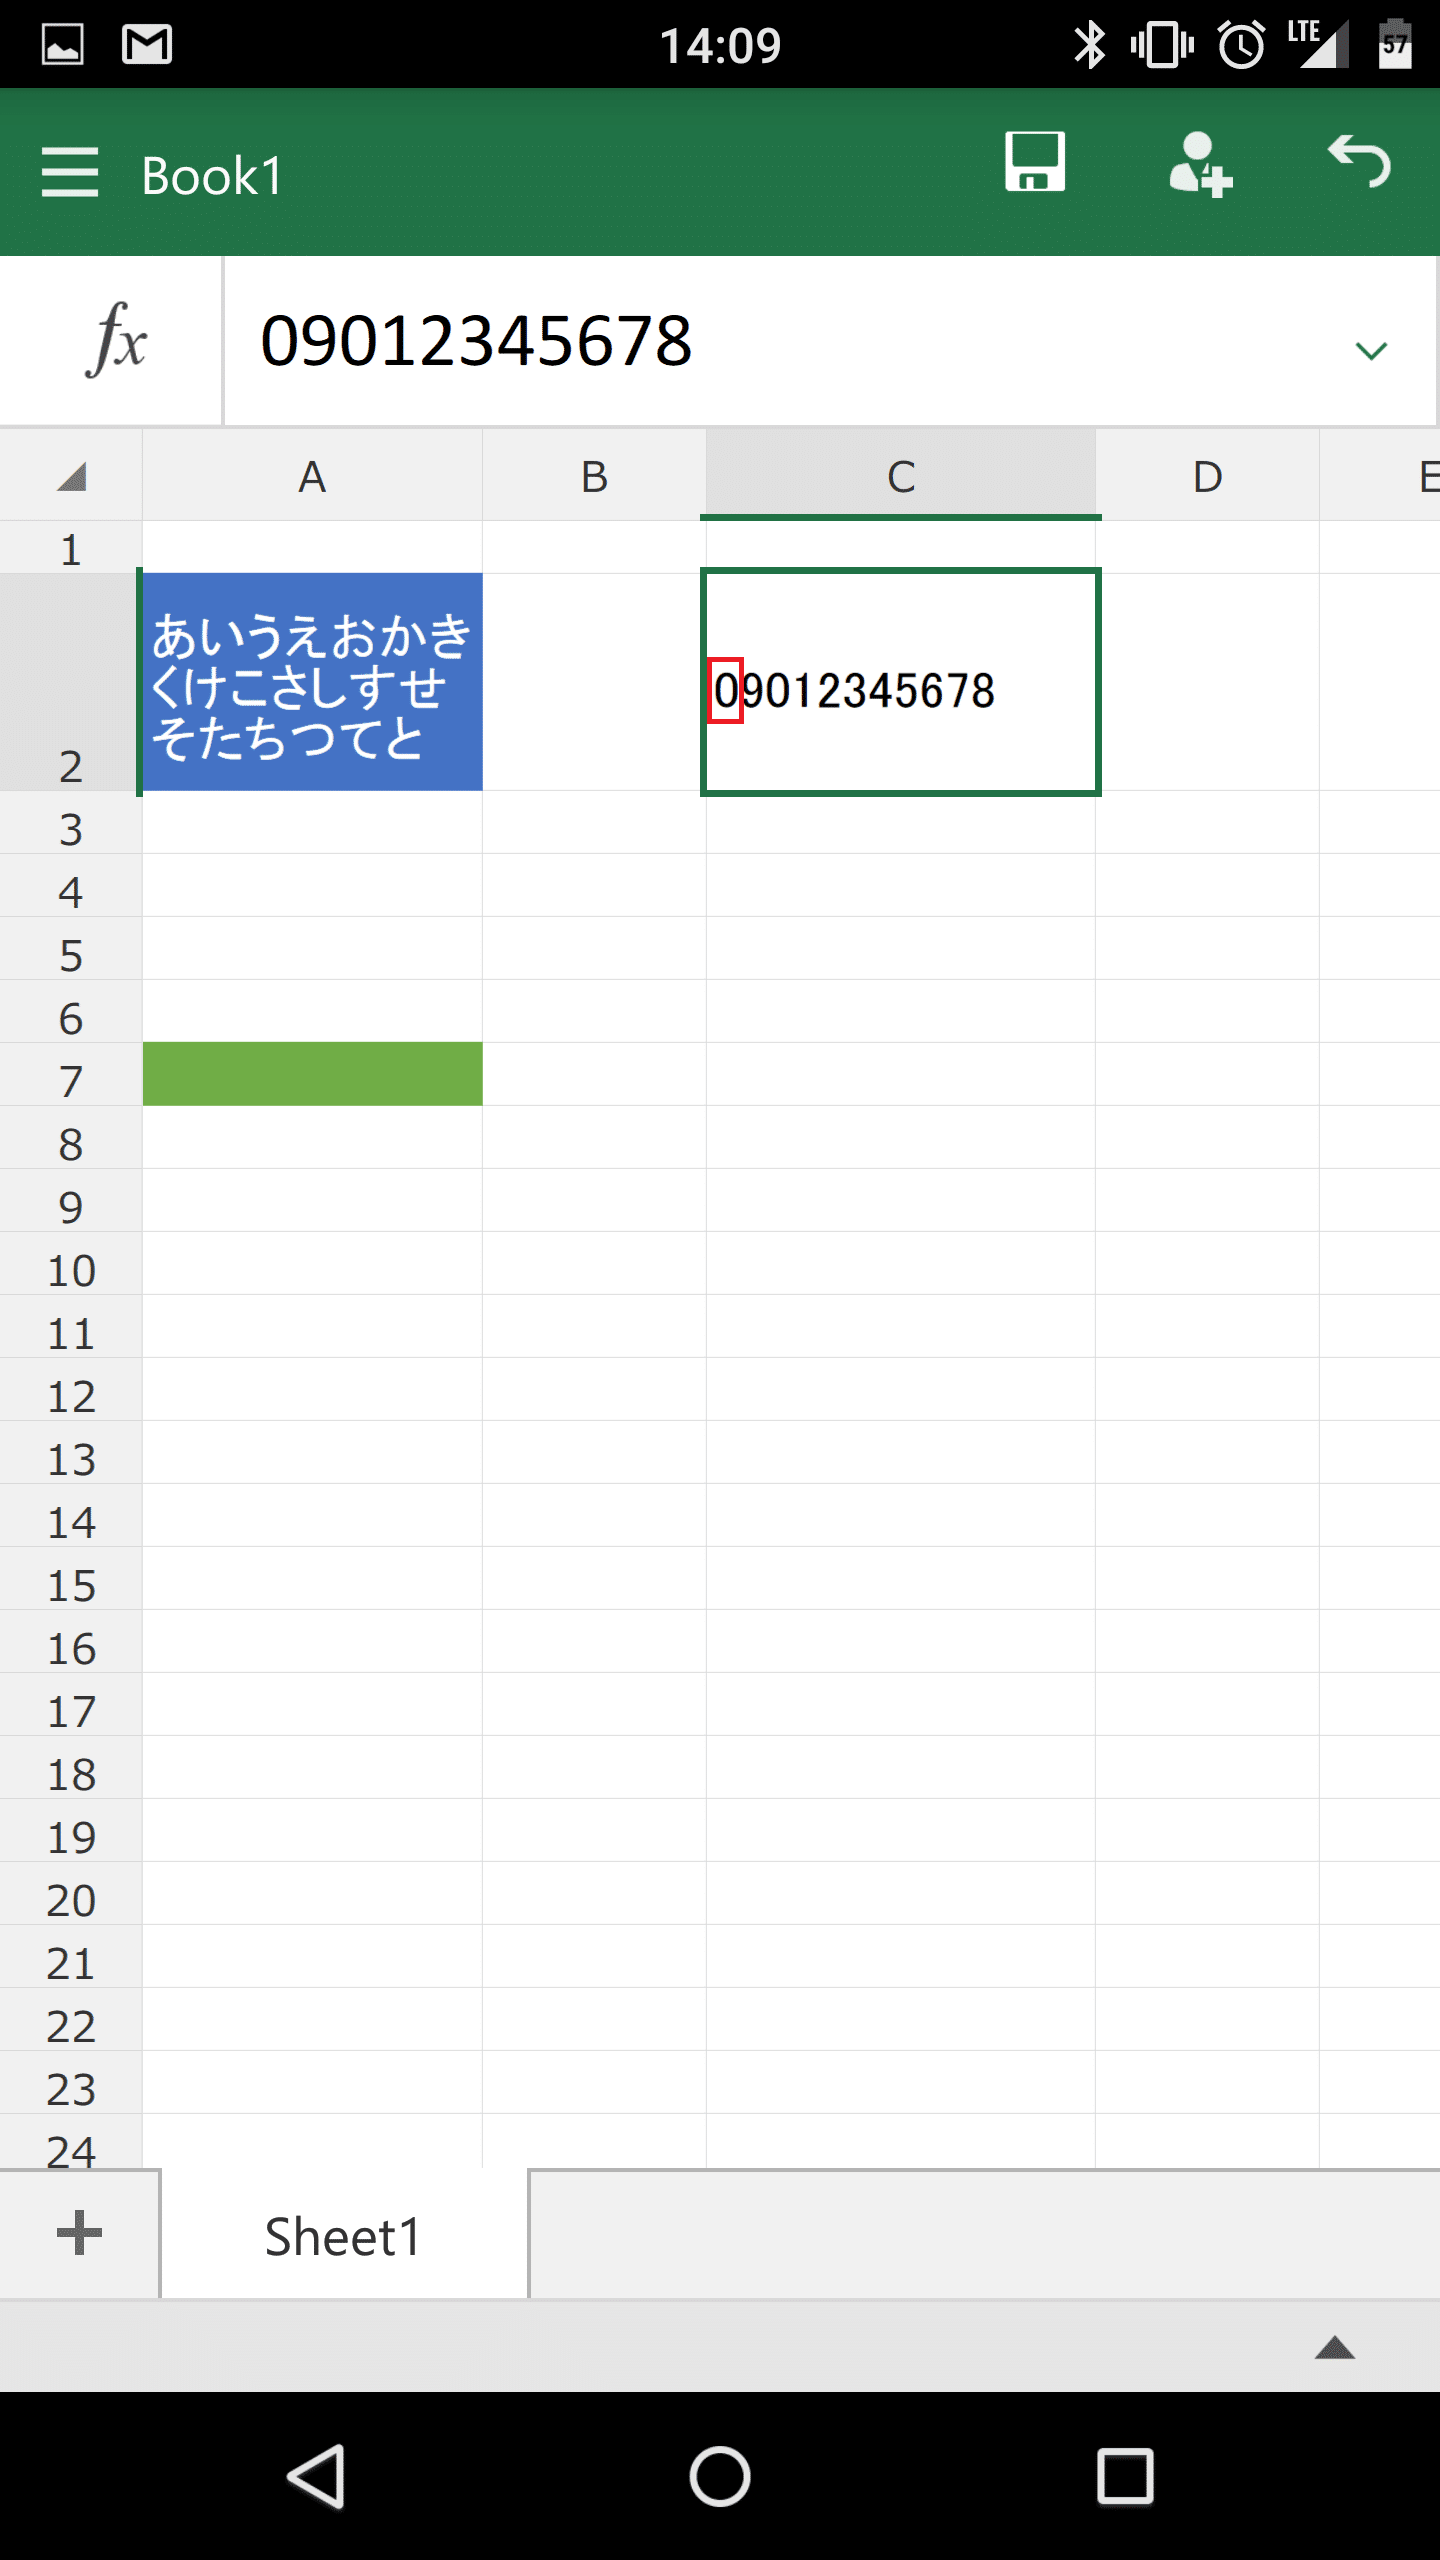
文字列形式を選んだ状態で0から始まる数字を入力すると・・・
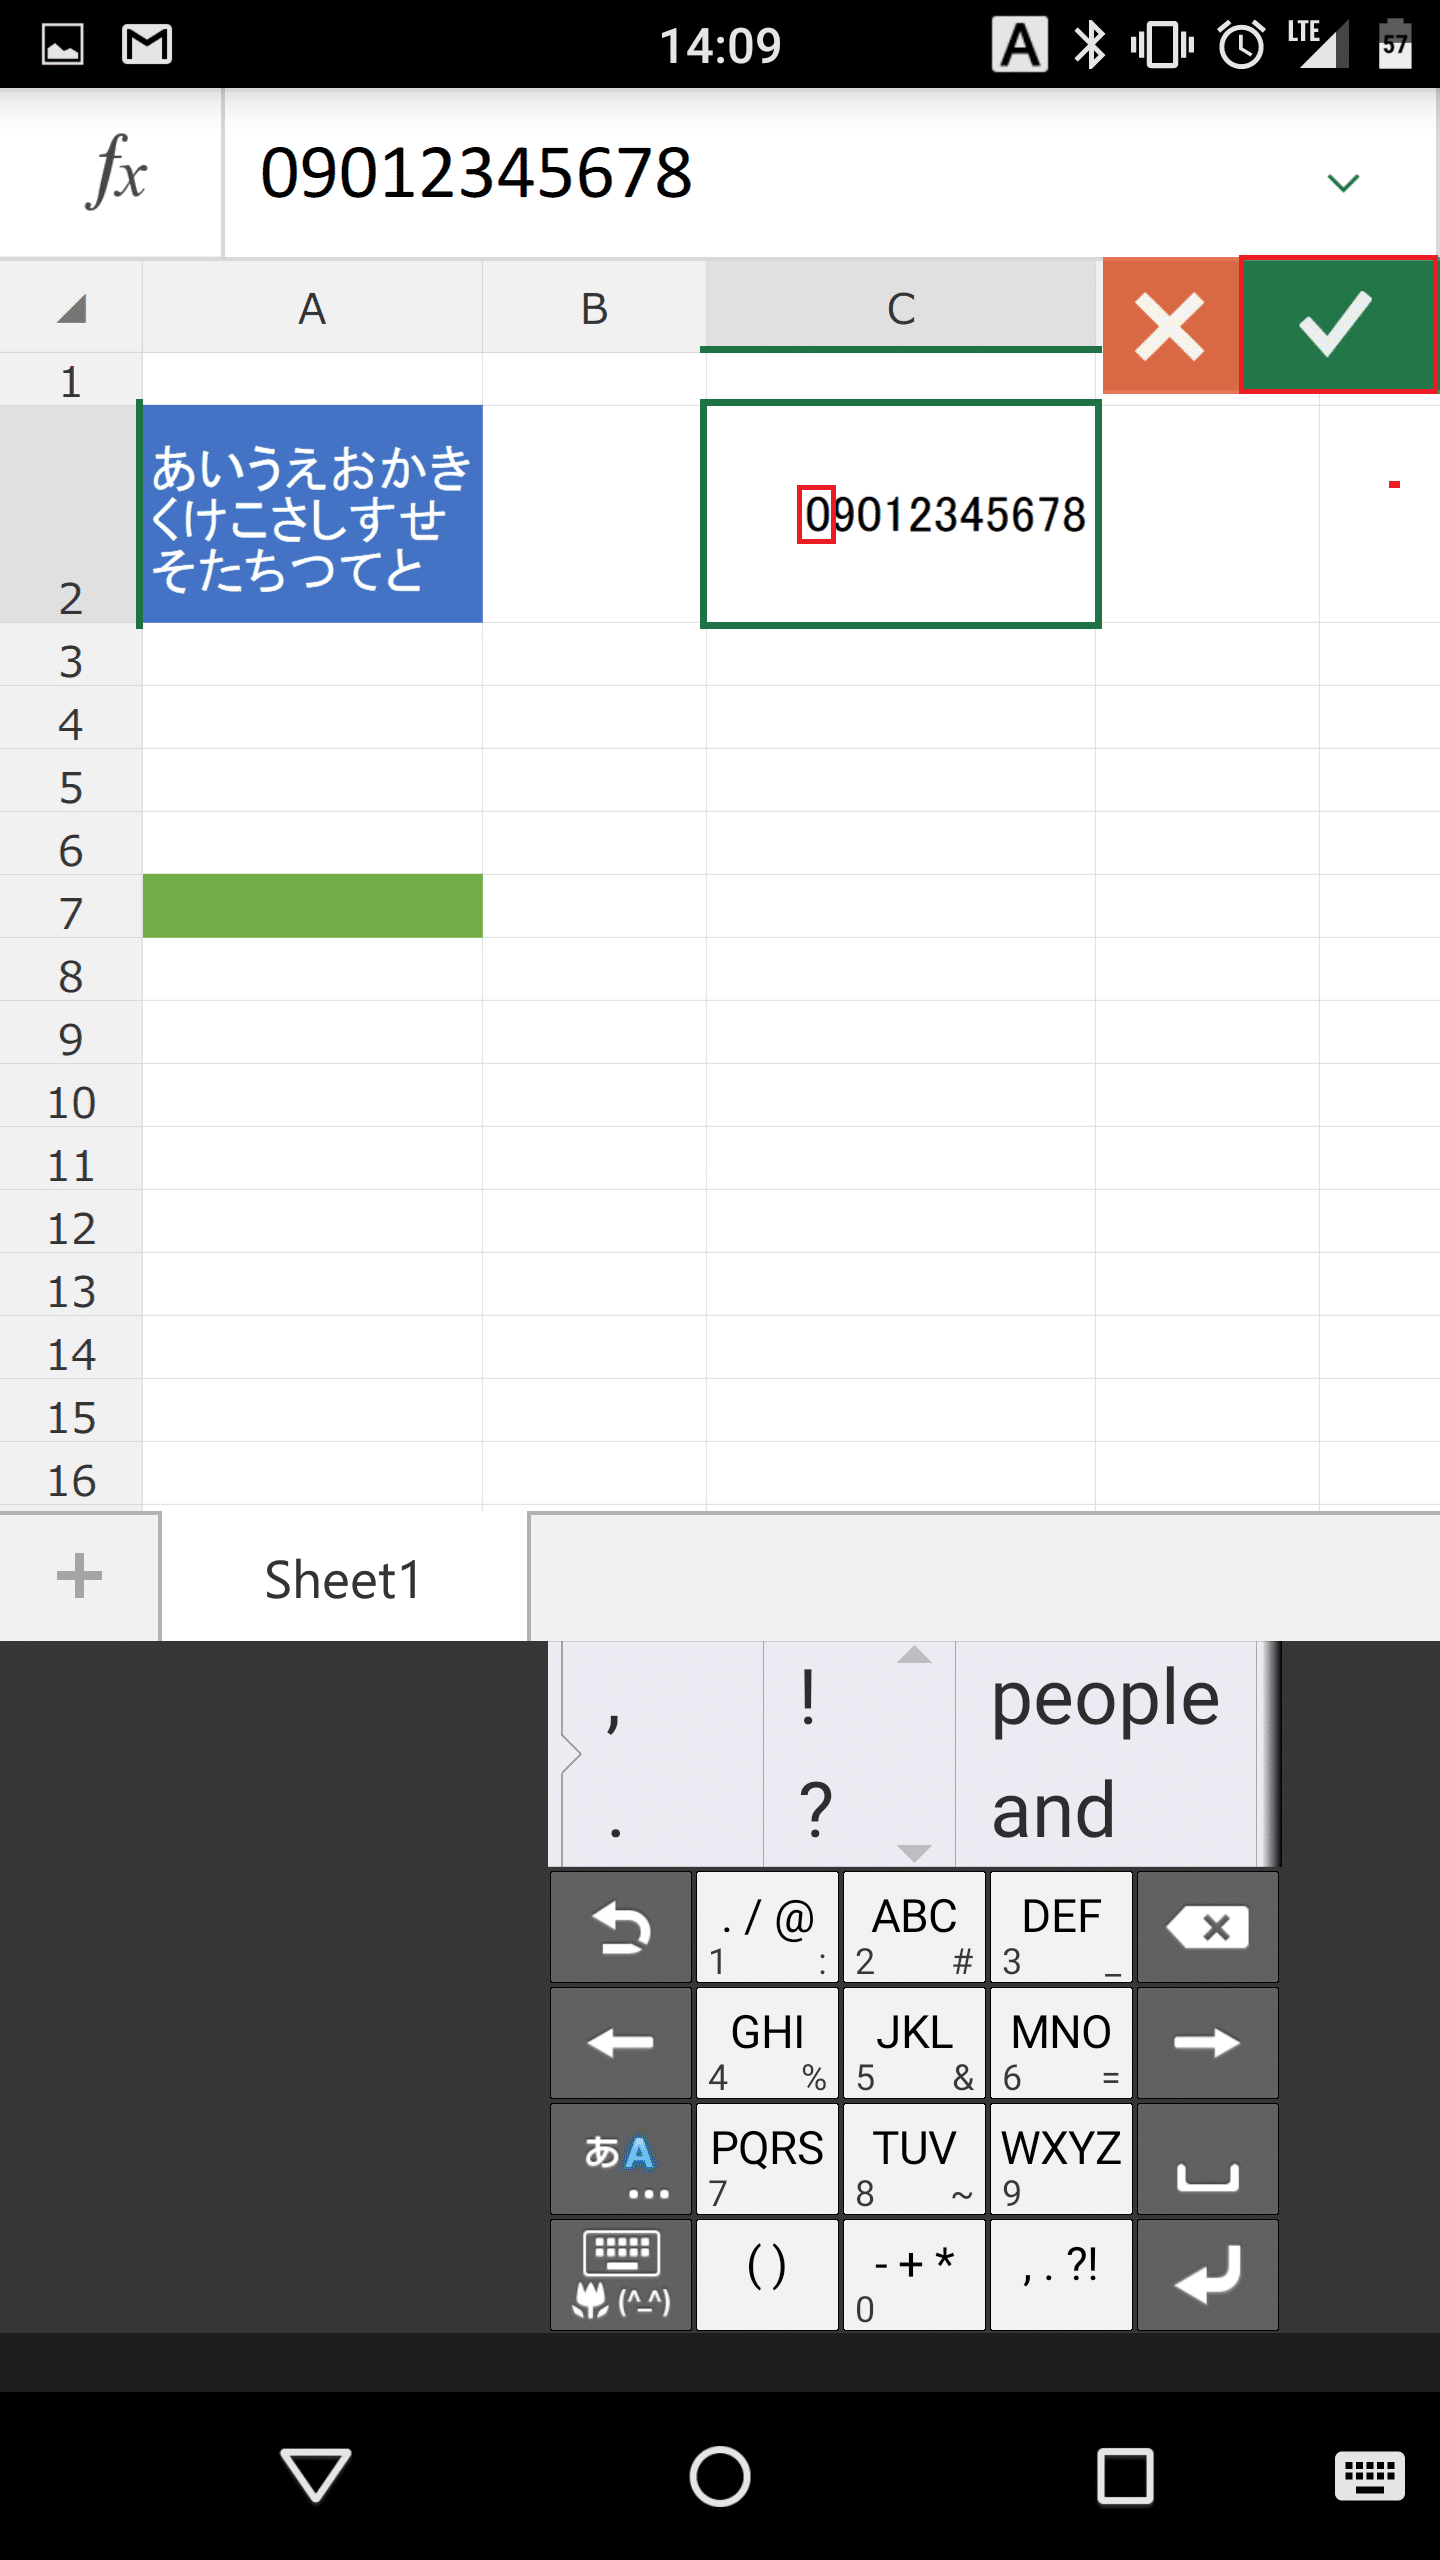
初めの0も消えずにそのまま表示されます。
セルを挿入する
セルを挿入するには、挿入したい場所にあるセルを選択状態にして「挿入と削除」をタップします。
「挿入して右方向にシフト」「挿入して下方向にシフト」「行の挿入」「列の挿入」から選びます。今回は「挿入して右方向にシフト」を選びました。

「androidlover」の文字がDからEにずれて、Cにセルが追加されました。
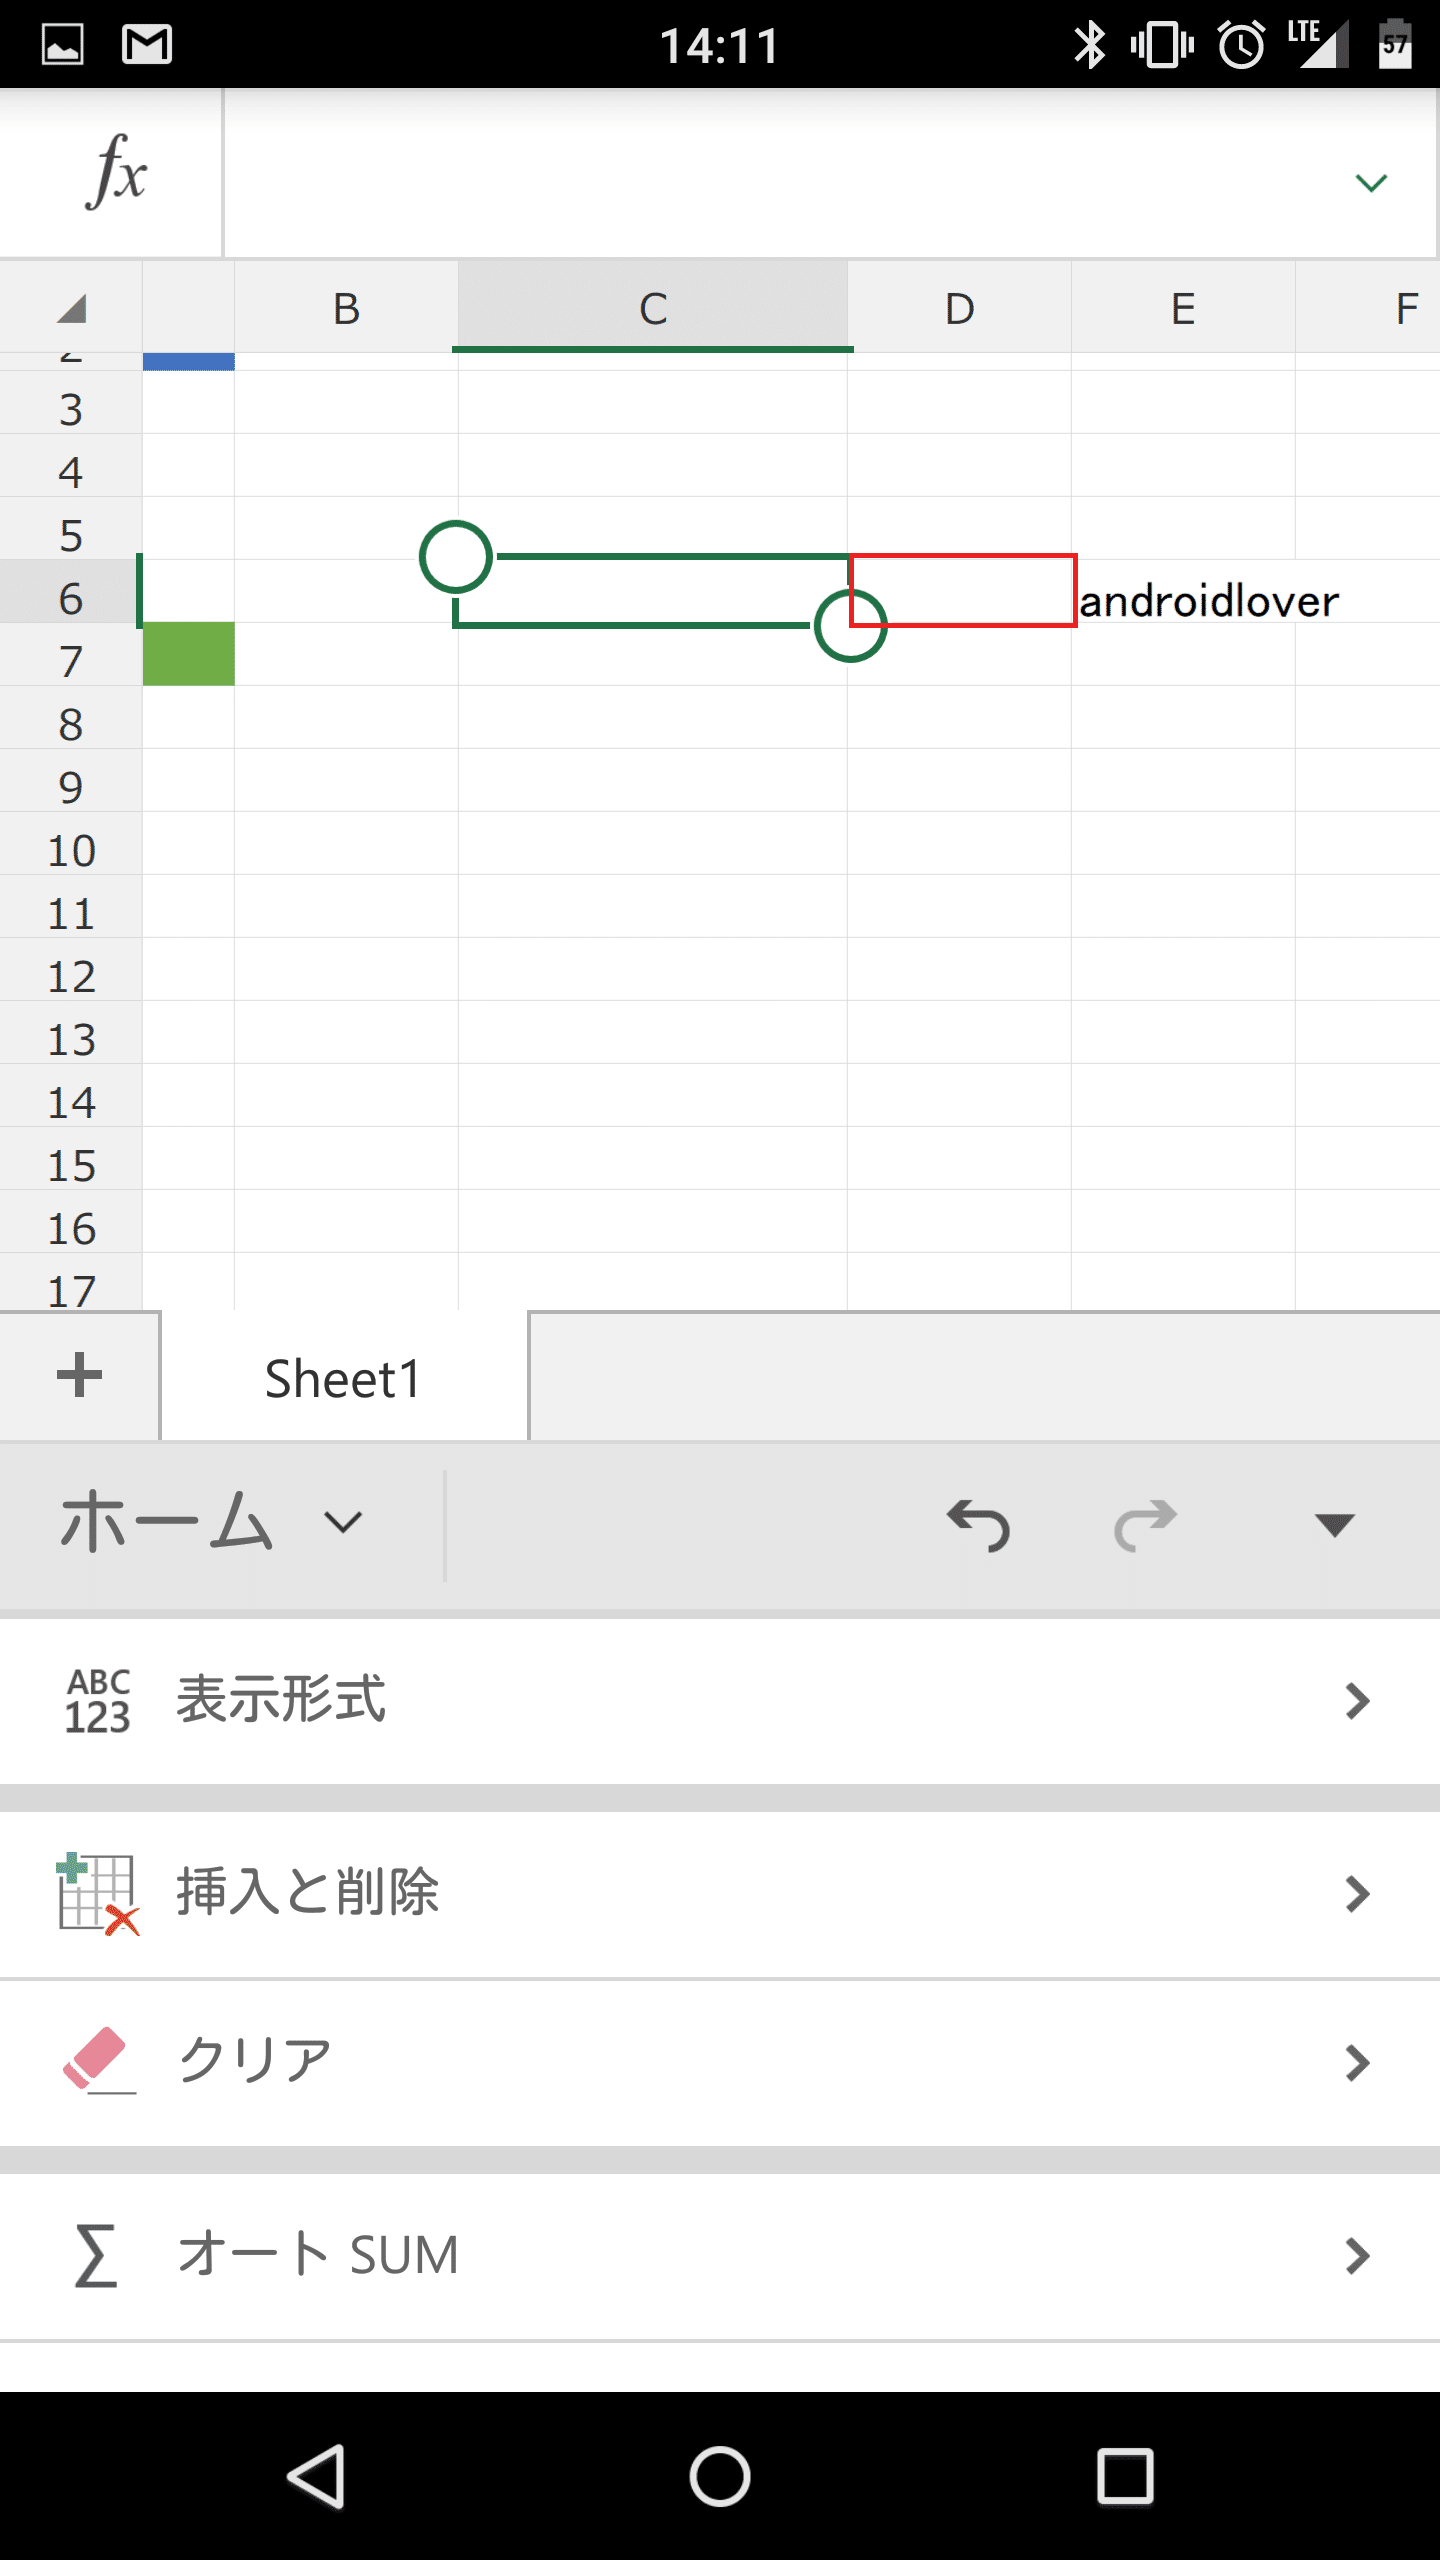
セルを削除する
セルを削除するには、削除したい場所にあるセルを選択状態にして「挿入と削除」をタップします。「削除して左方向にシフト」「削除して上方向にシフト」「行の削除」「列の削除」から選びます。今回は「削除して左方向にシフト」を選びました。
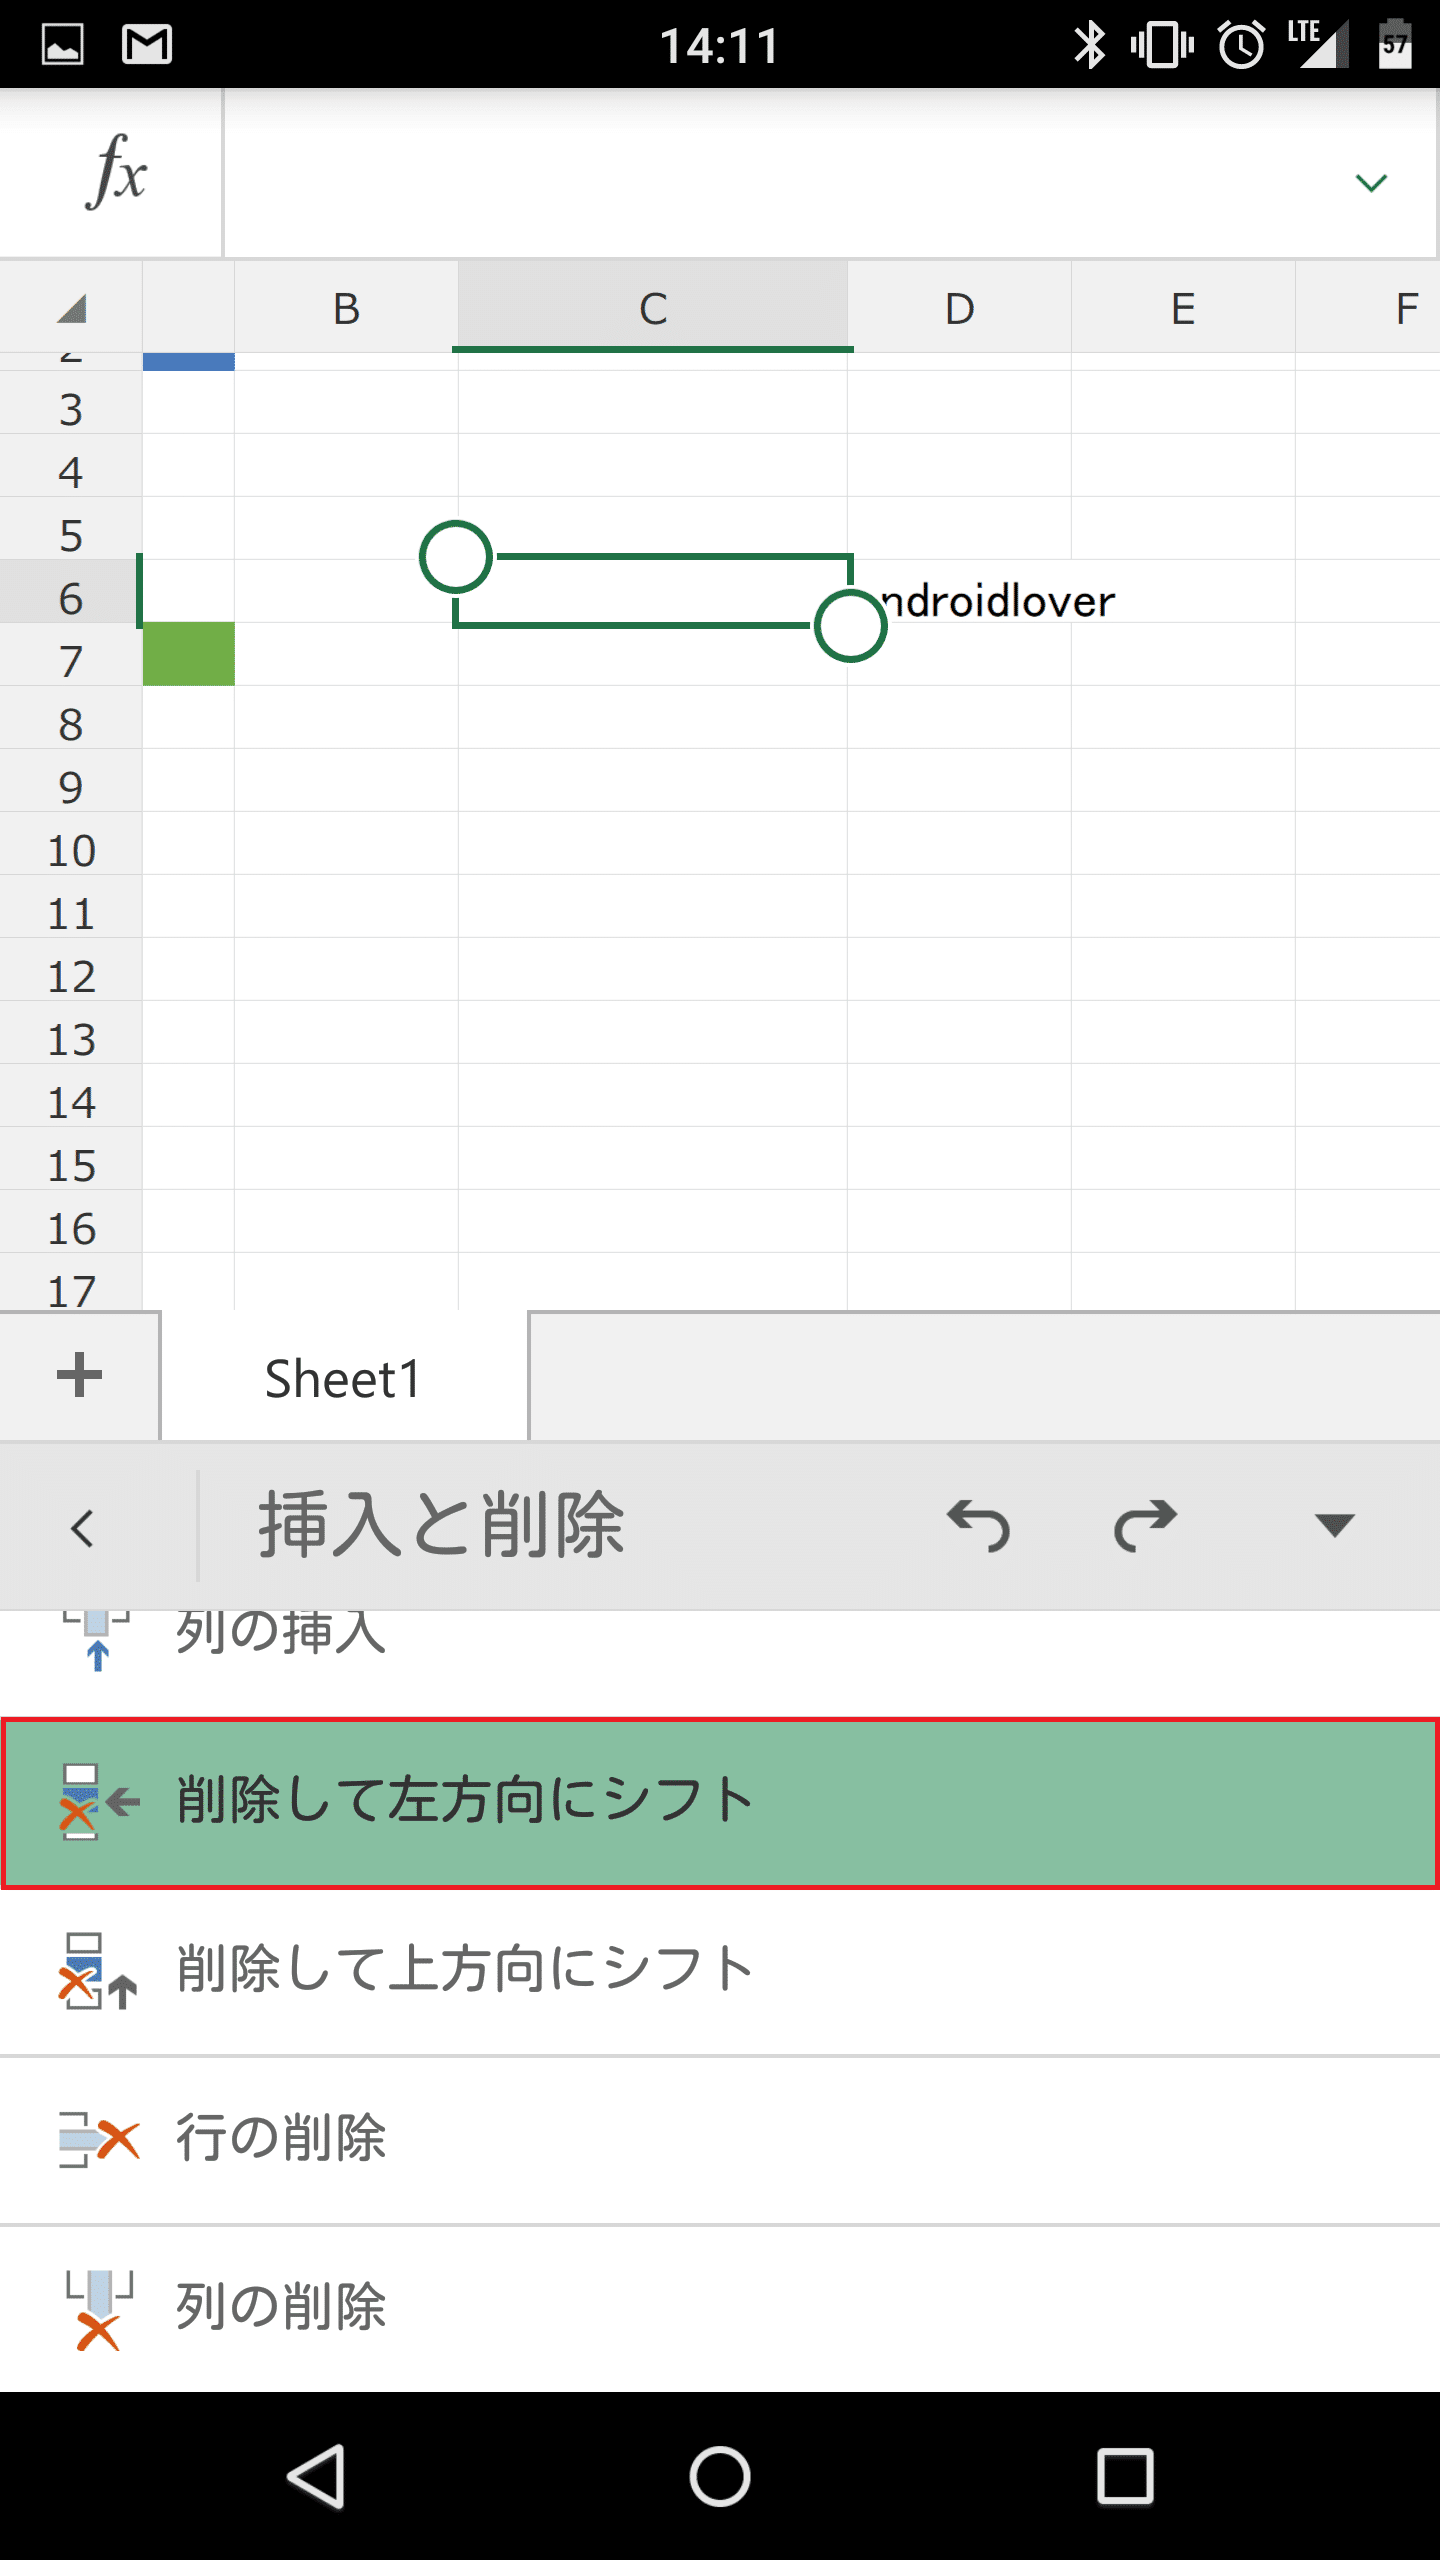
すると、「androidlover」の文字がDからCにずれてセルが削除されました。
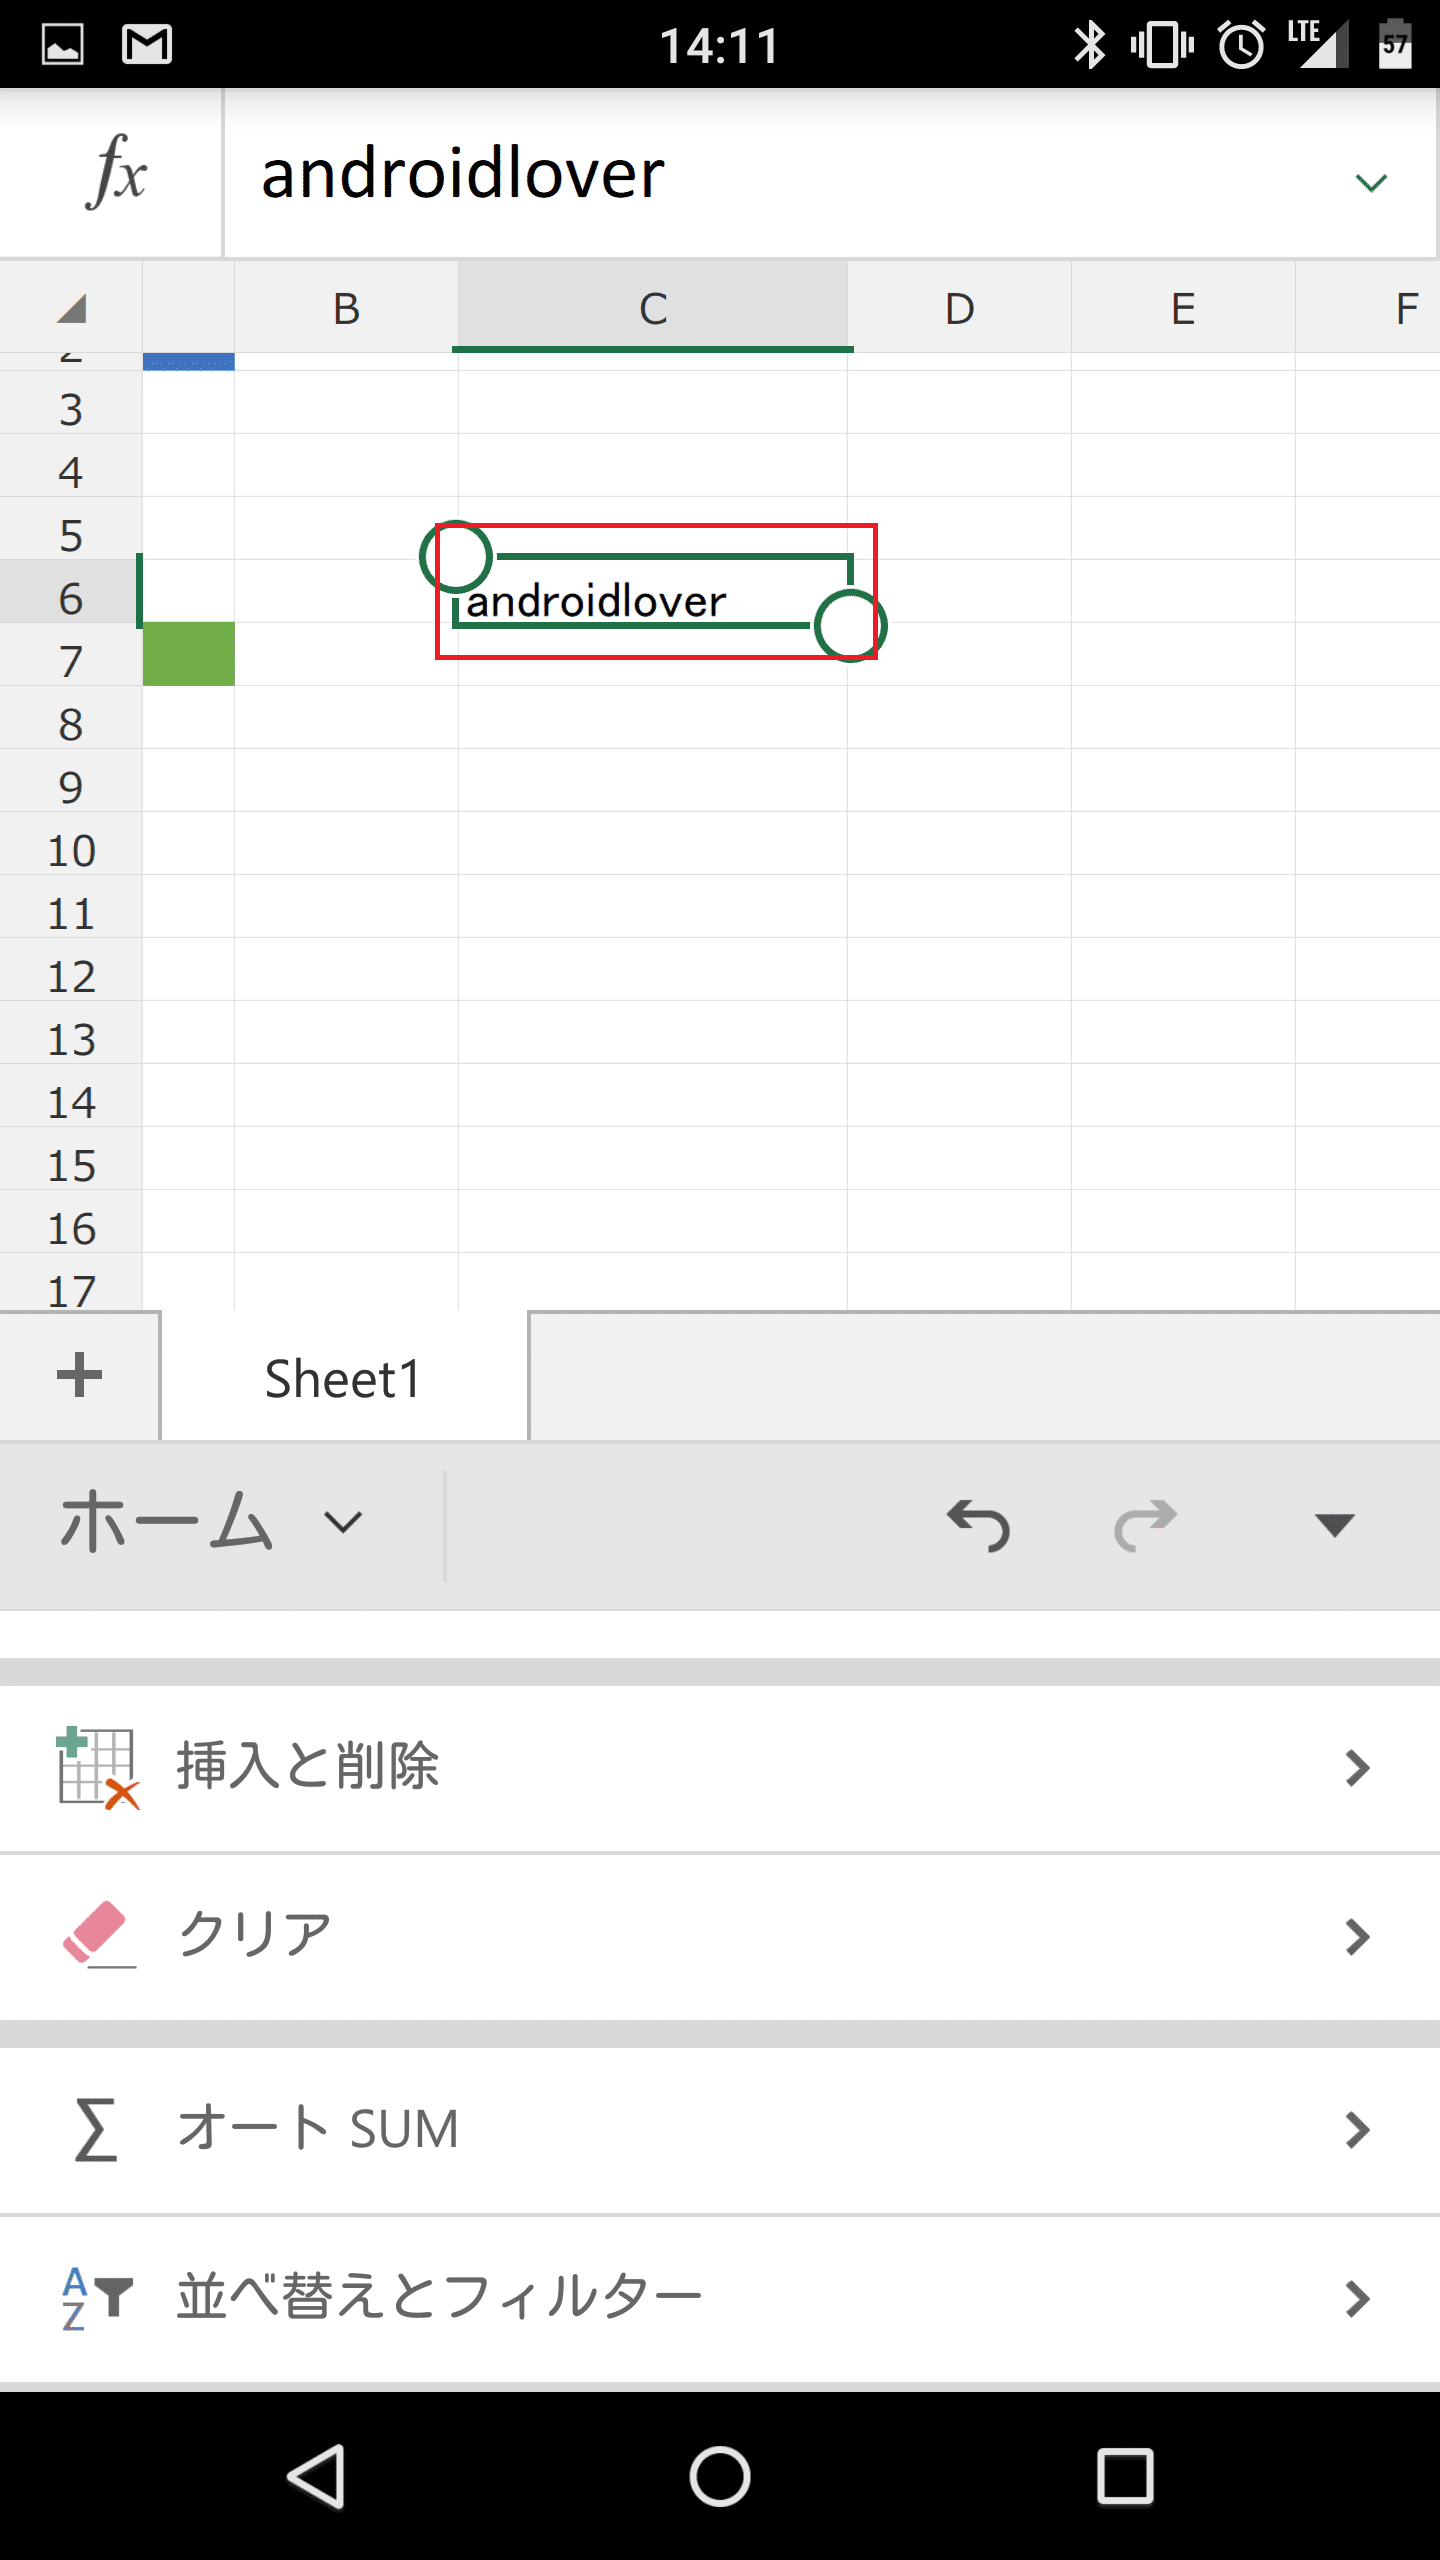
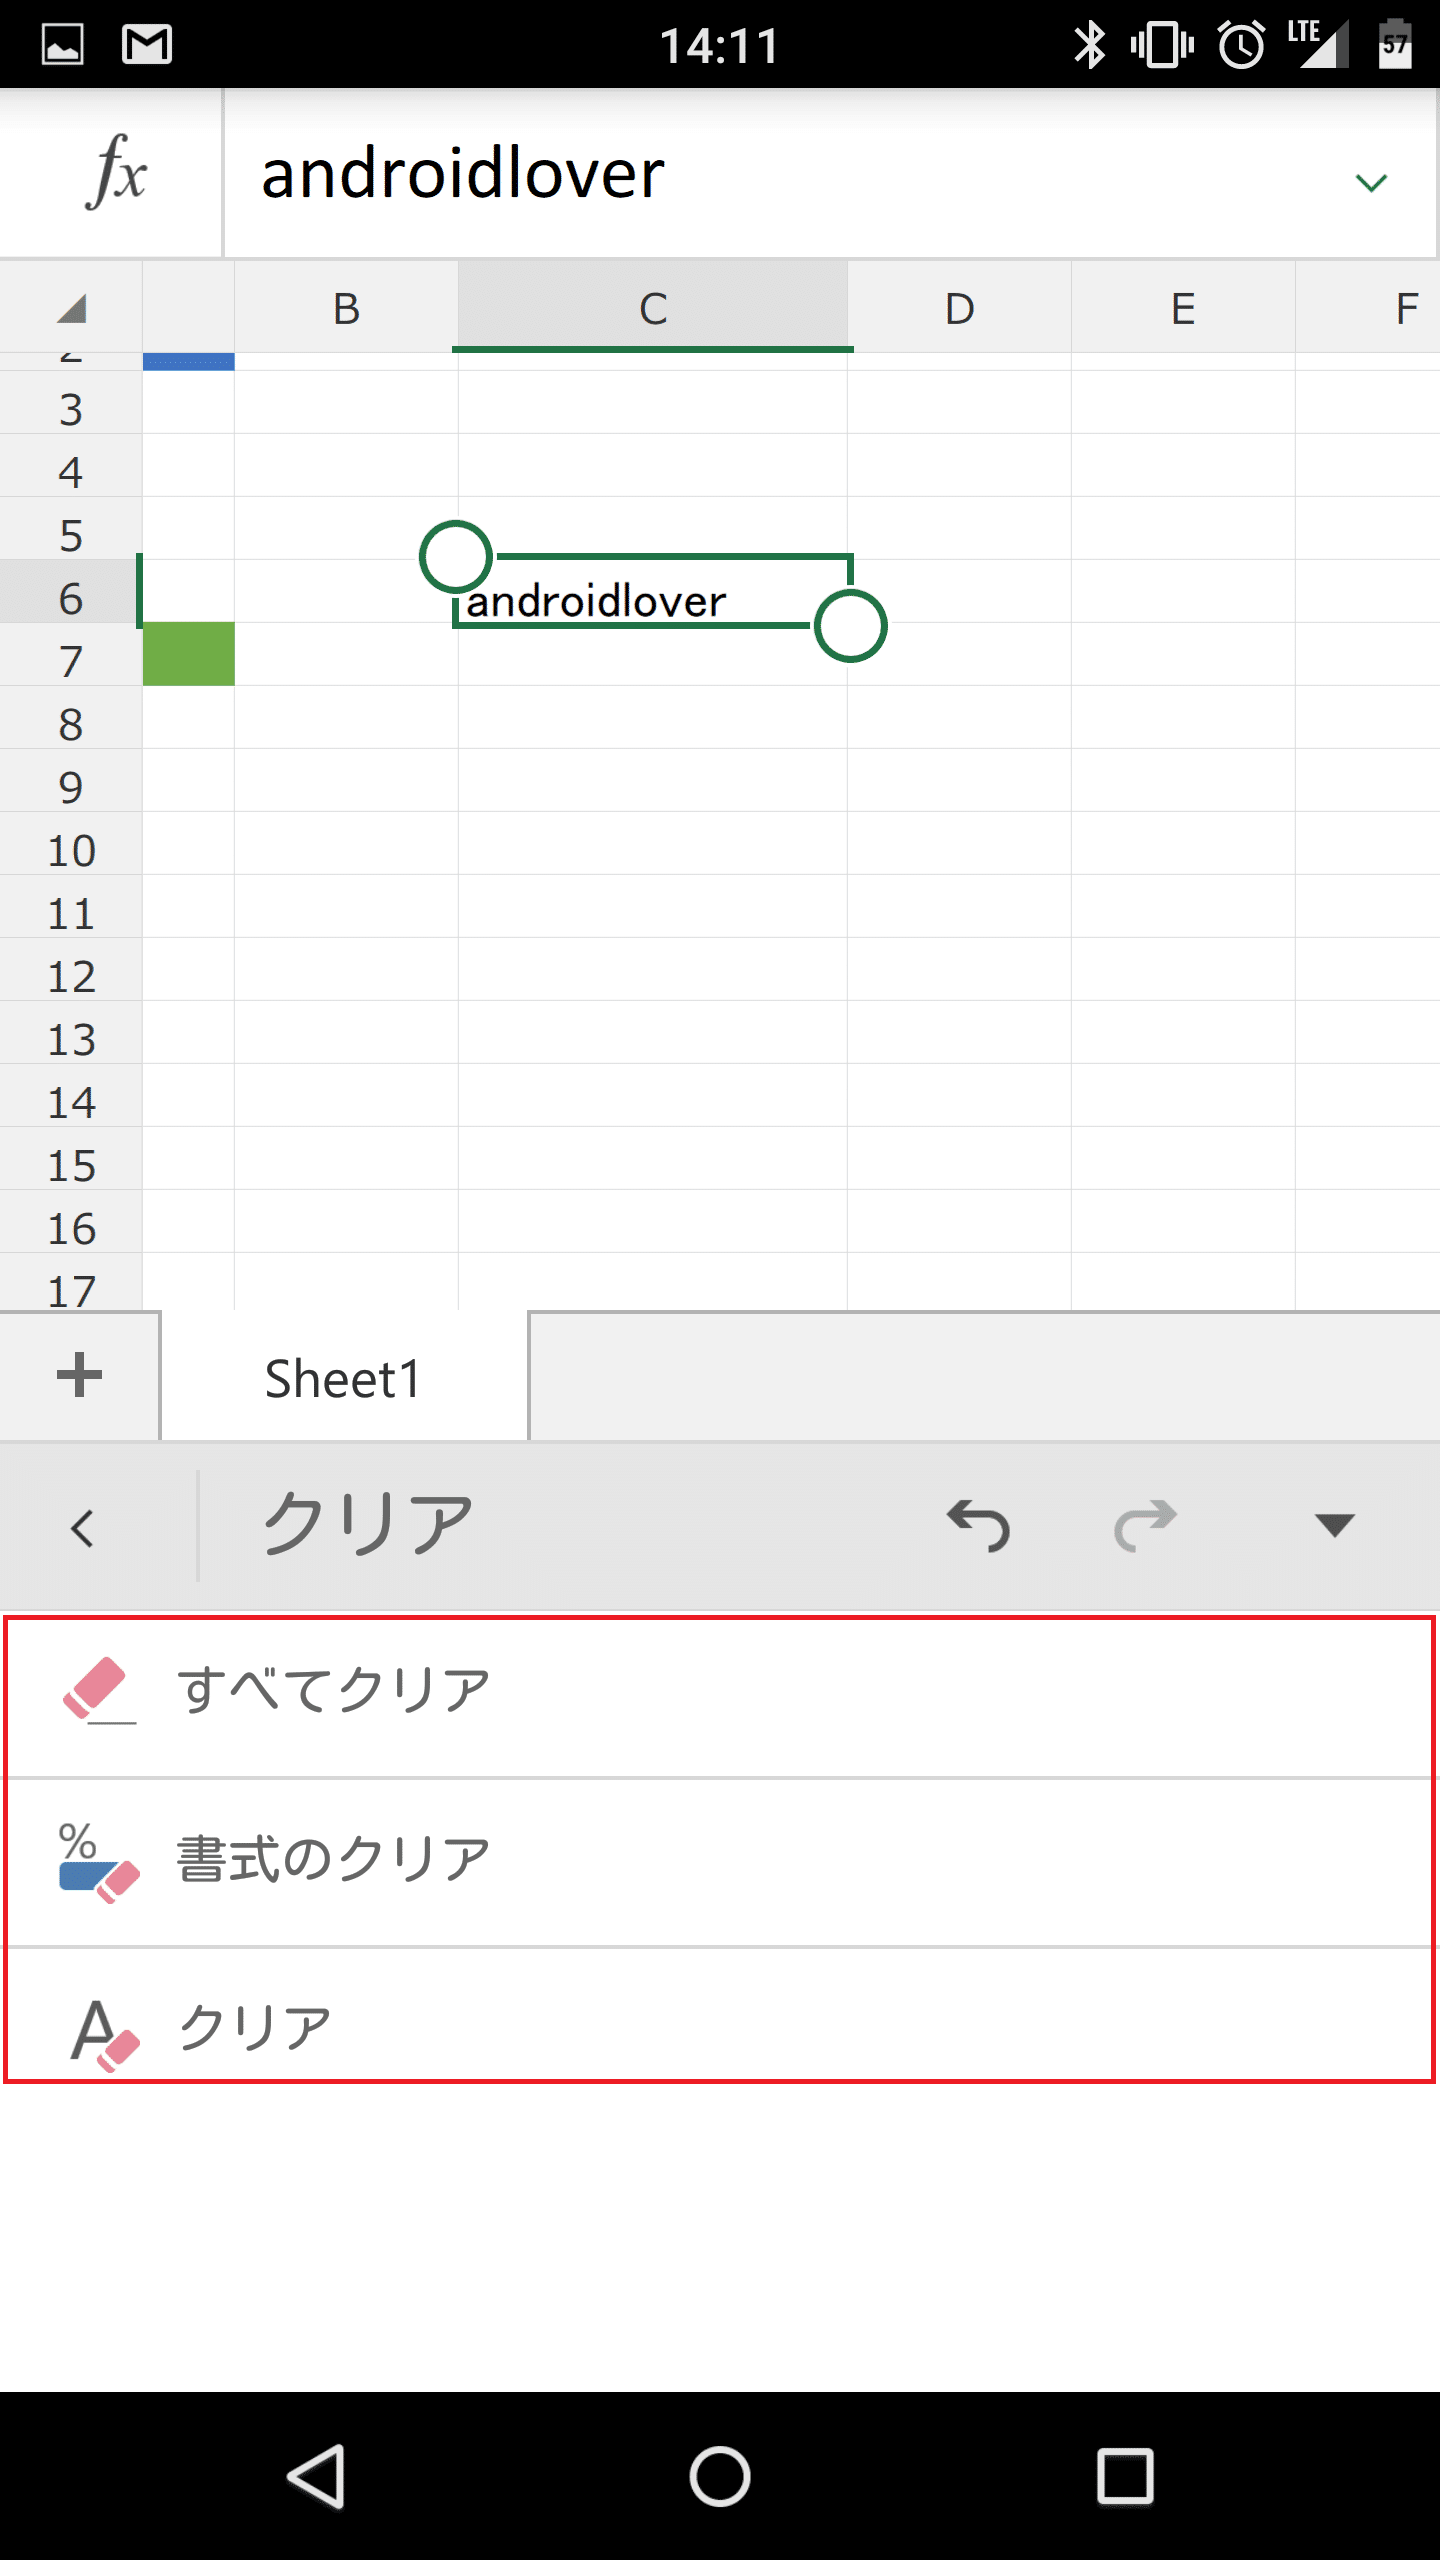
セル内の文字や書式を消す
セル内にある文字や設定した書式を消すには、「クリア」をタップします。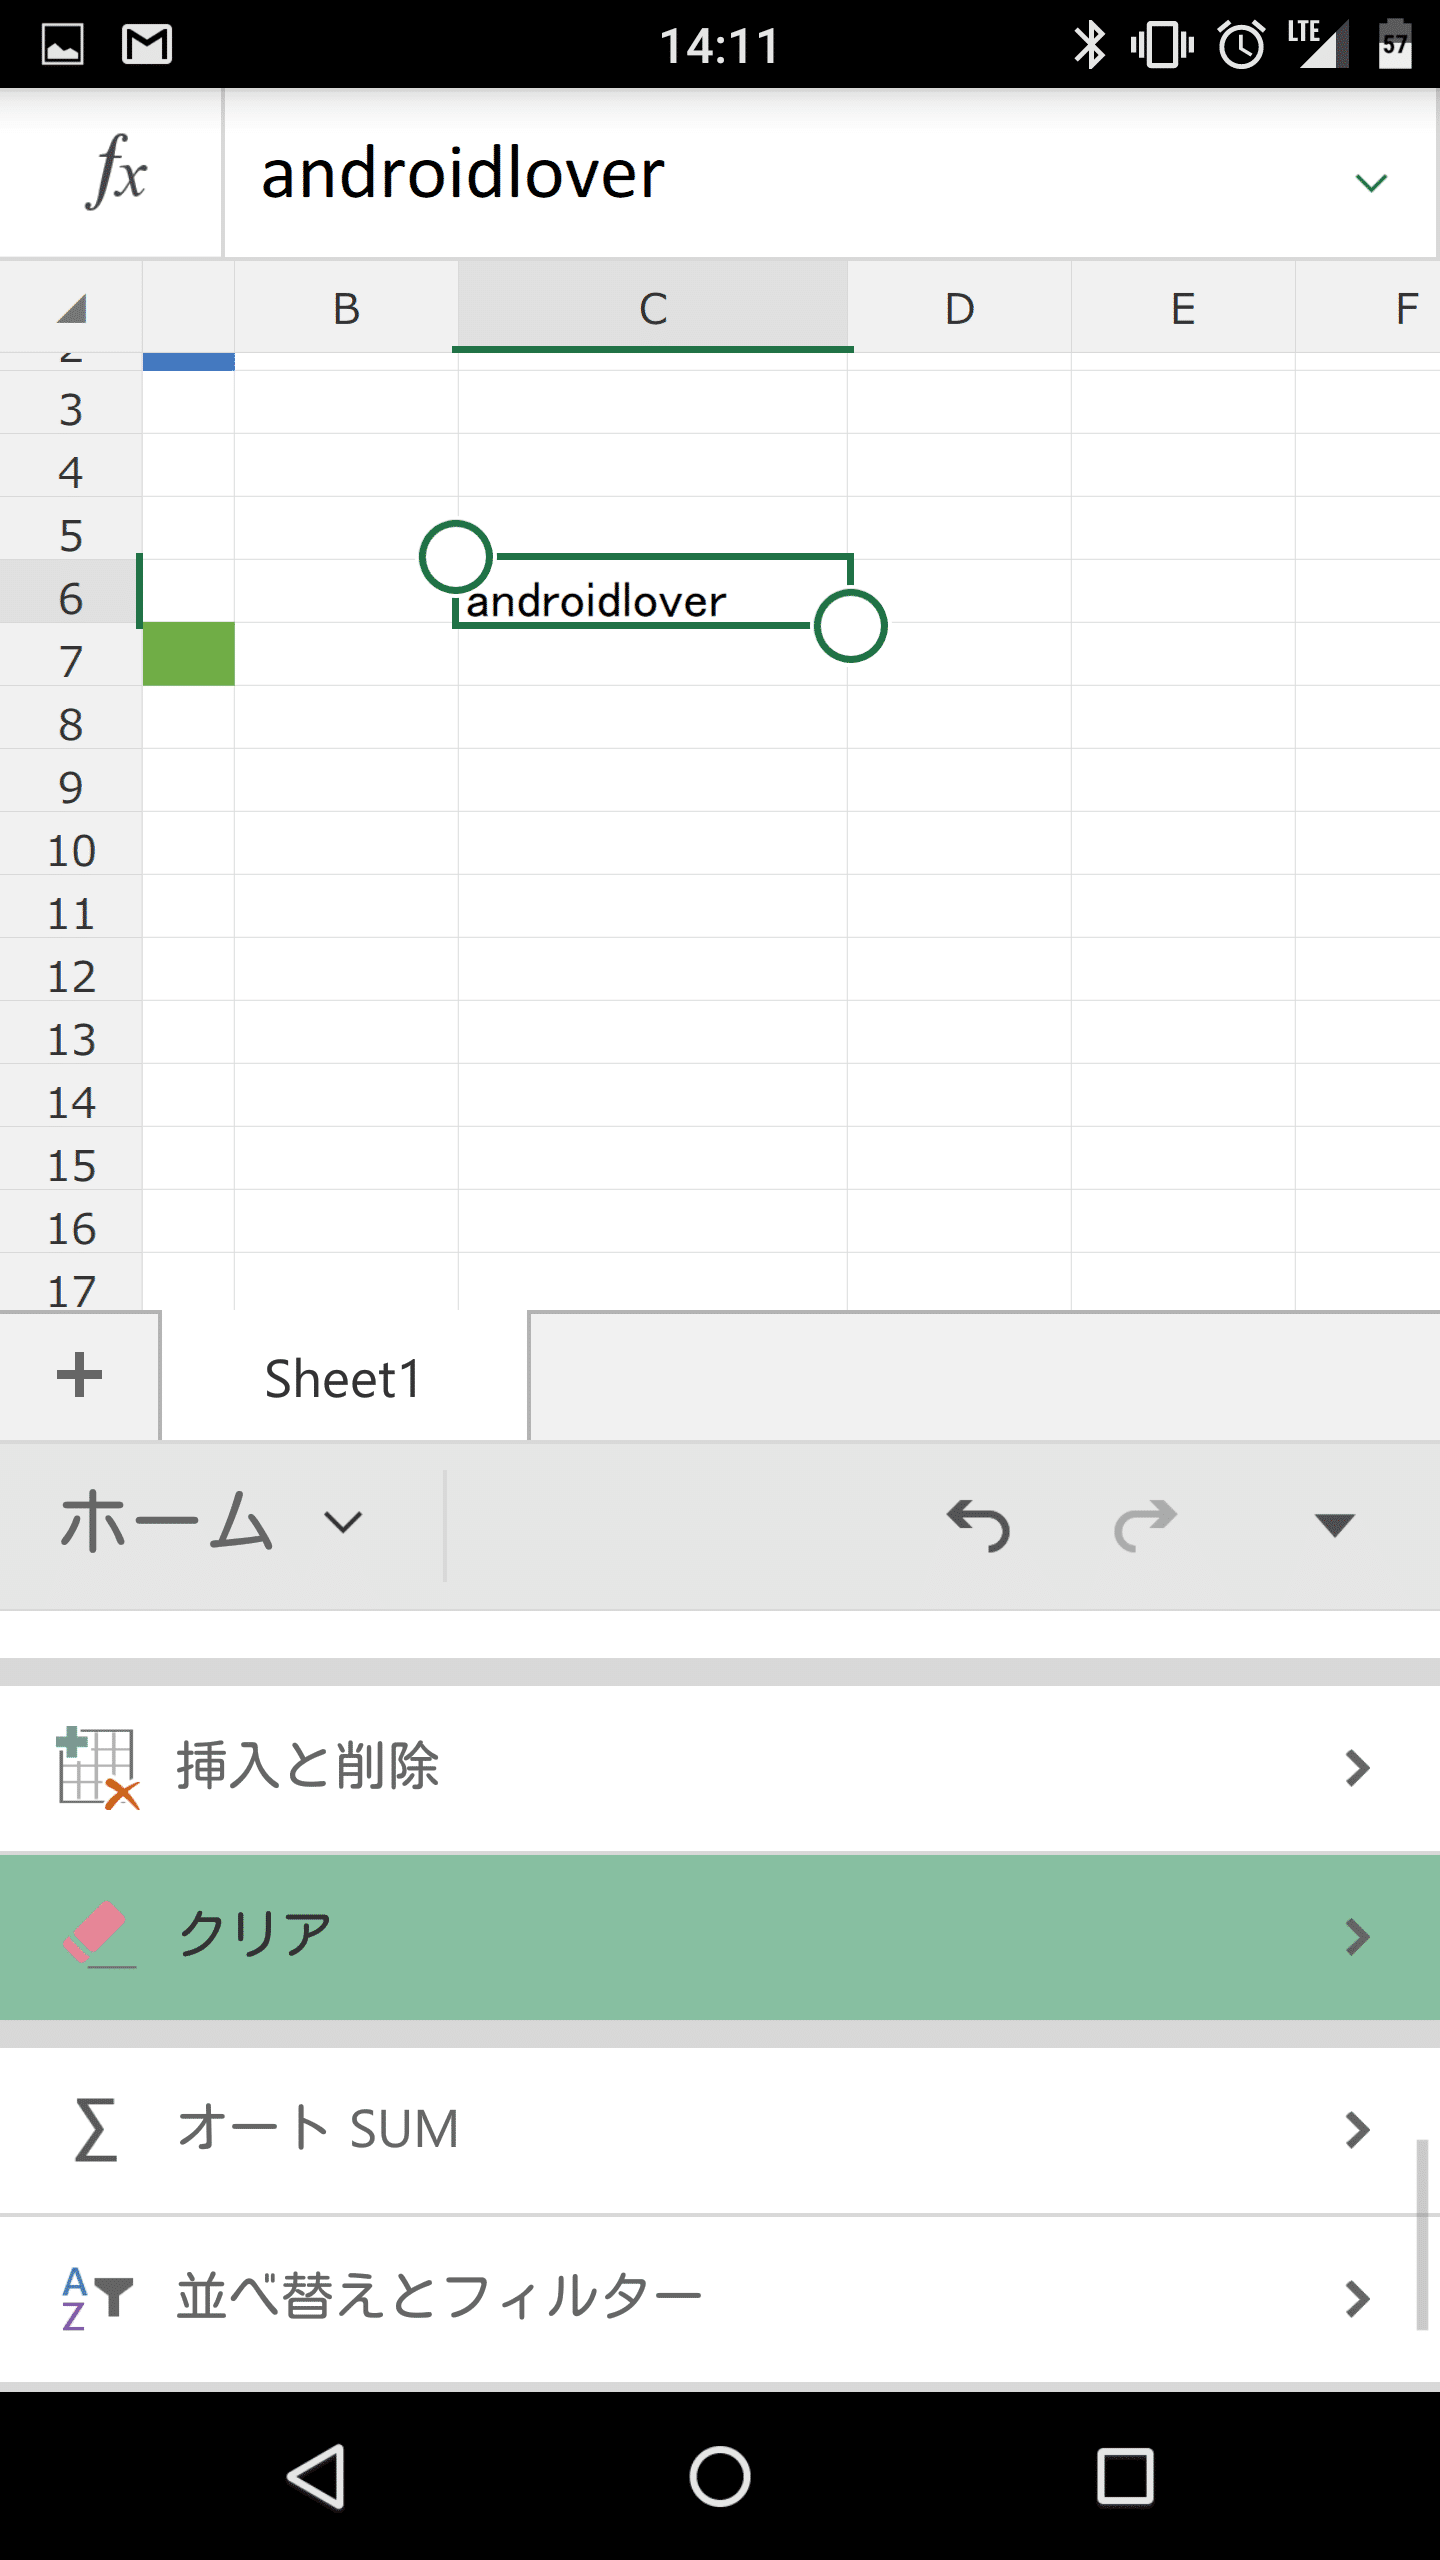
「すべてクリア」「書式のクリア」「クリア」から選びます。「すべてクリア」をタップすると、文字も含めたすべてが削除されます。
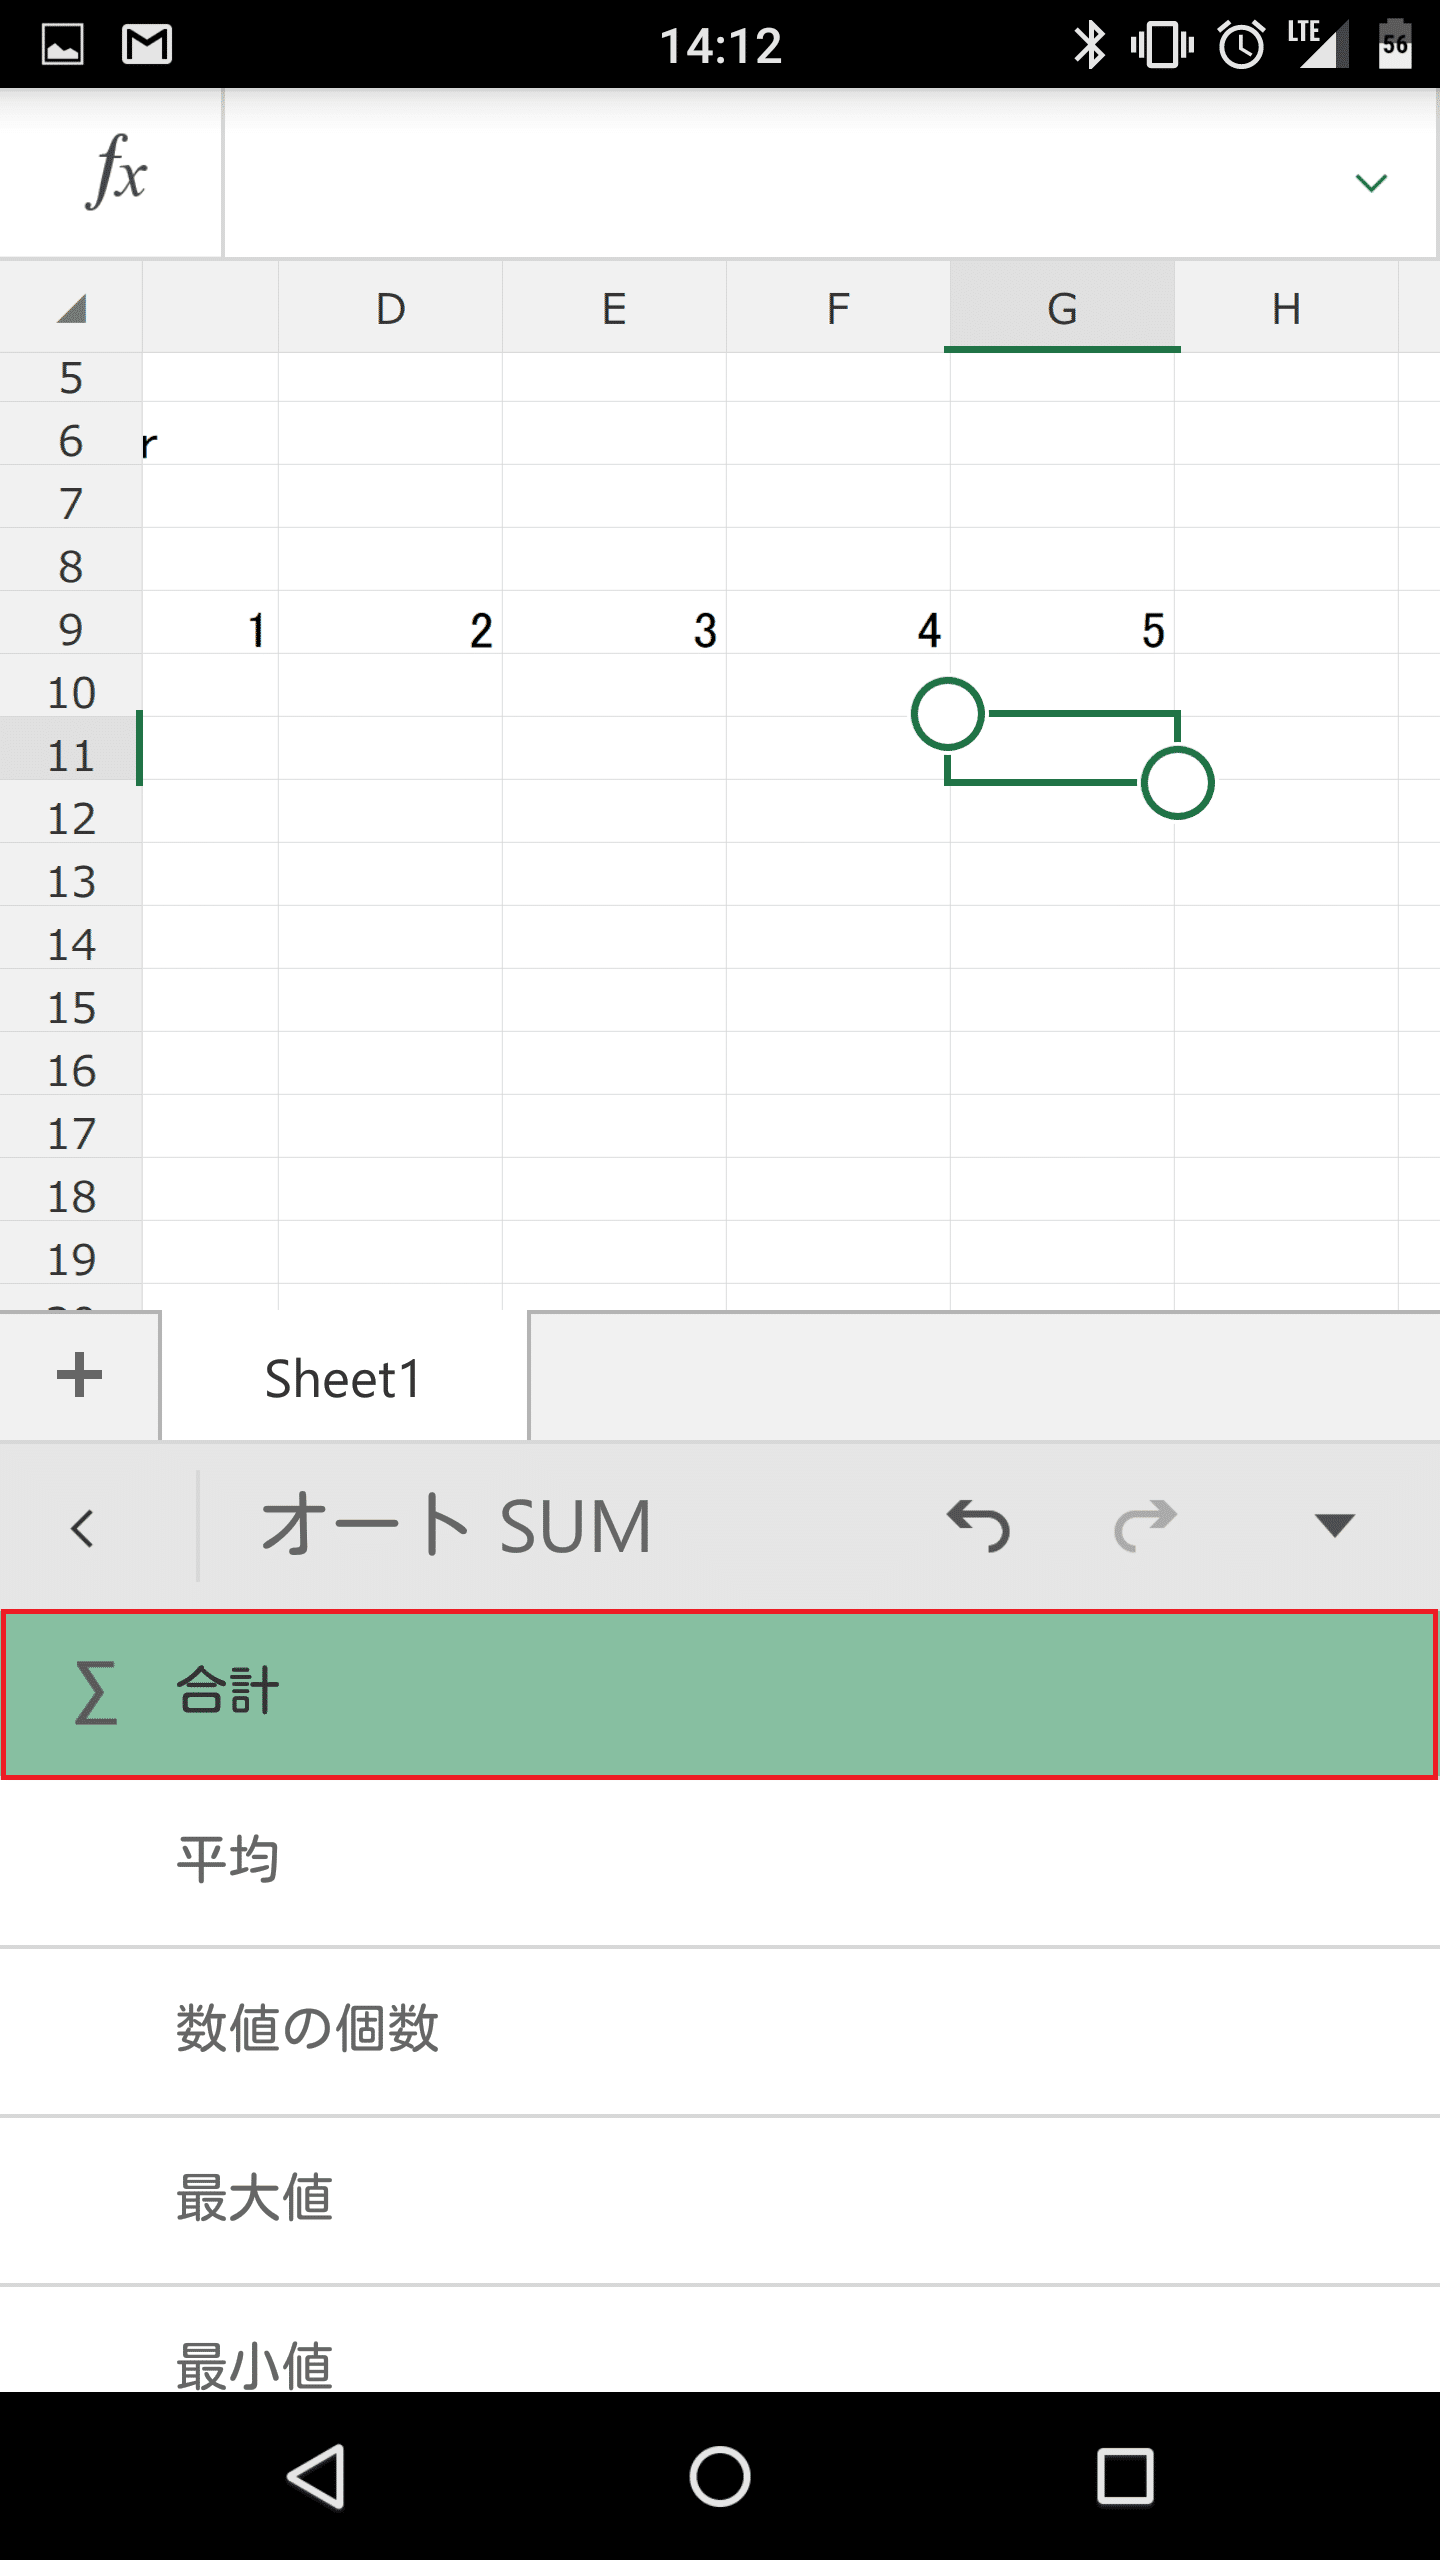
オートSUMを使う
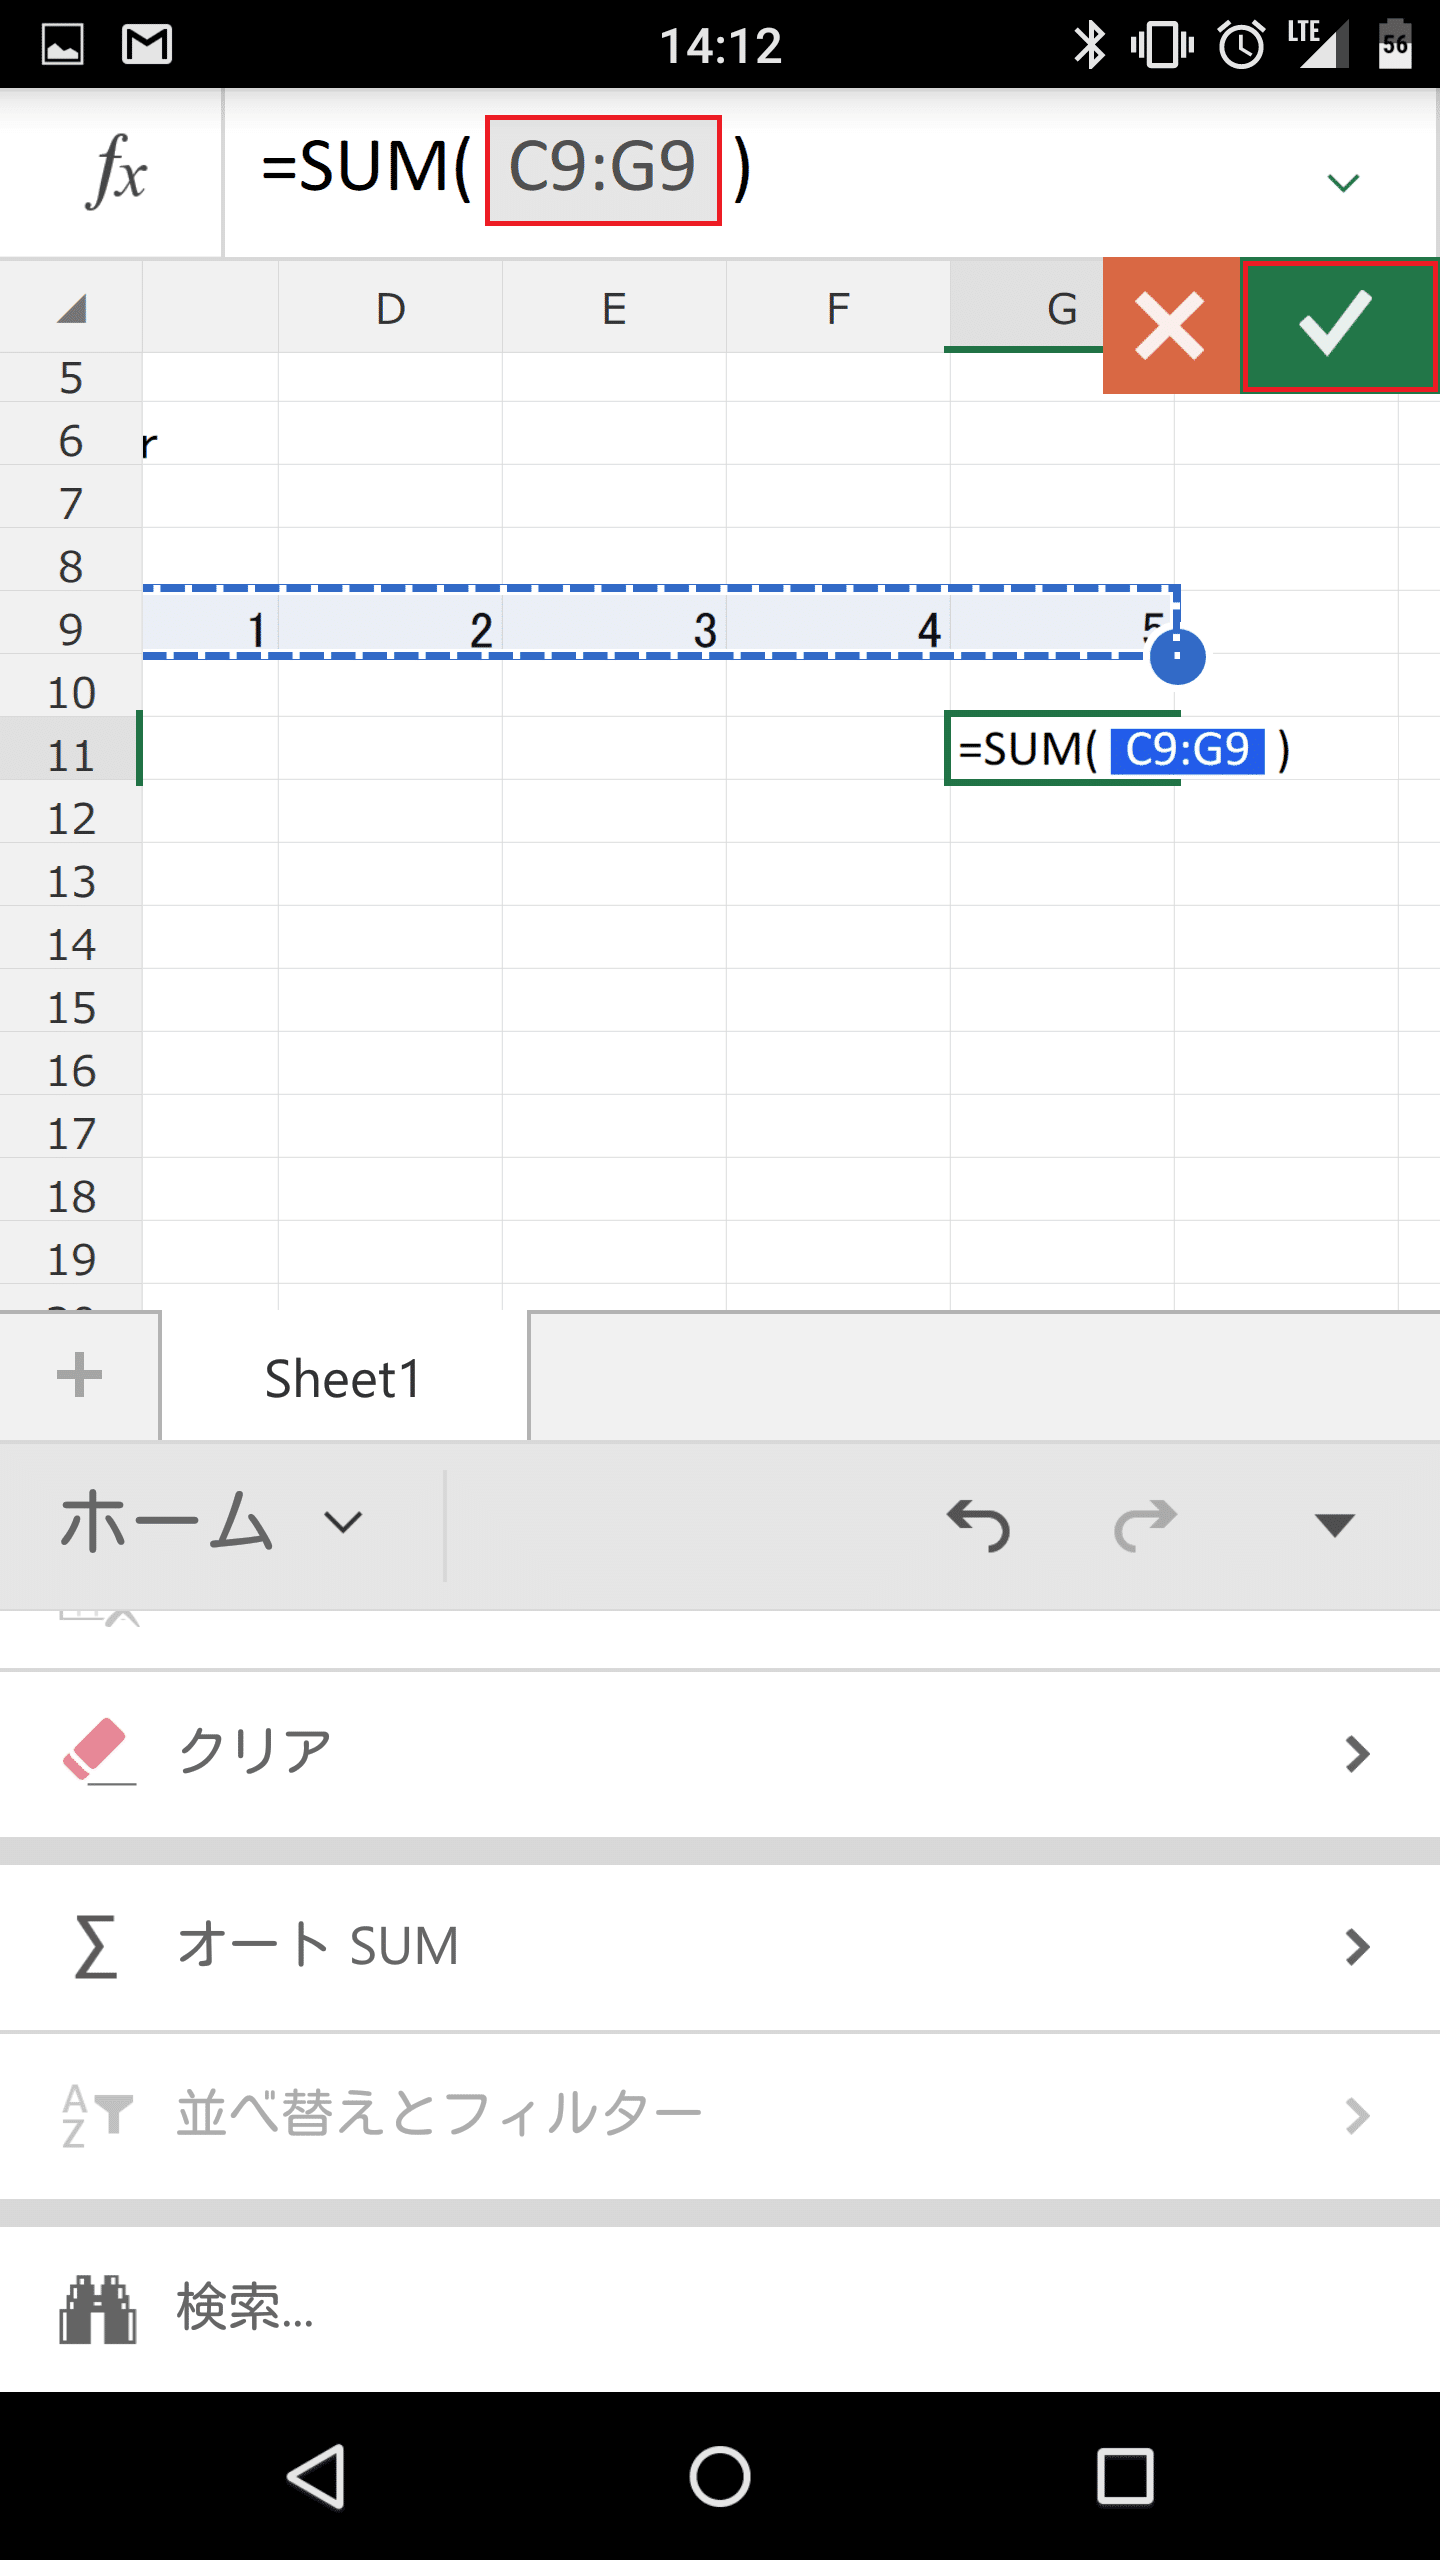
オートSUMを使うには、オートSUMの結果を表示させたいセルを選んだ状態で「オートSUM」をタップします。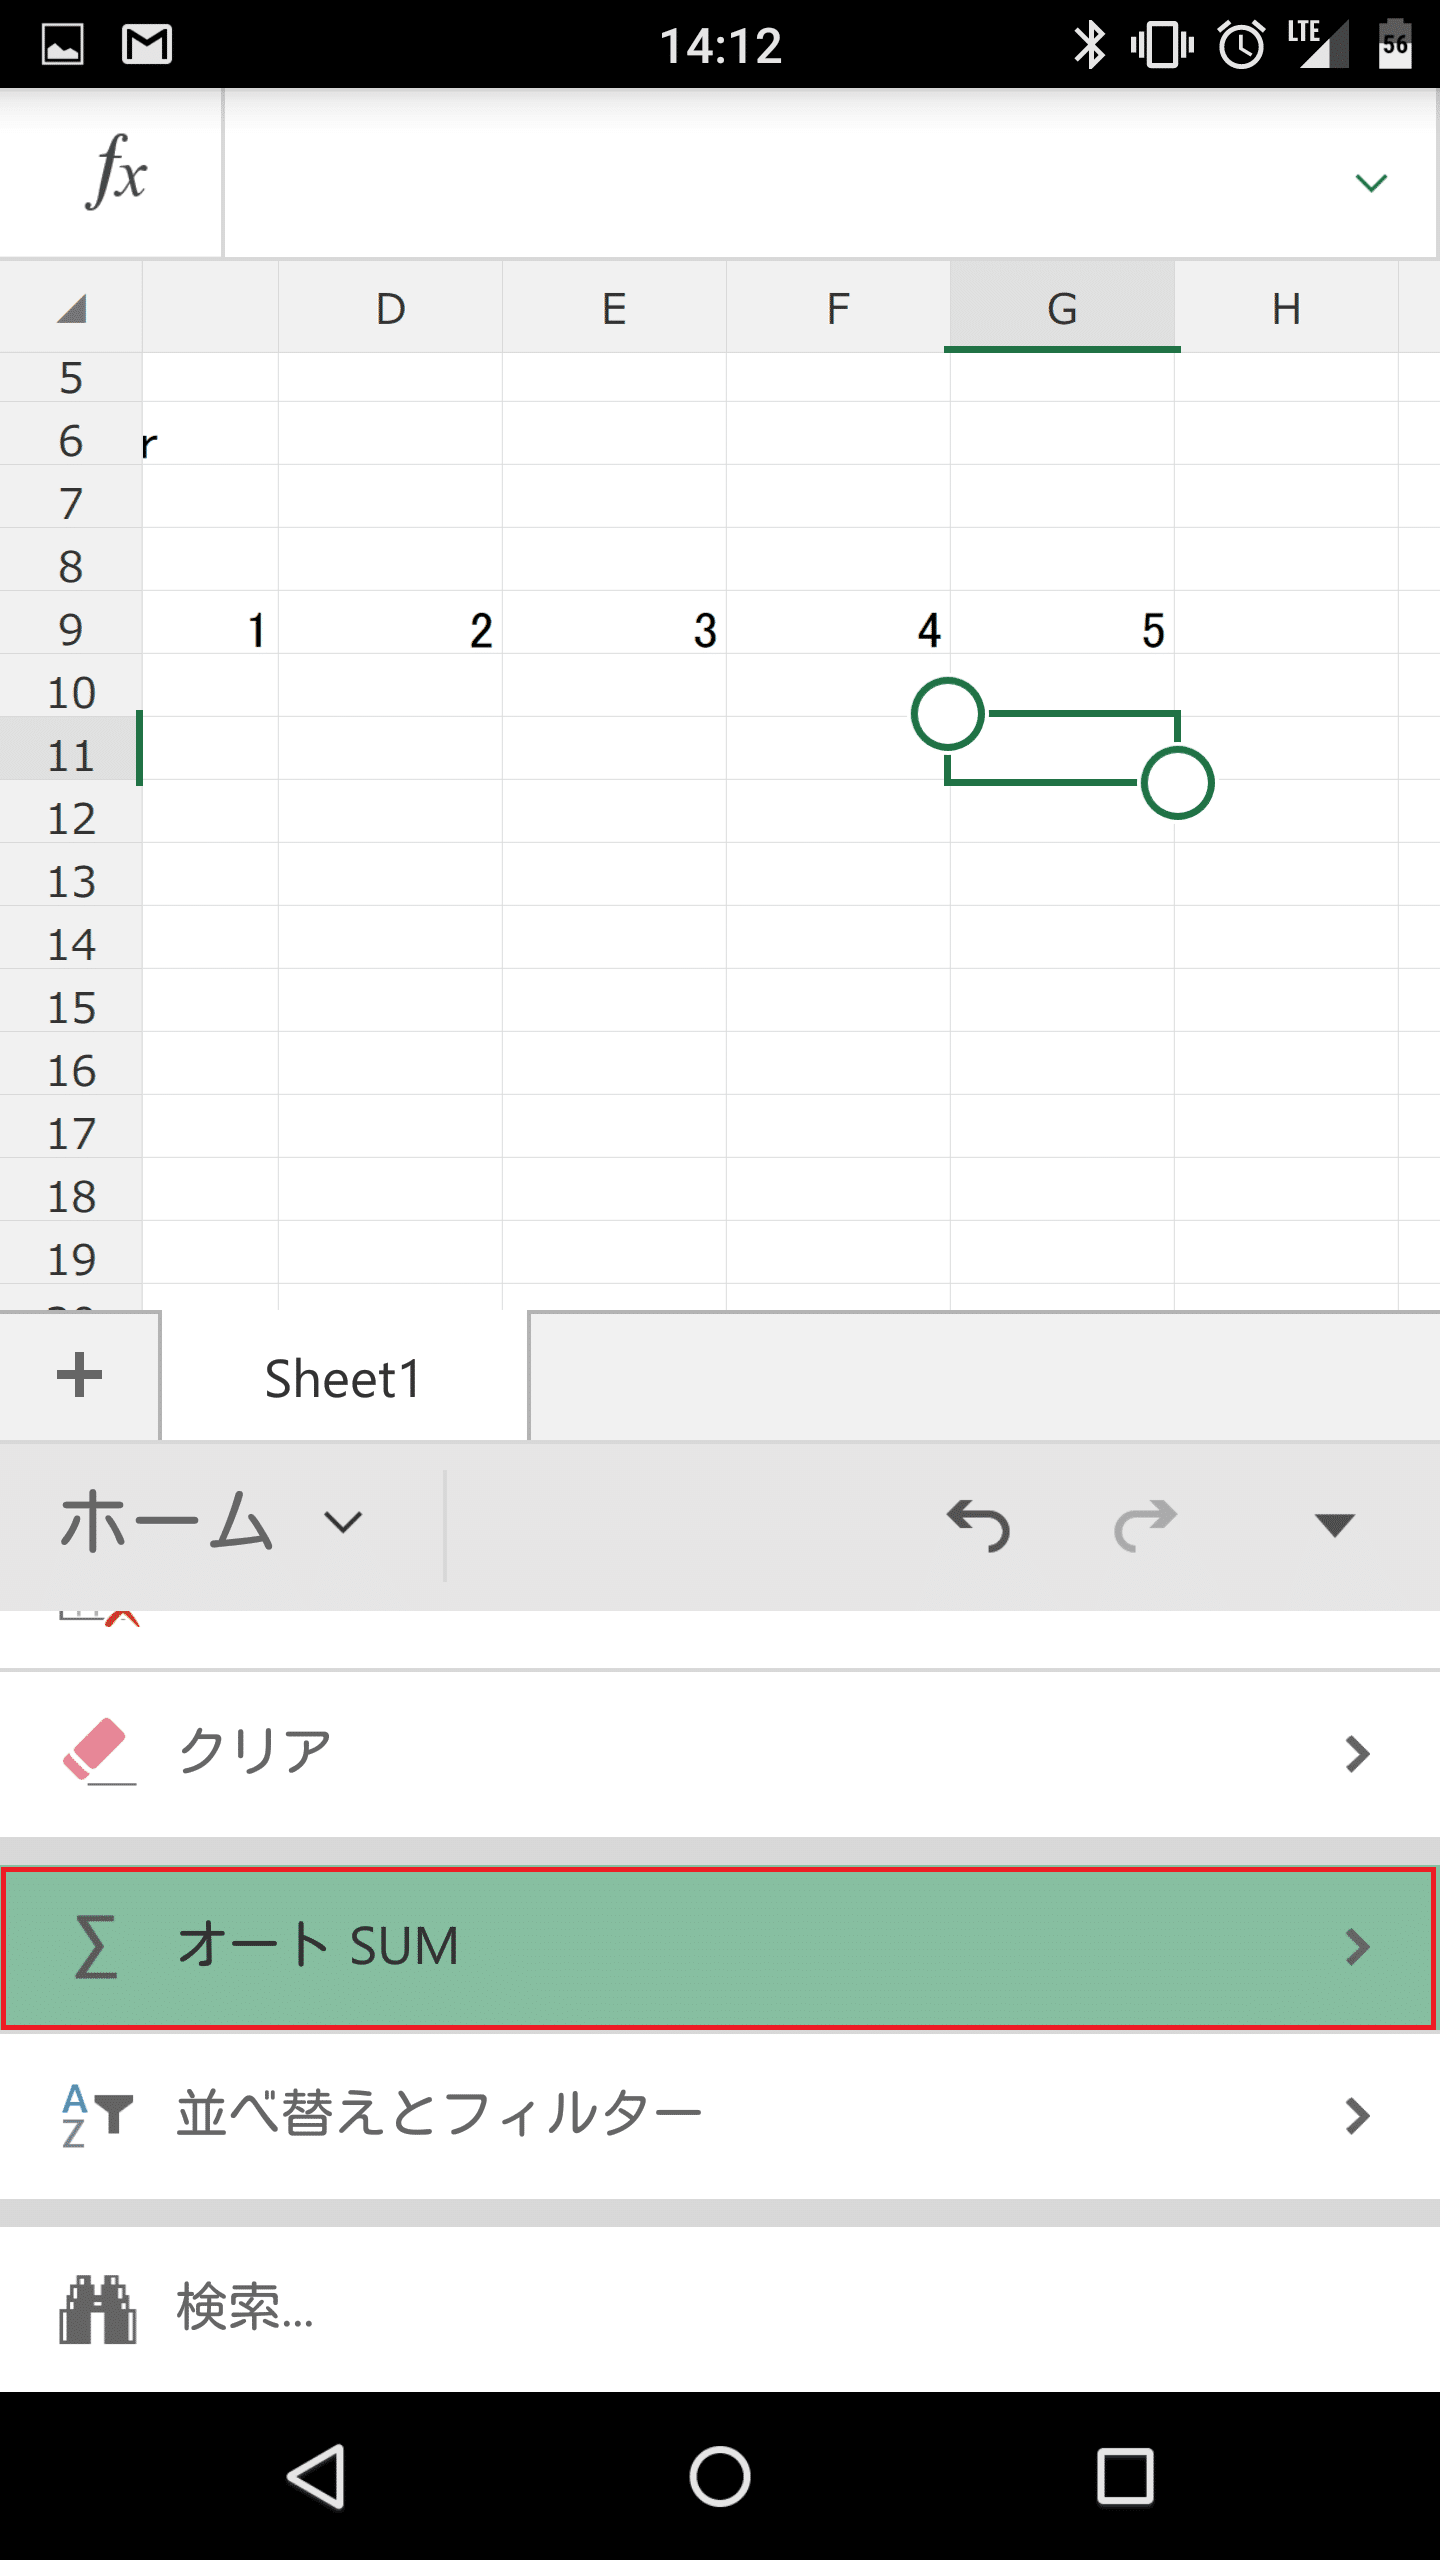
オートSUMは「合計」「平均」「数値の個数」「最大値」「最小値」から選べます。今回は「合計」を出してみます。
合計を出したい数字の範囲を指定します。数字の初めをタップしたまま終わりまでなぞります。
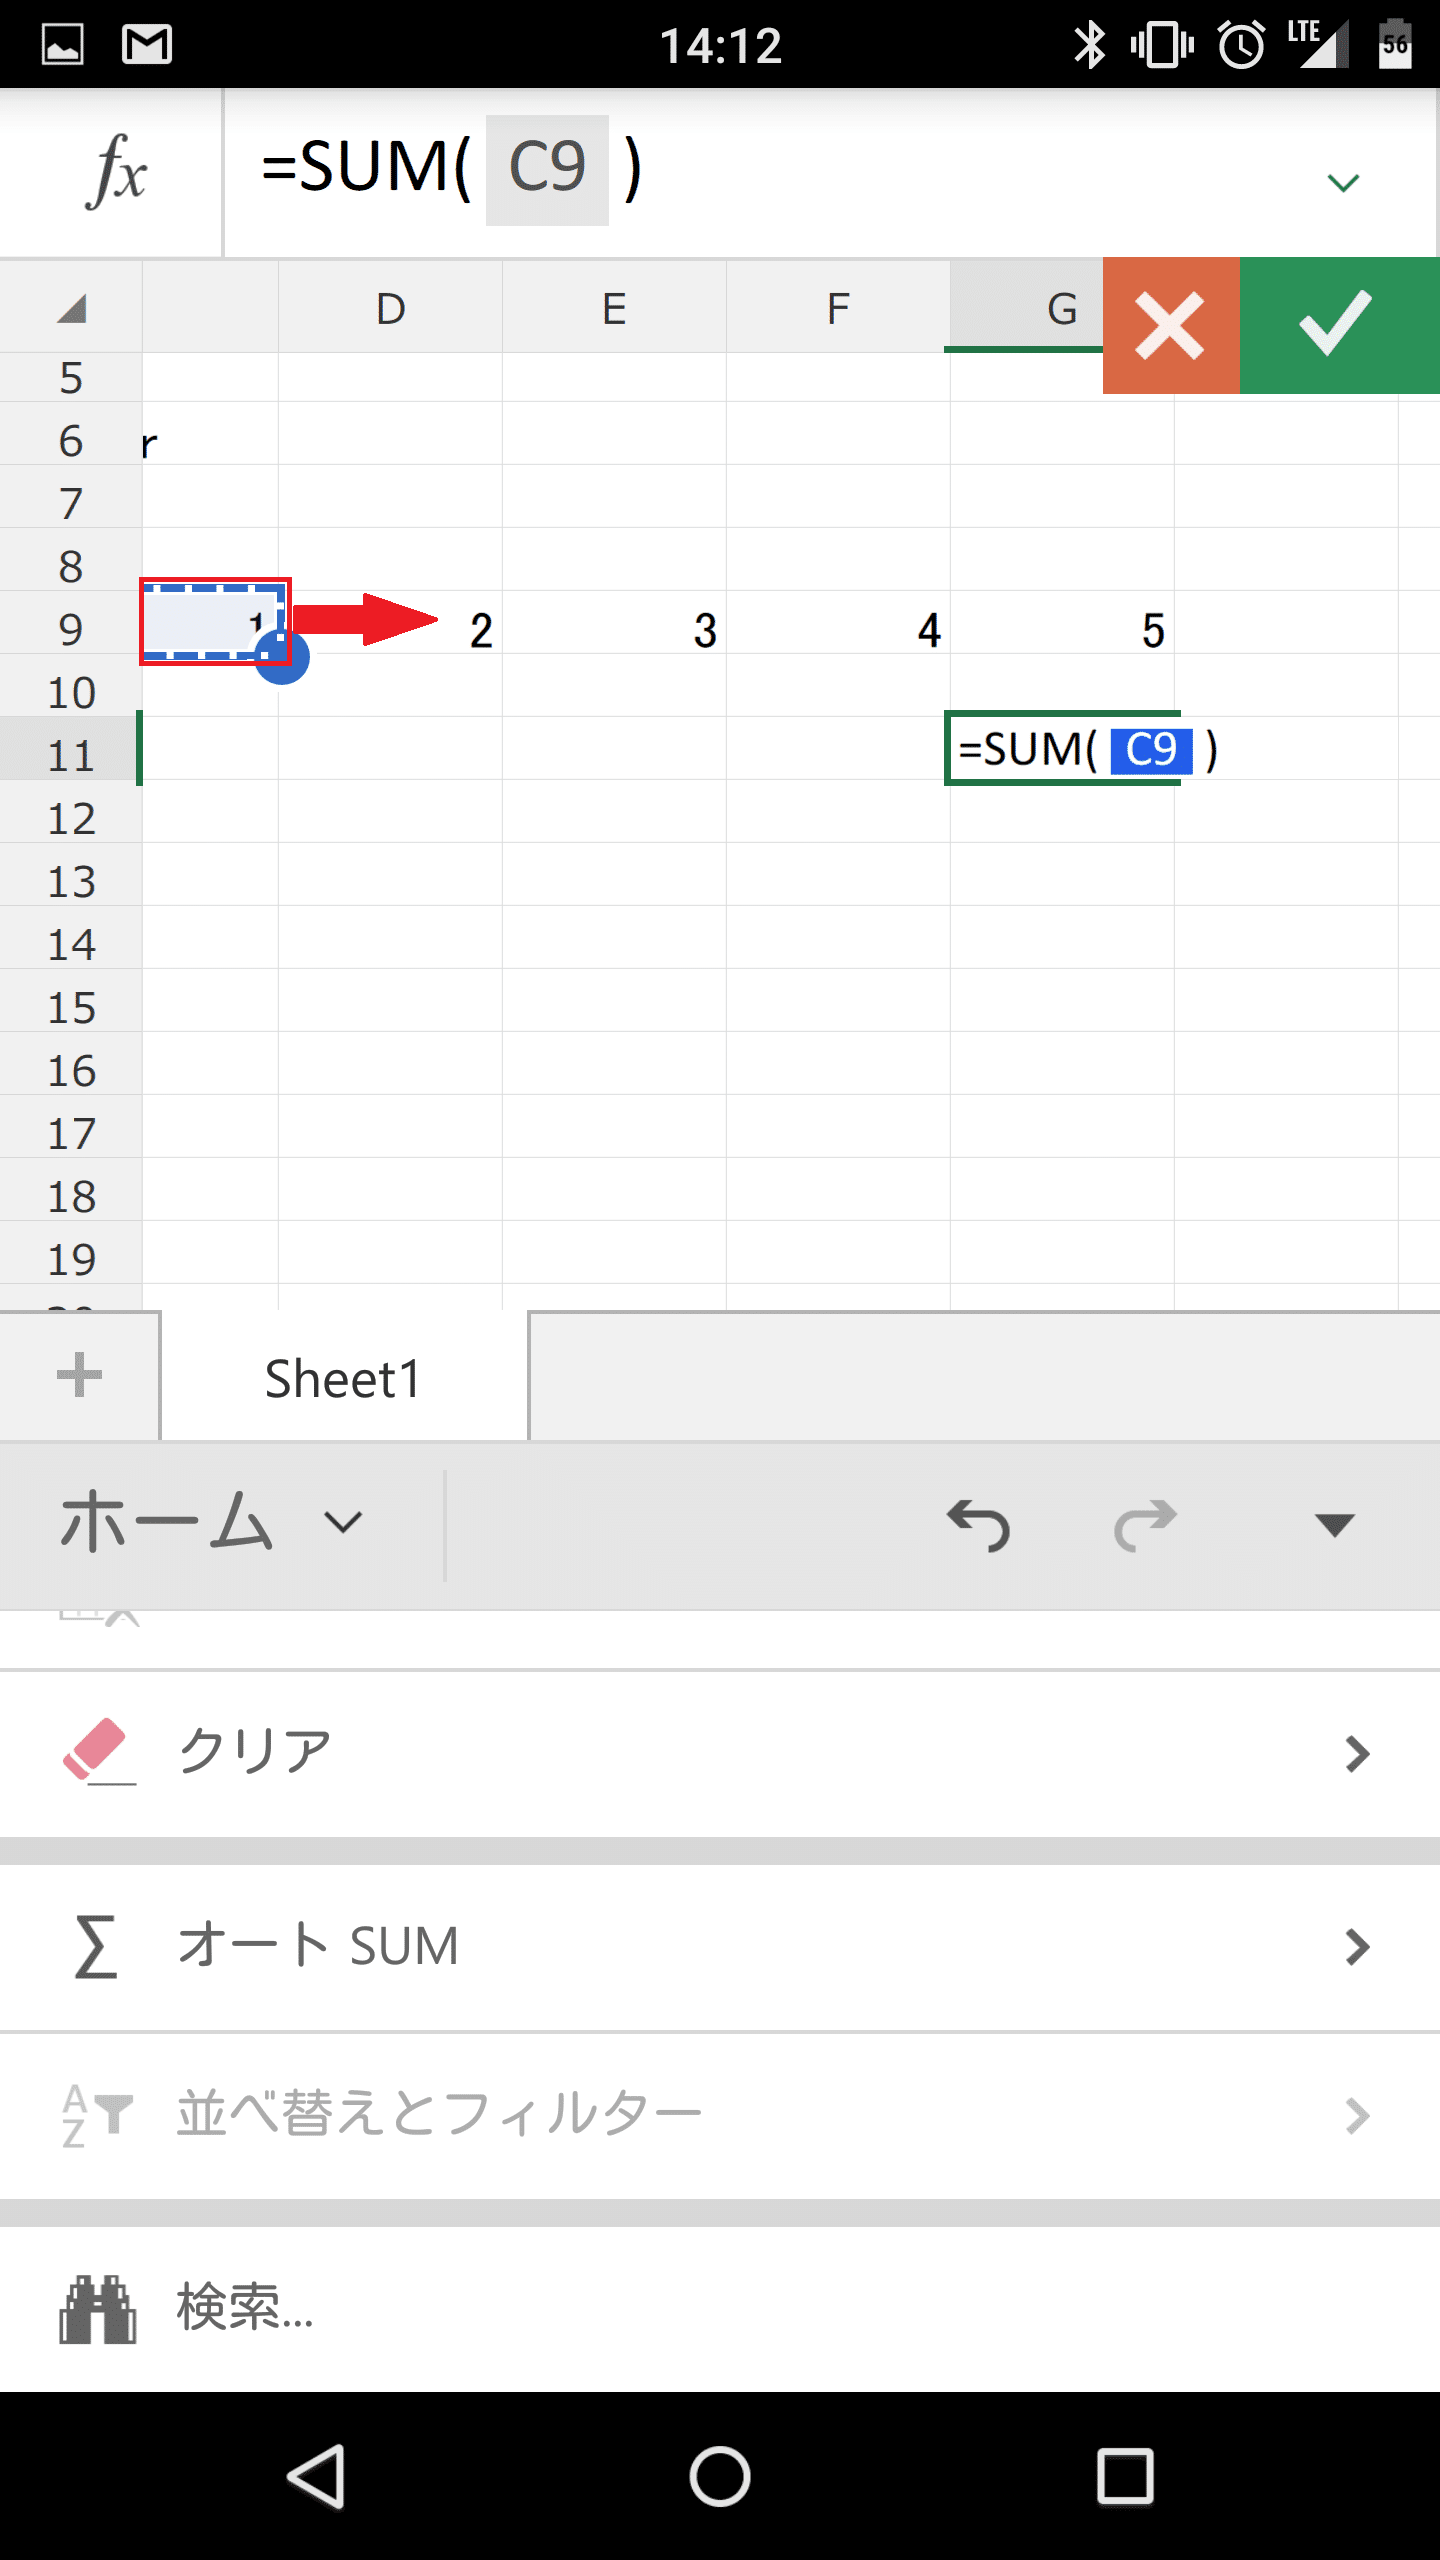
範囲が正しく選択されていることを確認してチェックマークをタップします。
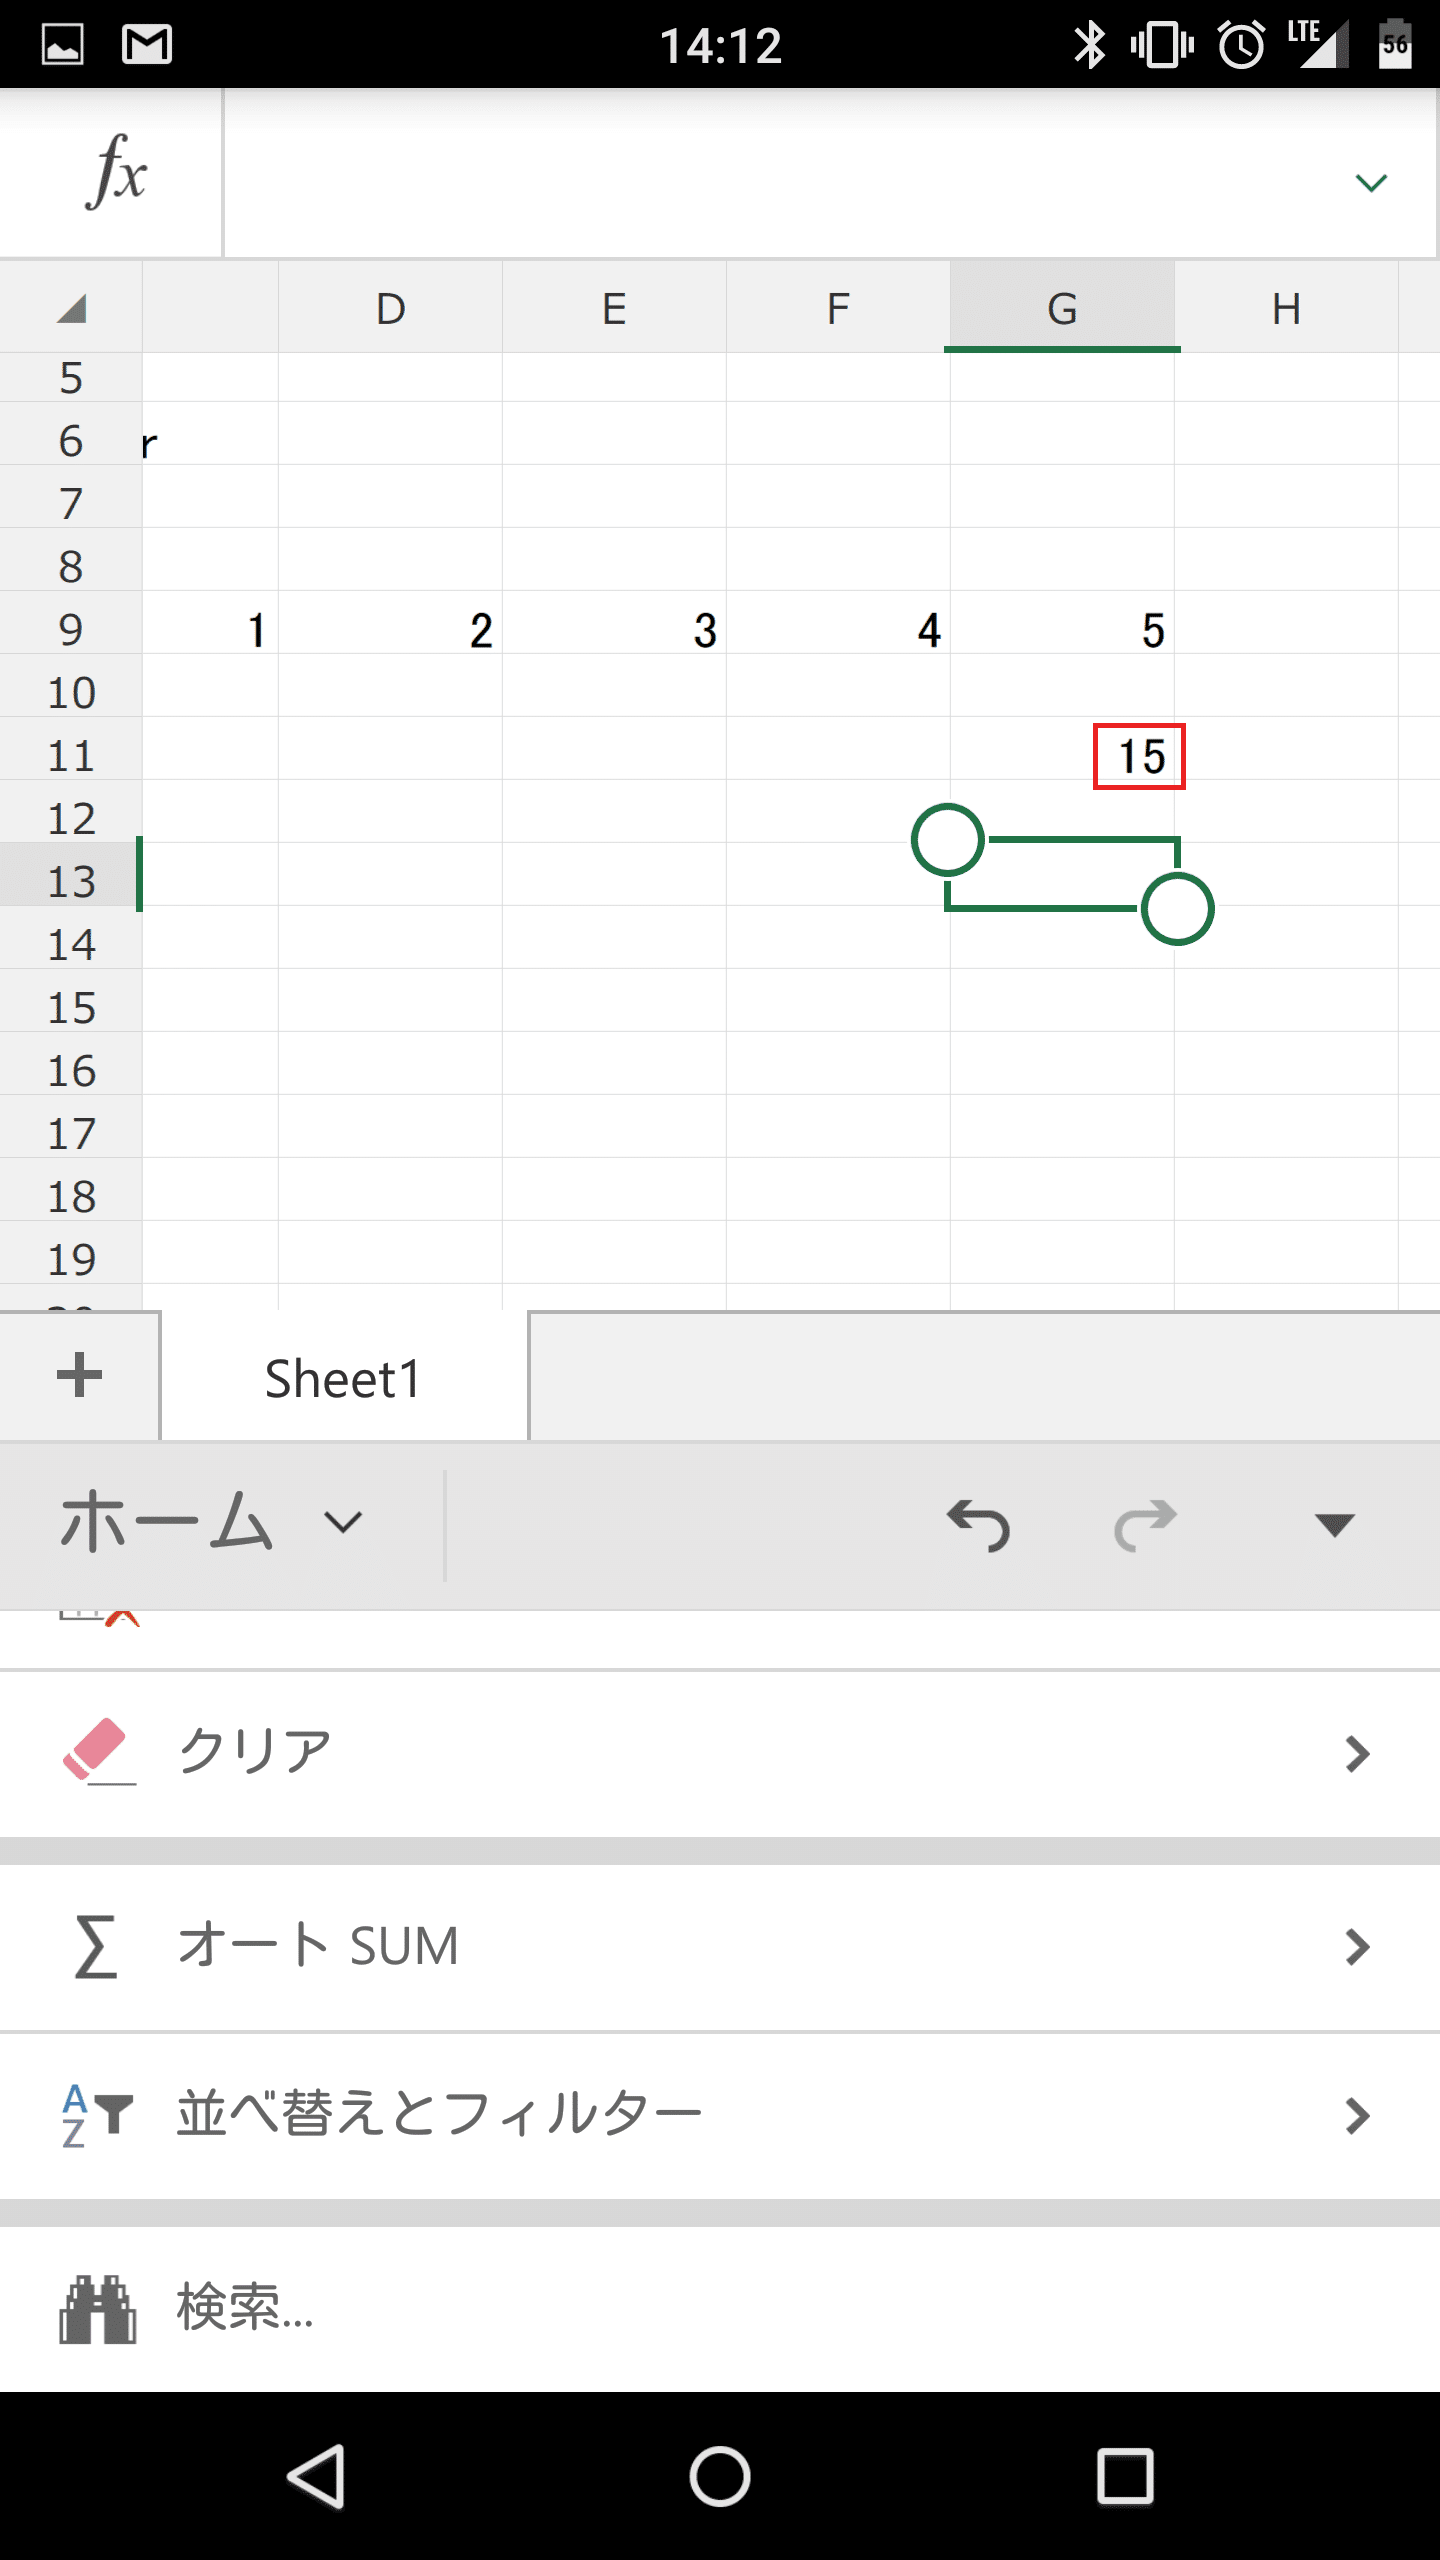
合計値が表示されました。
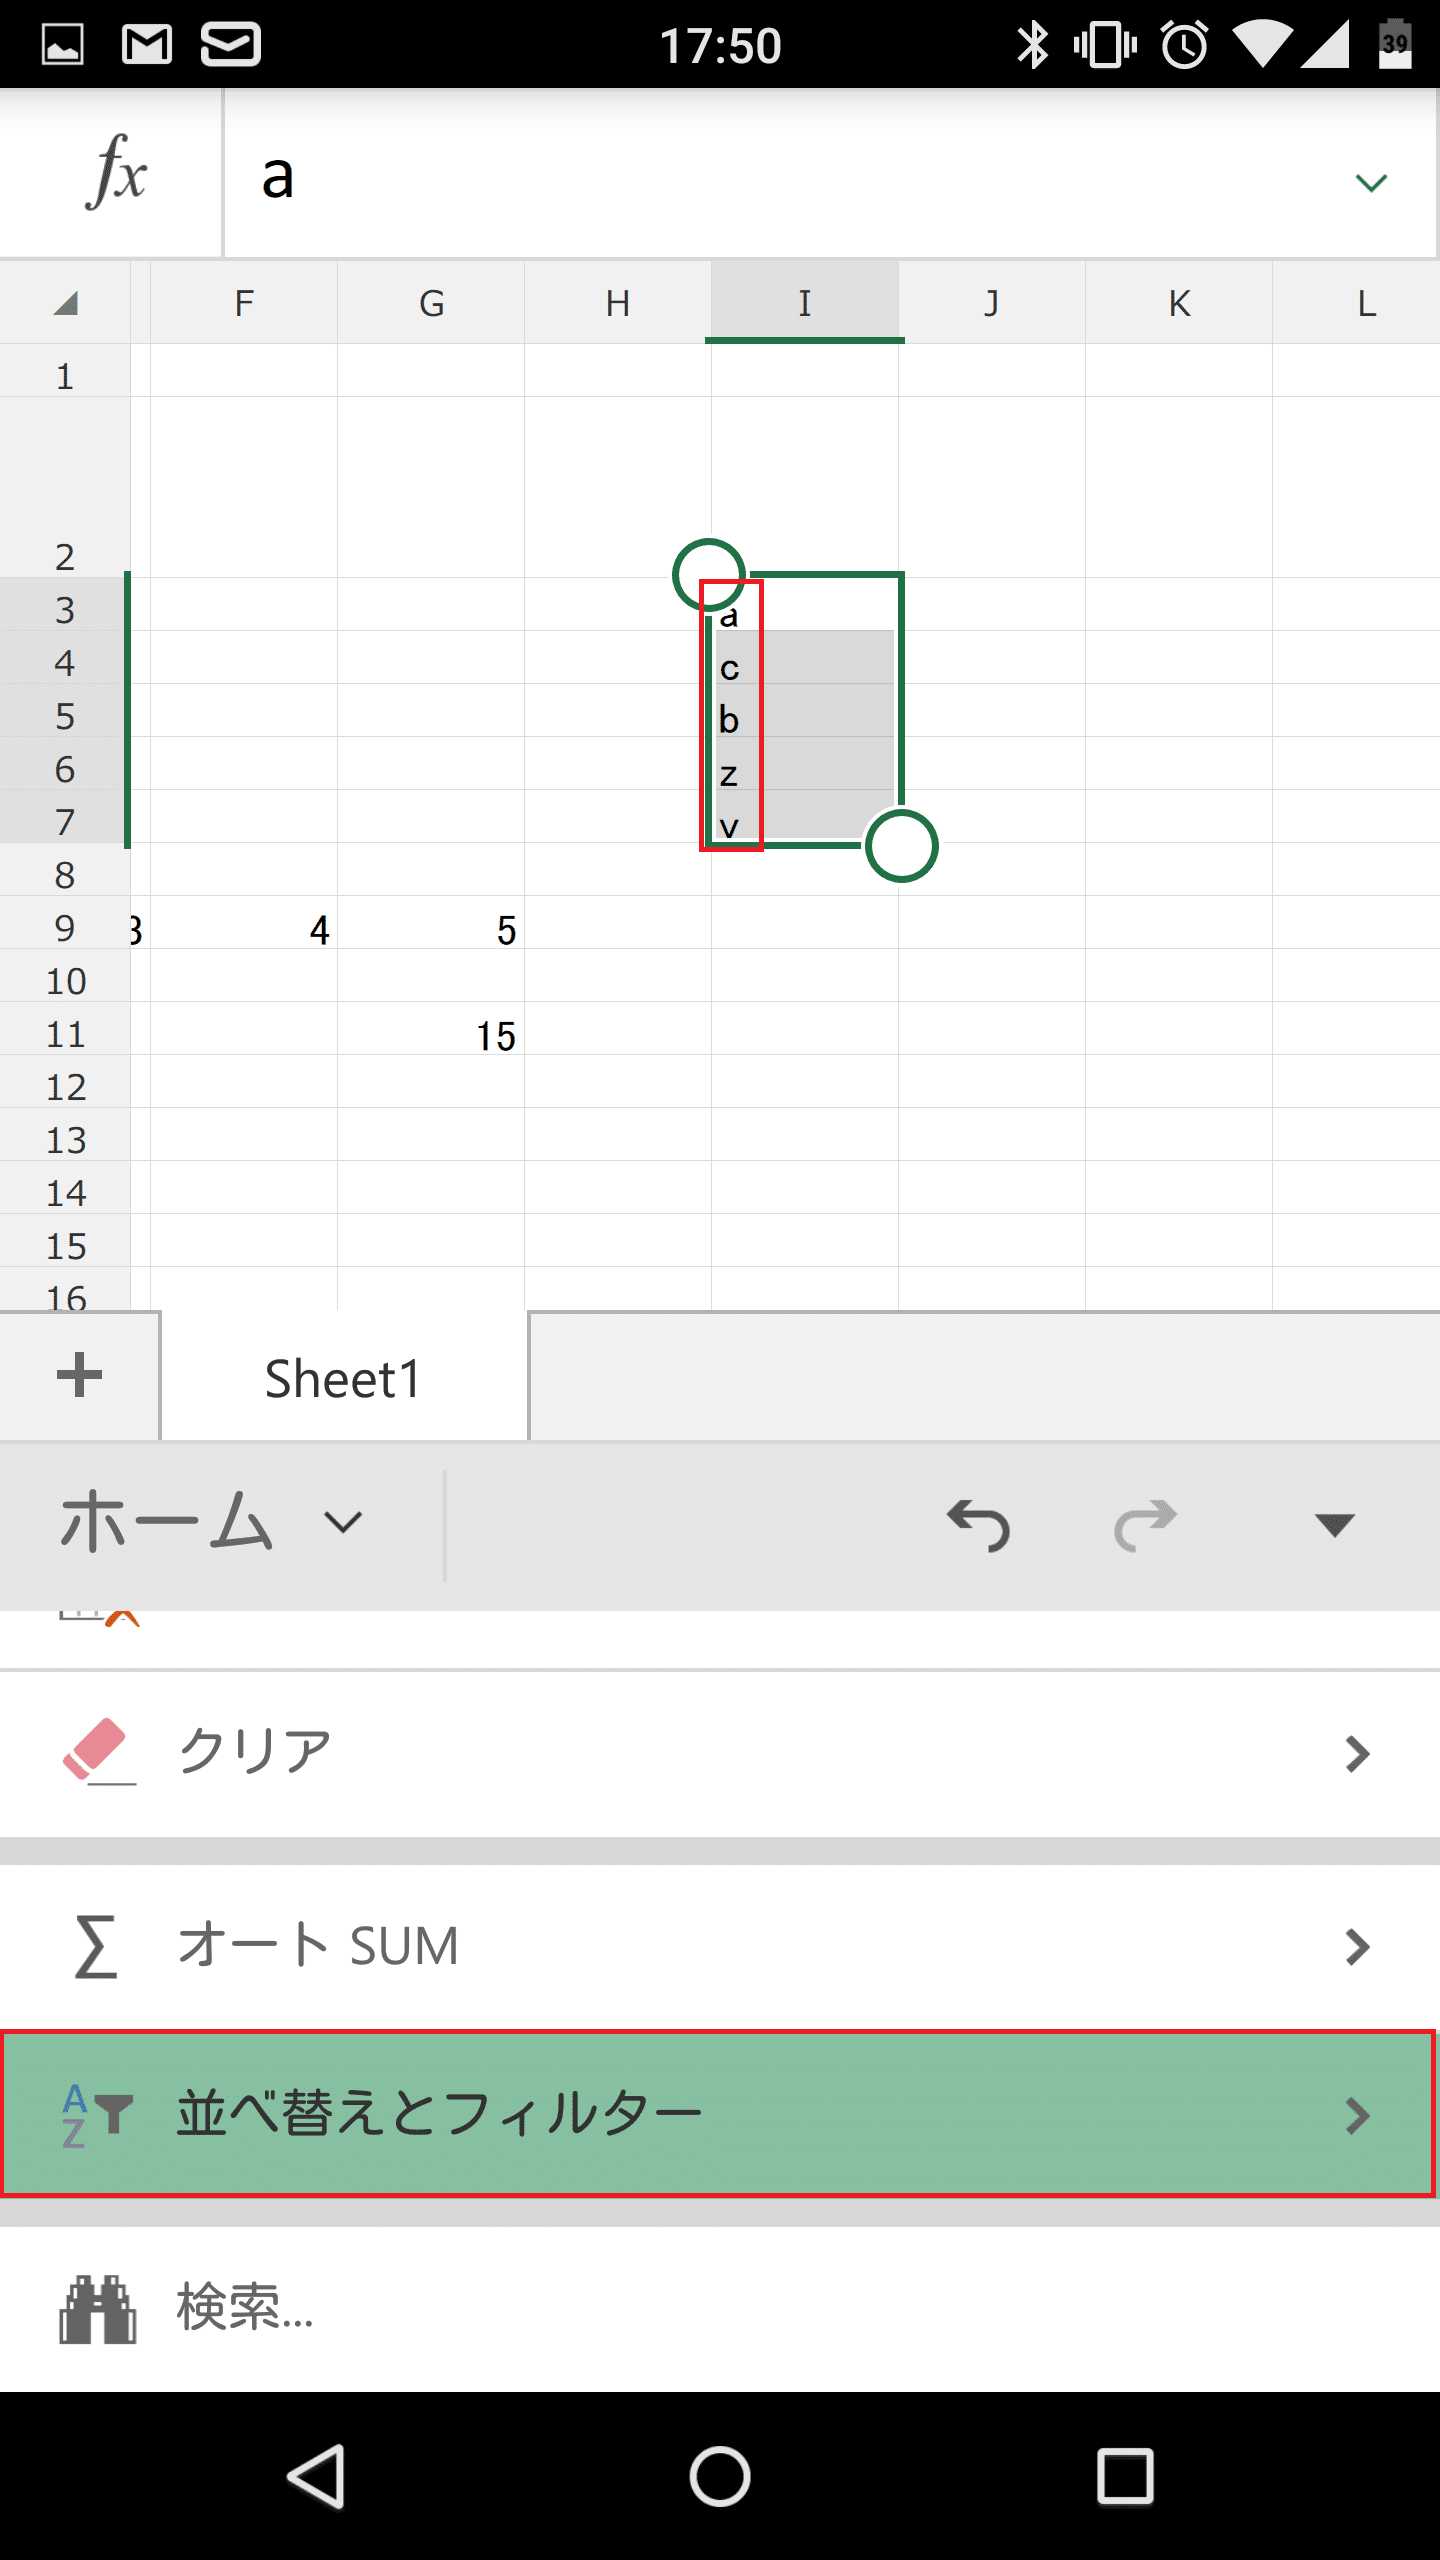
並び替えとフィルターを適用する
並び替えやフィルターを適用するには、並び替え・フィルターを適用させたいセルの範囲を選んだ状態で「並び替えとフィルター」をタップします。「昇順で並び替え」「降順で並び替え」「フィルター」から選びます。今回は「昇順で並び替え」を選んでみました。

昇順で並び替えされました。

文字列を検索する
文字列を検索するには「検索」をタップします。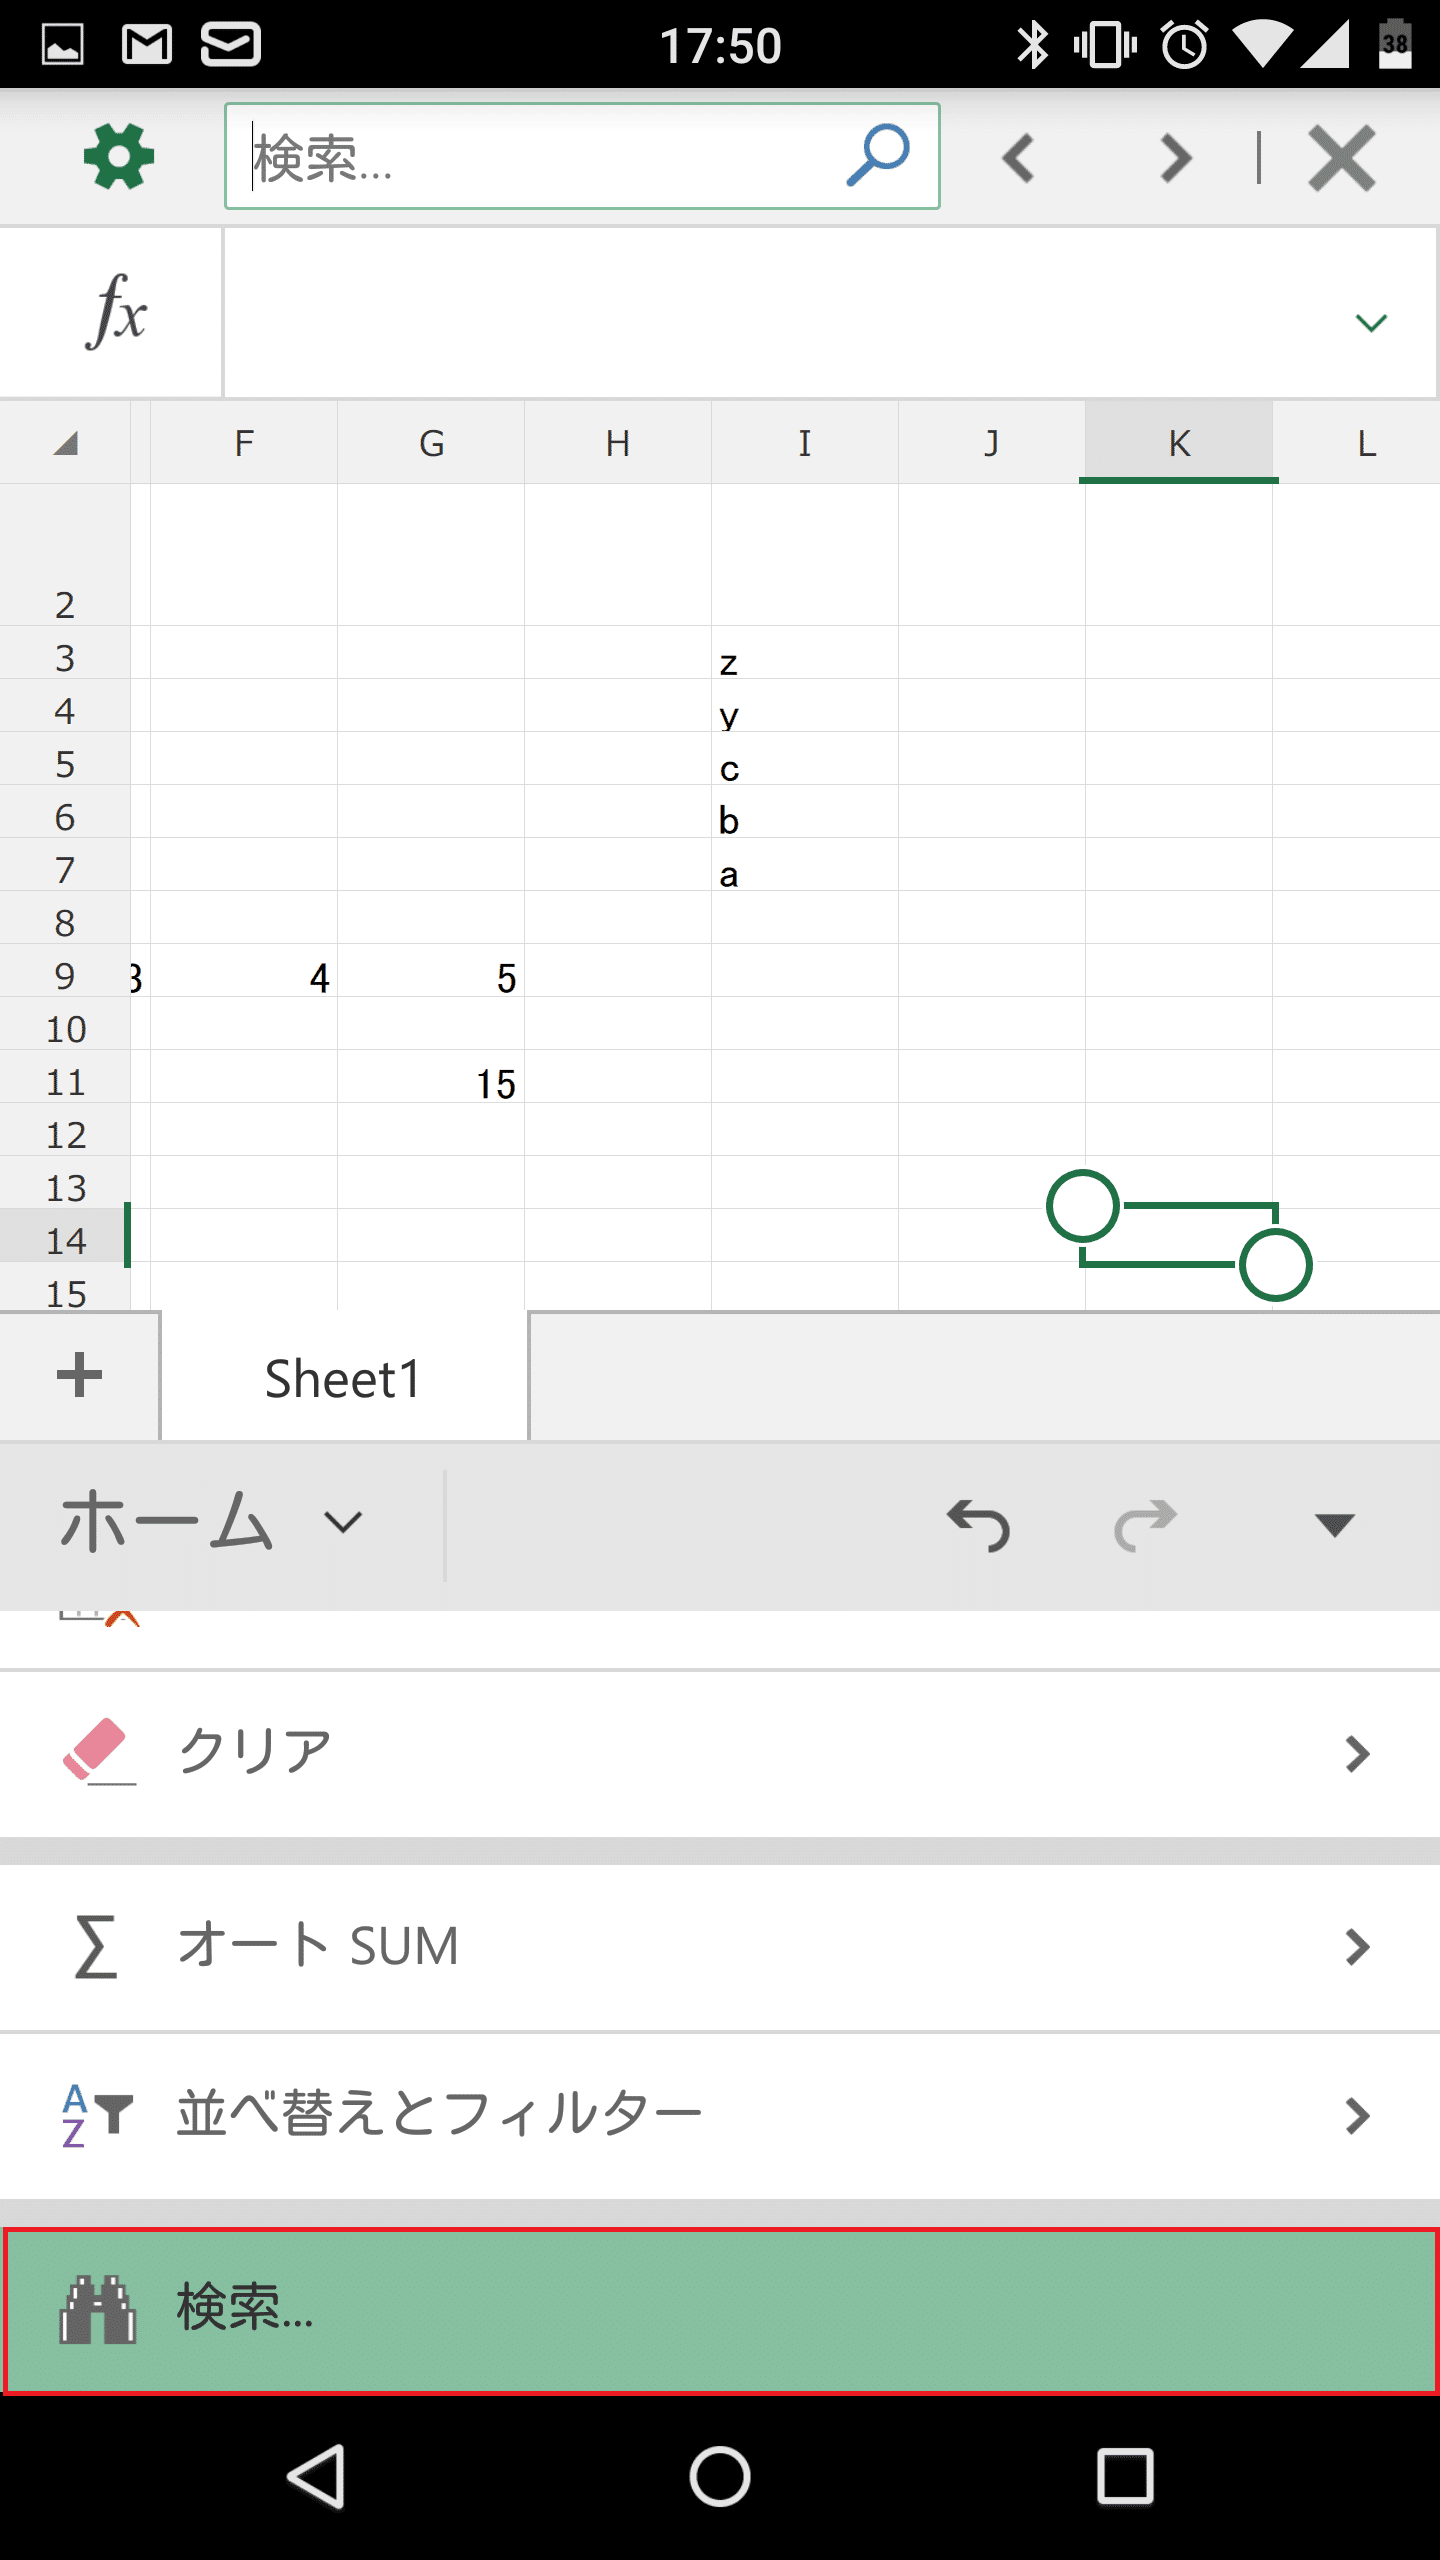
例えば「15」と入力すると・・・
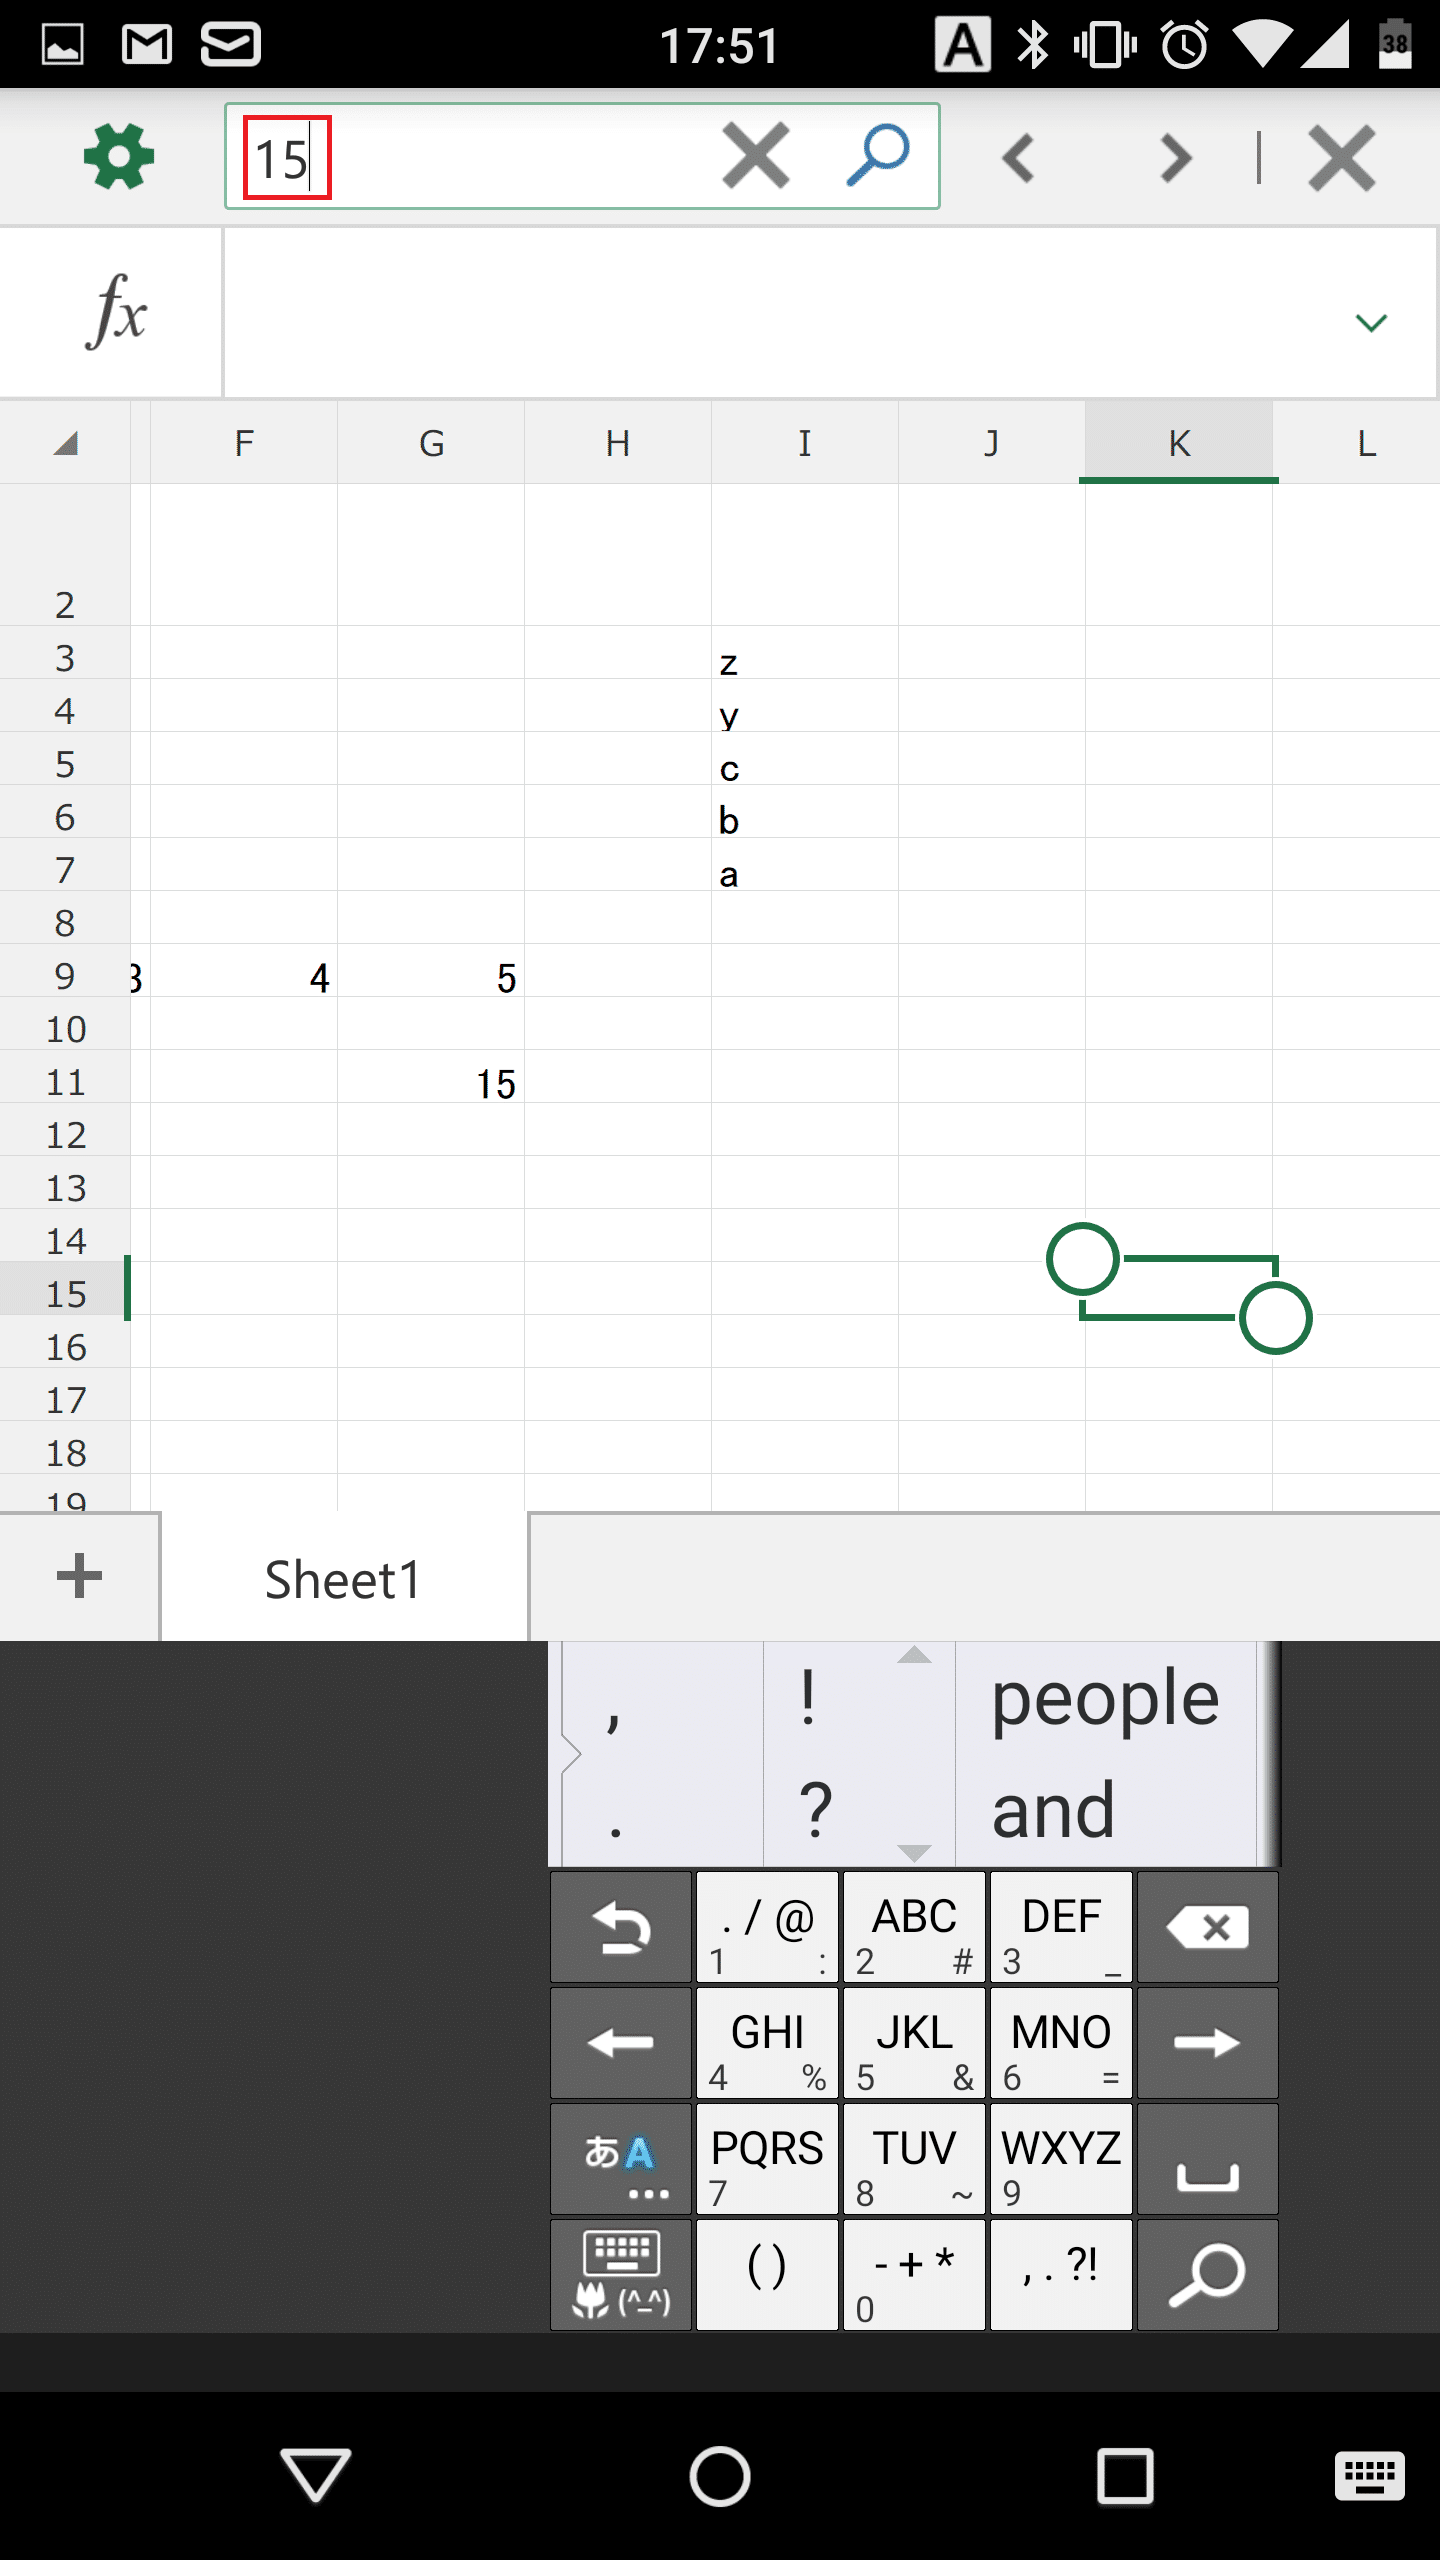
「15」の文字を含むセルが選択状態になります。

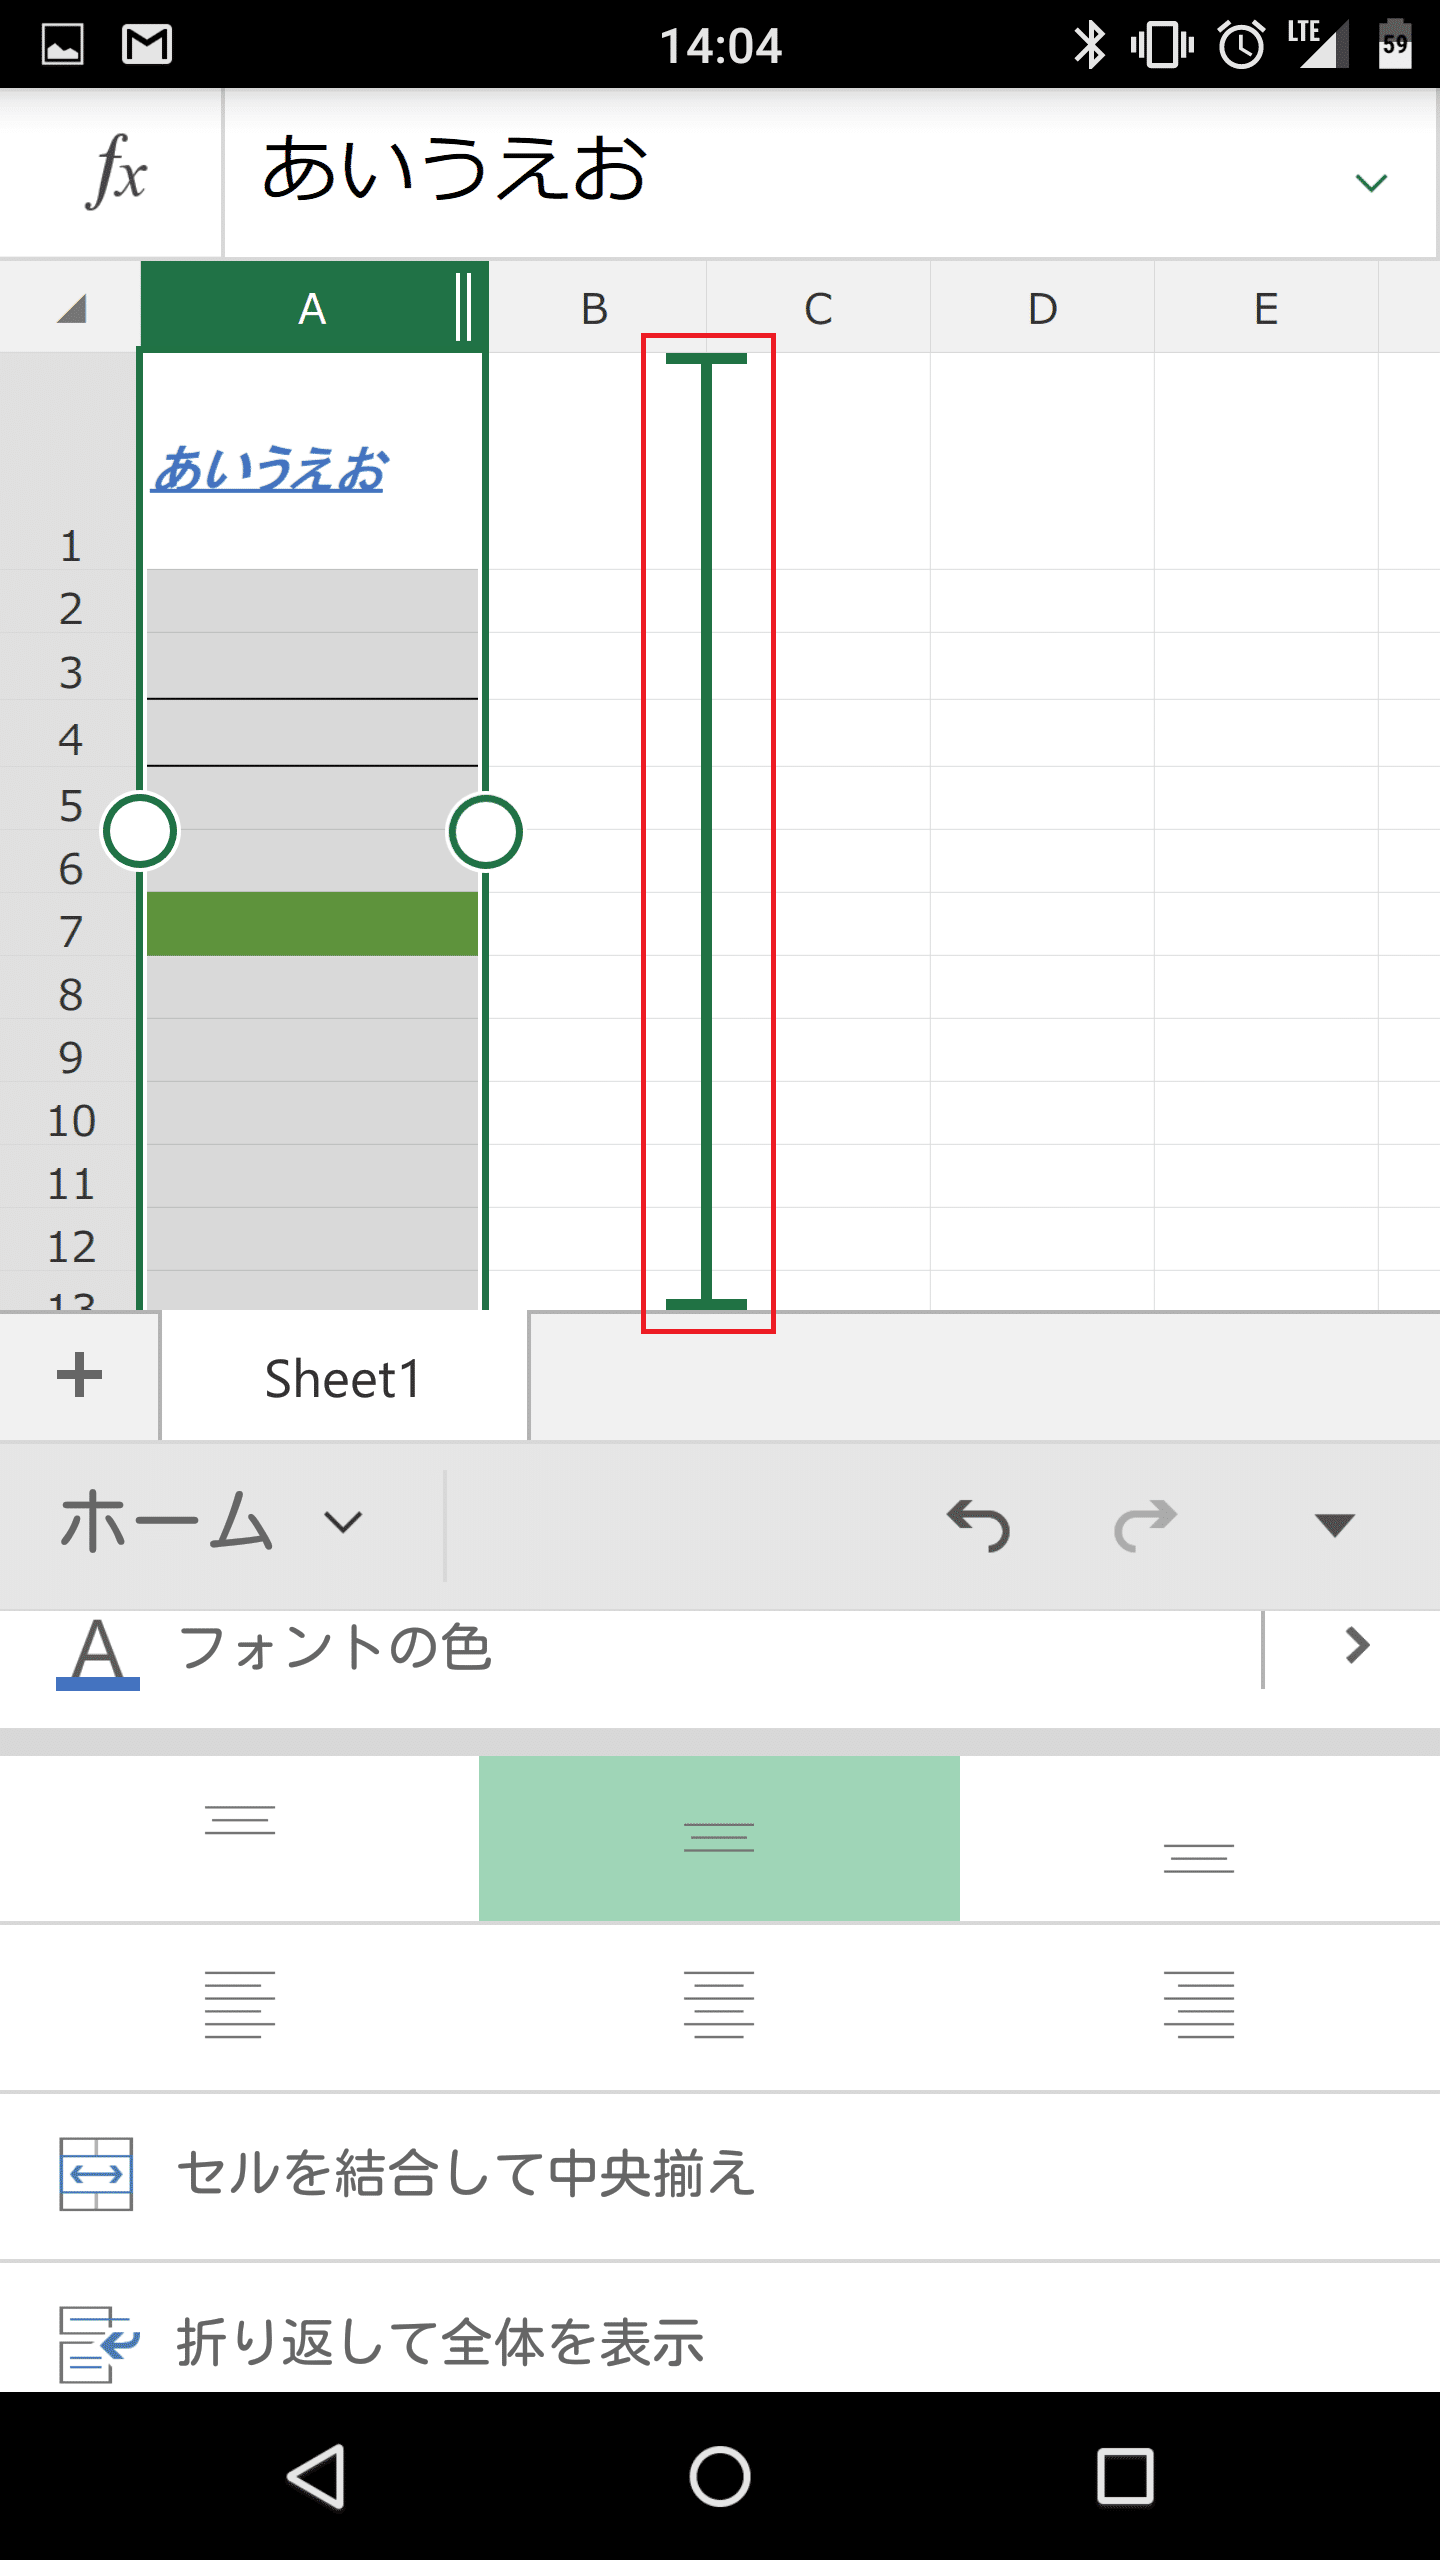
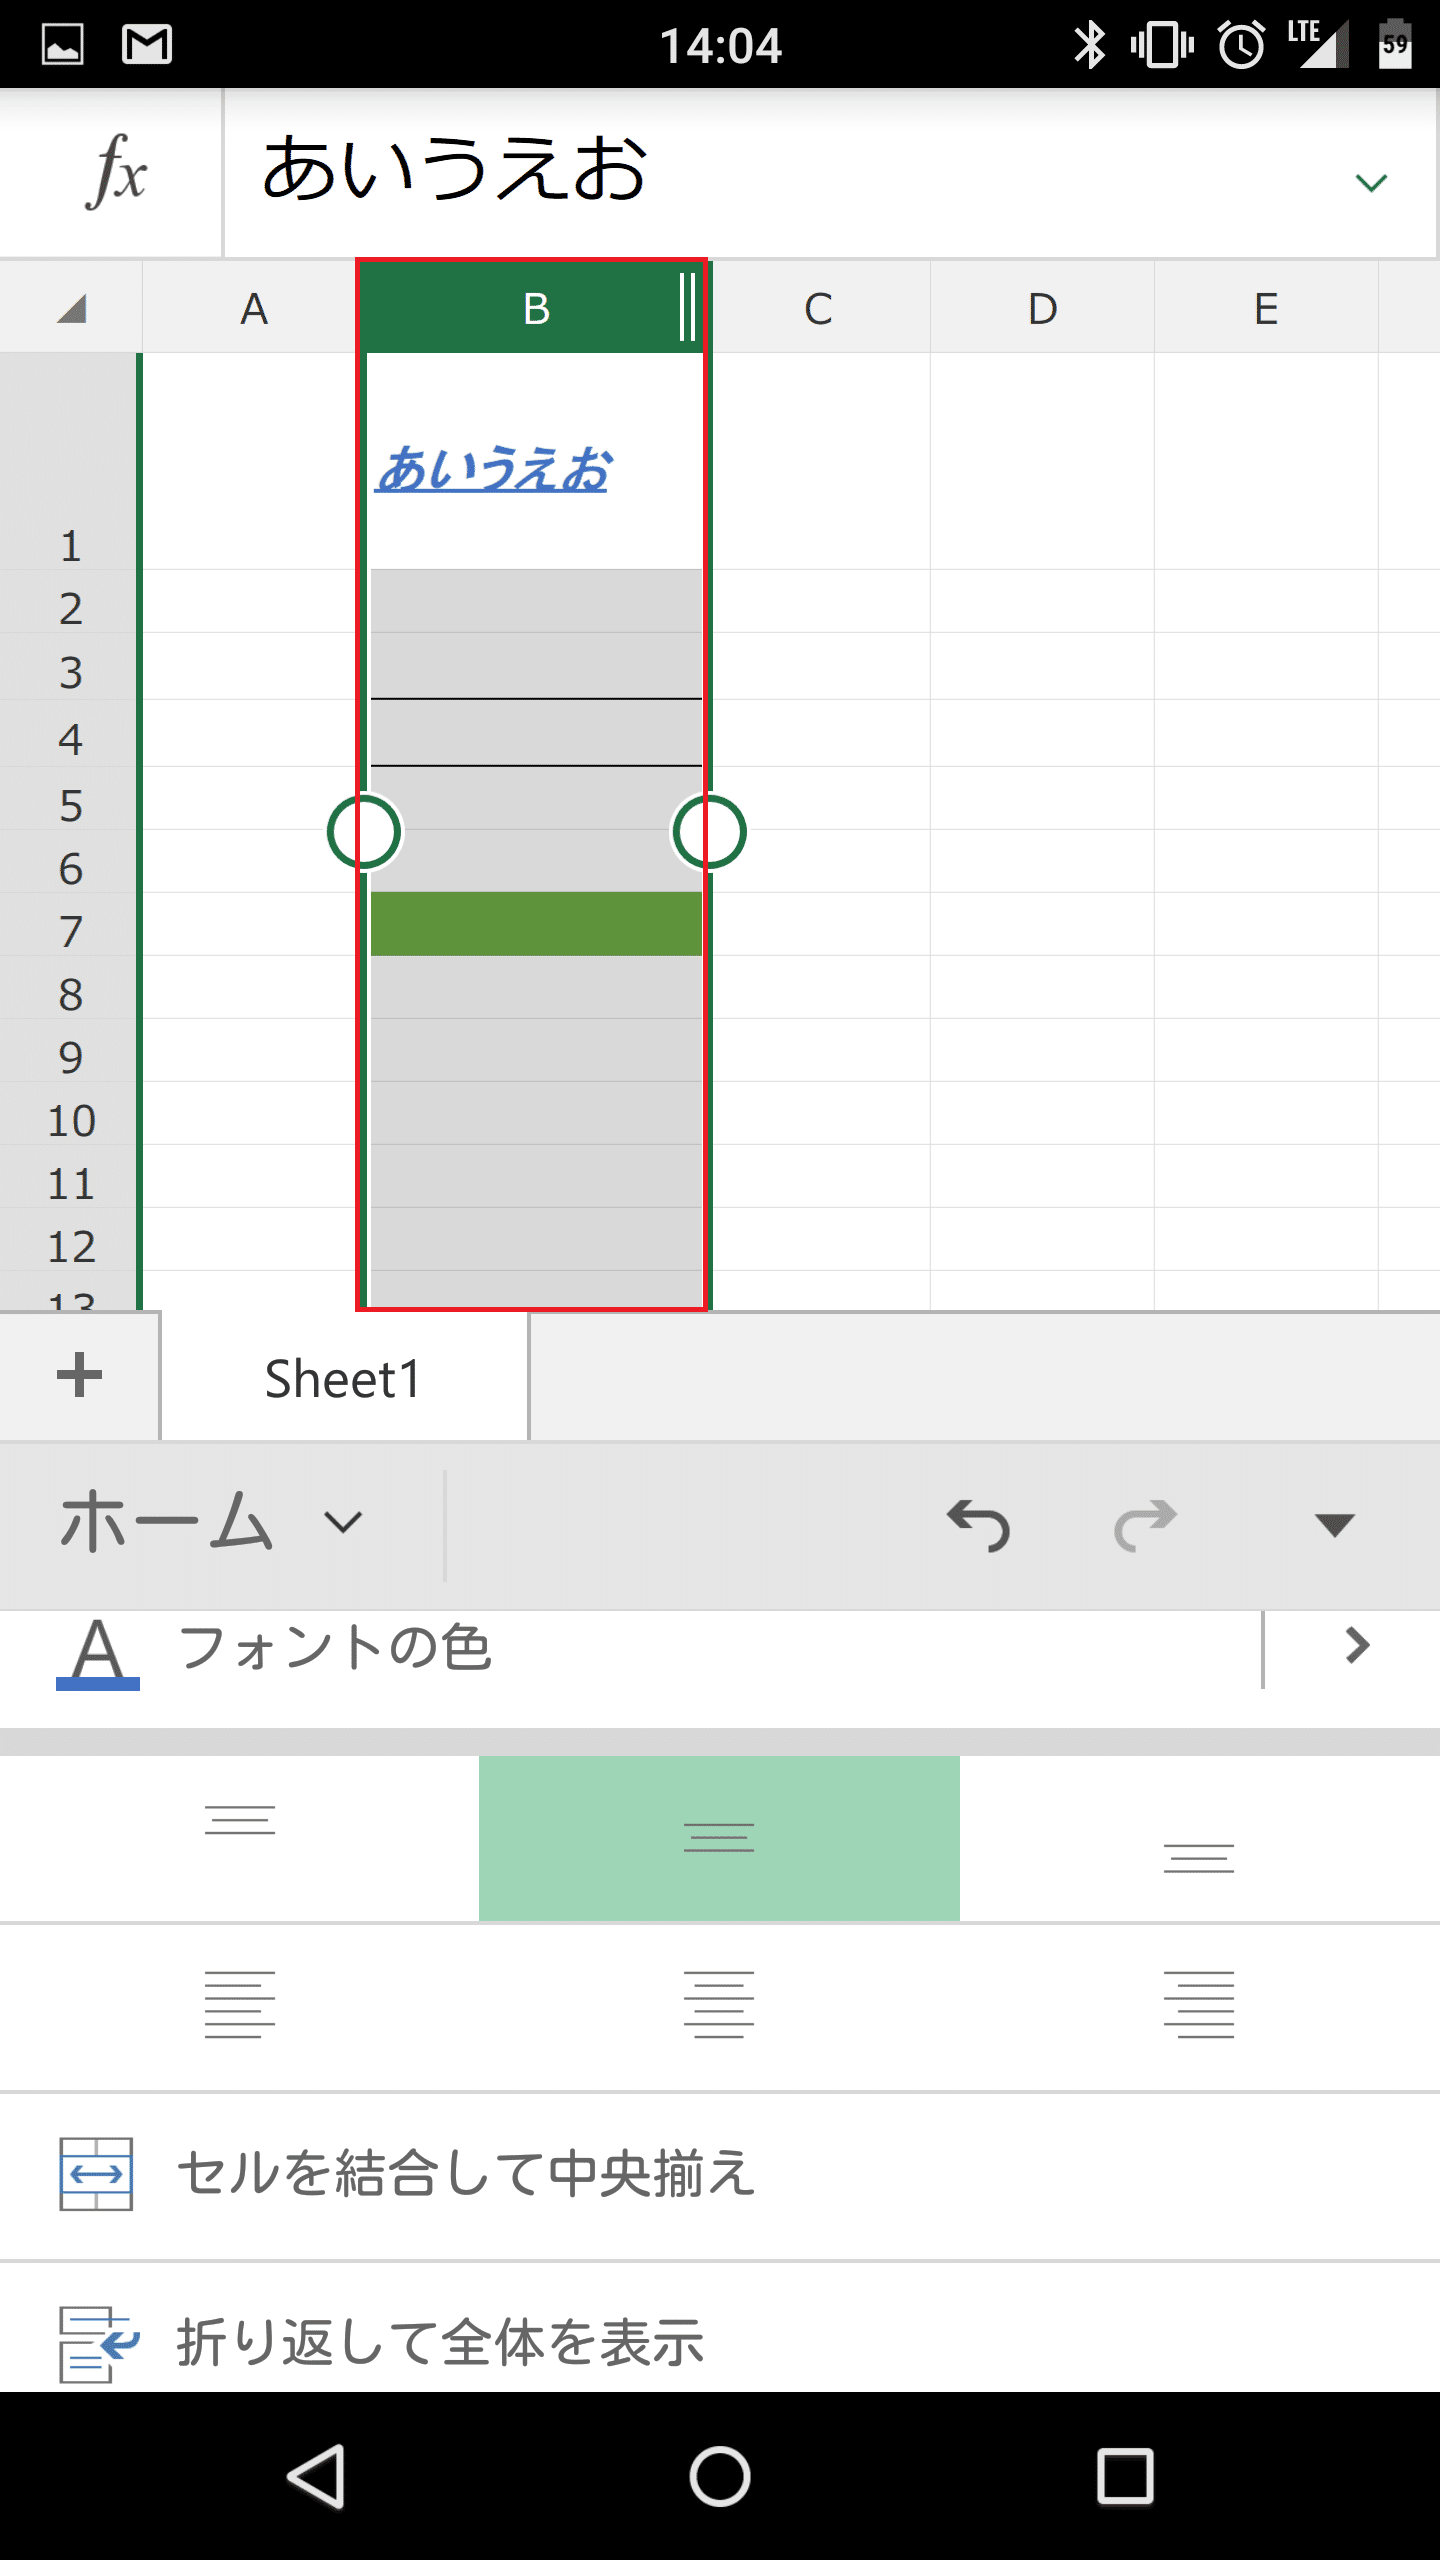
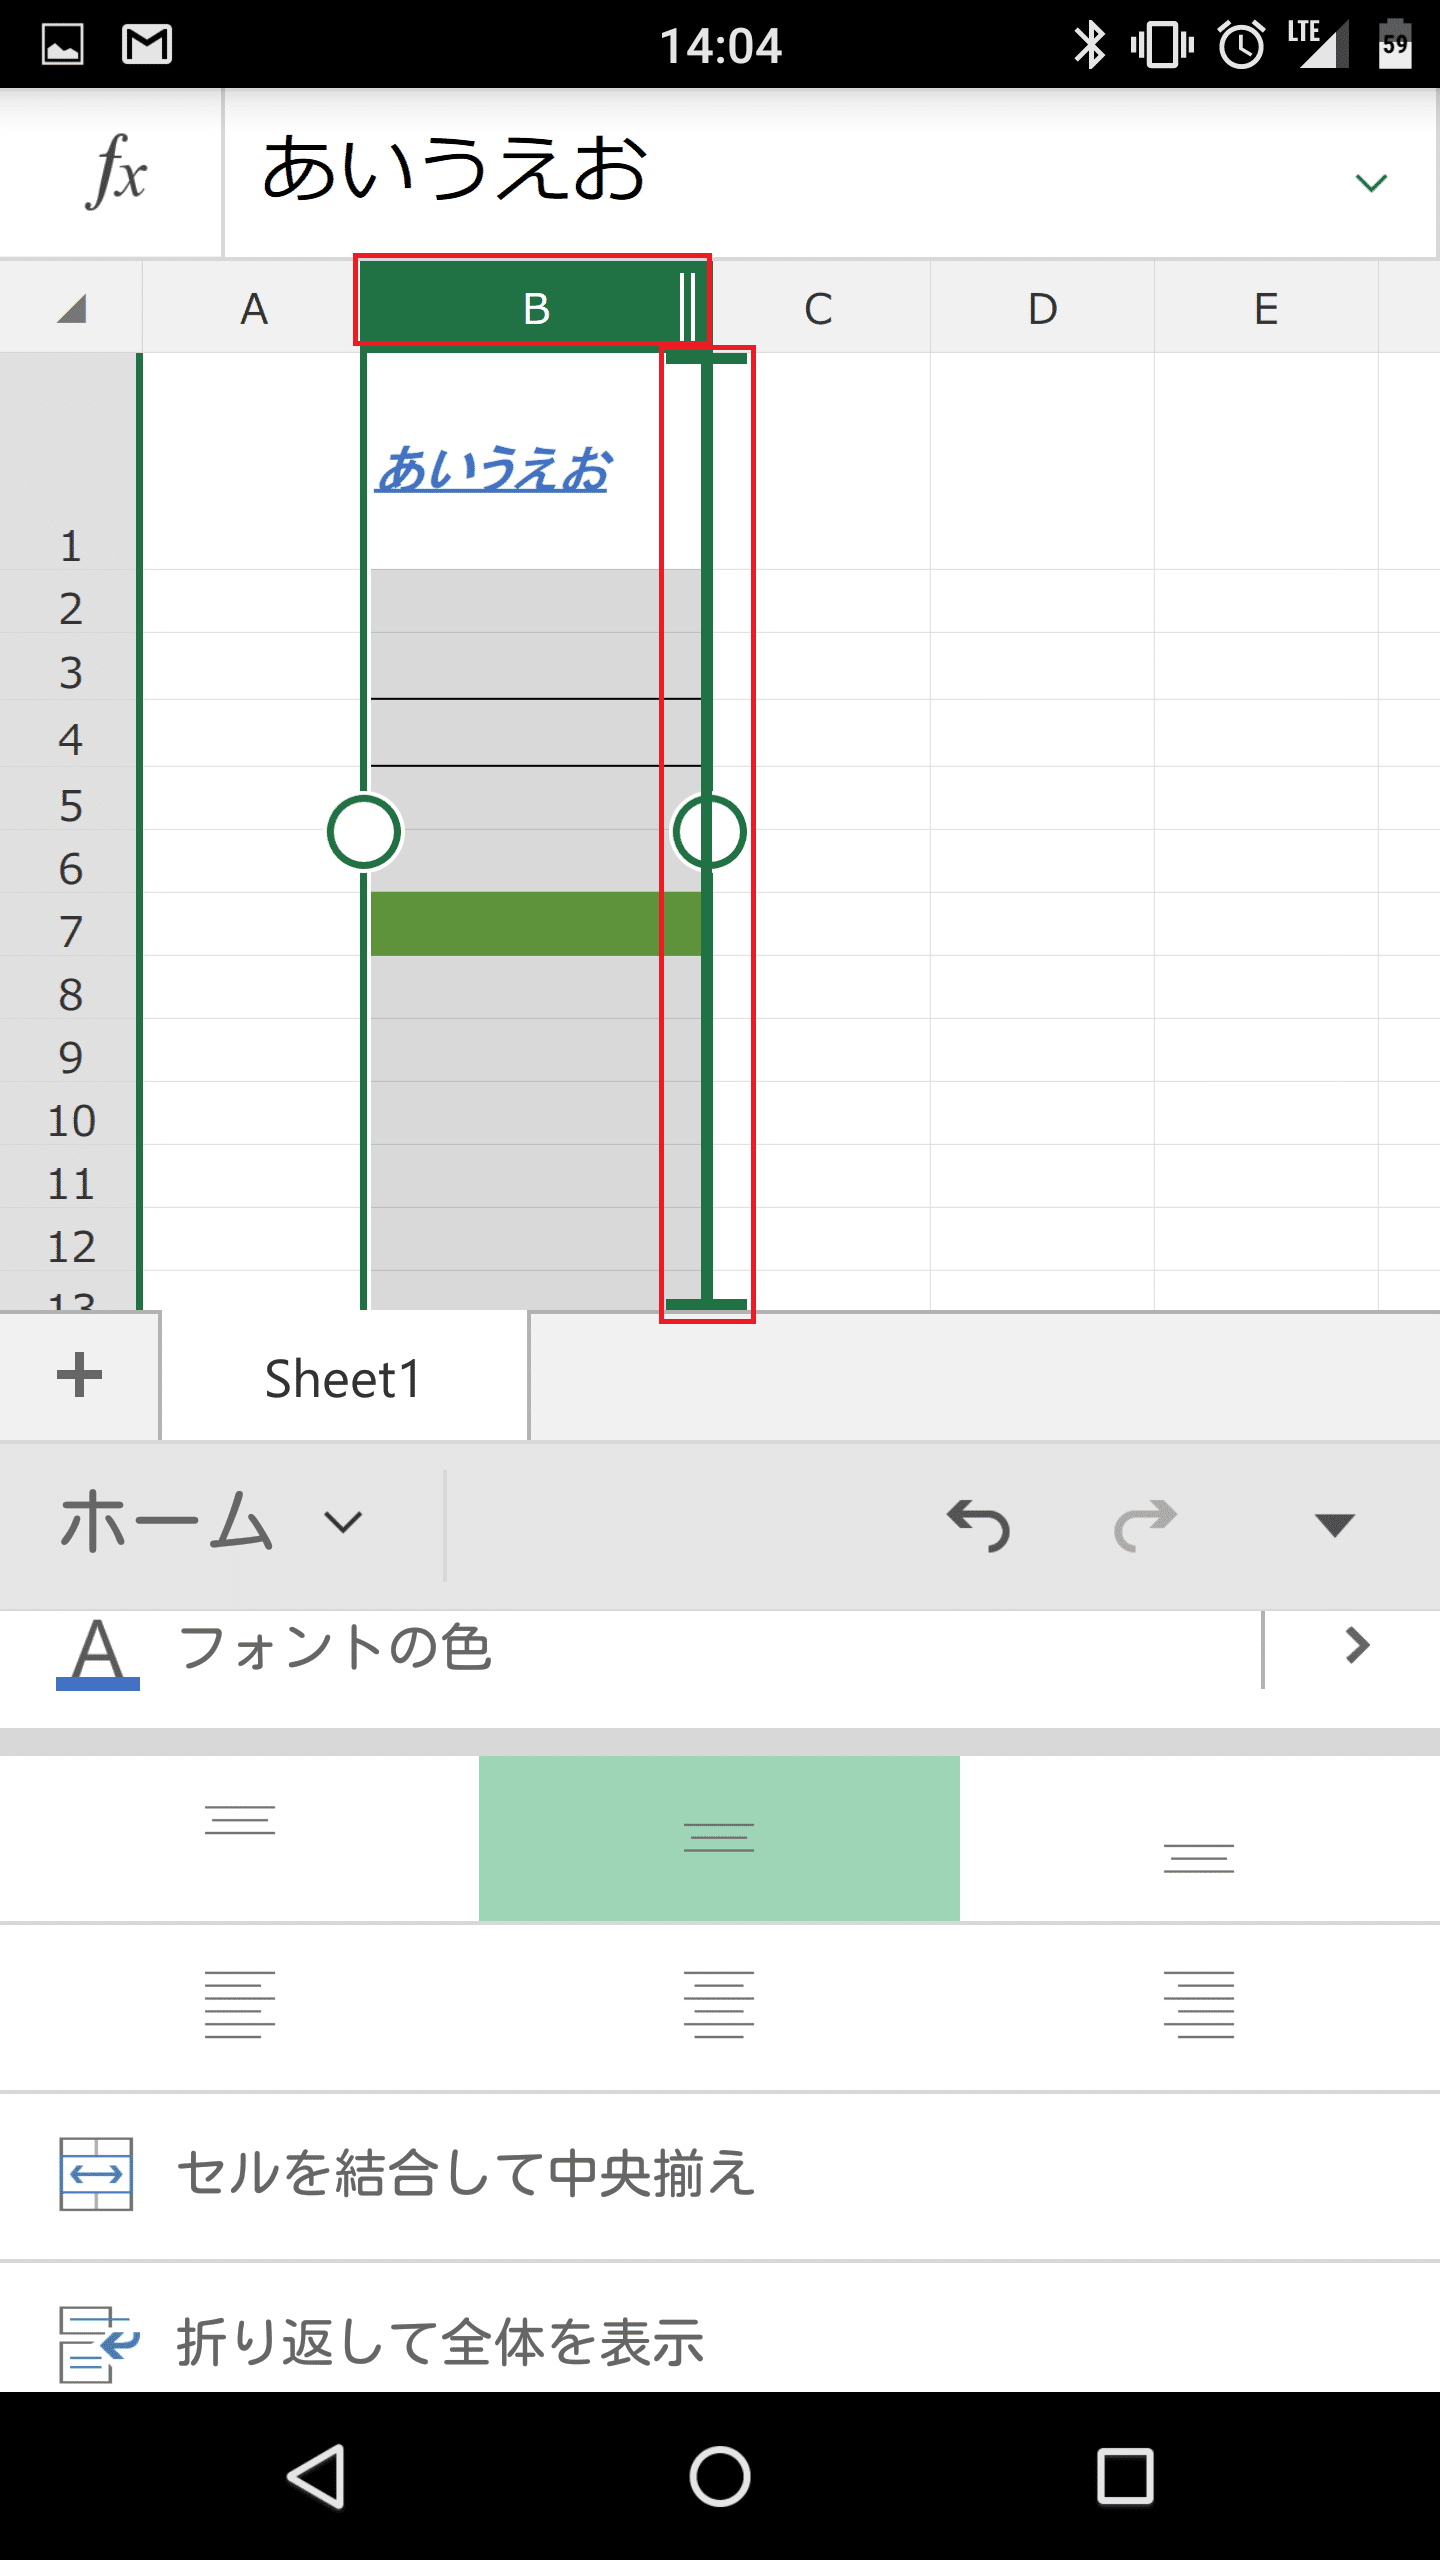
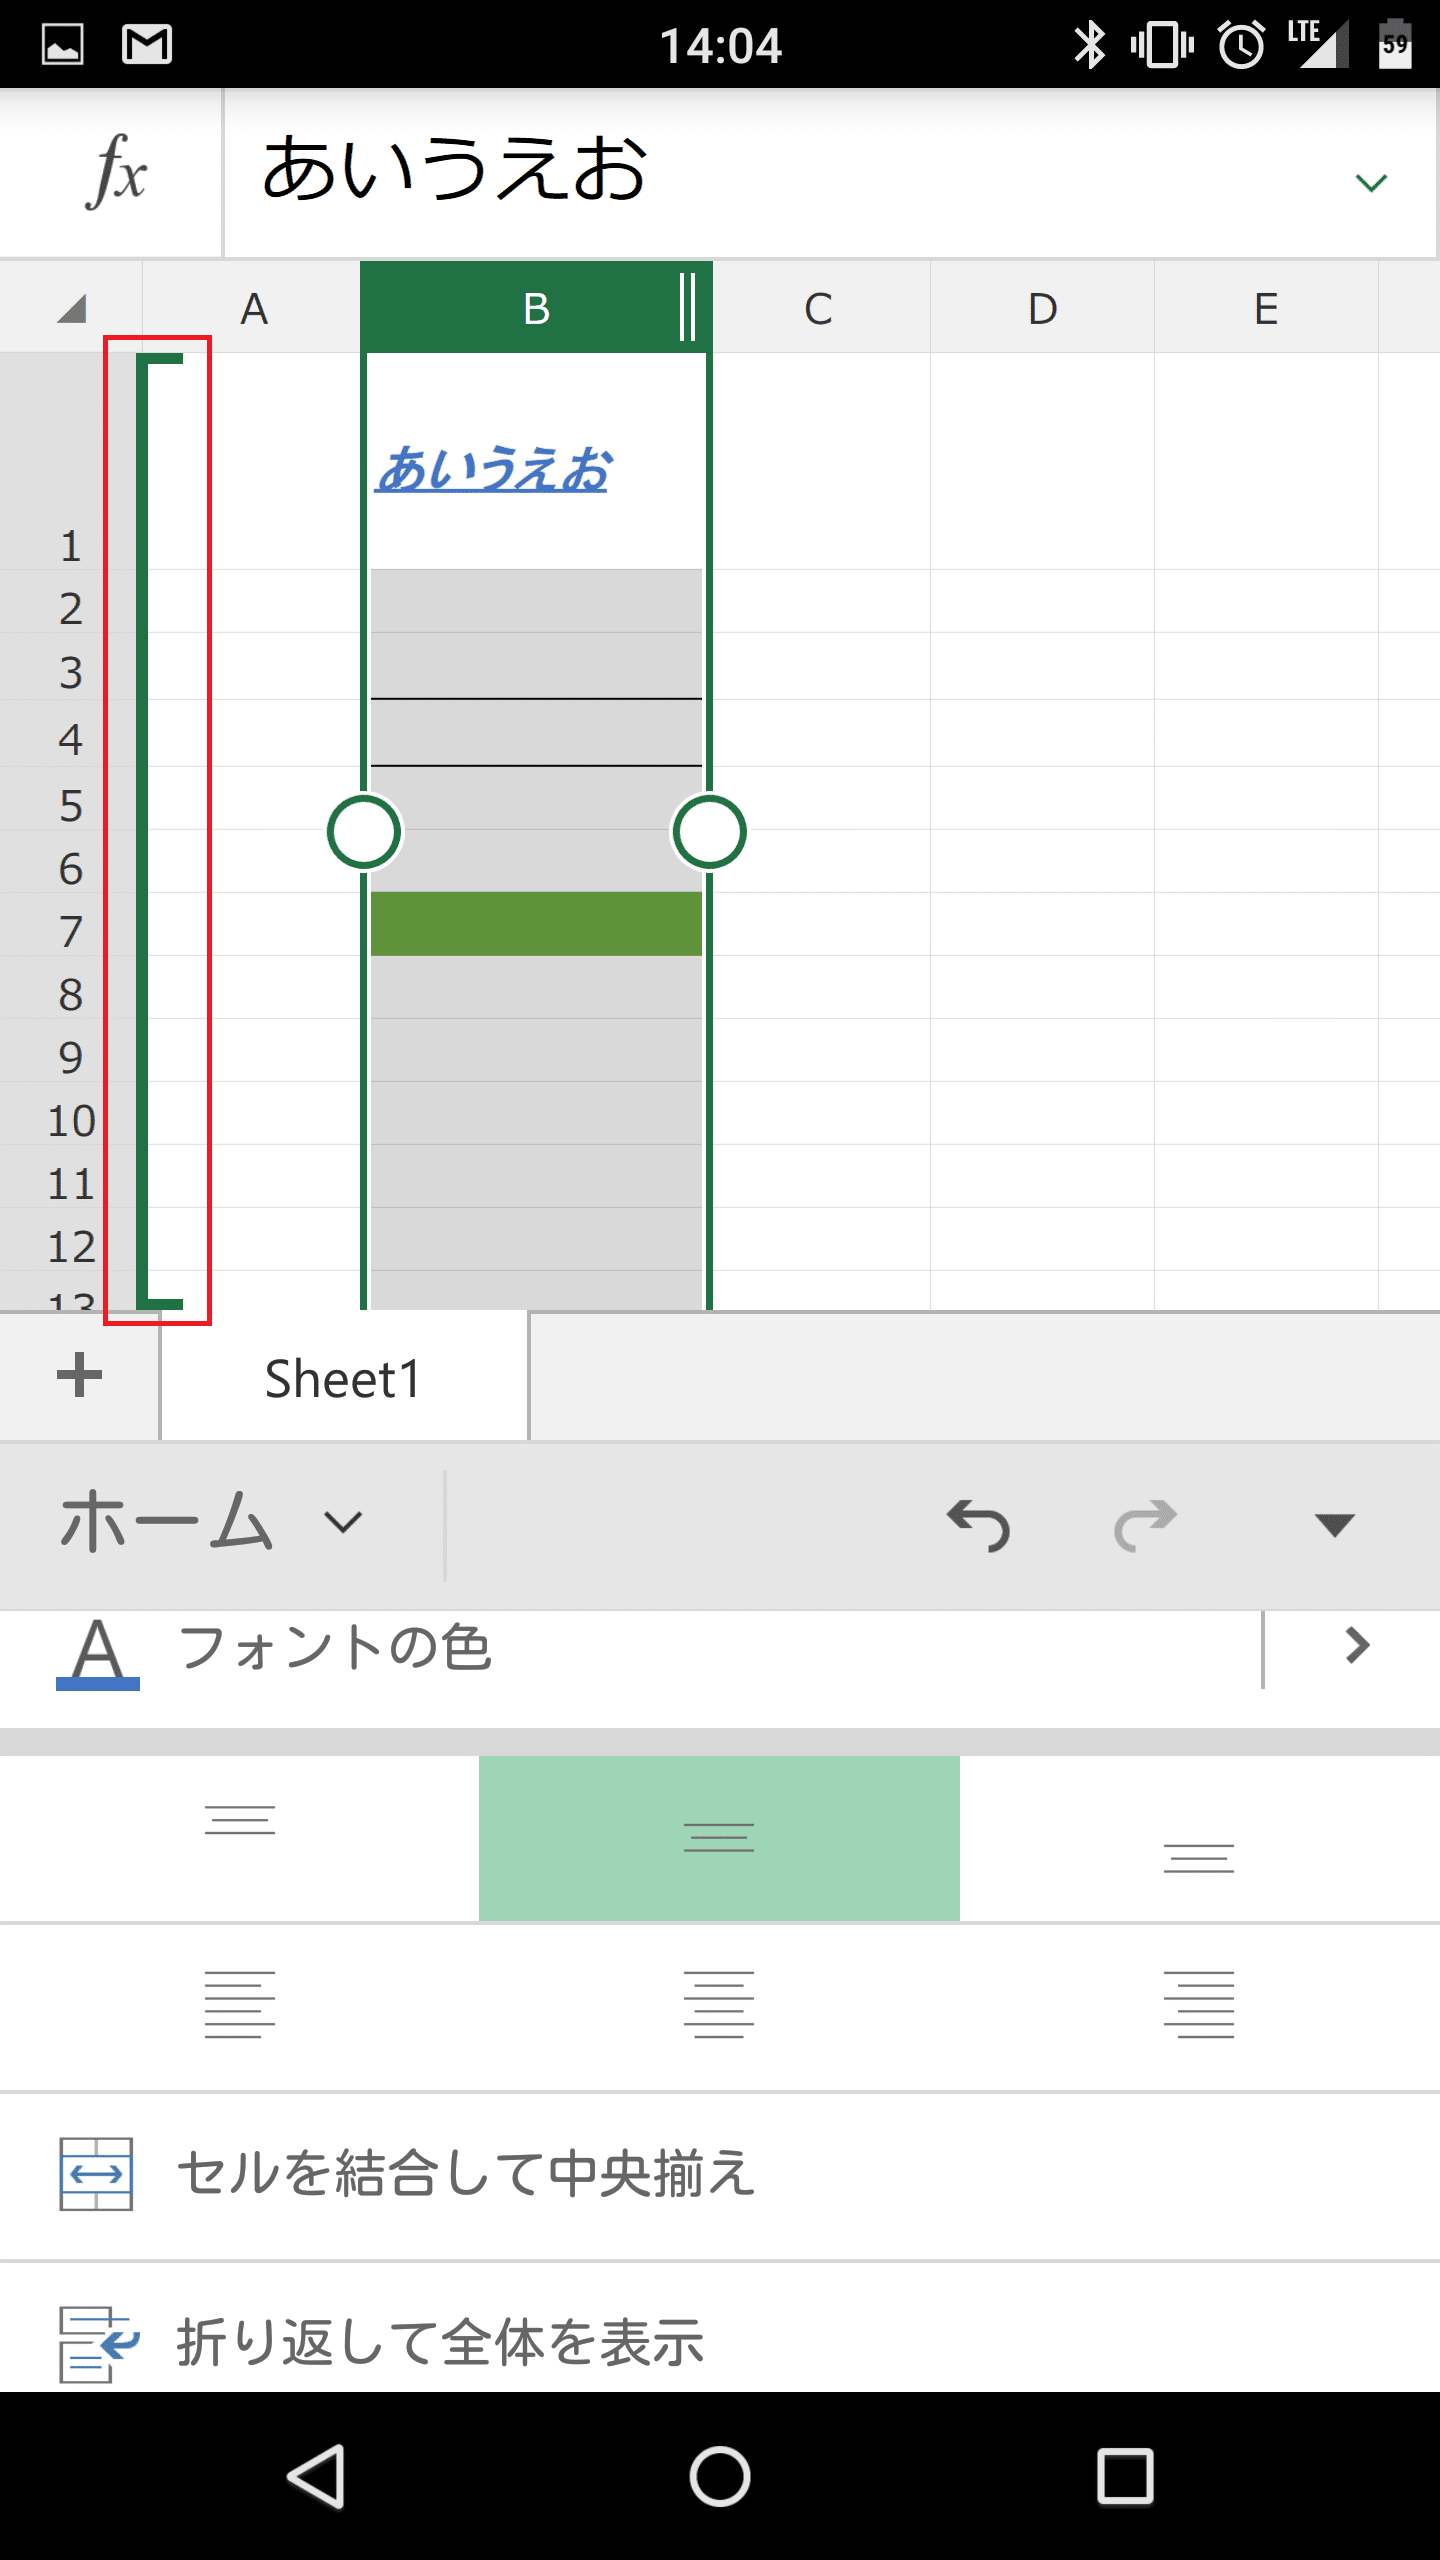
セルの列の幅を広げる(狭める)
セルの列の幅を広げる(狭める)には、幅を広げたい(狭めたい)列のアルファベットをタップして選択状態にし、右側に表示される「||」を右にずらせば幅が広がり、左にずらせば幅が狭まります。
希望する幅まで来たら指を離します。

すると、セルの幅が指を離した場所に調整されます。

セルの行の幅を広げる(狭める)
セルの行の幅を広げる(狭める)には、幅を広げたい(狭めたい)行の数字をタップして選択状態にし、下側に表示される「=」を下にずらせば幅が広がり、上にずらせば幅が狭まります。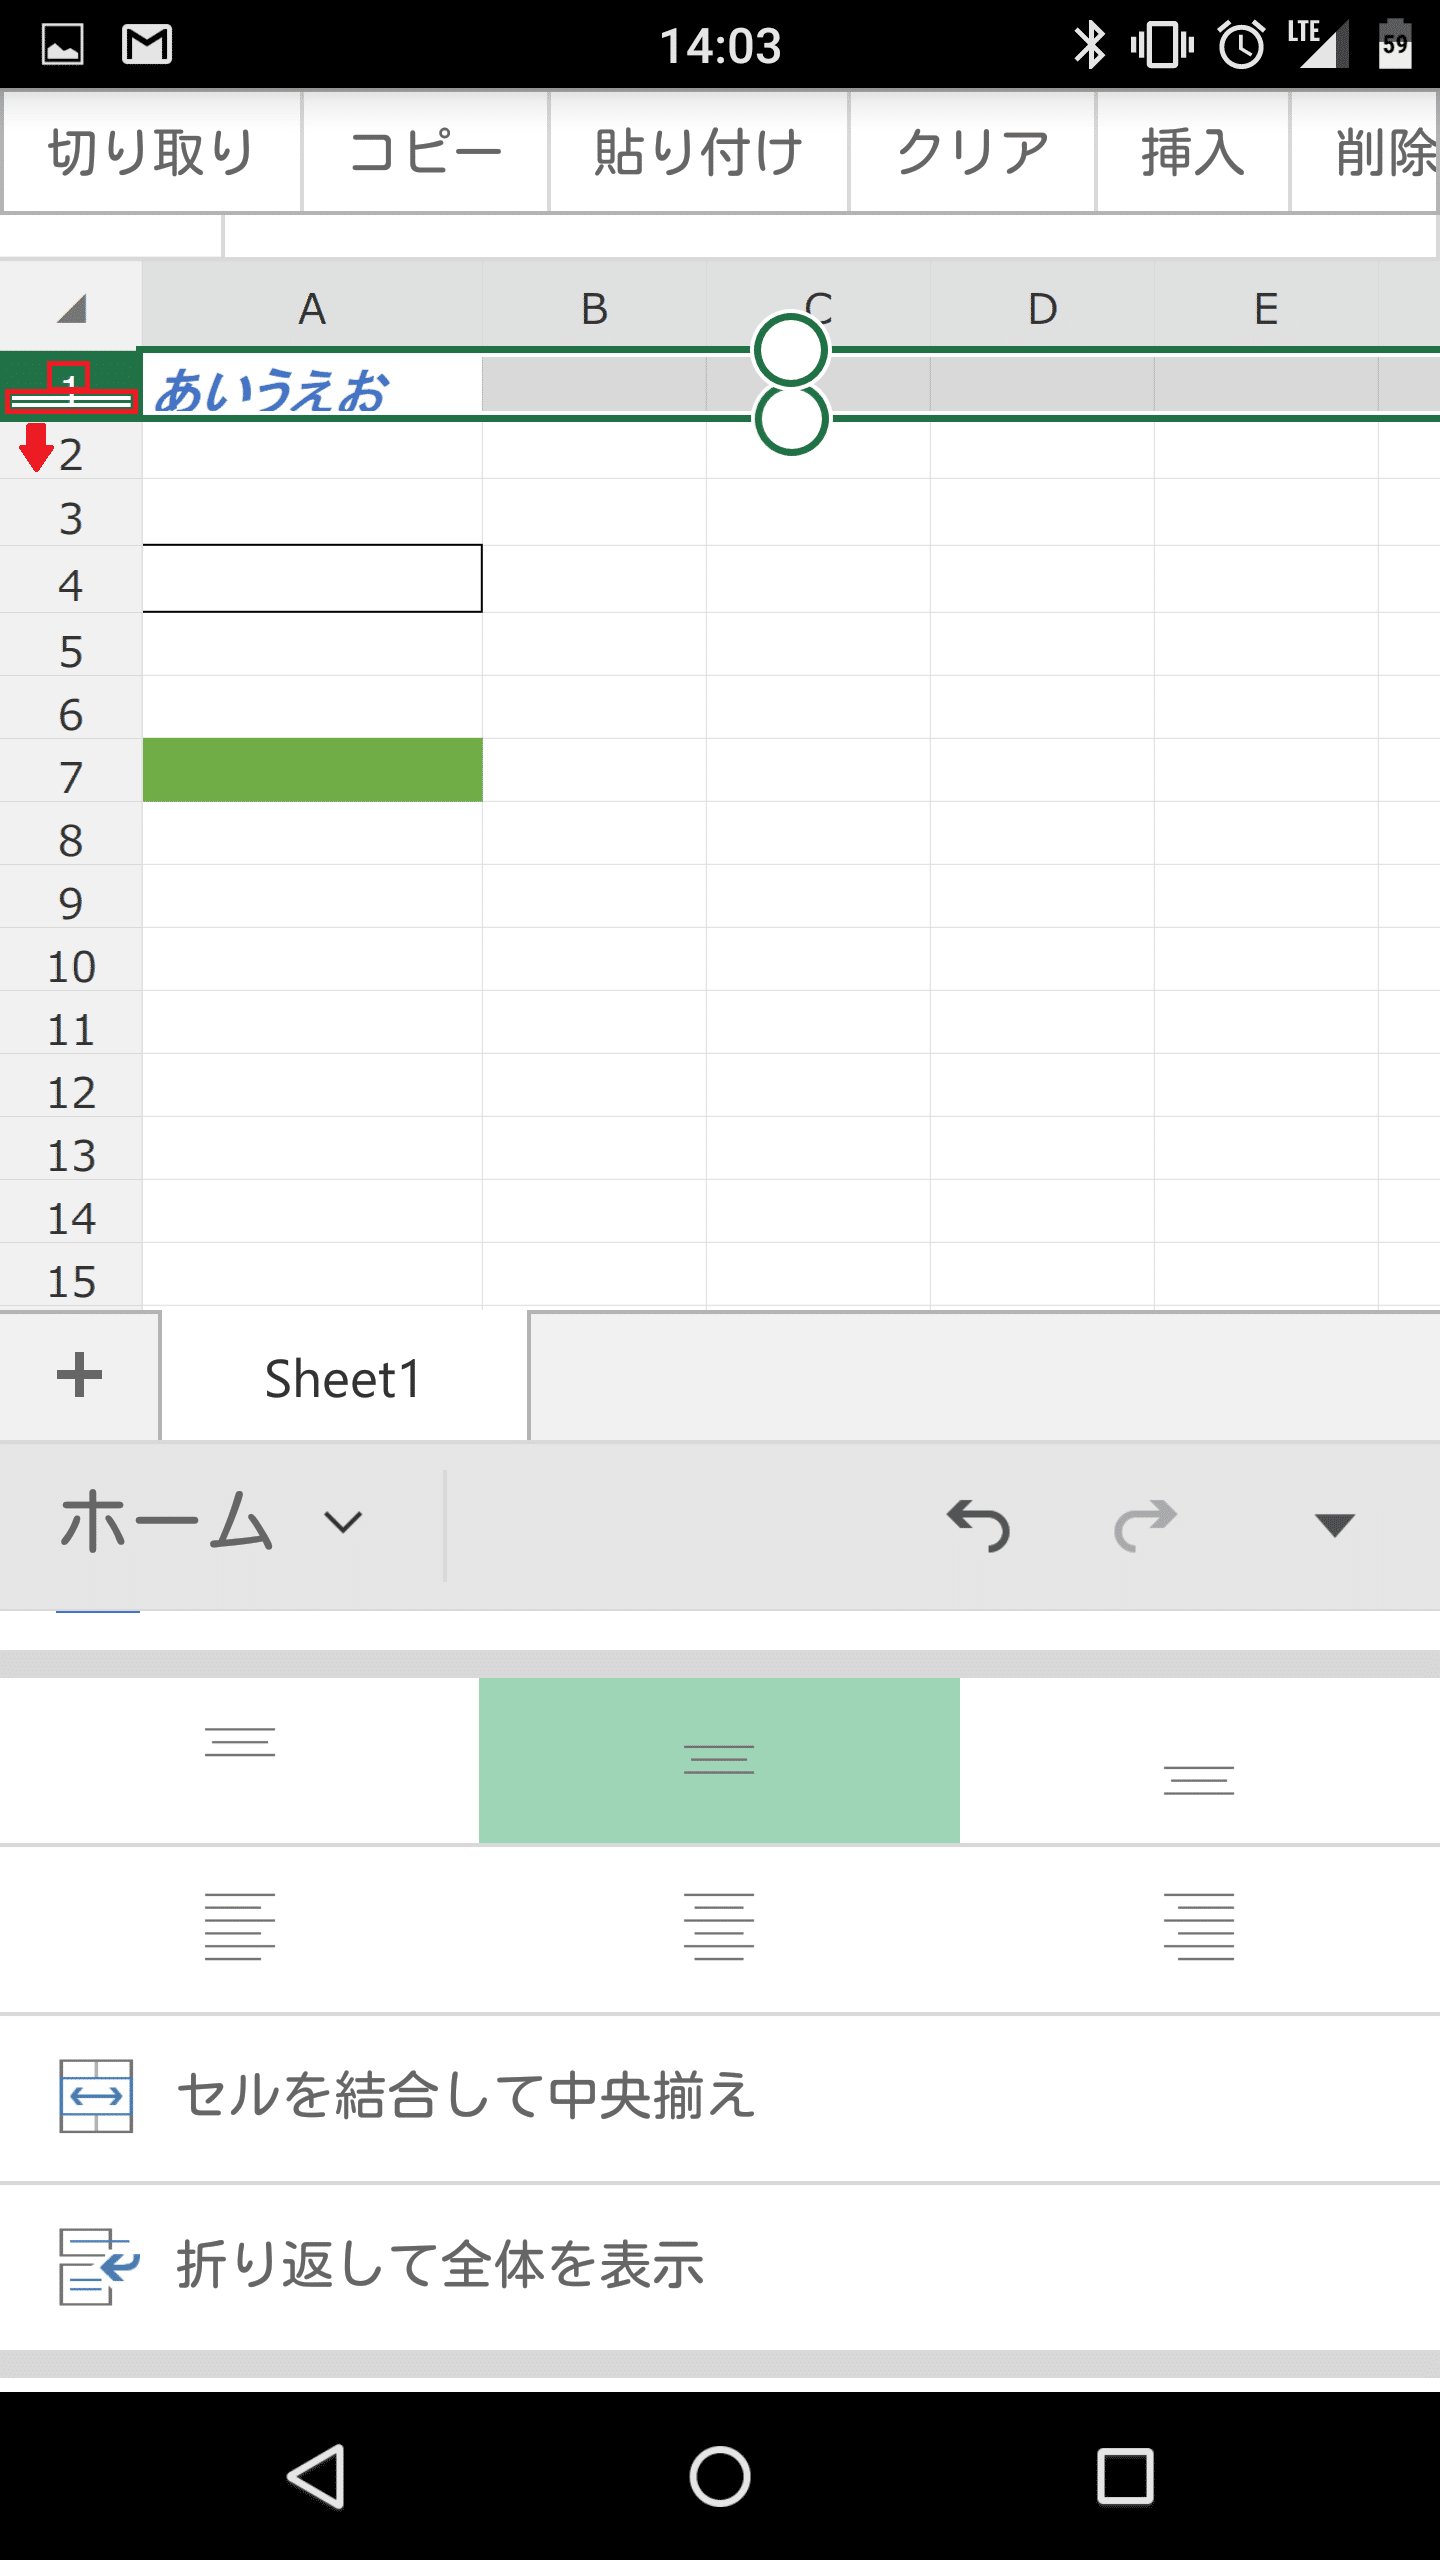
希望する幅まで来たら指を離します。
すると、セルの幅が指を離した場所に調整されます。
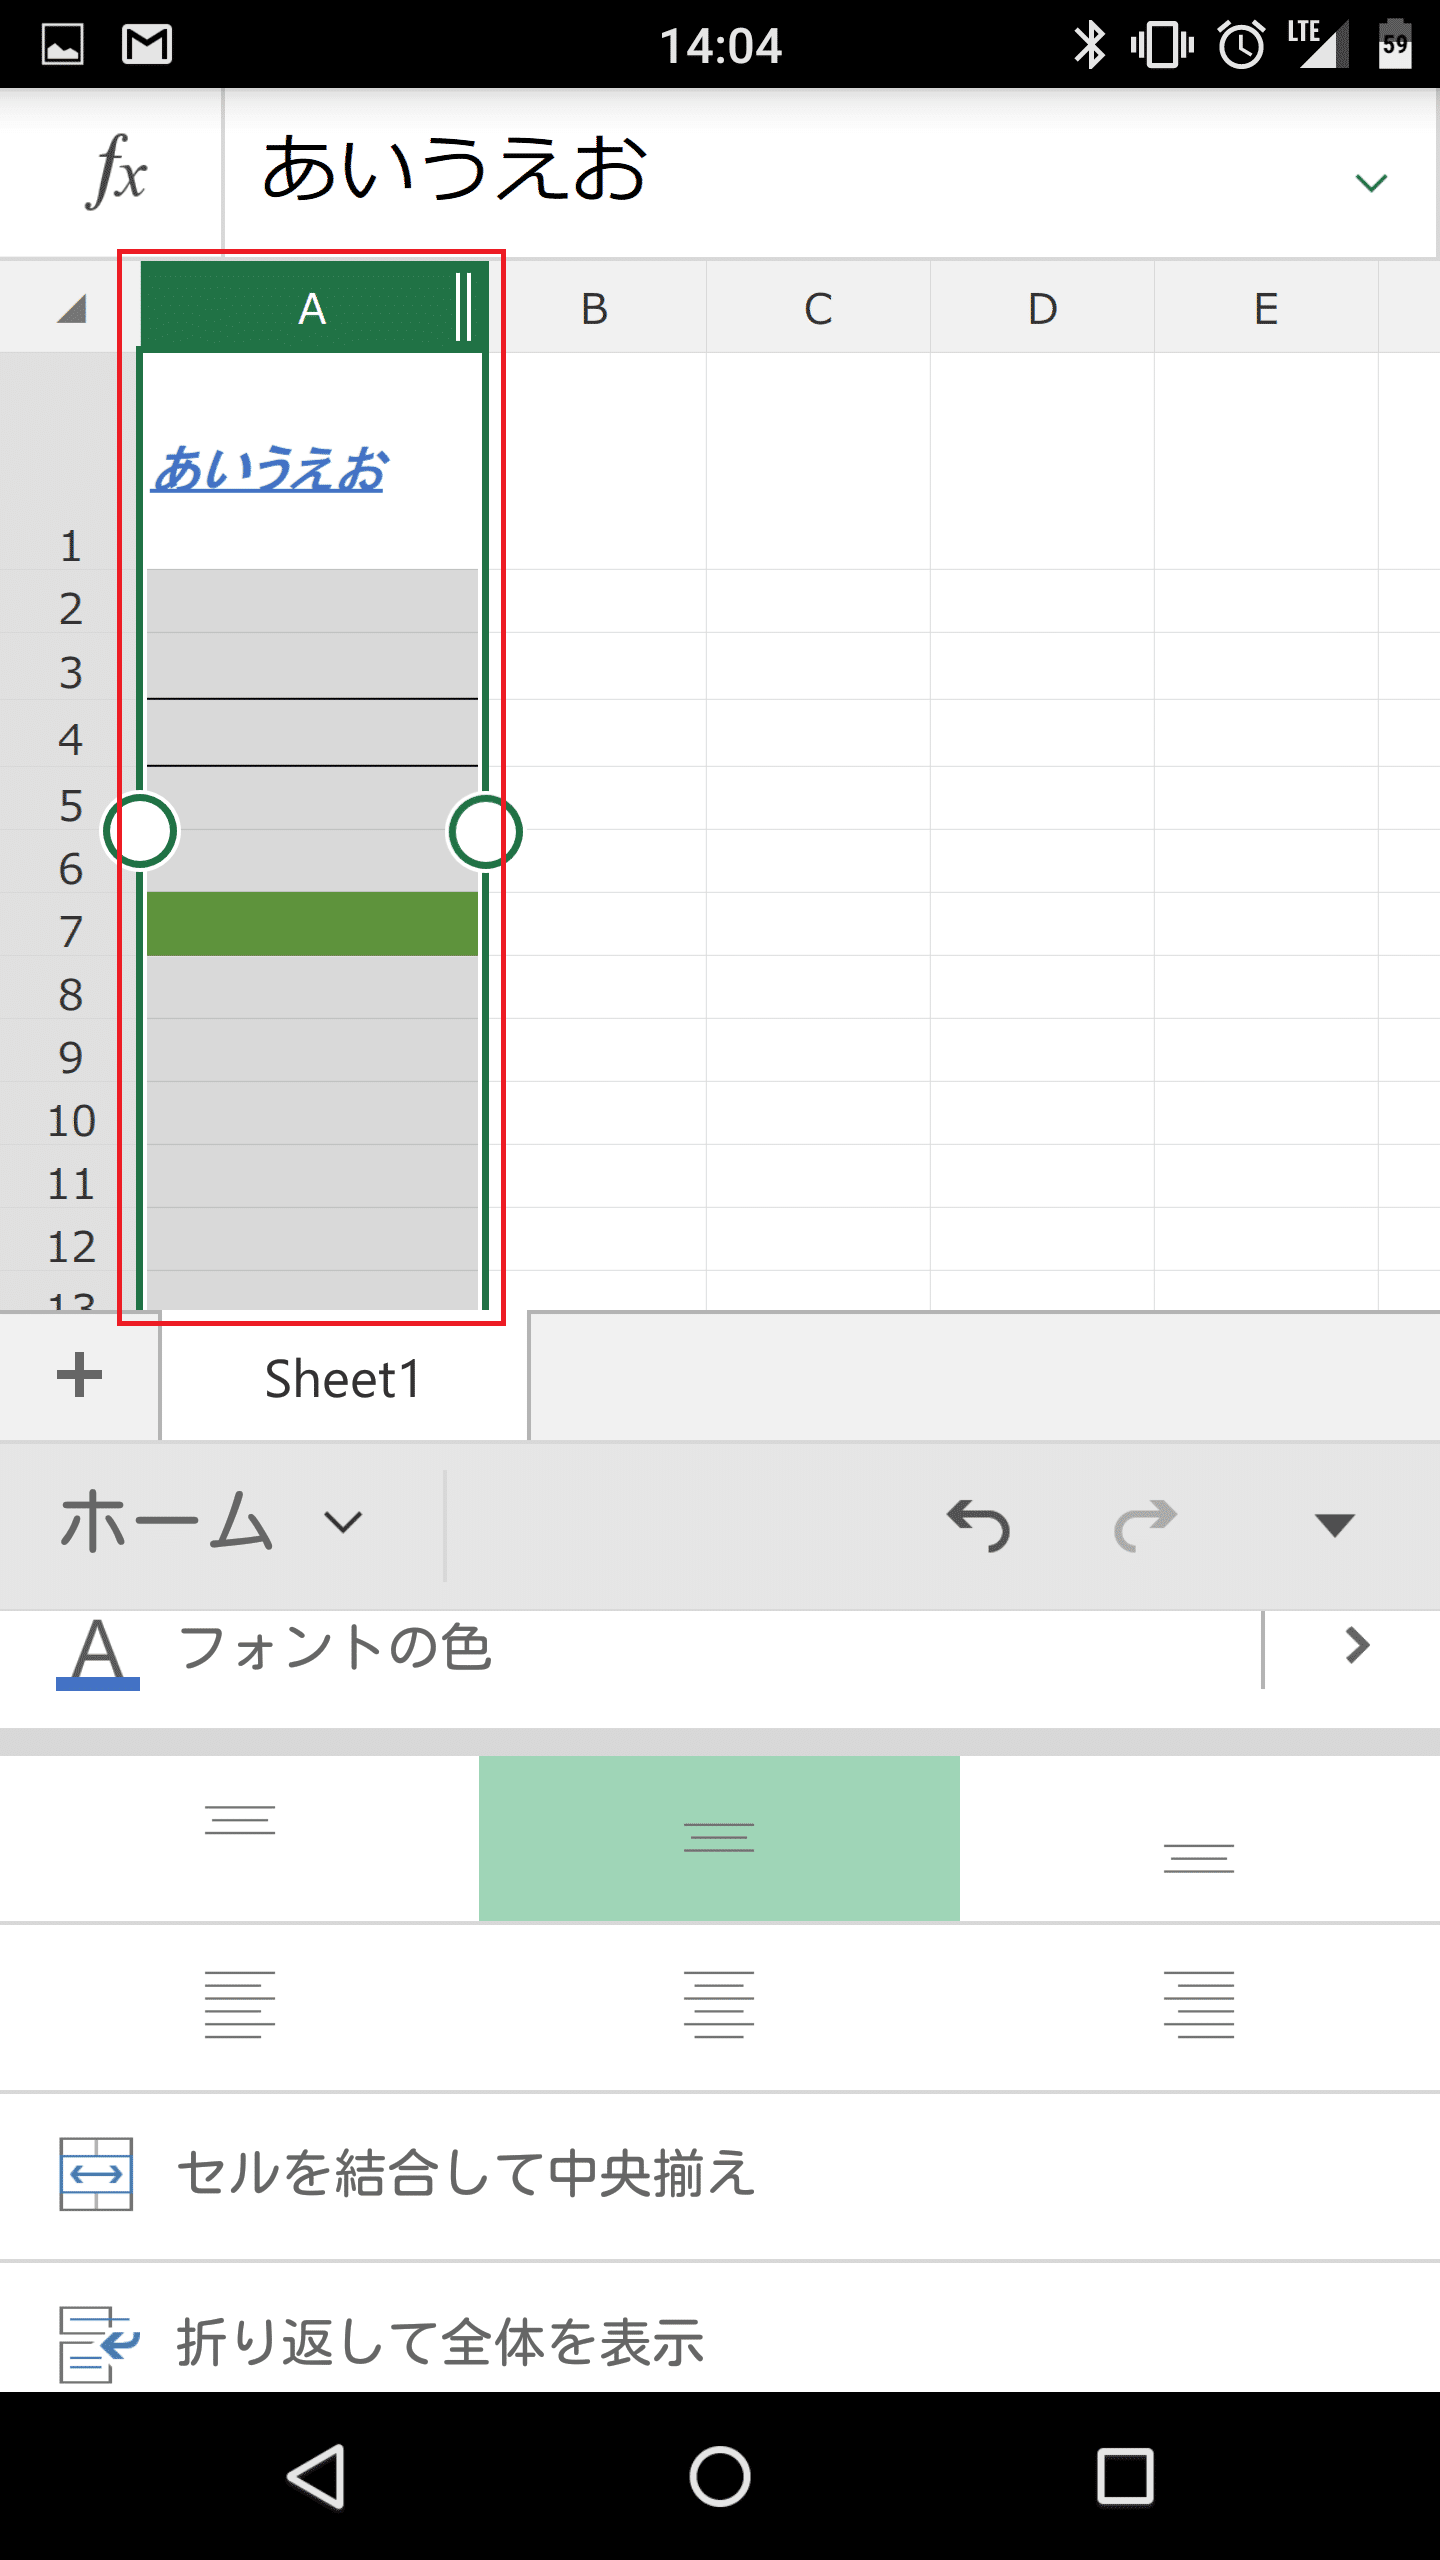
セルの列を入れ替える
セルの列を入れ替えるには、移動したい列のアルファベット部分をロングタップしたままの状態で希望する位置まで持っていきます。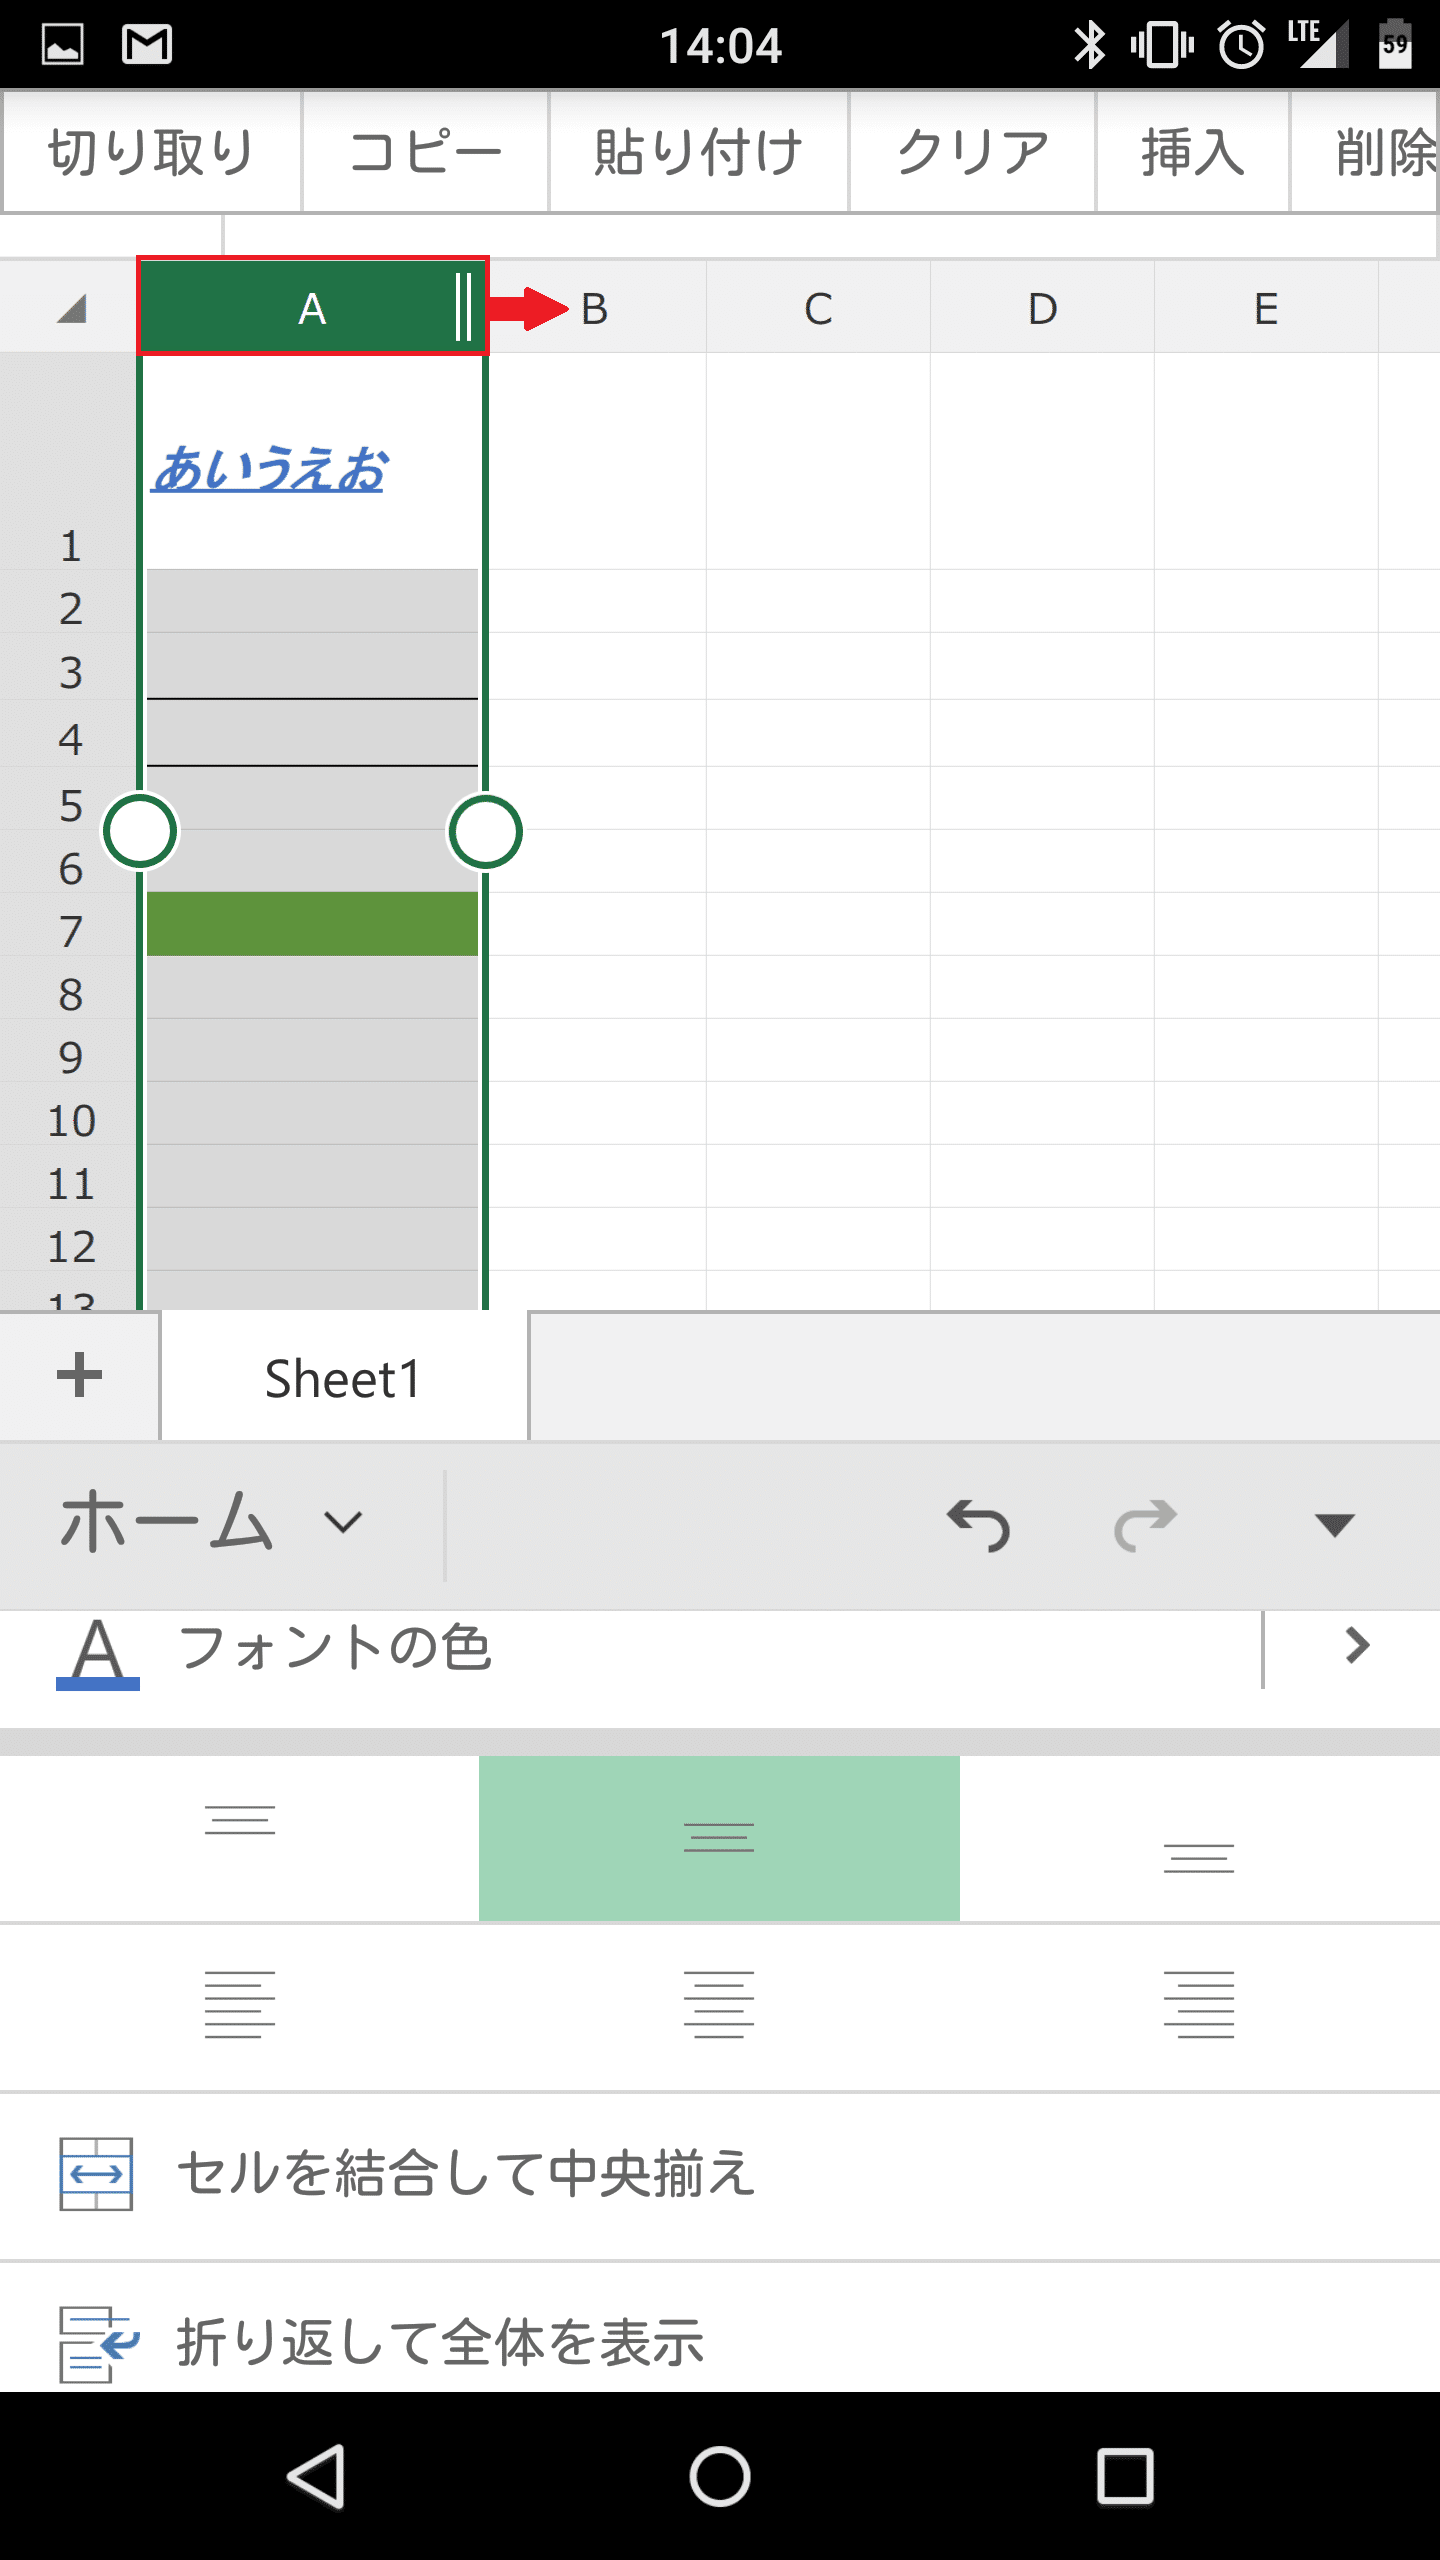
すると、赤枠で囲った目印が表示されます。スクリーンショットの例では、AとBの間にAが来るということです。これでは何も起きないので更に右に移動します。

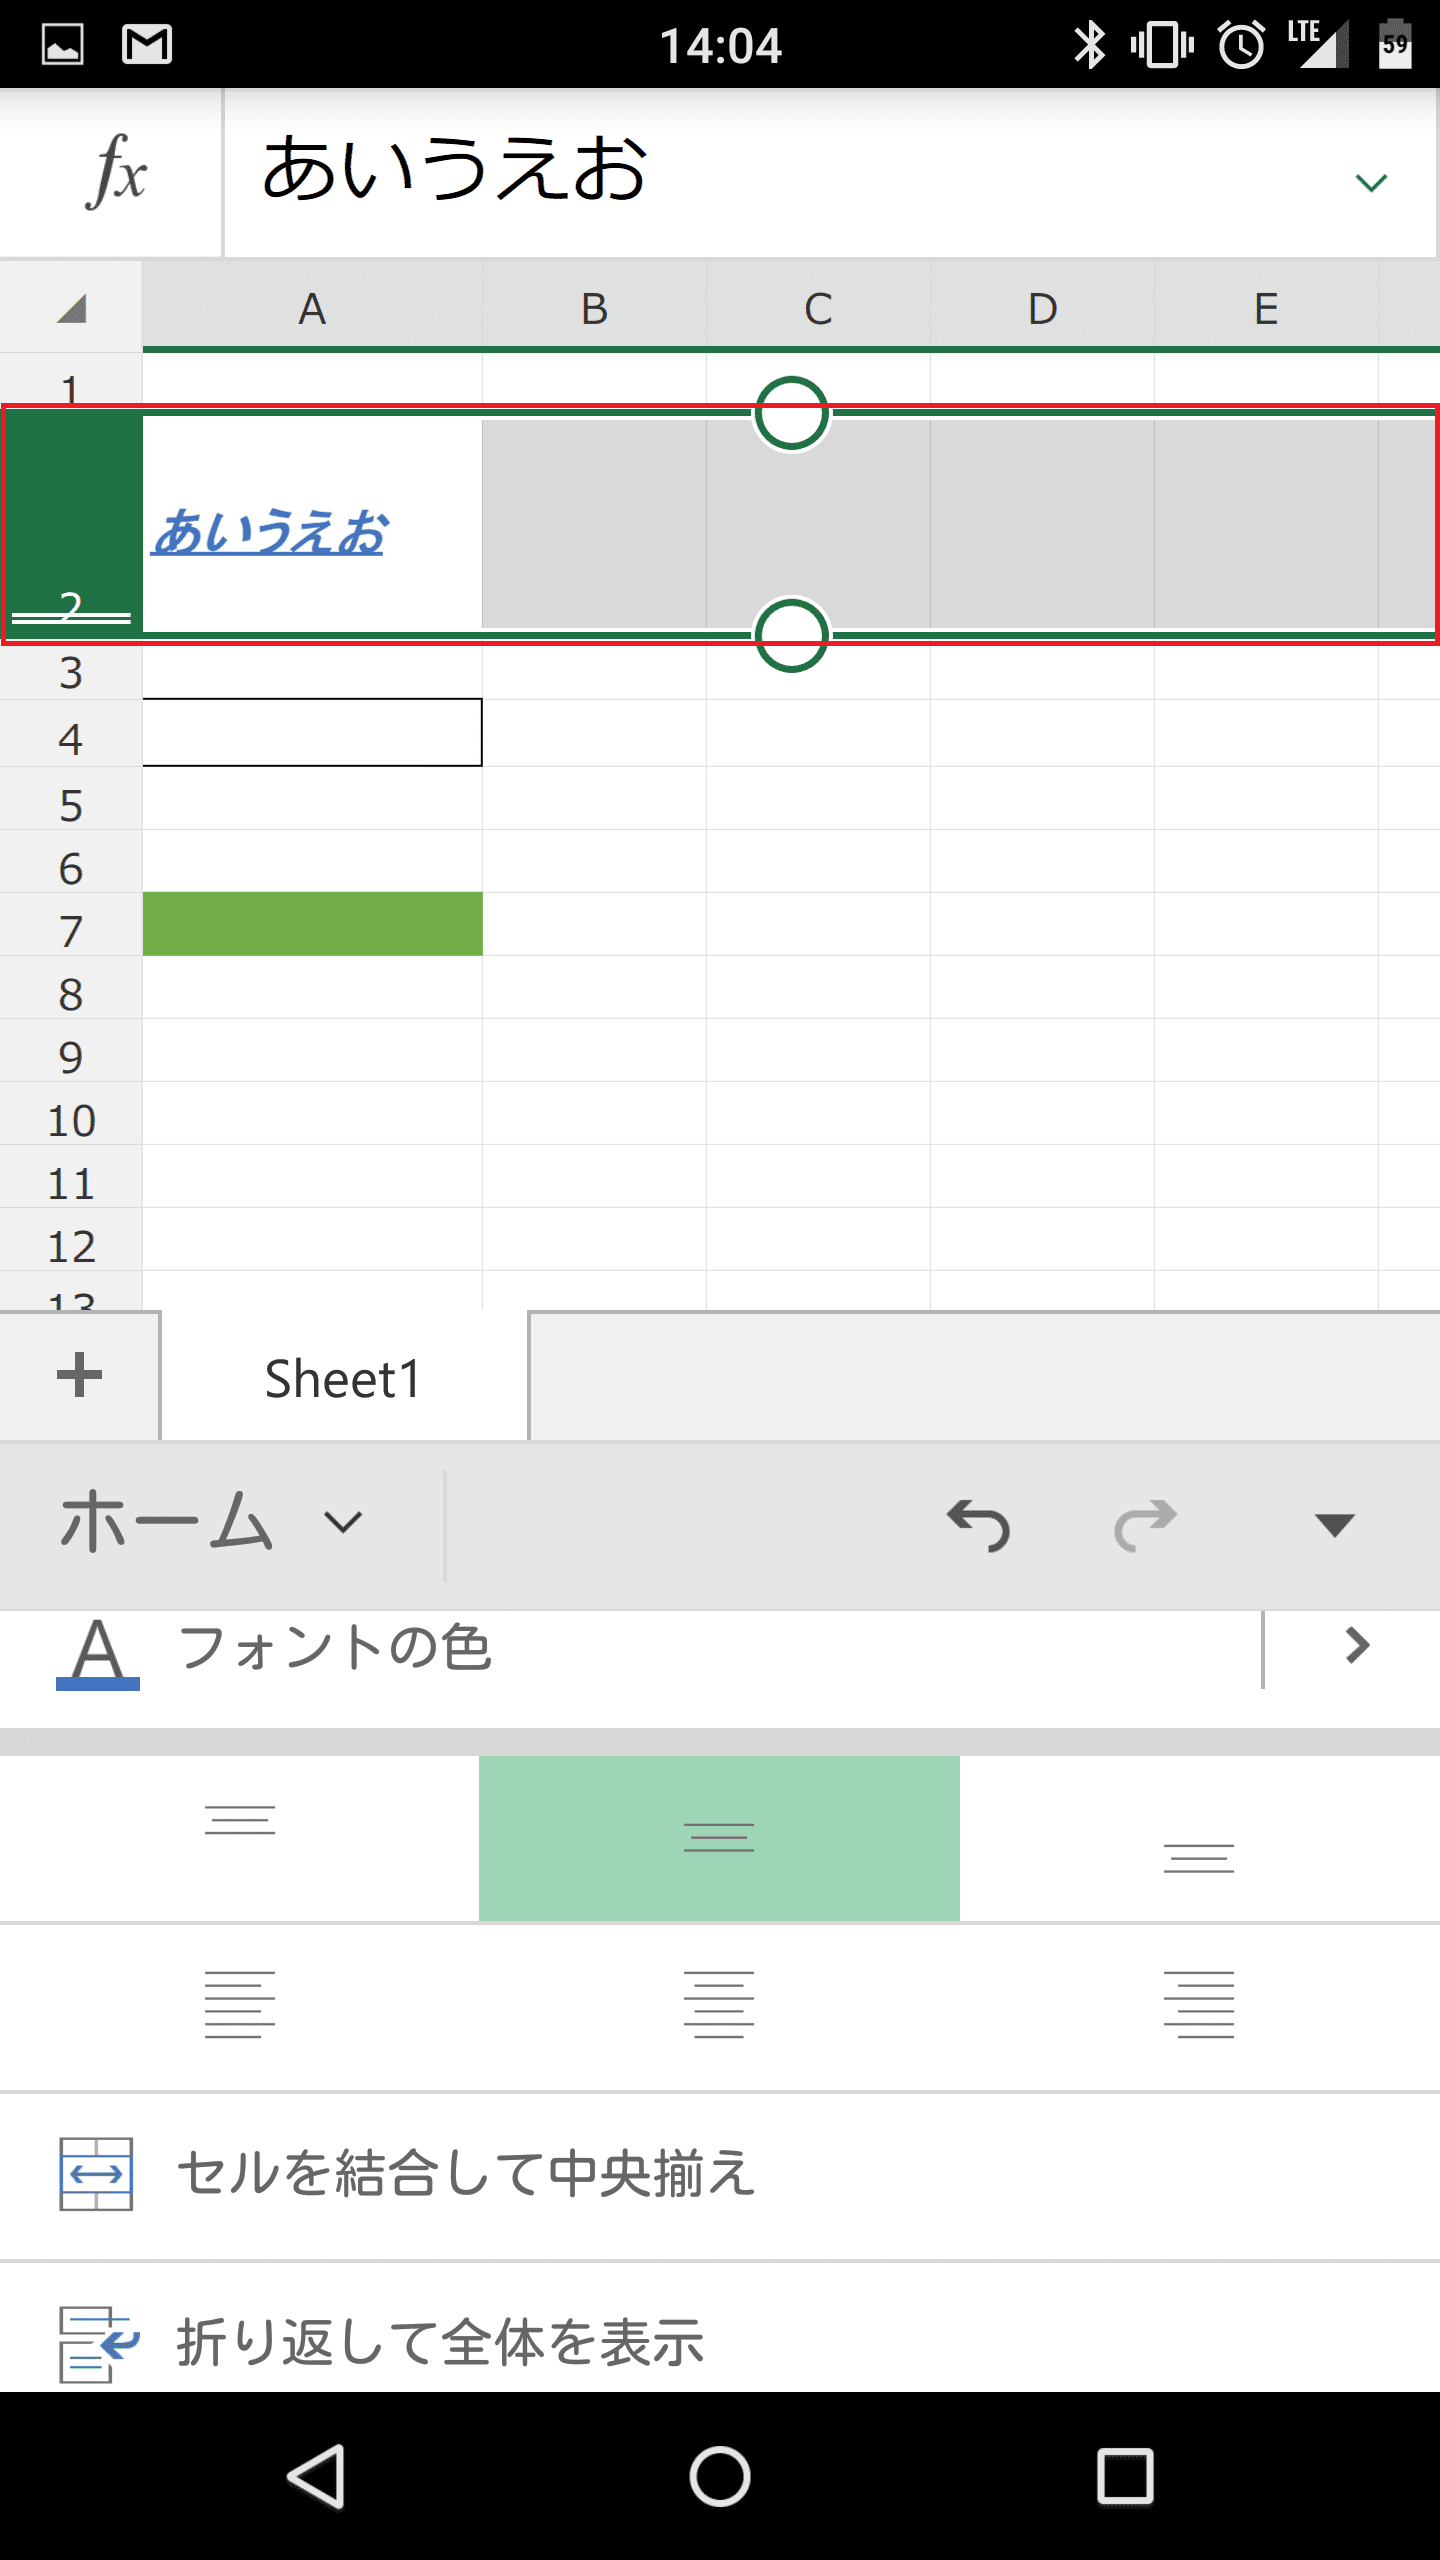
BとCの間にAが来る状態になりました。ここで指を離します。
すると、AのセルがBとCの間に表示されました。
元に位置に戻したい場合は、戻したい列をロングタップしたままの状態で元の位置まで持っていきます。
Aの左側に持ってきます。
元の場所に戻りました。
セルの行を入れ替える
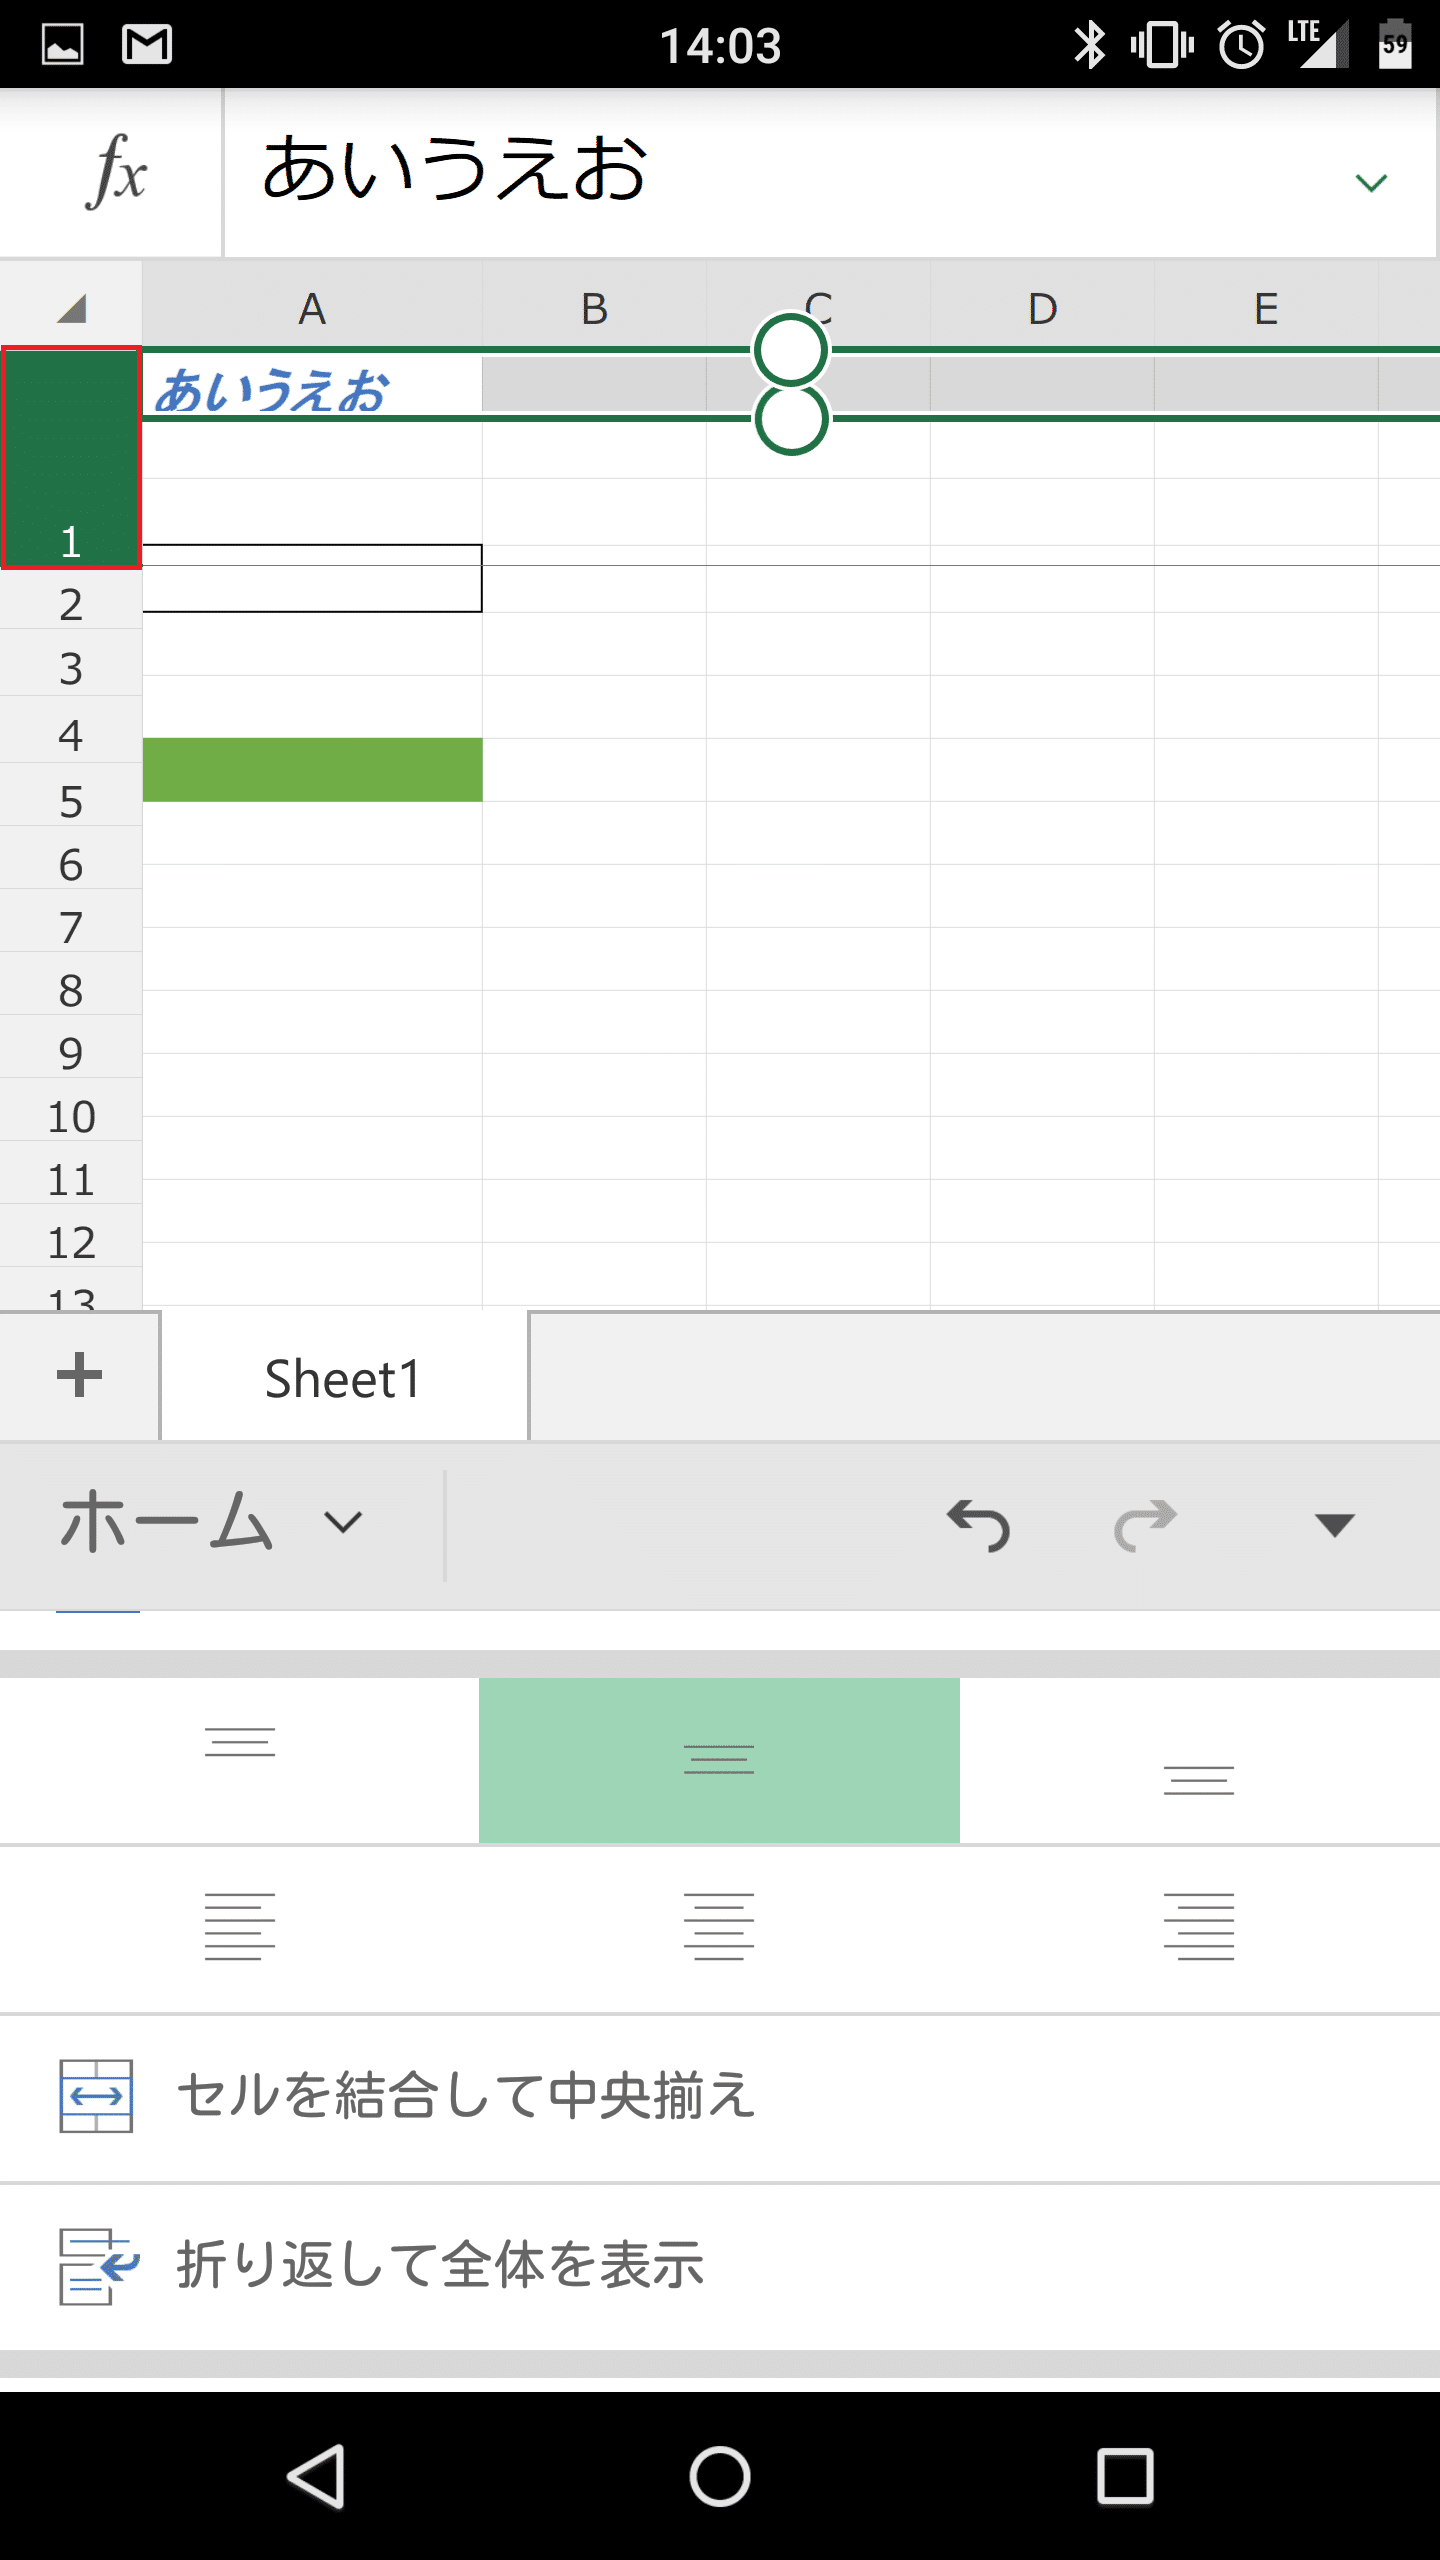
セルの行を入れ替えるには、移動したい行の数字部分をロングタップしたままの状態で希望する位置まで持っていきます。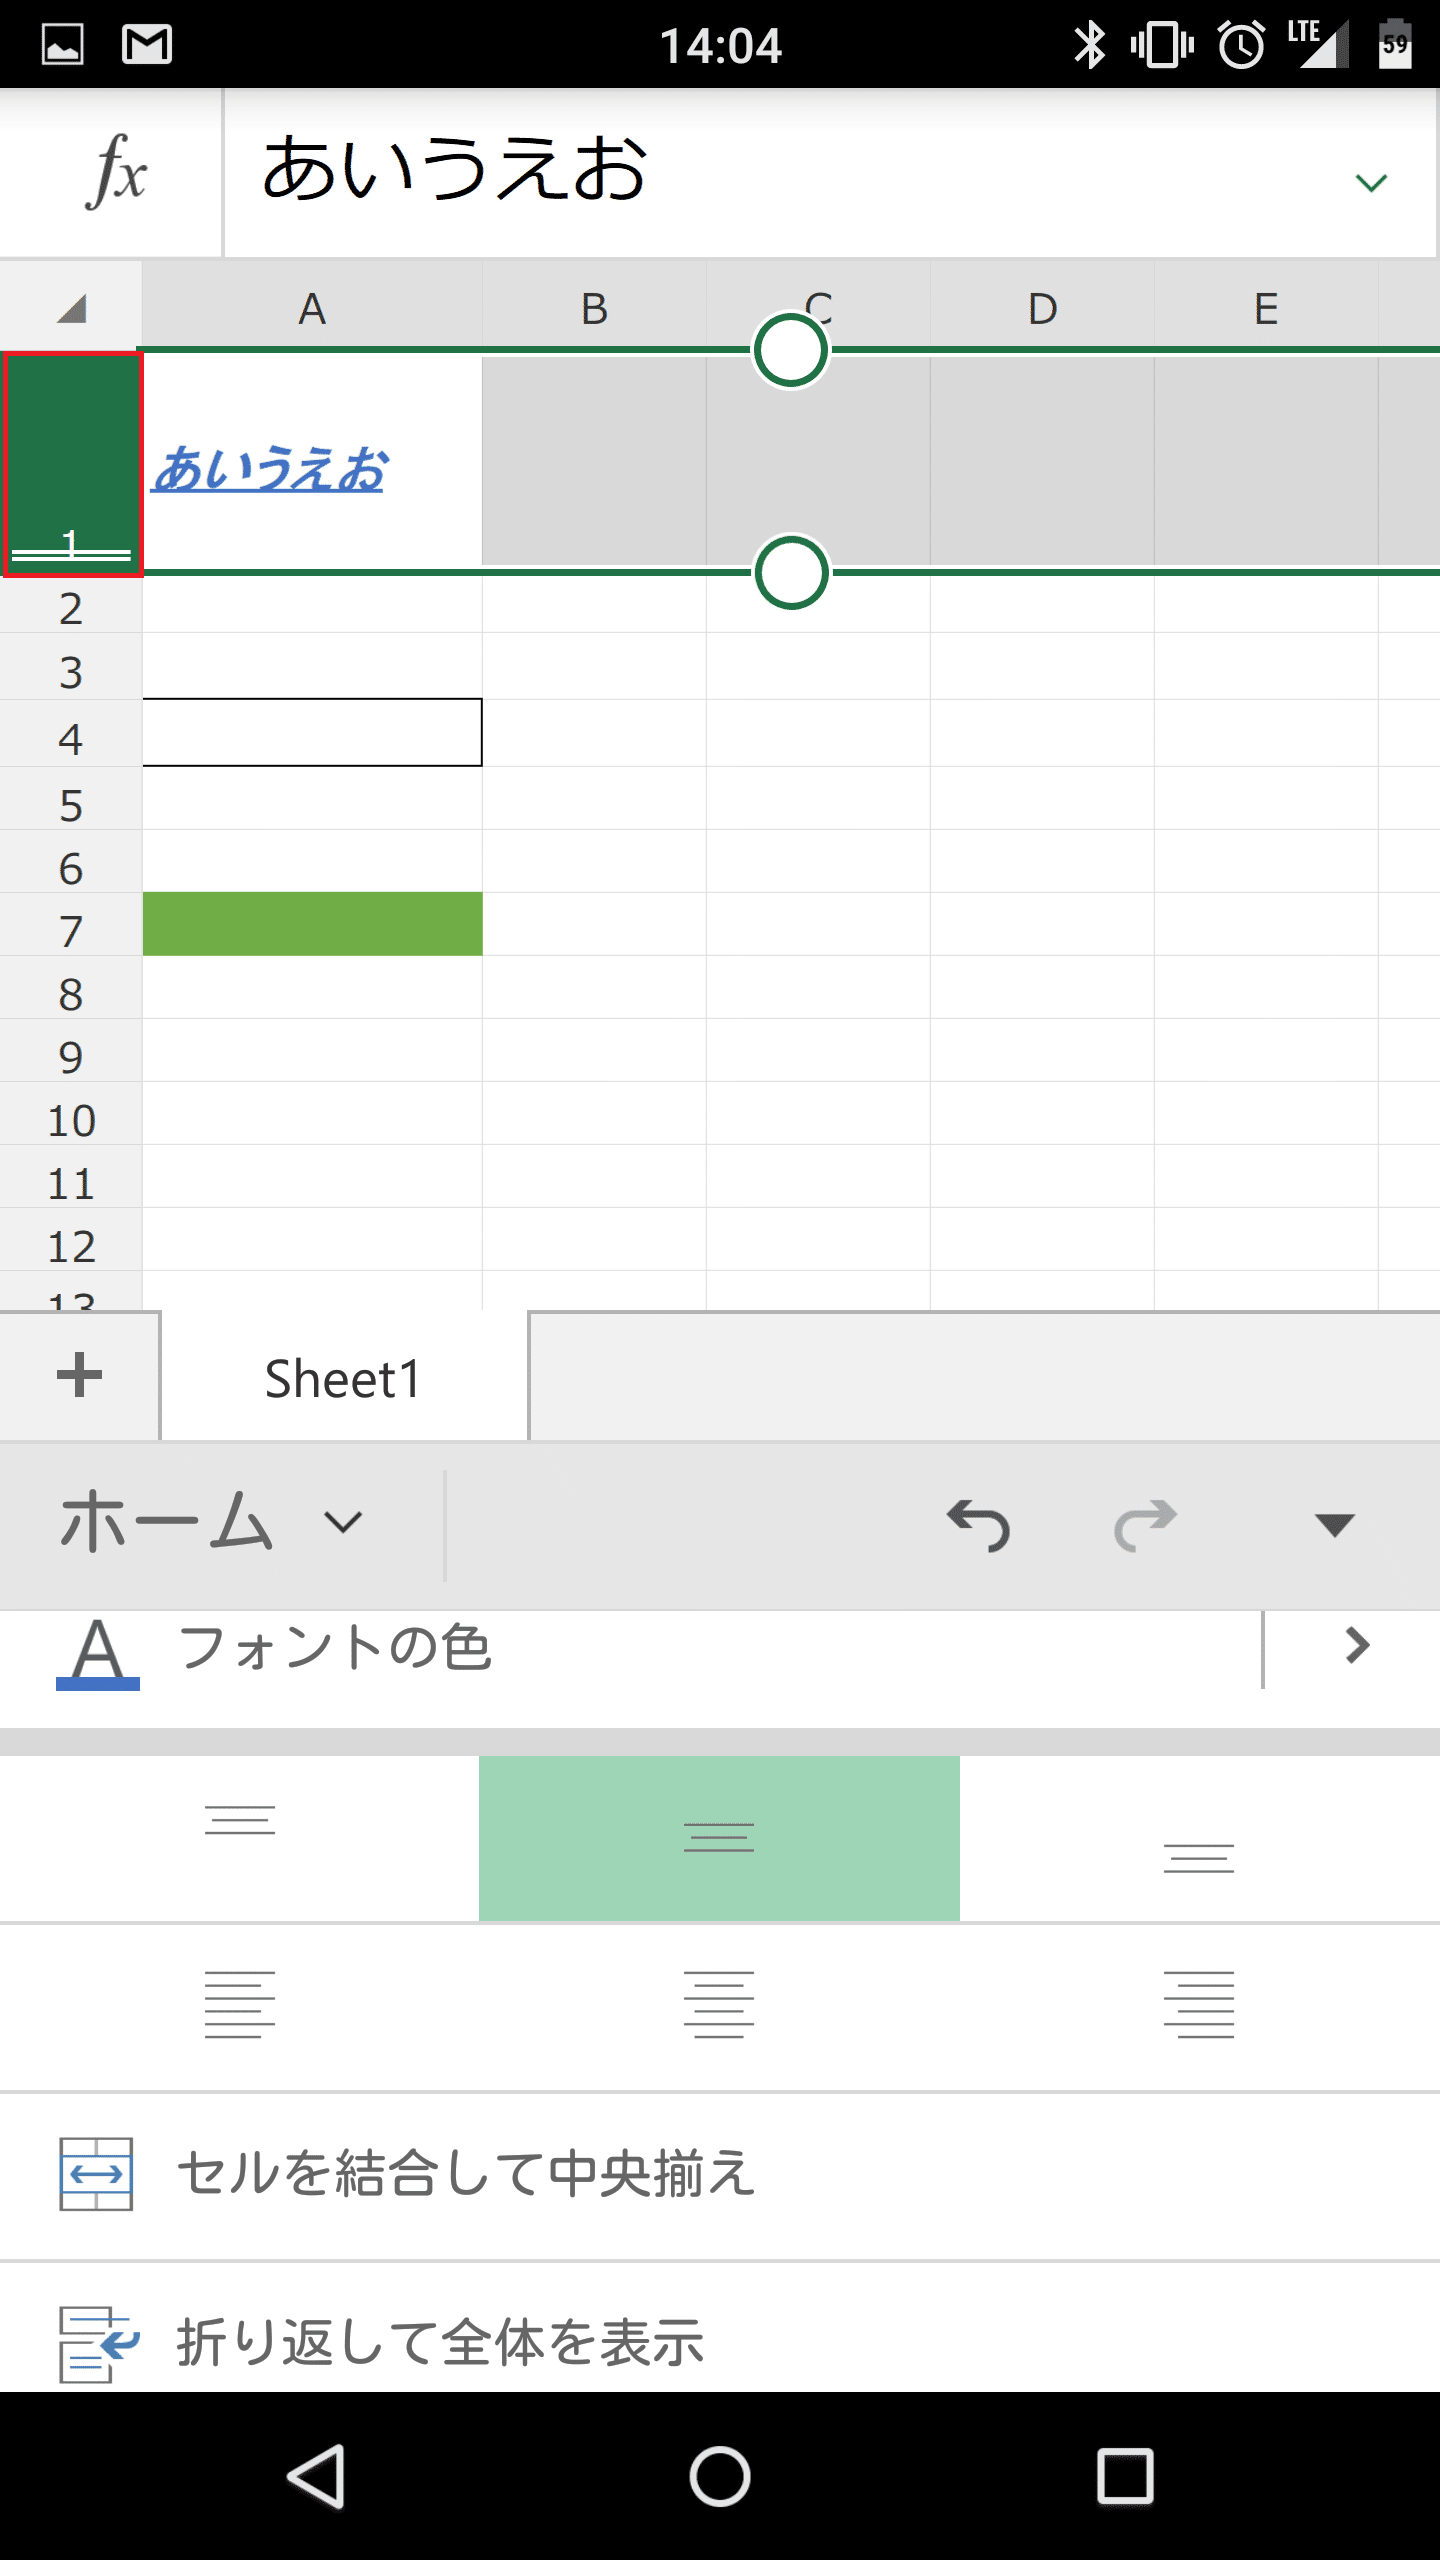
すると、赤枠で囲った目印が表示されます。スクリーンショットの例では、2と3の間に1が来るということです。

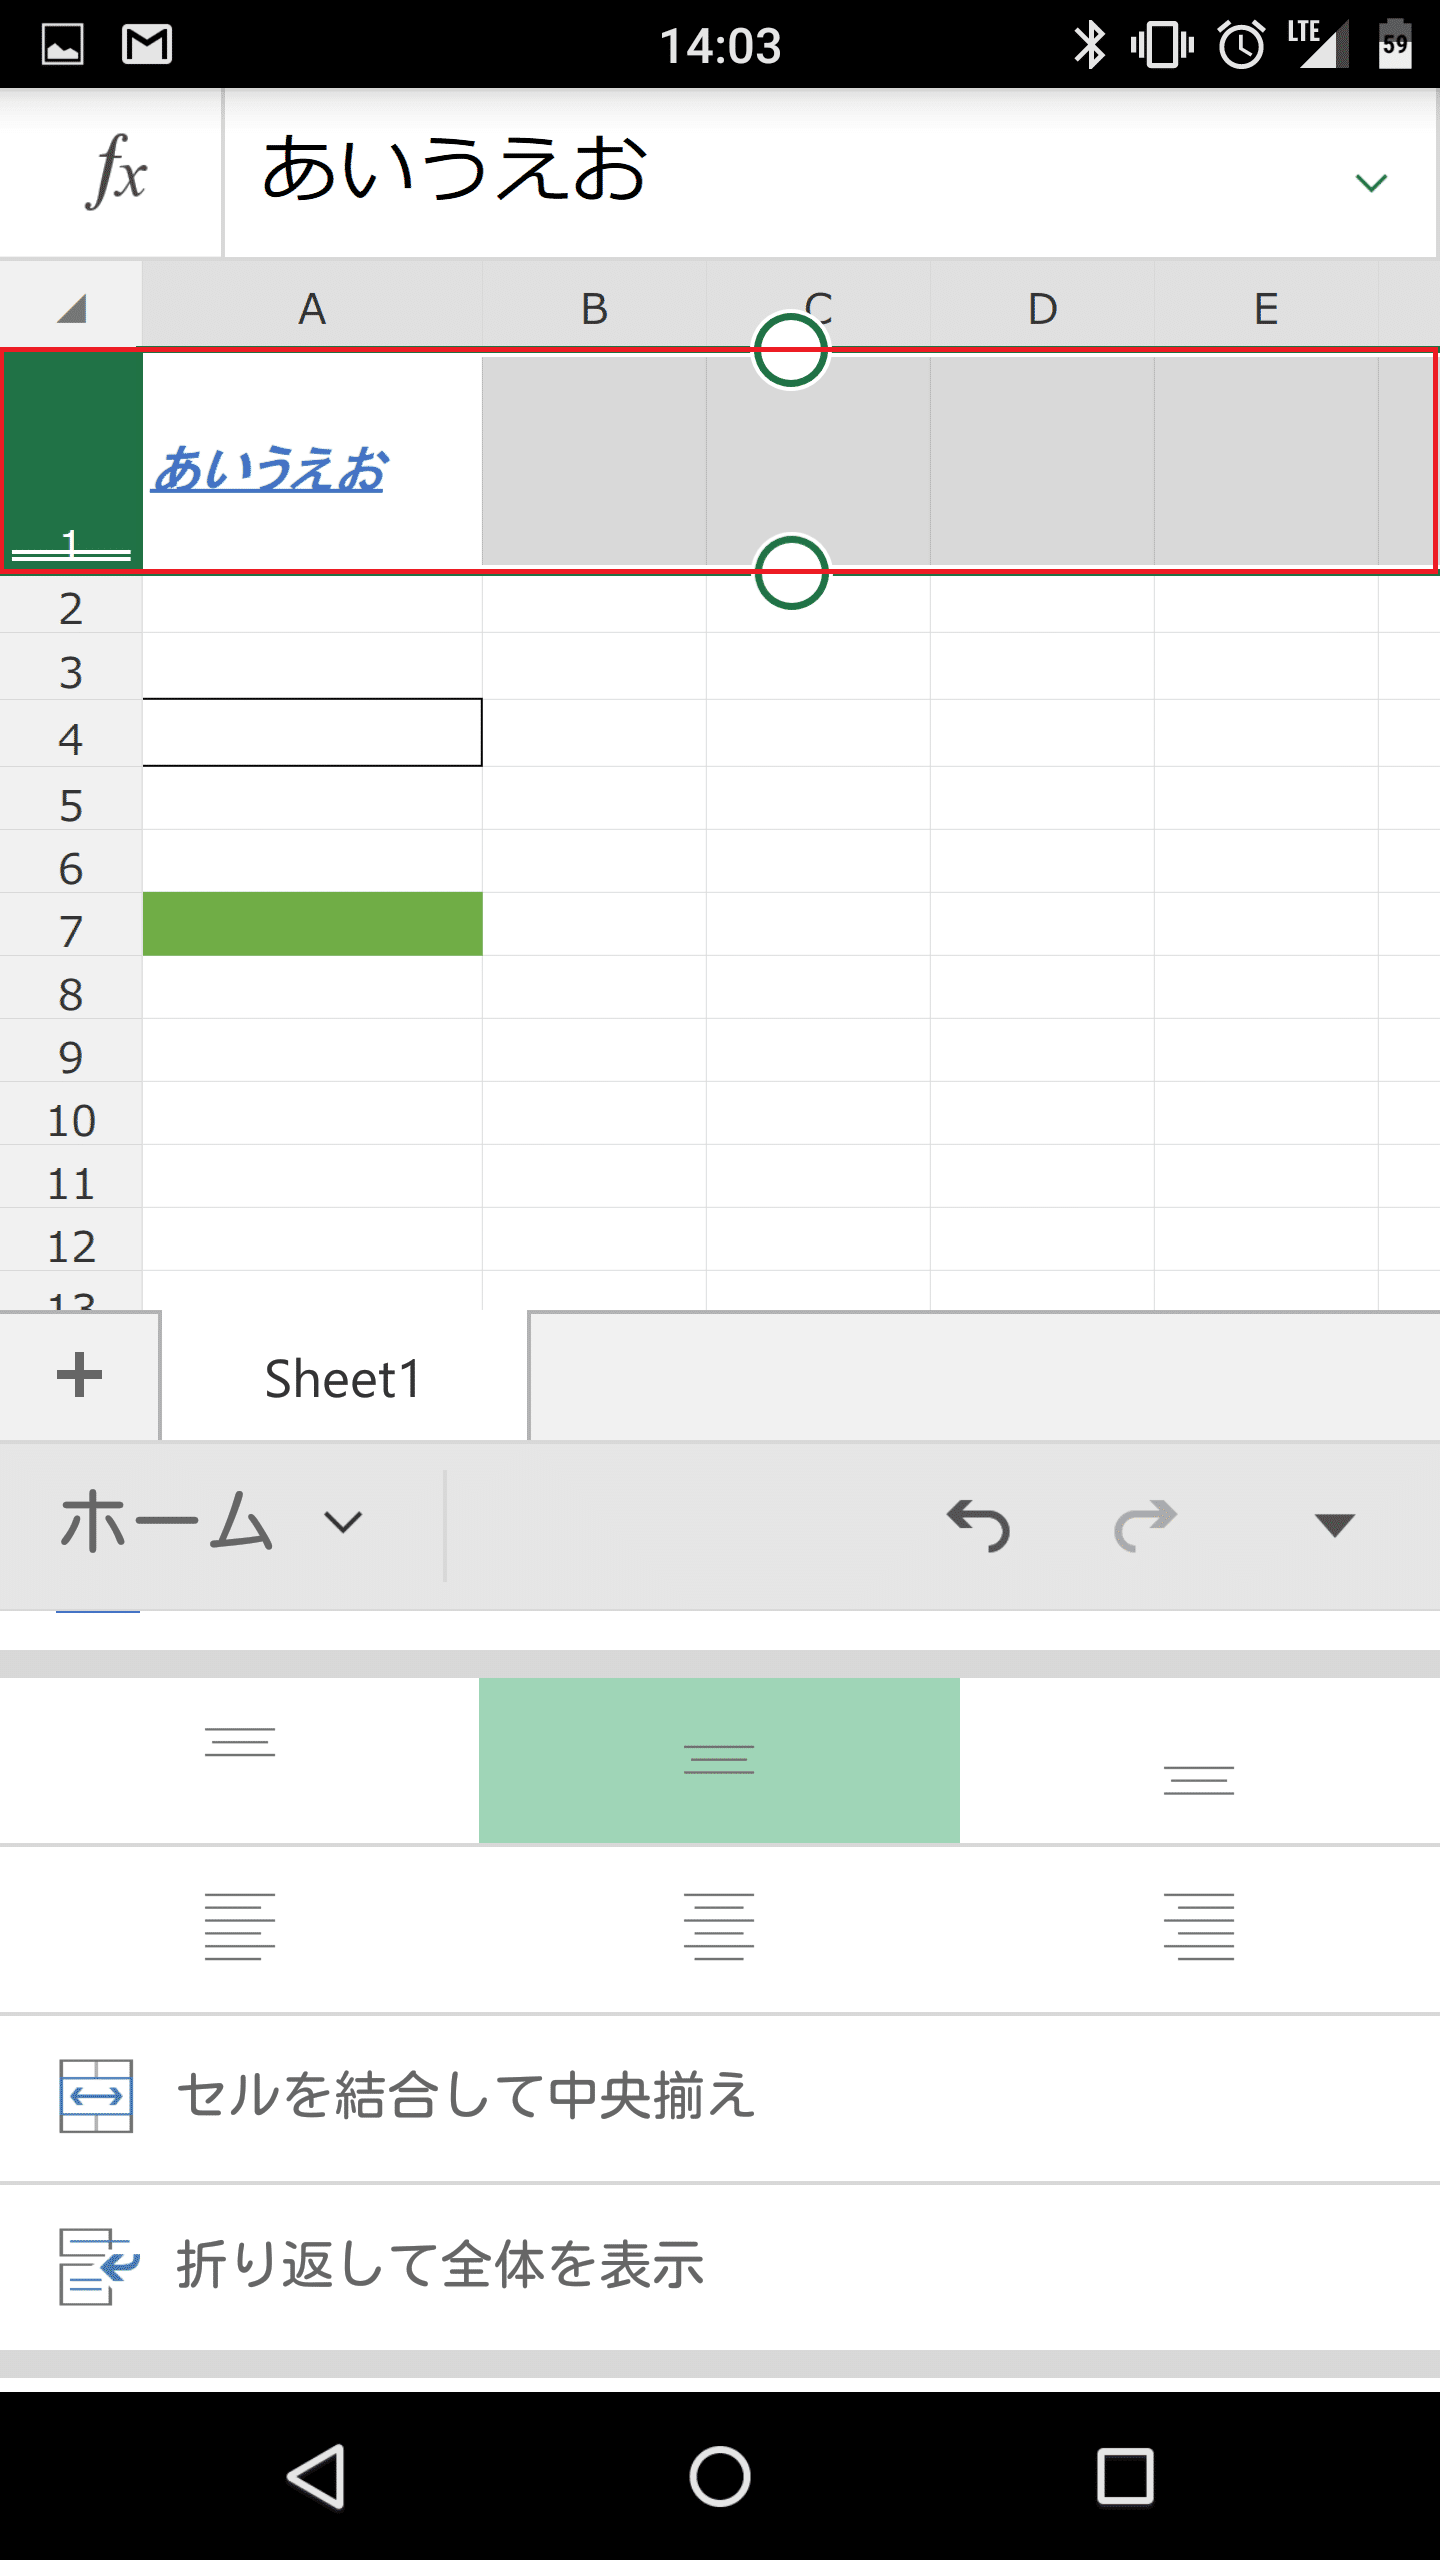
2の部分に1の行が移動しました。
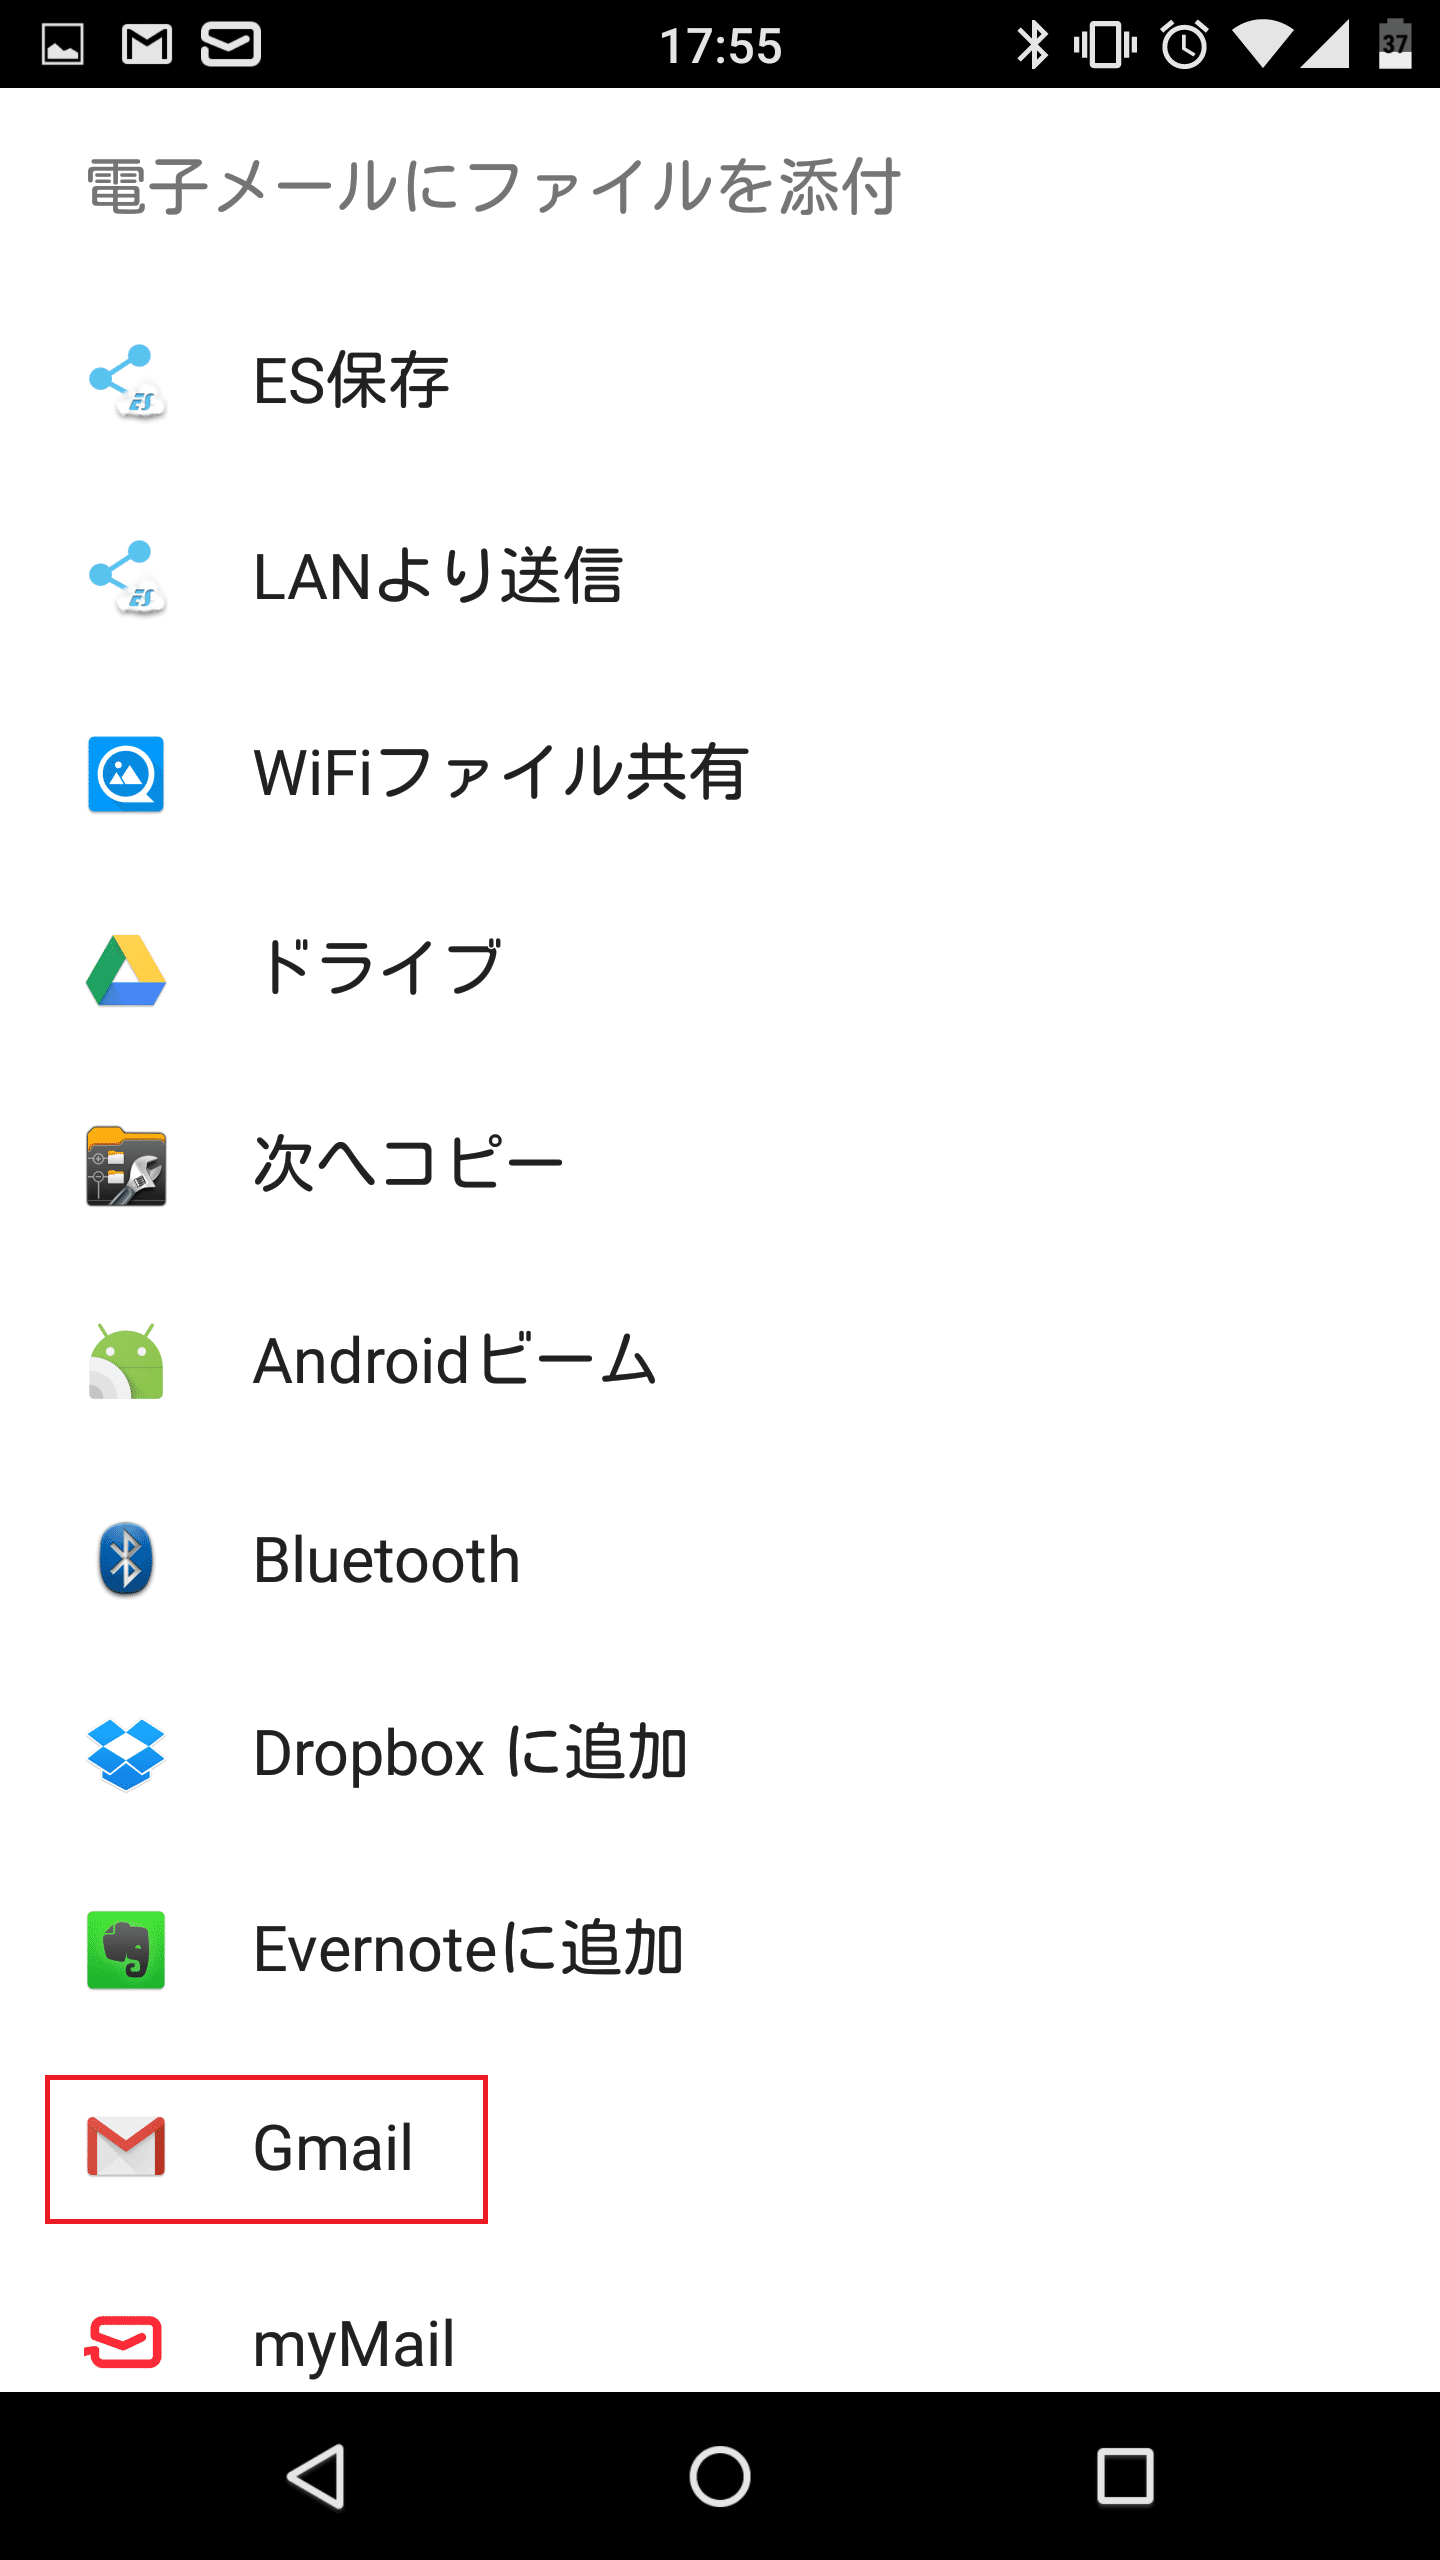
Excelブックを共有する
Excelブックを共有するには、共有アイコンをタップします。
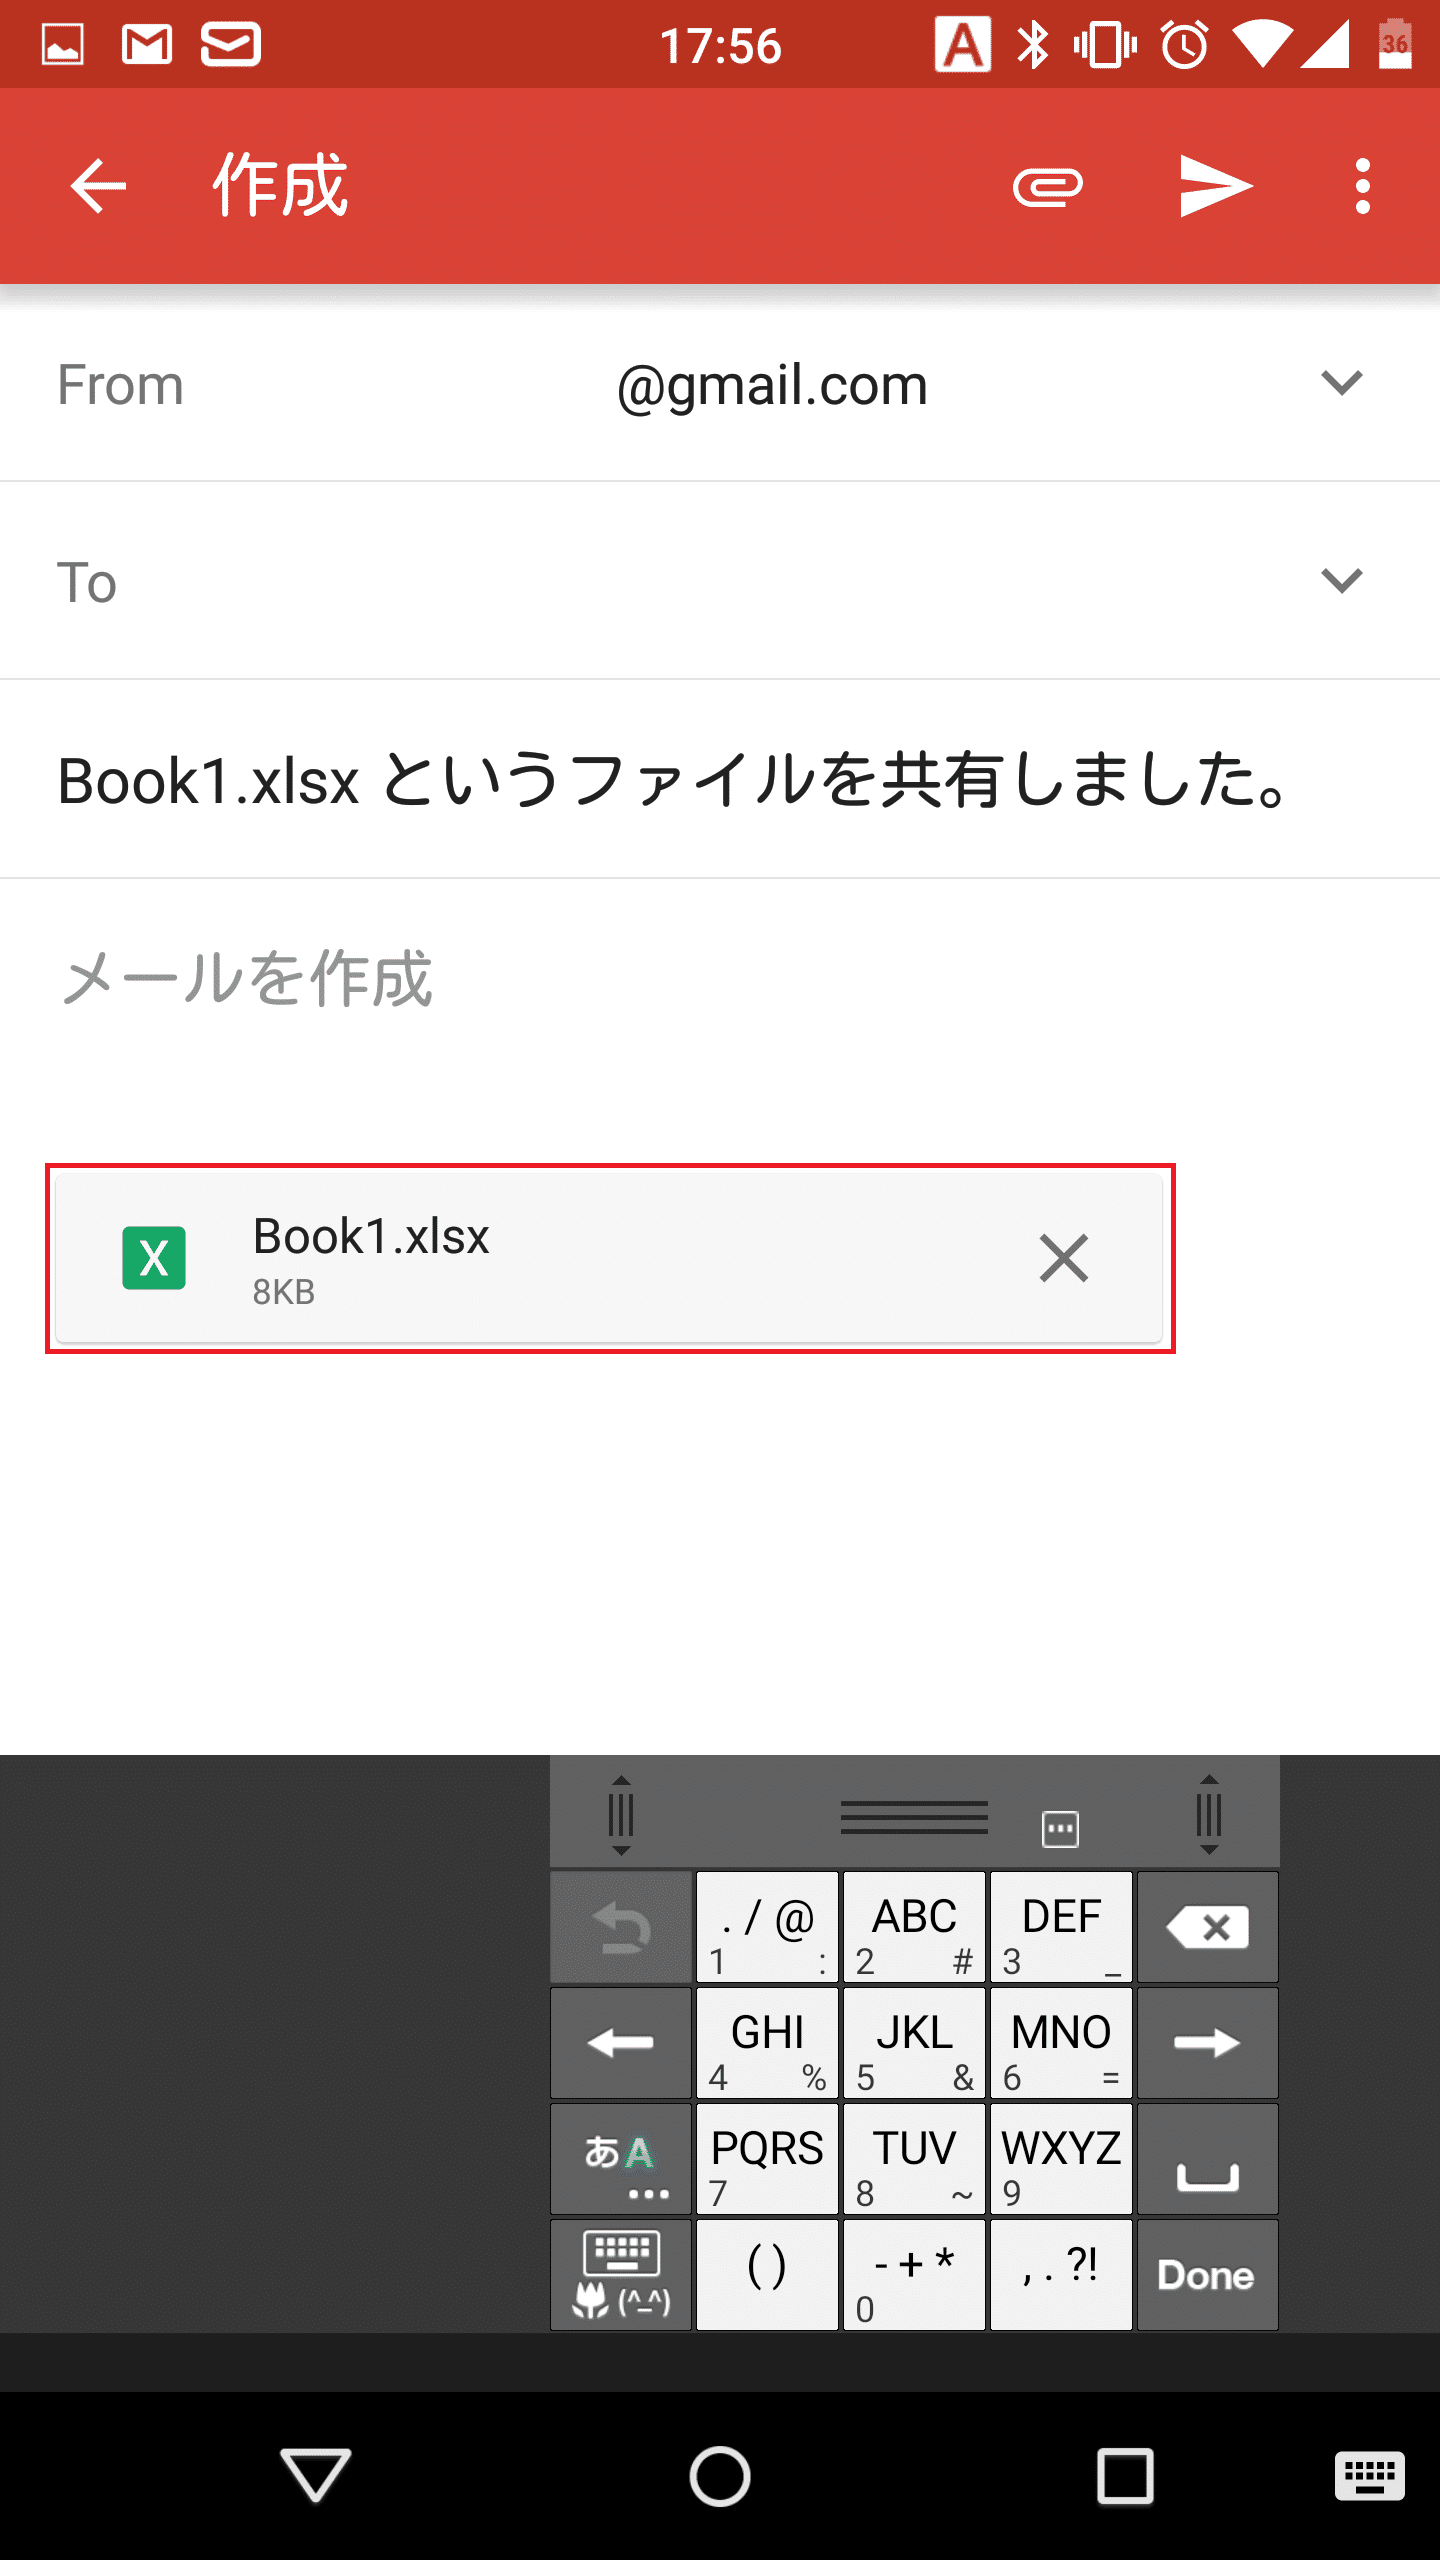
共有したいアプリを選びます。
Excelブックが添付されました。
一通り見てみると分かりますが、Microsoft Excel Androidスマホ版はWindows版ExcelとUIこそ違うものの機能名などがほぼ同じです。
PCでExcelをよく使っているなら、Androidスマホ版のExcelも問題なく使えると思います。
Microsoft Excel Androidスマホ版はマクロ以外は一通りの機能が使えるので、細かい編集などで活躍しそうです。
なお、Microsoft Word Androidスマホ版の使い方や使える機能はMicrosoft Word(ワード) Androidスマホ版の使い方と使える機能一覧。無料でWordの閲覧・編集ができるMicrosoft純正のアプリ。を参照してください。
Microsoft Excel(エクセル) Androidスマホ版の使い方と使える機能一覧は以上です。