Googleカレンダーでは、逆に通知を一切送らないようにする設定も可能です。
このページでは、Googleカレンダーの予定の通知がいらない場合にデフォルトで「なし」にする方法を解説します。
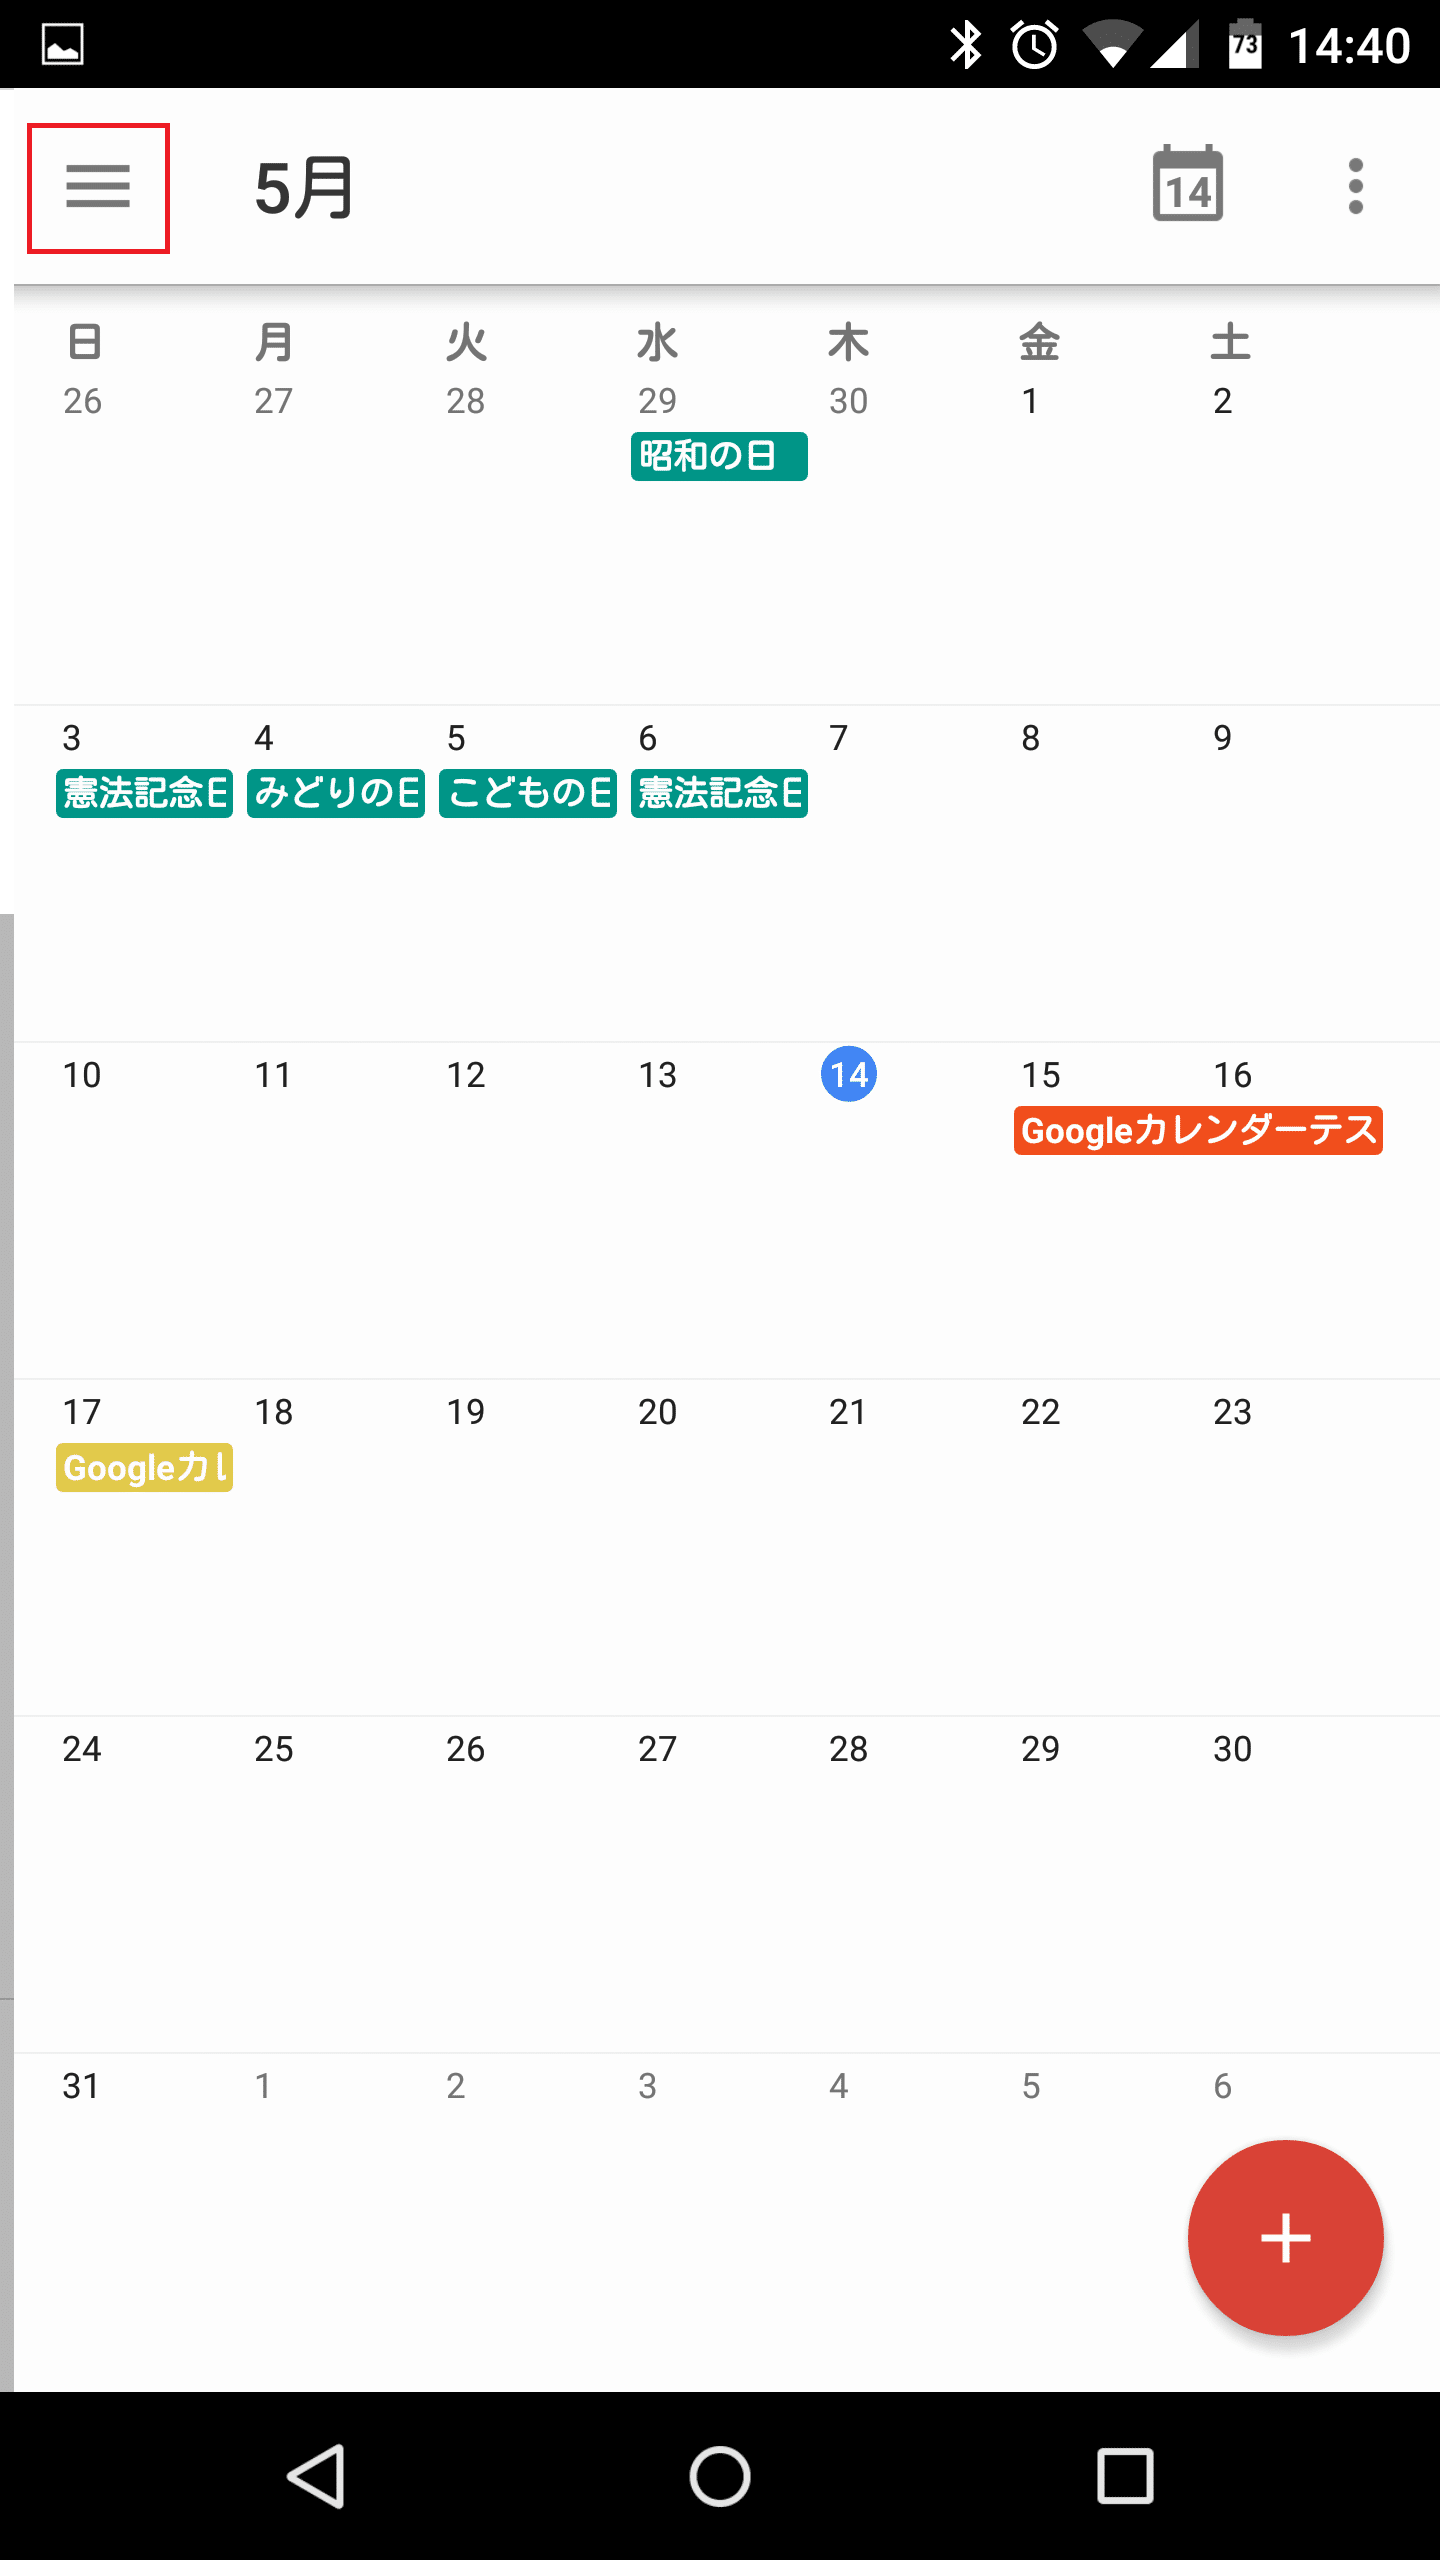
Googleカレンダーのメニューアイコンをタップします。
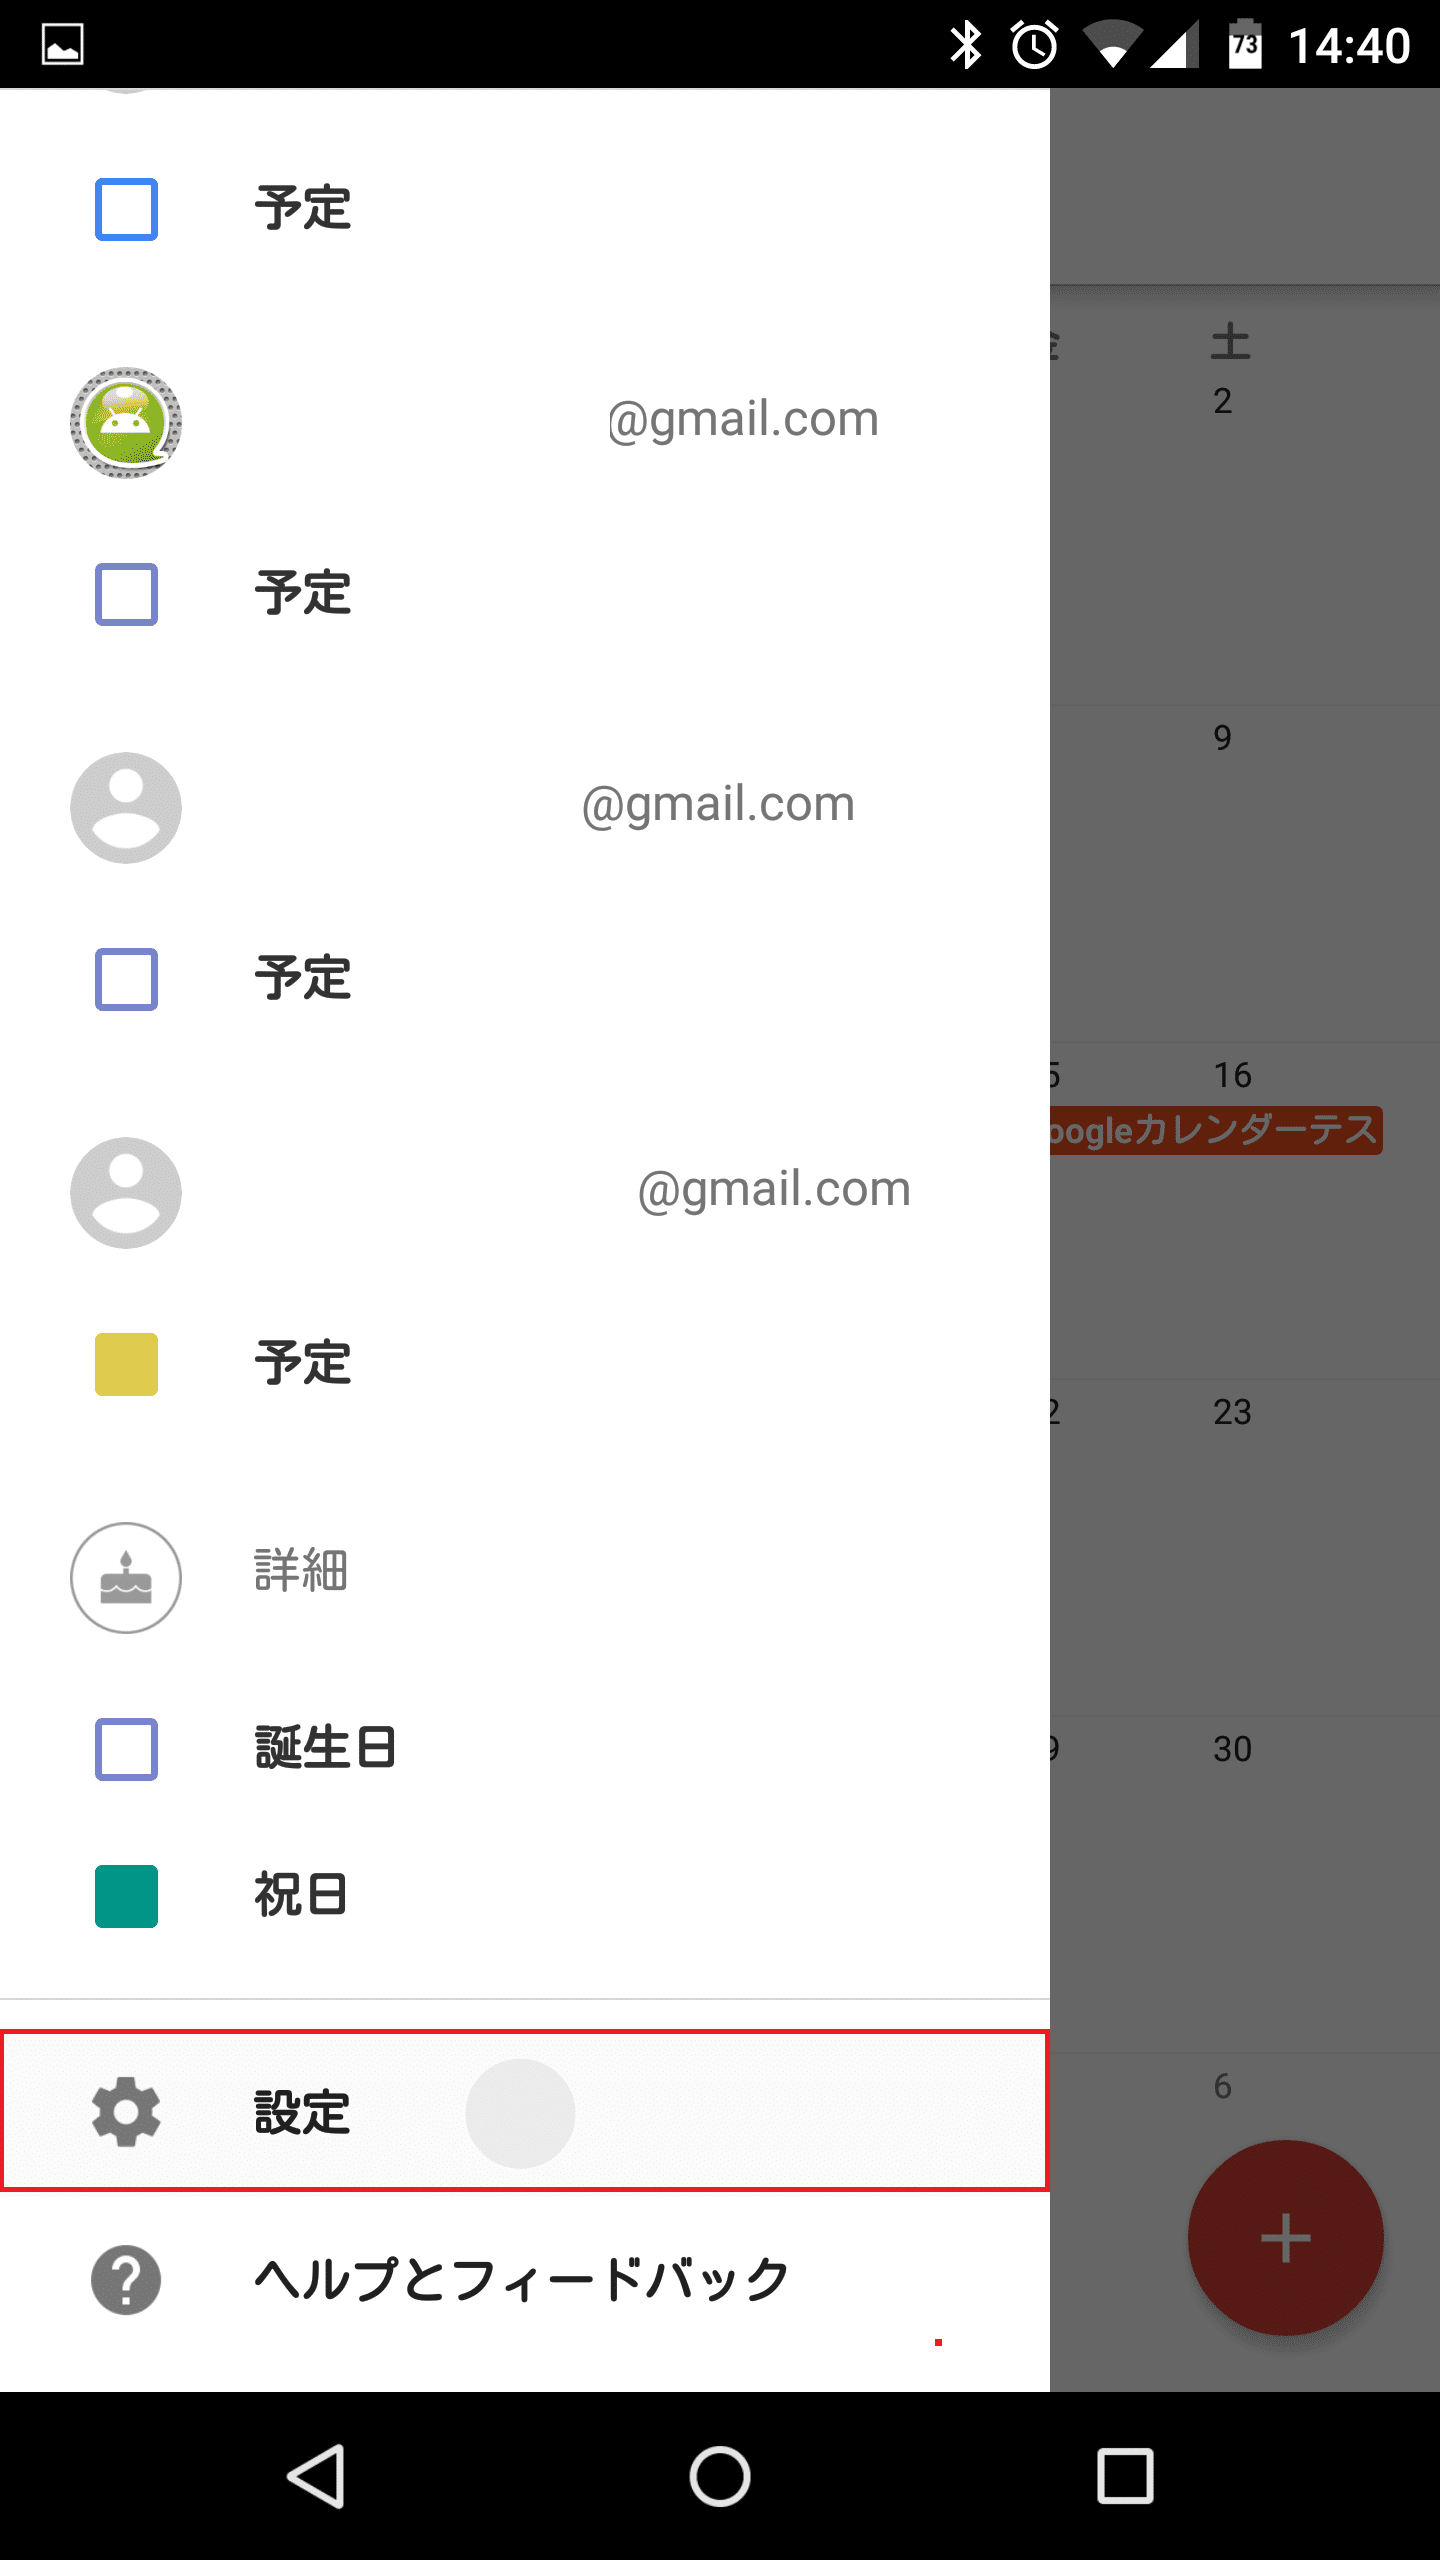
![google-calendar-default-notification-nothing1](https://androidlover.net/wp-content/uploads/google-calendar-default-notification-nothing1-281x500.png)
「設定」をタップします。
![google-calendar-default-notification-nothing2](https://androidlover.net/wp-content/uploads/google-calendar-default-notification-nothing2-281x500.png)
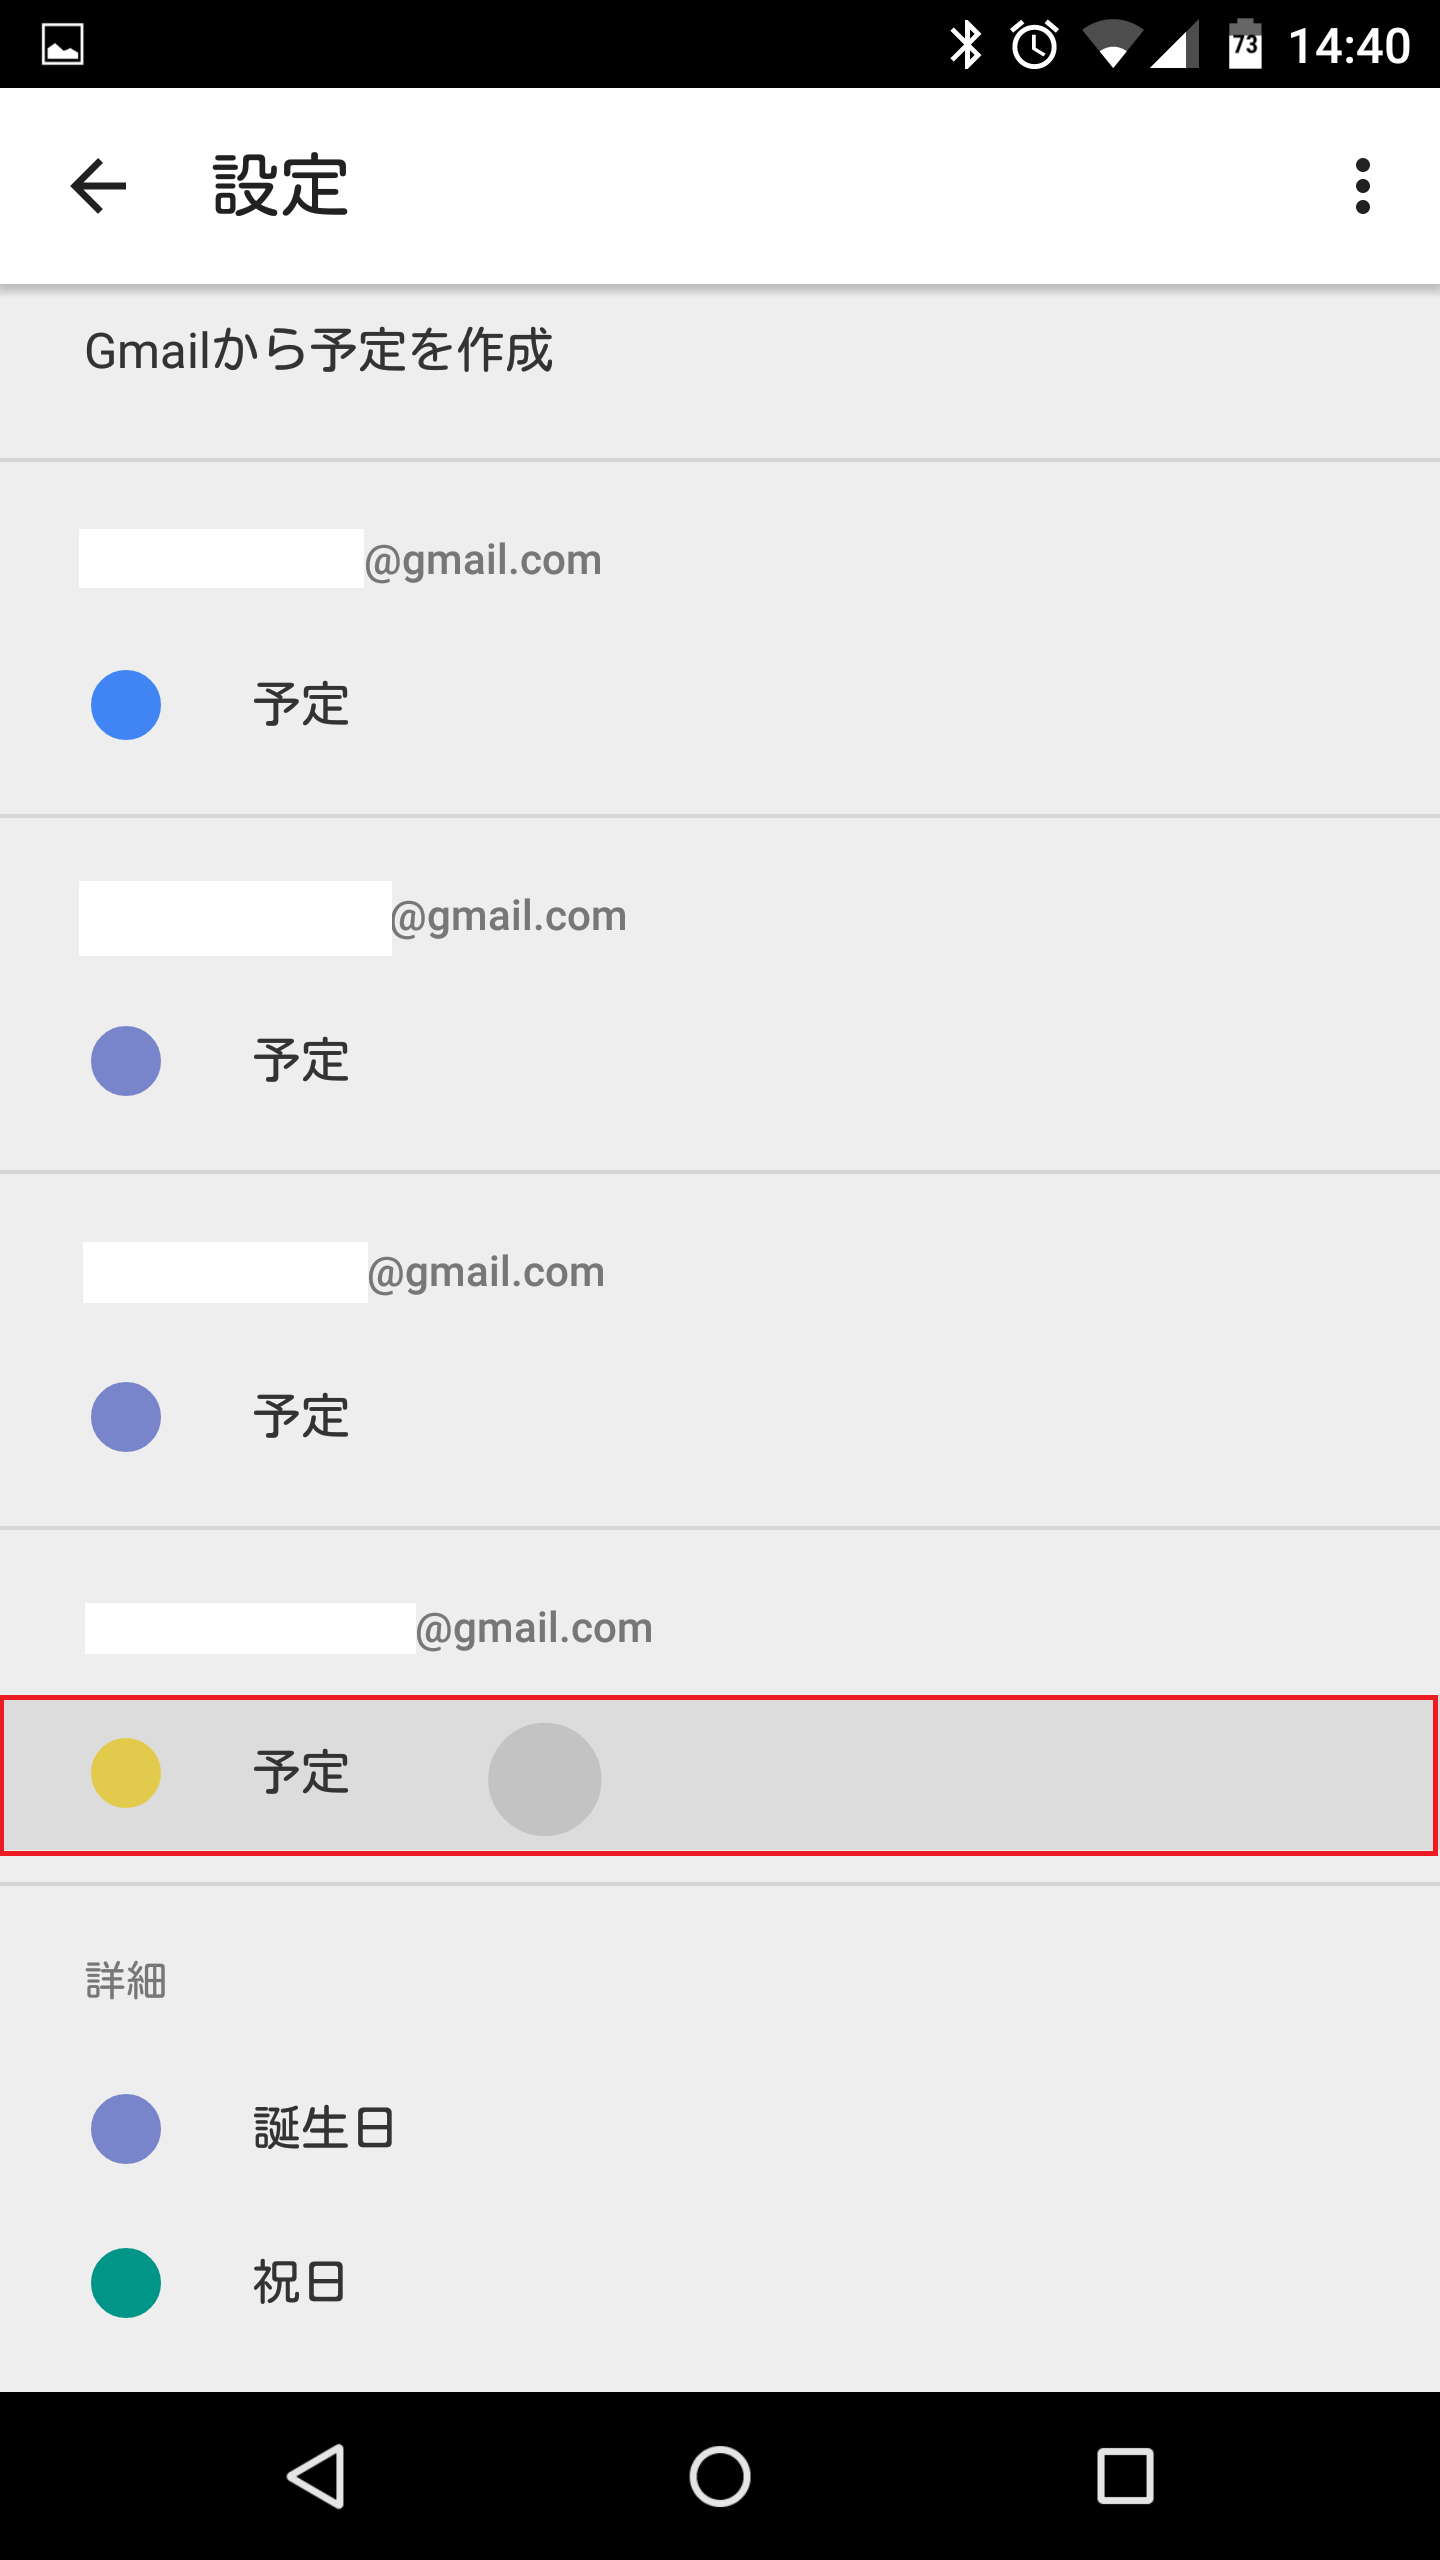
通知を送らないようにしたい予定のGoogleアカウントをタップします。
![google-calendar-default-notification-nothing3](https://androidlover.net/wp-content/uploads/google-calendar-default-notification-nothing3-281x500.png)
デフォルトの通知は30分になっています。これをタップします。
![google-calendar-default-notification-nothing4](https://androidlover.net/wp-content/uploads/google-calendar-default-notification-nothing4-281x500.png)
「通知なし」をタップします。
![google-calendar-default-notification-nothing5](https://androidlover.net/wp-content/uploads/google-calendar-default-notification-nothing5-281x500.png)
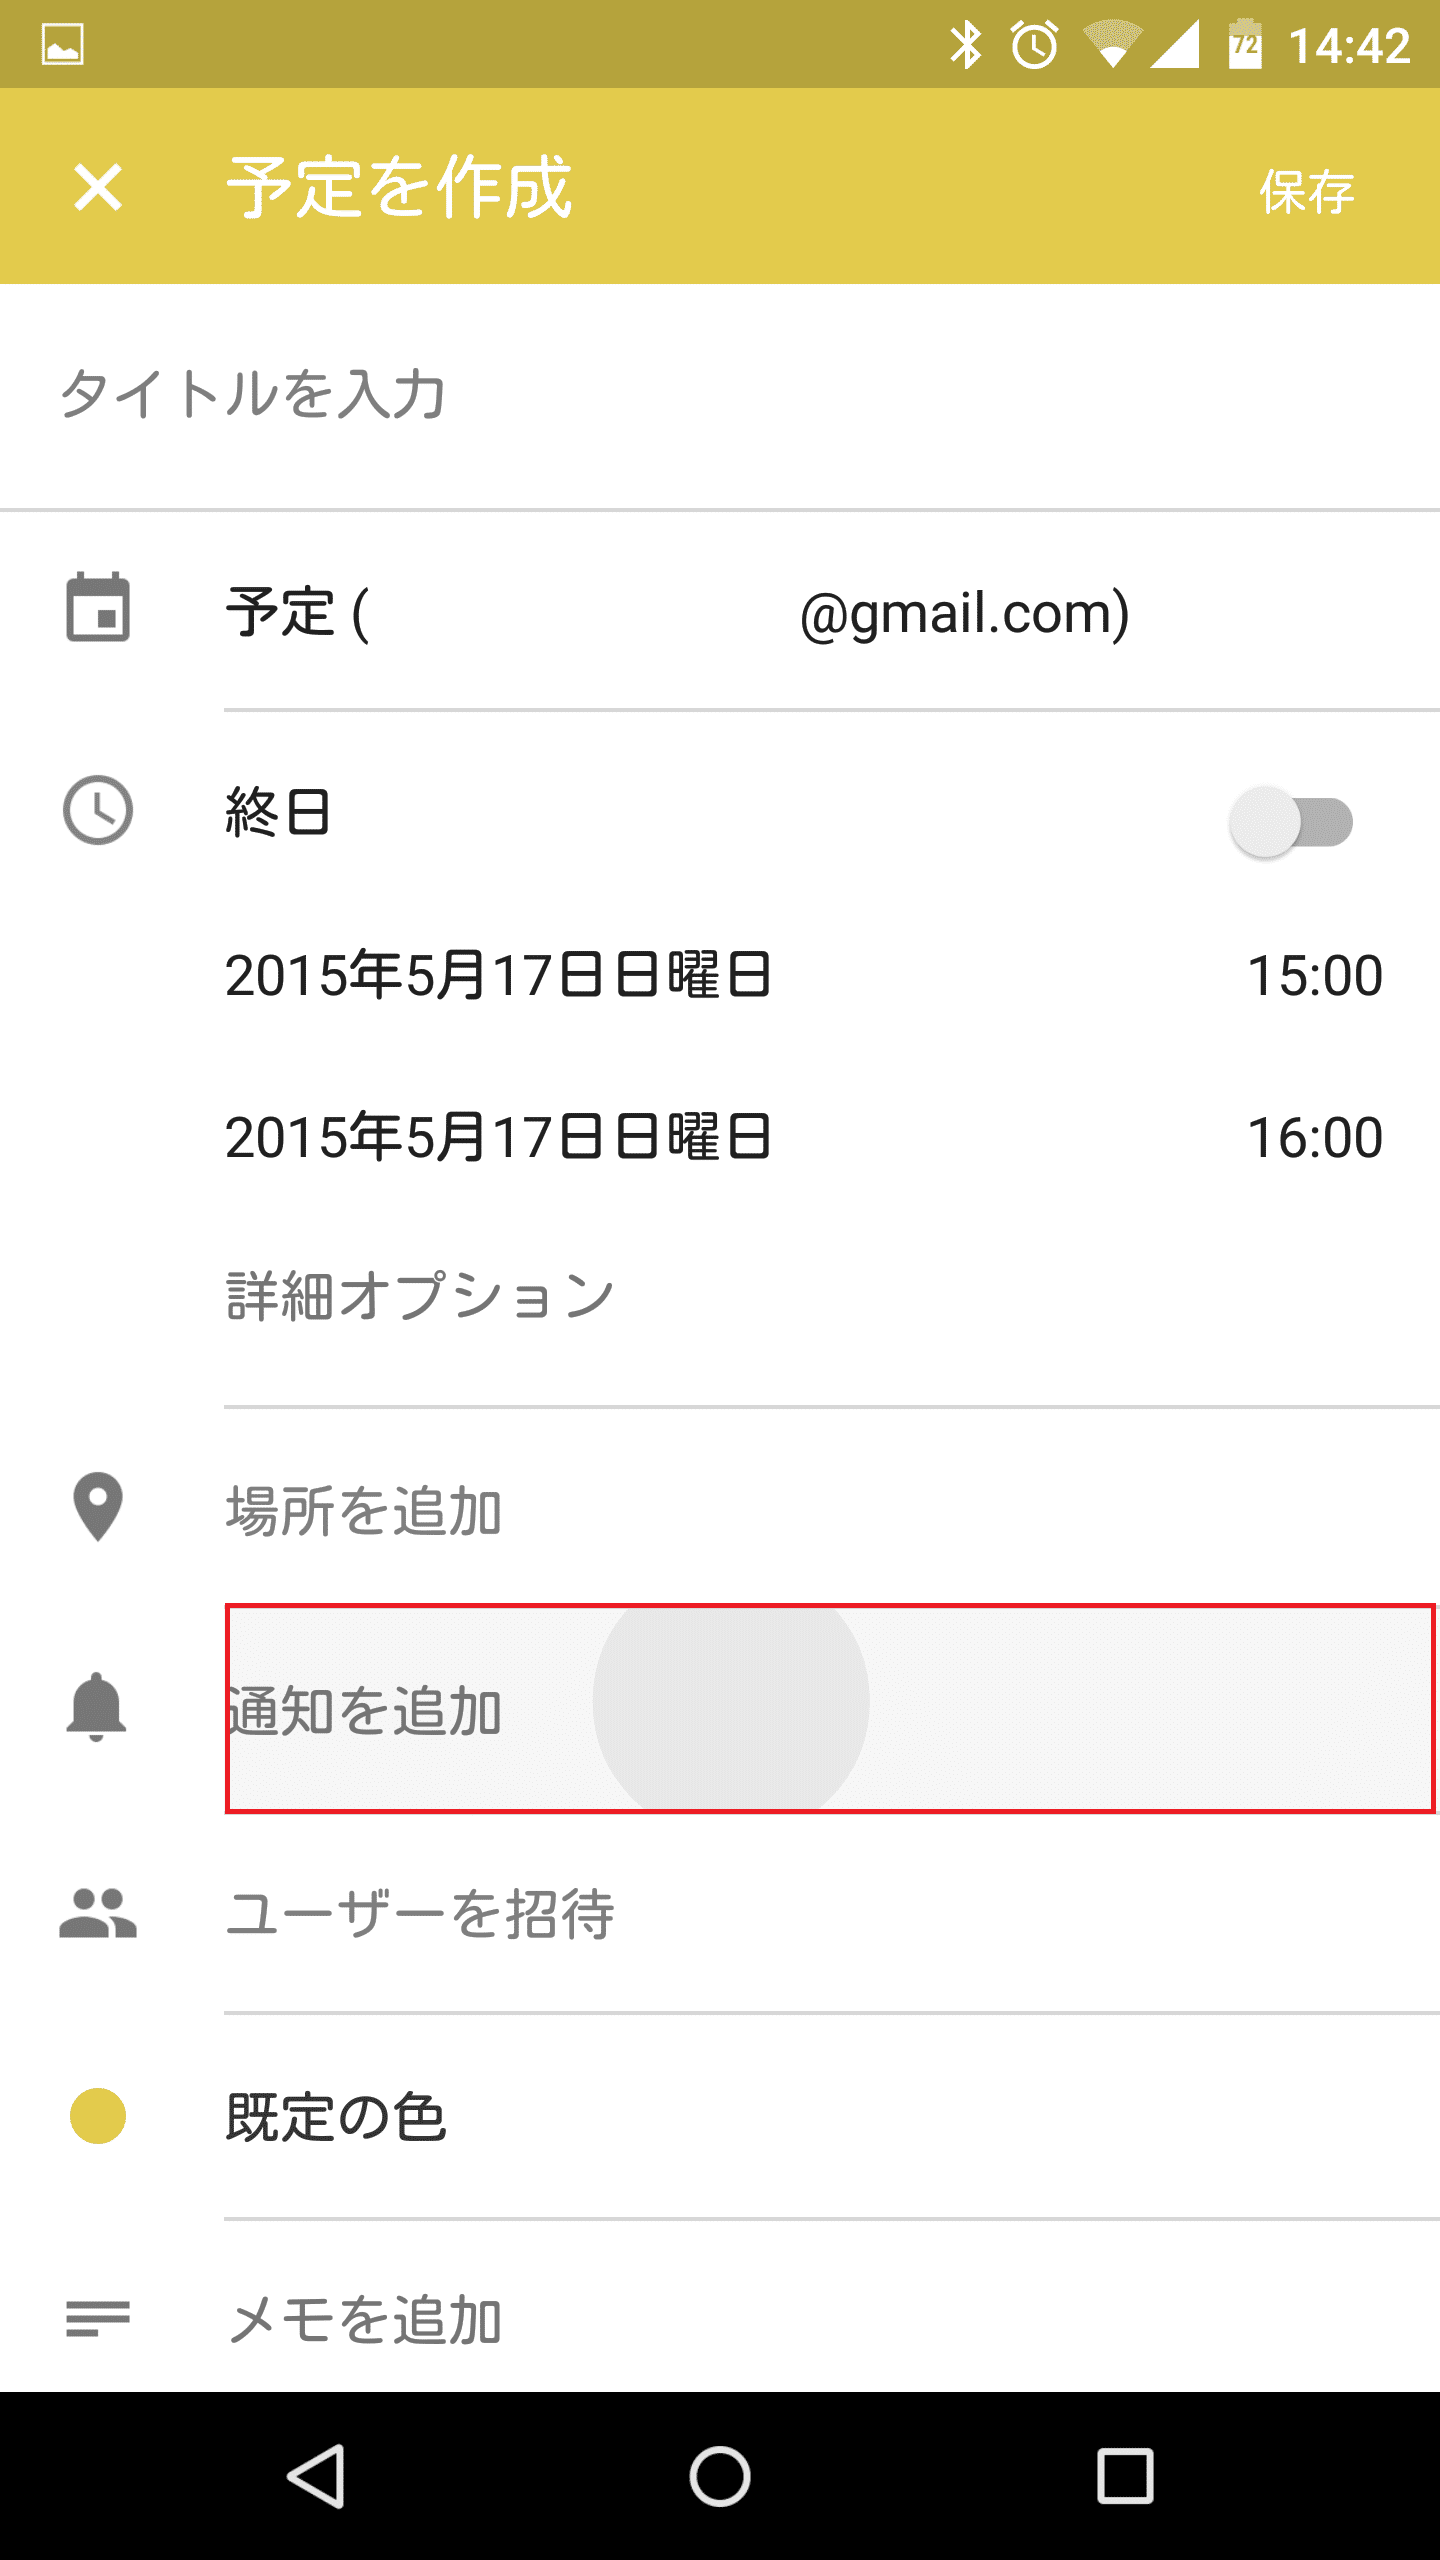
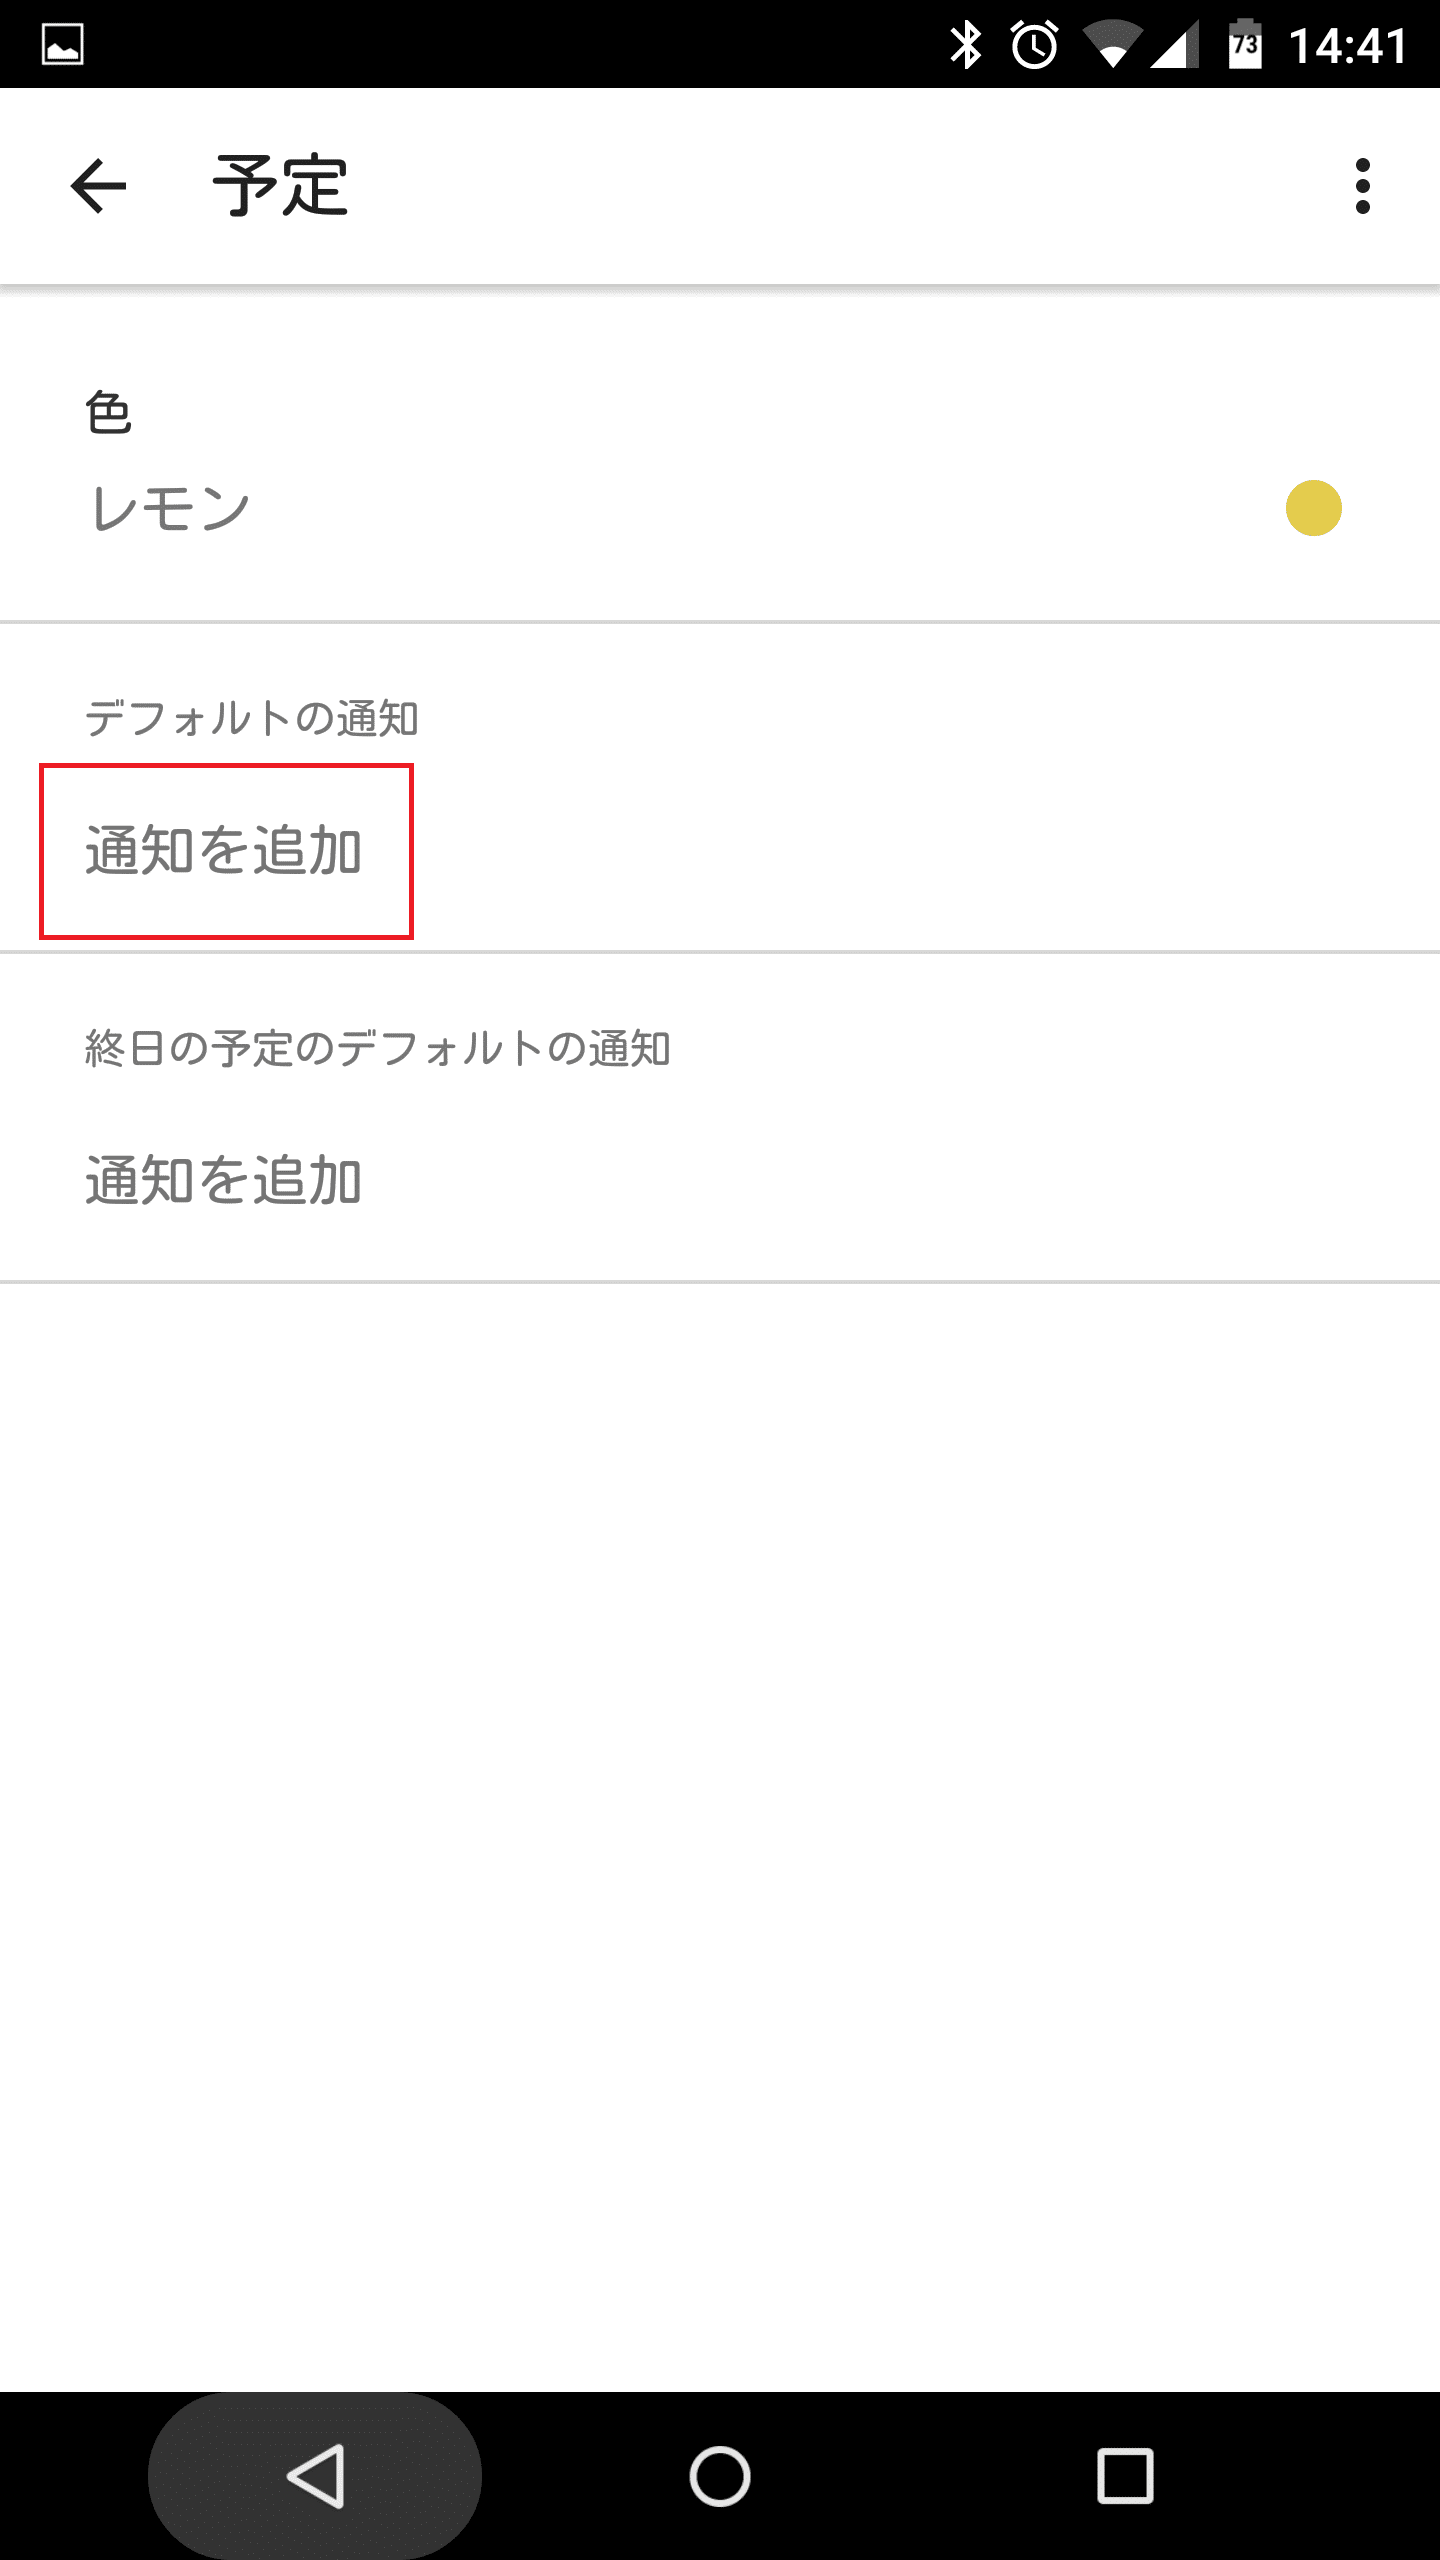
デフォルトの通知が「通知を追加」と表示され具体的な時間が消えたことを確認して戻るキーを押します。
![google-calendar-default-notification-nothing6](https://androidlover.net/wp-content/uploads/google-calendar-default-notification-nothing6-281x500.png)
すると、新規で予定を作成する際に通知がなしの状態になります。
![google-calendar-default-notification-nothing7](https://androidlover.net/wp-content/uploads/google-calendar-default-notification-nothing7-281x500.png)
Googleカレンダーの予定の通知がいらない場合にデフォルトで「なし」にする方法は以上です。
なお、Googleカレンダー Android版で予定の通知をデフォルトで「なし」にする方法以外の使い方に関する詳細はGoogleカレンダー(グーグルカレンダー) Android版の使い方まとめ。を参照してください。