今回は、Android版Microsoft OutlookにGoogleカレンダーを同期する方法と使い方を紹介します。
目次
Android版Microsoft OutlookでGoogleカレンダーを同期する方法
Android版Microsoft OutlookでGoogleカレンダーを同期していきます。Android版Microsoft Outlookに表示させたいGoogleカレンダーのアカウントを追加する
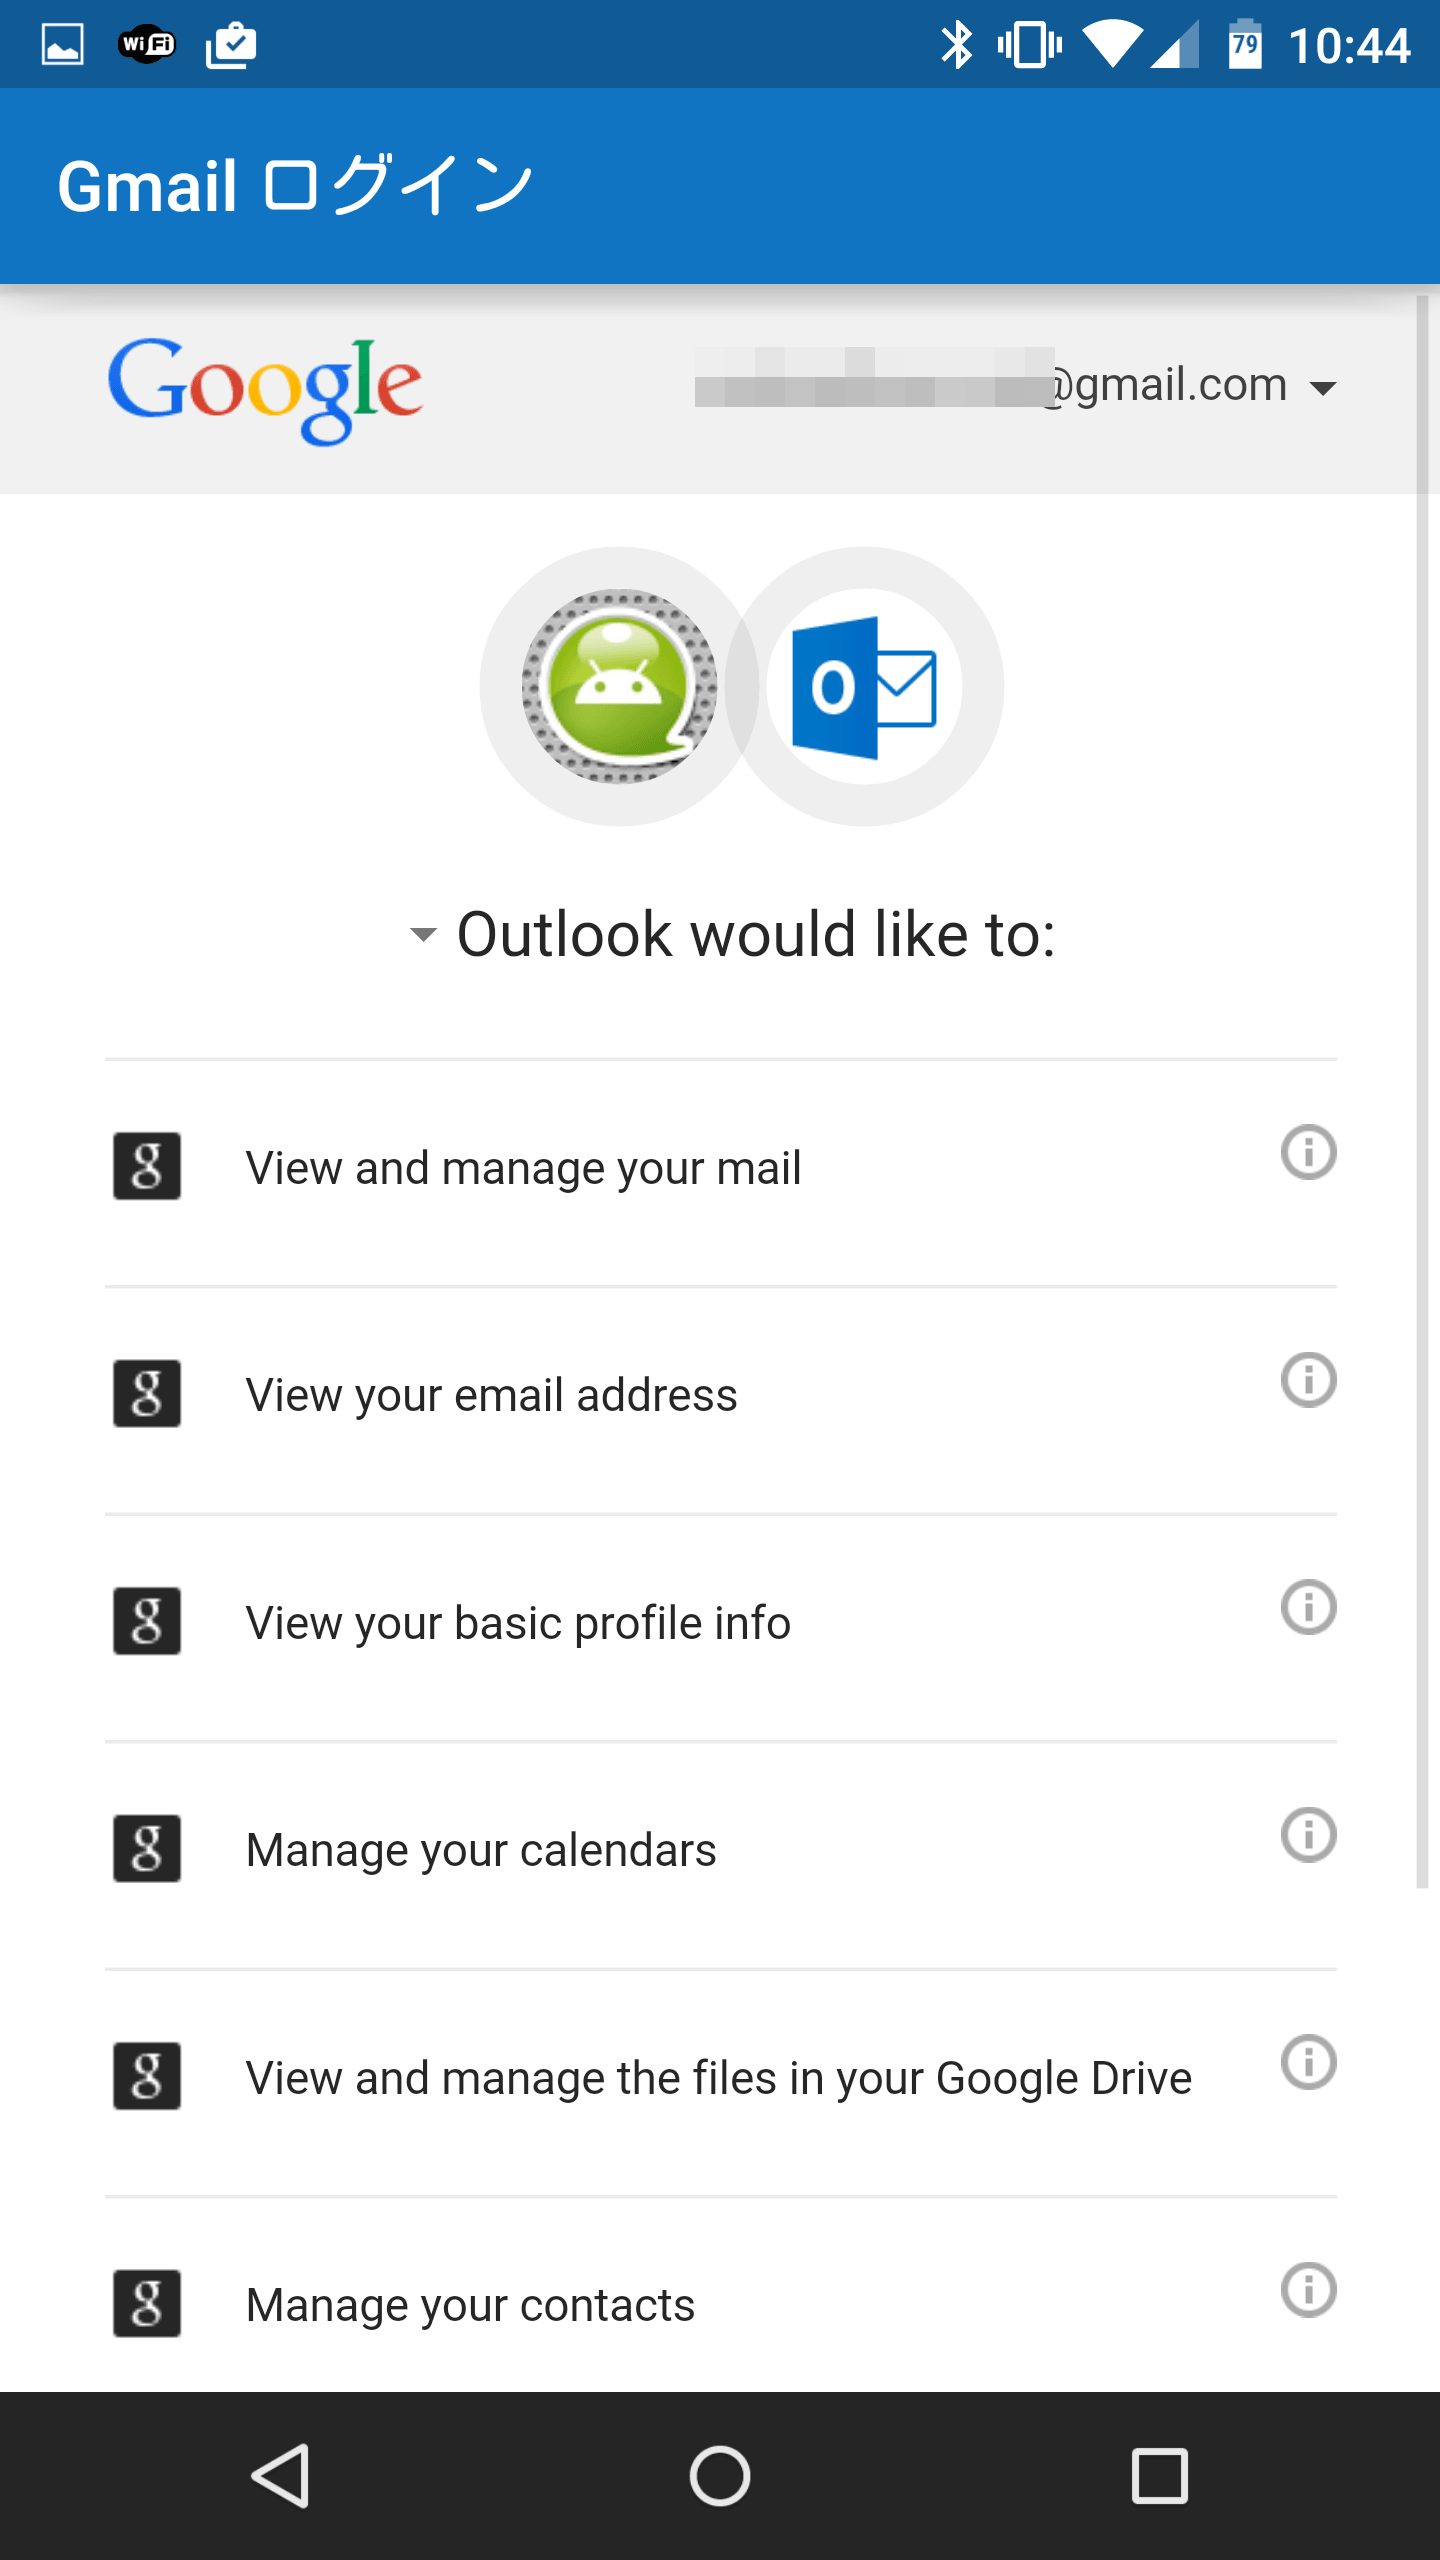
まず、Android版Microsoft Outlookのカレンダーに表示させたいGoogleカレンダーのアカウントを追加します。Android版Microsoft OutlookにGoogleアカウントを追加する方法は、Android版Microsoft OutlookのプレビューにGmailを設定する方法と基本的な使い方。安定して正常にプッシュ受信することを確認。のMicrosoft OutlookにGmaiアカウントを登録するを参照してください。
Android版Microsoft Outlookのカレンダーに表示させるGoogleカレンダーを選ぶ
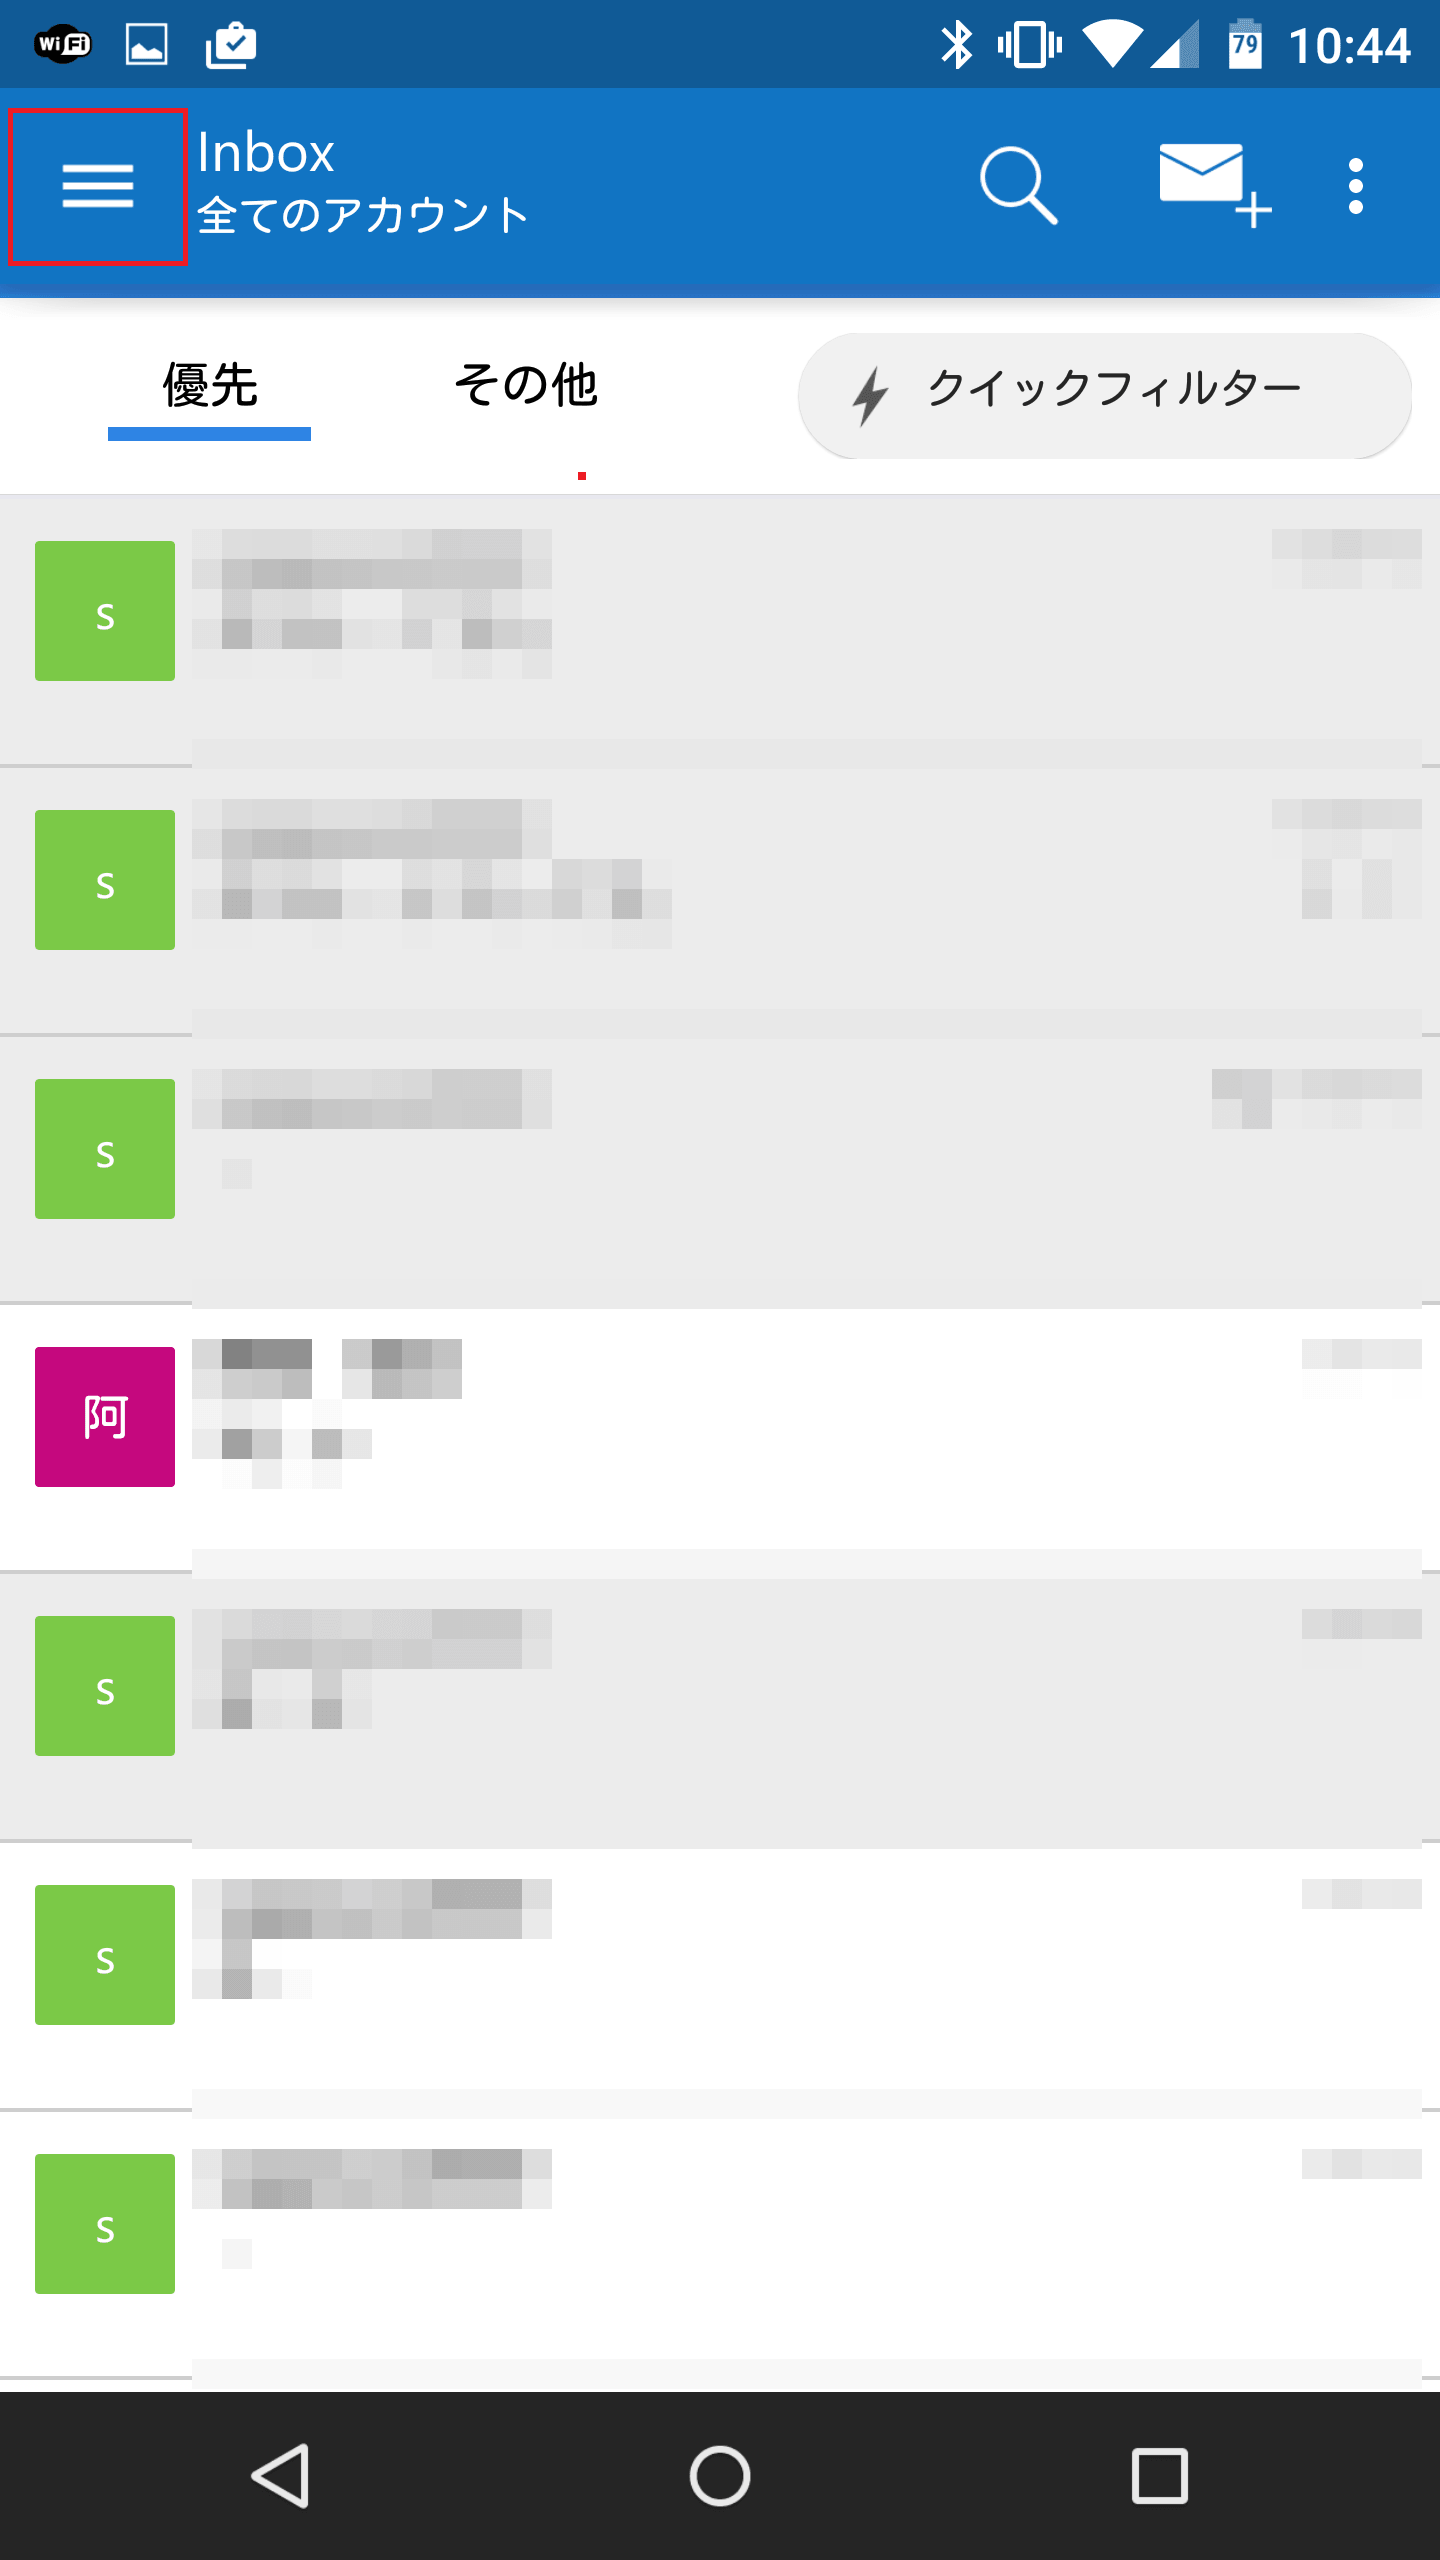
Android版Microsoft OutlookにGoogleアカウントを登録したら、カレンダーに表示させるGoogleカレンダーを選びます。Android版Microsoft Outlookの左上のメニューアイコンをタップします。
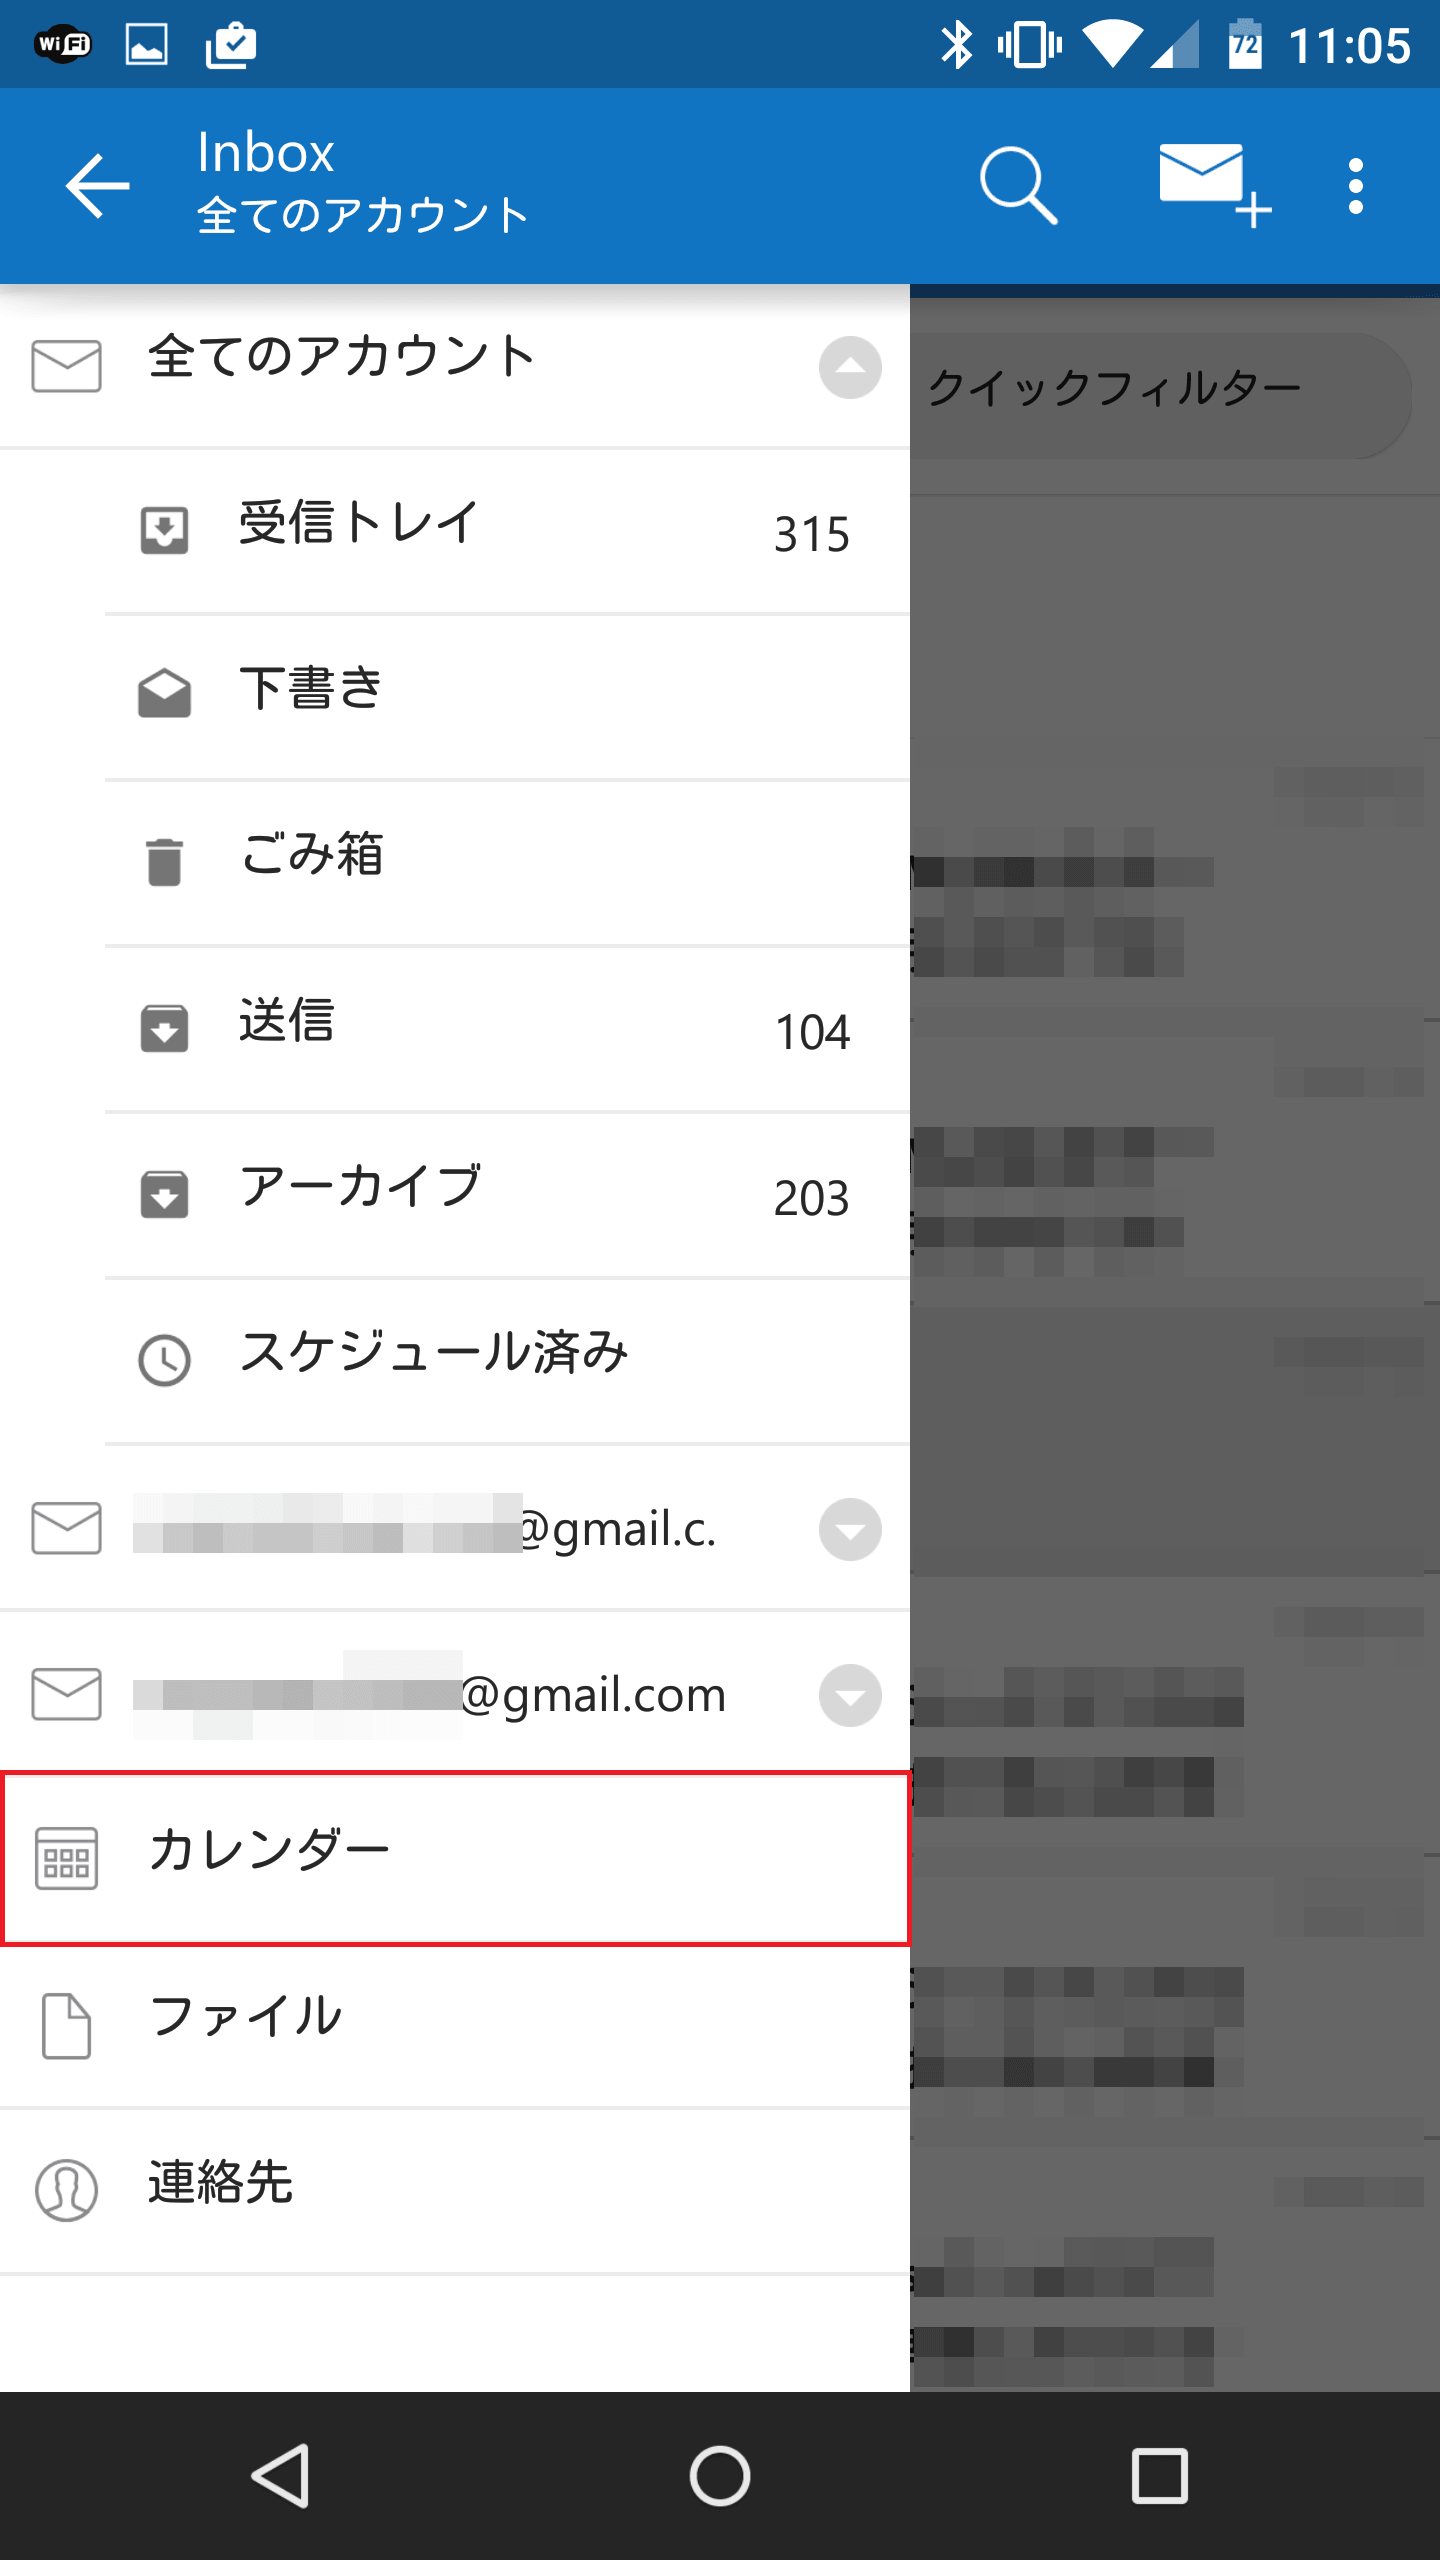
「カレンダー」をタップします。
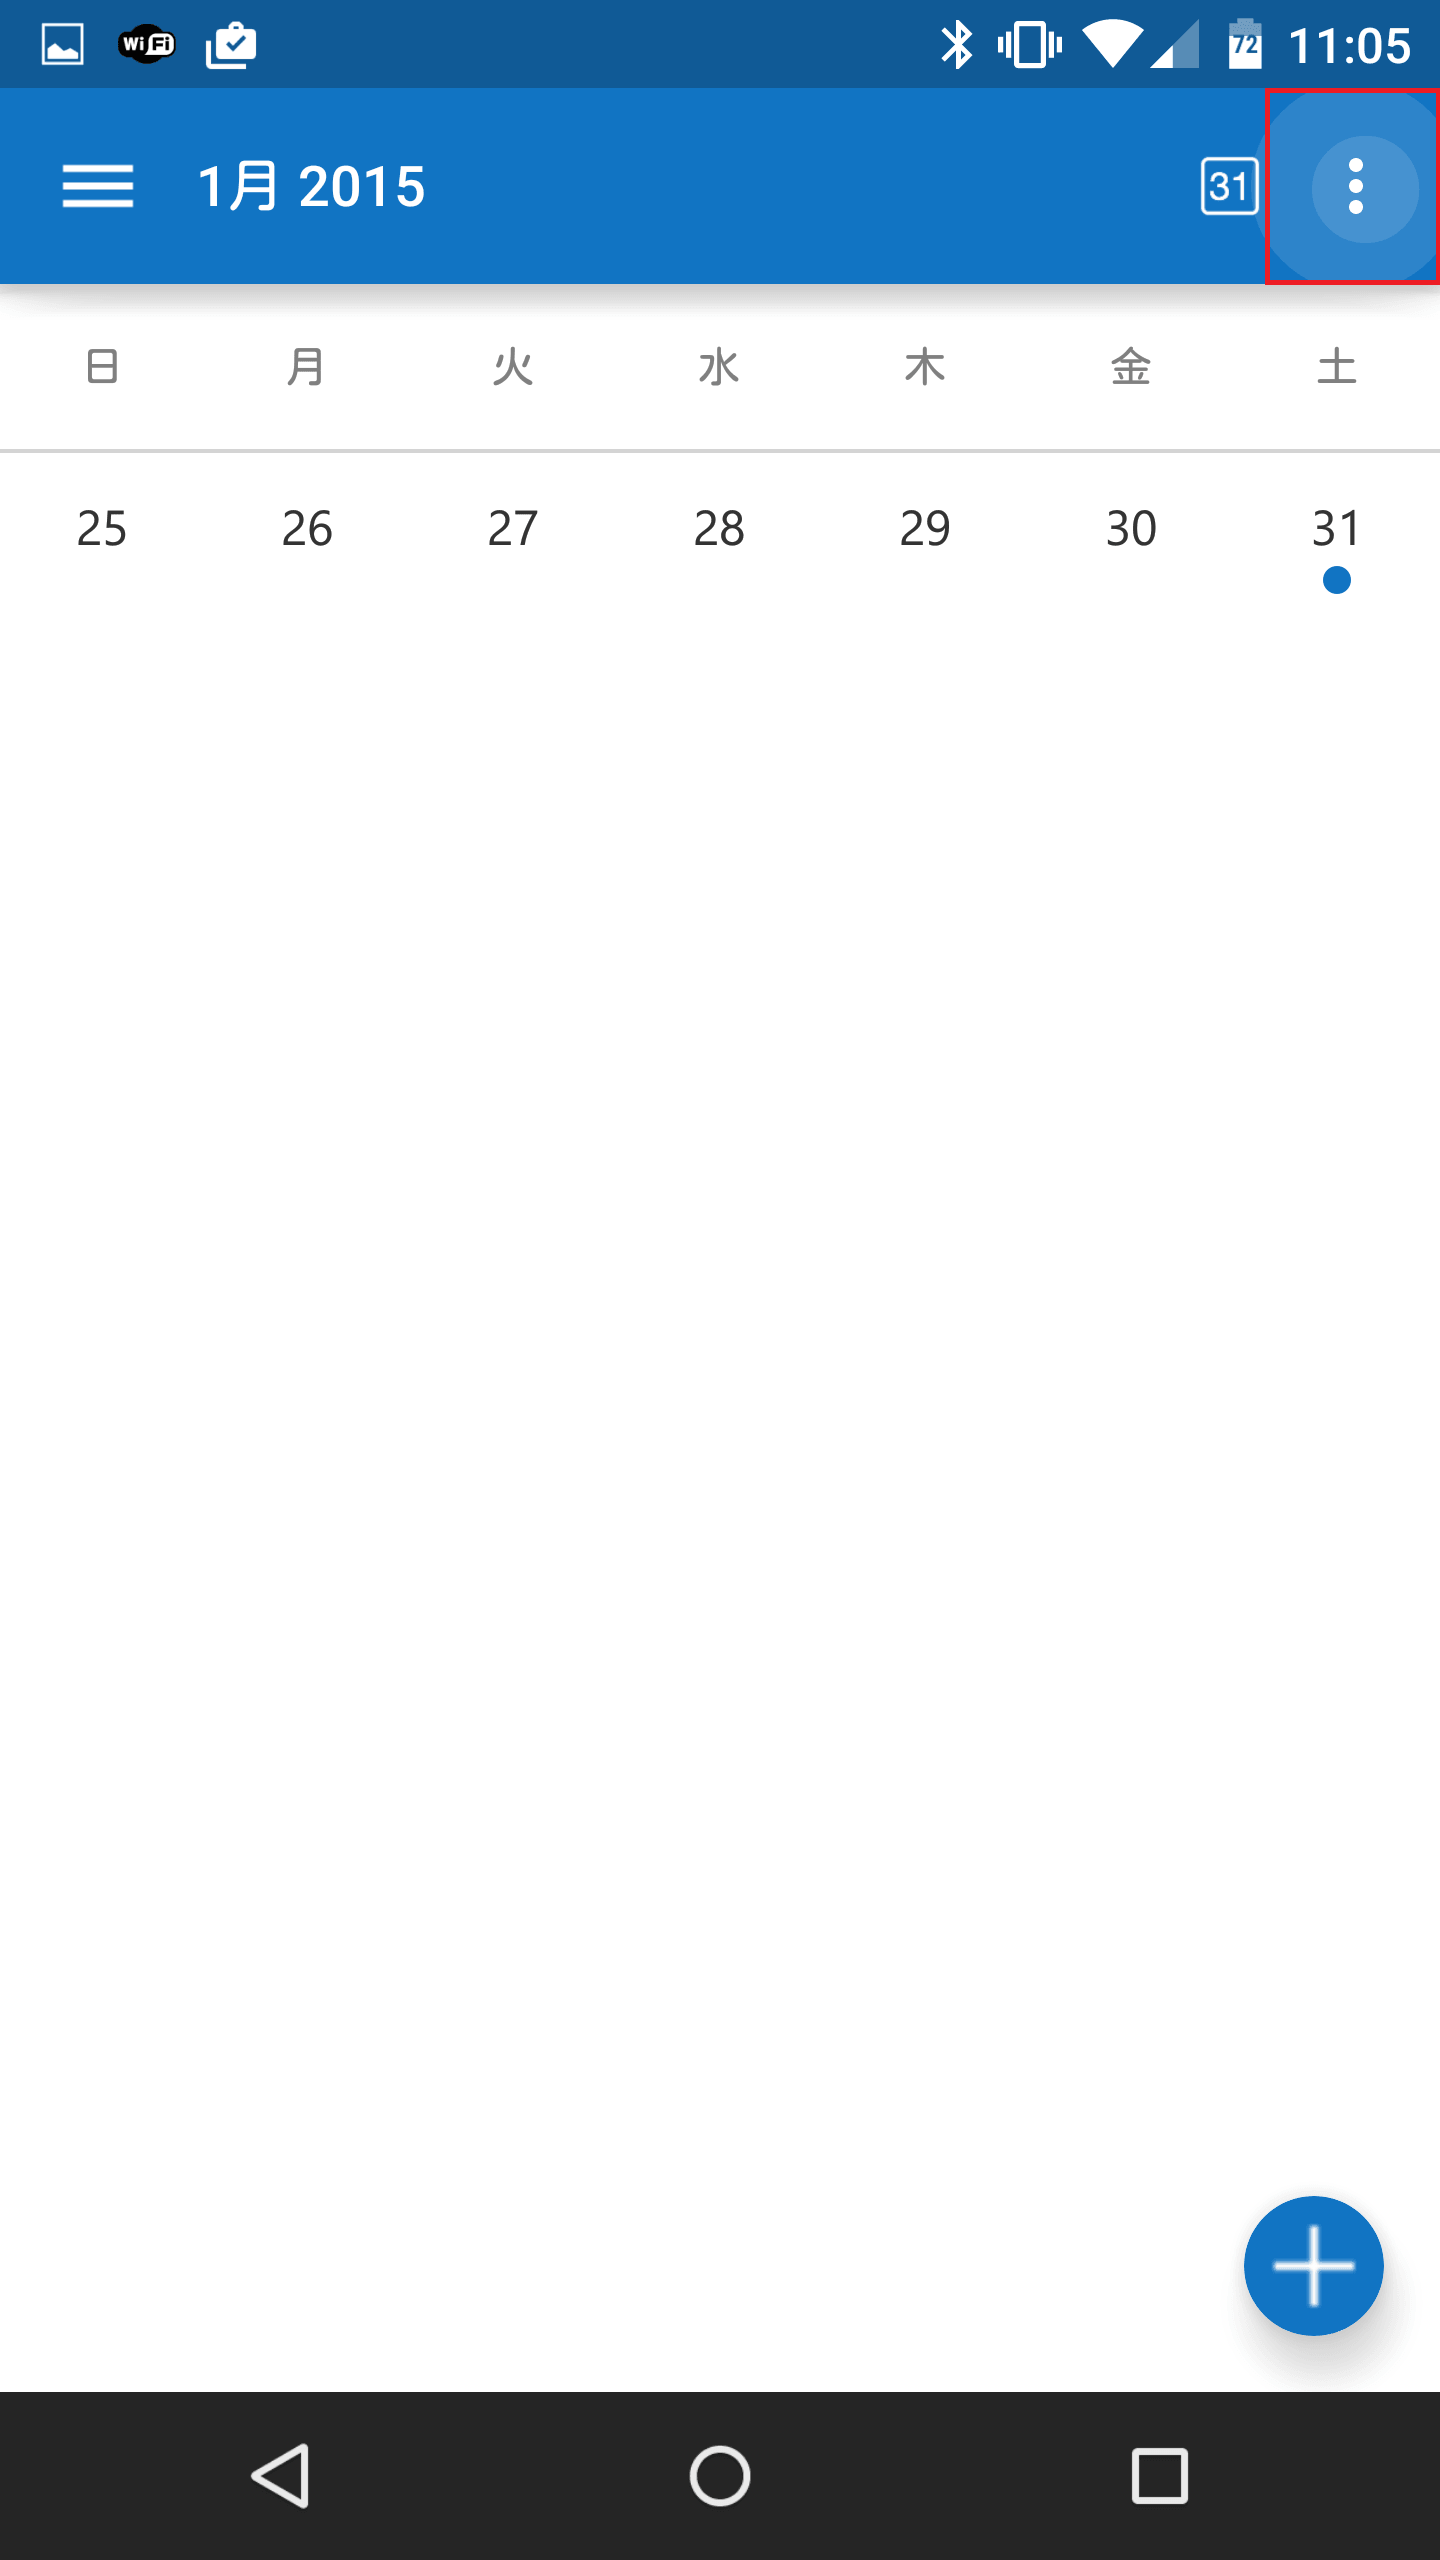
カレンダーが表示されたら、右上のメニューアイコンをタップします。
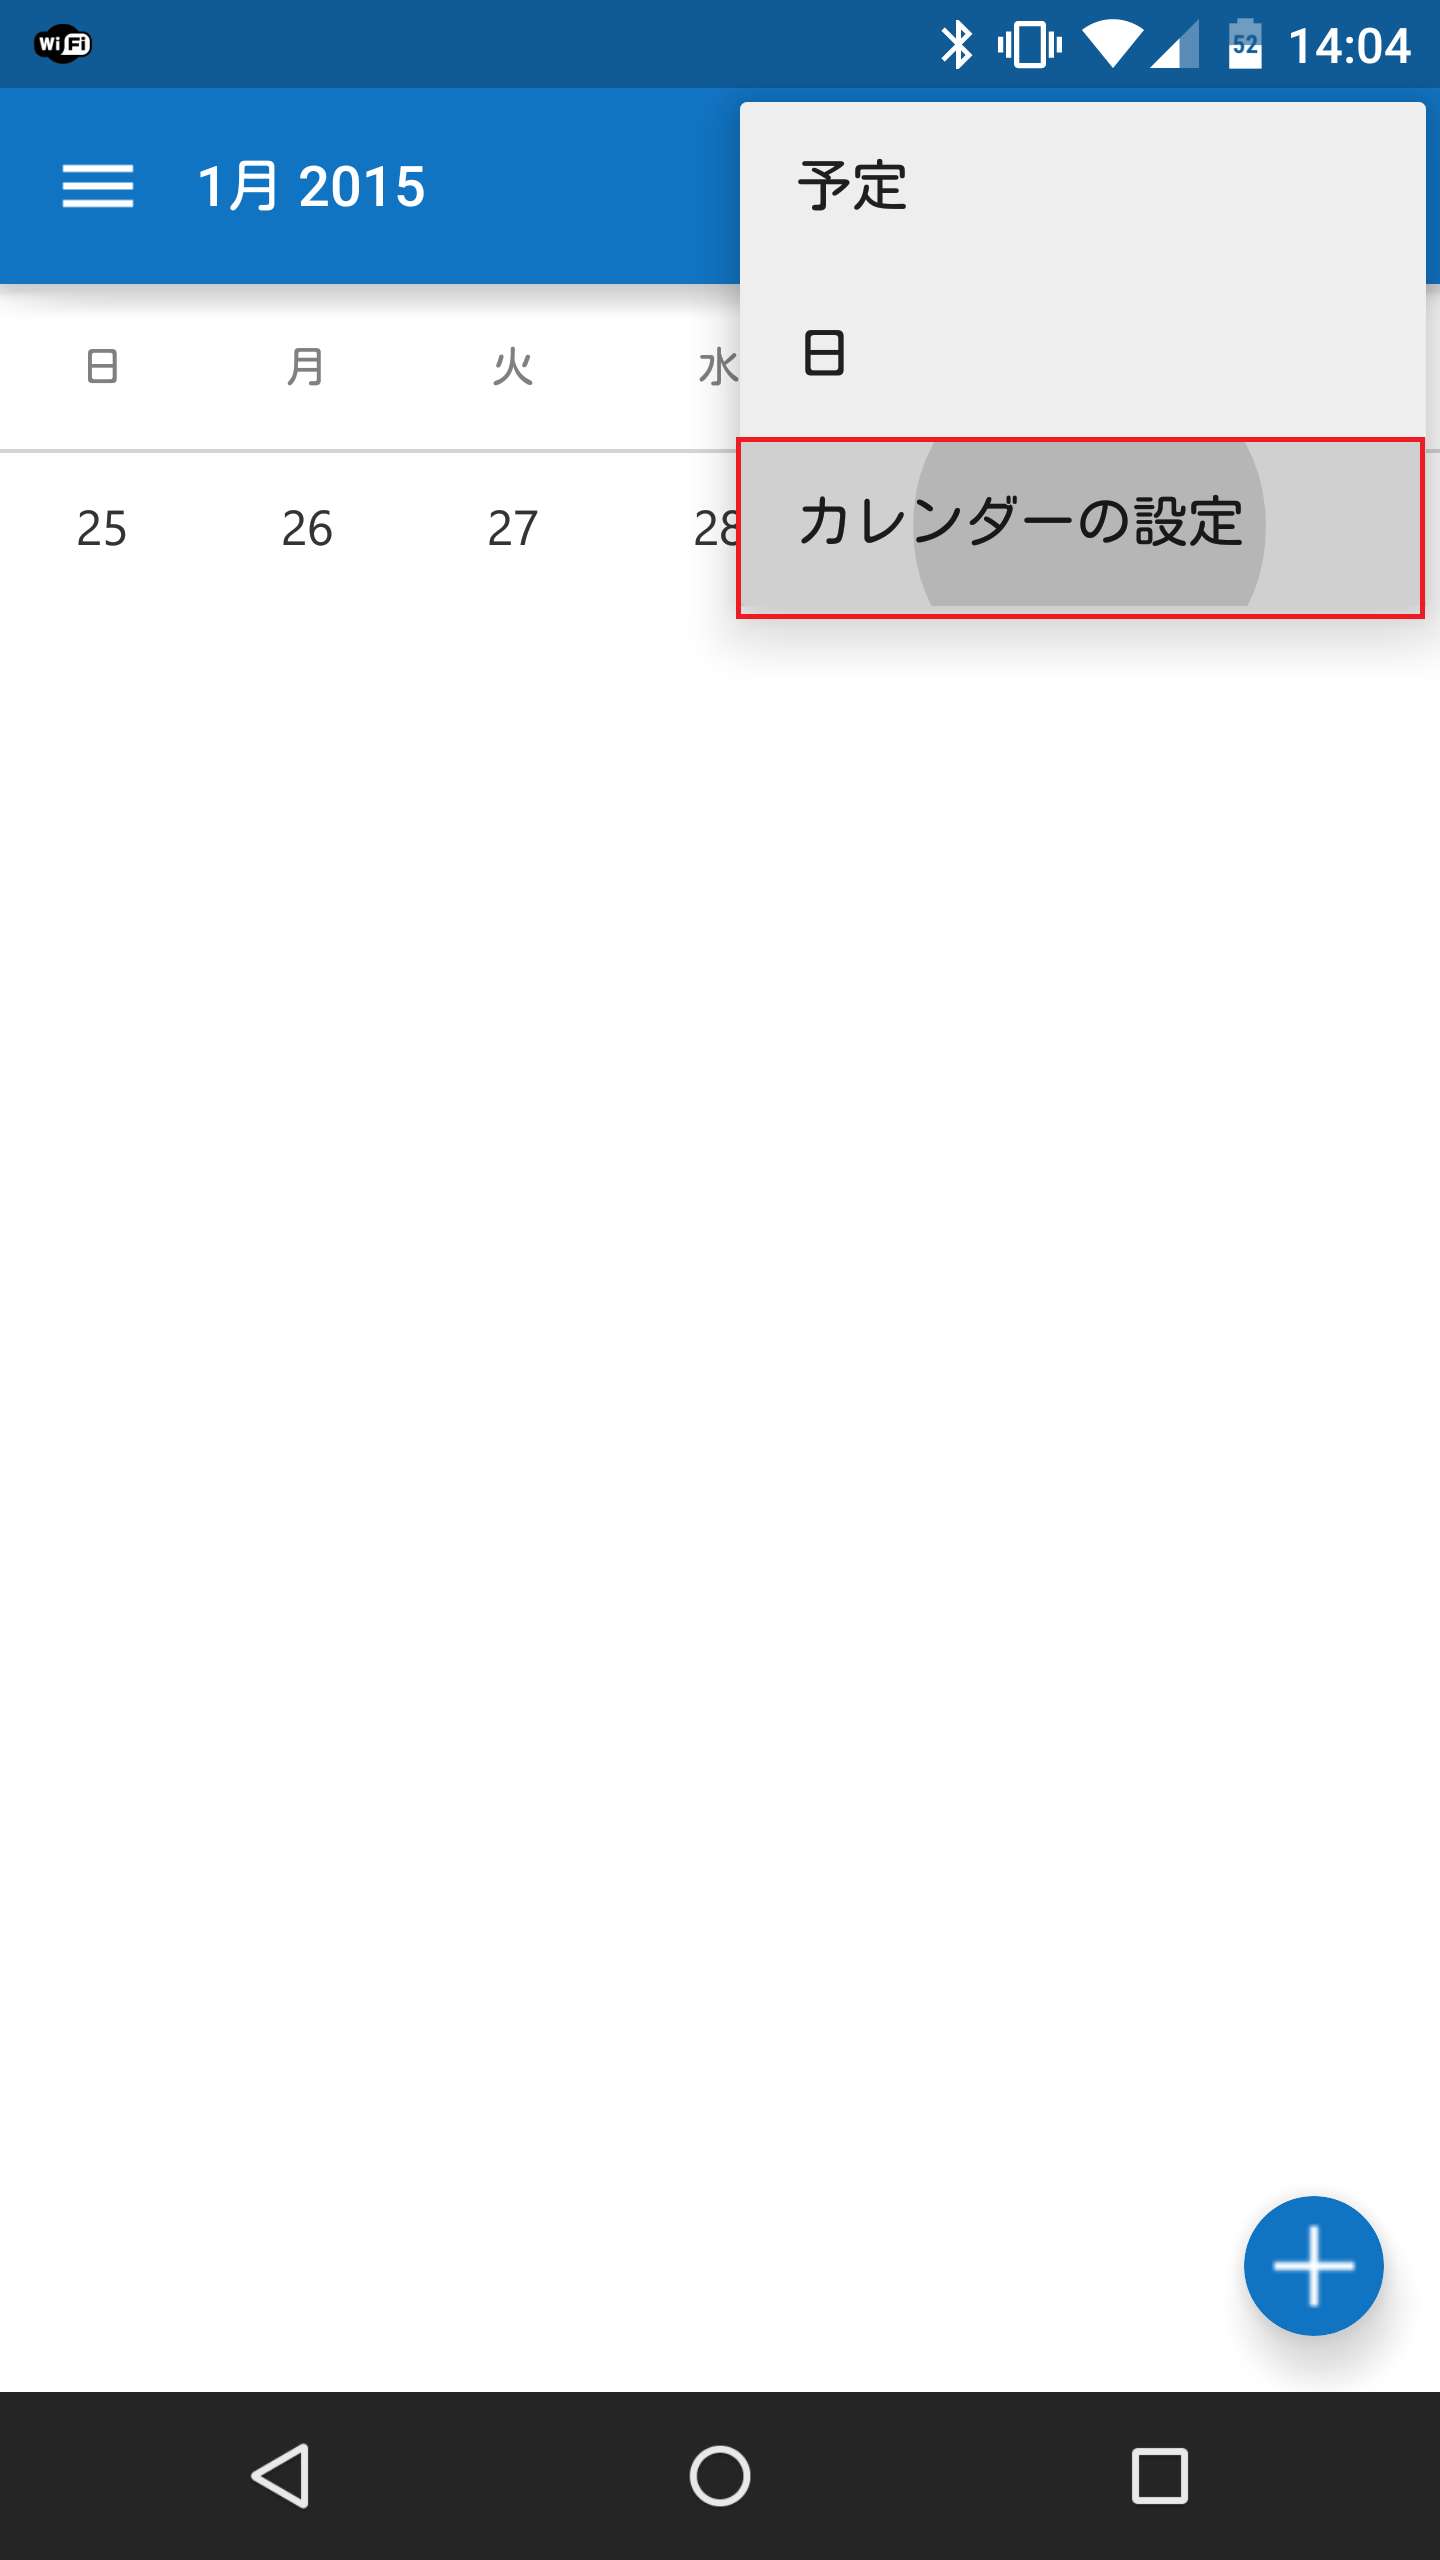
「カレンダーの設定」をタップします。
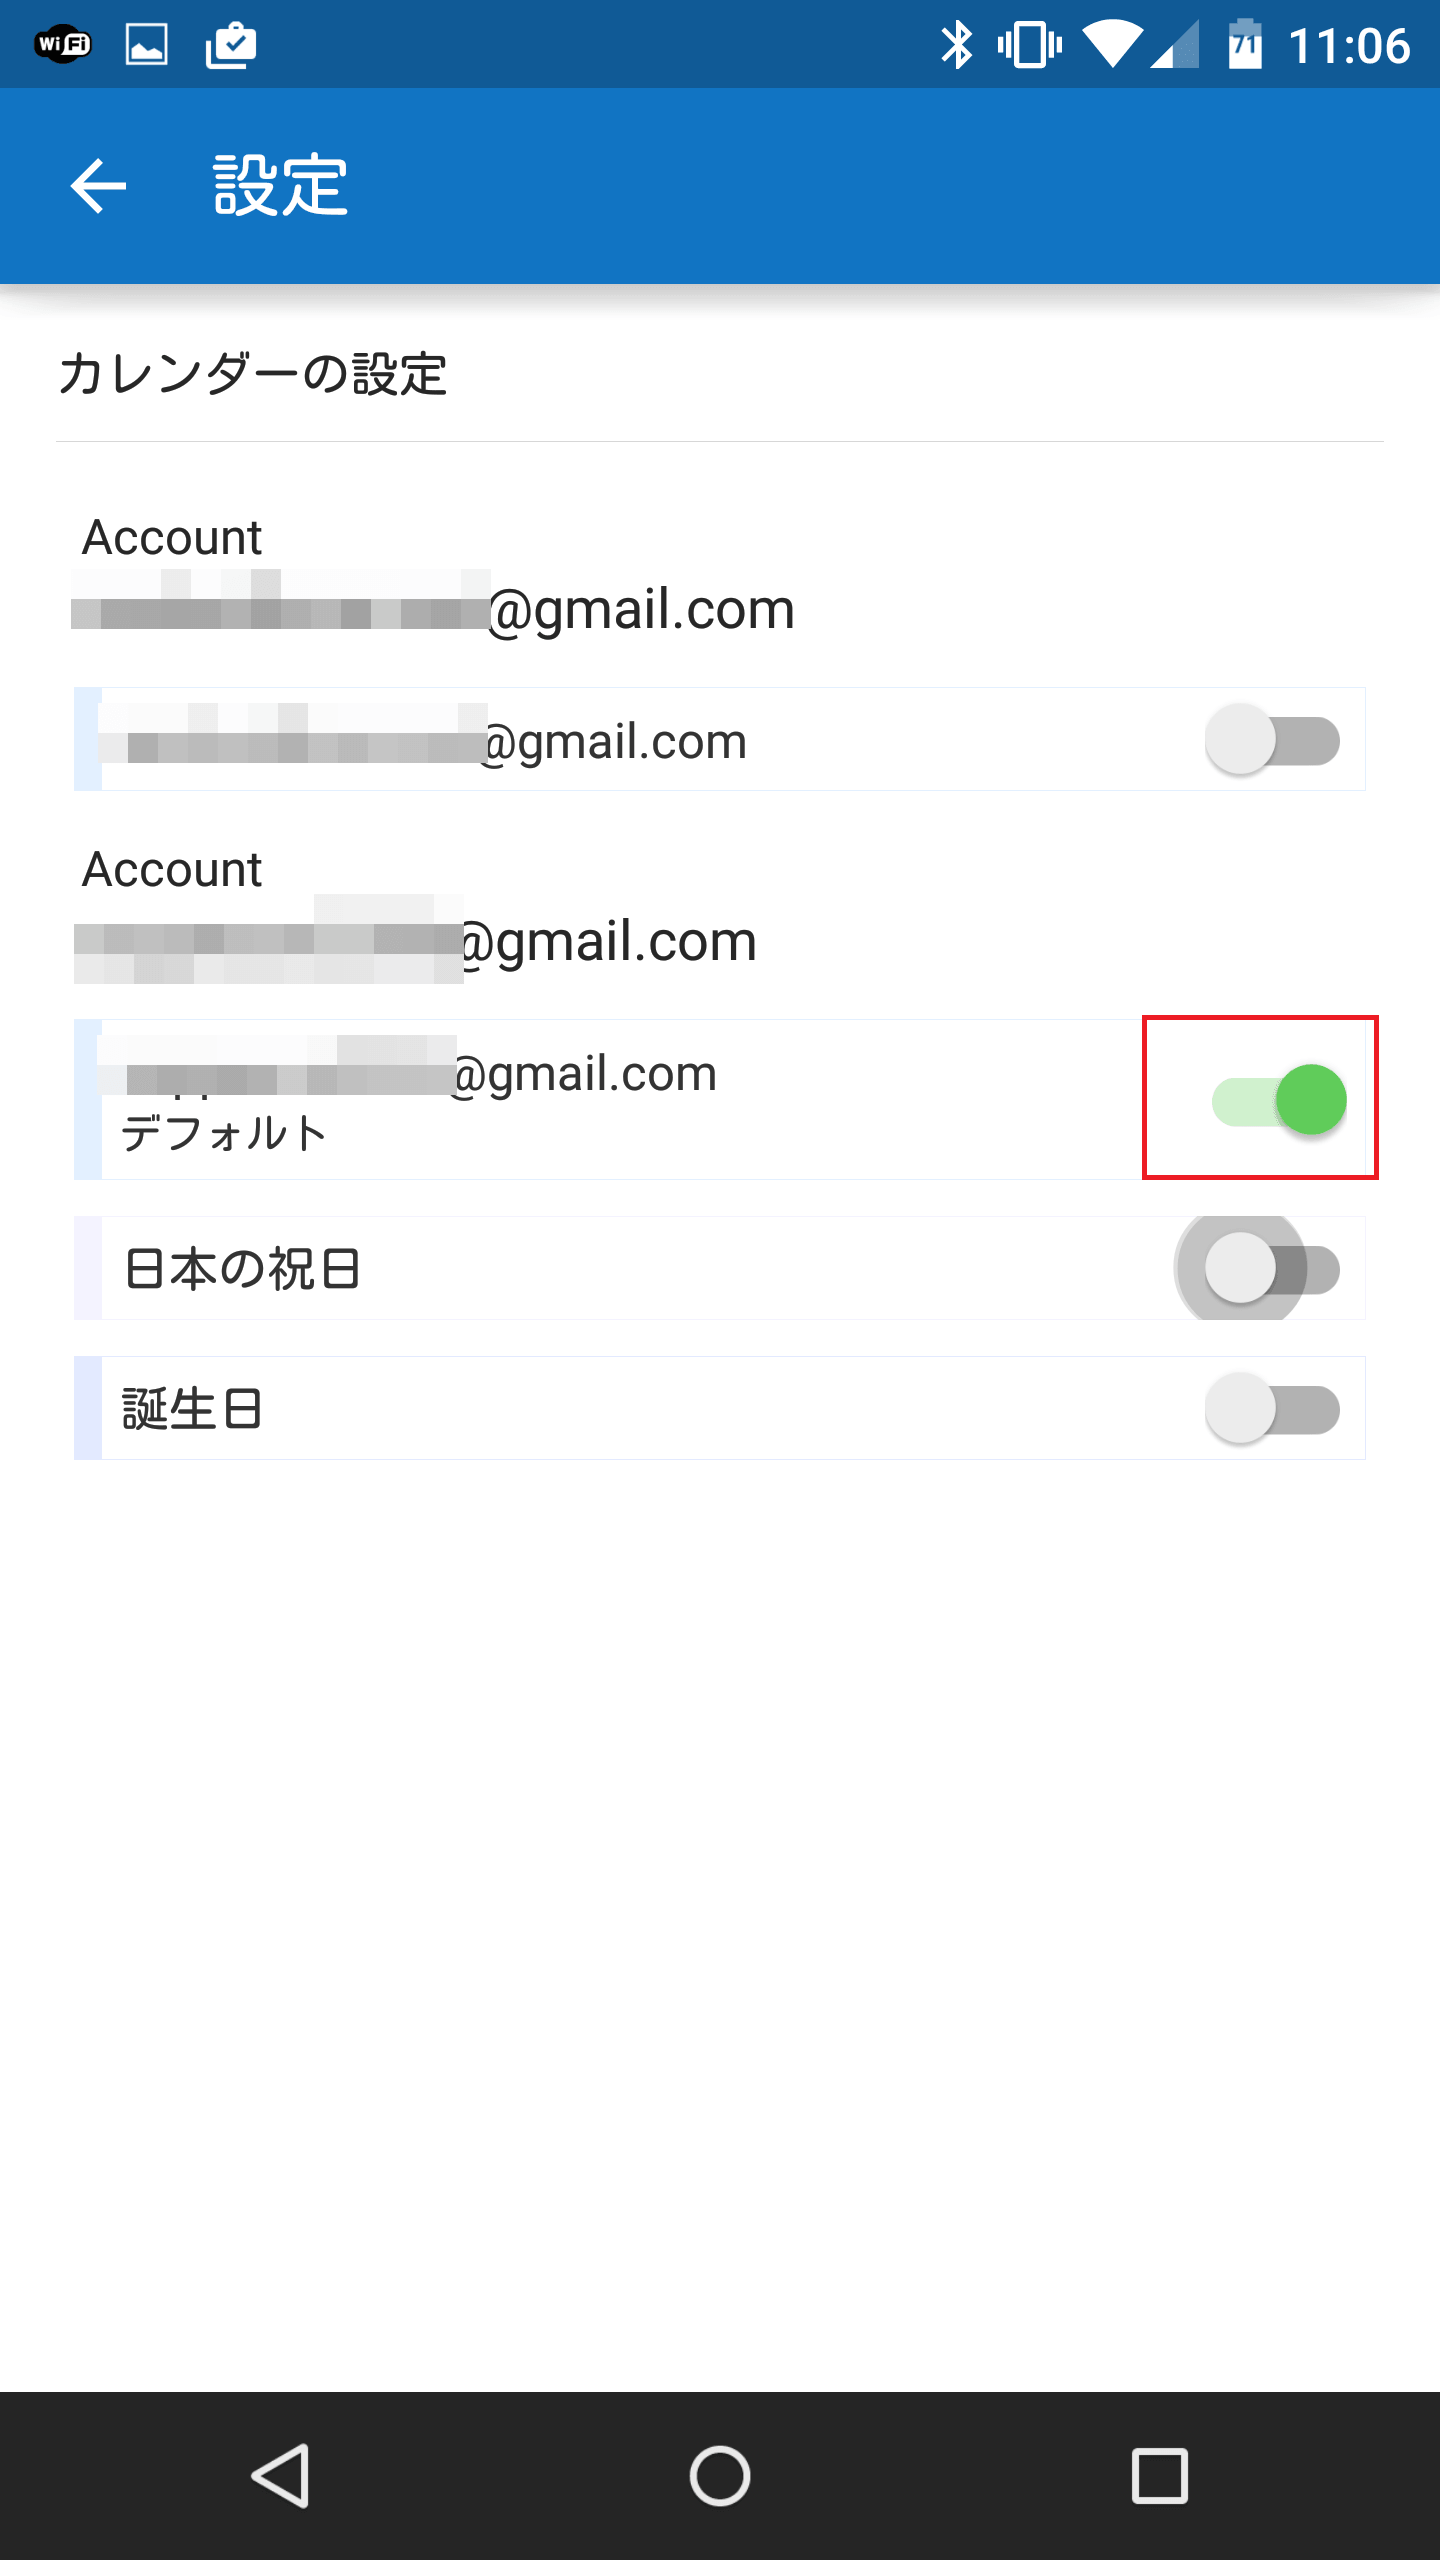
デフォルトではすべてのアカウントのカレンダーが非表示(オフ)になっているので、Android版Microsoft Outlookに表示させたいGoogleカレンダーのアカウントをオンにします。
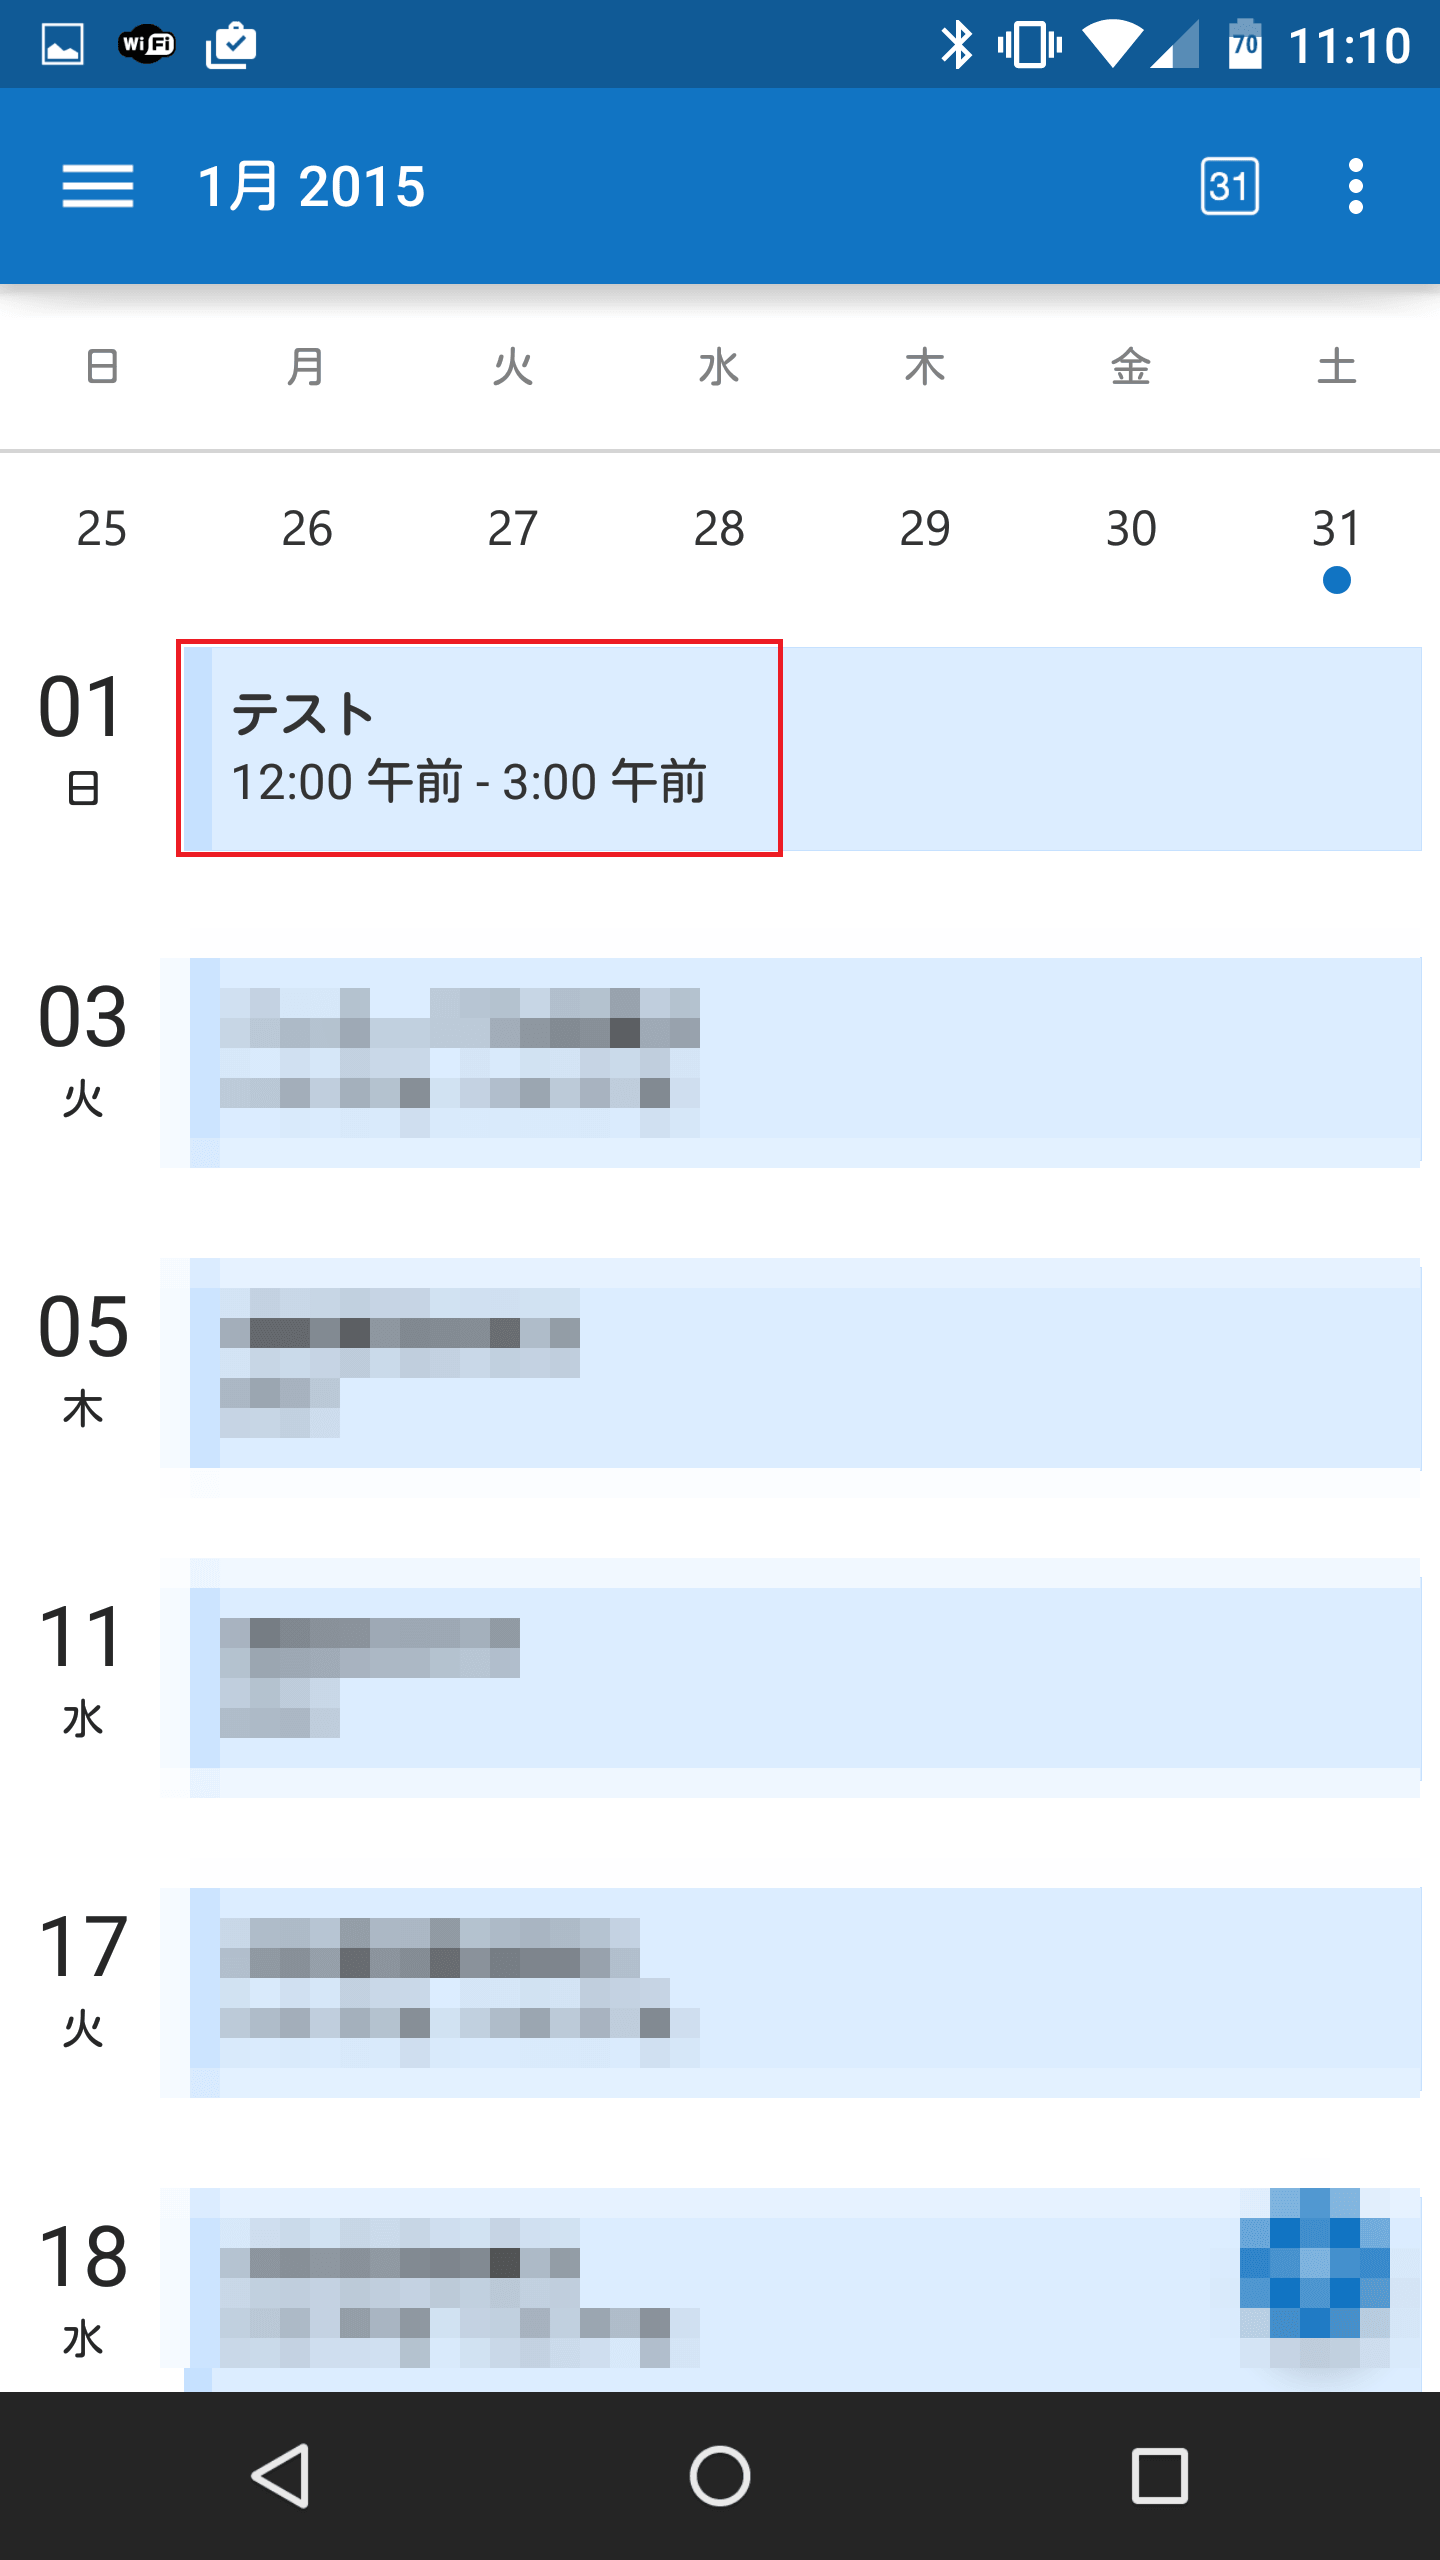
すると、Android版Microsoft OutlookにGoogleカレンダーが表示されました。

Android版Microsoft Outlookのカレンダーの使い方
ここからは、Android版Microsoft Outlookのカレンダー機能の使い方です。Googleカレンダーの予定を追加する
Android版Microsoft Outlookでは、Googleカレンダーに予定を新規で追加することができます。右下の「+」アイコンをタップします。
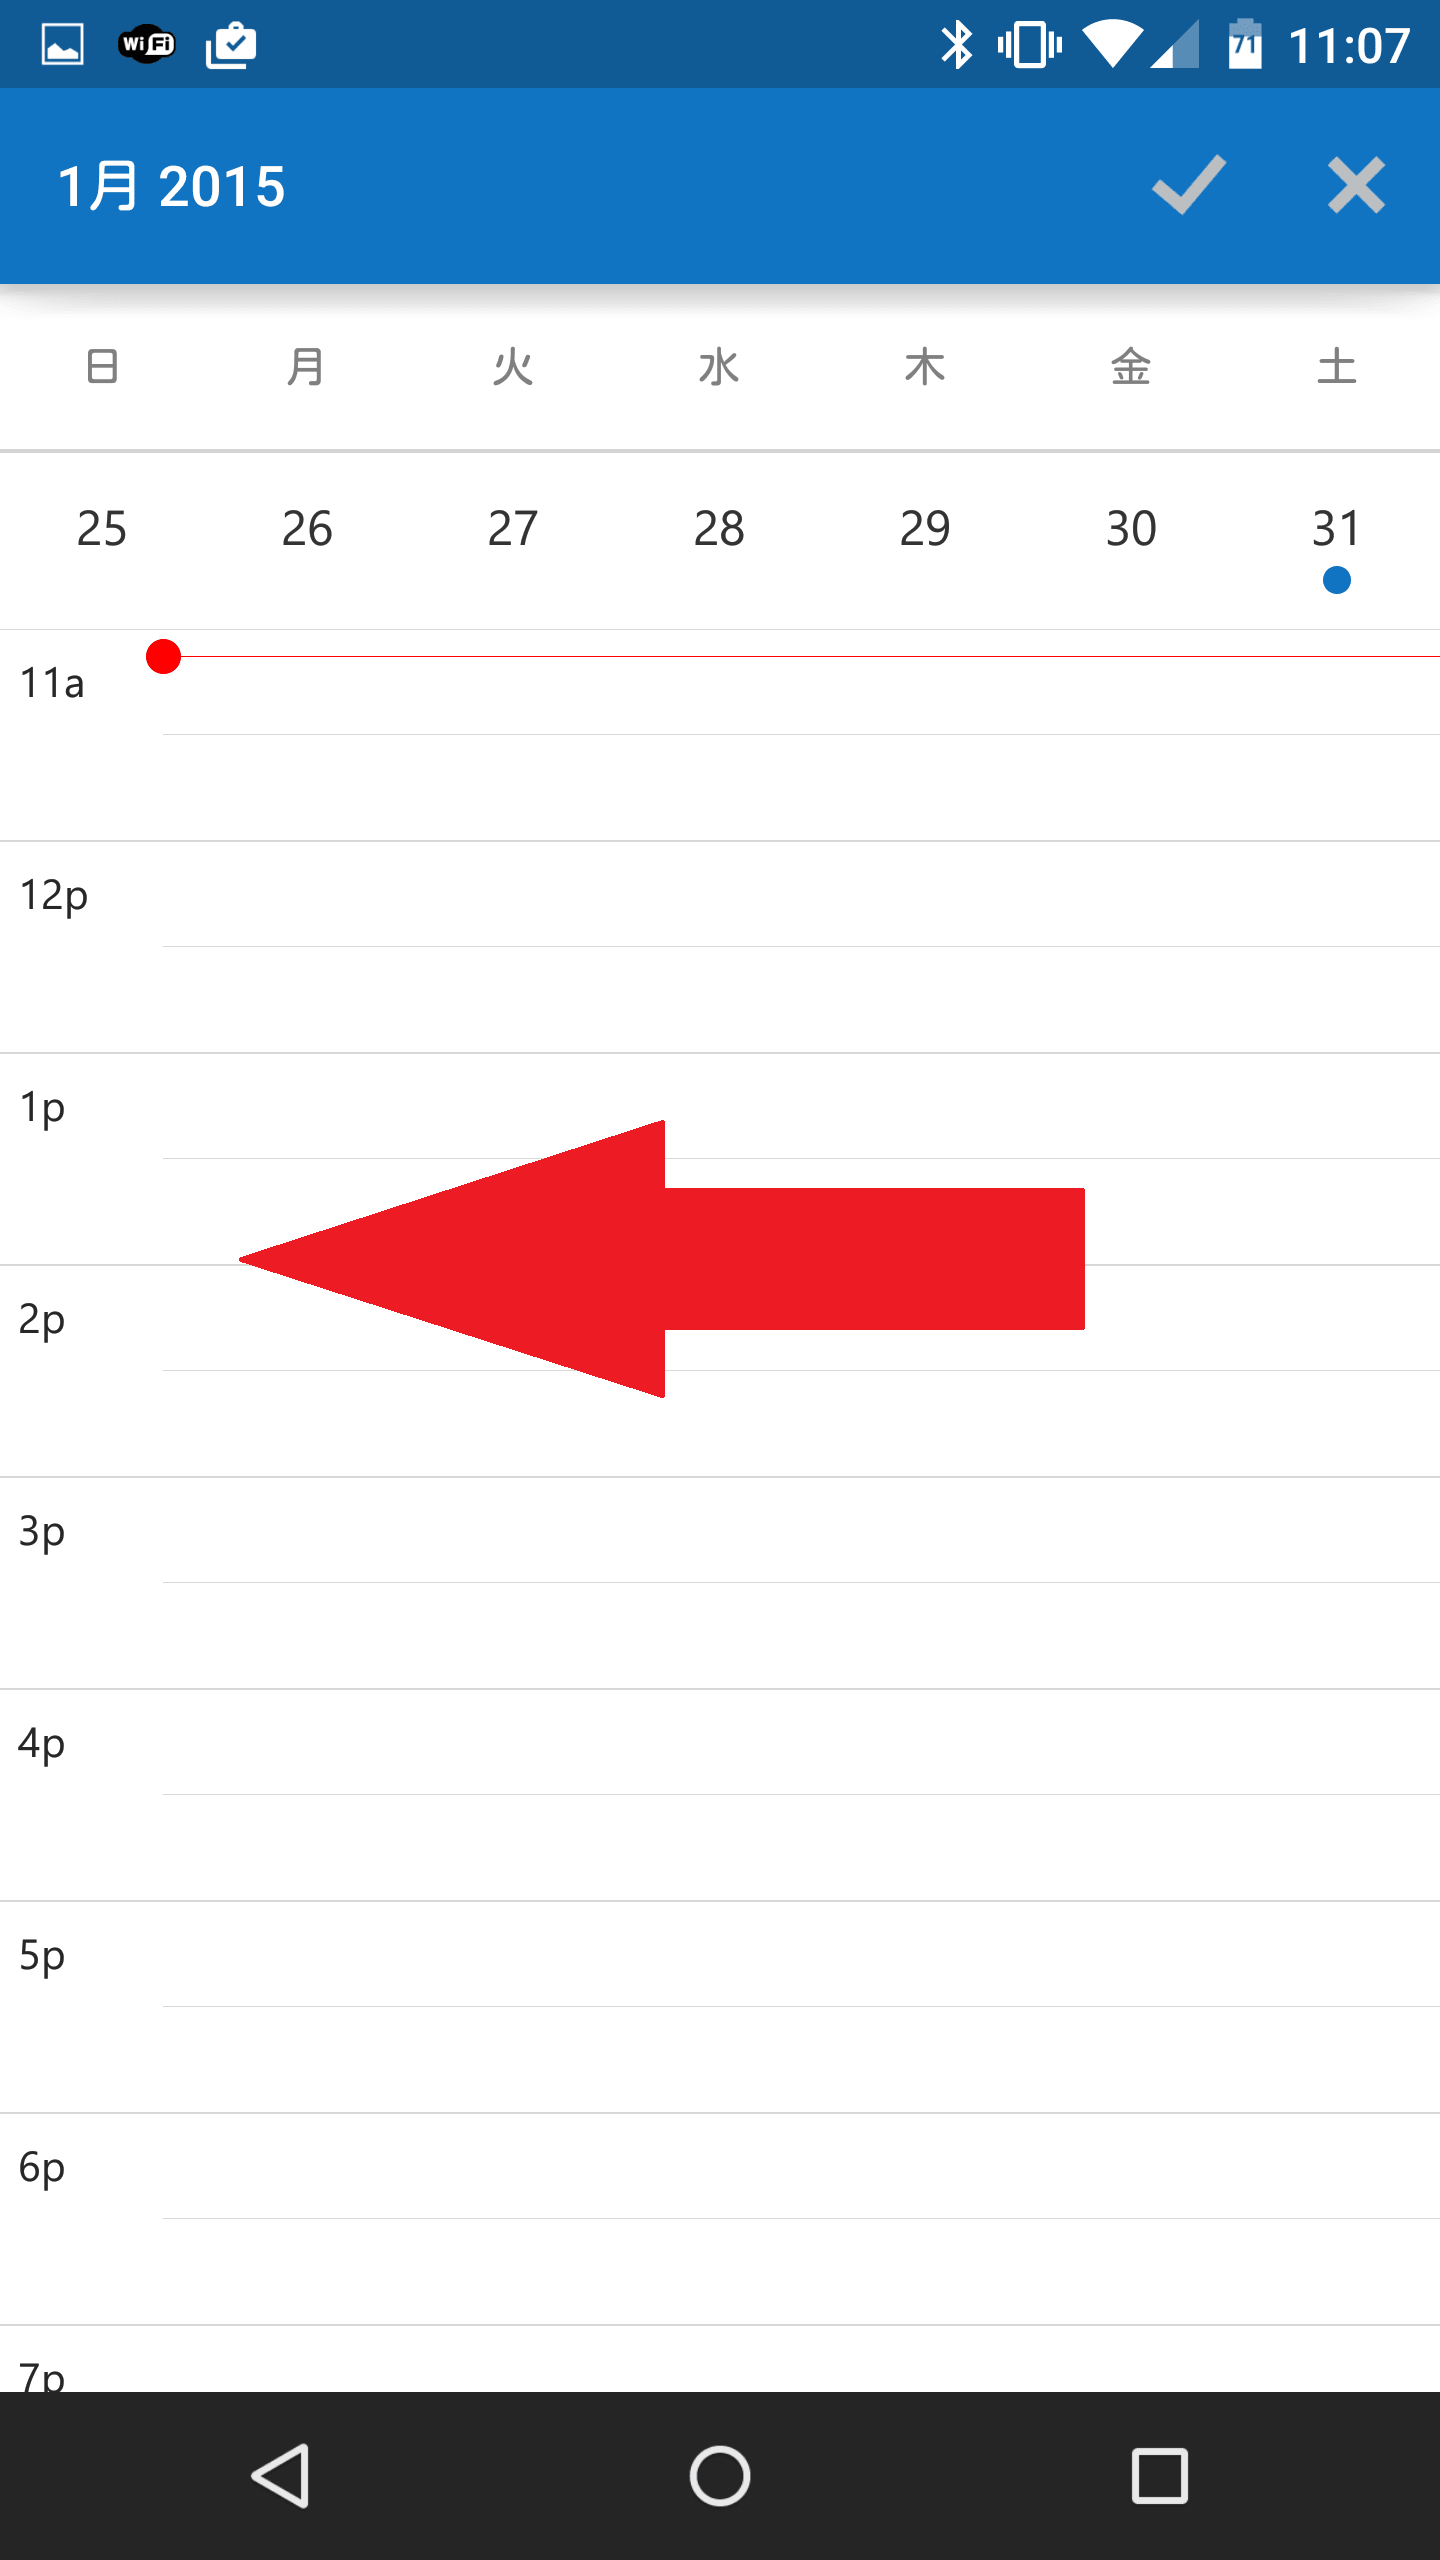
まず、予定を追加する日にちを選びます。日にちをタップすればその日に予定を追加することができます。次の週に移動したいときは左にスワイプします。
午前0時に移動したいときは、下にスワイプしていきます。

「12a」が午前0時です。「12a」の上部分をタップすると・・・
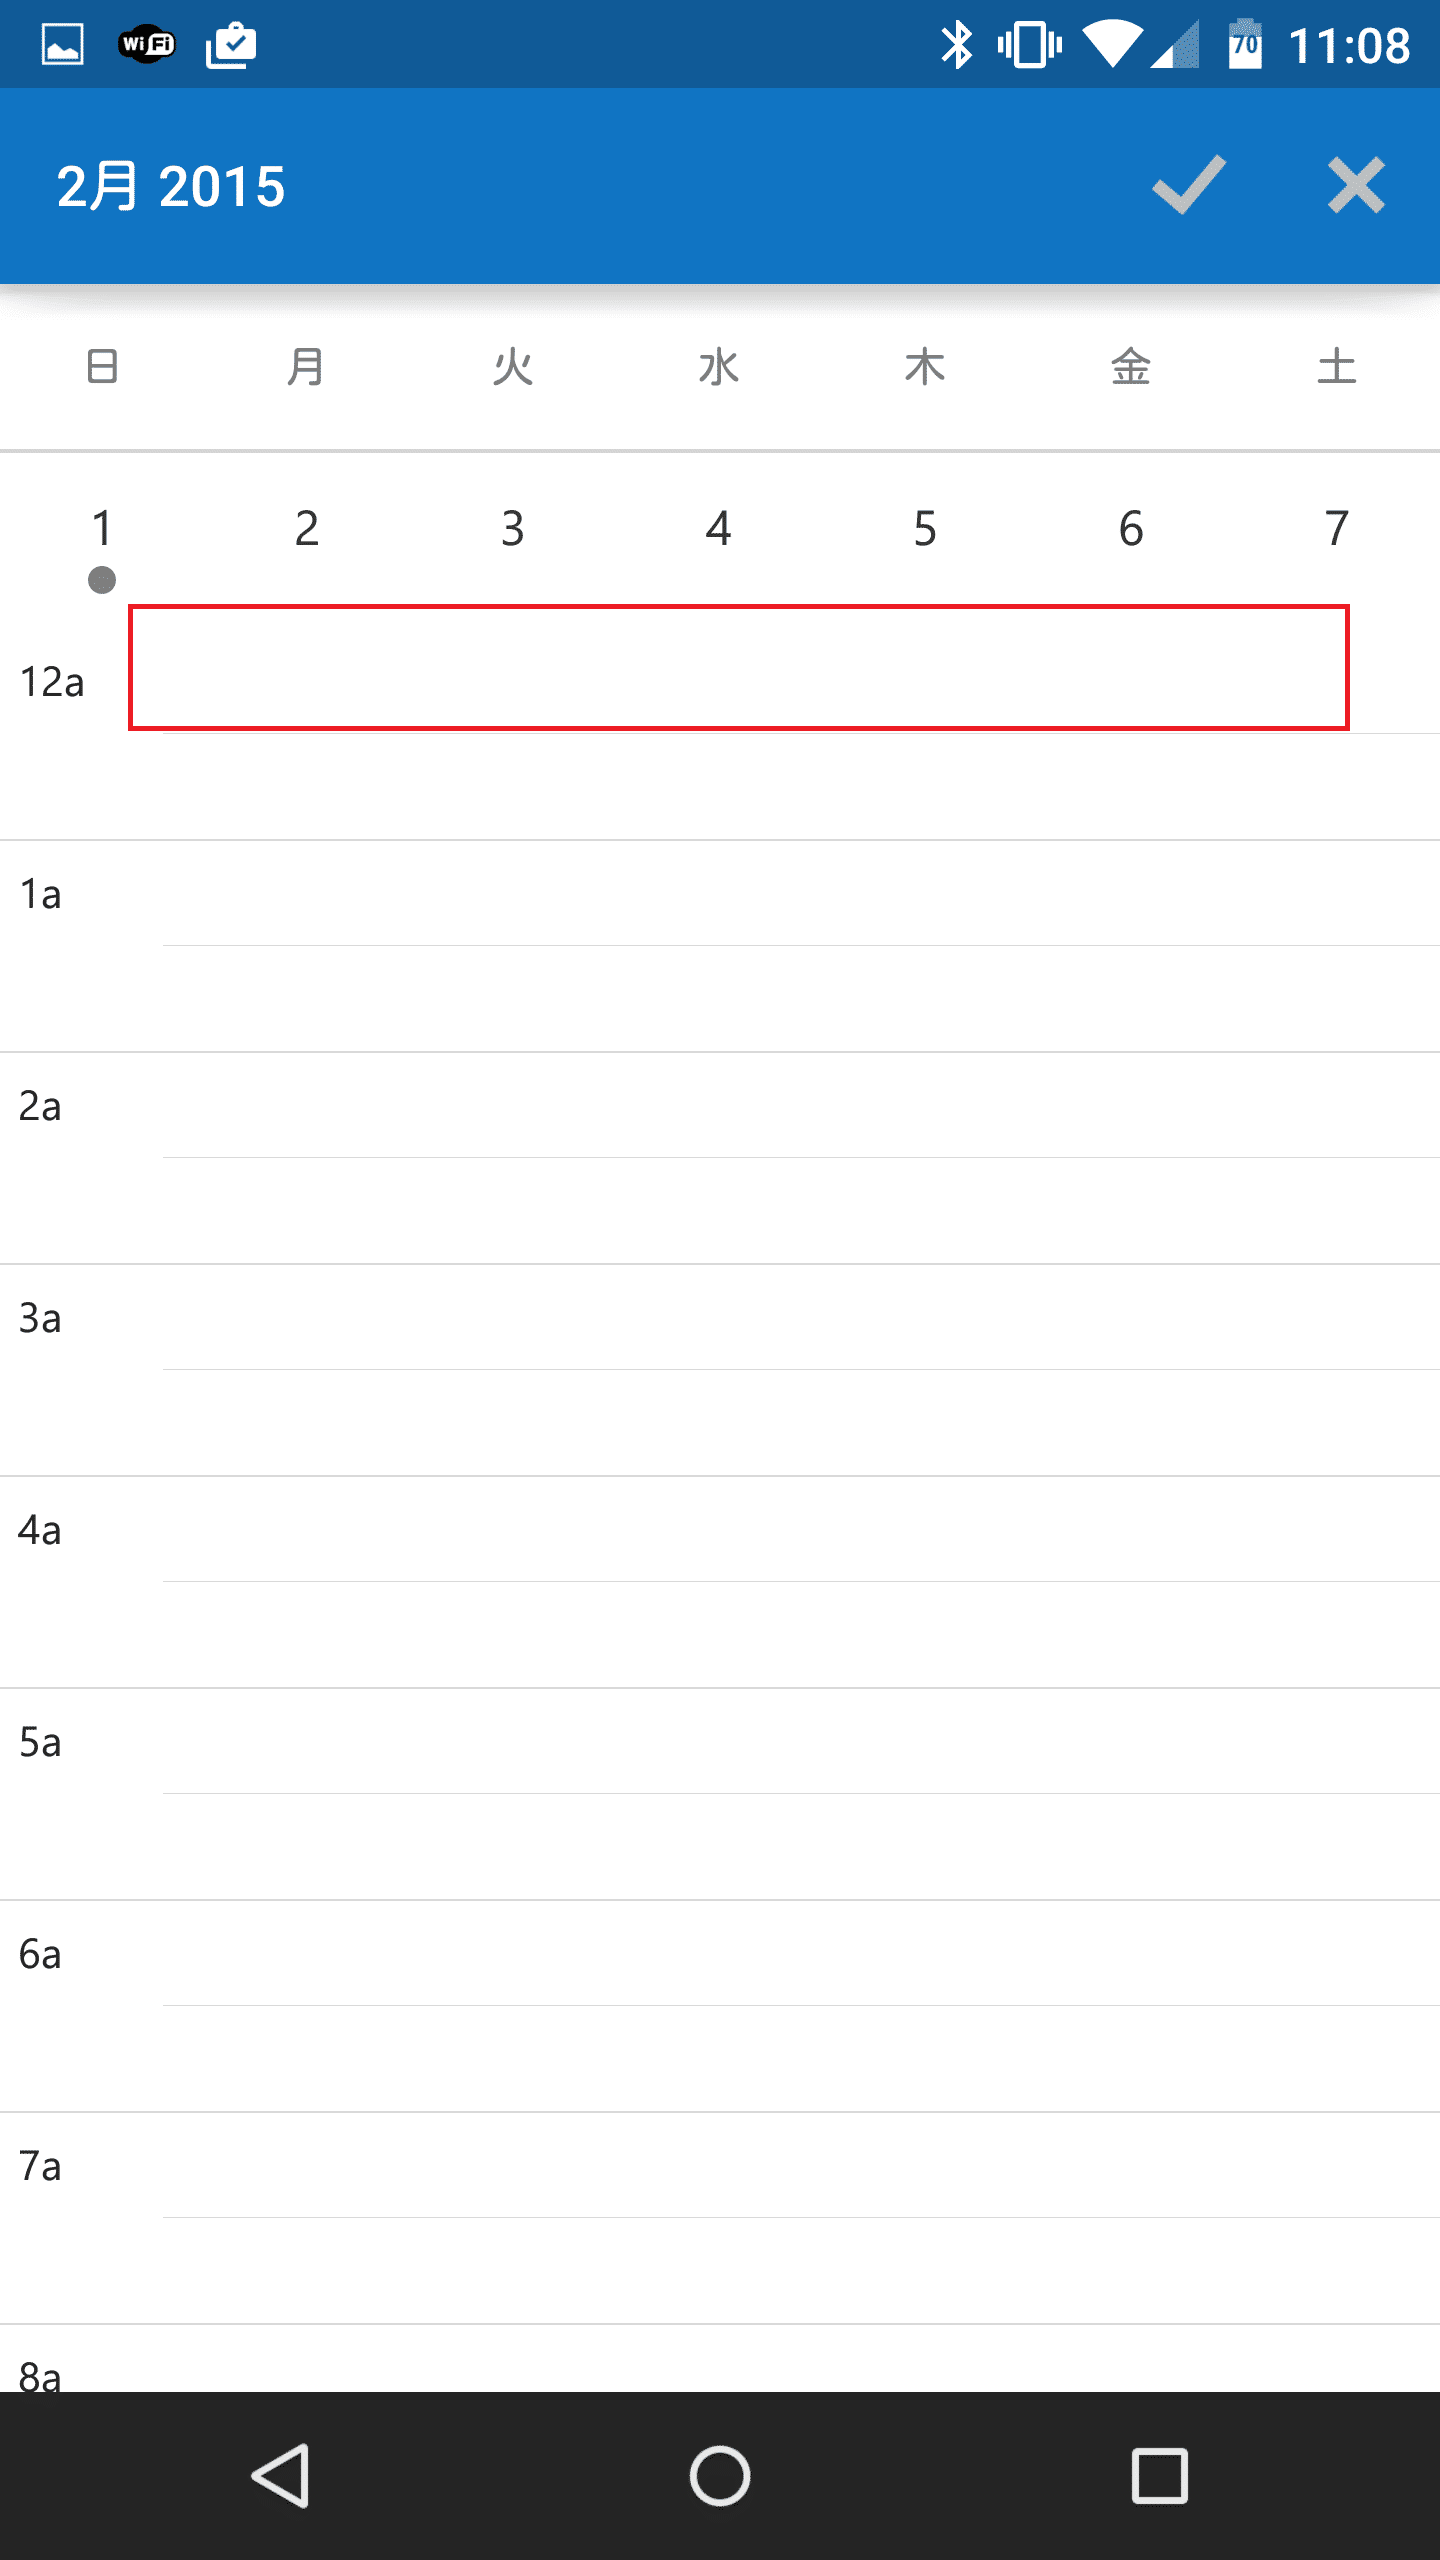
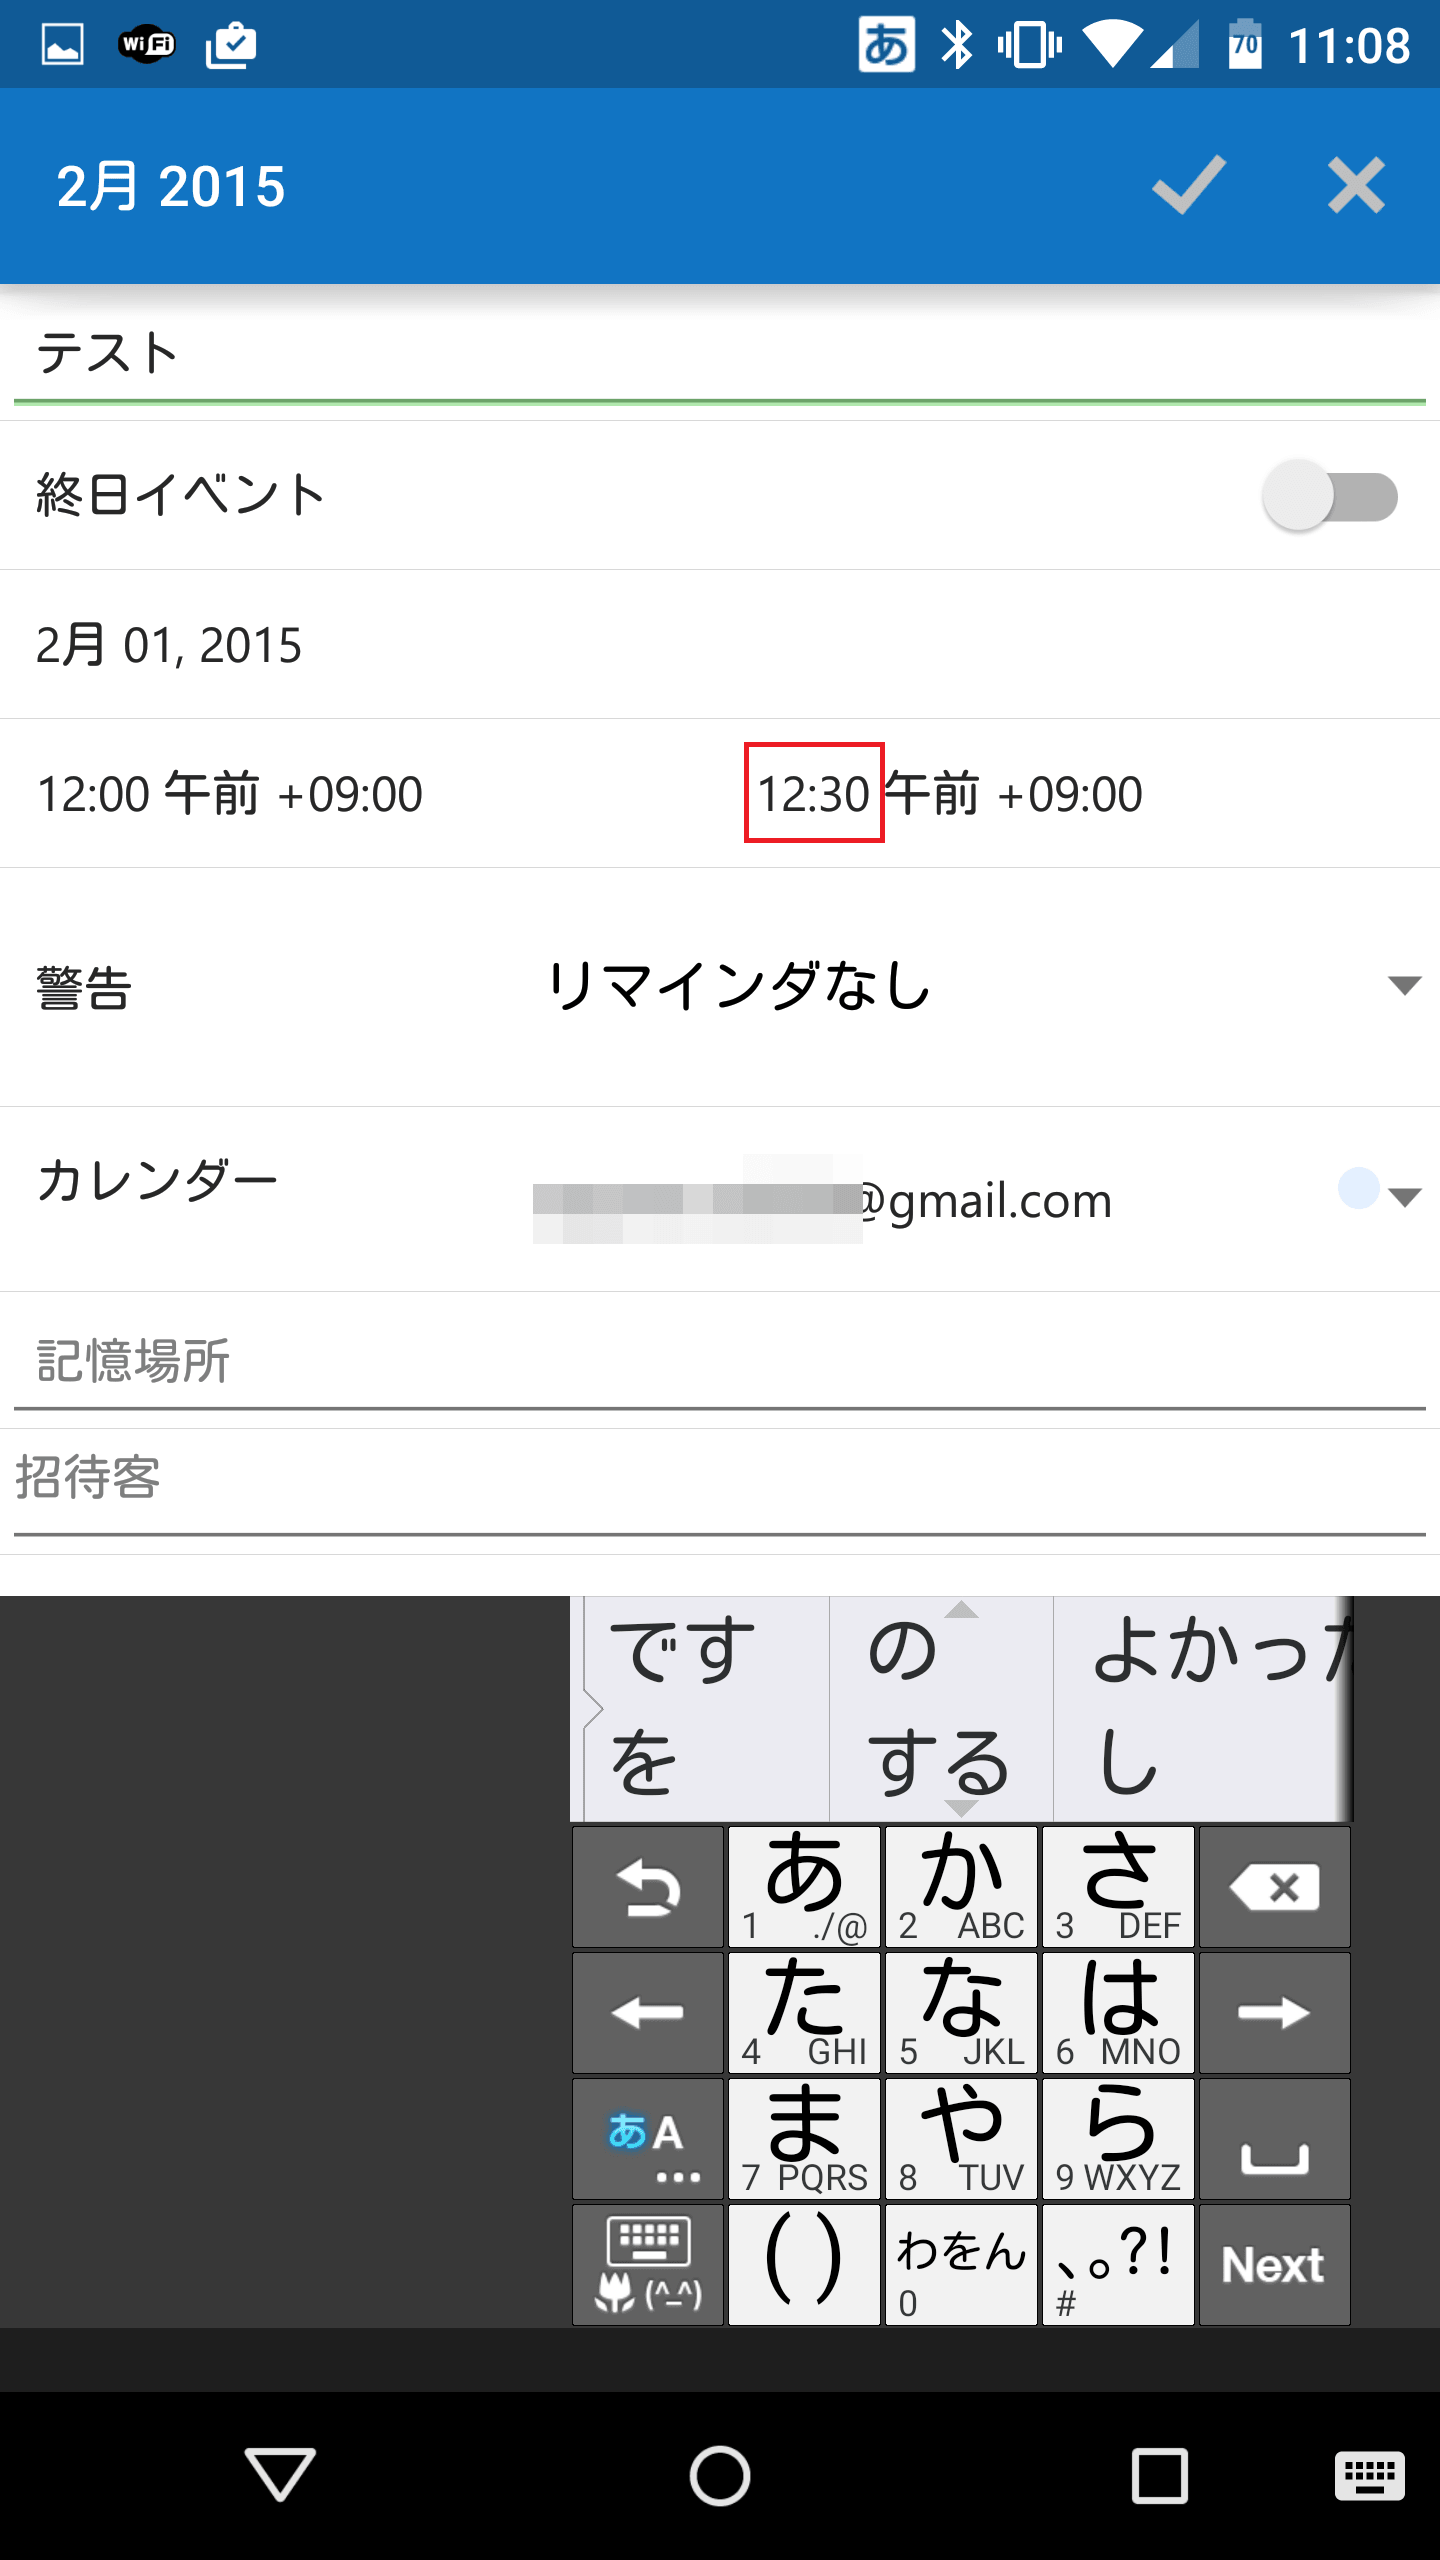
12時~12時30分が選択されます。終了時間を指定したいときは、右側の終了時間(スクリーンショットの12:30)をタップします。
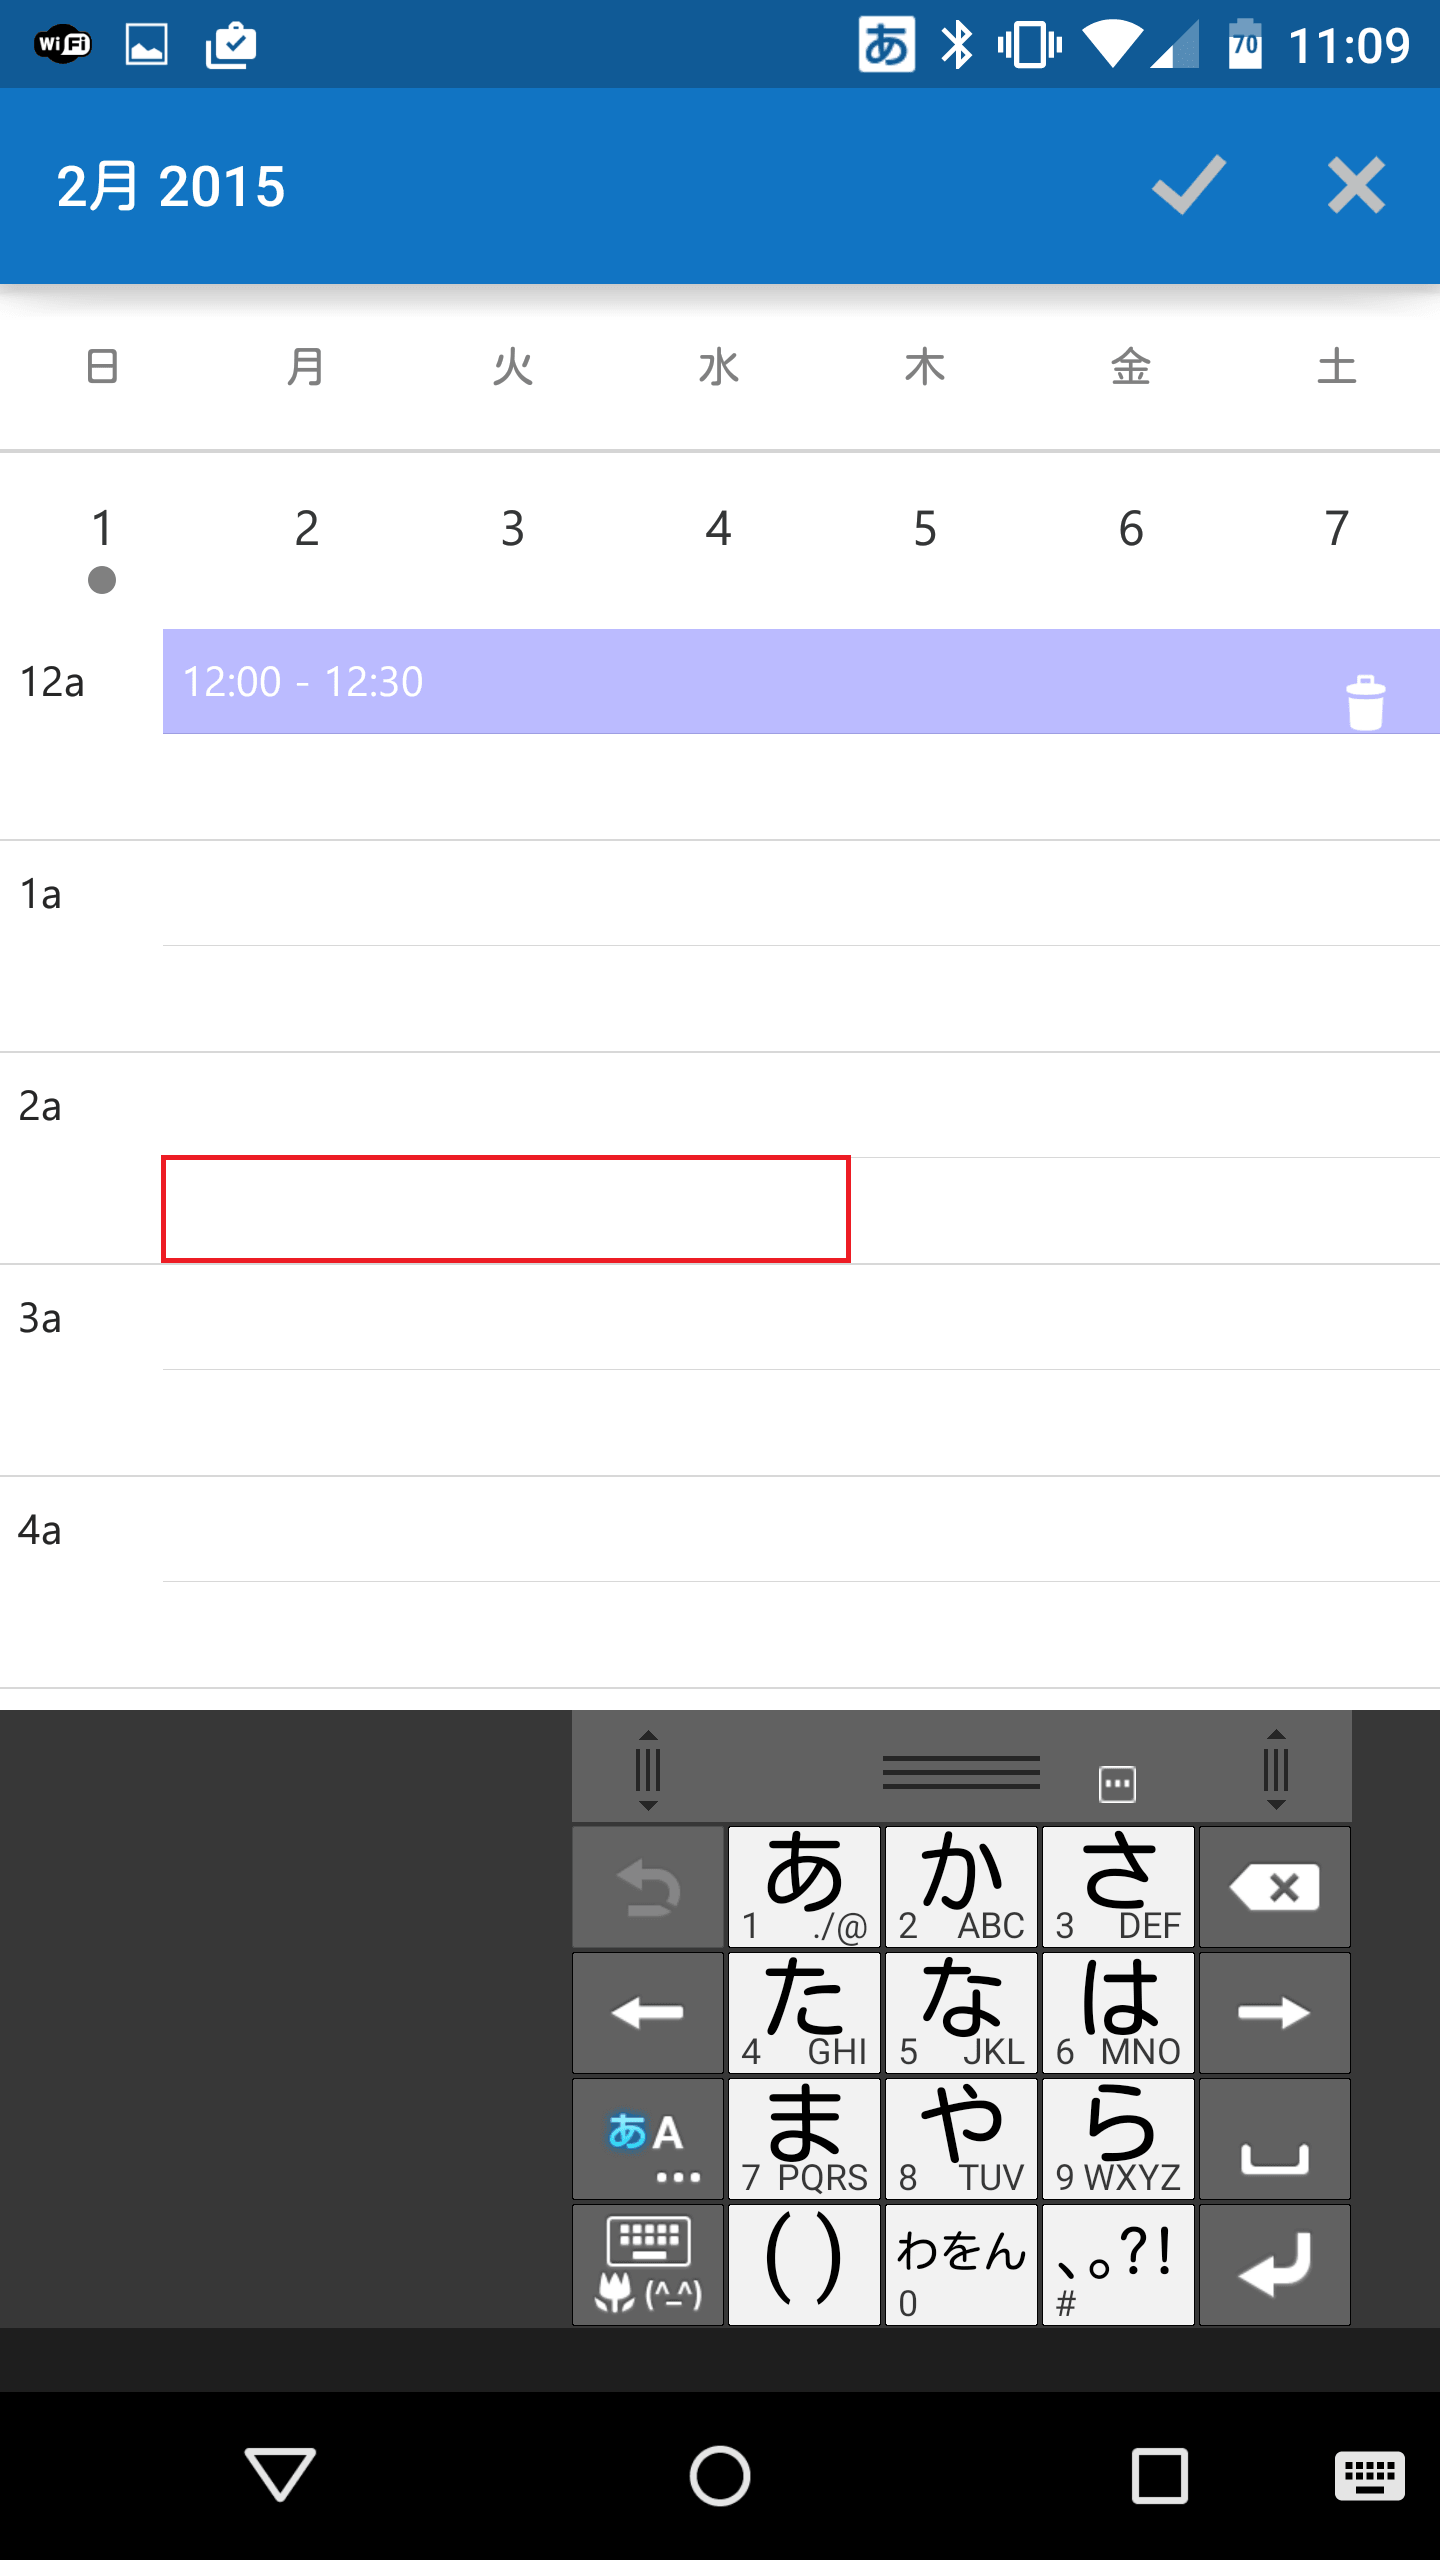
終了時間を午前3時にしてみます。午前3時にしたいときは「2a」の下部分をタップします。
終了時間が午前3時になりました。
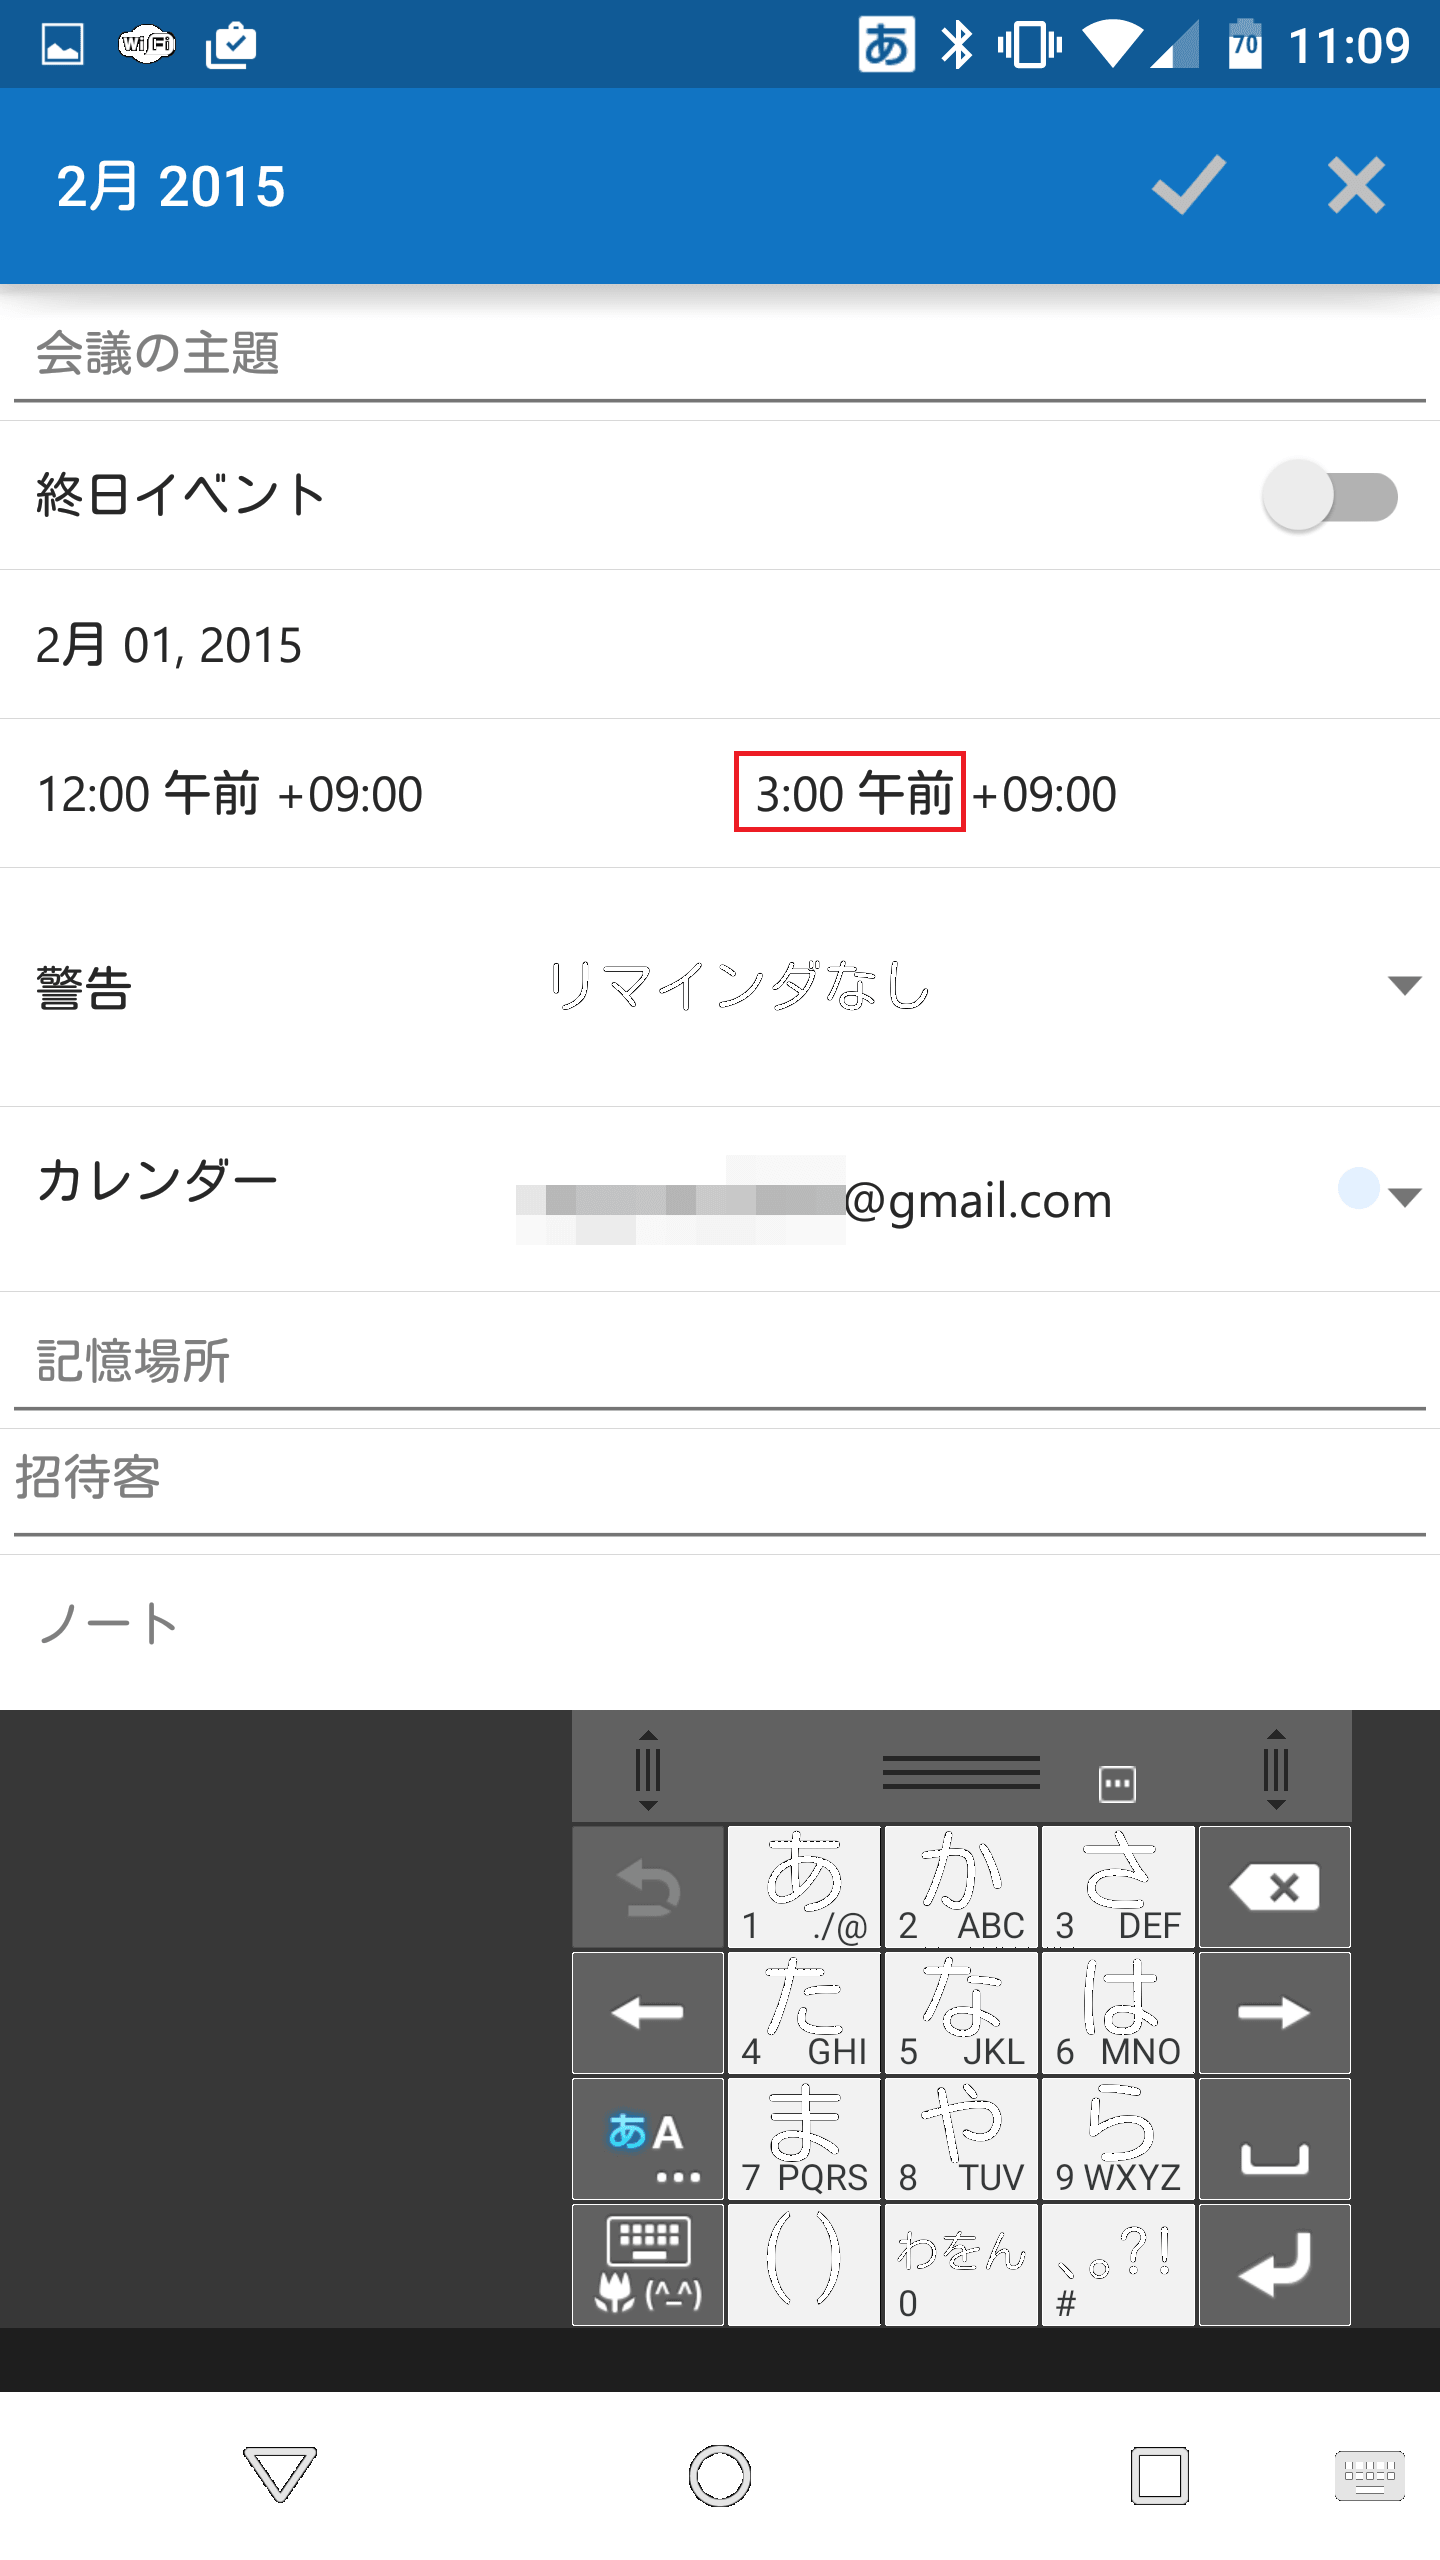
あとは内容を入力して右上の完了アイコンをタップします。
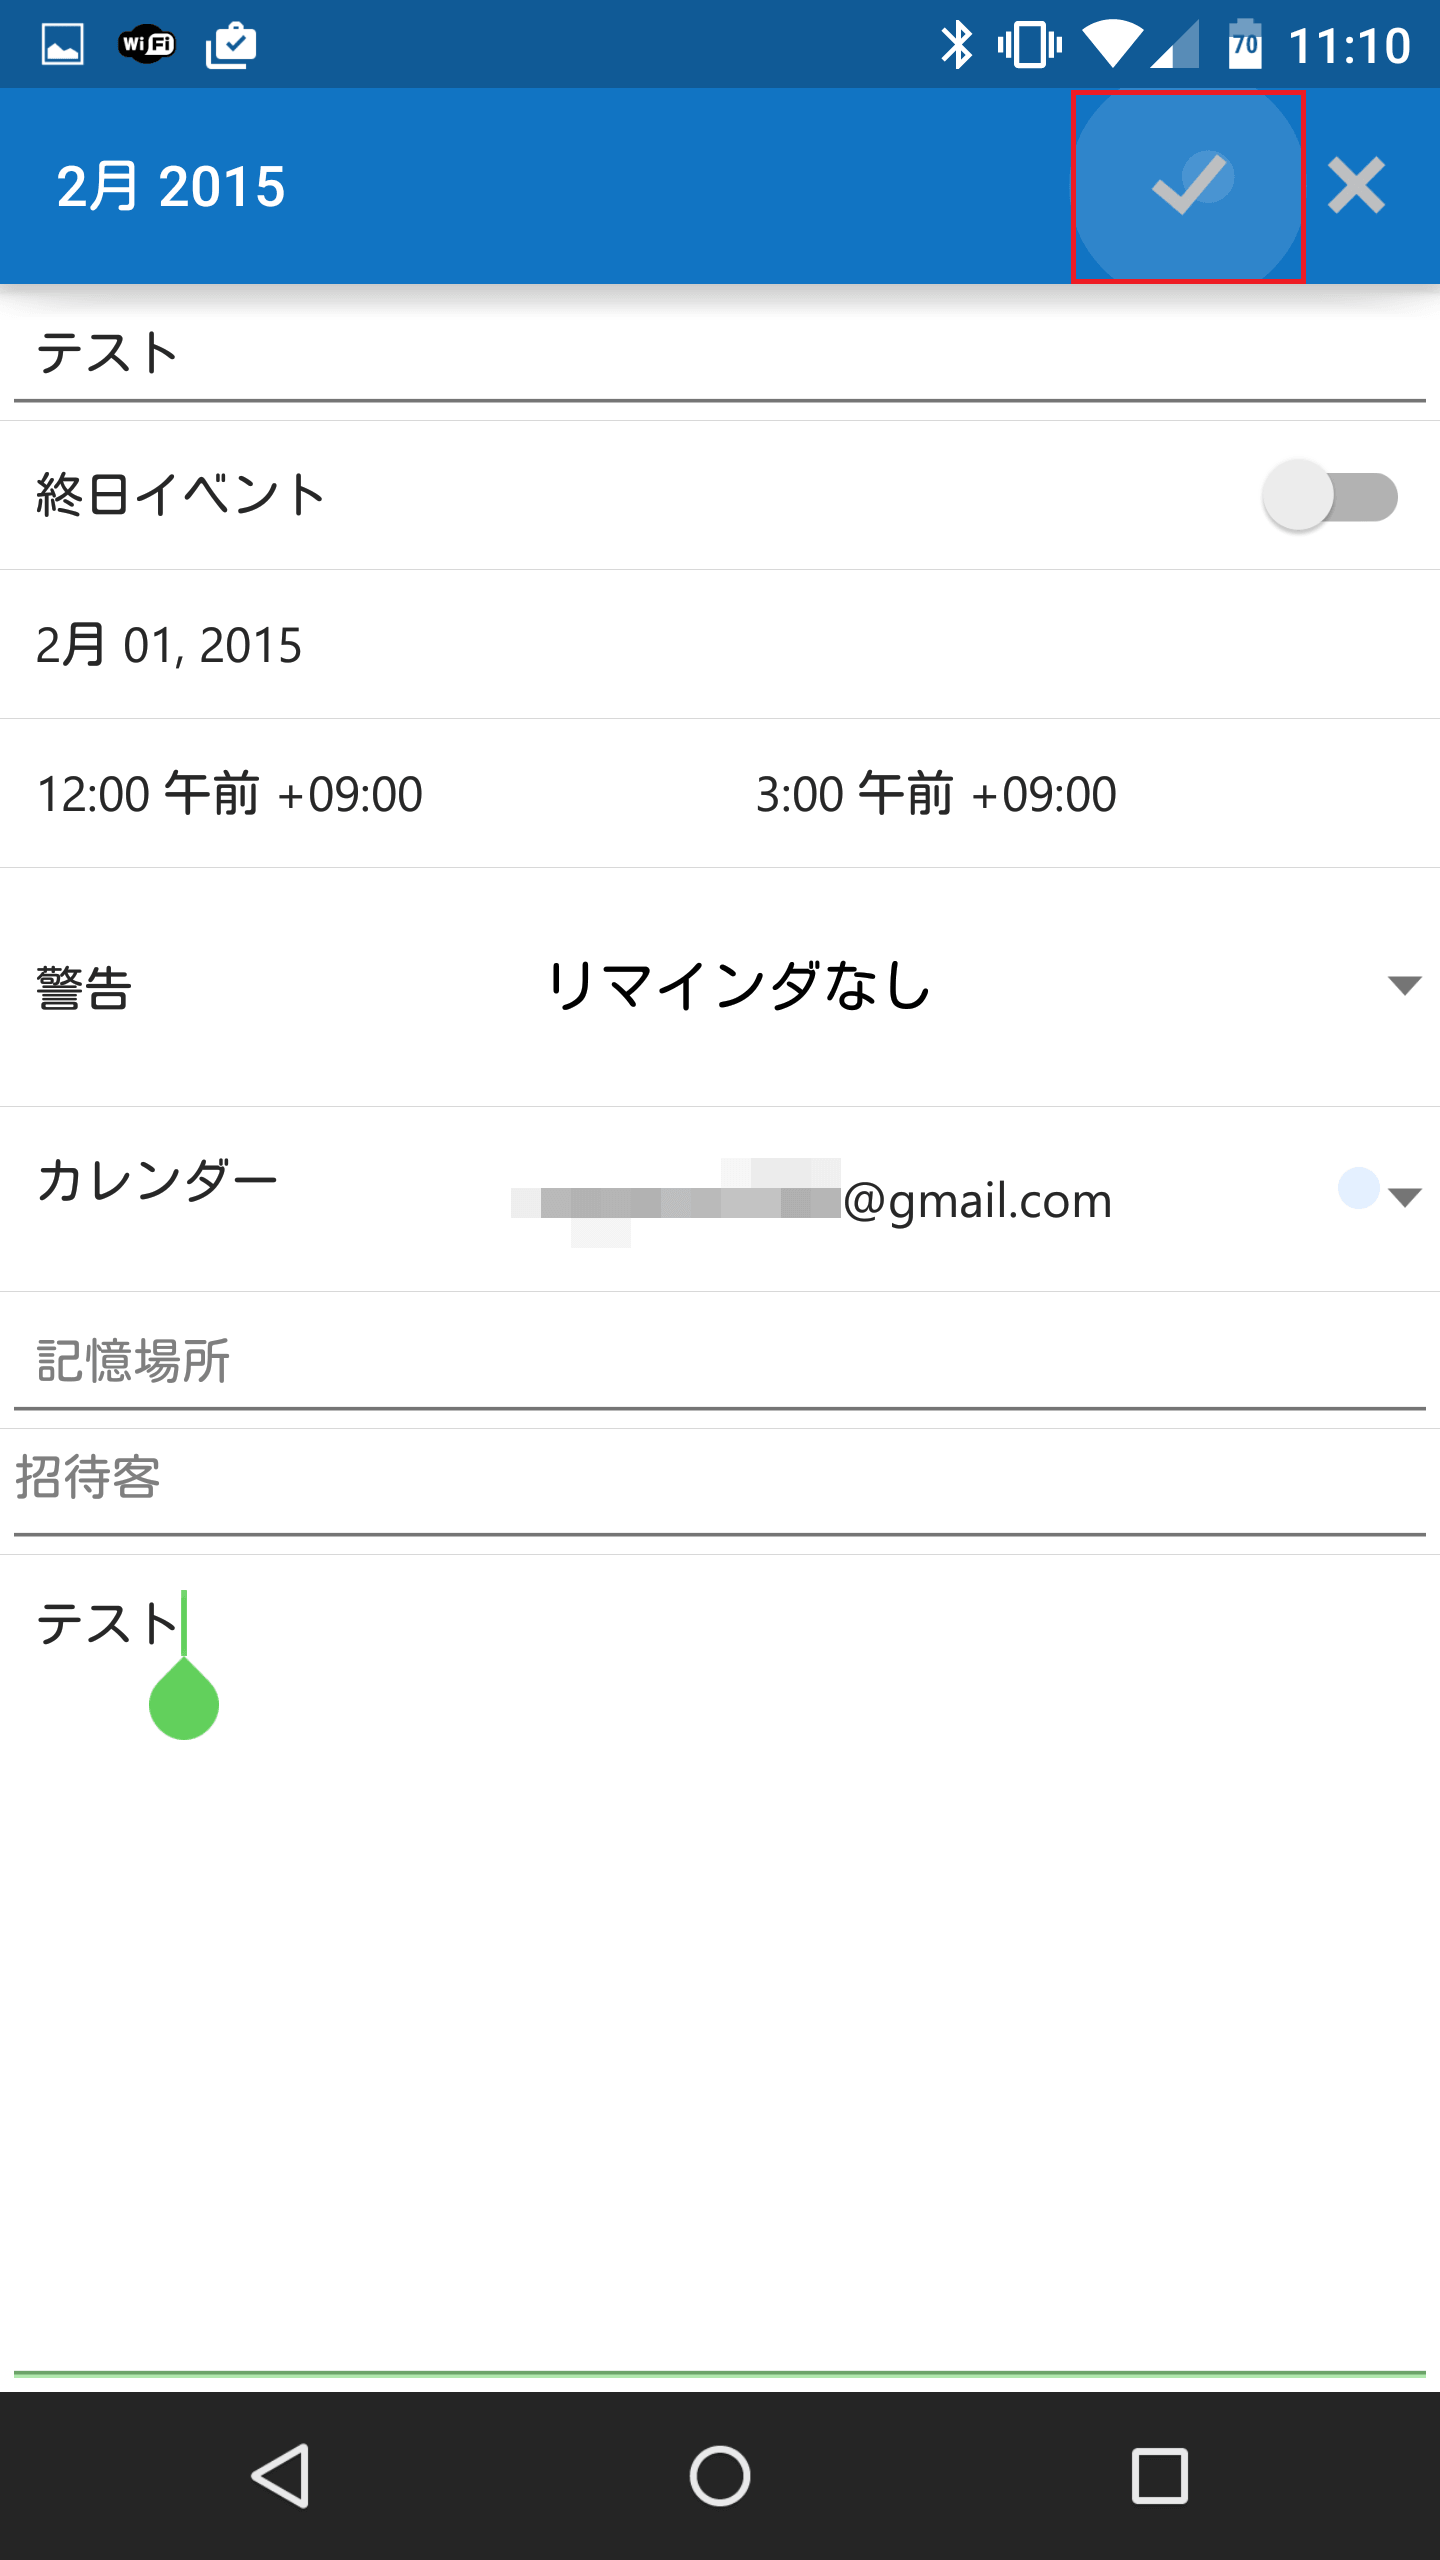
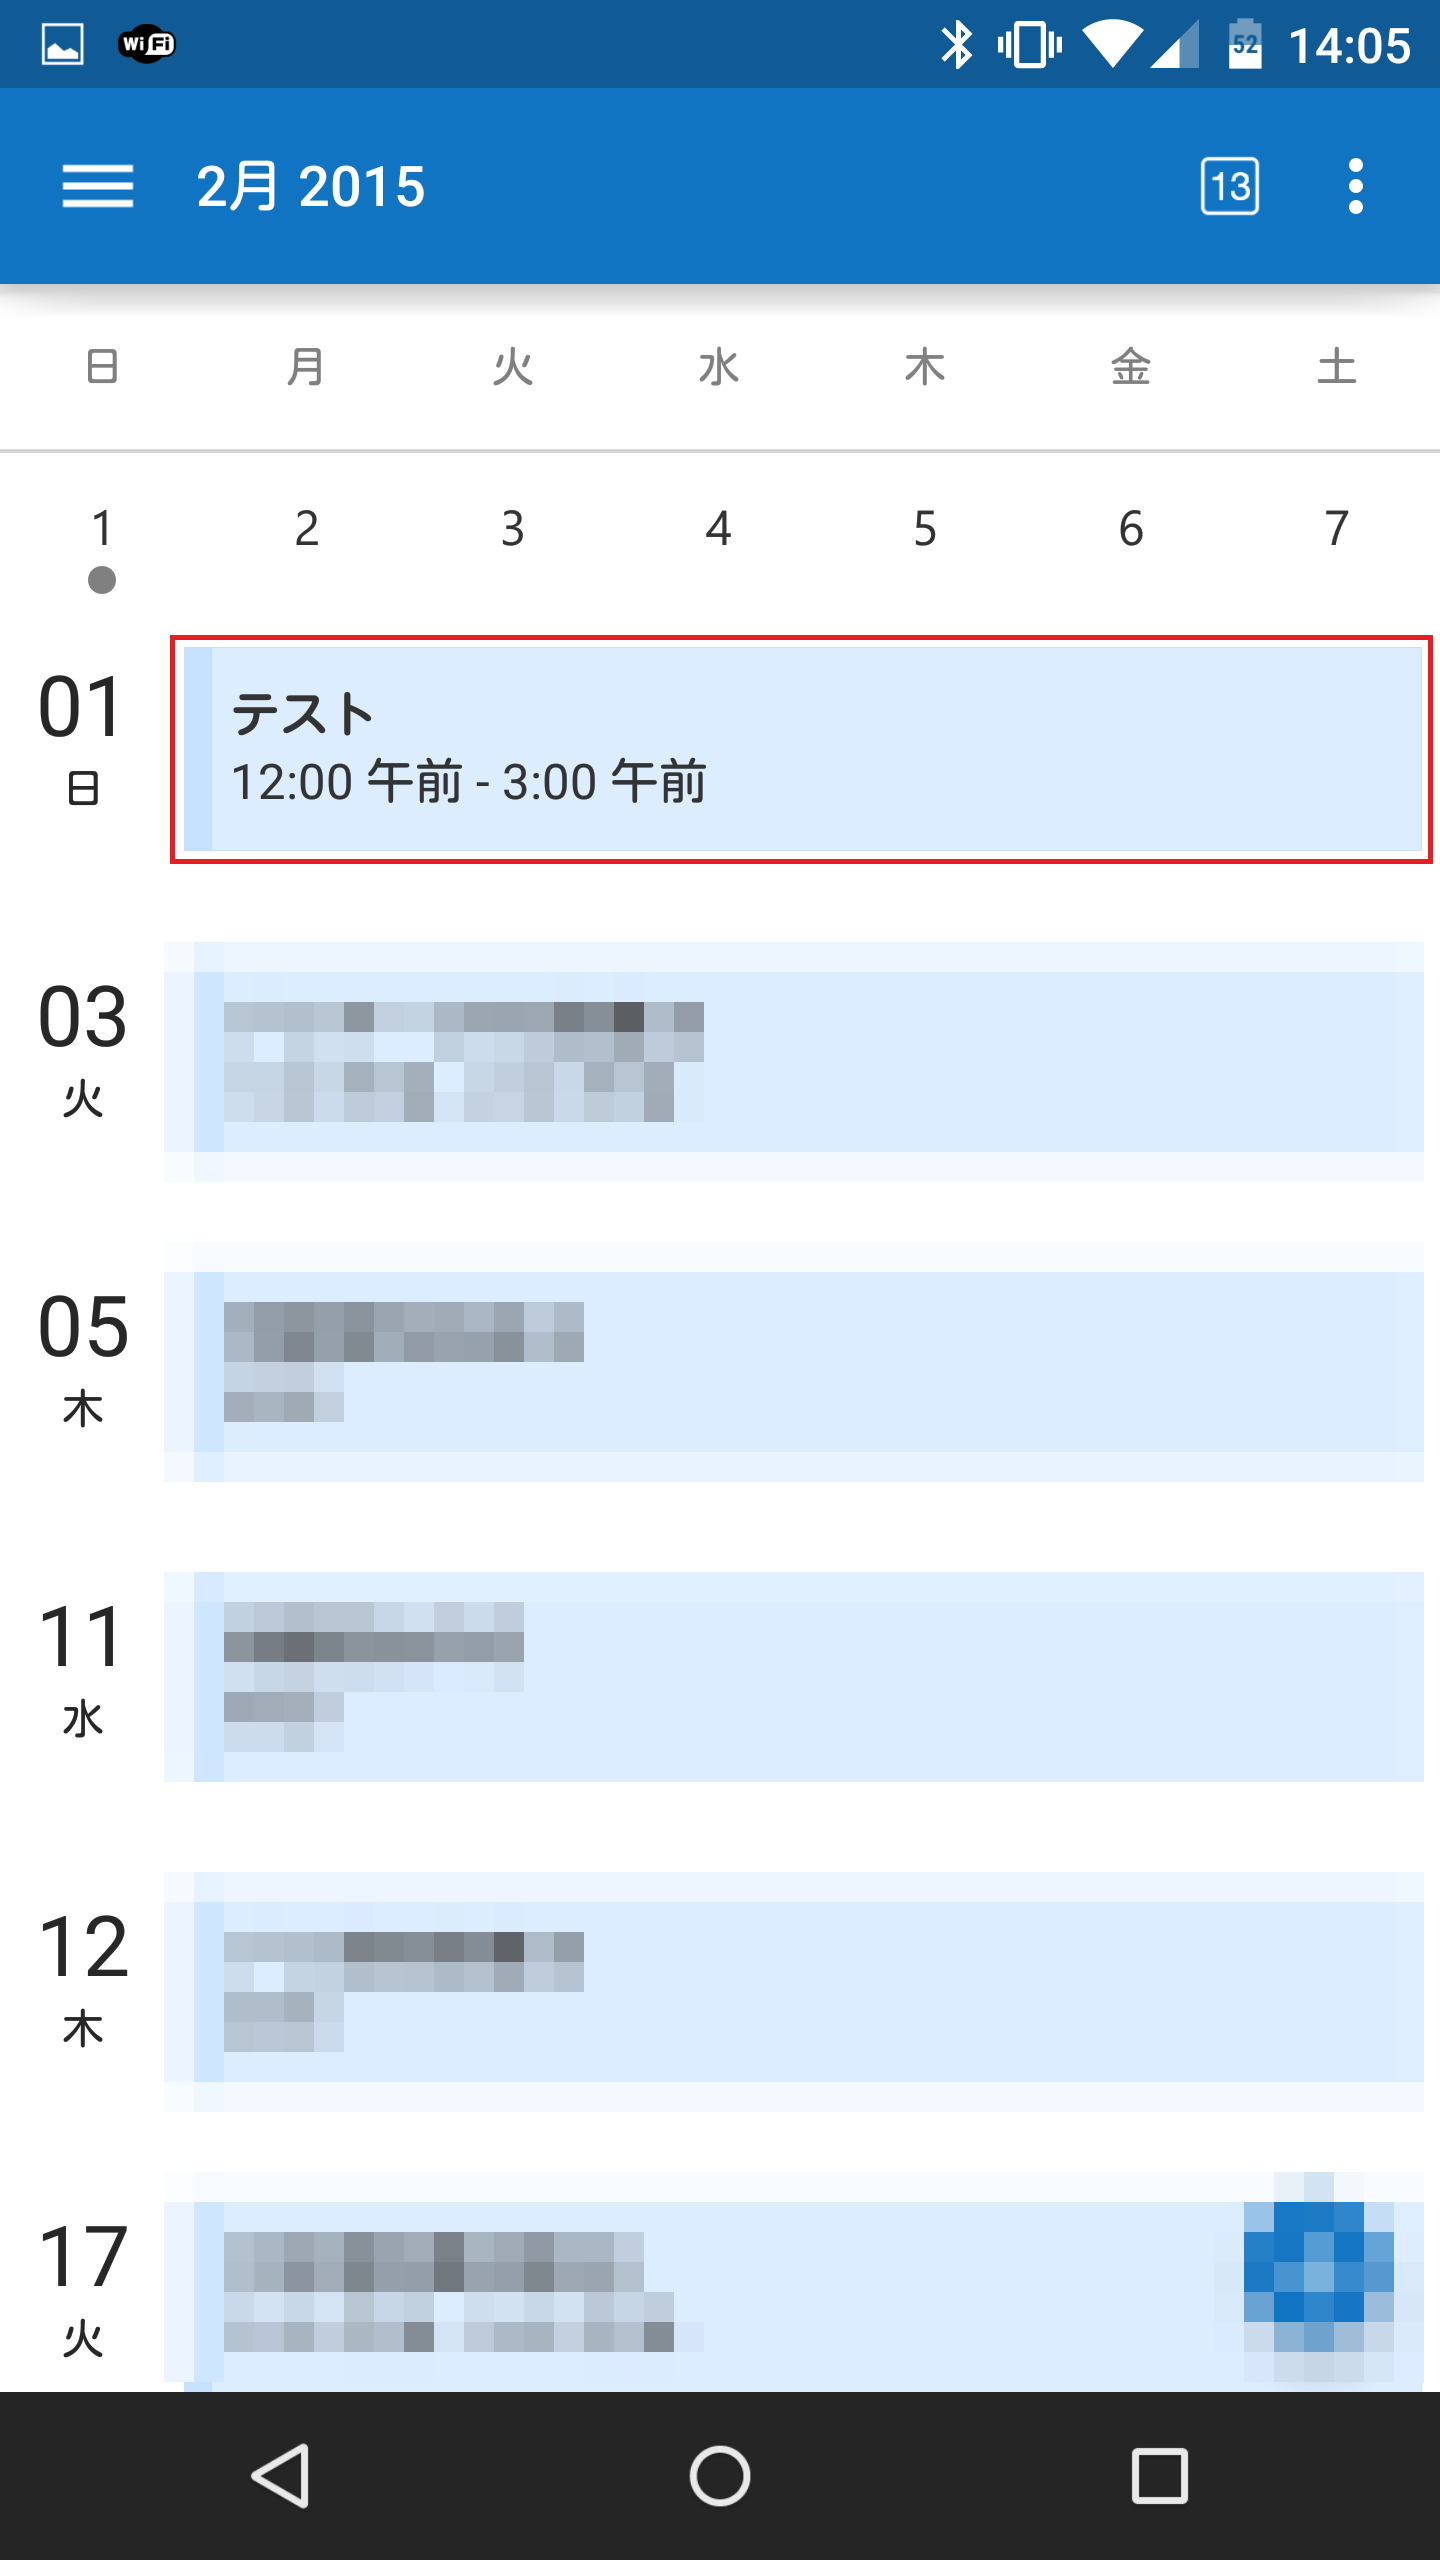
予定が新規で追加されました。
Googleカレンダーの予定を編集・変更する
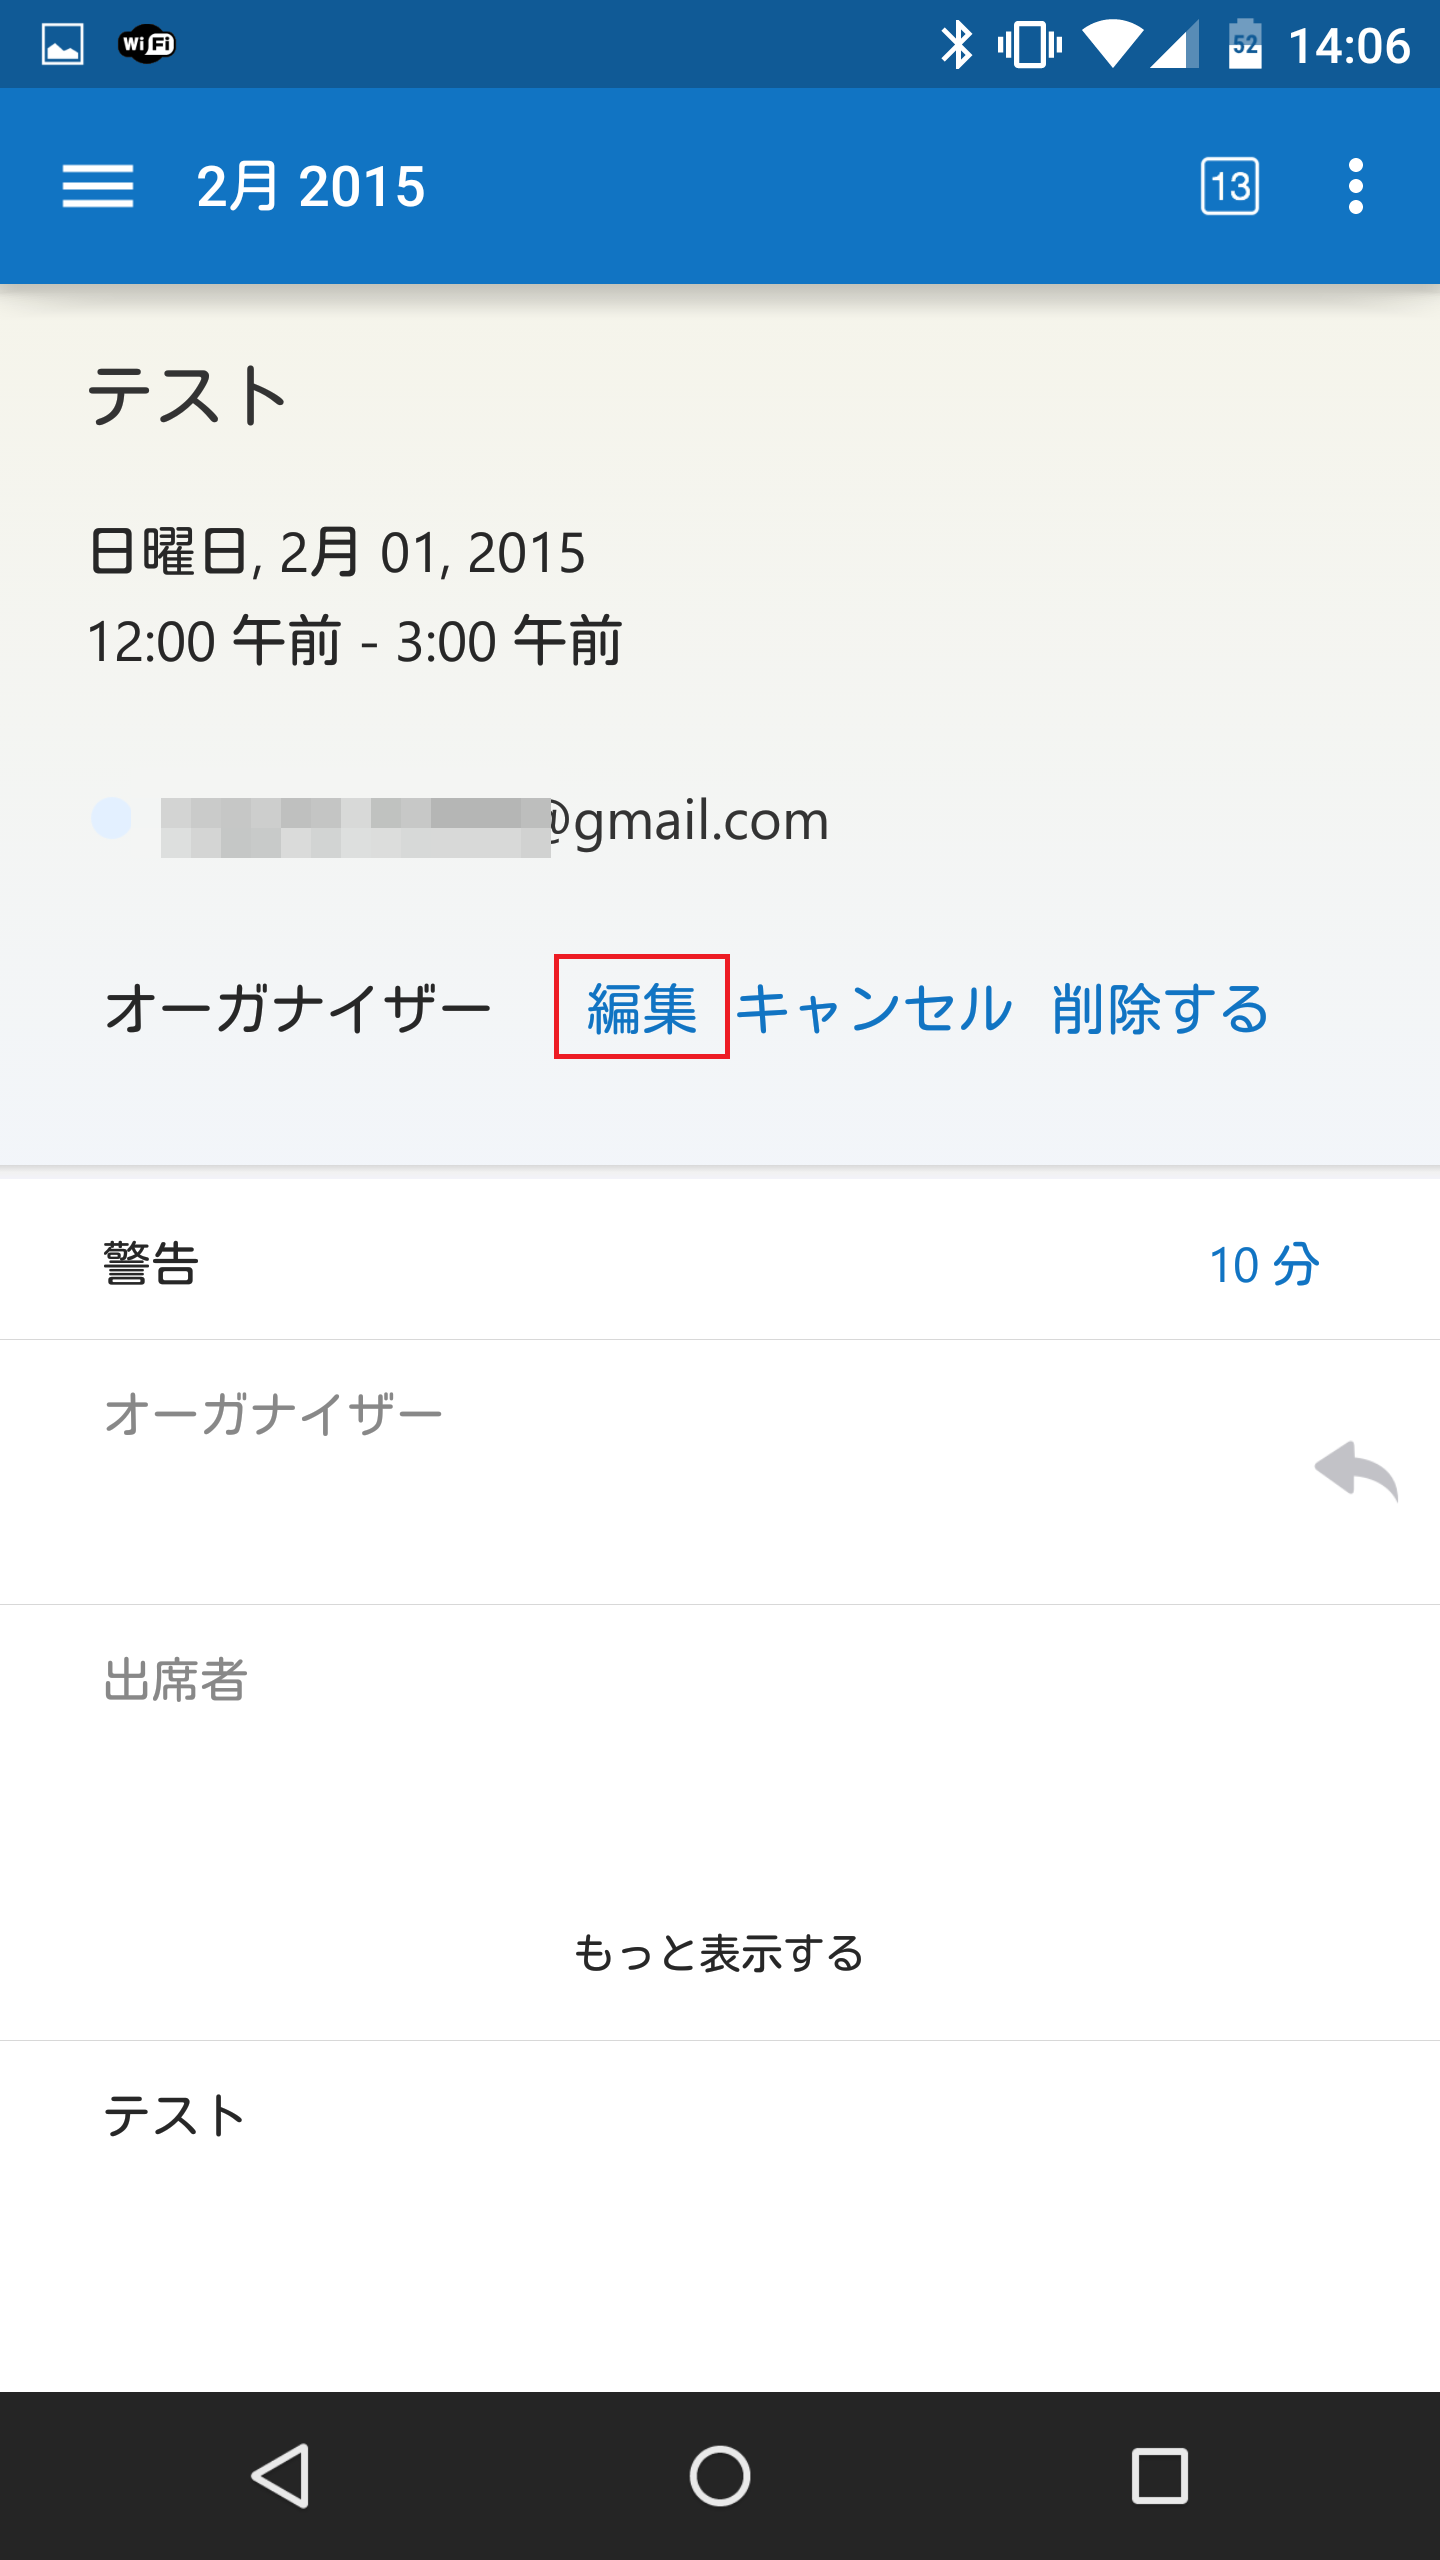
Android版Microsoft Outlookのカレンダー機能では、すでにあるGoogleカレンダーの予定を編集して変更することができます。先ほど追加した予定をタップします。
「編集」をタップします。
予定を編集することができるようになります。編集できるのは、予定日、予定時間、警告(リマインダ)、予定を登録するGoogleアカウント、予定の内容などほぼすべての項目です。
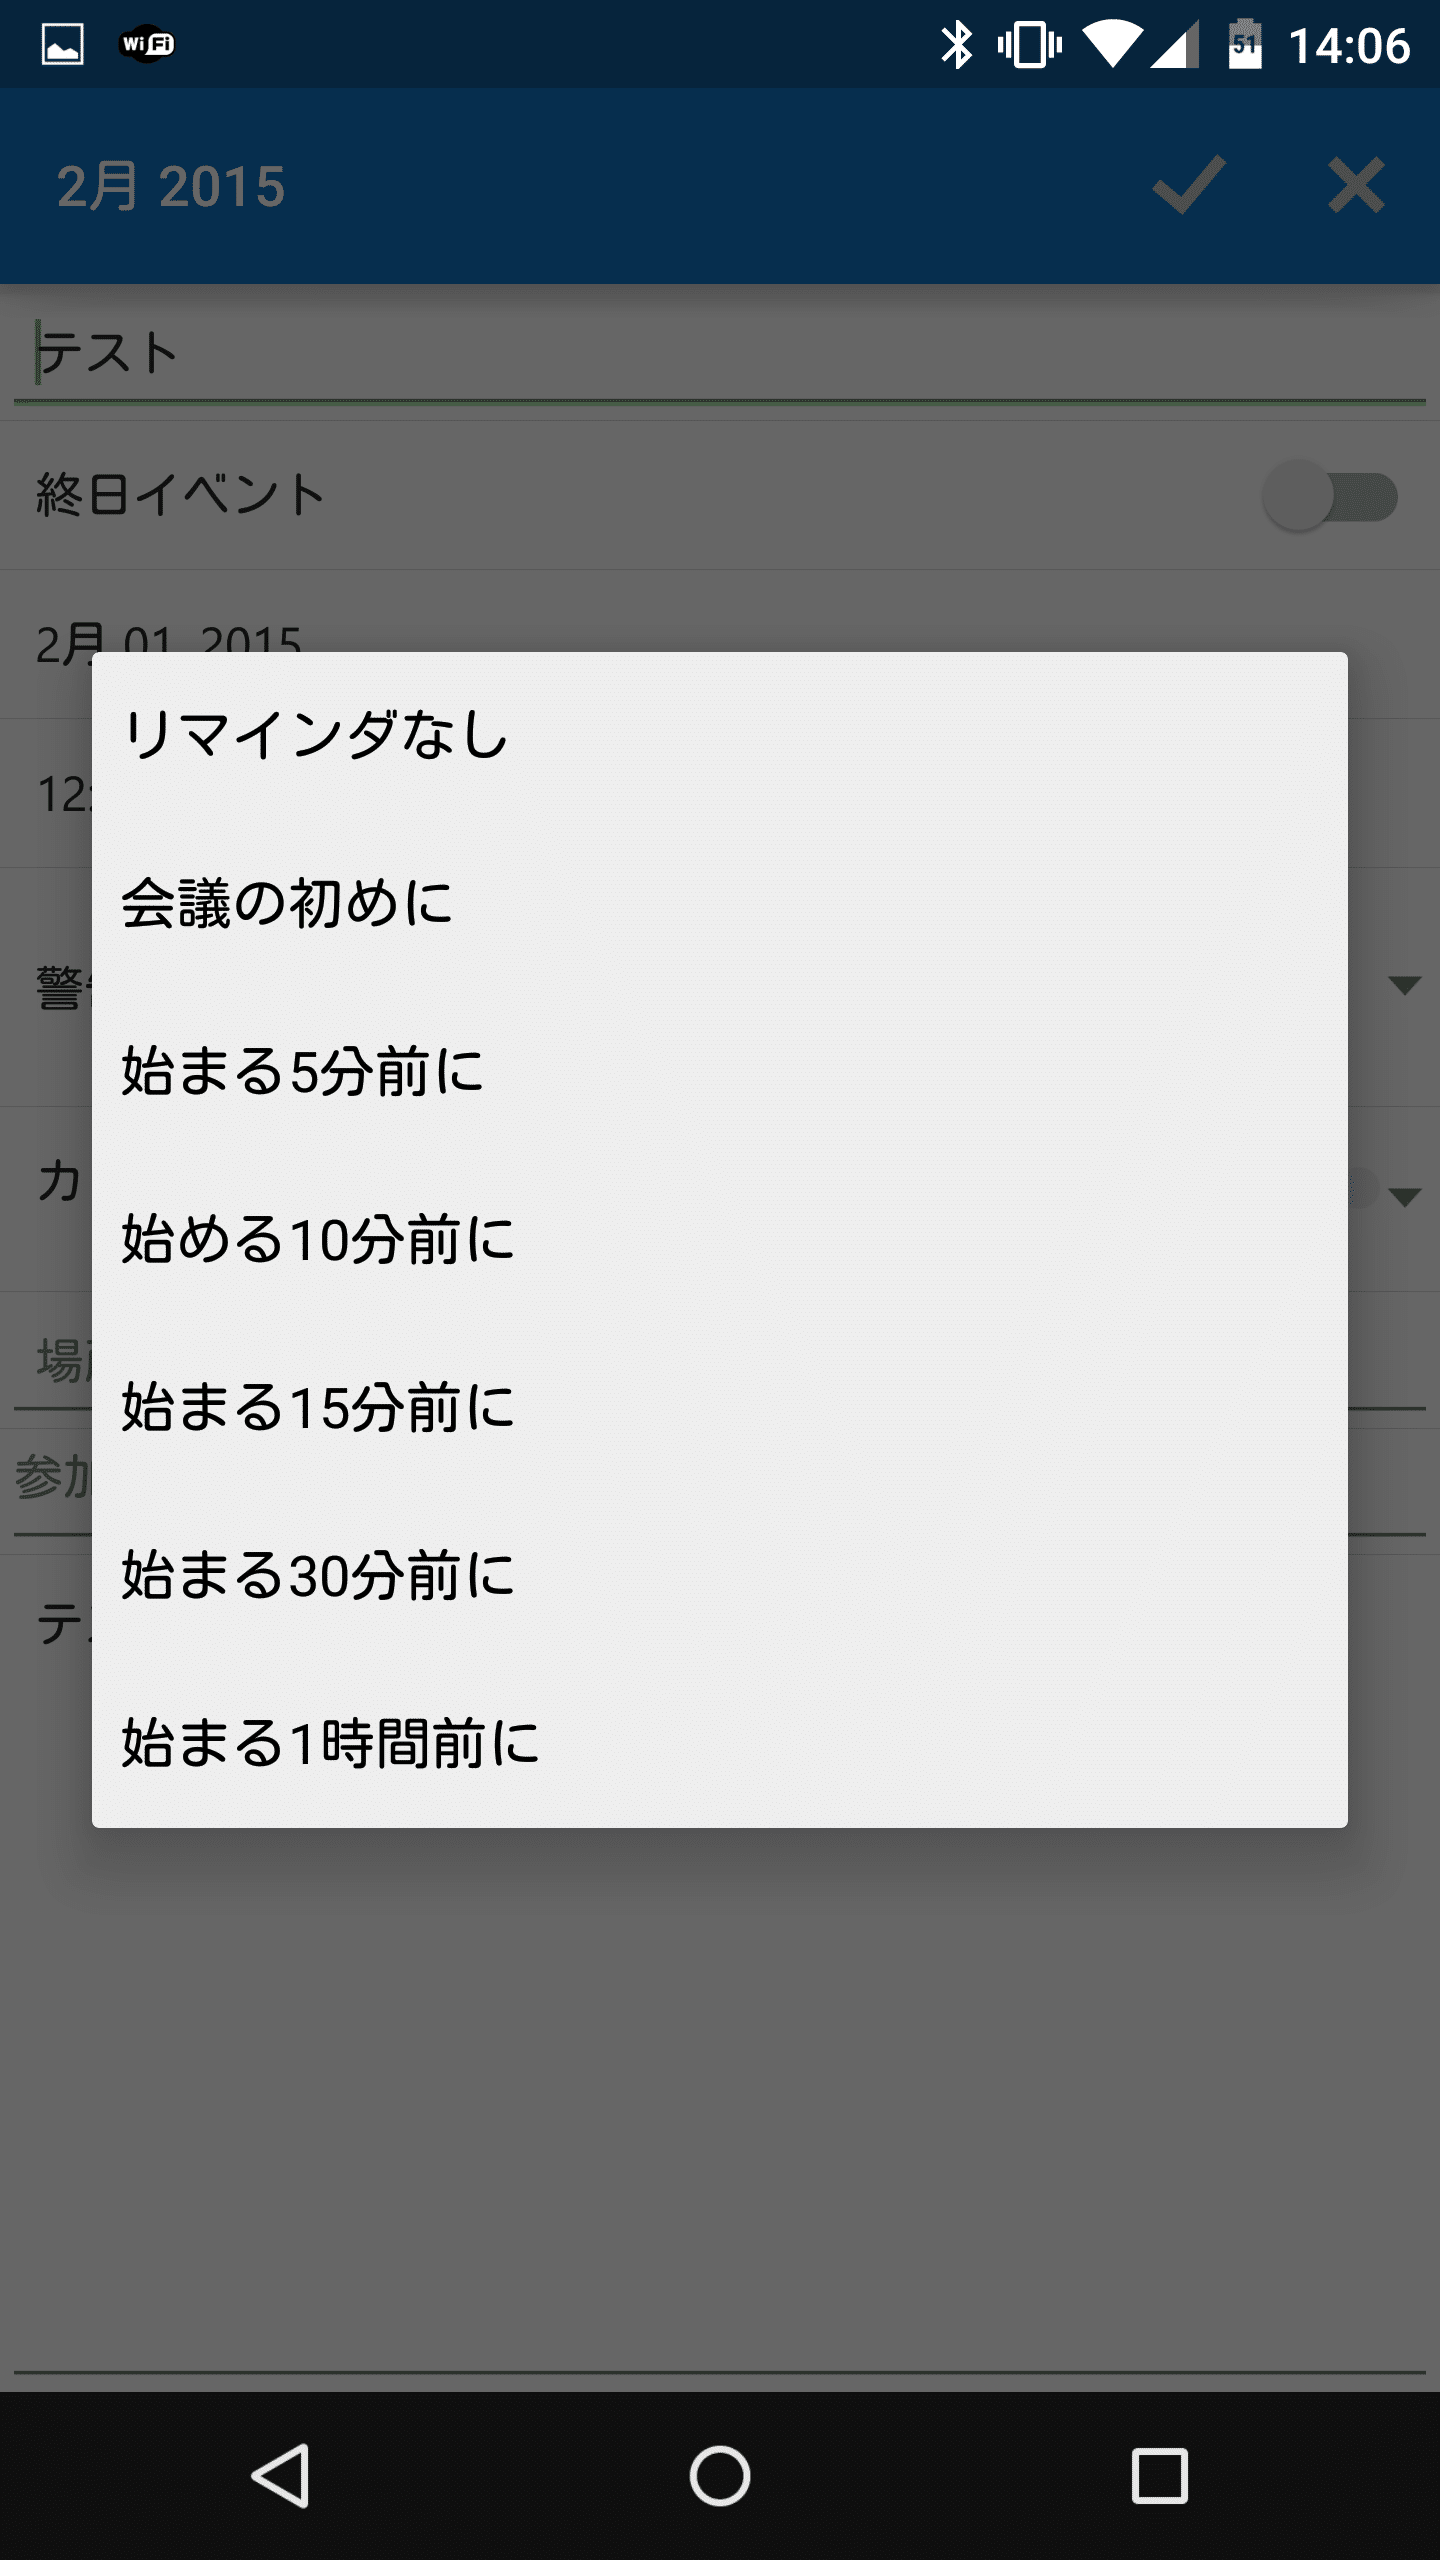
「警告」を見てみます。デフォルトでは「始める10分前」です。ここをタップすると・・・
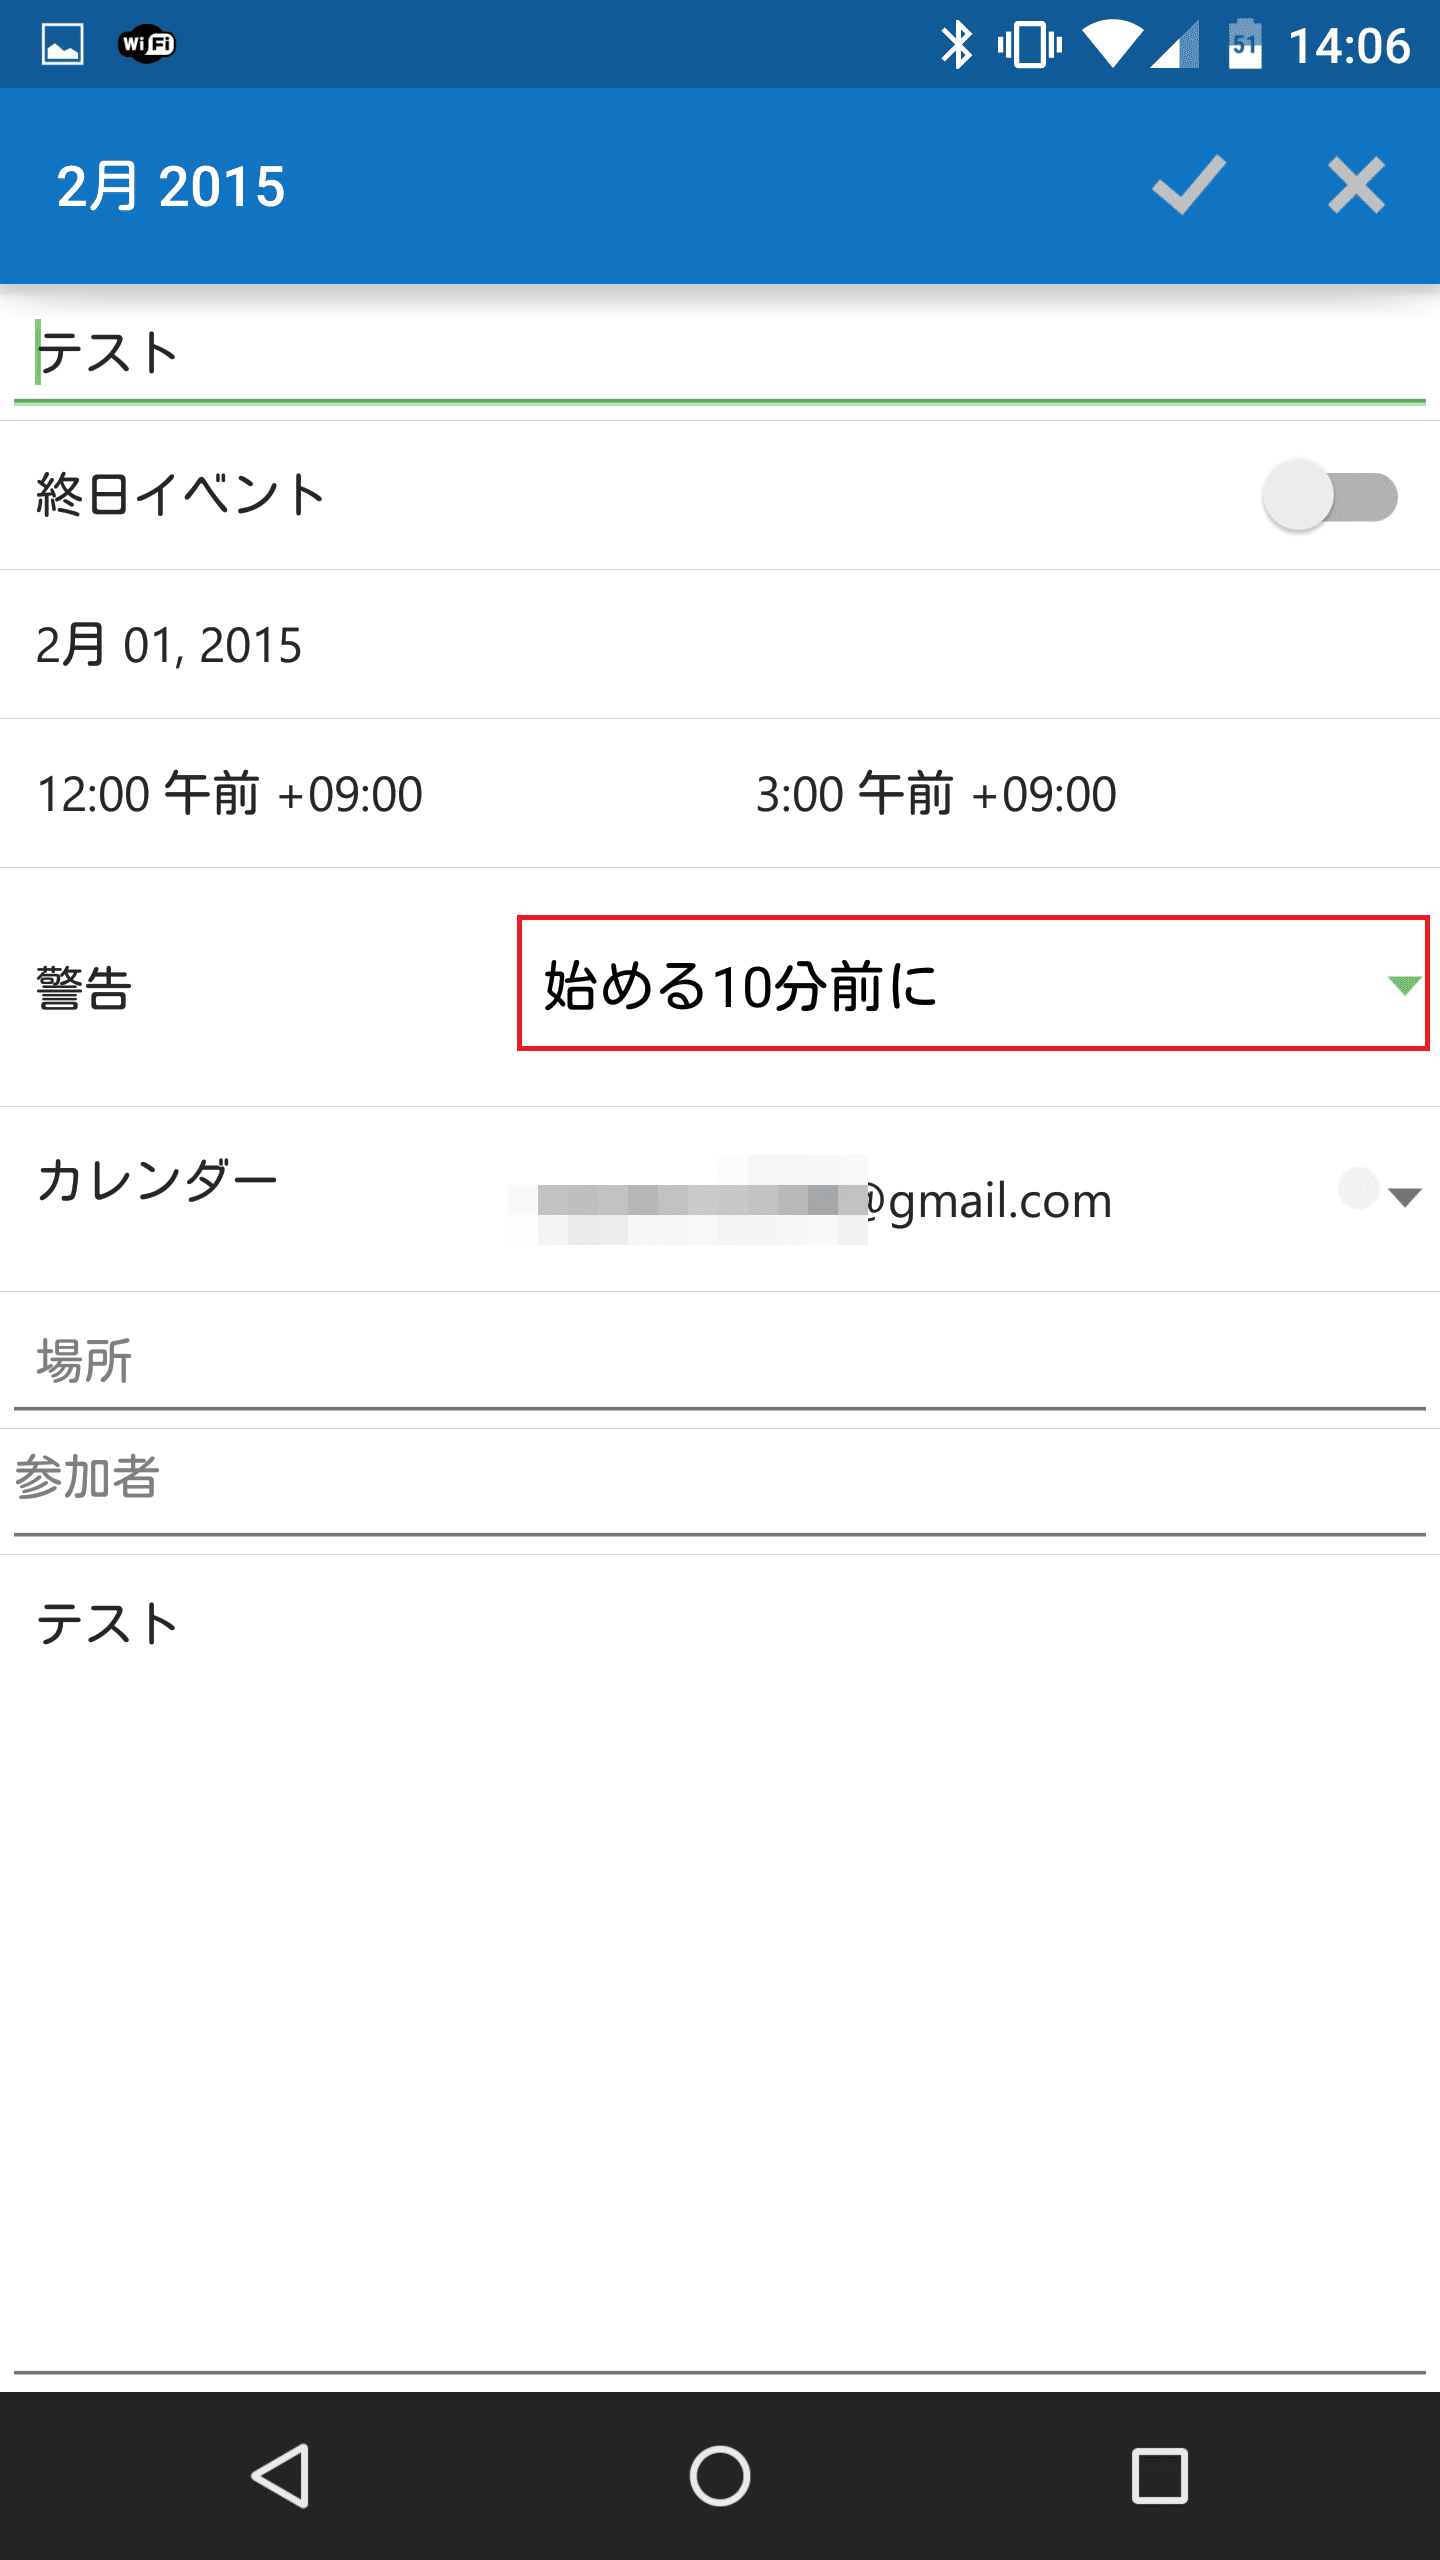
リマインダなし、会議の初めに(開始時間にリマインダ)、5分前、10分前、15分前、30分前、1時間前から選ぶことができます。
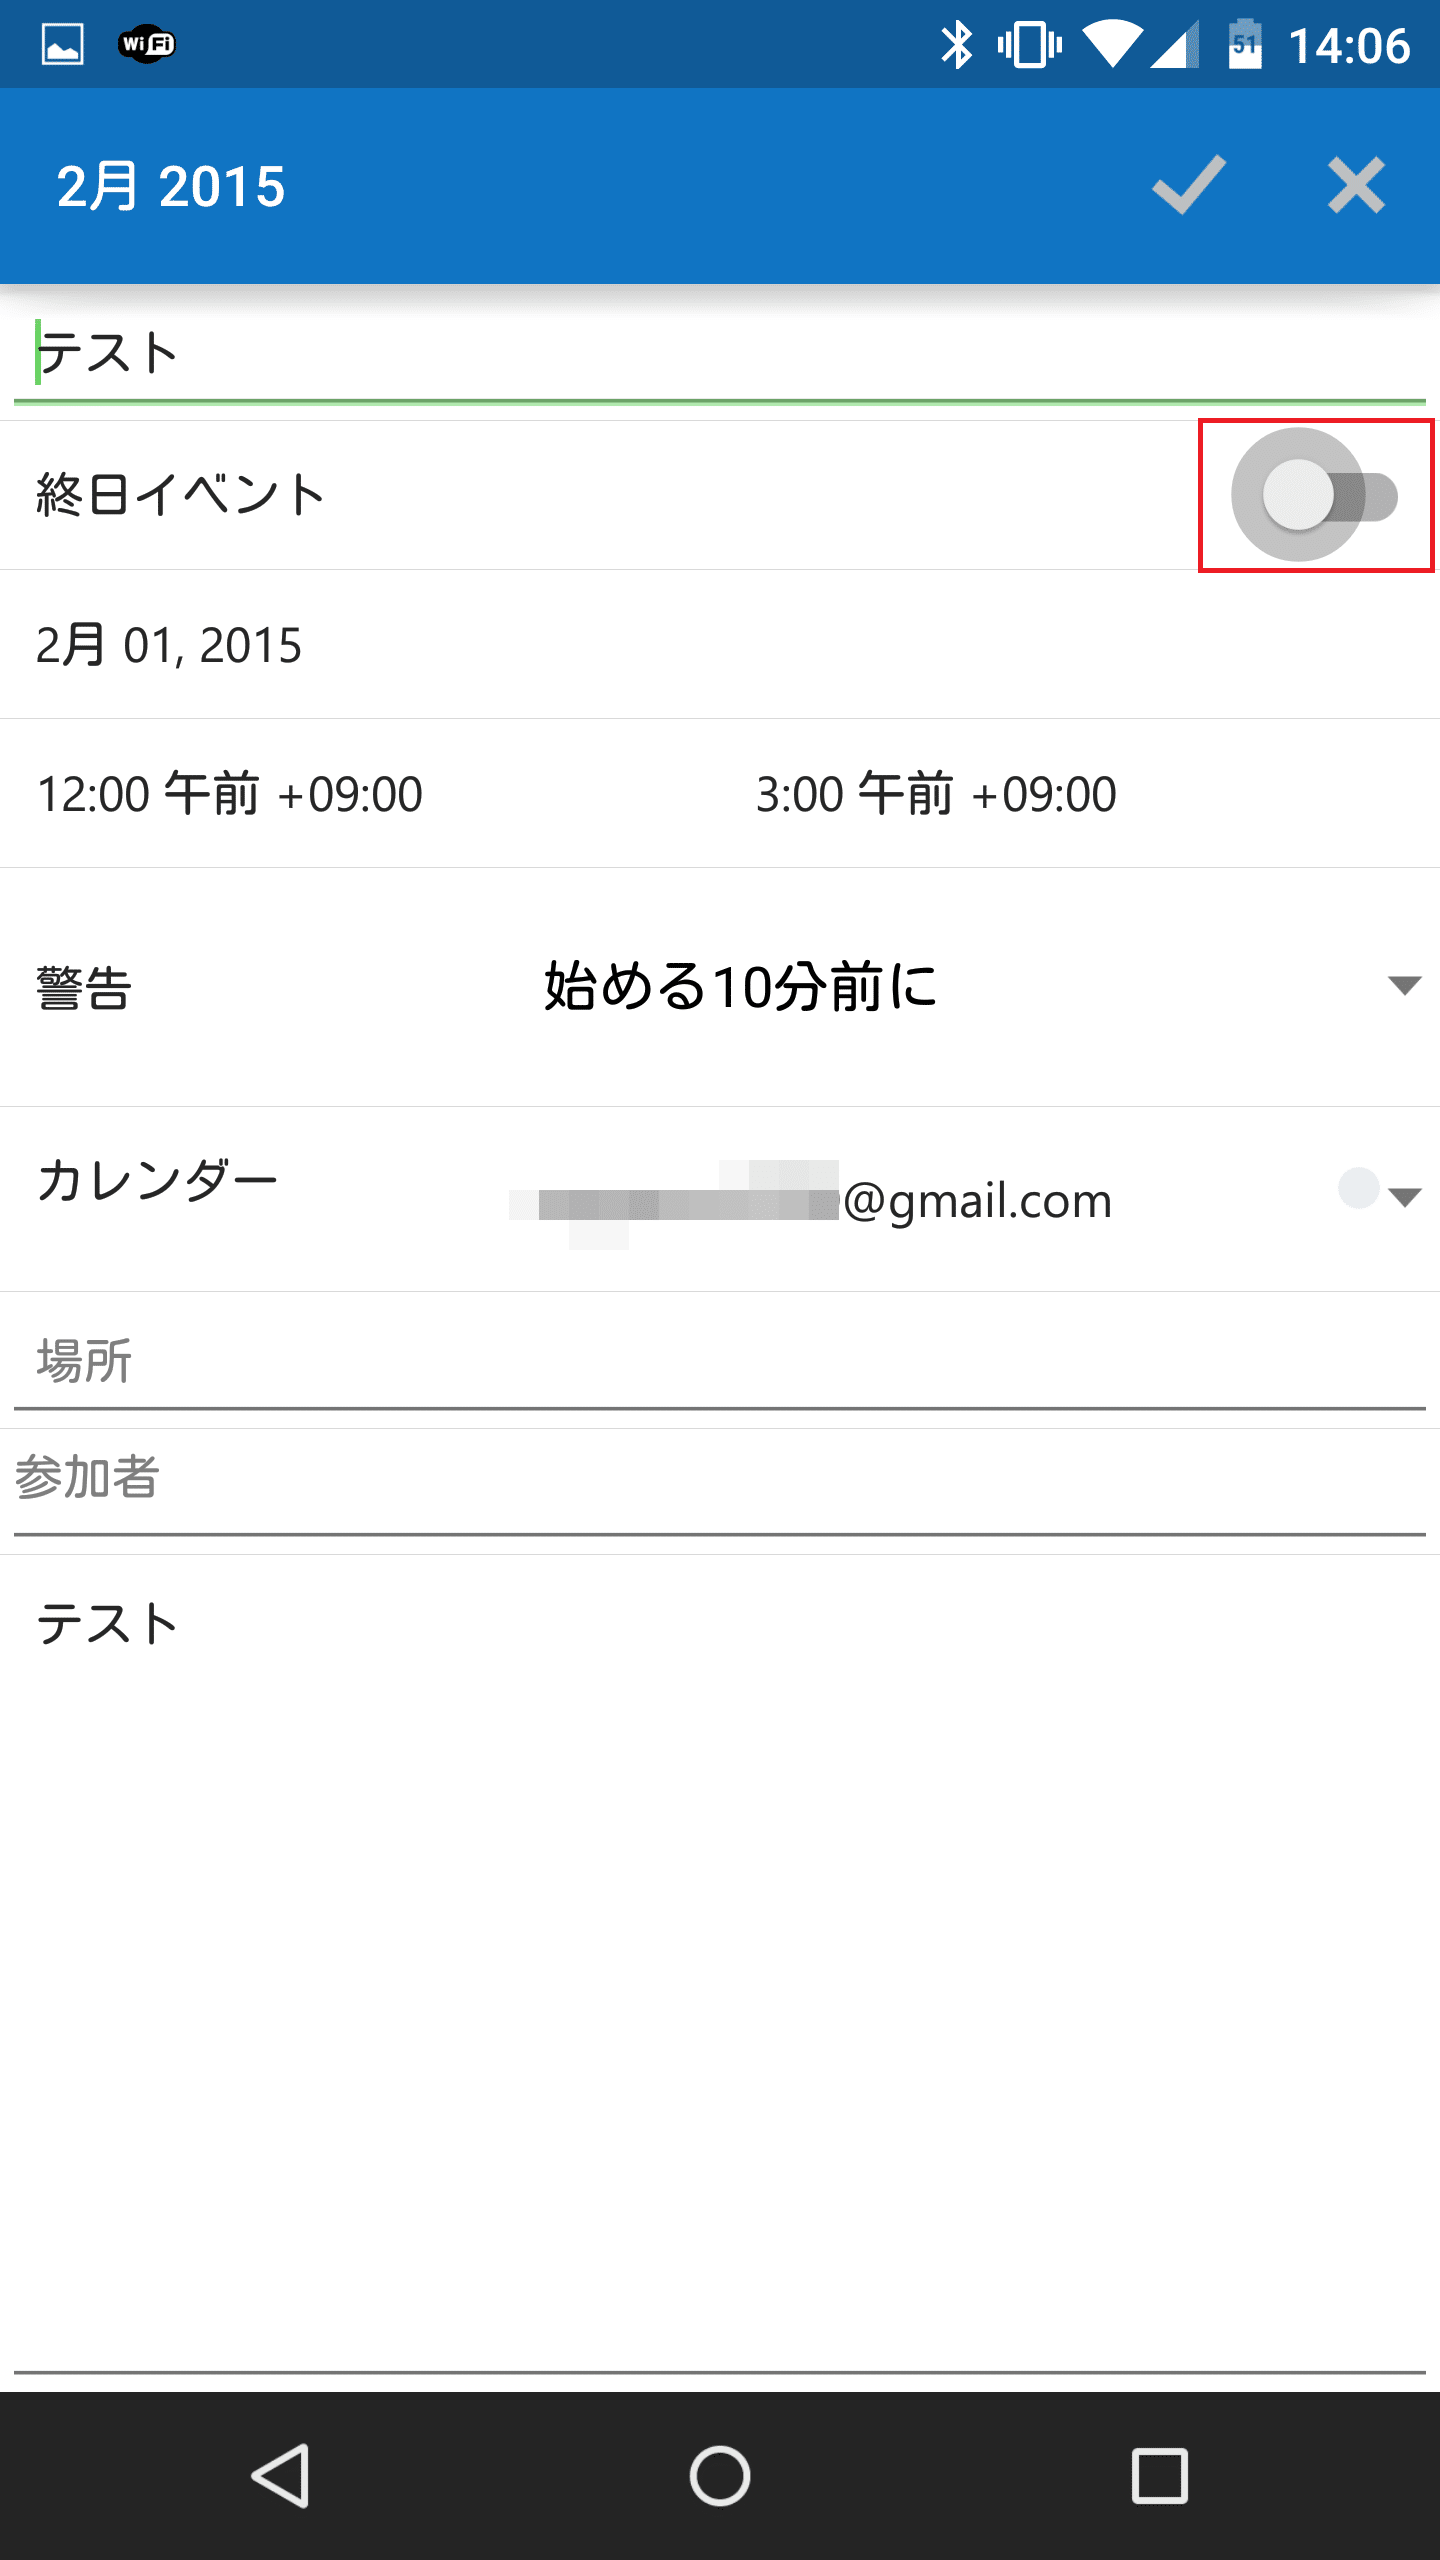
また、当初は時間指定の予定でも、終日の予定に変更することもできます。「終日イベント」をオンにします。
オンになったら、右上の完了アイコンをタップします。
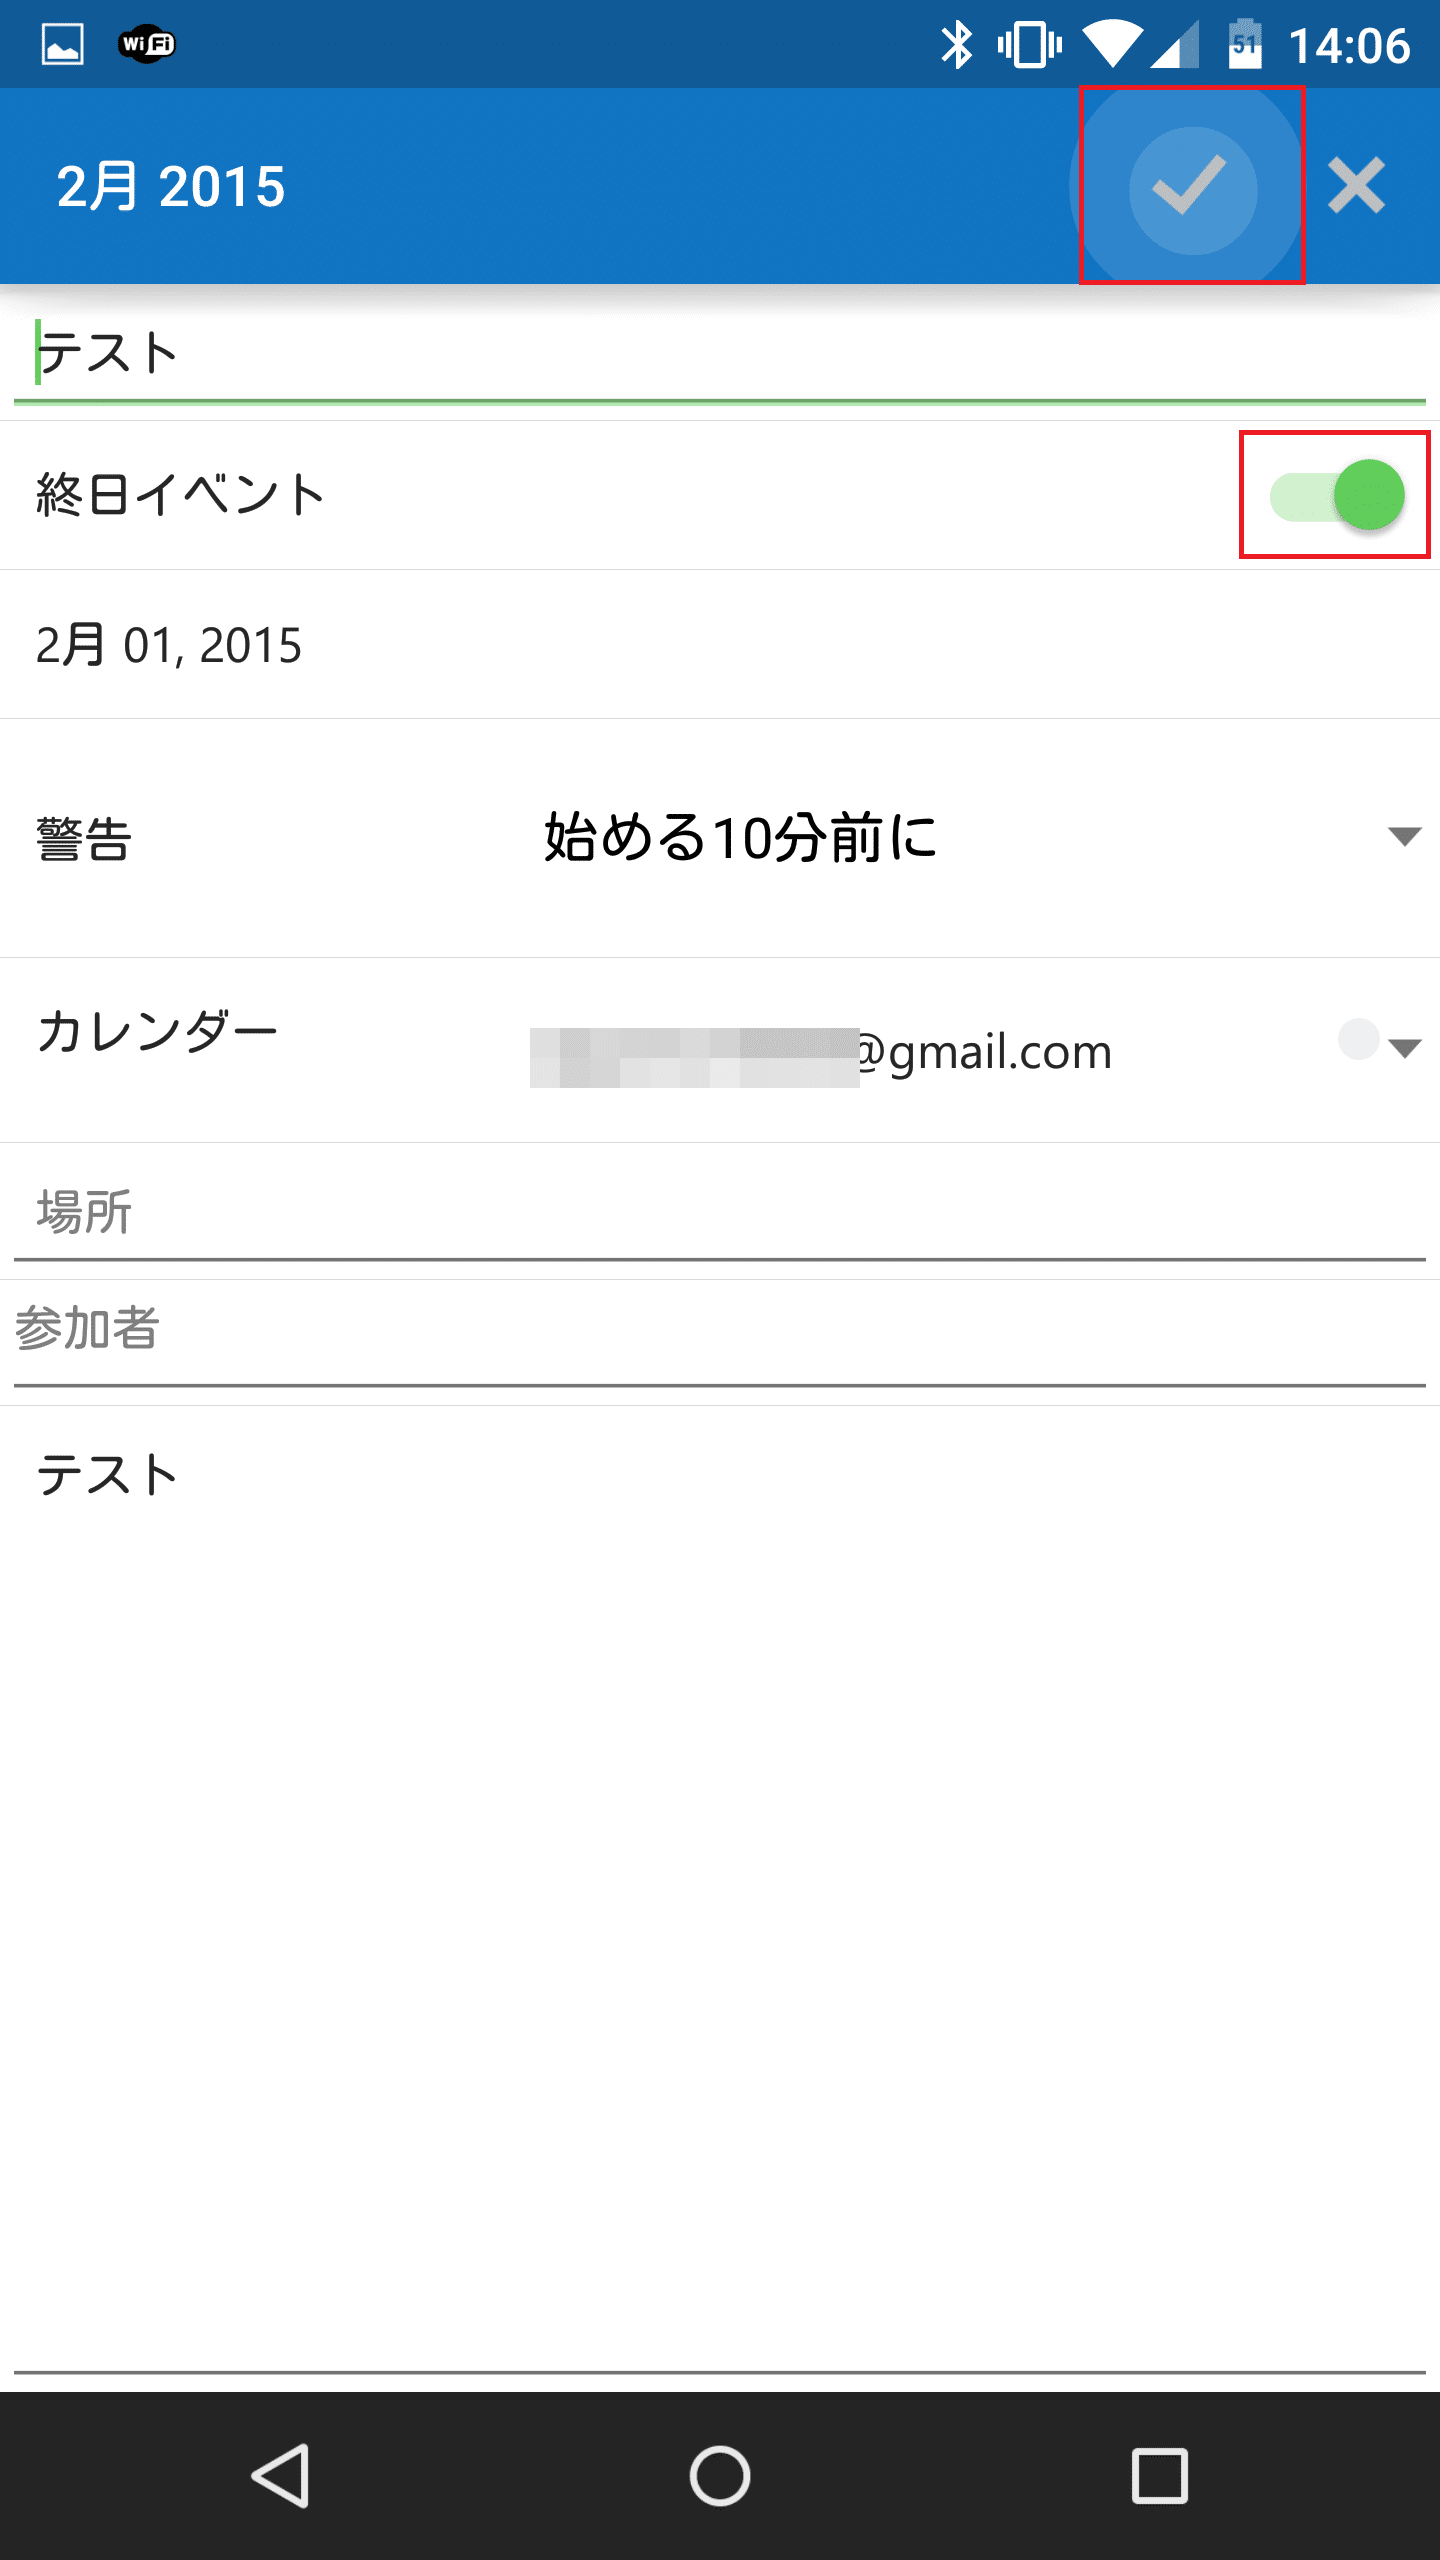
再度完了アイコンをタップします。
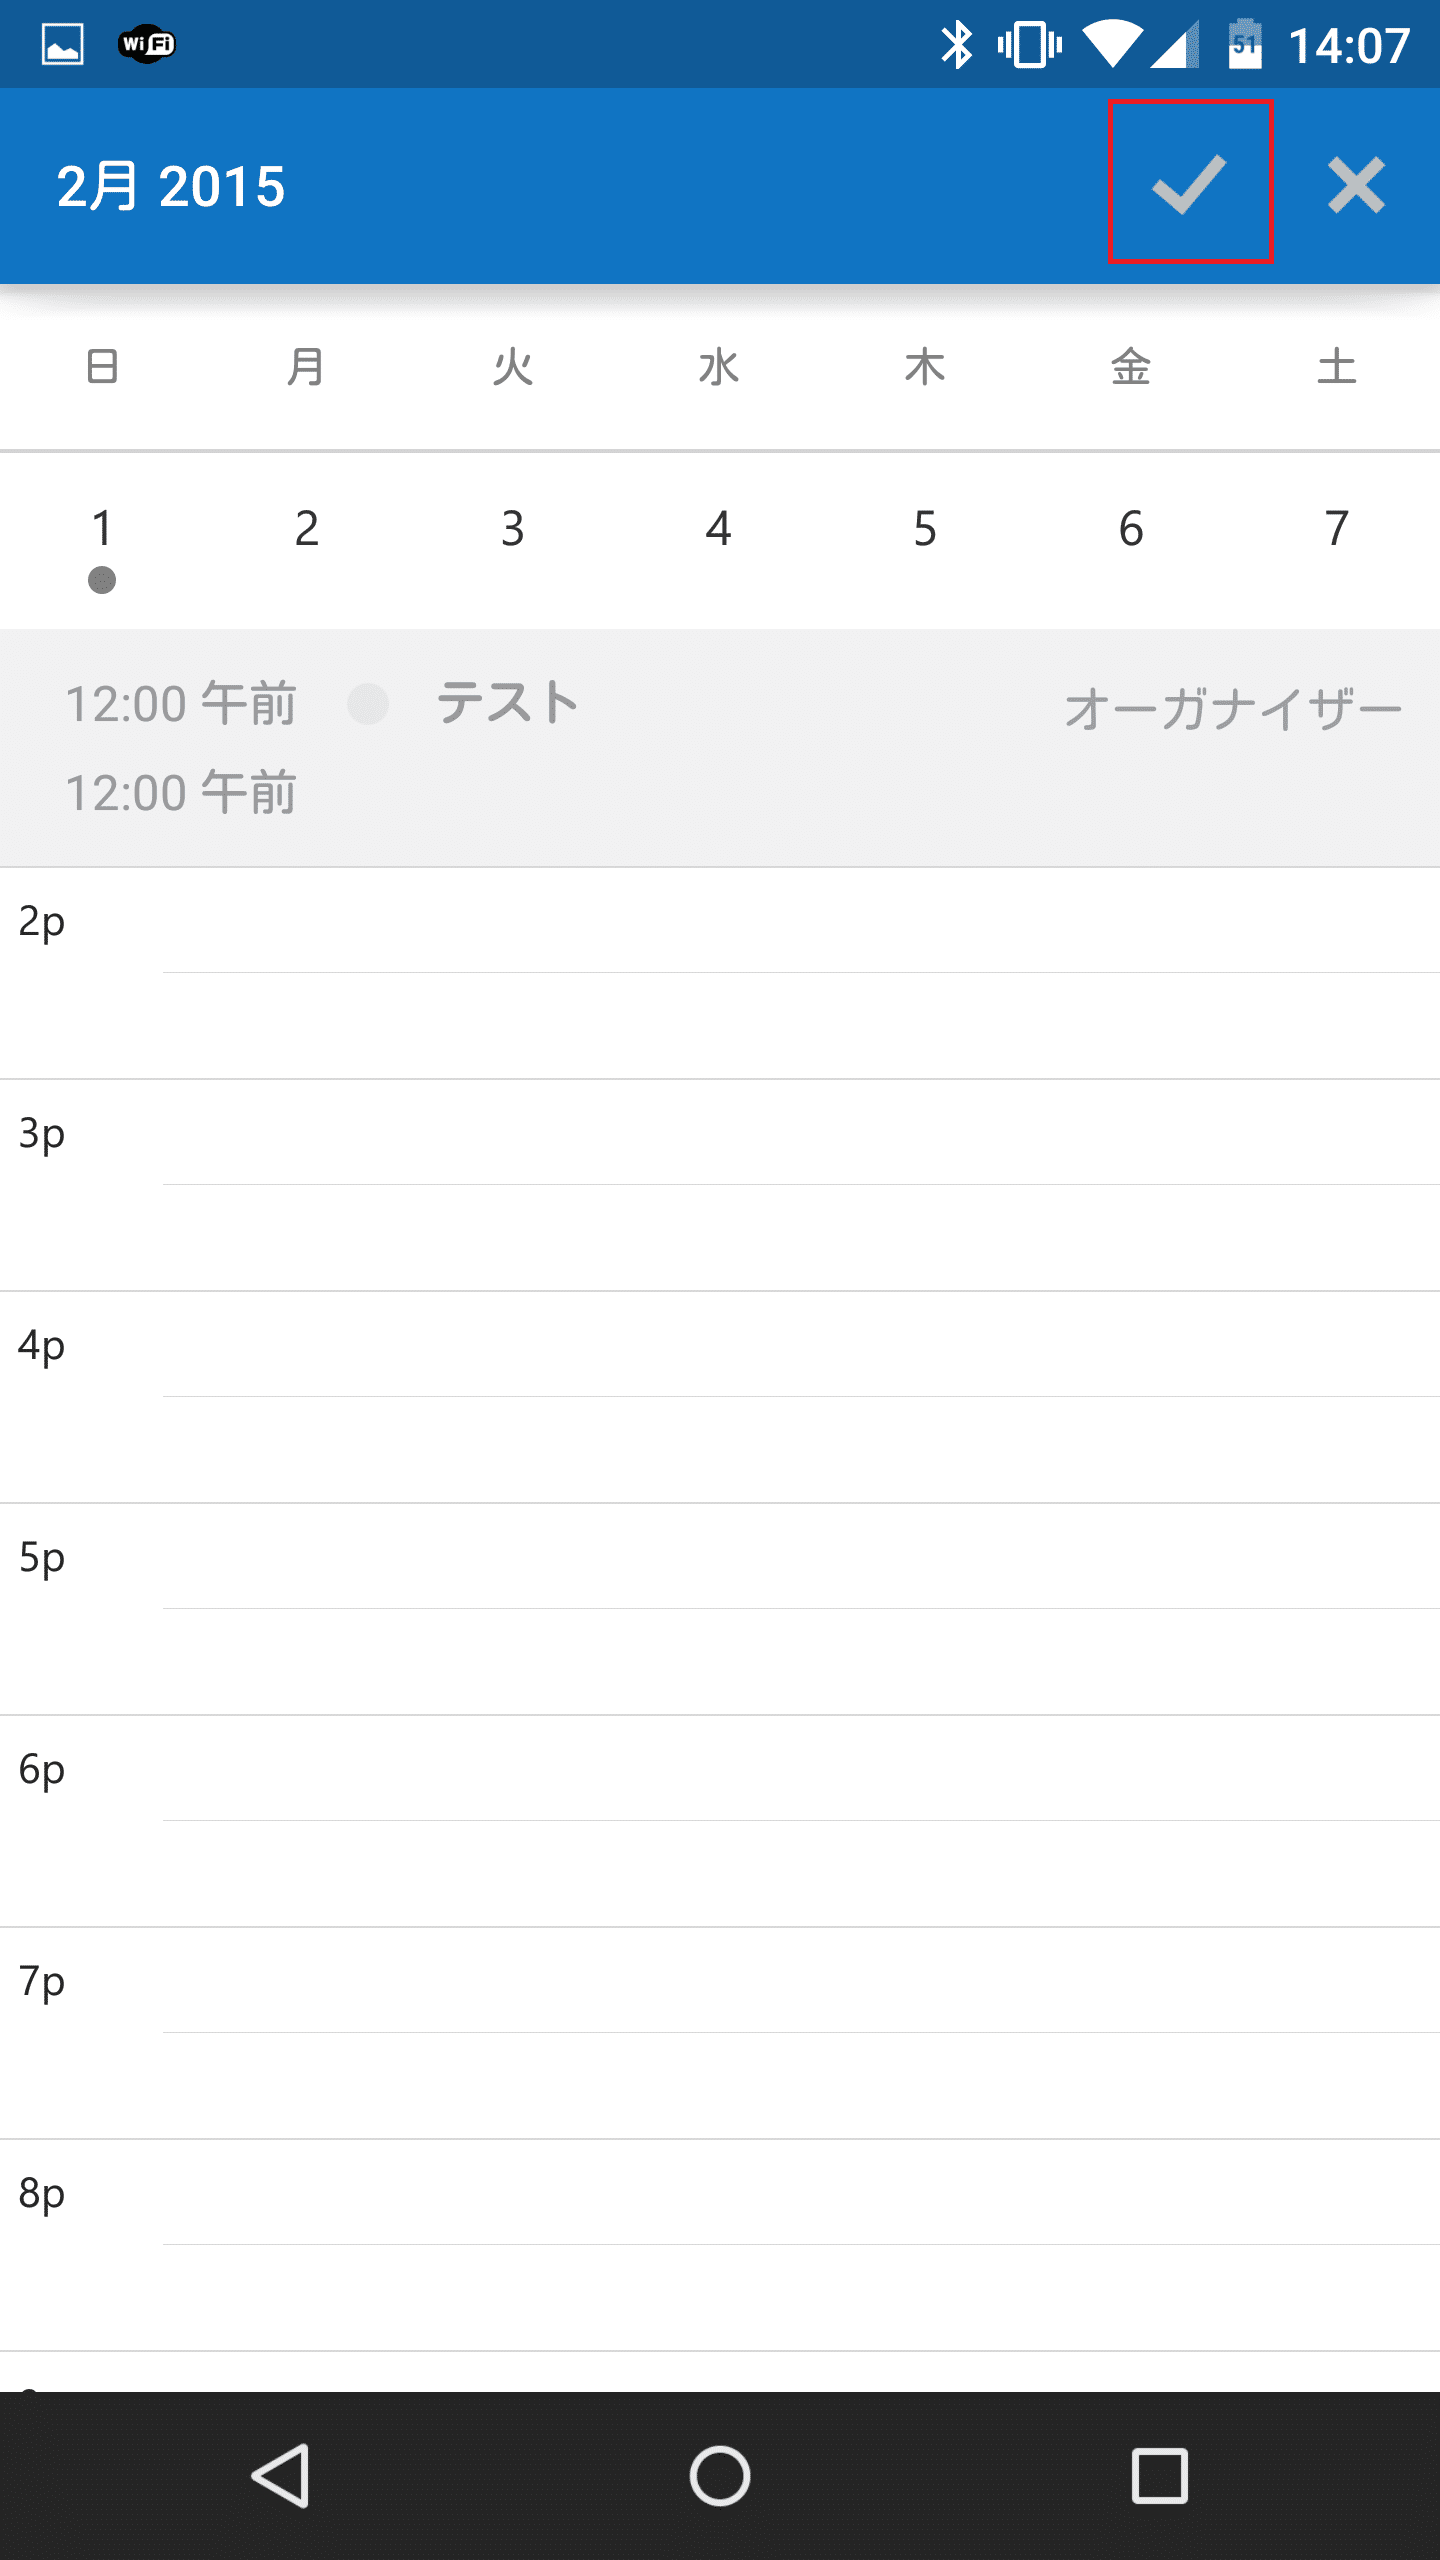
予定が終日に変わりました。
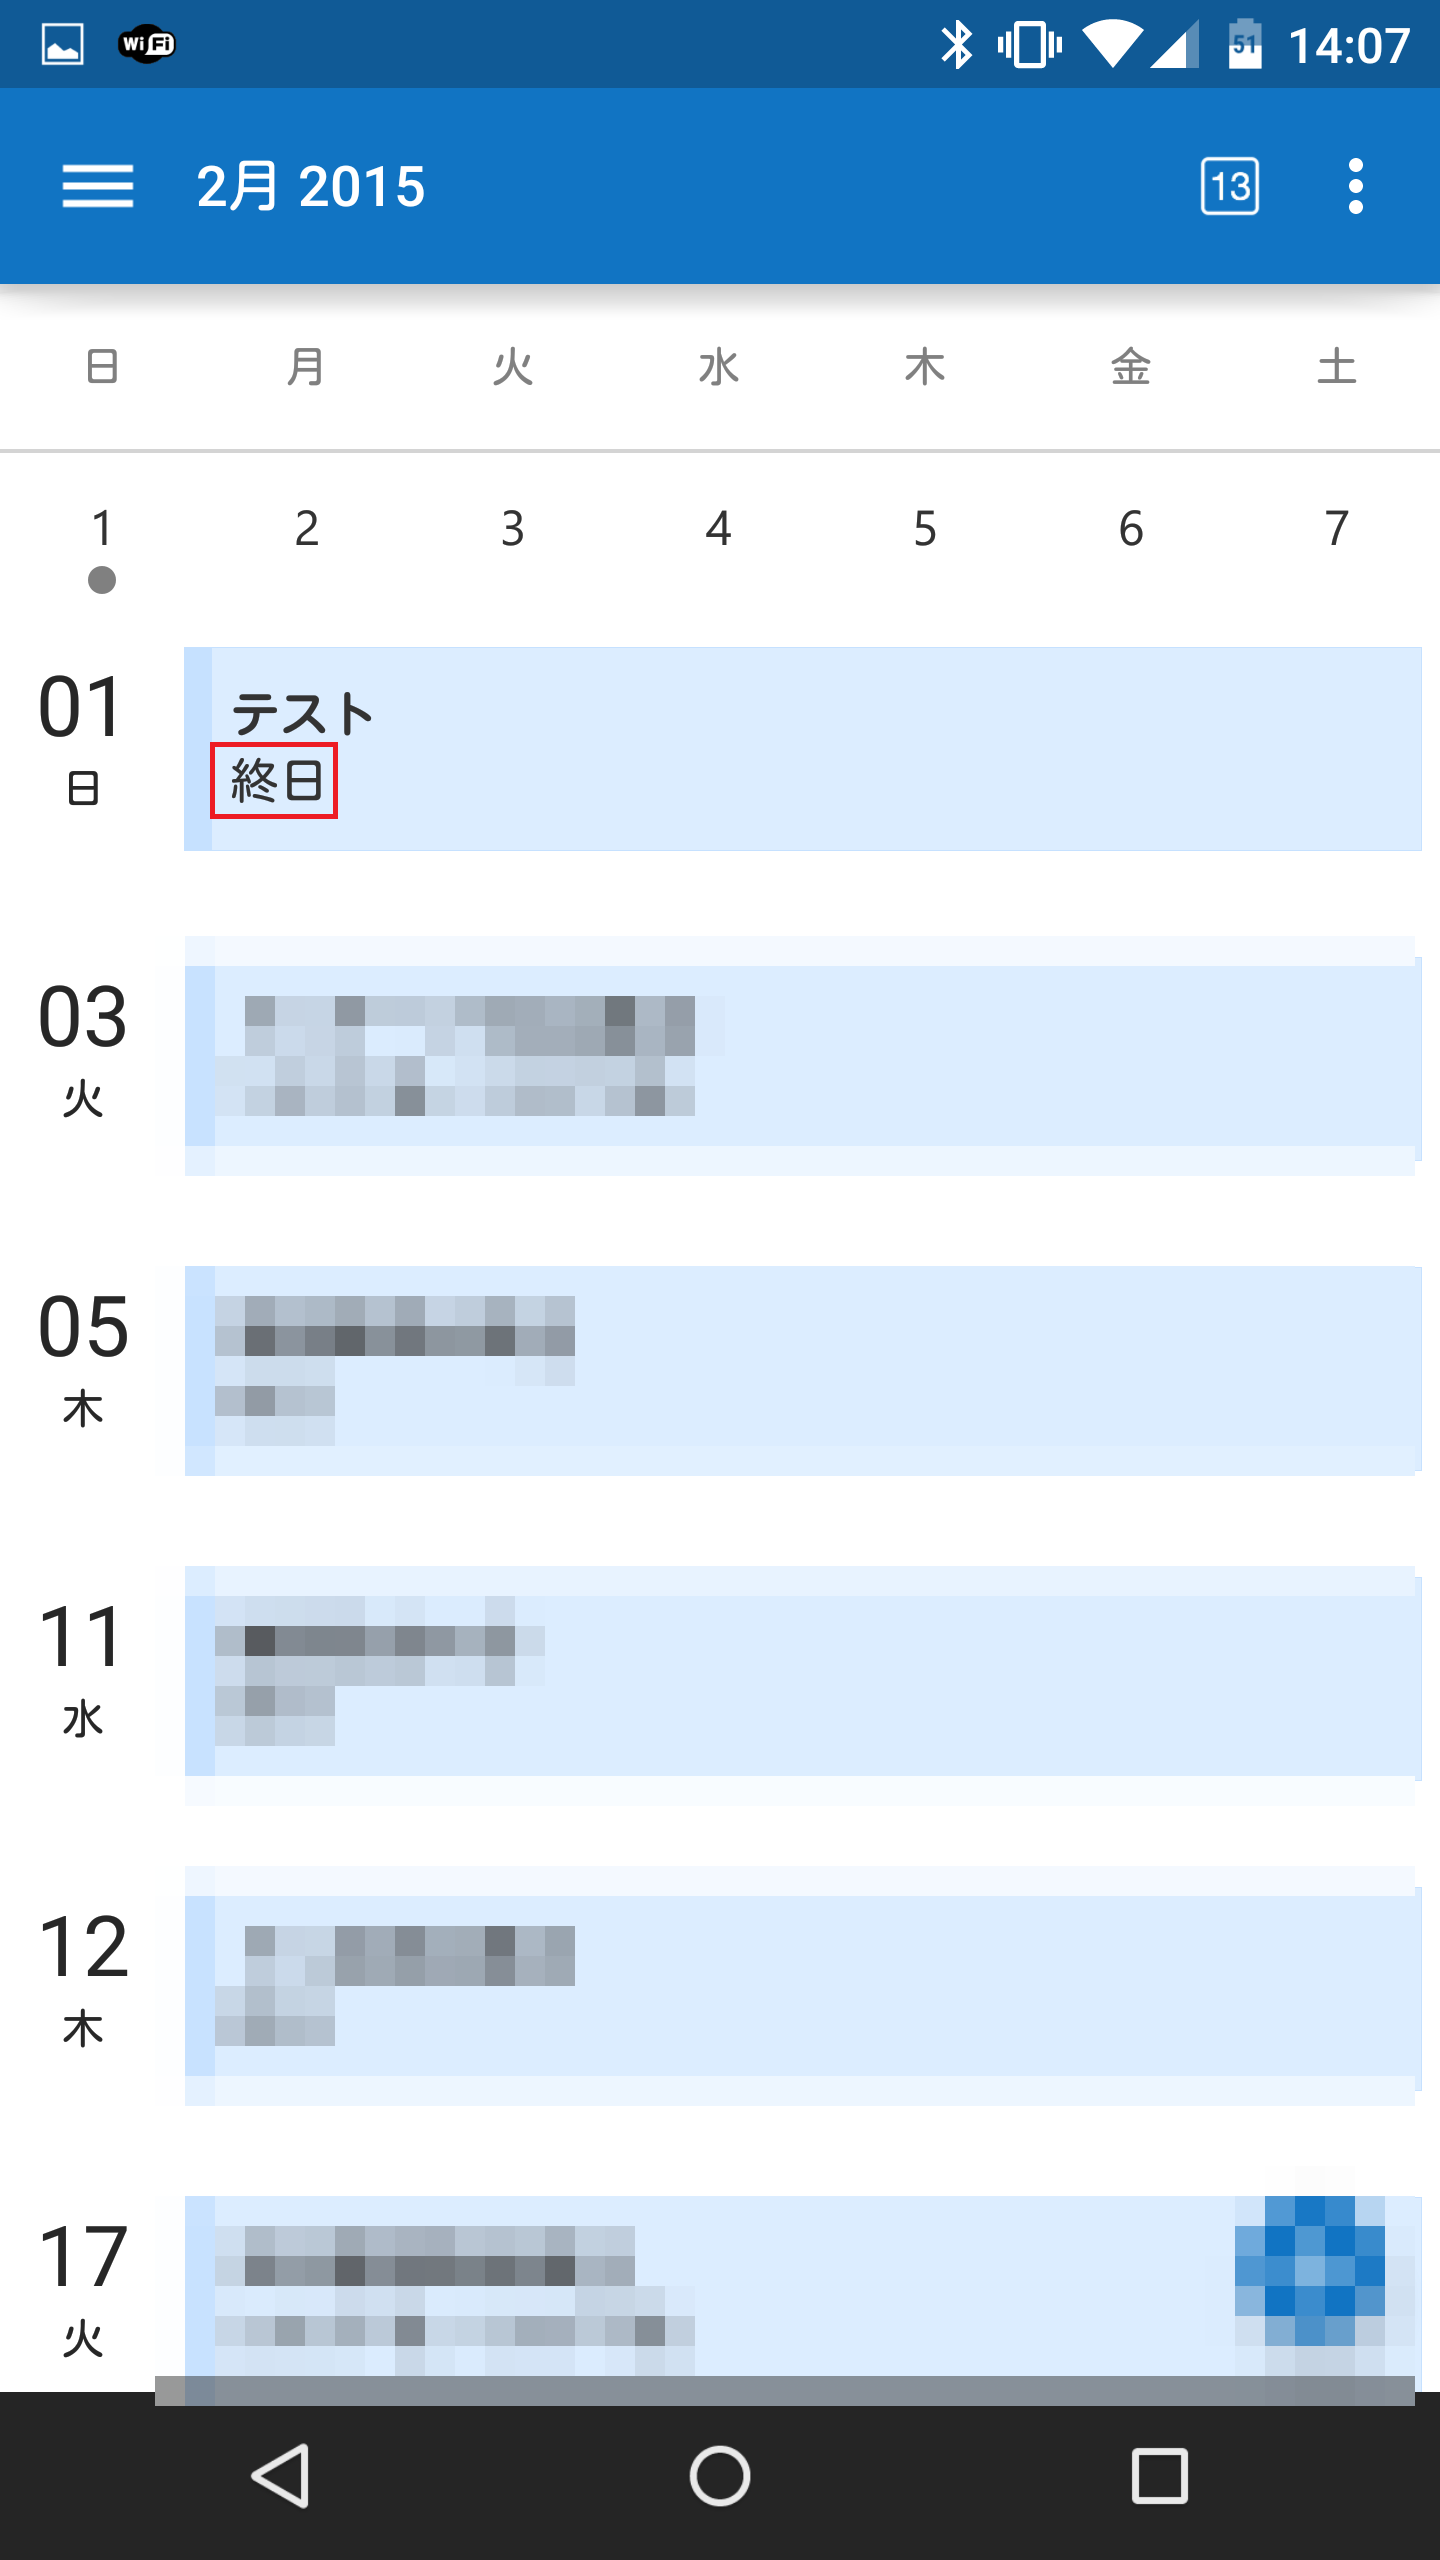
Android版Microsoft Outlookでは、Googleカレンダーの新規追加だけでなく編集も分かりやすいUIで簡単にできますね。
Android版Microsoft OutlookでGoogleカレンダーを同期する方法とカレンダーの使い方は以上です。