このページでは、Google Play Music(グーグルプレイミュージック)の使い方を紹介します。
目次
- Google Play Musicとは
- 更新情報
- Google Play Musicを日本から登録する流れ
- TunnelBearを使ってIPを米国に偽装
- IPを偽装した状態でGoogleアカウントを新規作成
- Google Play Musicを日本から登録する
- Music Managerをインストールする
- Google Play Musicに音楽をアップロードする
- 日本版Google Play Musicの登録方法と使い方
- AndroidでGoogle Play Musicを利用する
- Google Play Musicでアルバムアート(ジャケット)を追加・変更する
- Google Play Musicの音楽を好きな音楽再生アプリで再生する
- Google Play Musicの音楽を削除・削除取り消しする
Google Play Musicとは
Google Play Music(グーグルプレイミュージック)は、Googleのオンラインストレージに自分の音楽ファイルをアップロードして、どこからでも、どのAndroid(アンドロイド)端末でも聴けるようにするクラウド音楽サービスです。Google Play Musicは音楽好きにはすごく便利なんですが、
ですが、少し細工することで日本からでも使う方法がありますので、今回はその方法を紹介します。
2015/9/3
ついに日本でもGoogle Play Musicが使えるようになりました。
Google Play Musicは、国内外のレーベルが提供する3,500万曲を無制限で再生できるサービスです。
また、曲だけでなくアルバムごと購入も可能なストアと、すでに持っている曲を5万曲までクラウドにアップロードして保存できる機能もそのまま使えます。
月額料金は税込で980円ですが、10月18日までに登録するとずっと税込780円で利用できます。また、30日間は使用期間として無料で利用できます。
更新情報
2015/9/3日本でGoogle Play Musicが始まりました。日本版Google Play Musicの登録方法や使い方は、日本版Google Play Musicの登録方法と使い方を参照してください。
2014/4/12
Stealthyの使い方が変わったので修正とキャプチャ画像も最新のものに差し替えました。
2014/8/15
Googleアカウント自体をIP偽装の状態で新規作成しないと、Google Play Musicを利用できないとの情報をいただいたので追記しました。
2014/9/17
StealthyでIP偽装ができないことがあるので、TunnelBearを使ってIP偽装する方法に変更しました。
2014年9月現在、Google Play Musicの利用にはクレジットカードの登録が必須となっているので、クレジットカード情報を入力して登録する最新版に変更しました。私も最新版の方法で新規でGoogleアカウントを作成してGoogle Play Musicを登録し、実際に利用できたことを確認しました。
それに伴い、キャプチャ画像も最新のものに差し替えました。
Google Play Musicを日本から登録する流れ
以下の内容は、Google Play Musicが利用できなかった2015年9月2日までの利用方法です。Googel Play Musicを日本から登録する流れは以下の通りです。
なお2014年9月現在、Google Play Musicを使うにはクレジットカードが必要です。
1.TunnelBearを使ってIPを米国に偽装
※登録が終わったら、IP偽装は解除して大丈夫です。登録後は日本からもGoogle Musicにアクセスできるようになります。
2.偽装した状態でGoogleアカウントを新規作成
3.Google Play Musicの登録
4.Google Play MusicをAndroid端末にインストール(ほとんどの端末でプリインストールされていると思います)
Google Play Music - Google Play の Android アプリ
TunnelBearを使ってIPを米国に偽装
まずGoogle Play Musicを日本から登録するために、すでにGoogle Play Musicが対応している国であるアメリカのIPに偽装します。アメリカのIPに偽装する方法は、これまではChromeの拡張機能である「Stealthy」を使っていましたが、うまく偽装できないことがあるのでTunnelBearを使います。
TunnelBearを使えば、確実にアメリカのIPに偽装でき、かつ速度も早く登録作業がはかどるのでおすすめです。
TunnelBearの使い方は、TunnelBearの使い方。IPをアメリカなど外国に偽装してGoogle Playストアのアメリカ版にアクセスできる無料ソフト。速度も速くおすすめのVPNサービス。を参照してください。
IPを偽装した状態でGoogleアカウントを新規作成
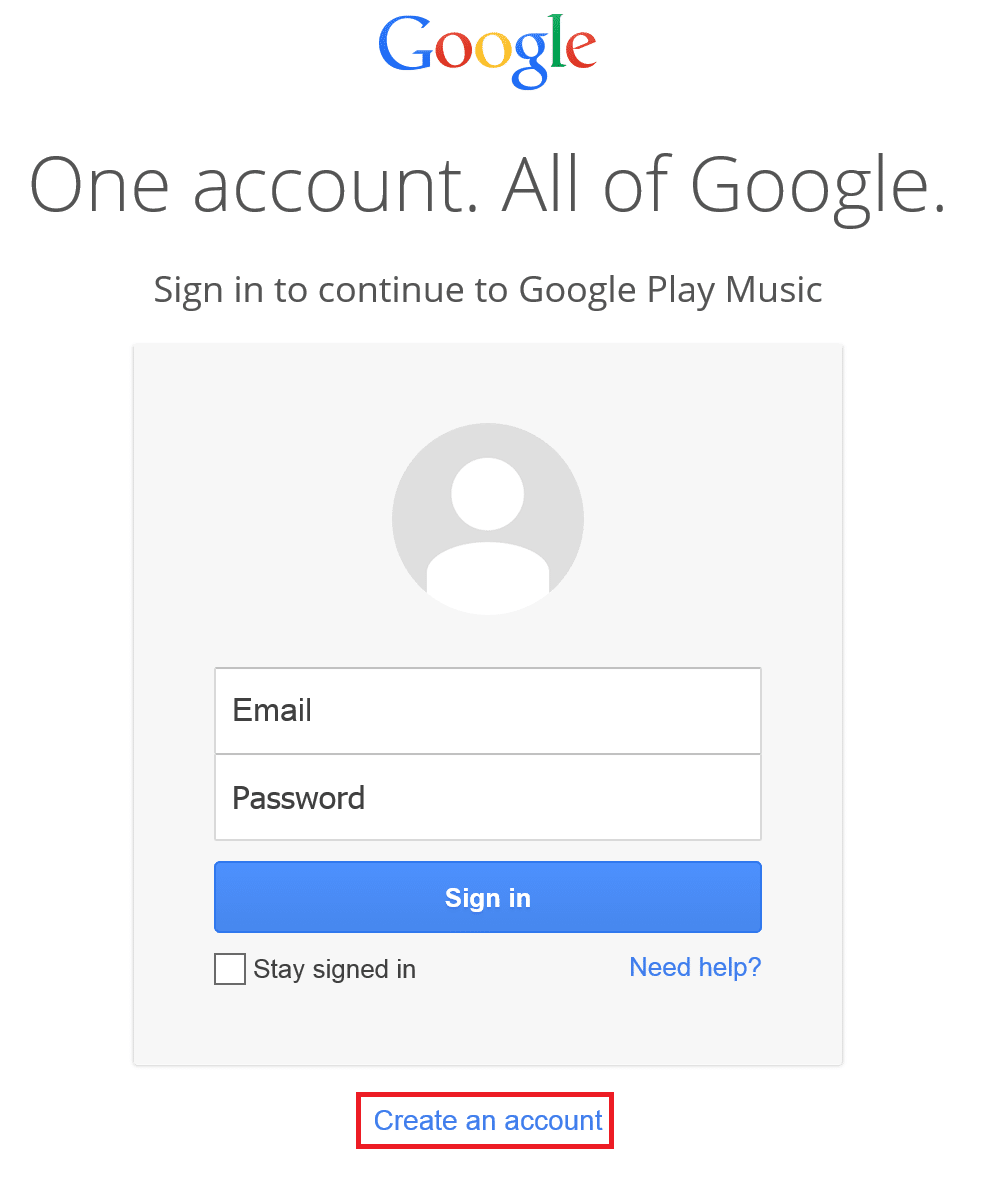
TunnelBearでアメリカのIPに偽装が完了したら、IPを偽装したままでhttps://music.google.com/にアクセスします。するとGoogleアカウントでログインを求めてくるので、アメリカのIPで新しいアカウントを作成します。「Create an account」をクリック。
名前、アカウント名、パスワード、誕生日、性別を英語で入力します。電話番号は入力しなくても登録できました。
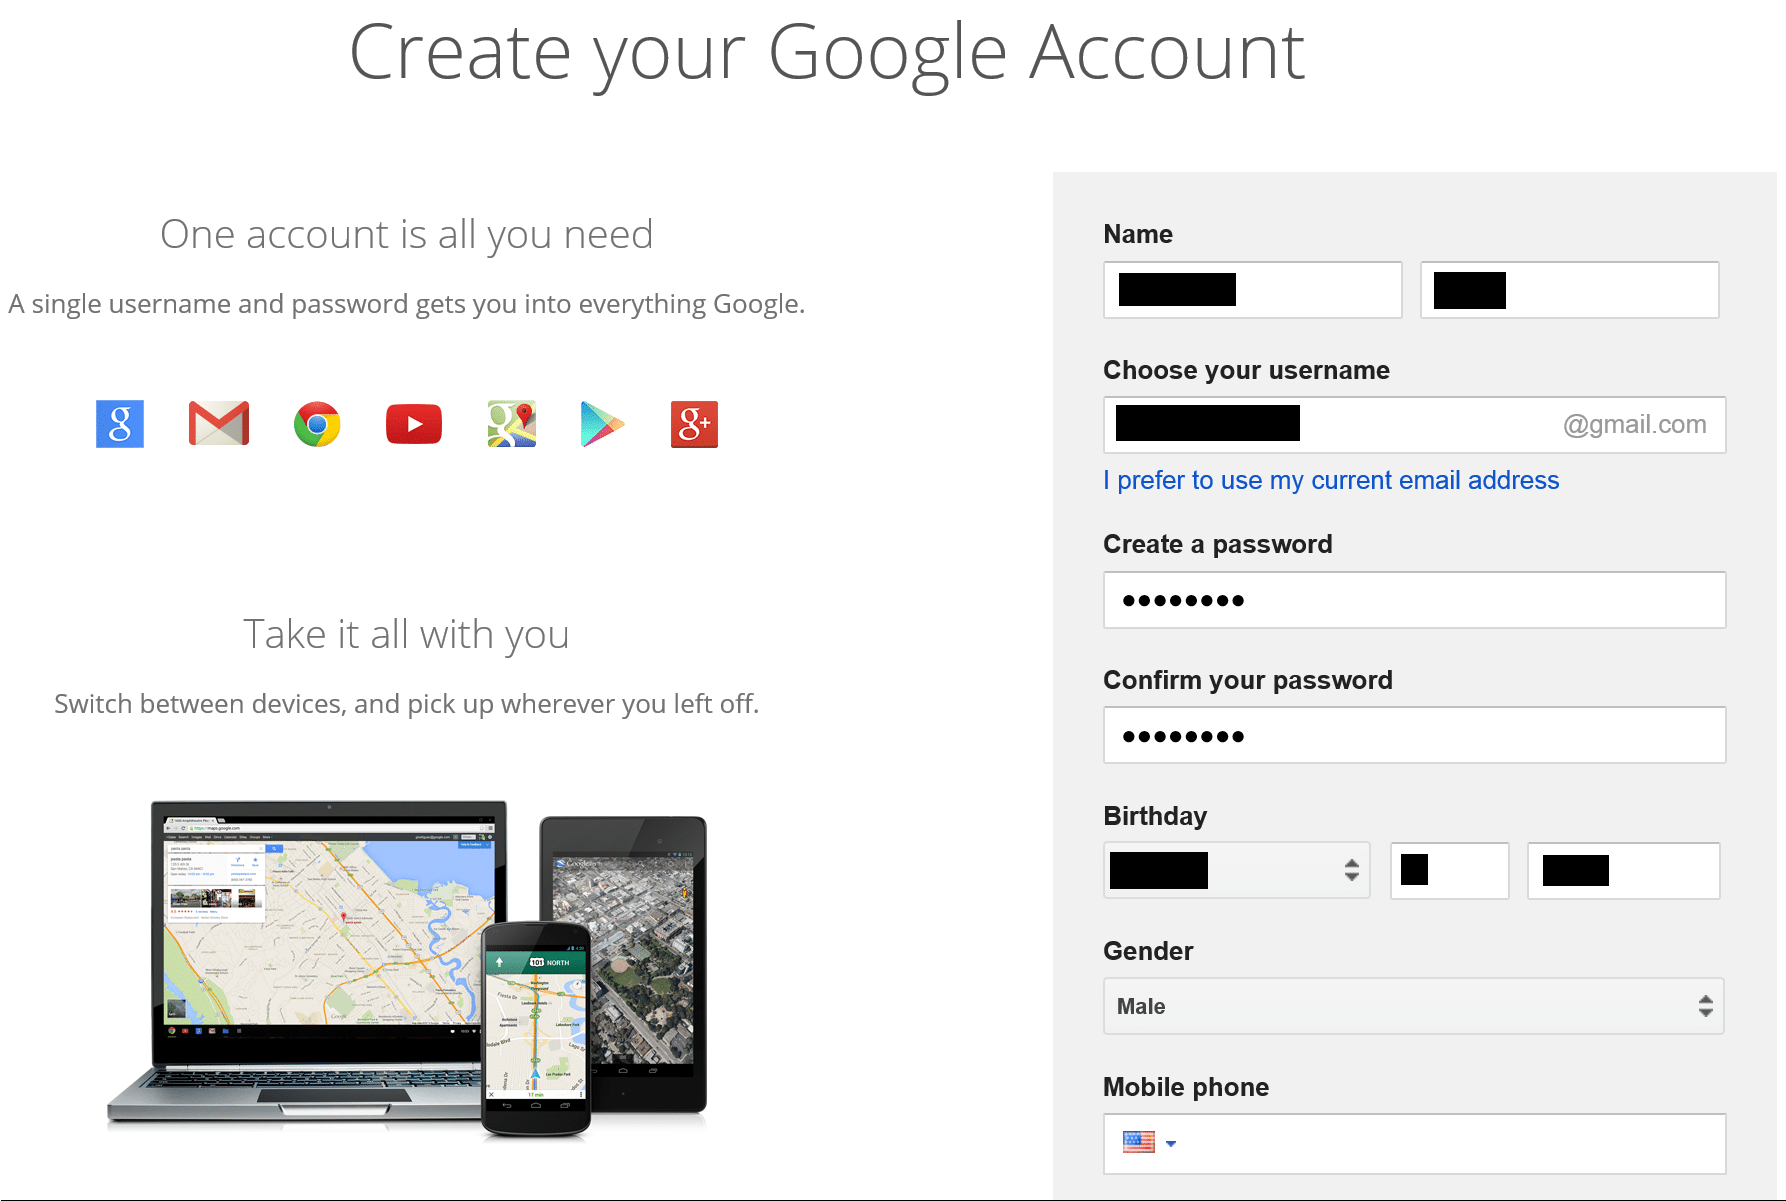
「Your current email address」も入力必須ではありません。ロボットではないことを確認するための数字入力は必須です。「Location」を「United States」にして「I agree to the Google Terms of Service and Privacy policy」にチェックを入れて「Next step」をクリックします。

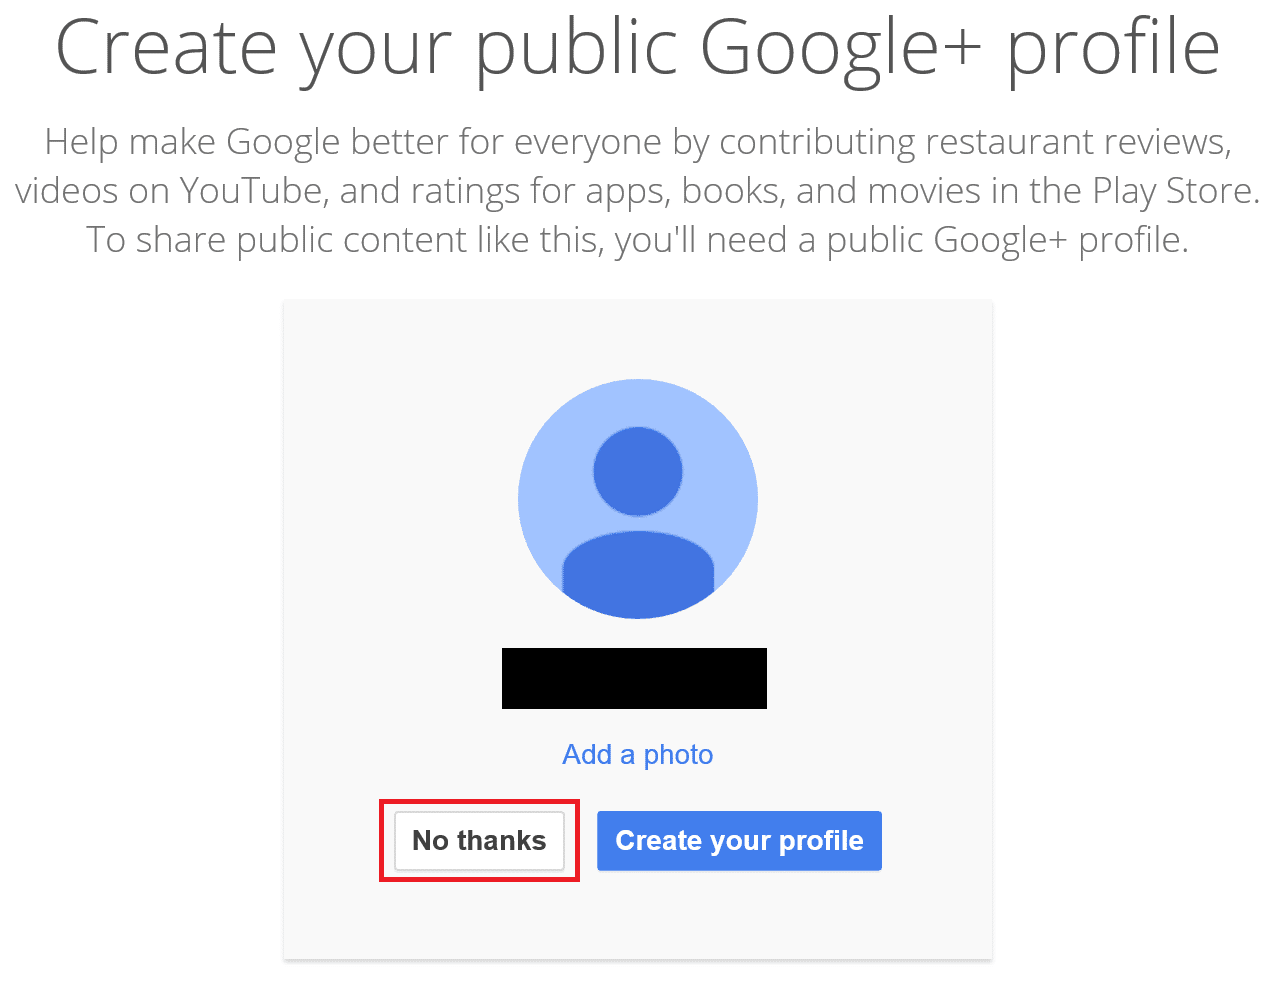
Google+のプロフィール作成を促してきますが、今回はGoogle Play Musicを使えるようにしたいだけなので「No thanks」をクリックします。
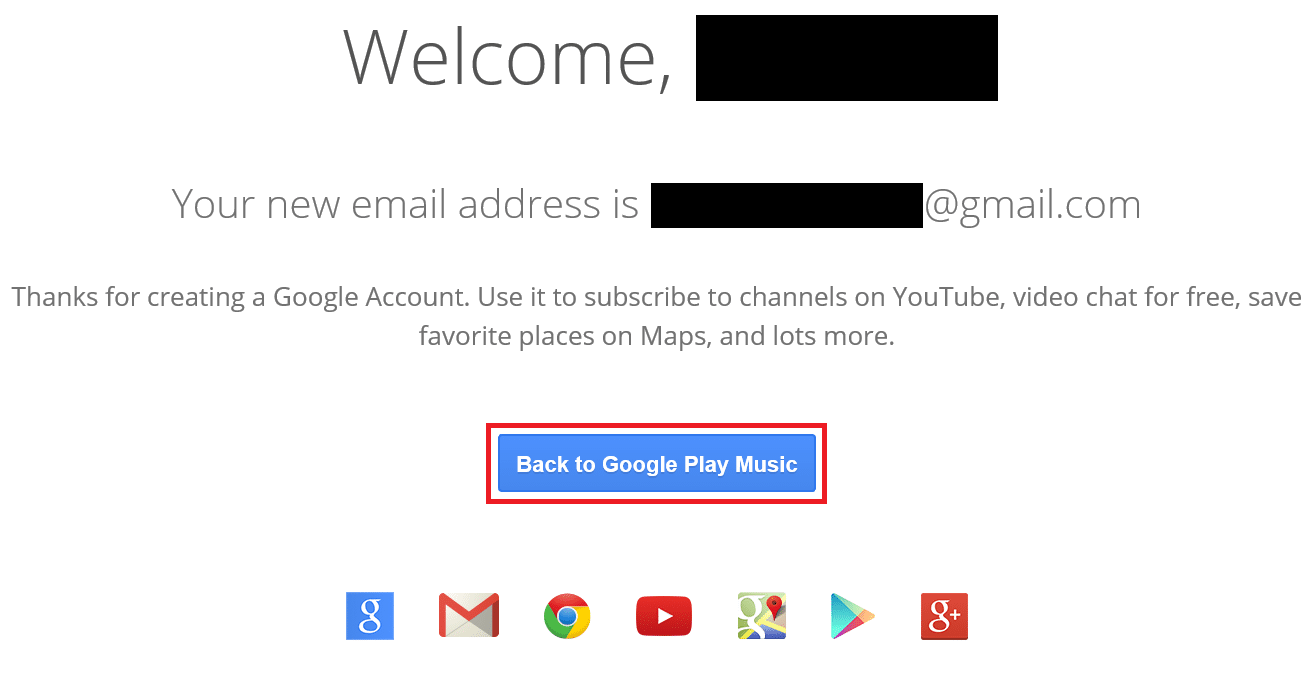
「Welcome」と表示され、アメリカのIPで新しいGoogleアカウントの作成が完了しました。「Back to Google Play Music」をクリックします。
Google Play Musicを日本から登録する
「Back to Google Play Music」をクリックすると、「Welcome to Google Play Music」の画面が現れるので下にスクロールします。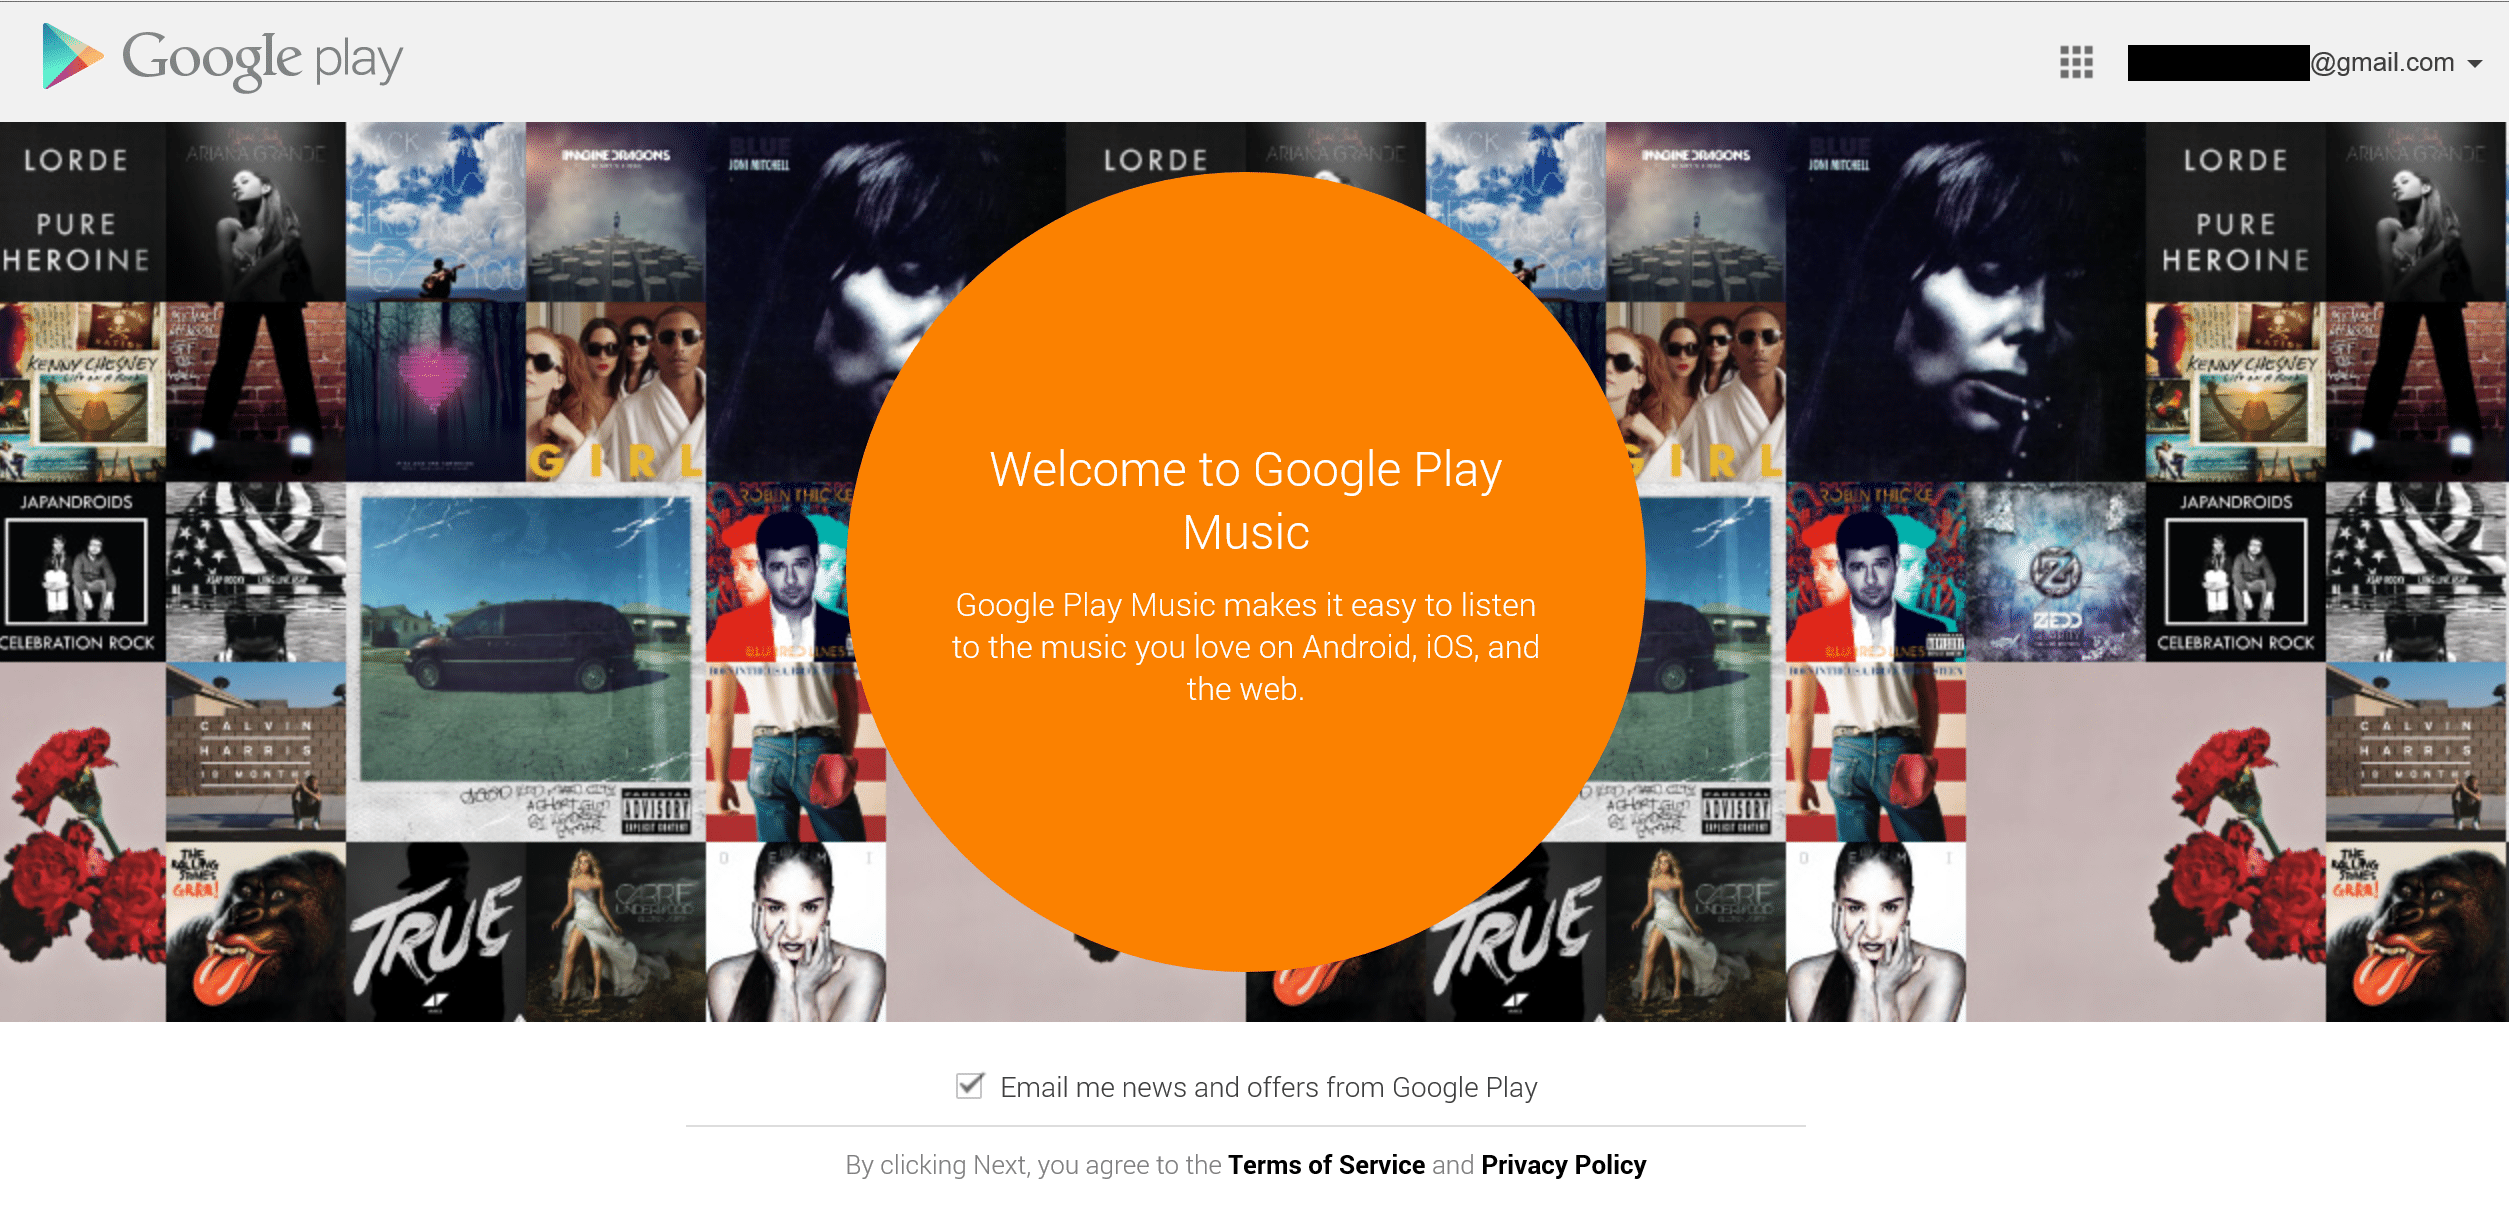
9.99ドル/月のGoogle Play Music All Accessへの登録を促してくるので「No Thanks」をクリックします。

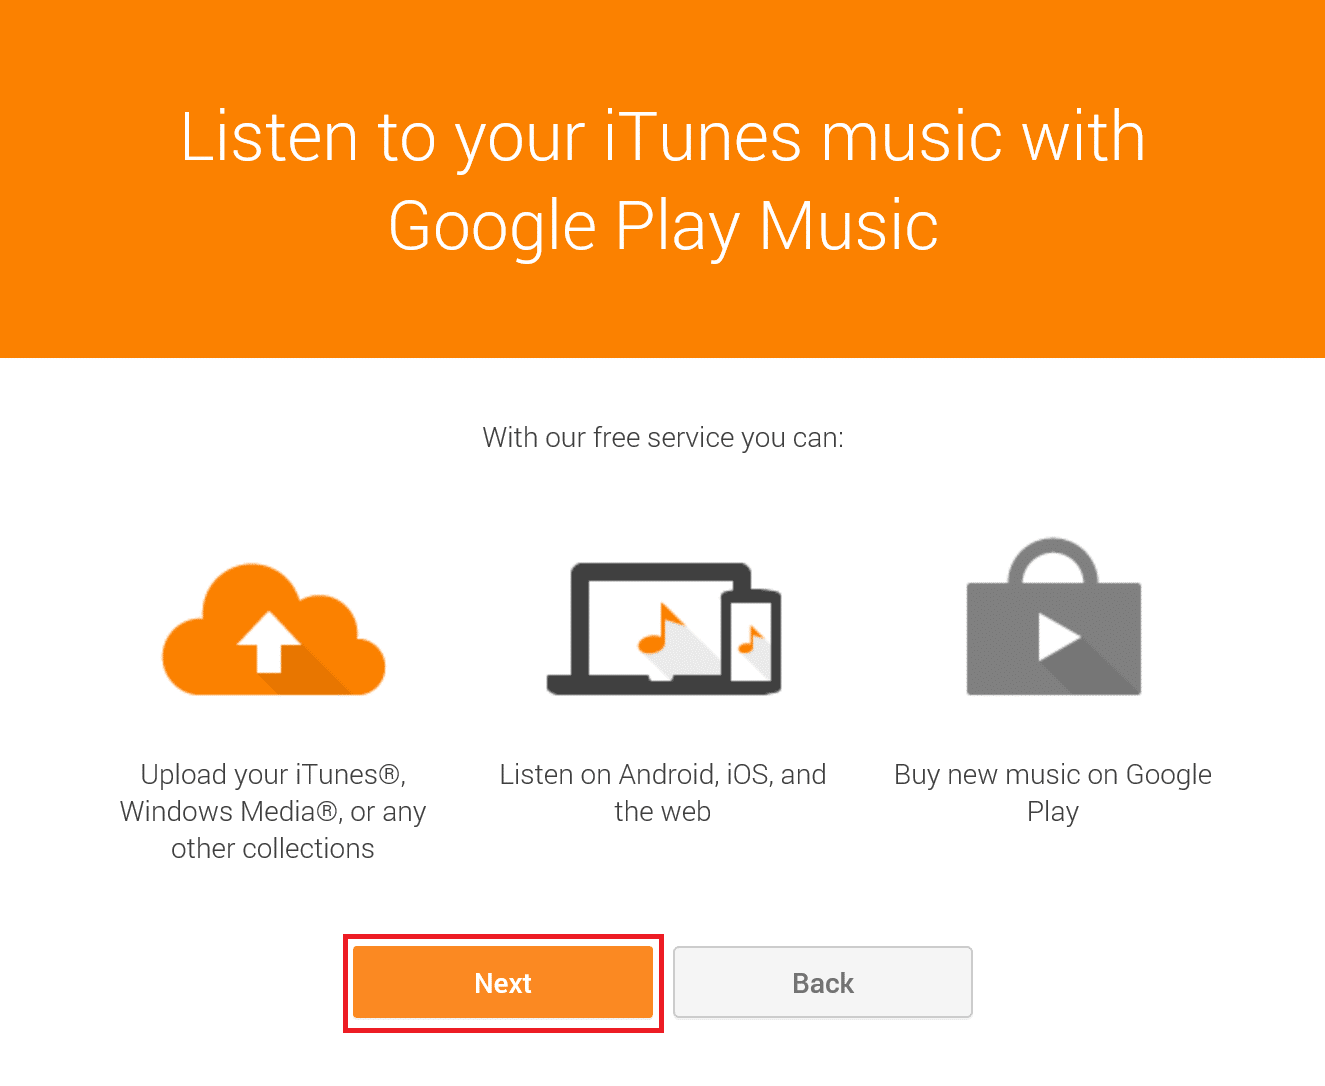
「Listen to your iTunes music with Google Play Music」と表示されるので「Next」をクリックします。
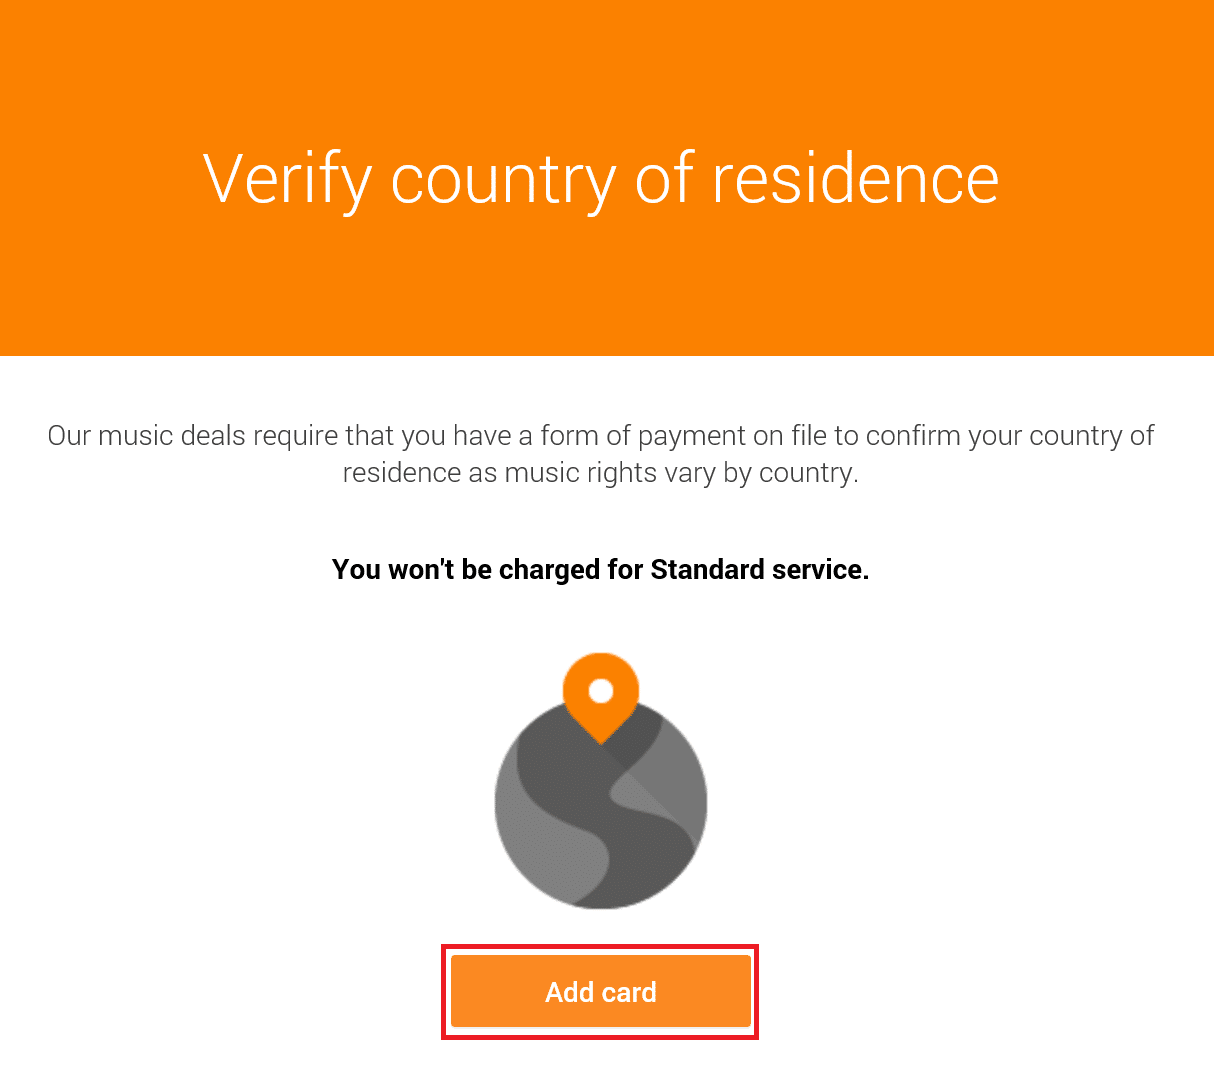
Google Play Musicが利用できる国かどうかを確認するためにクレジットカードの登録を促してくるので「Add card」をクリックします。
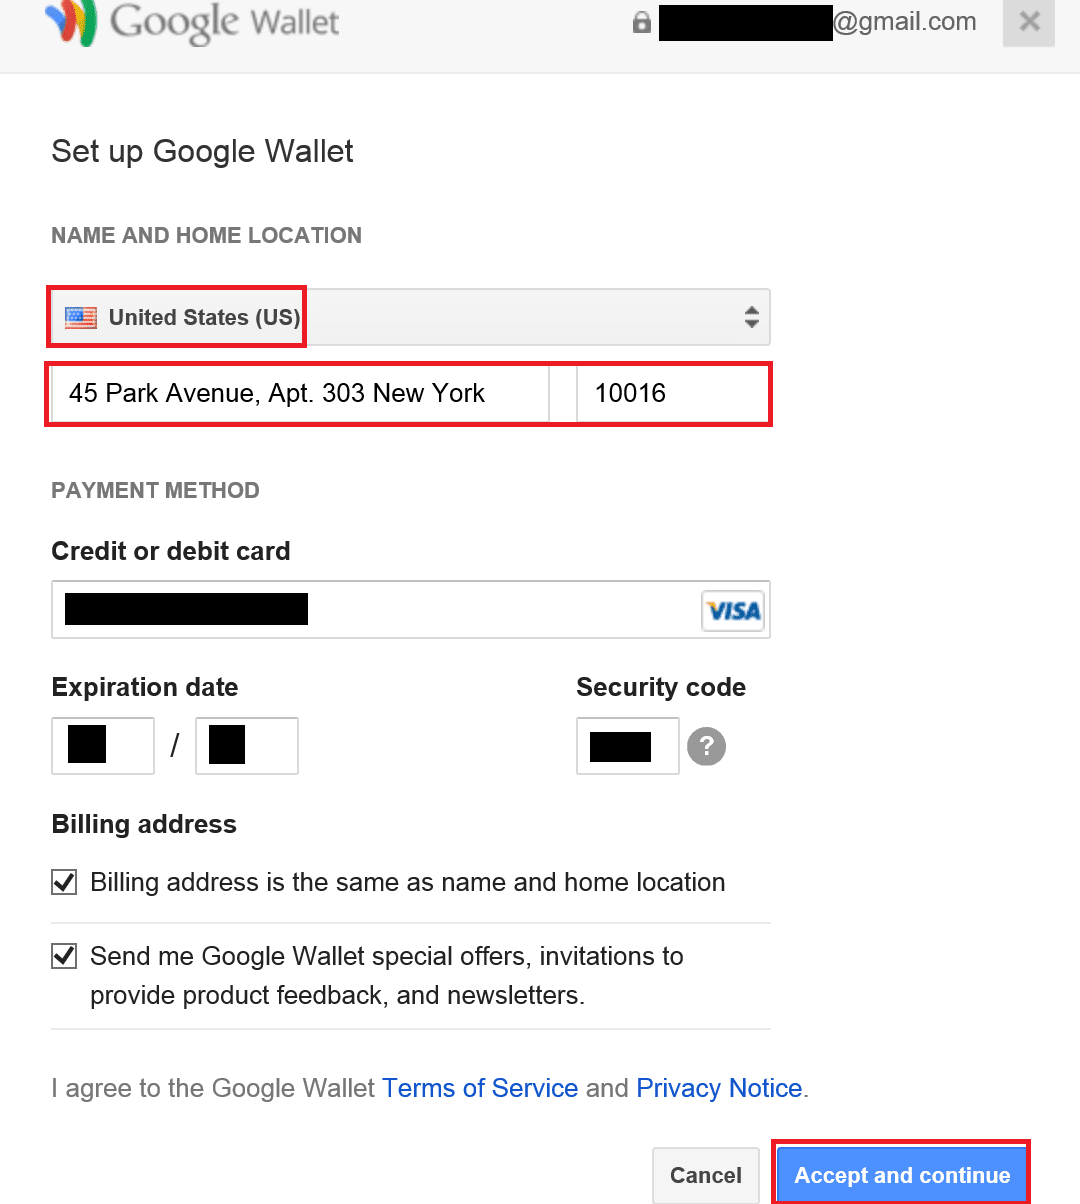
Google Walletの登録画面になるので入力していきます。国は「United States(US)」を、名前の部分は正しい名前ではなく適当に入力します。私は「example address in new york」で検索して見つけた住所を入力しました。「Credit or debit card」の部分は、正しいクレジットカード情報を入力します。入力が終わったら、「Accept and continue」をクリックします。
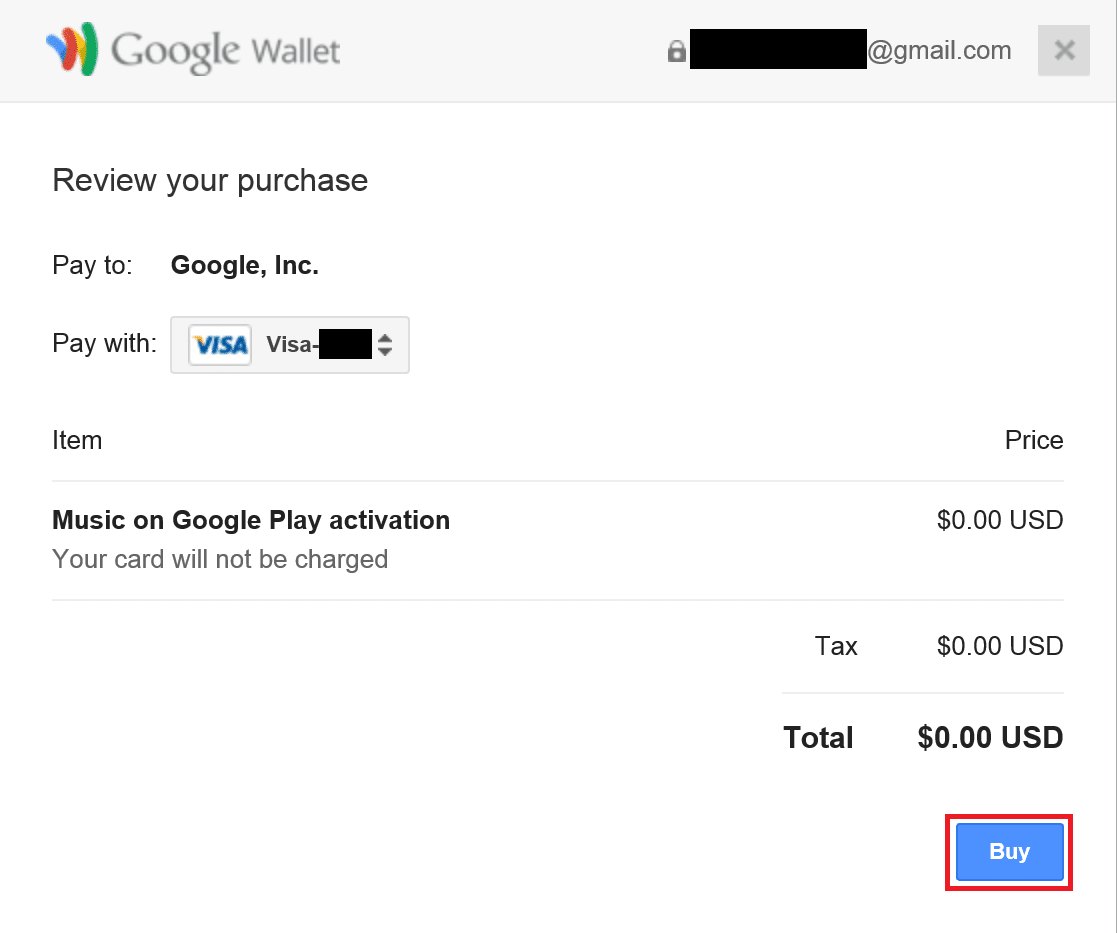
「Buy」をクリックします。
「Uh oh.There was a problem」と表示されるので「close」をクリックします。

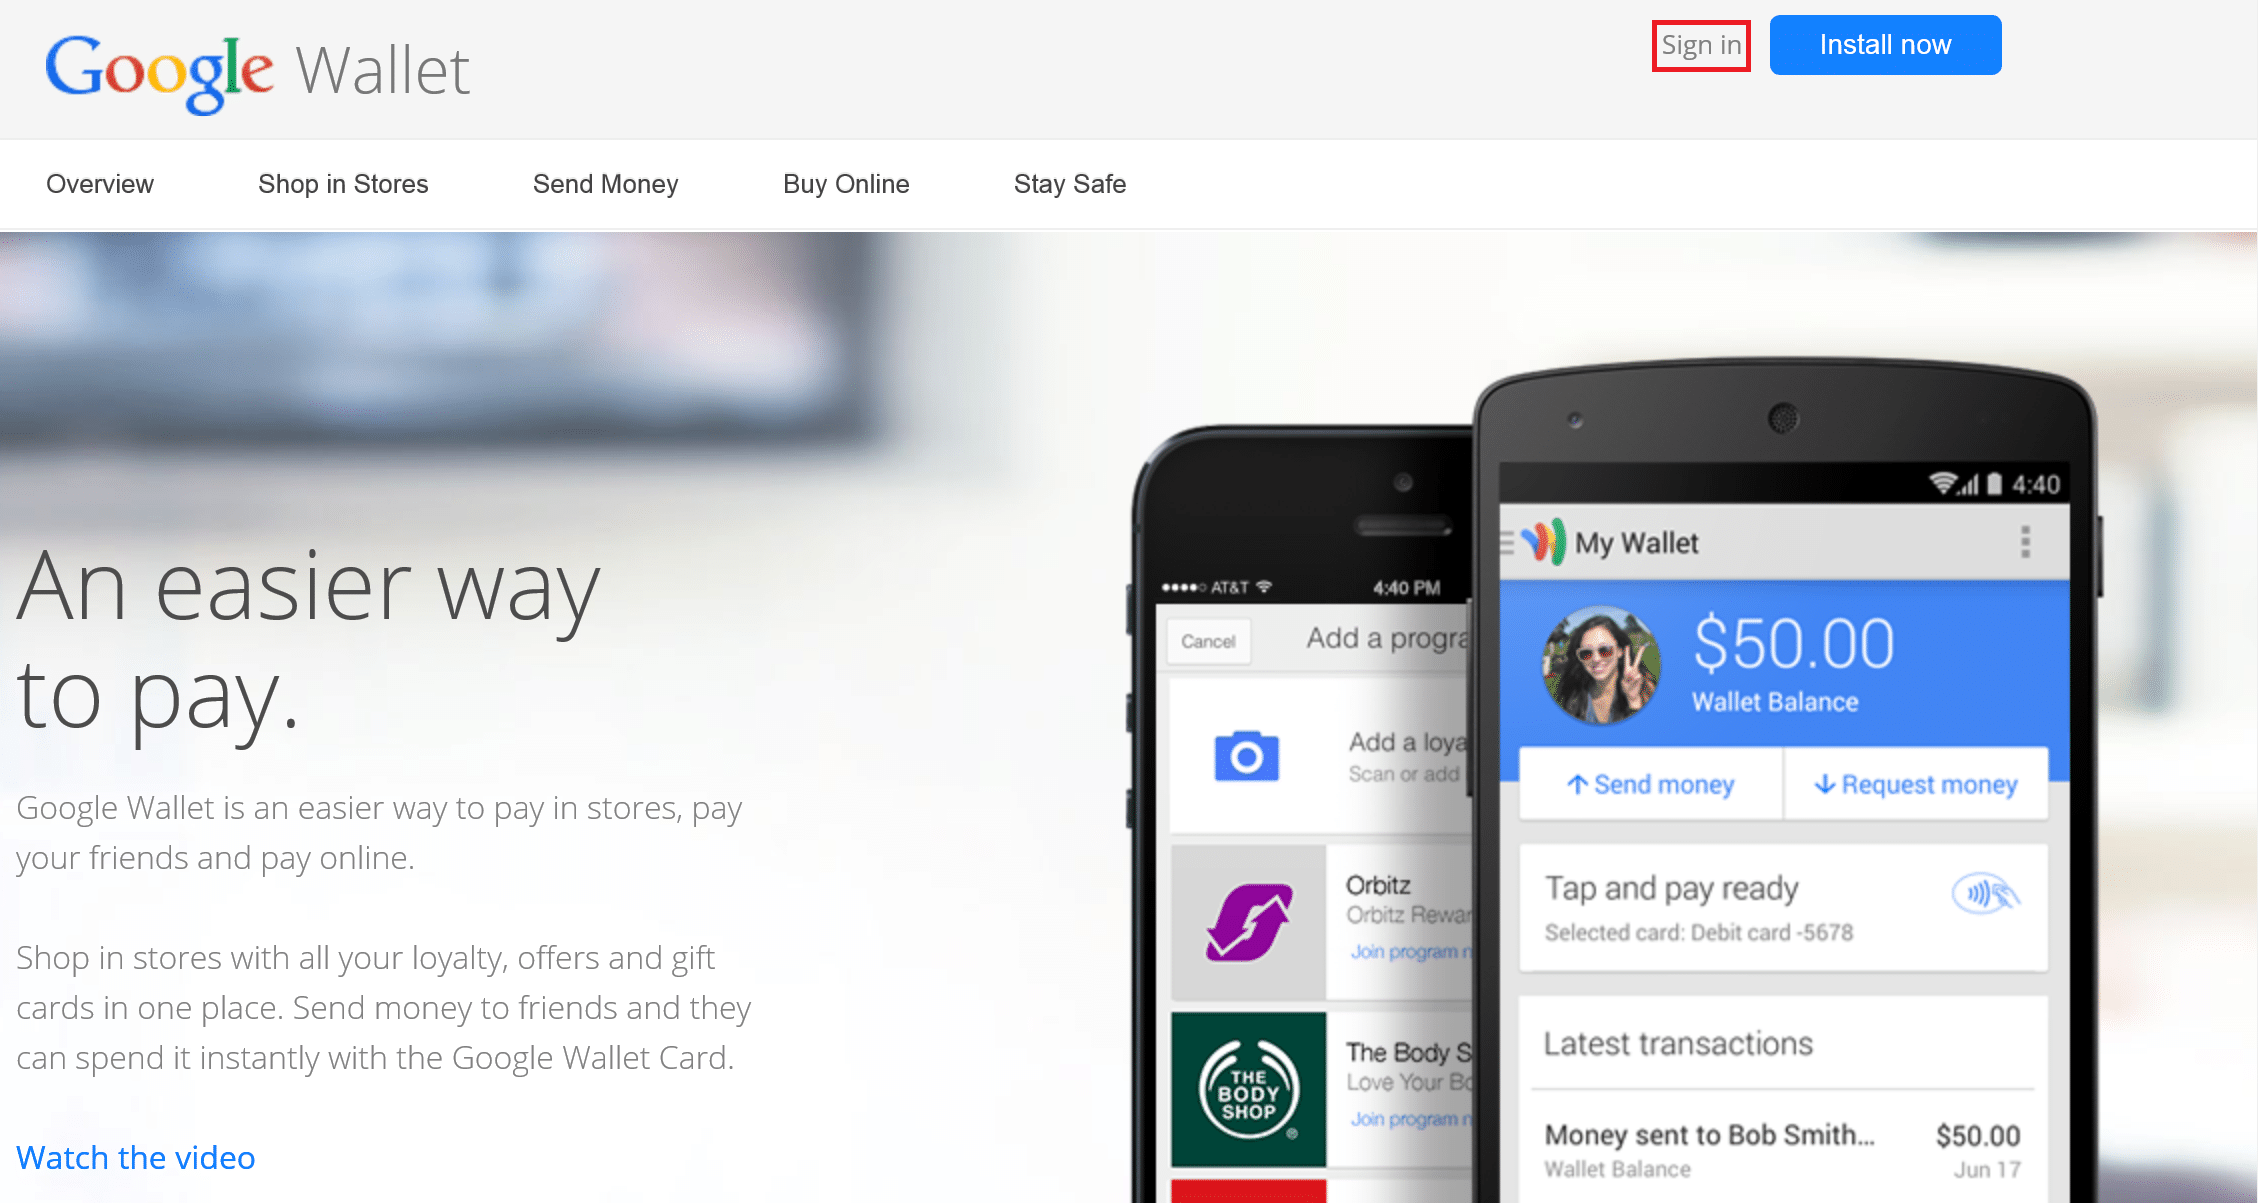
Google Walletにアクセスして「Sign in」をクリックします。
最初にTunnelBearでアメリカのIPに偽装して作成した、Google Play Music用のGoogleアカウントを入力して「Sign in」をクリックします。

アカウントのリカバリーオプションの画面になるので下にスクロールします。
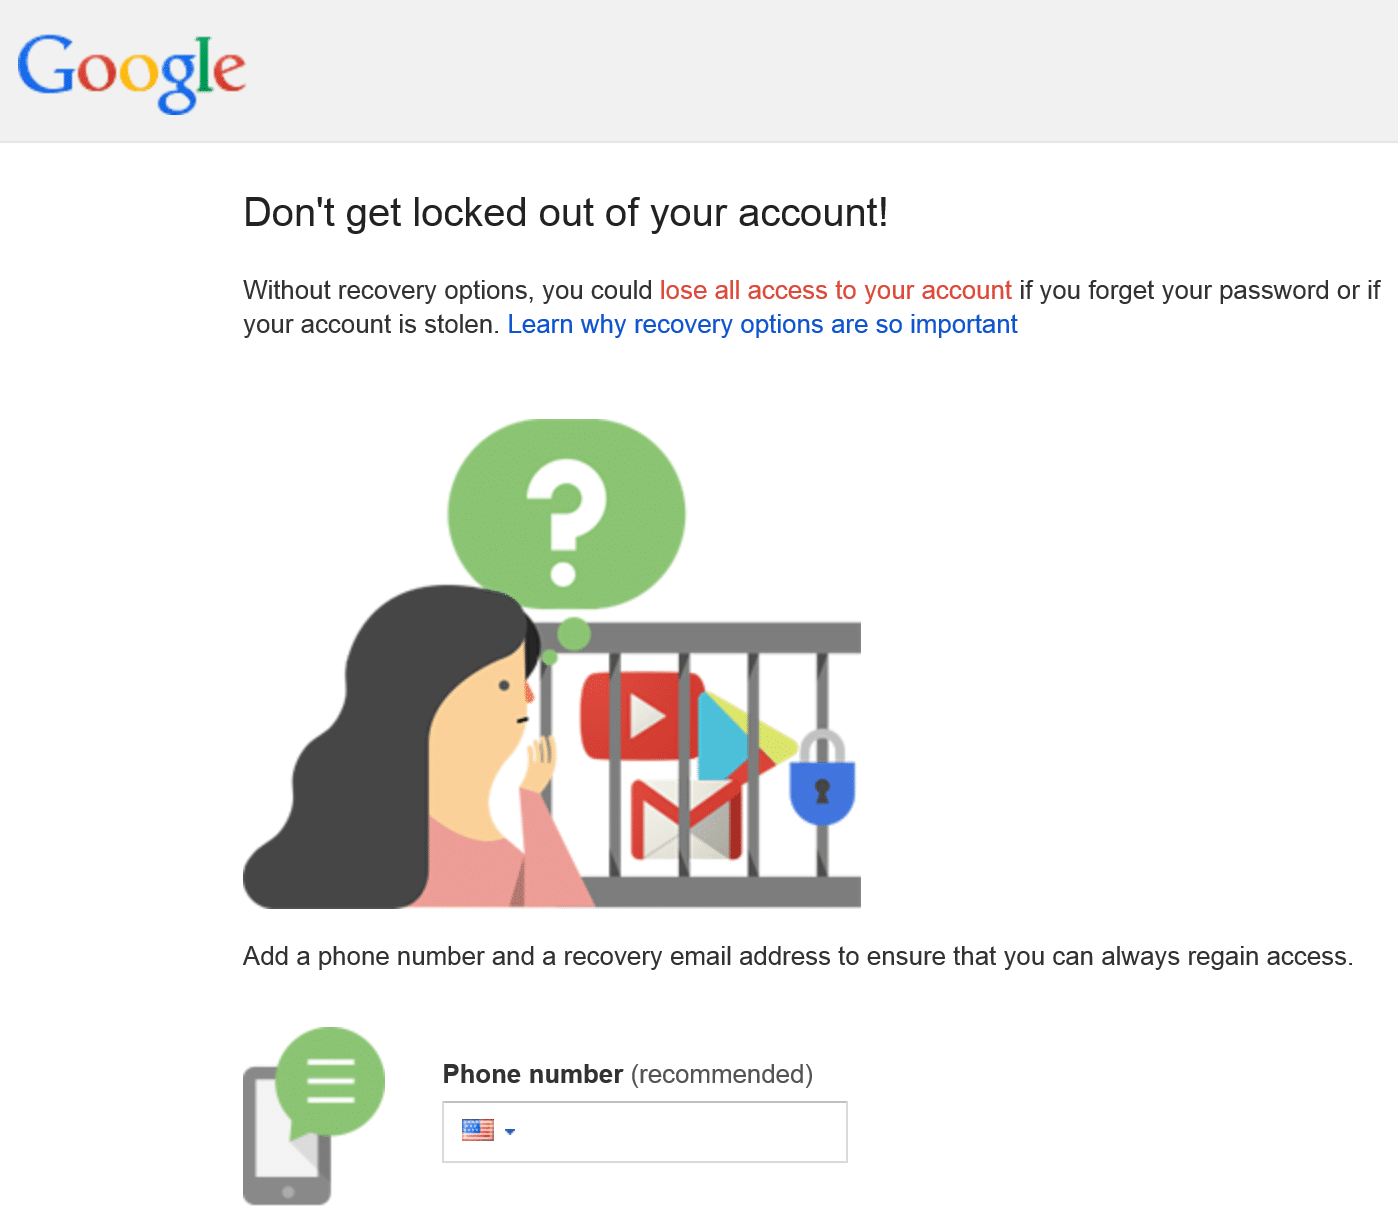
「Done」をクリックします。

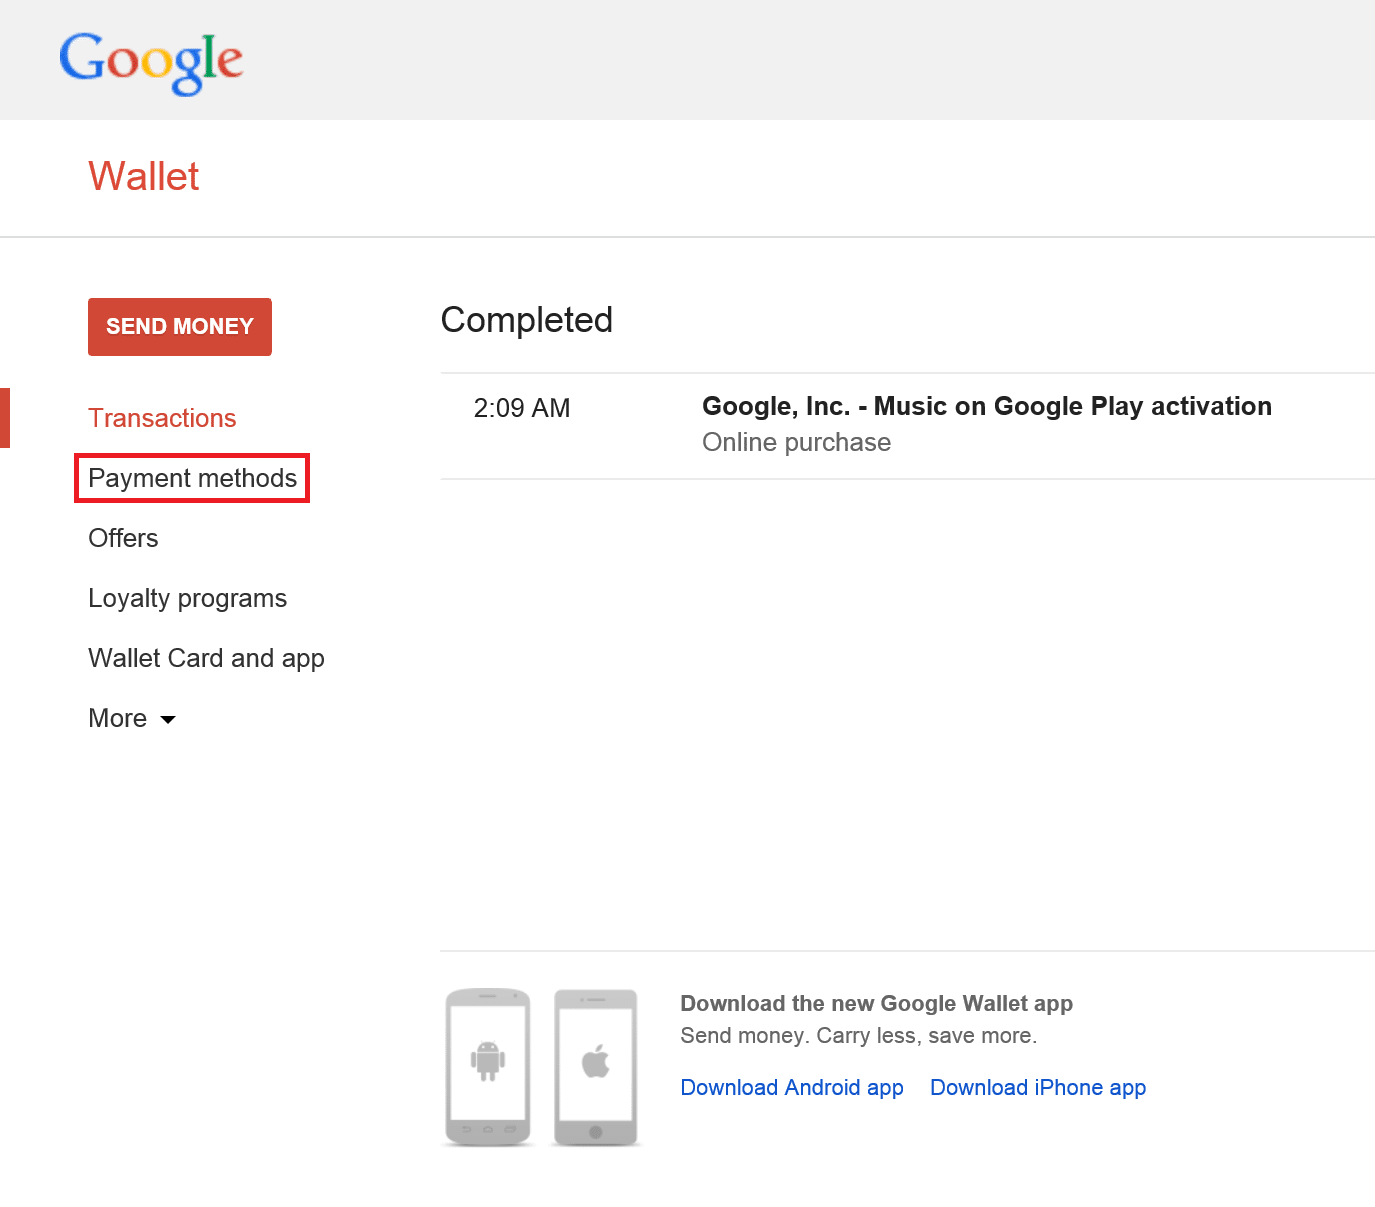
「Payment methods」をクリックします。
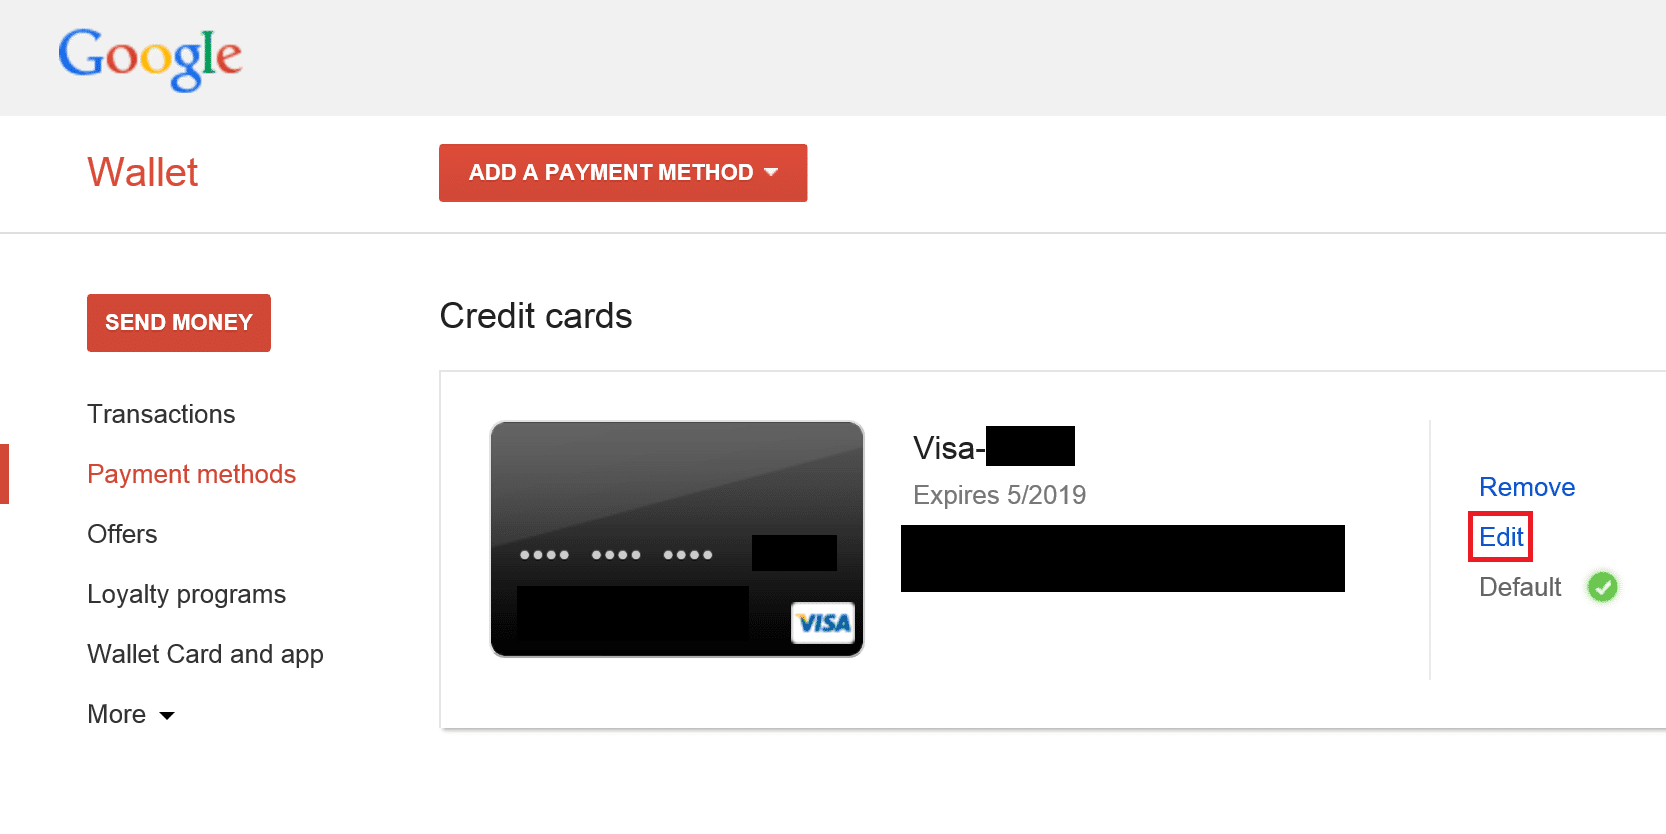
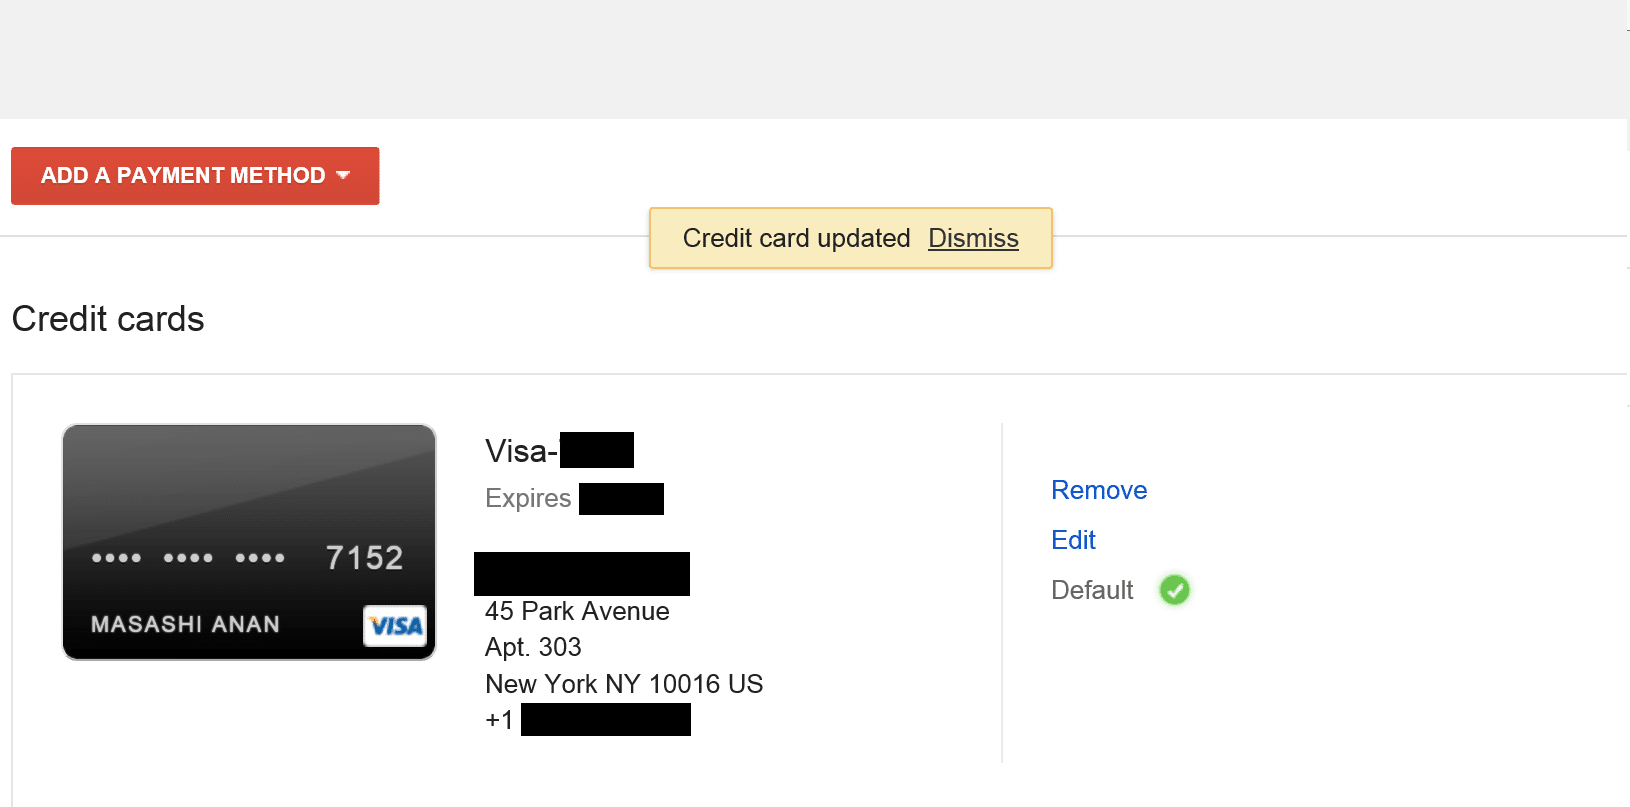
先ほど登録したクレジットカード情報が表示されるので「Edit」をクリックします。
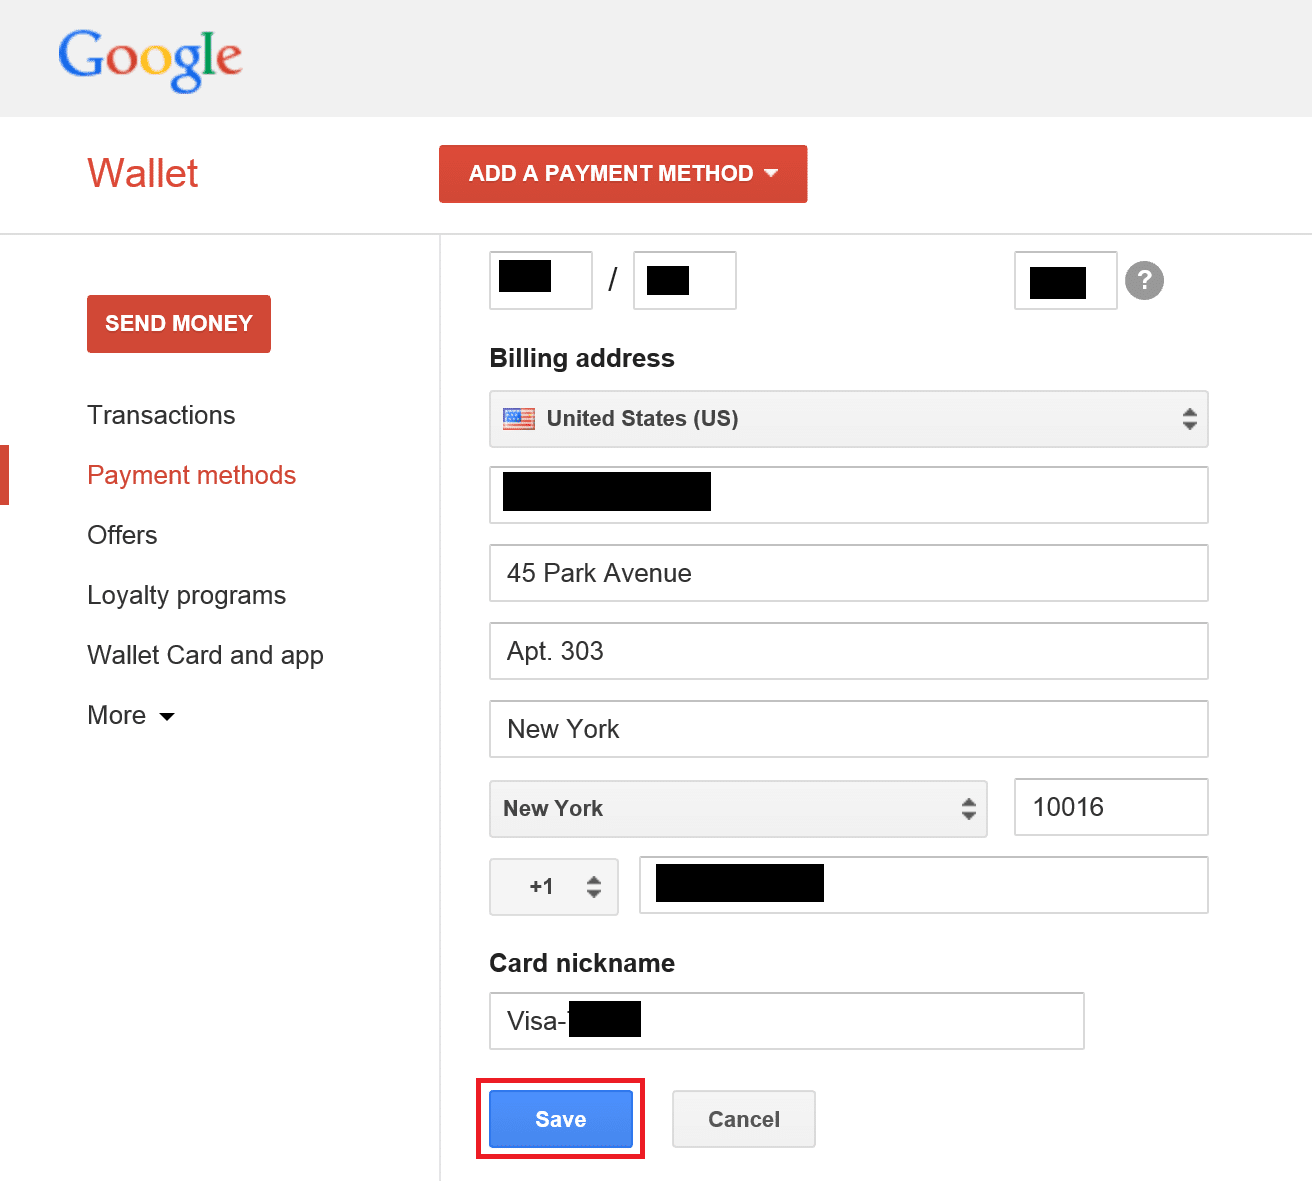
名前はクレジットカードに記載されている名前(アルファベット)を、住所はexample address in new york」で検索して見つけた住所を入力します。電話番号は適当に入力します。

下にスクロールして「Save」をクリックします。
「Credit card updated」と表示されれば、Google Walletの作業は完了です。
Music Managerをインストールする
Google Walletの作業まで完了したら、まずTunnelBearのアメリカIPの偽装をオフにします。上記作業が終われば、日本のIPからでもGoogle Play Musicにアクセスできるようになります。
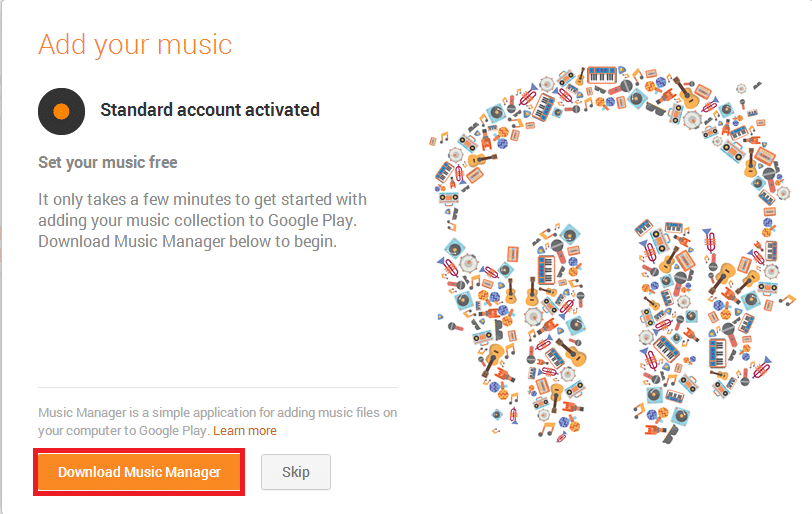
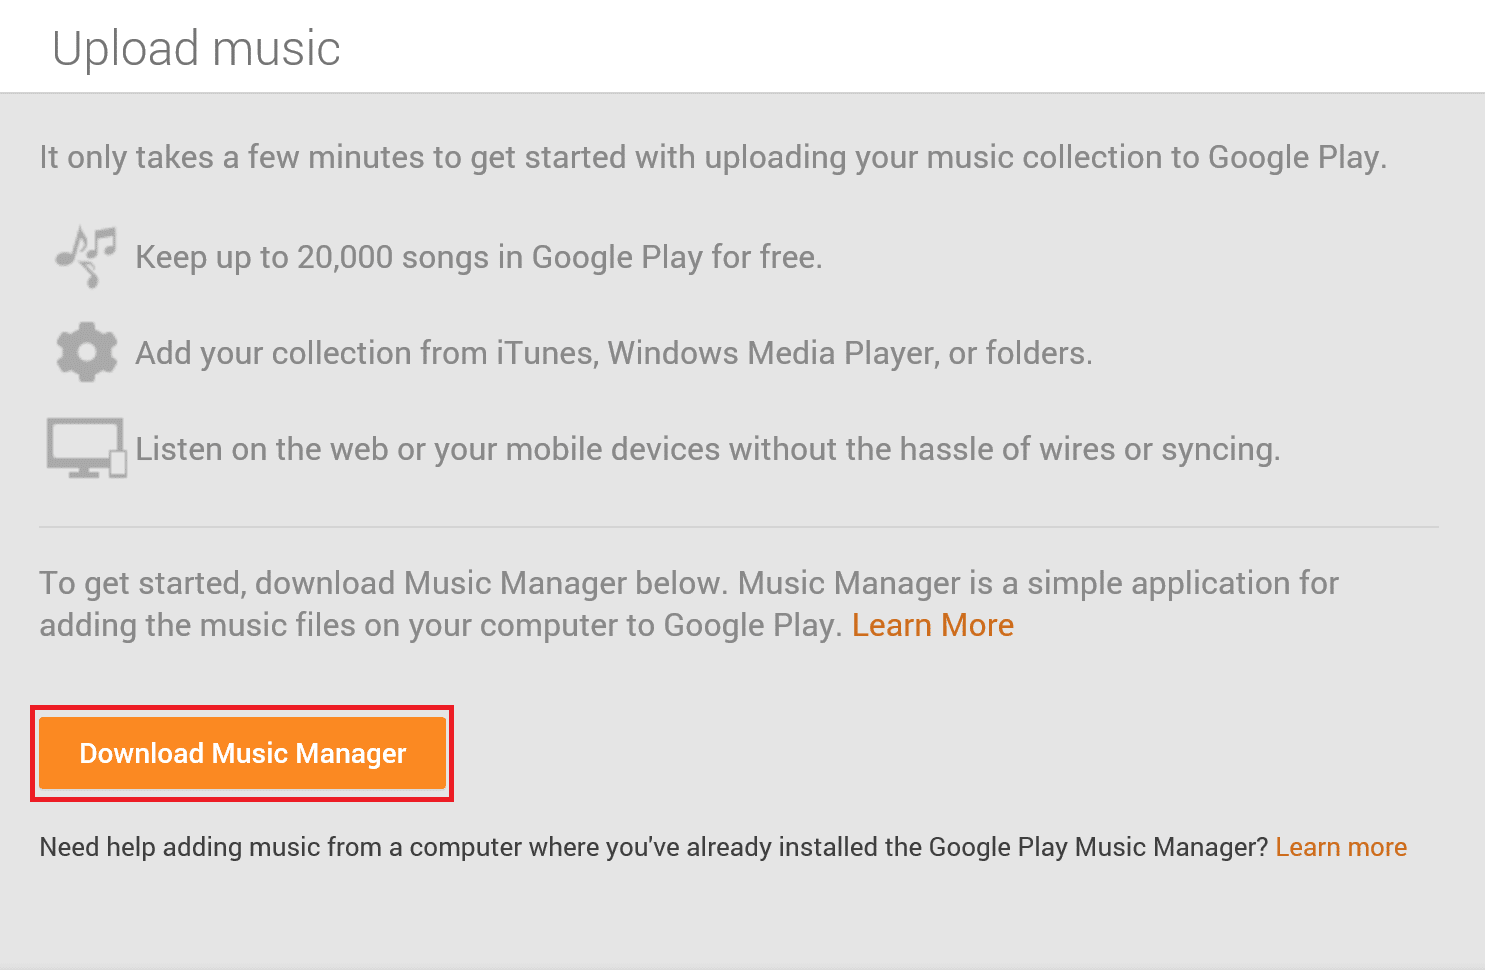
https://music.google.com/にアクセスして、「Upload music」をクリックします。

「Download Music Manager」をクリックします。
「dl.google.comからmusicmanageroinstaller.exe(874KB)を実行または保存しますか?」と表示されるので「実行」をクリックします。
「Installing」と表示されるのでしばらく待ちます。

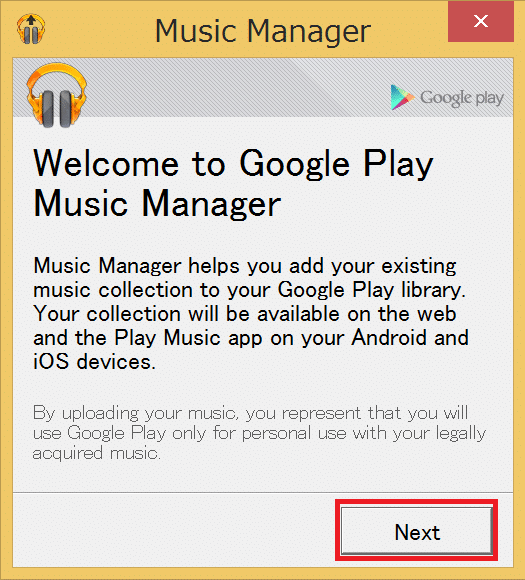
「Welcome to Googel Play Music Manager」と表示されるので「Next」をクリックします。
アメリカのIPに偽装して作成したGoogleアカウントを入力して「Sign in」をクリックします。

Music Managerのインストールは以上で完了です。
Google Play Musicに音楽をアップロードする
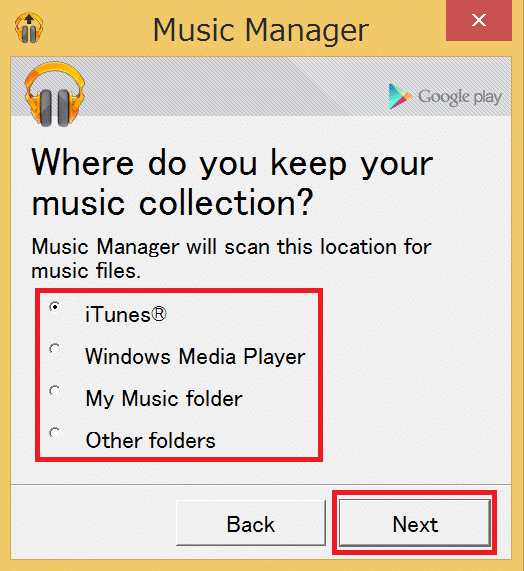
Googleアカウントのログインが完了したら、Google Play Musicに音楽をアップロードすることができるようになります。「where do you keep your music collection?」と表示されます。これはアップロードする音楽をPCでどのように管理しているかを尋ねています。
現在iTunesで管理している場合は「iTunes」に、Windows Media Playerで管理している場合は「Windows Media Player」に、マイミュージックフォルダで管理している場合は「My Music folder」に、その他のフォルダで管理している場合は「Other folders」にチェックを入れます。今回はWindows Media Playerの音楽をアップロードするので「Windows Media Player」にチェックを入れて「Next」をクリックします。
指定したソフトやフォルダに保存されている音楽が10曲未満の場合、「Less than 10 songs found in Windows Media Player.」と表示されます。指定したソフトやフォルダが間違っていた場合は「Back」で戻ります。そのままでよければ「Next」をクリックします。

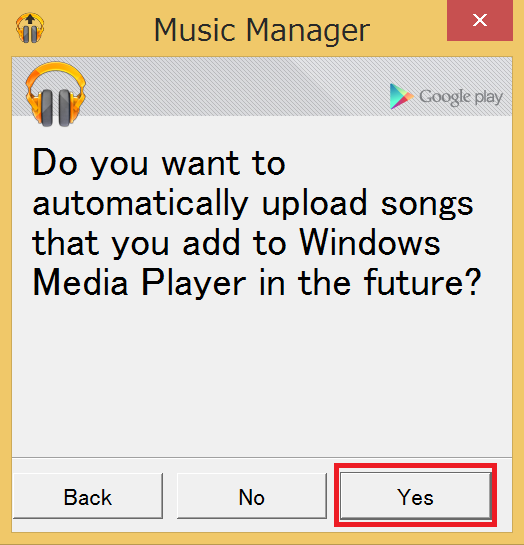
「Do you want to automatically upload songs that you add to Windows Media Player in the future?」と表示されます。これは今後Windows Media Playerに曲が追加されたら自動でGoogle Play Musicにアップロードするかどうかの設定です。「Yes」をクリックすると自動で、「No」をクリックすると手動でアップロードする必要があります。好みの方を選んでクリックしてください。
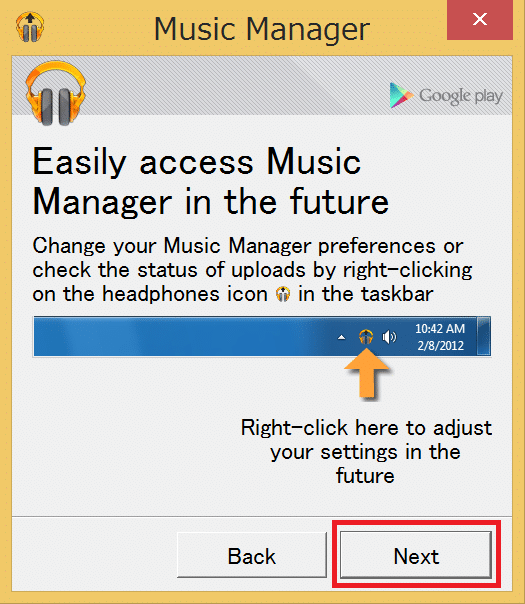
タスクバーにGoogle Play Music Managerが常駐する旨のメッセージが表示されるので「Next」をクリックします。
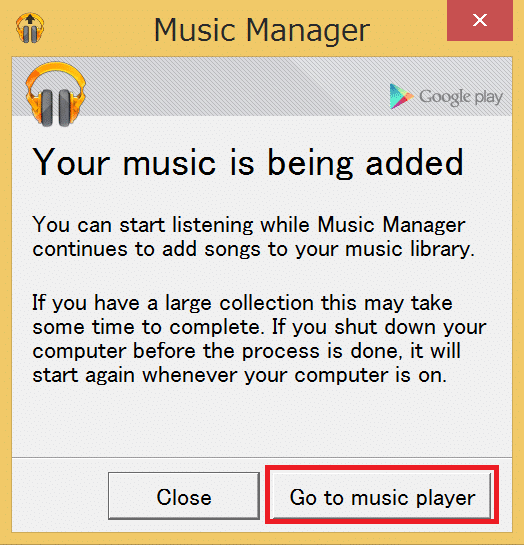
「Your music is being added」と表示されると、音楽のアップロード中でもGoogle Play Musicを利用してクラウドで管理されている音楽を聴くことができるようになります。「Go to music player」をクリックしてGoogle Play Musicにアクセスしてみます。
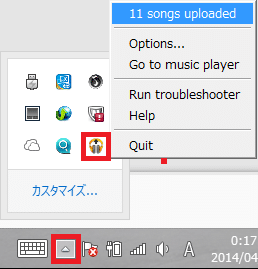
なお、Google Play Musicにアクセスすると、タスクバーにGoogle Play Musicのアイコンが表示されます。
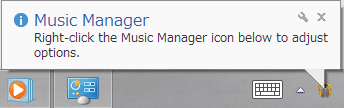
アイコンを右クリックすると、音楽のアップロード状況の確認や設定をすることができます。
Google Play Musicにアクセスすると、アップロードされた音楽が表示されます。
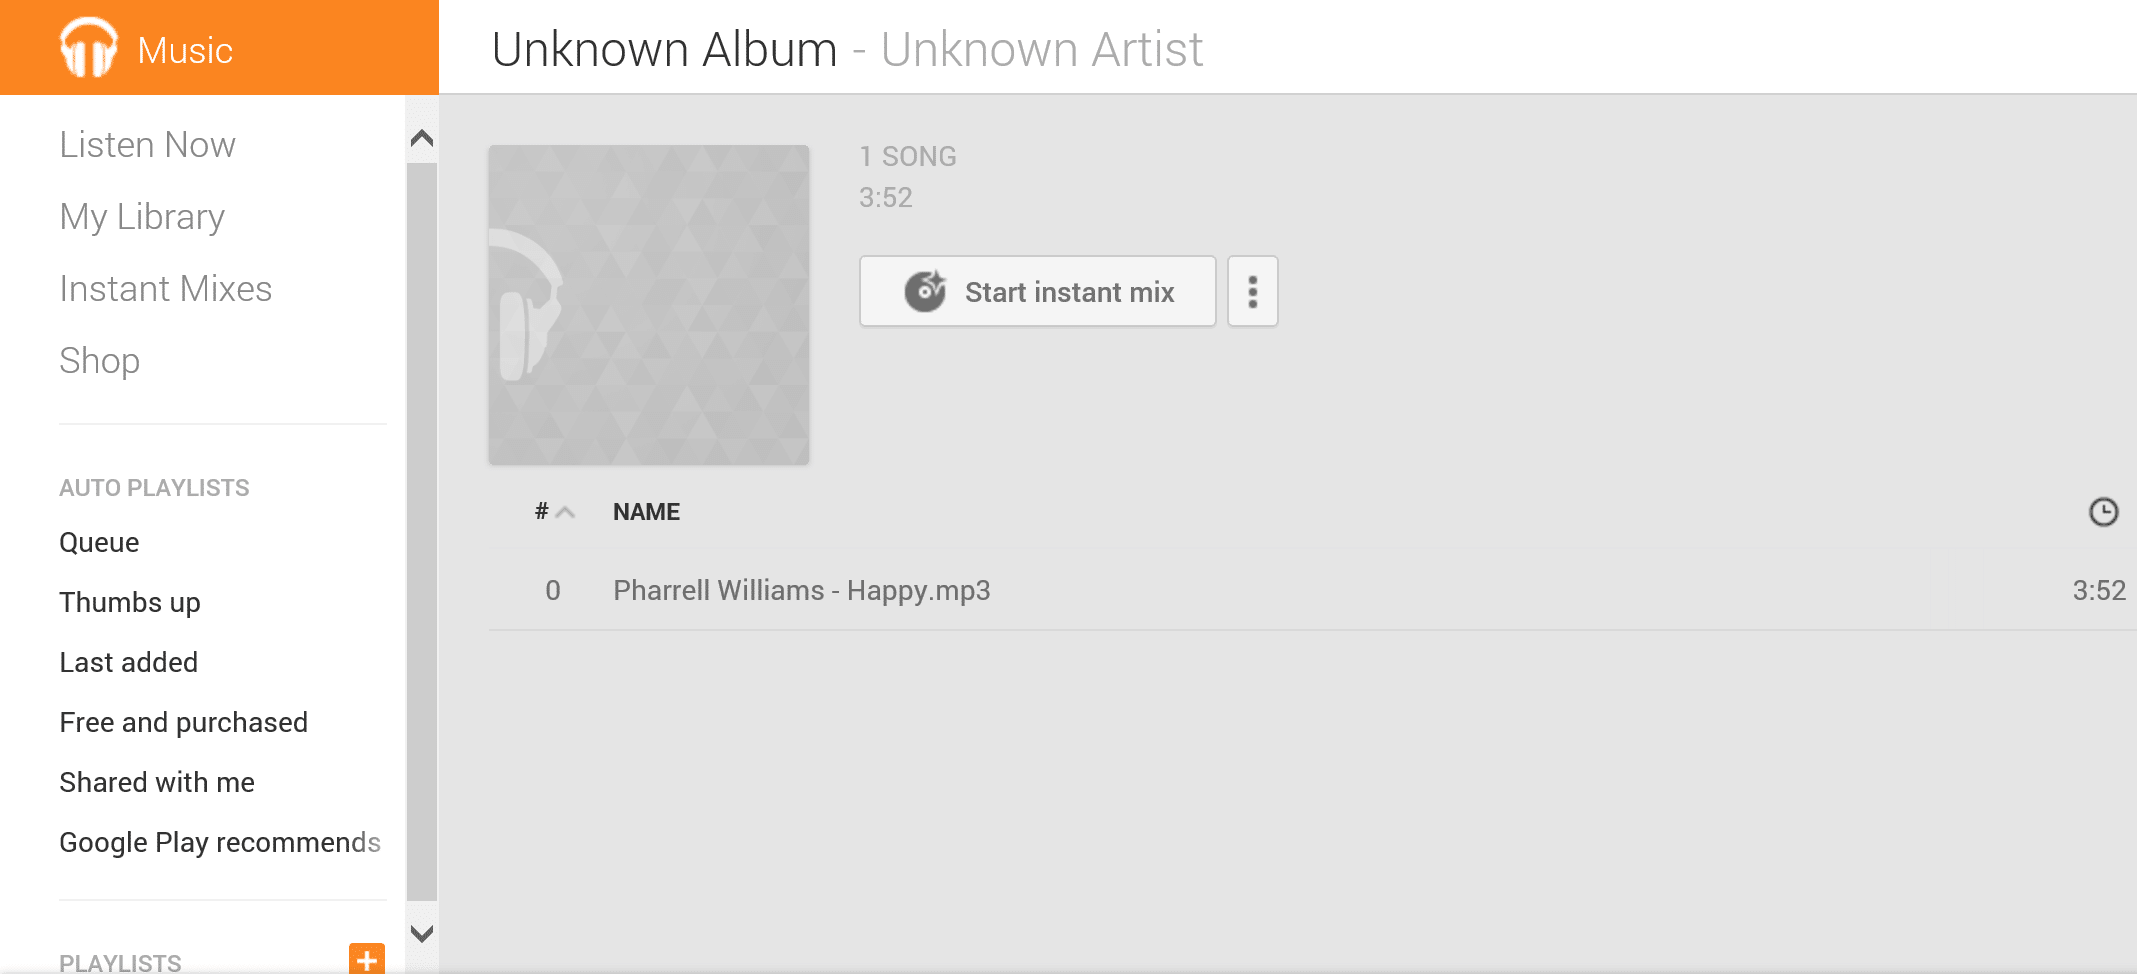
あとは、聴きたい音楽をダブルクリックして再生するだけです。
日本版Google Play Musicの登録方法と使い方
以下に、日本版のGoogle Play Musicの登録方法と使い方を紹介します。Google Play Musicにアクセスします。
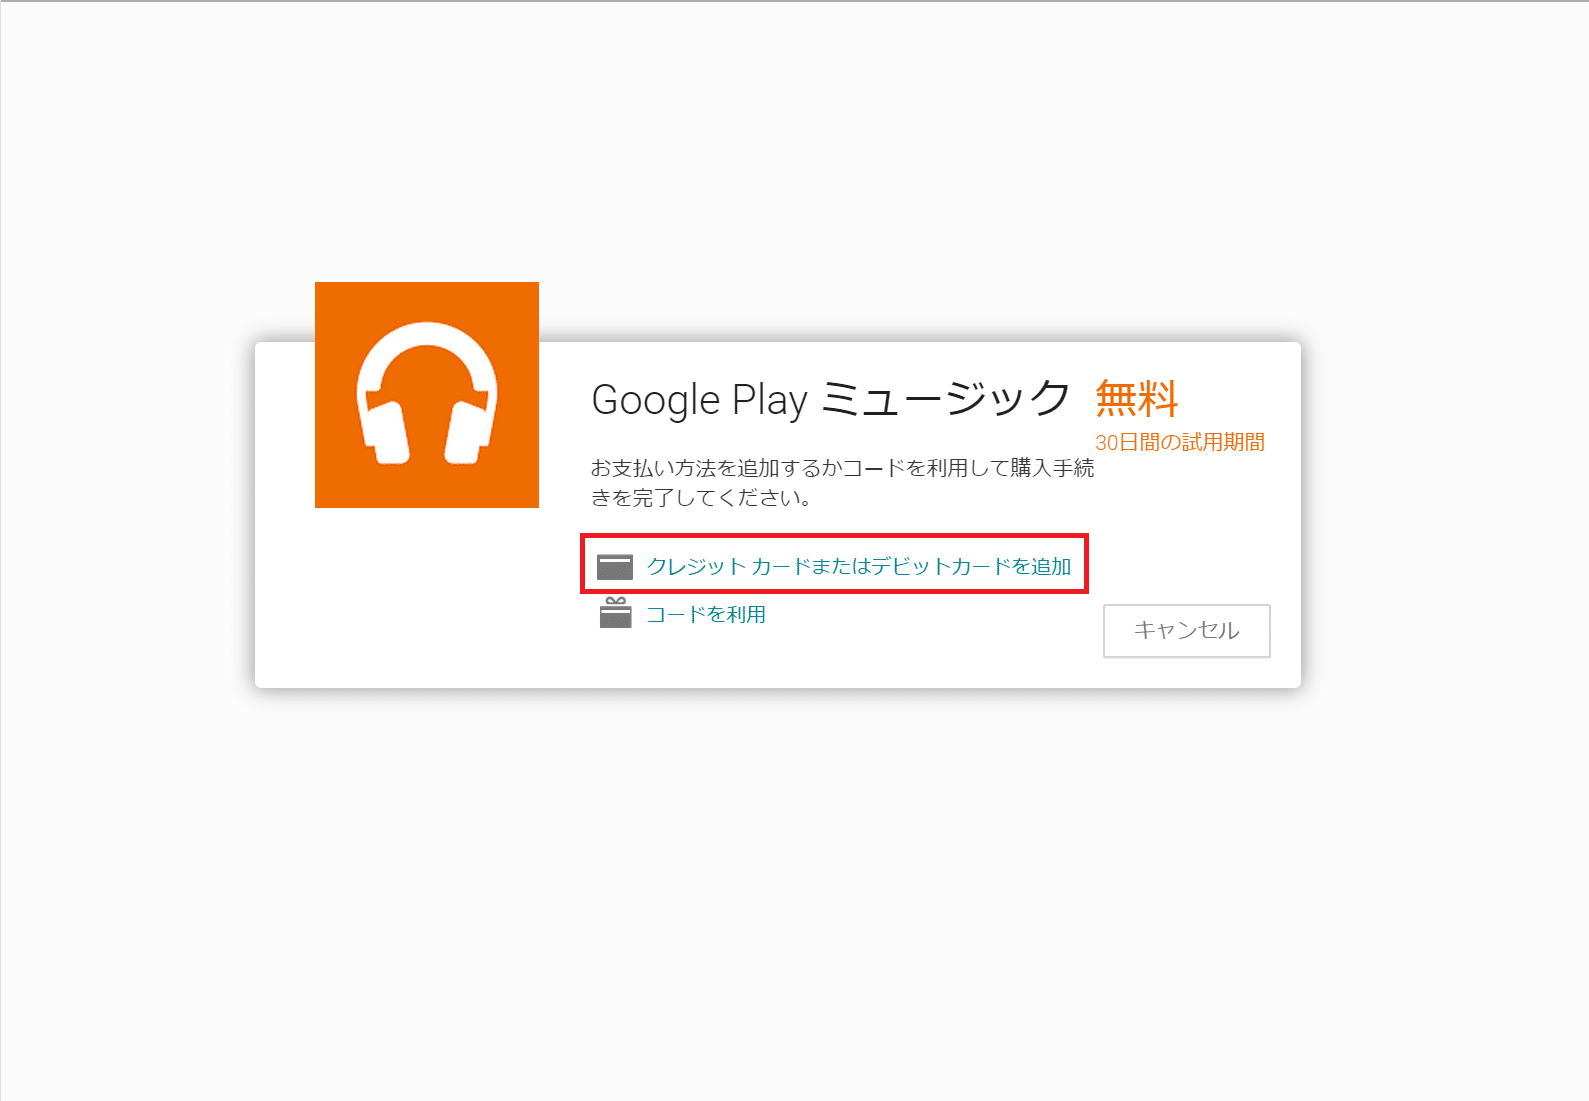
「使ってみる」をクリックします。

クレジットカードでの支払いになるので、クレジットカードの登録が必要です。また、Googleアカウントにログインしている必要があります。
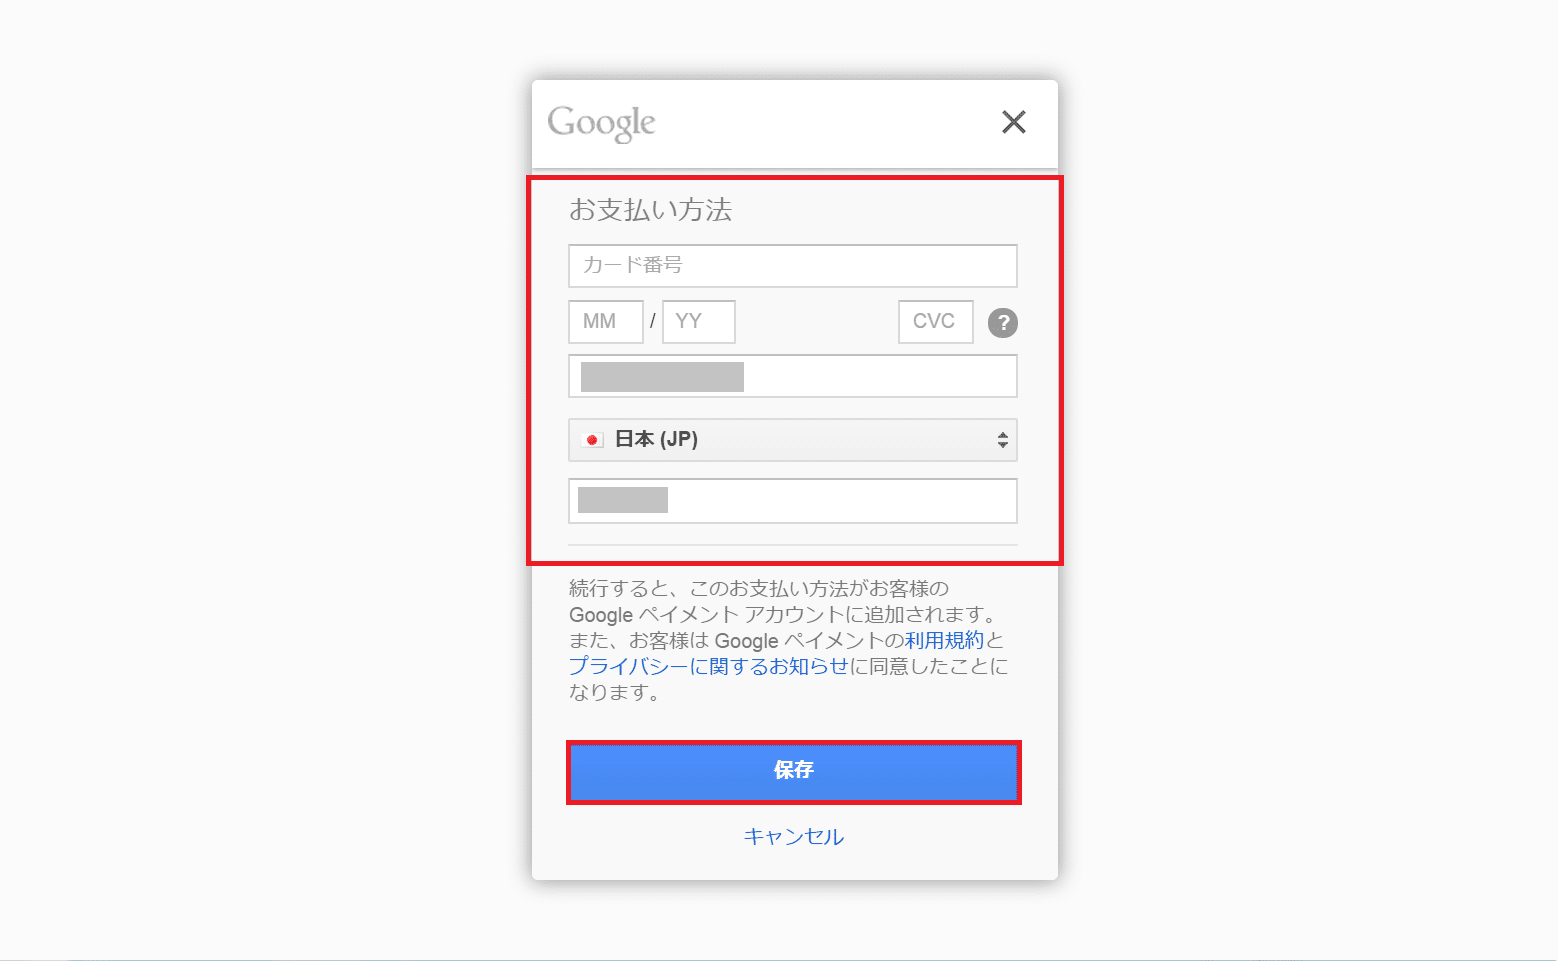
クレジットカード情報を入力して「保存」をクリックします。
「定期購入」をクリックします。「2015/10/03から開始します」と明記してくれているので安心ですね。

すると、Google play Musicを利用できるようになります。音楽を検索したり、カテゴリなどから選ぶことも可能です。
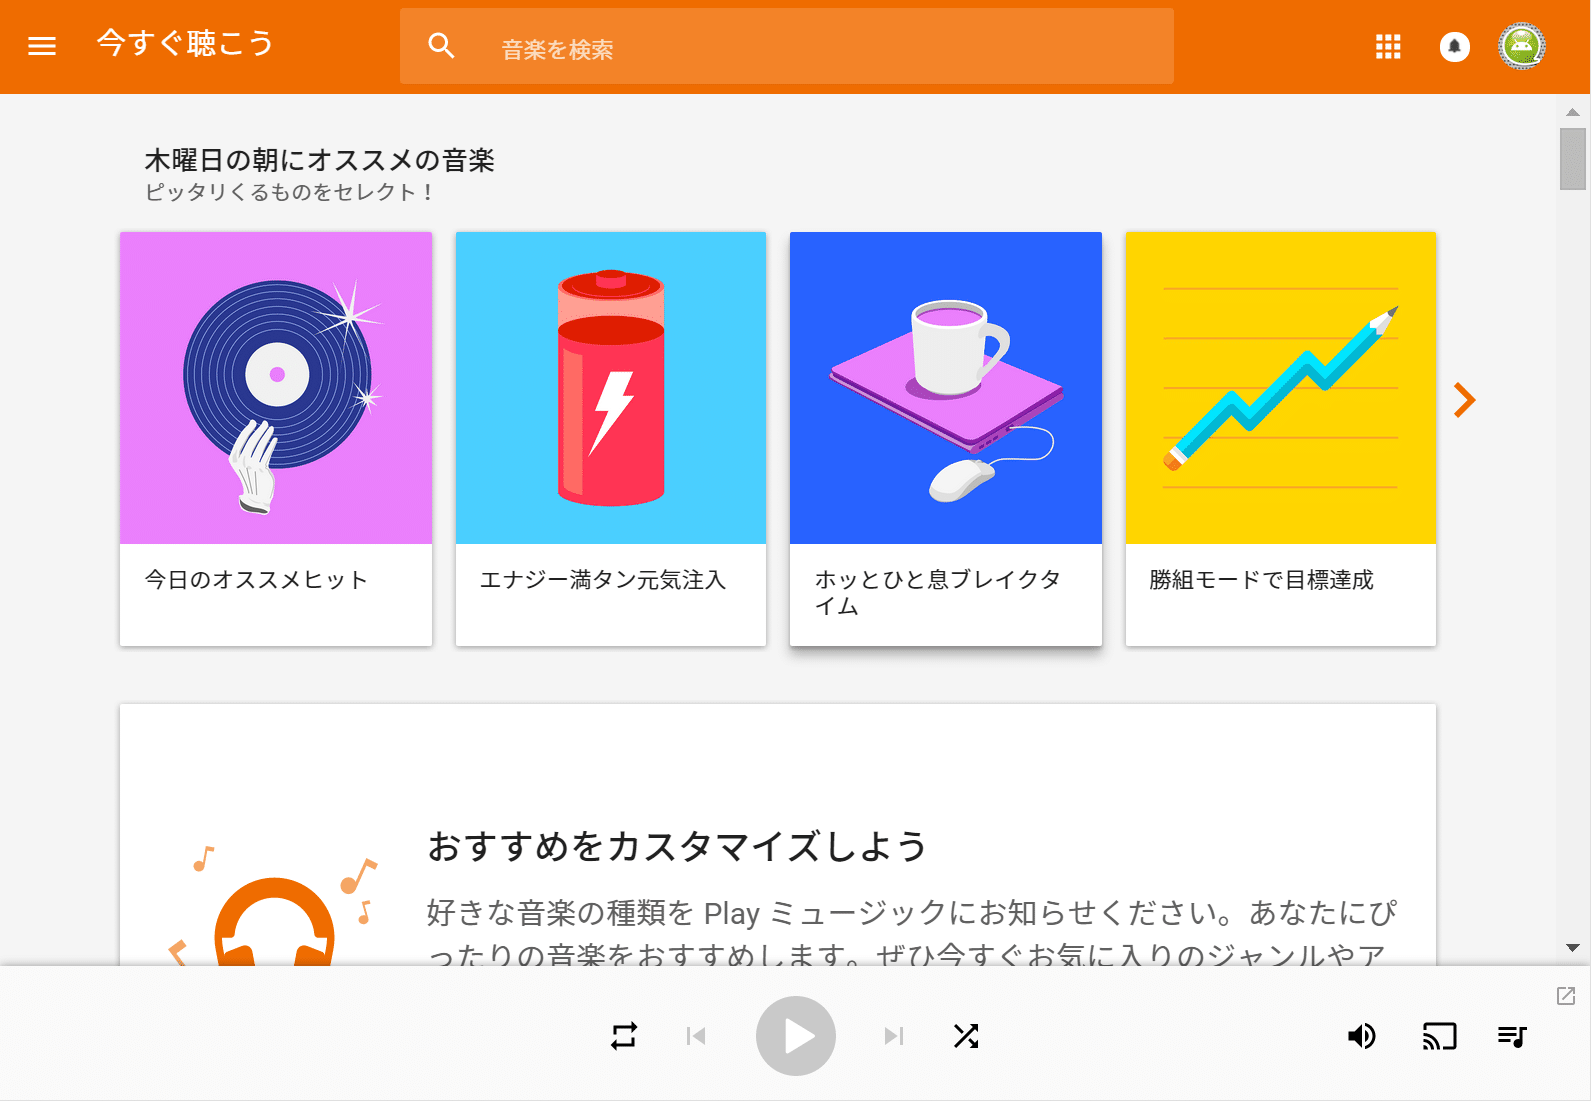
再生したいときは、曲のジャケットをクリックするだけです。


Google Play Musicは、他のストリーミングサービスと同じような使い方なので、操作も難しくなく使えます。
AndroidでGoogle Play Musicを利用する
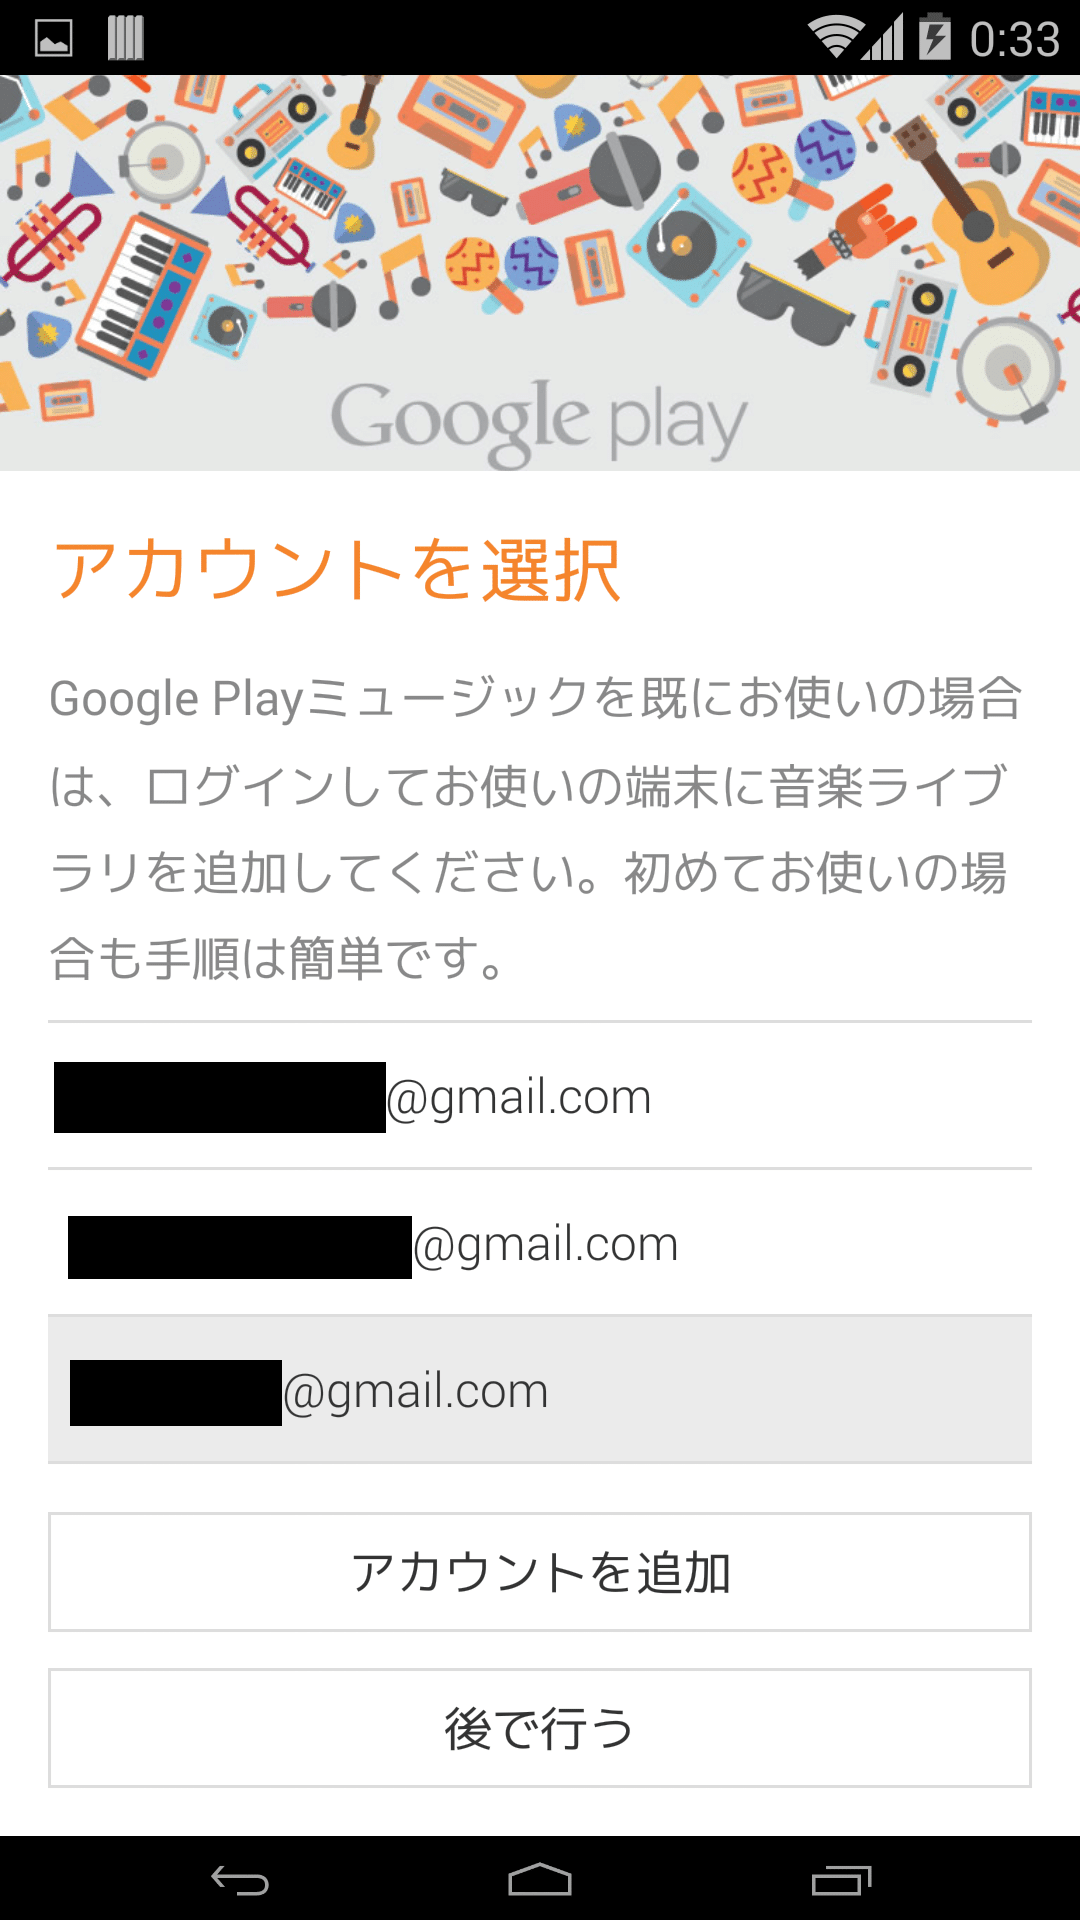
PCでGoogle Play Musicの登録と音楽のアップロードが終わったら、Android端末でGoogle Play Musicを利用していきます。Google Play Musicアプリを起動するとアカウント選択画面になるので、PCのGoogle Play Musicで登録したGoogleアカウントを選びます。PCとAndroidで同じアカウントを使うことで、そのアカウントのGoogle Play Musicにアップロードした音楽をどの端末でもどこでも聴くことができます。
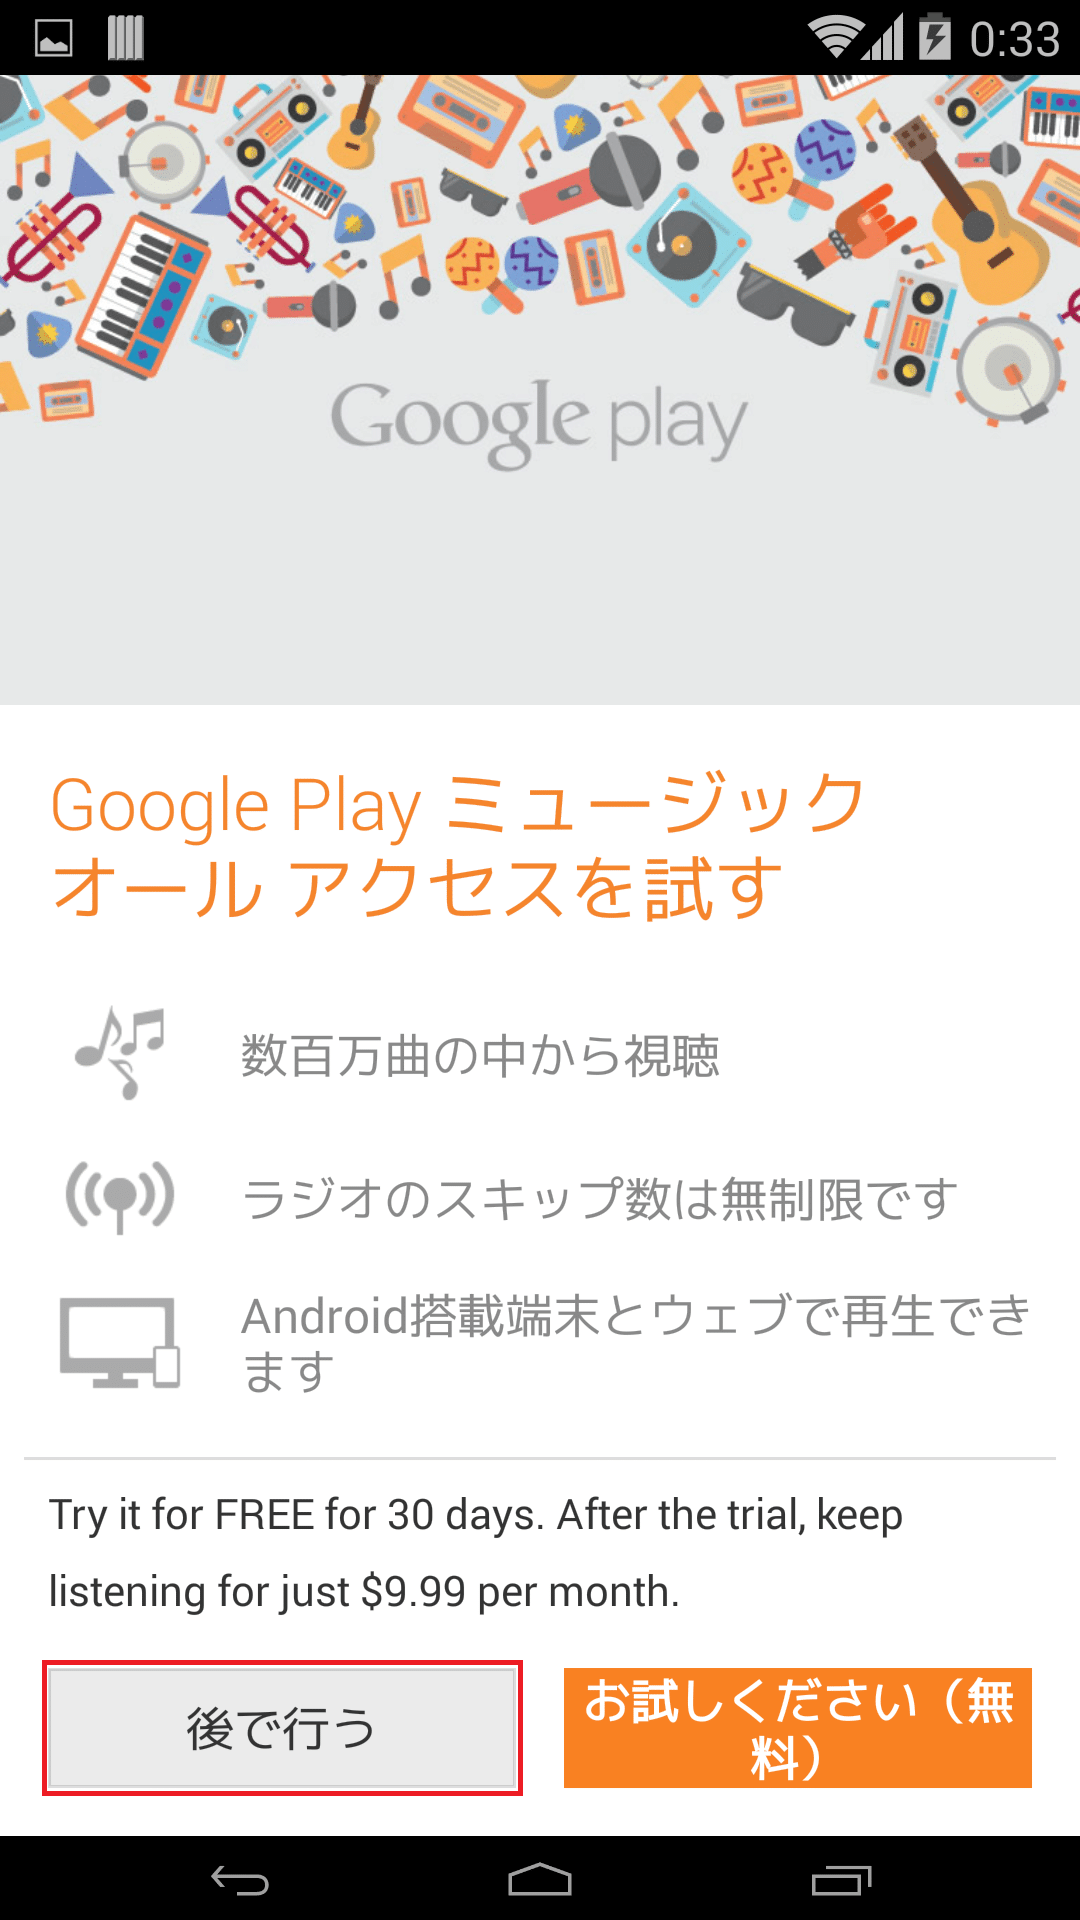
Google Playミュージック オールアクセスを試すように促してきますが、2ヶ月目から10ドルかかるので利用しません。「後で行う」をタップします。
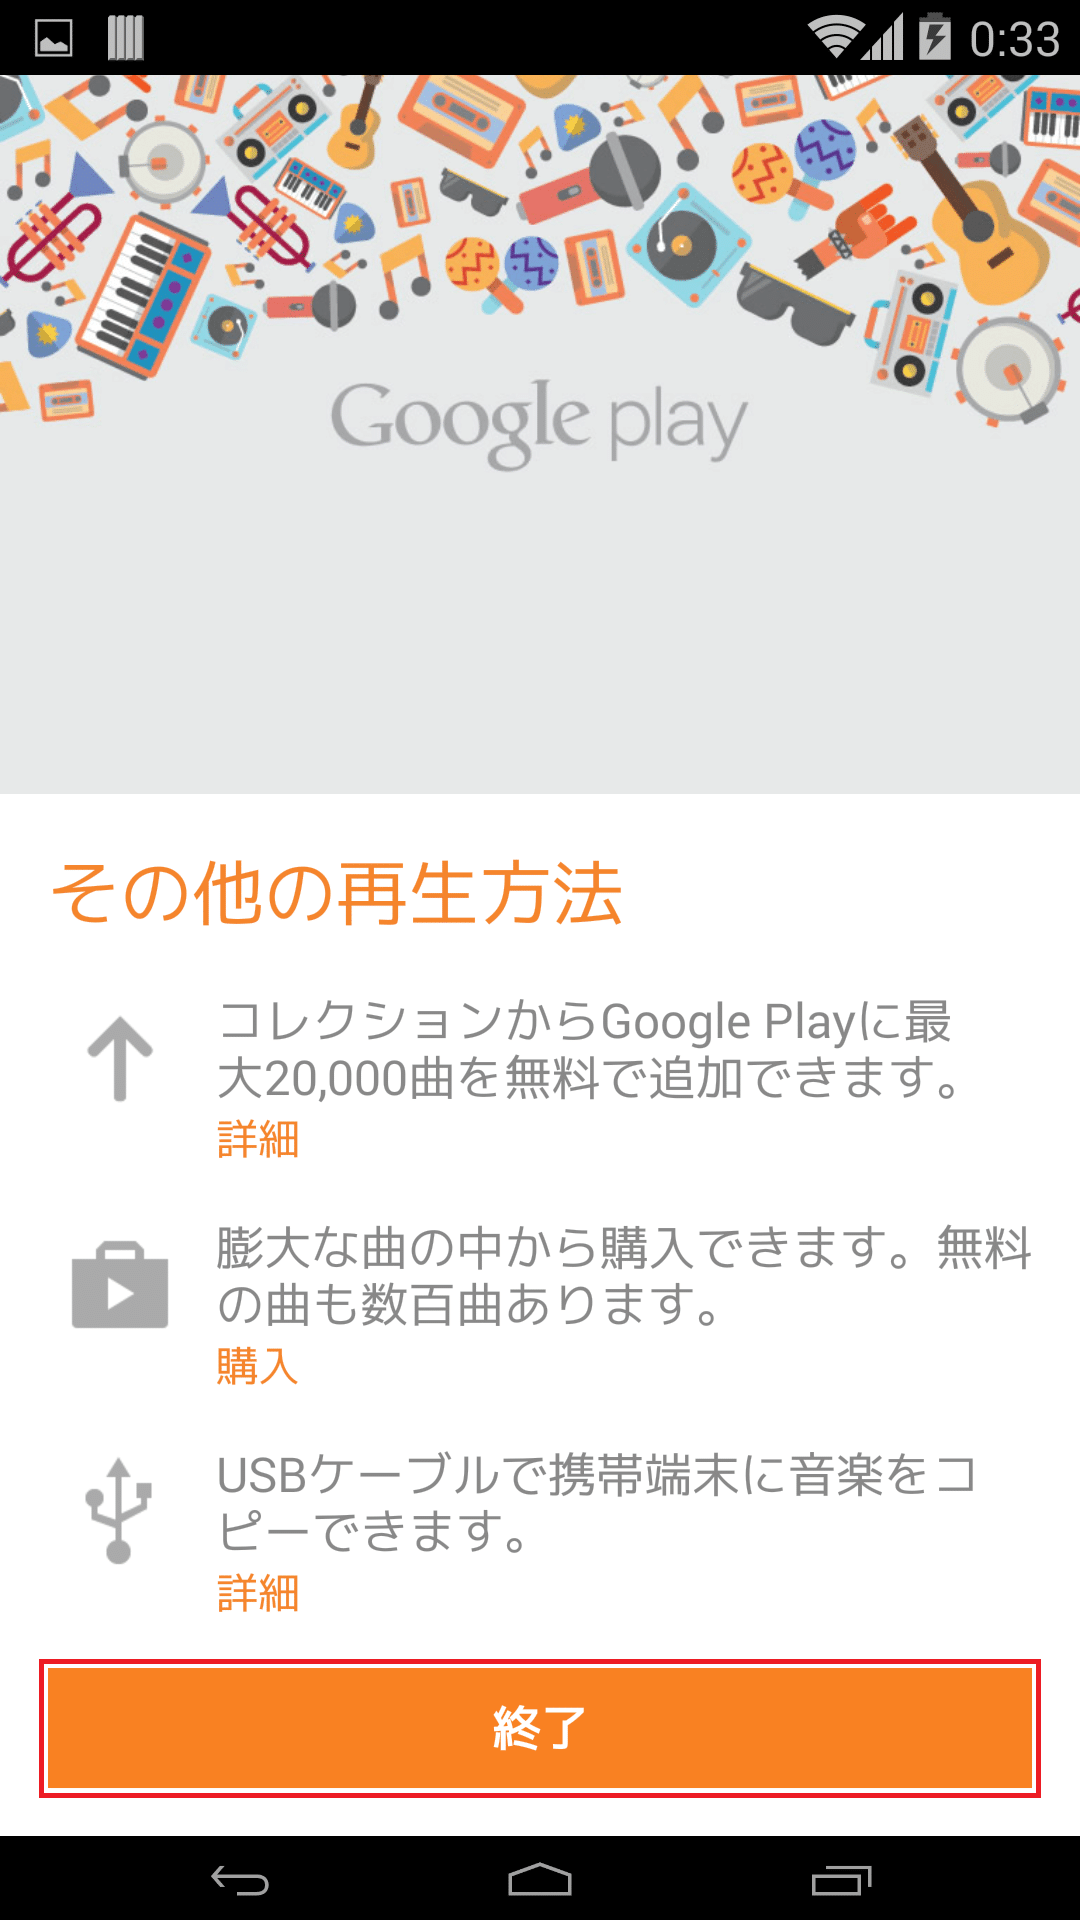
「終了」をタップします。
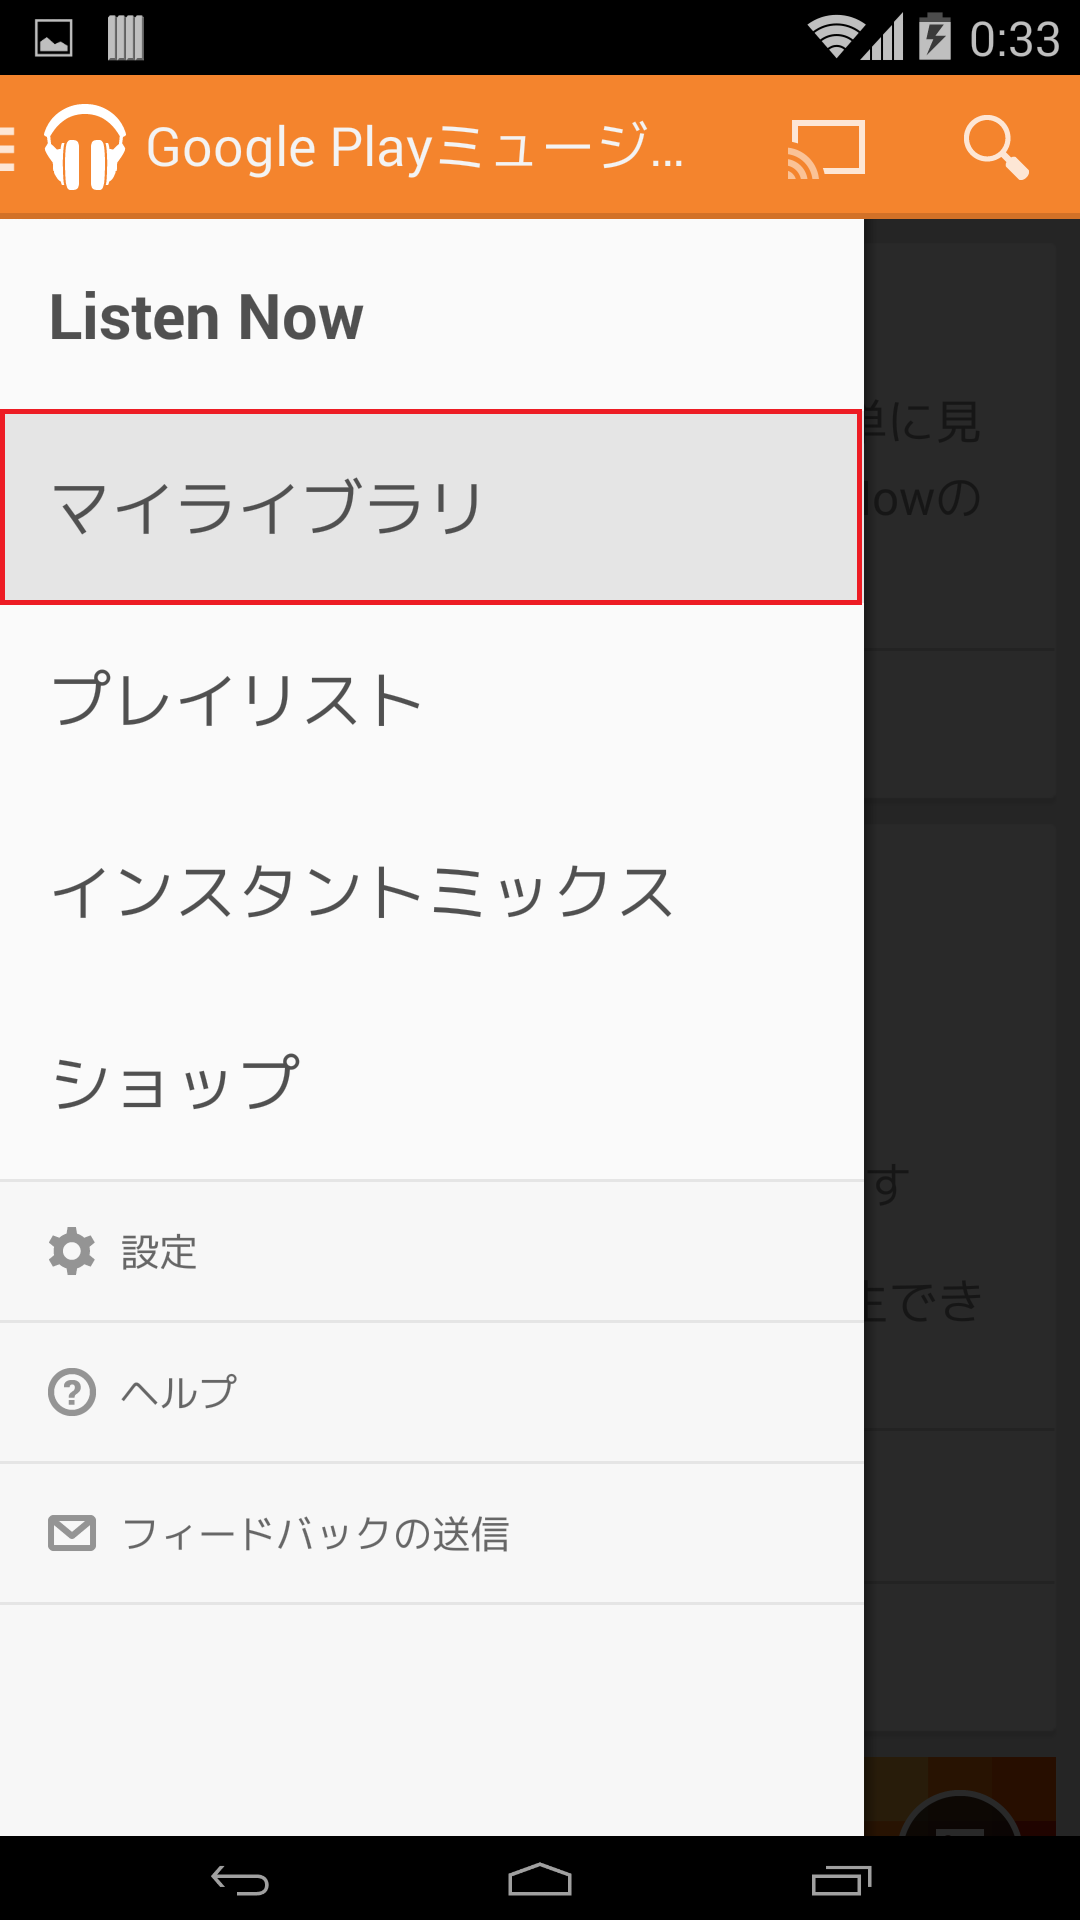
マイライブラリをタップします。
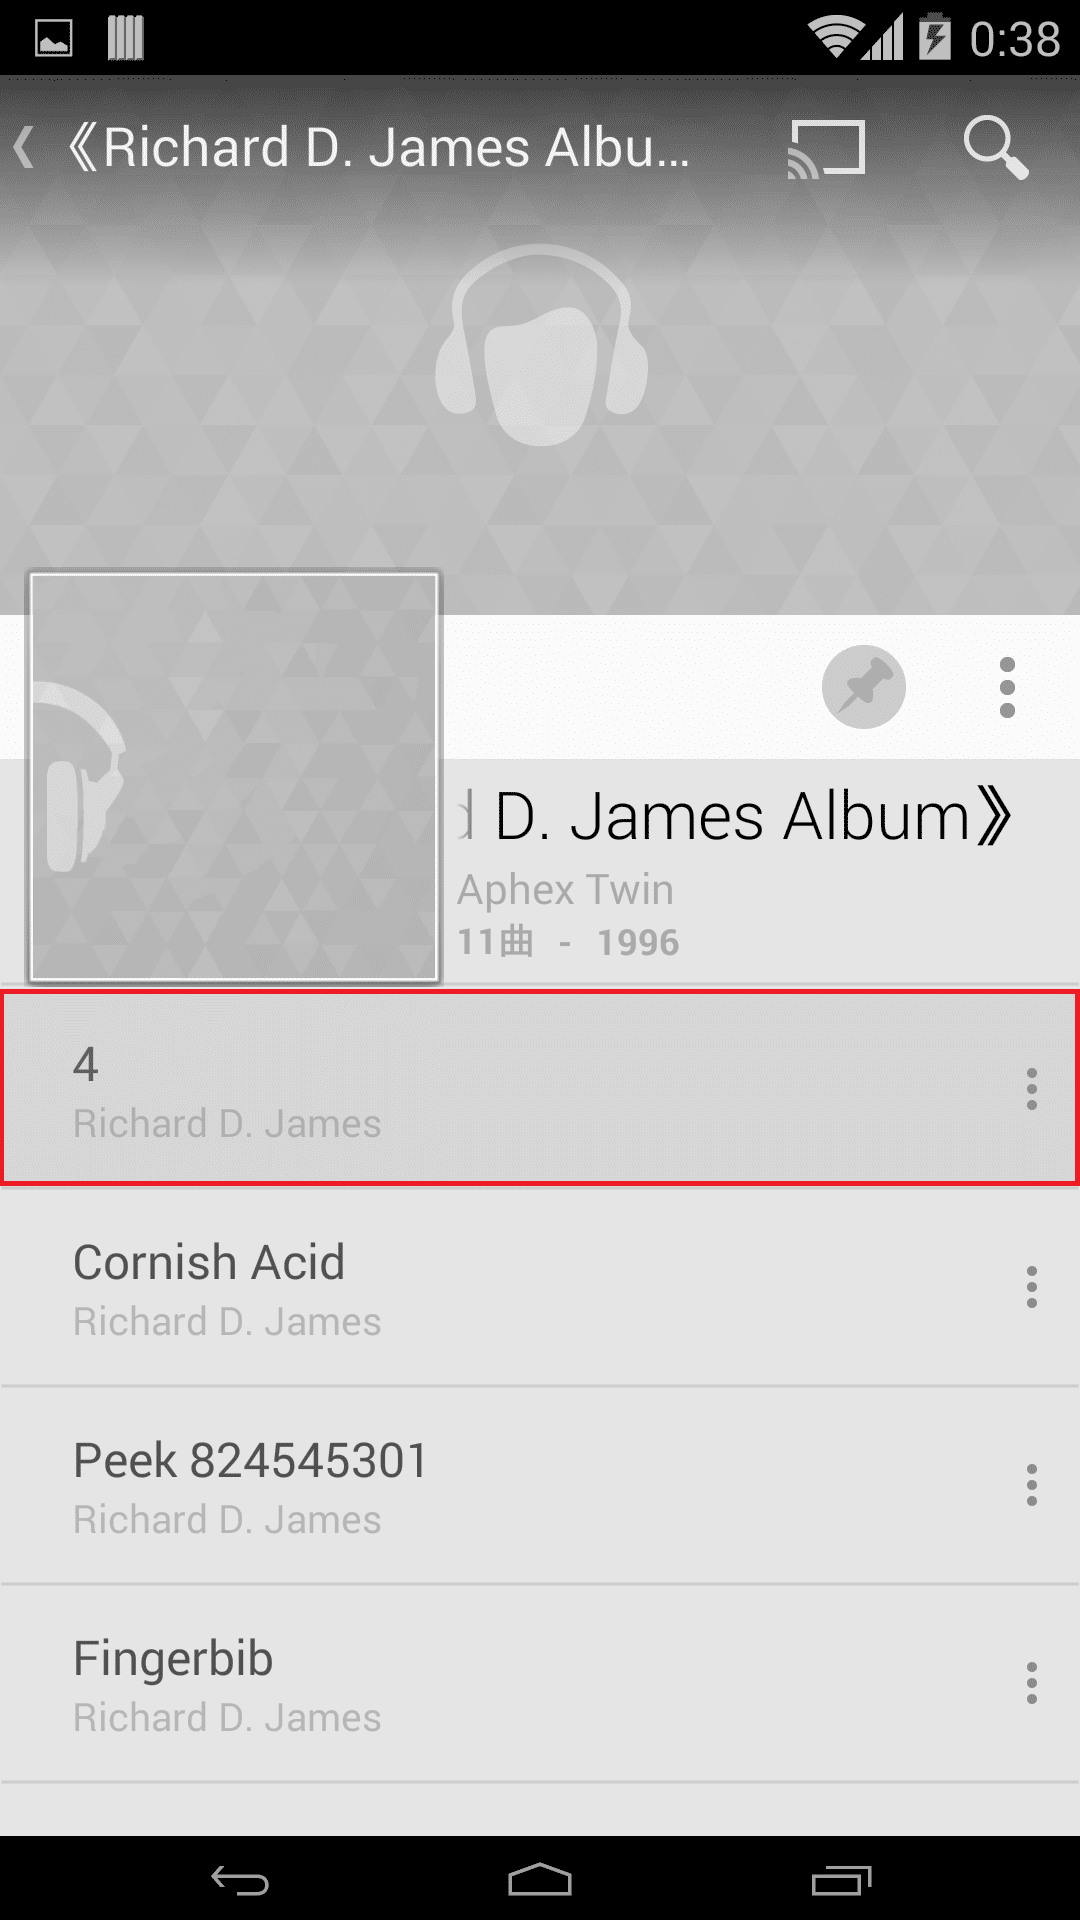
Google Play Musicにアップロードした音楽と、端末内の音楽がリストに表示されます。アップロードした音楽をタップします。

音楽を再生したいときは、曲名をタップするだけです。
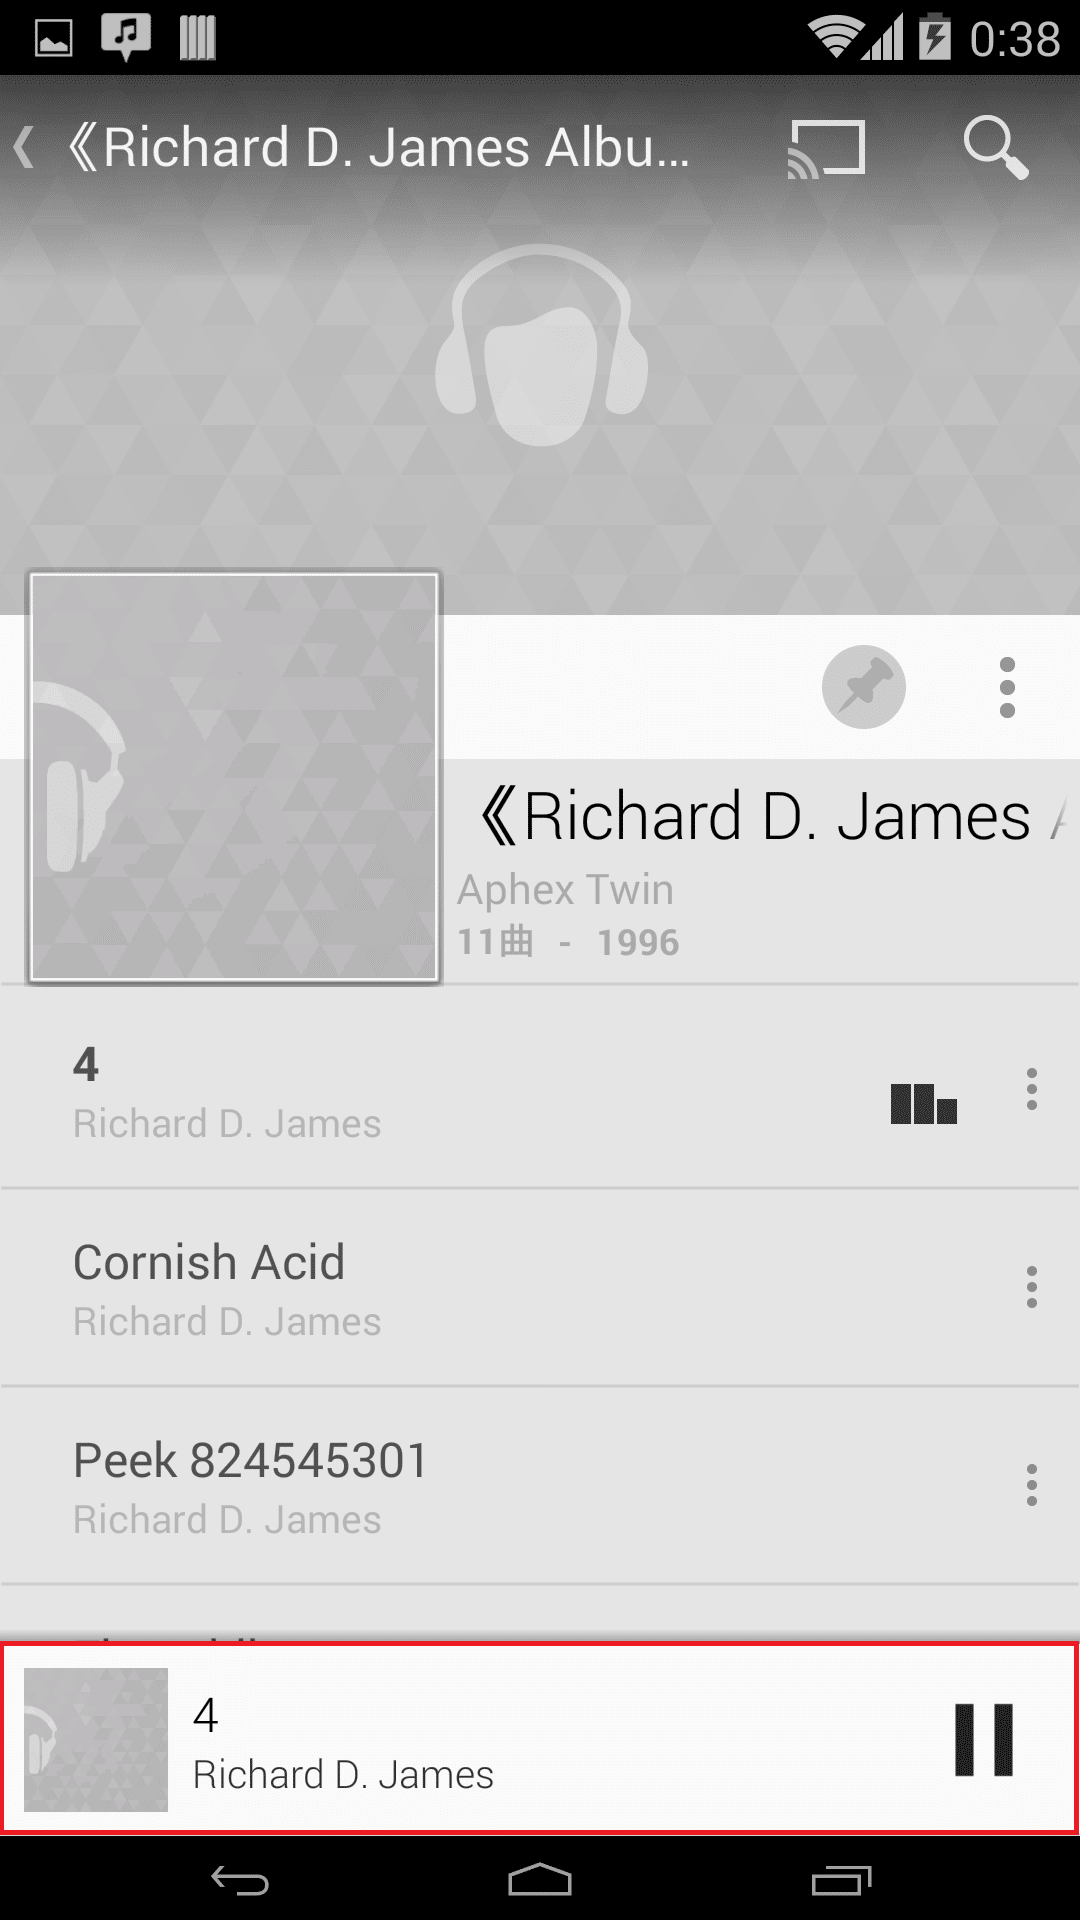
アプリ下部で一時停止などの操作ができます。
AndroidでGoogle Play Musicを利用する方法は以上です。
Google Play Musicでアルバムアート(ジャケット)を追加・変更する
Google Play Musicにアップロードする音楽ファイルのほとんどは、アルバムアート(ジャケット)を自動で表示してくれますが、たまに表示しないものや表示しているアルバムアートの画質が悪いものもあります。その時は、手動でアルバムアートを追加したり変更したりすることができます。
詳細な手順は、Google Play Music(グーグルプレイミュージック)のアルバムアート(ジャケット)を追加・変更する方法。を参照してください。
Google Play Musicの音楽を好きな音楽再生アプリで再生する
Root化している端末ならGMusicFSというアプリを使うことで、Android端末でGoogle Play Musicの音楽を再生するアプリをGoogle Play Musicアプリ以外の自分の好きなアプリで再生することができます。詳しくはGMusicFS:Google Play Musicのクラウド上の音楽を自分の好きな音楽プレイヤーアプリで再生できるアプリ。を参照してください。
Google Play Musicの音楽を削除・削除取り消しする
Google Play Musicは、音楽の削除方法が3通りあります。1曲削除、複数選択削除、一定の範囲をまとめて削除です。
また、削除した音楽を復活させることもできます。
詳しい手順などはGoogle Play Musicにアップロードした音楽の個別削除や複数選択削除、削除の取り消し方法。を参照してください。
ついに日本でもGoogle Play Musicが始まりましたね。私もこれからいろいろいじってみたいと思います。