今回は、Google手書き入力の特徴と設定方法、使い方を紹介します。
目次
Google手書き入力の特徴
無料でインストールできる
Google手書き入力の特徴は、まずは無料という点です。Google Playでリリースされている手書き入力は有料のものがほとんどですが、Google手書き入力は無料でユーザーに提供されています。
文字認識精度、変換精度が高い
手書き入力の場合にポイントとなるのが、自分が手書きで書いた文字をどれだけ正確にテキストに変換できるかどうかということです。まだ少ししか使っていませんが、Google手書き入力の文字認識精度と日本語における変換精度は高いと感じます。
Google手書き入力の初期設定方法
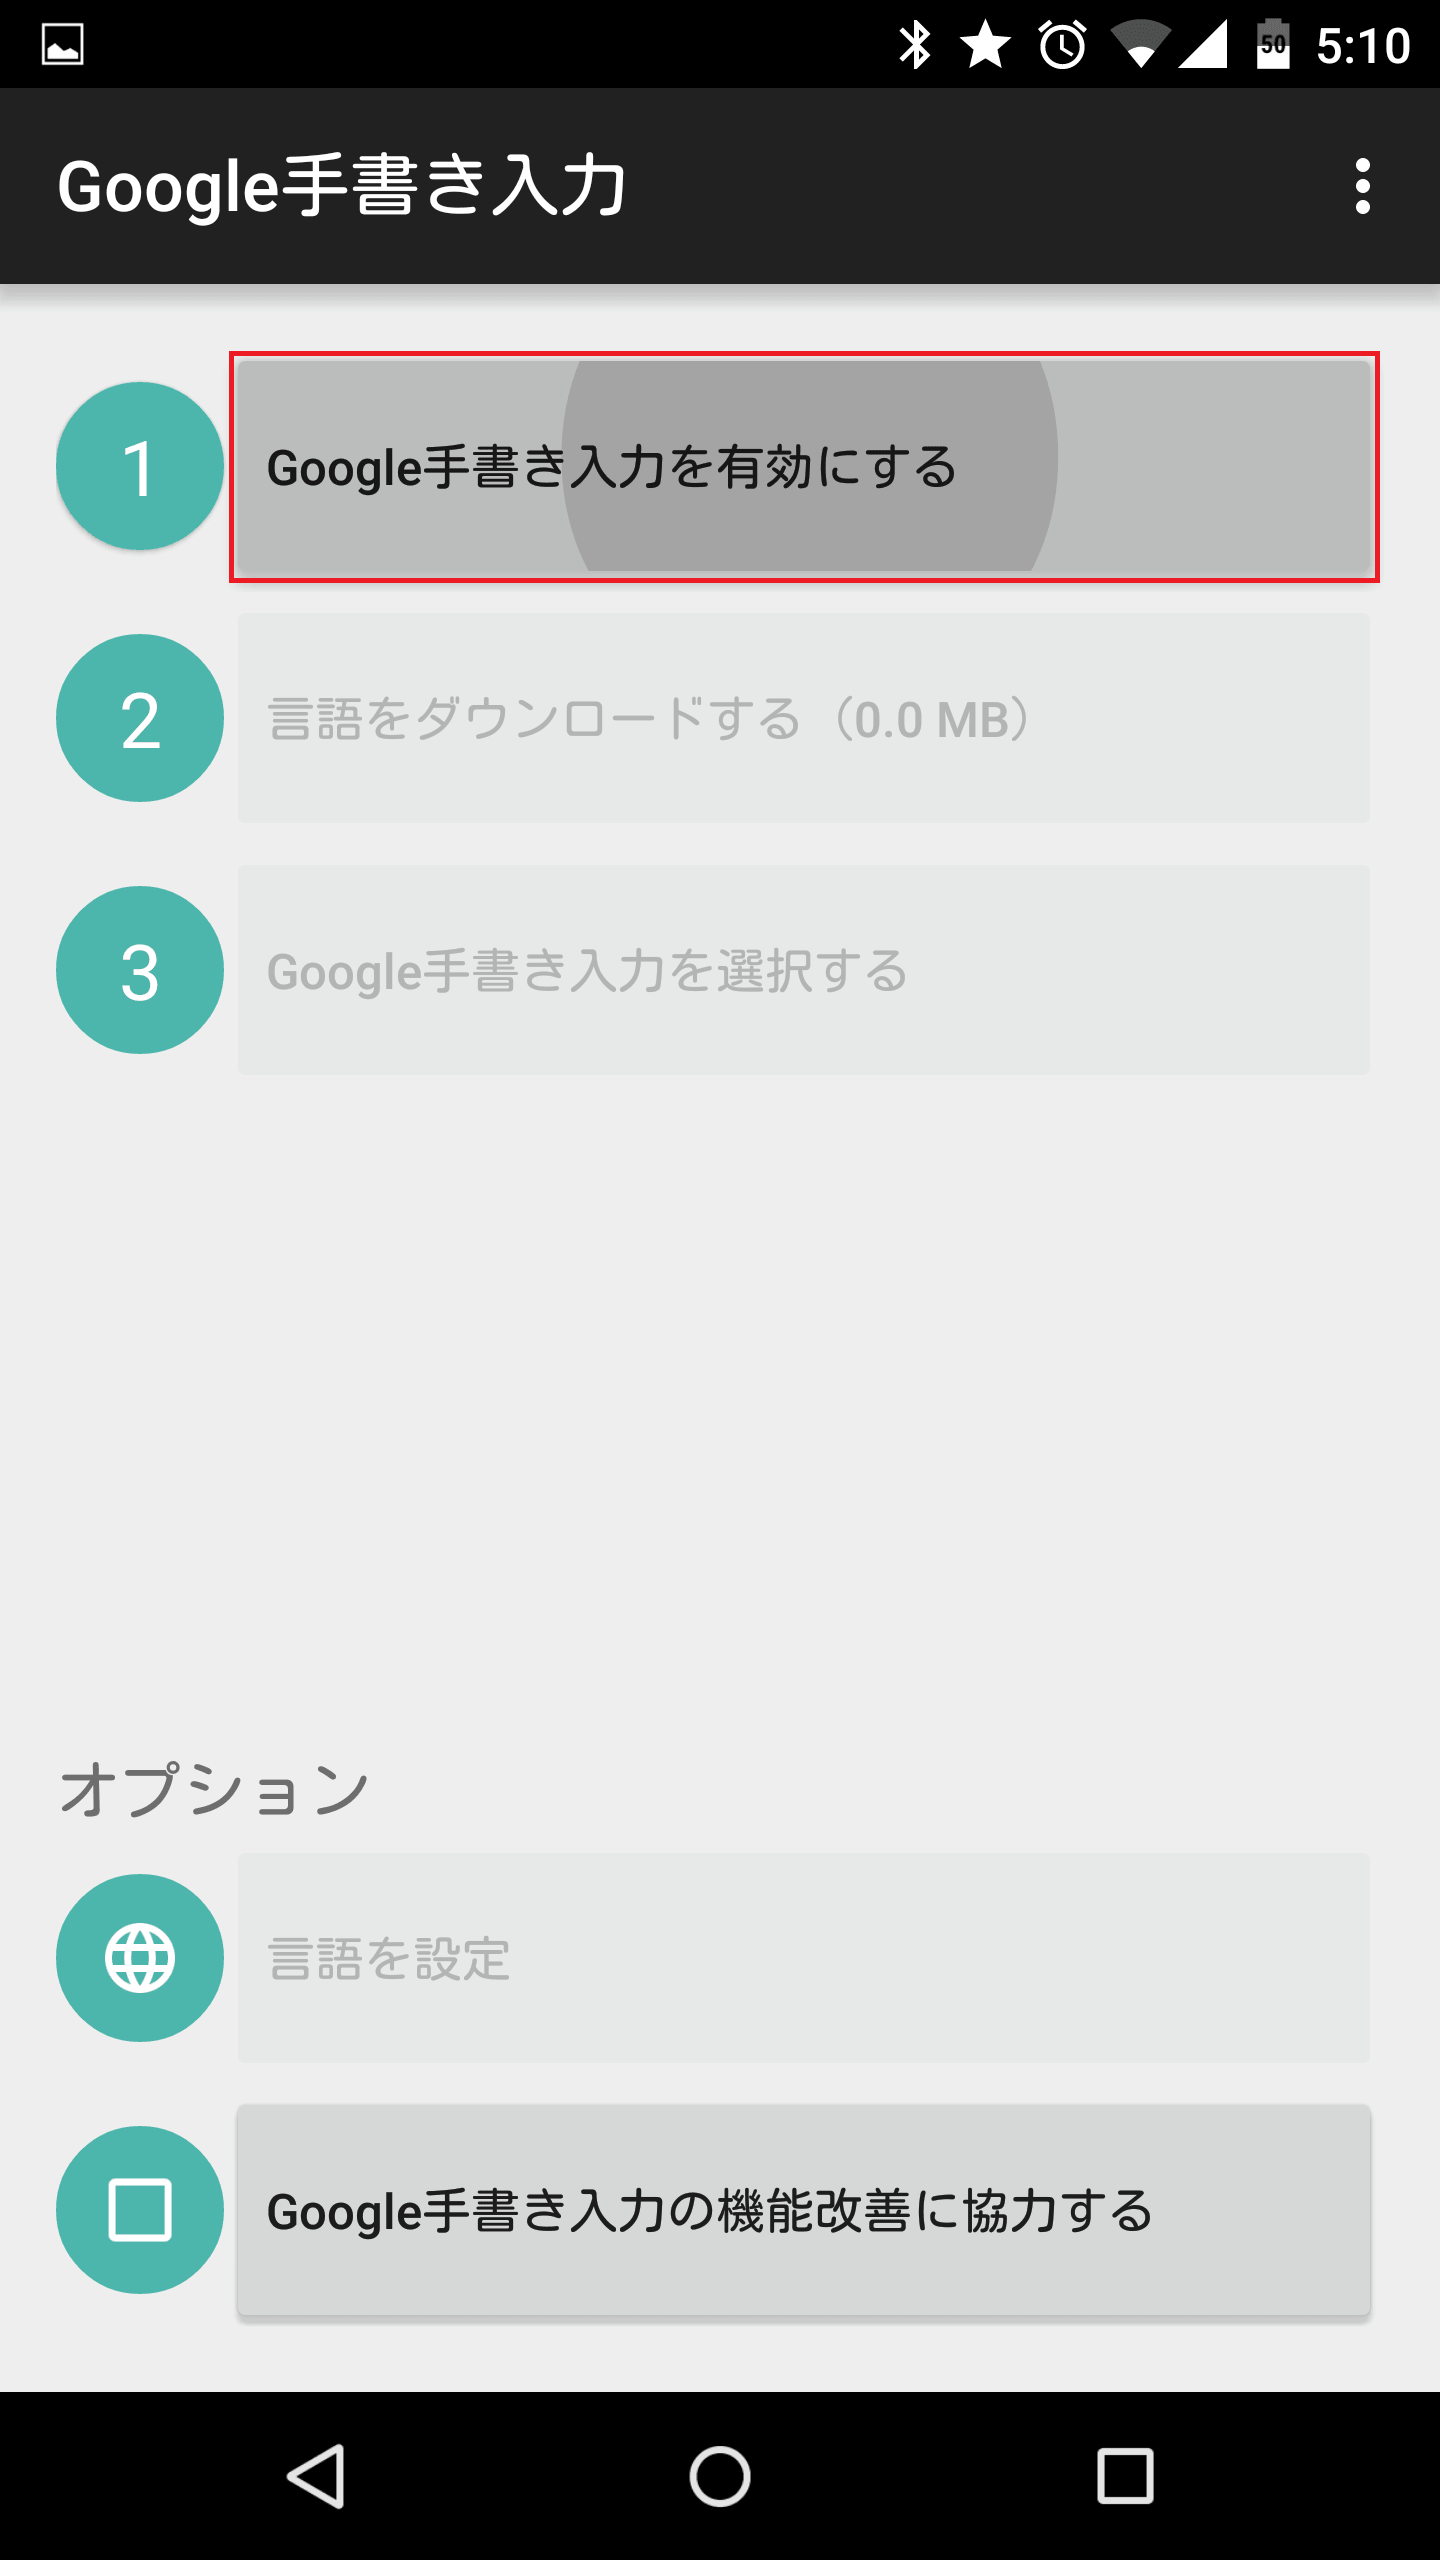
ここからは、Google手書き入力の初期設定方法を説明していきます。Google手書き入力を有効にする
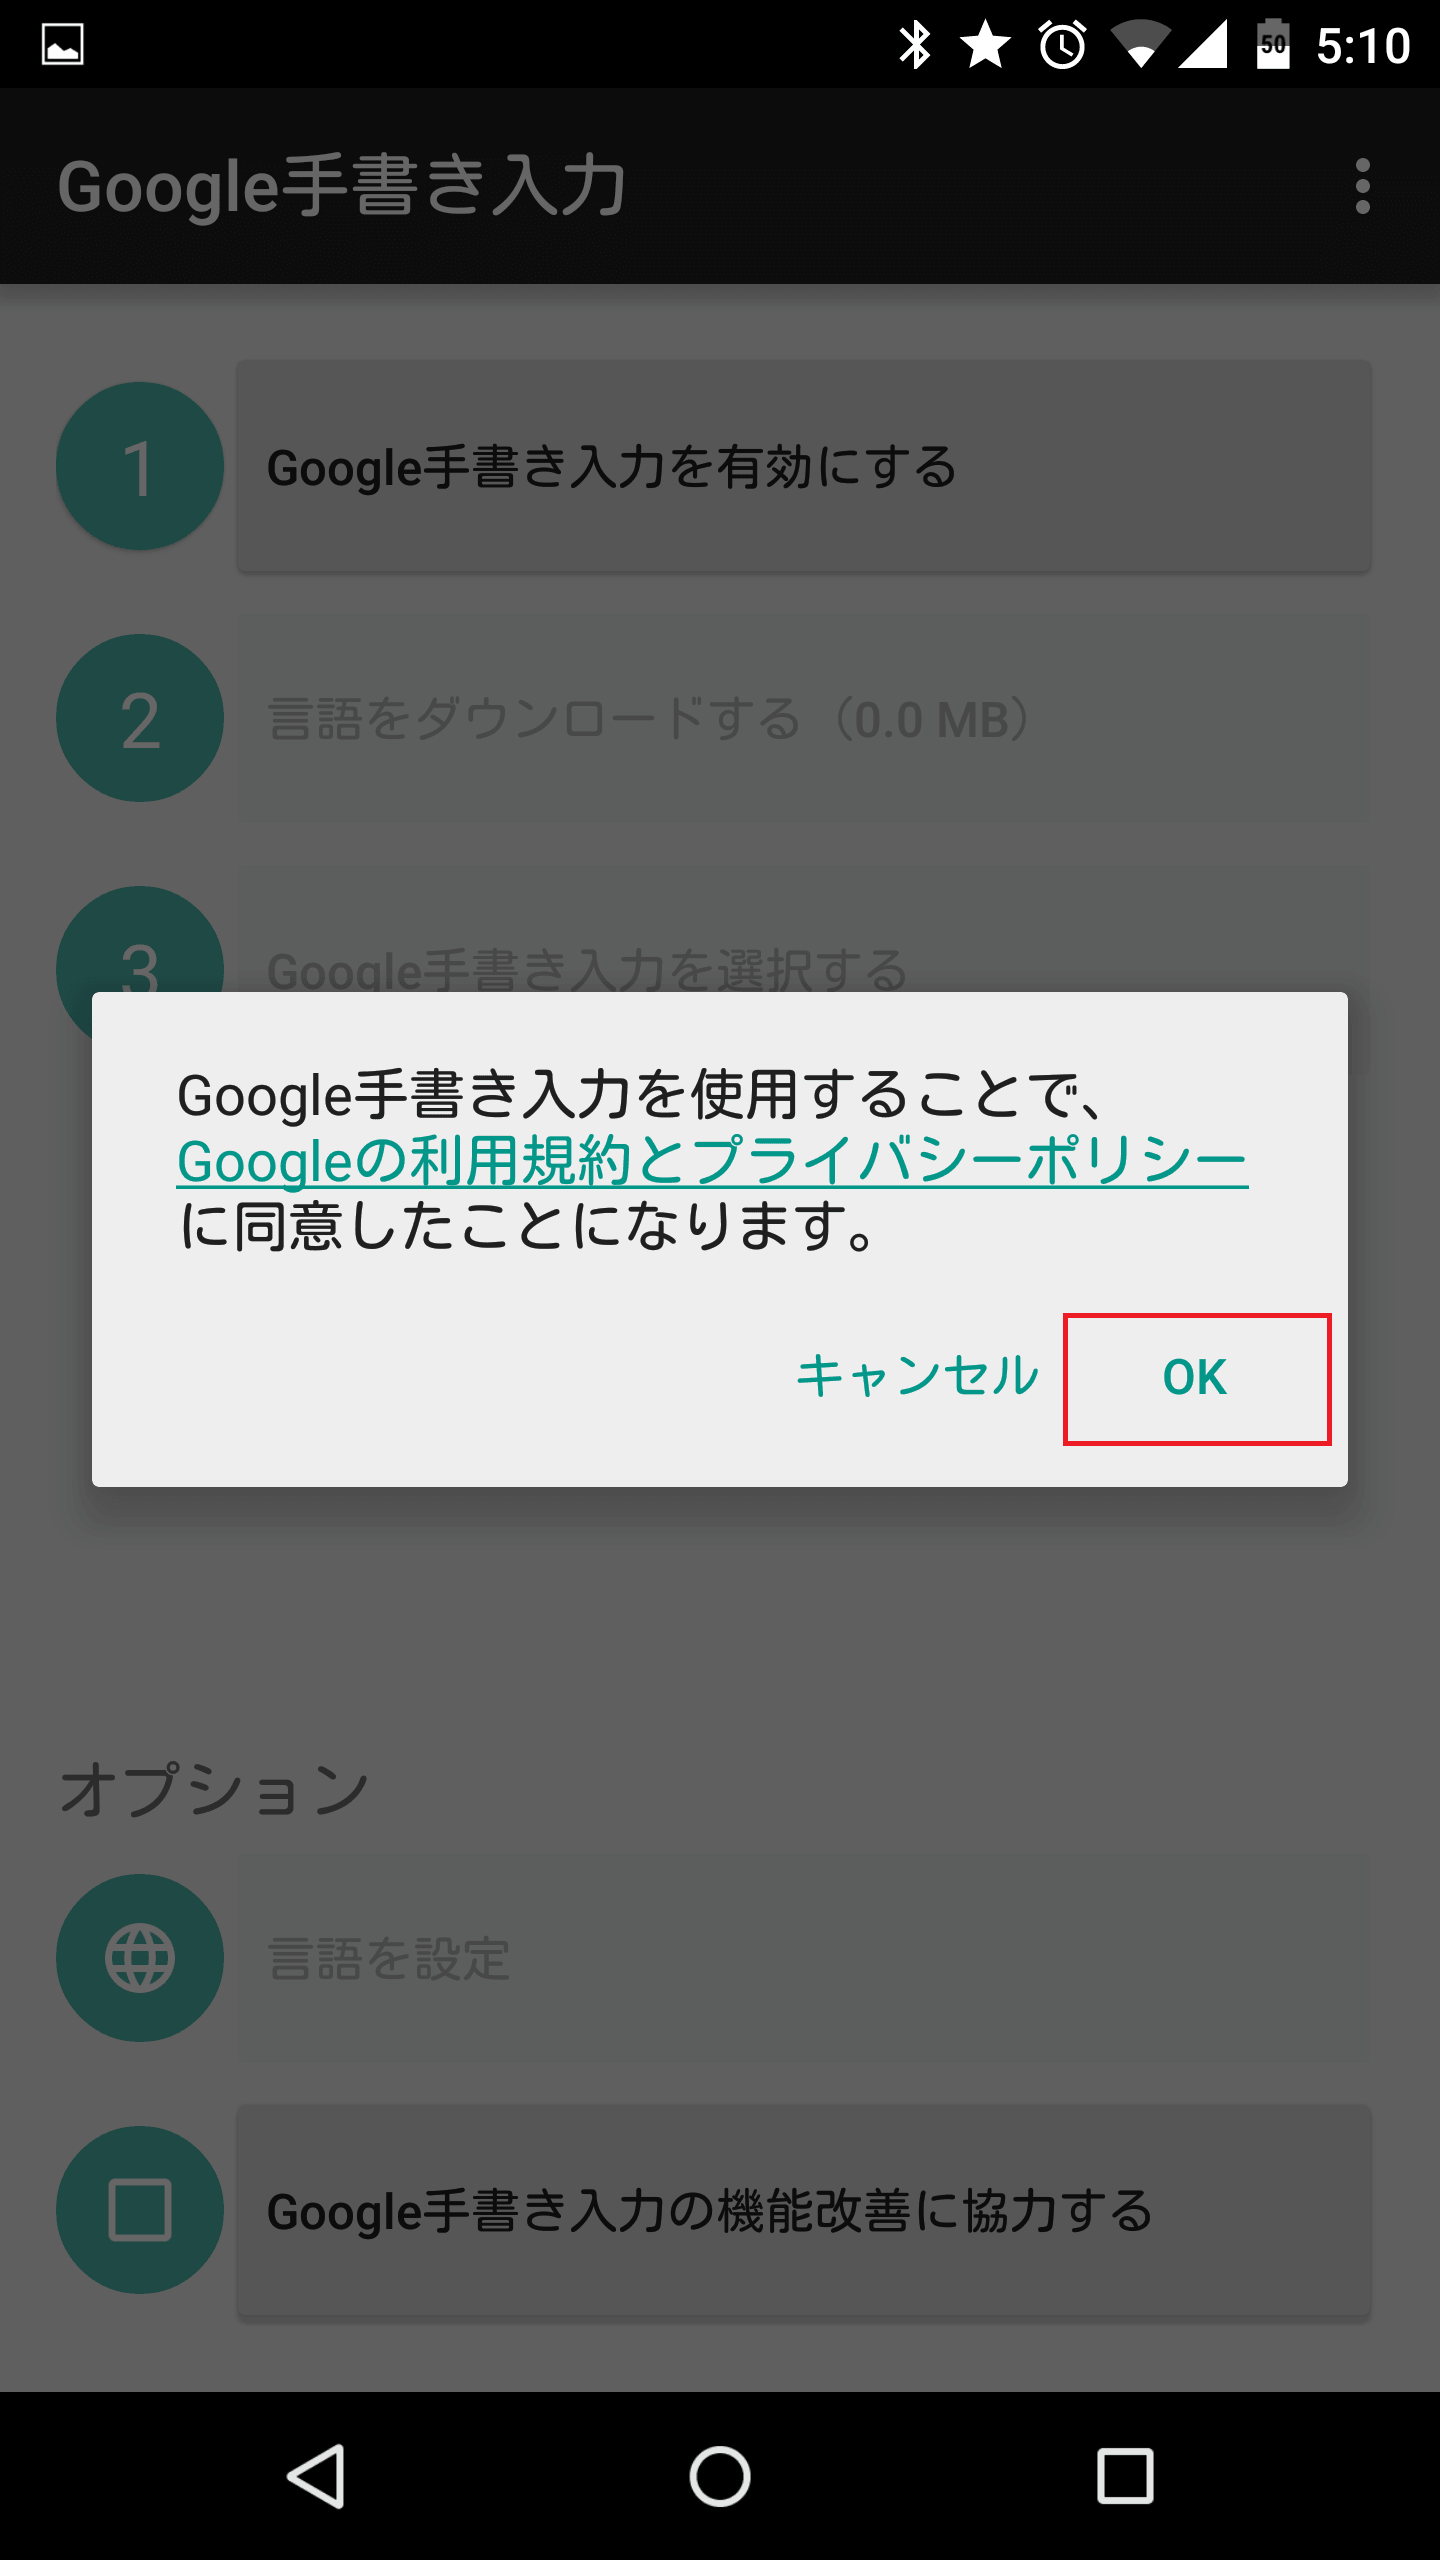
まず、Google手書き入力を有効にします。Google手書き入力をインストールして開くと、利用規約の同意を求められるので「OK」をタップします。
「Google手書き入力を有効にする」をタップします。
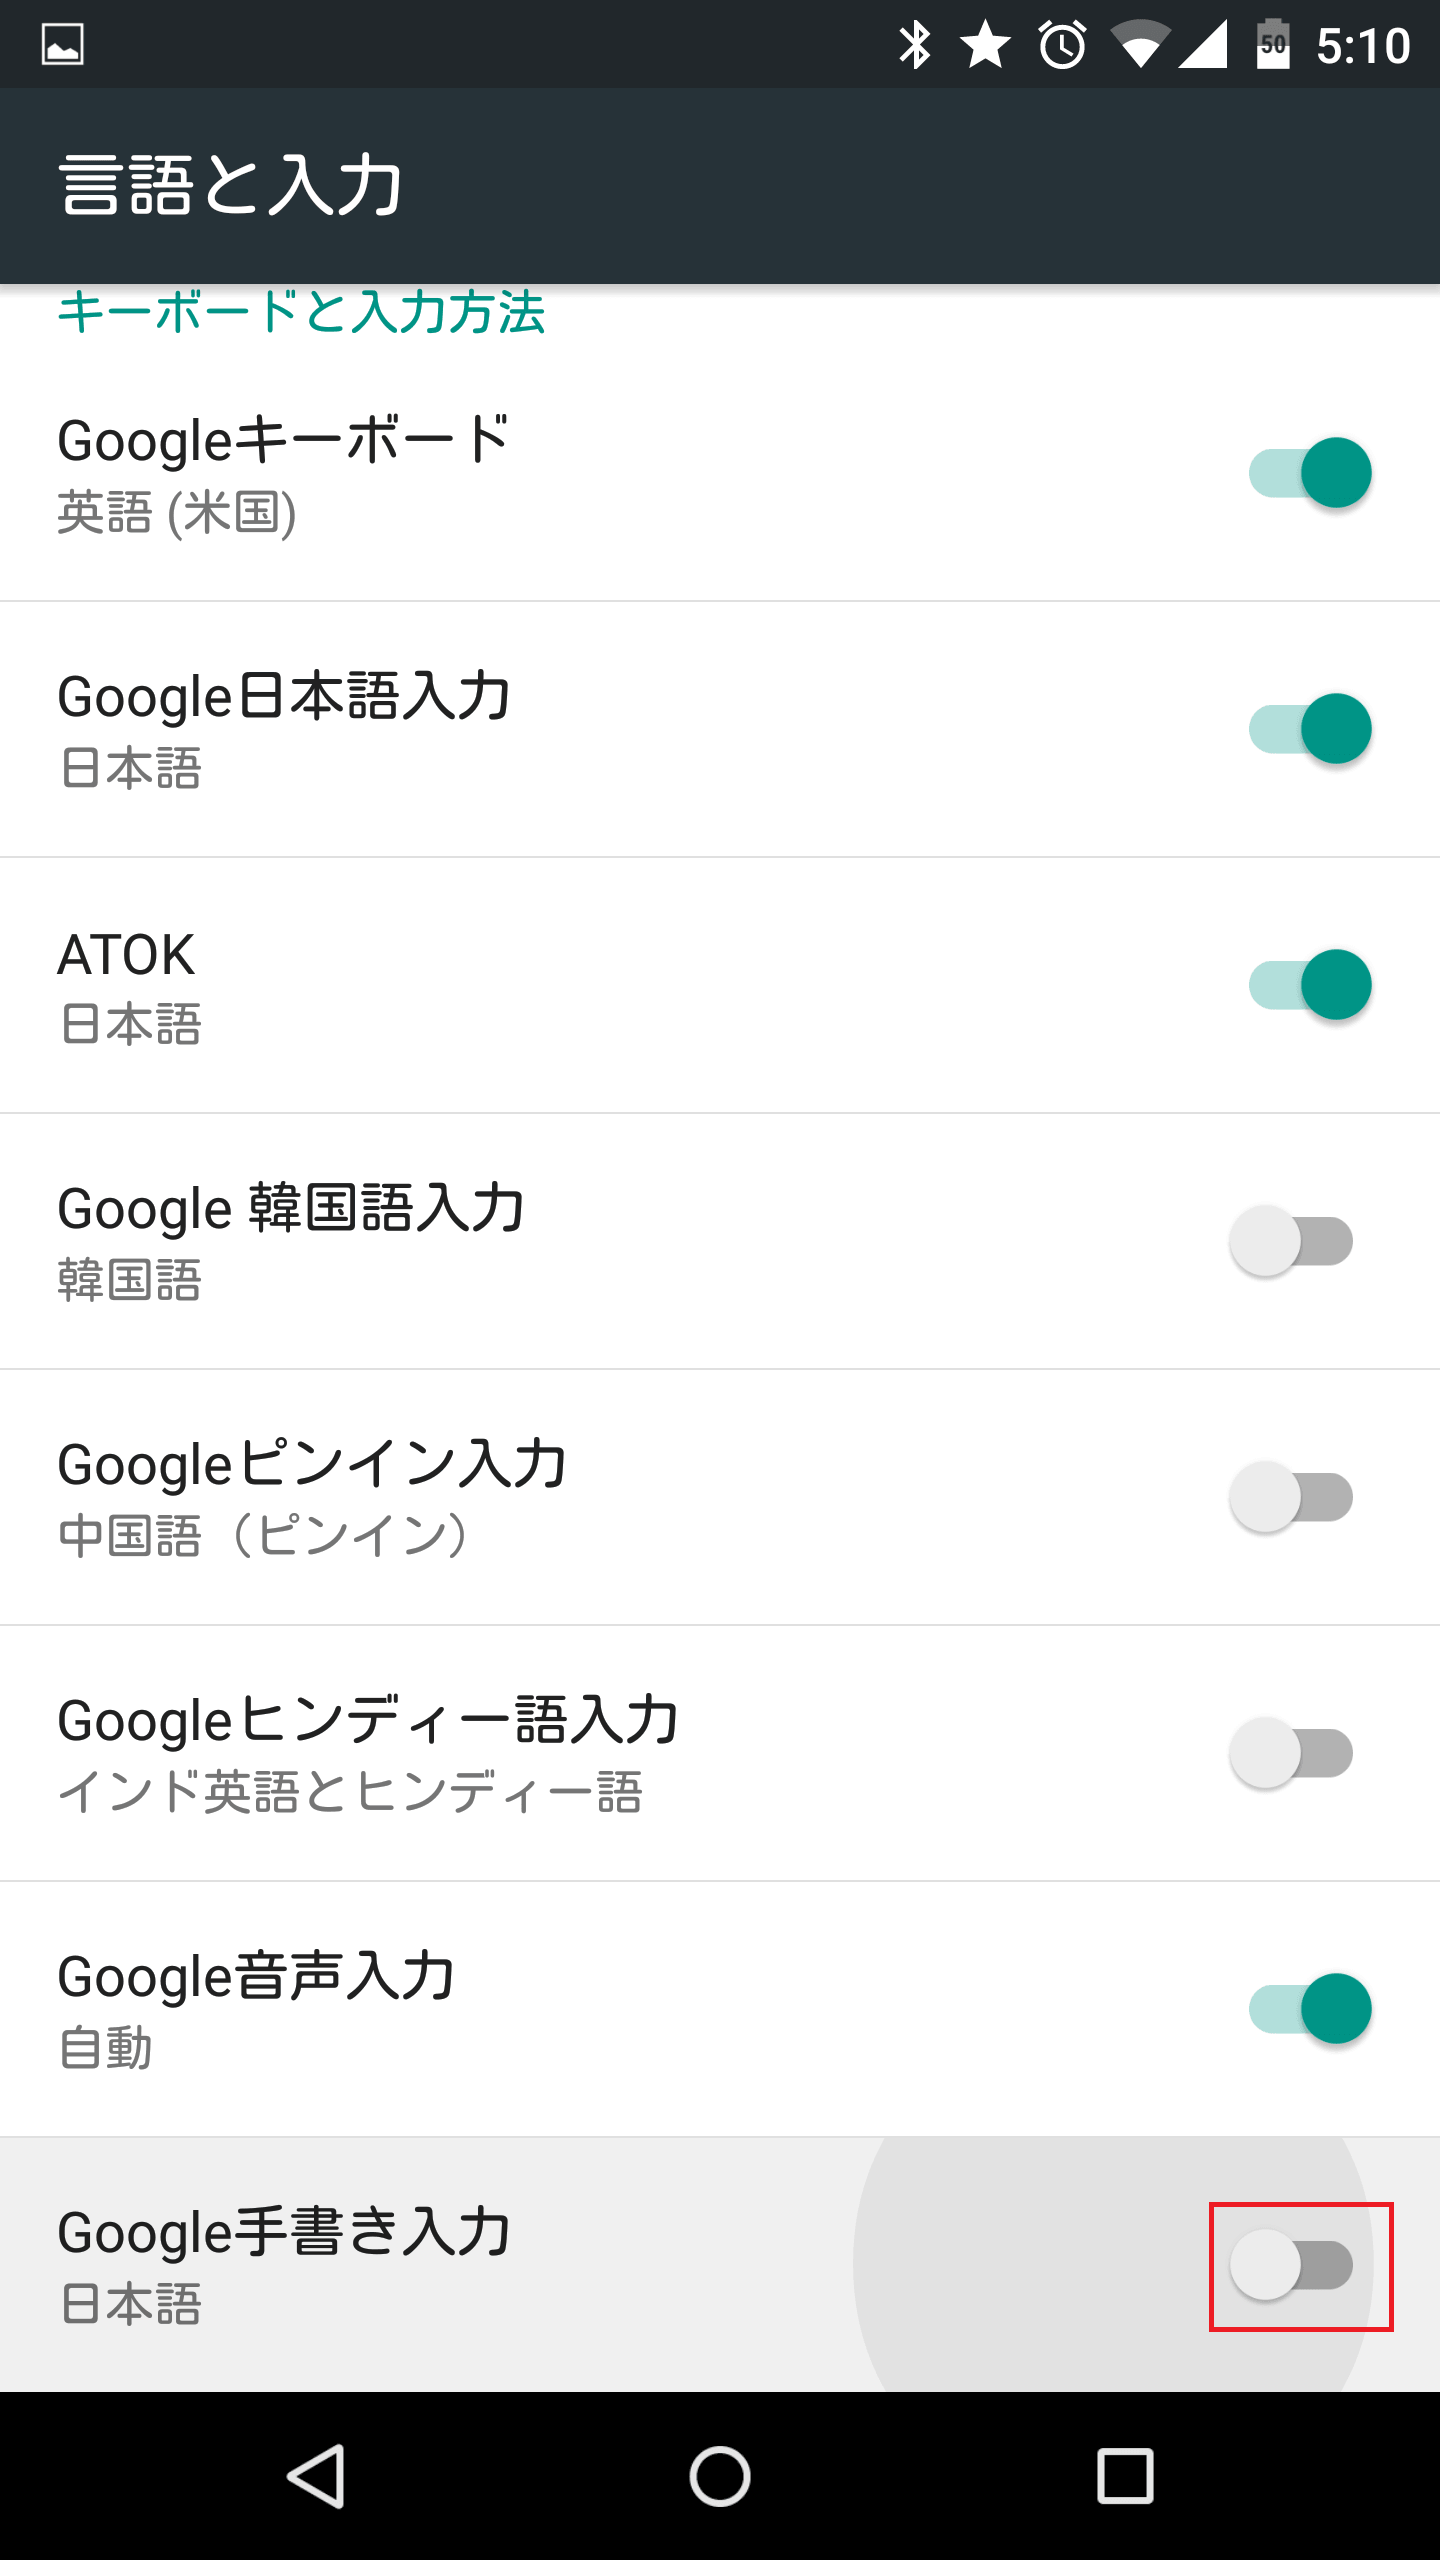
Google手書き入力がオフになっているので、オンに切り替えます。
「OK」をタップします。

Google手書き入力の有効化方法は以上です。
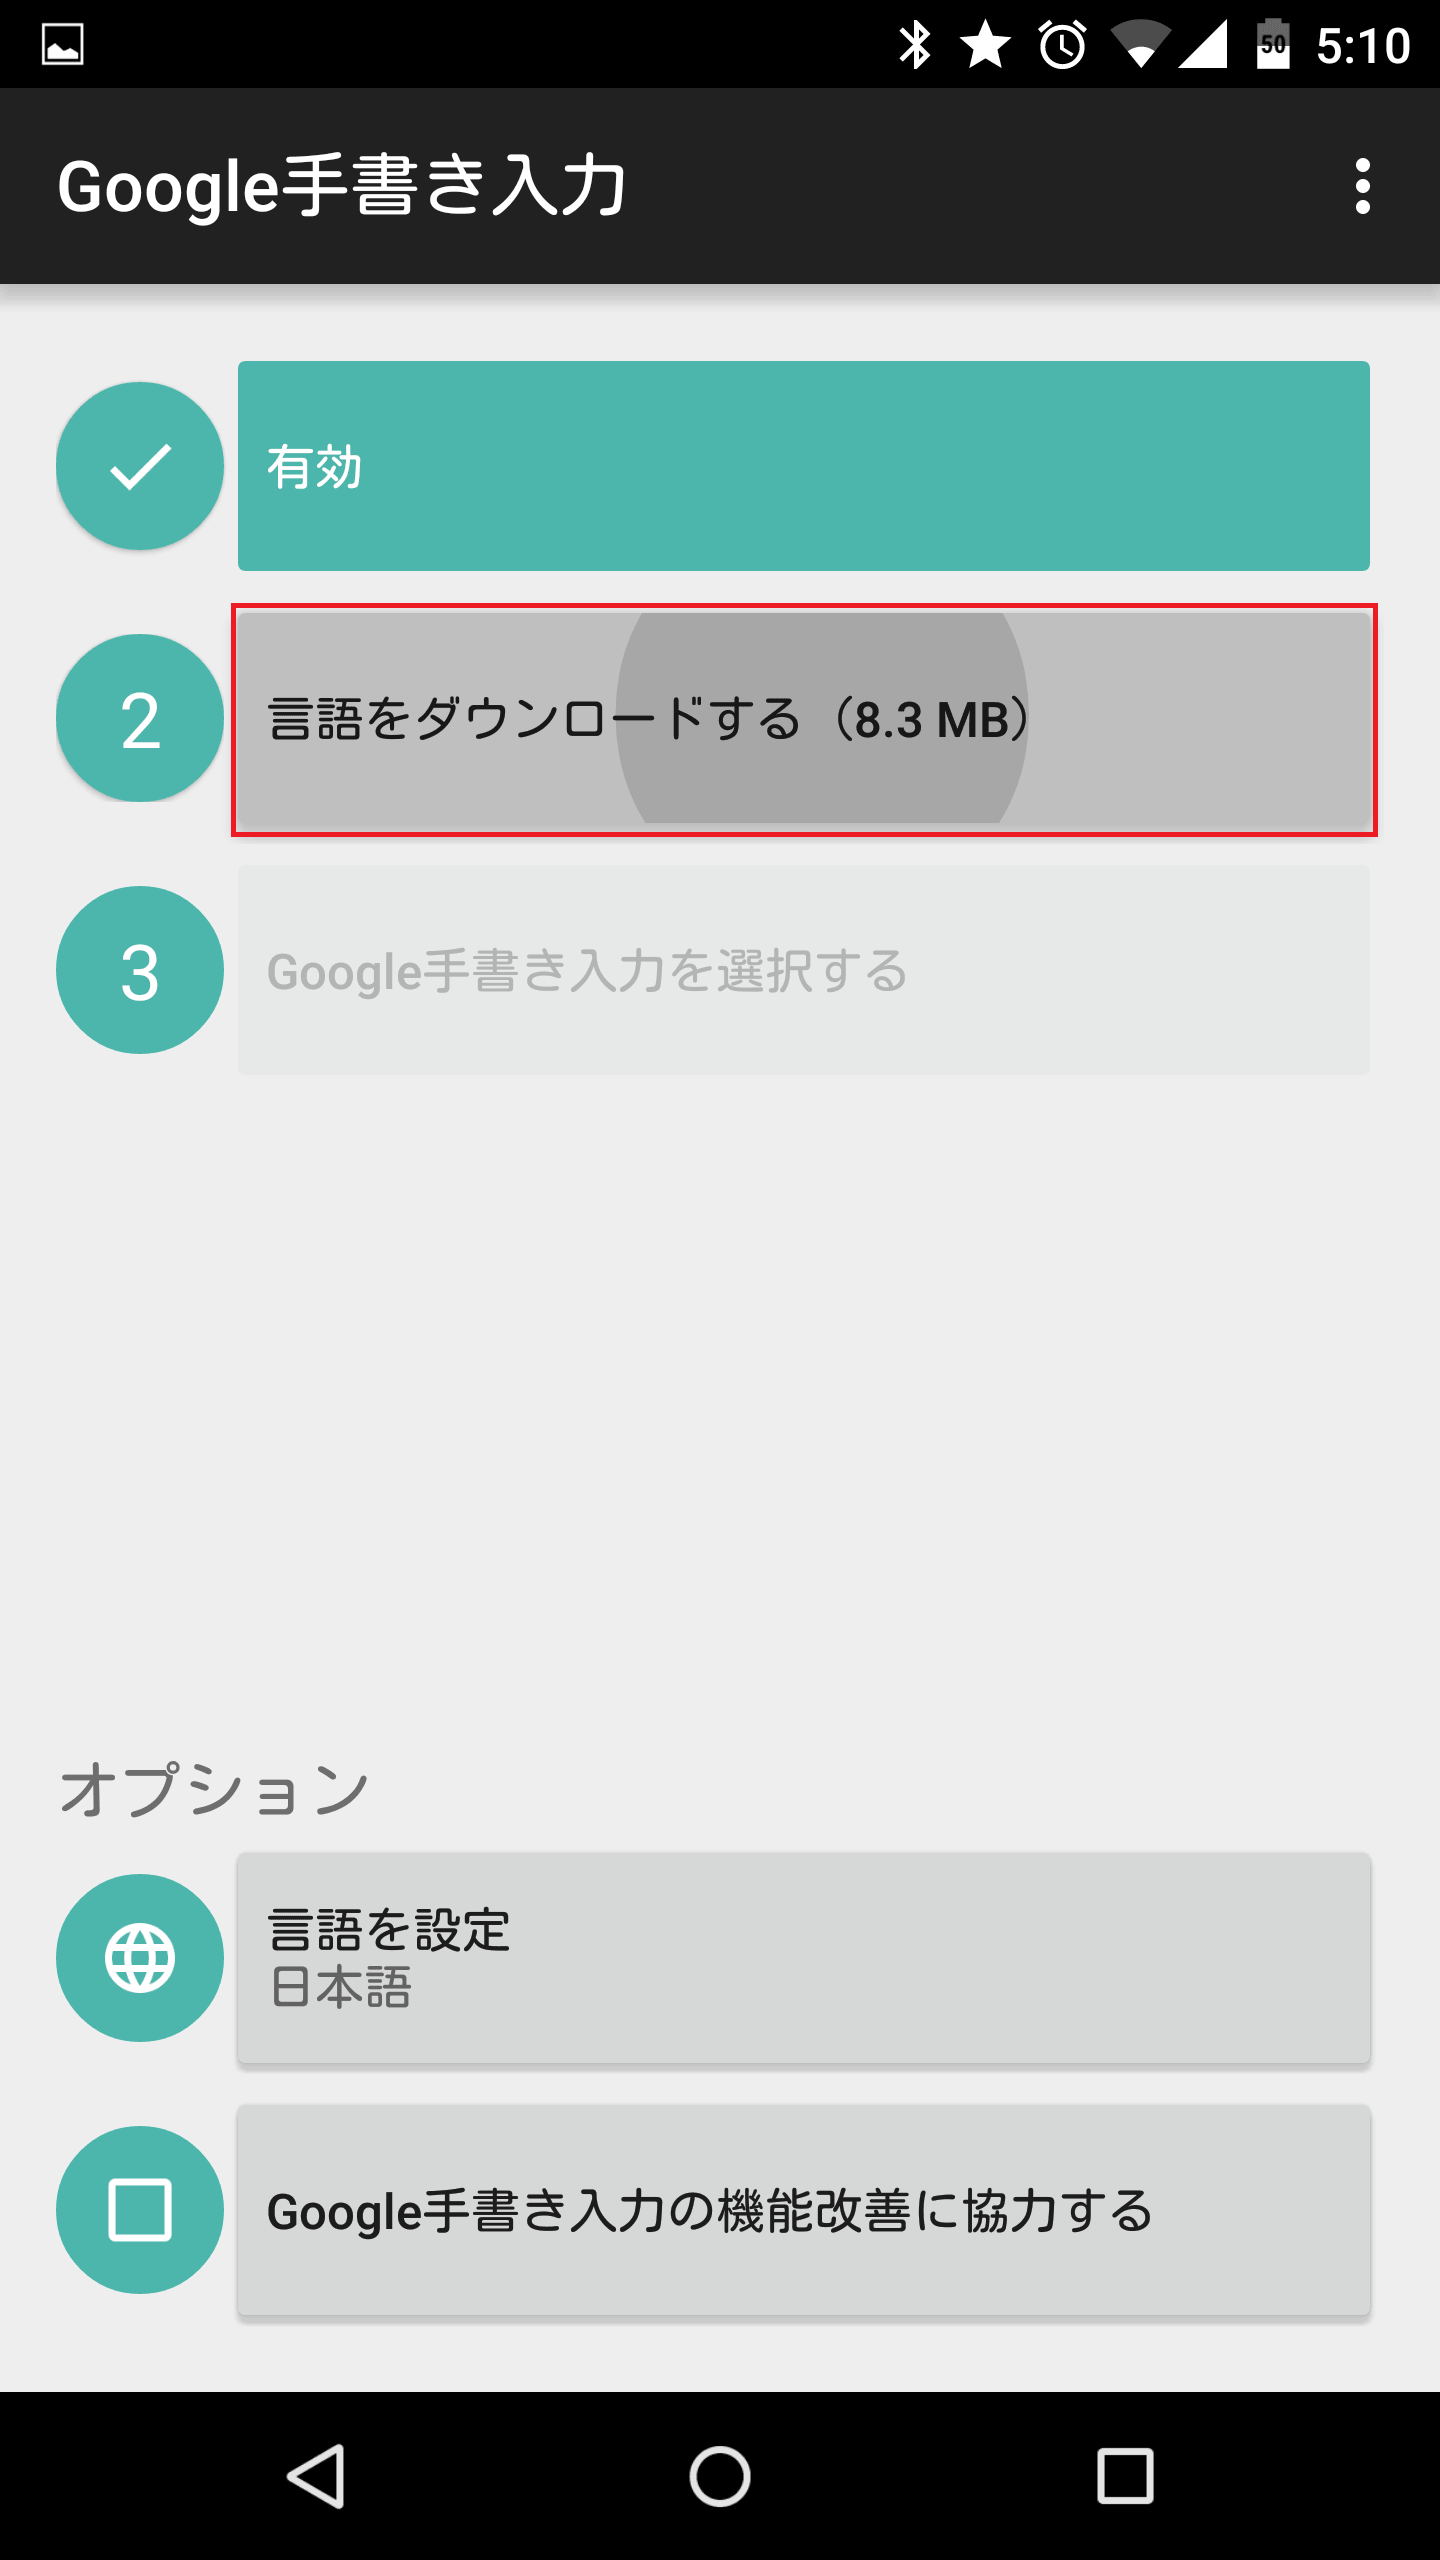
言語(日本語)をダウンロードする
次に、言語をダウンロードしていきます。「言語をダウンロードする」をタップします。
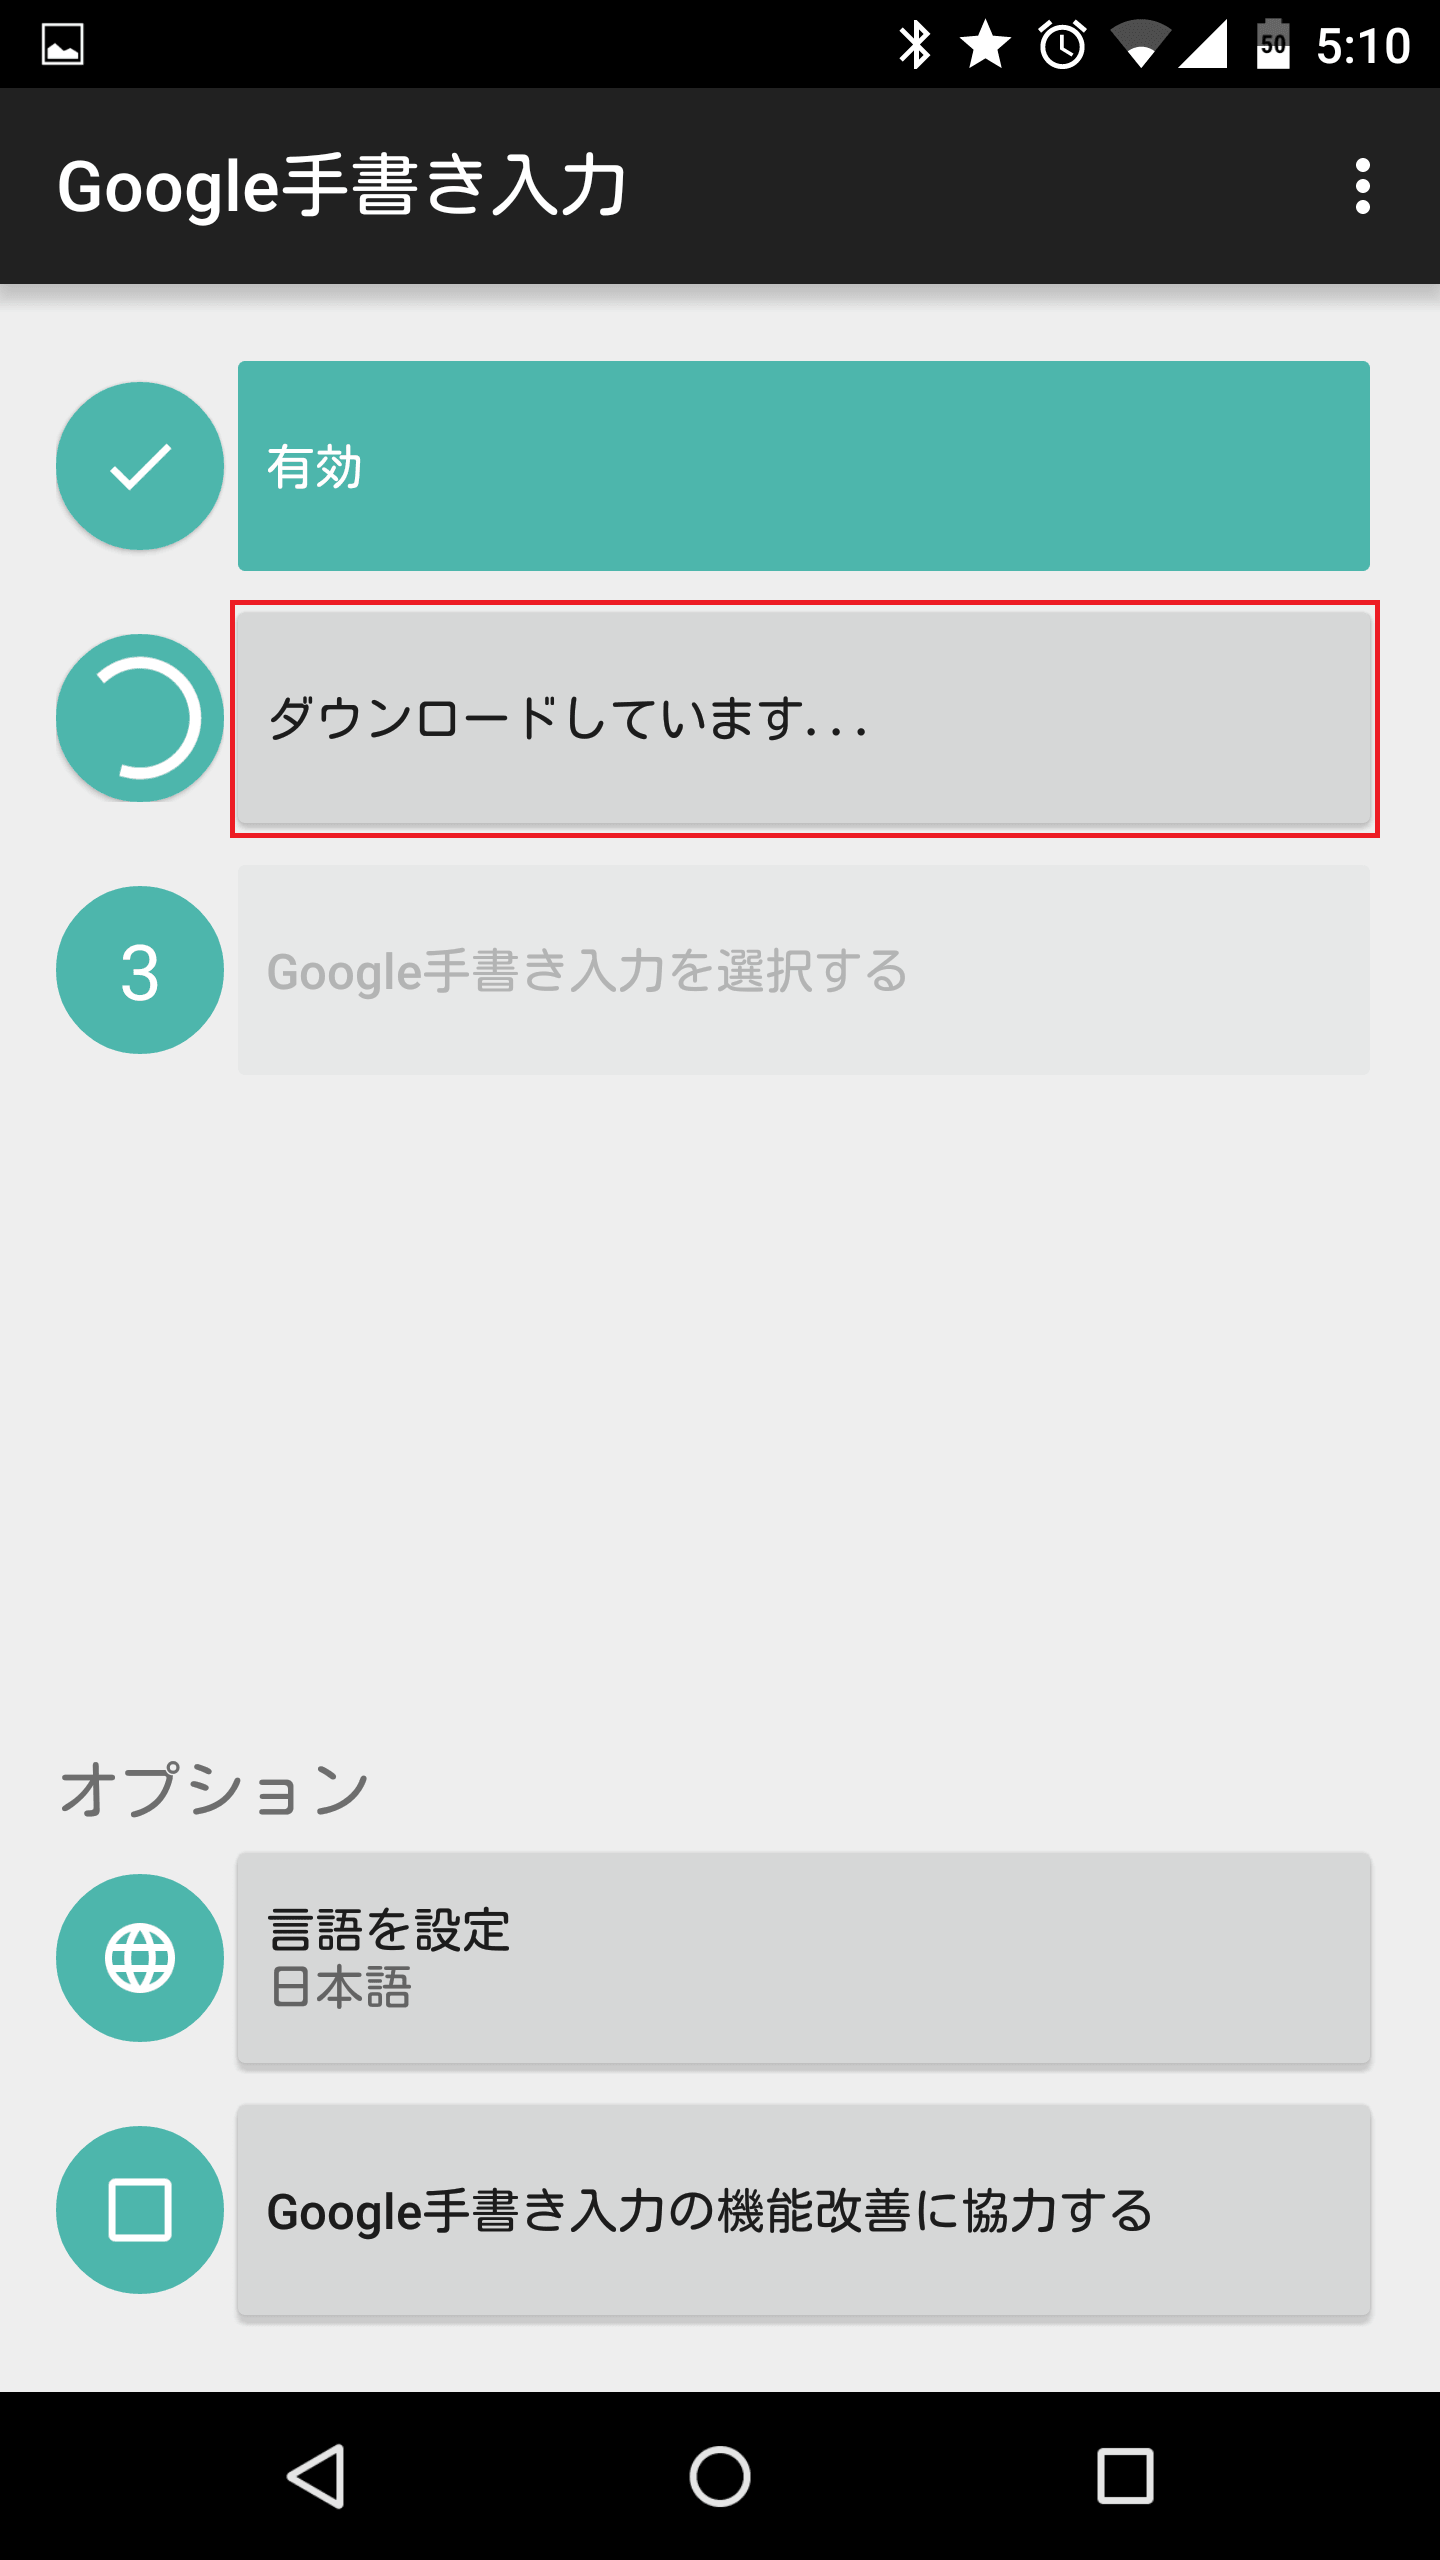
ダウンロードが完了するまで待ちます。
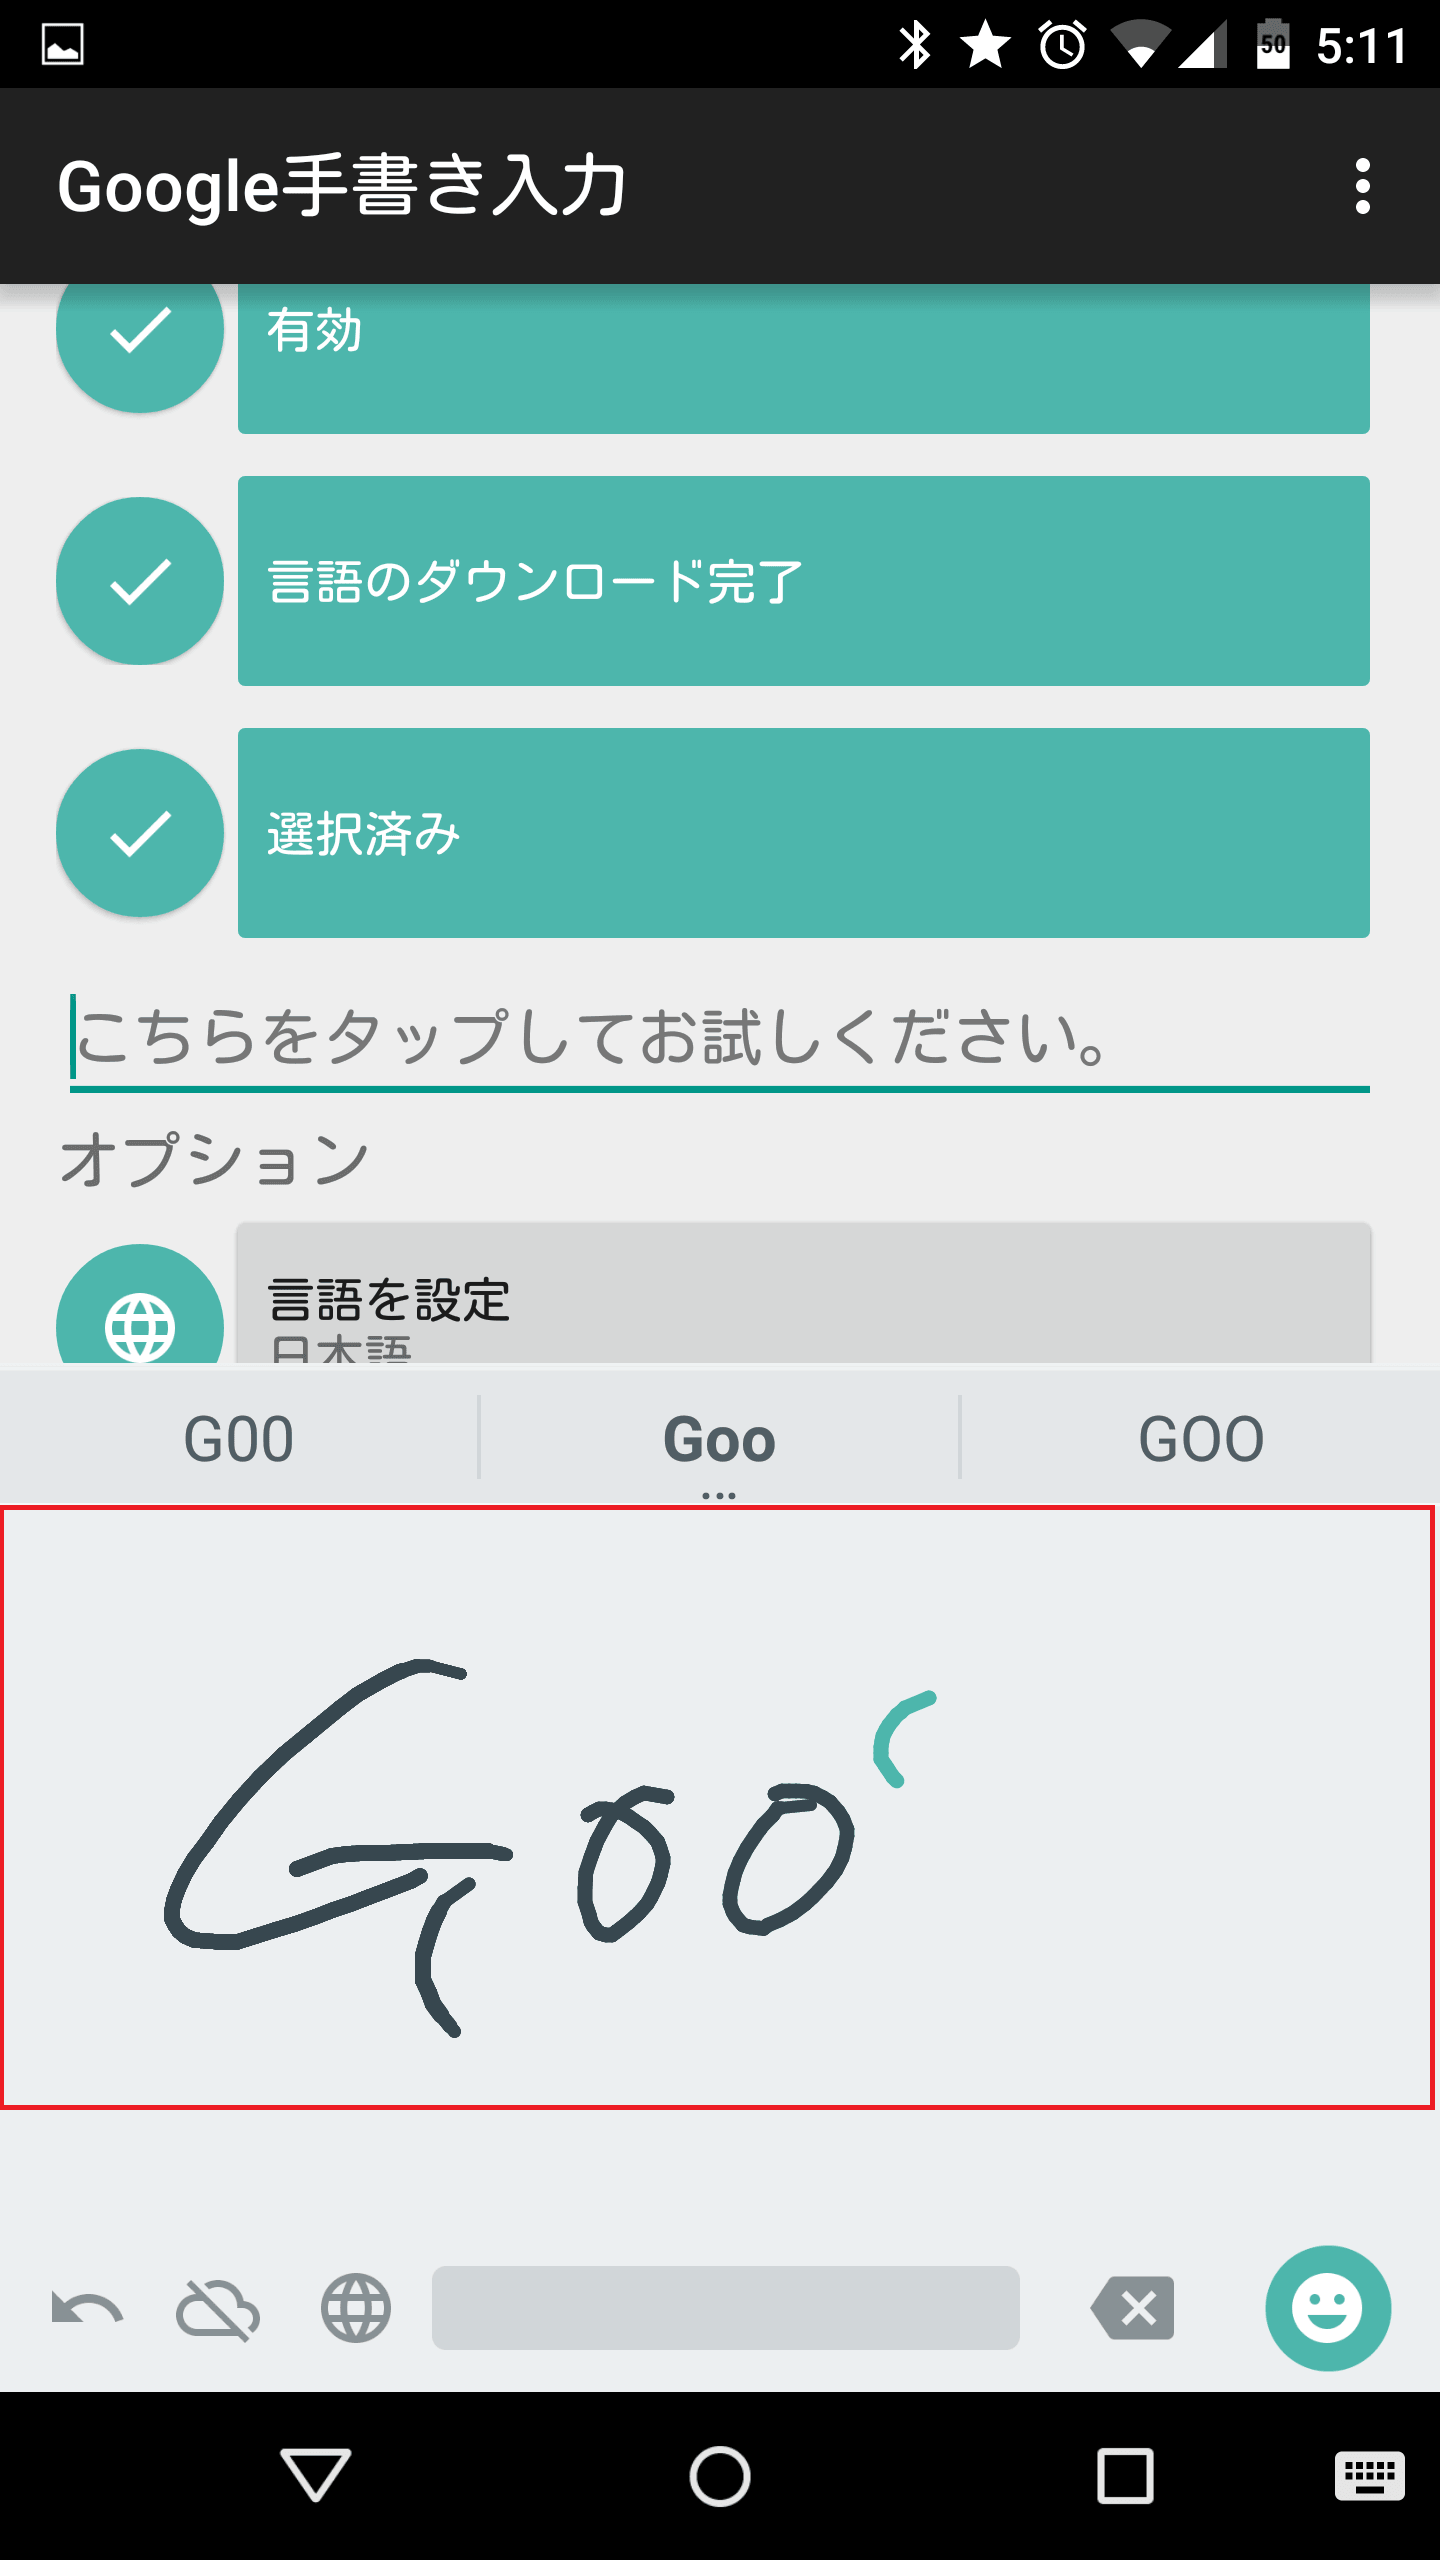
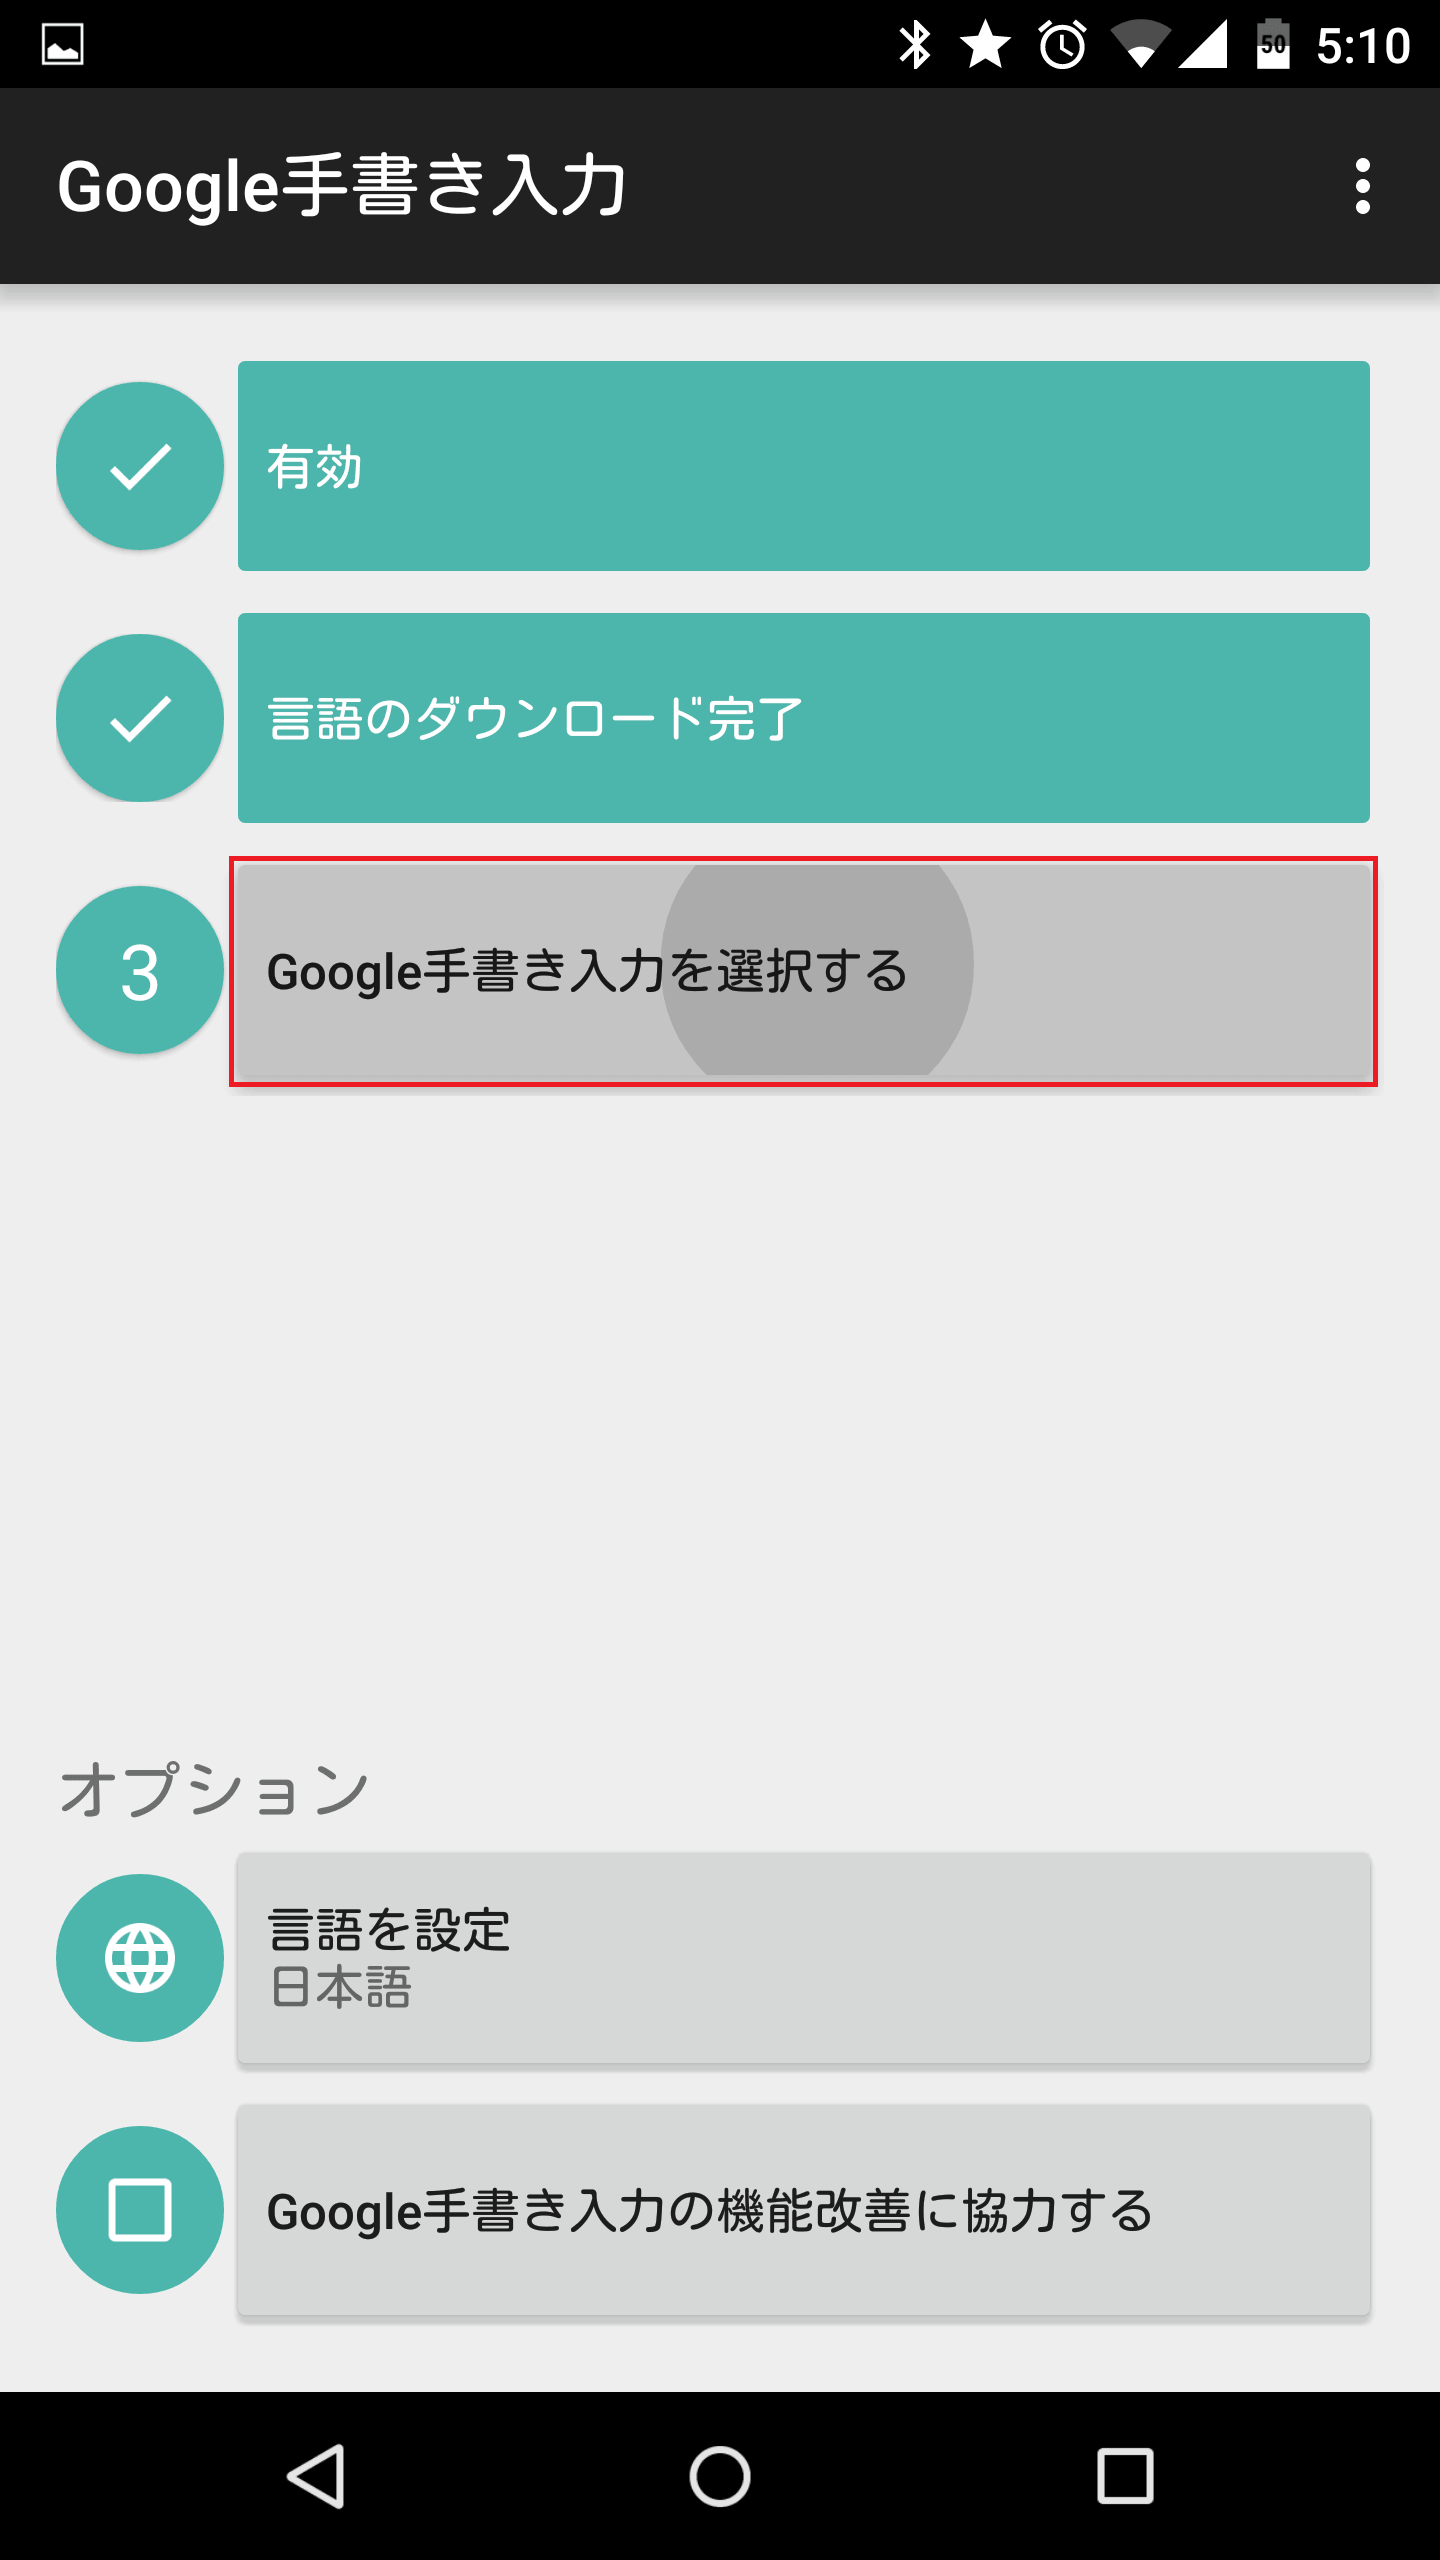
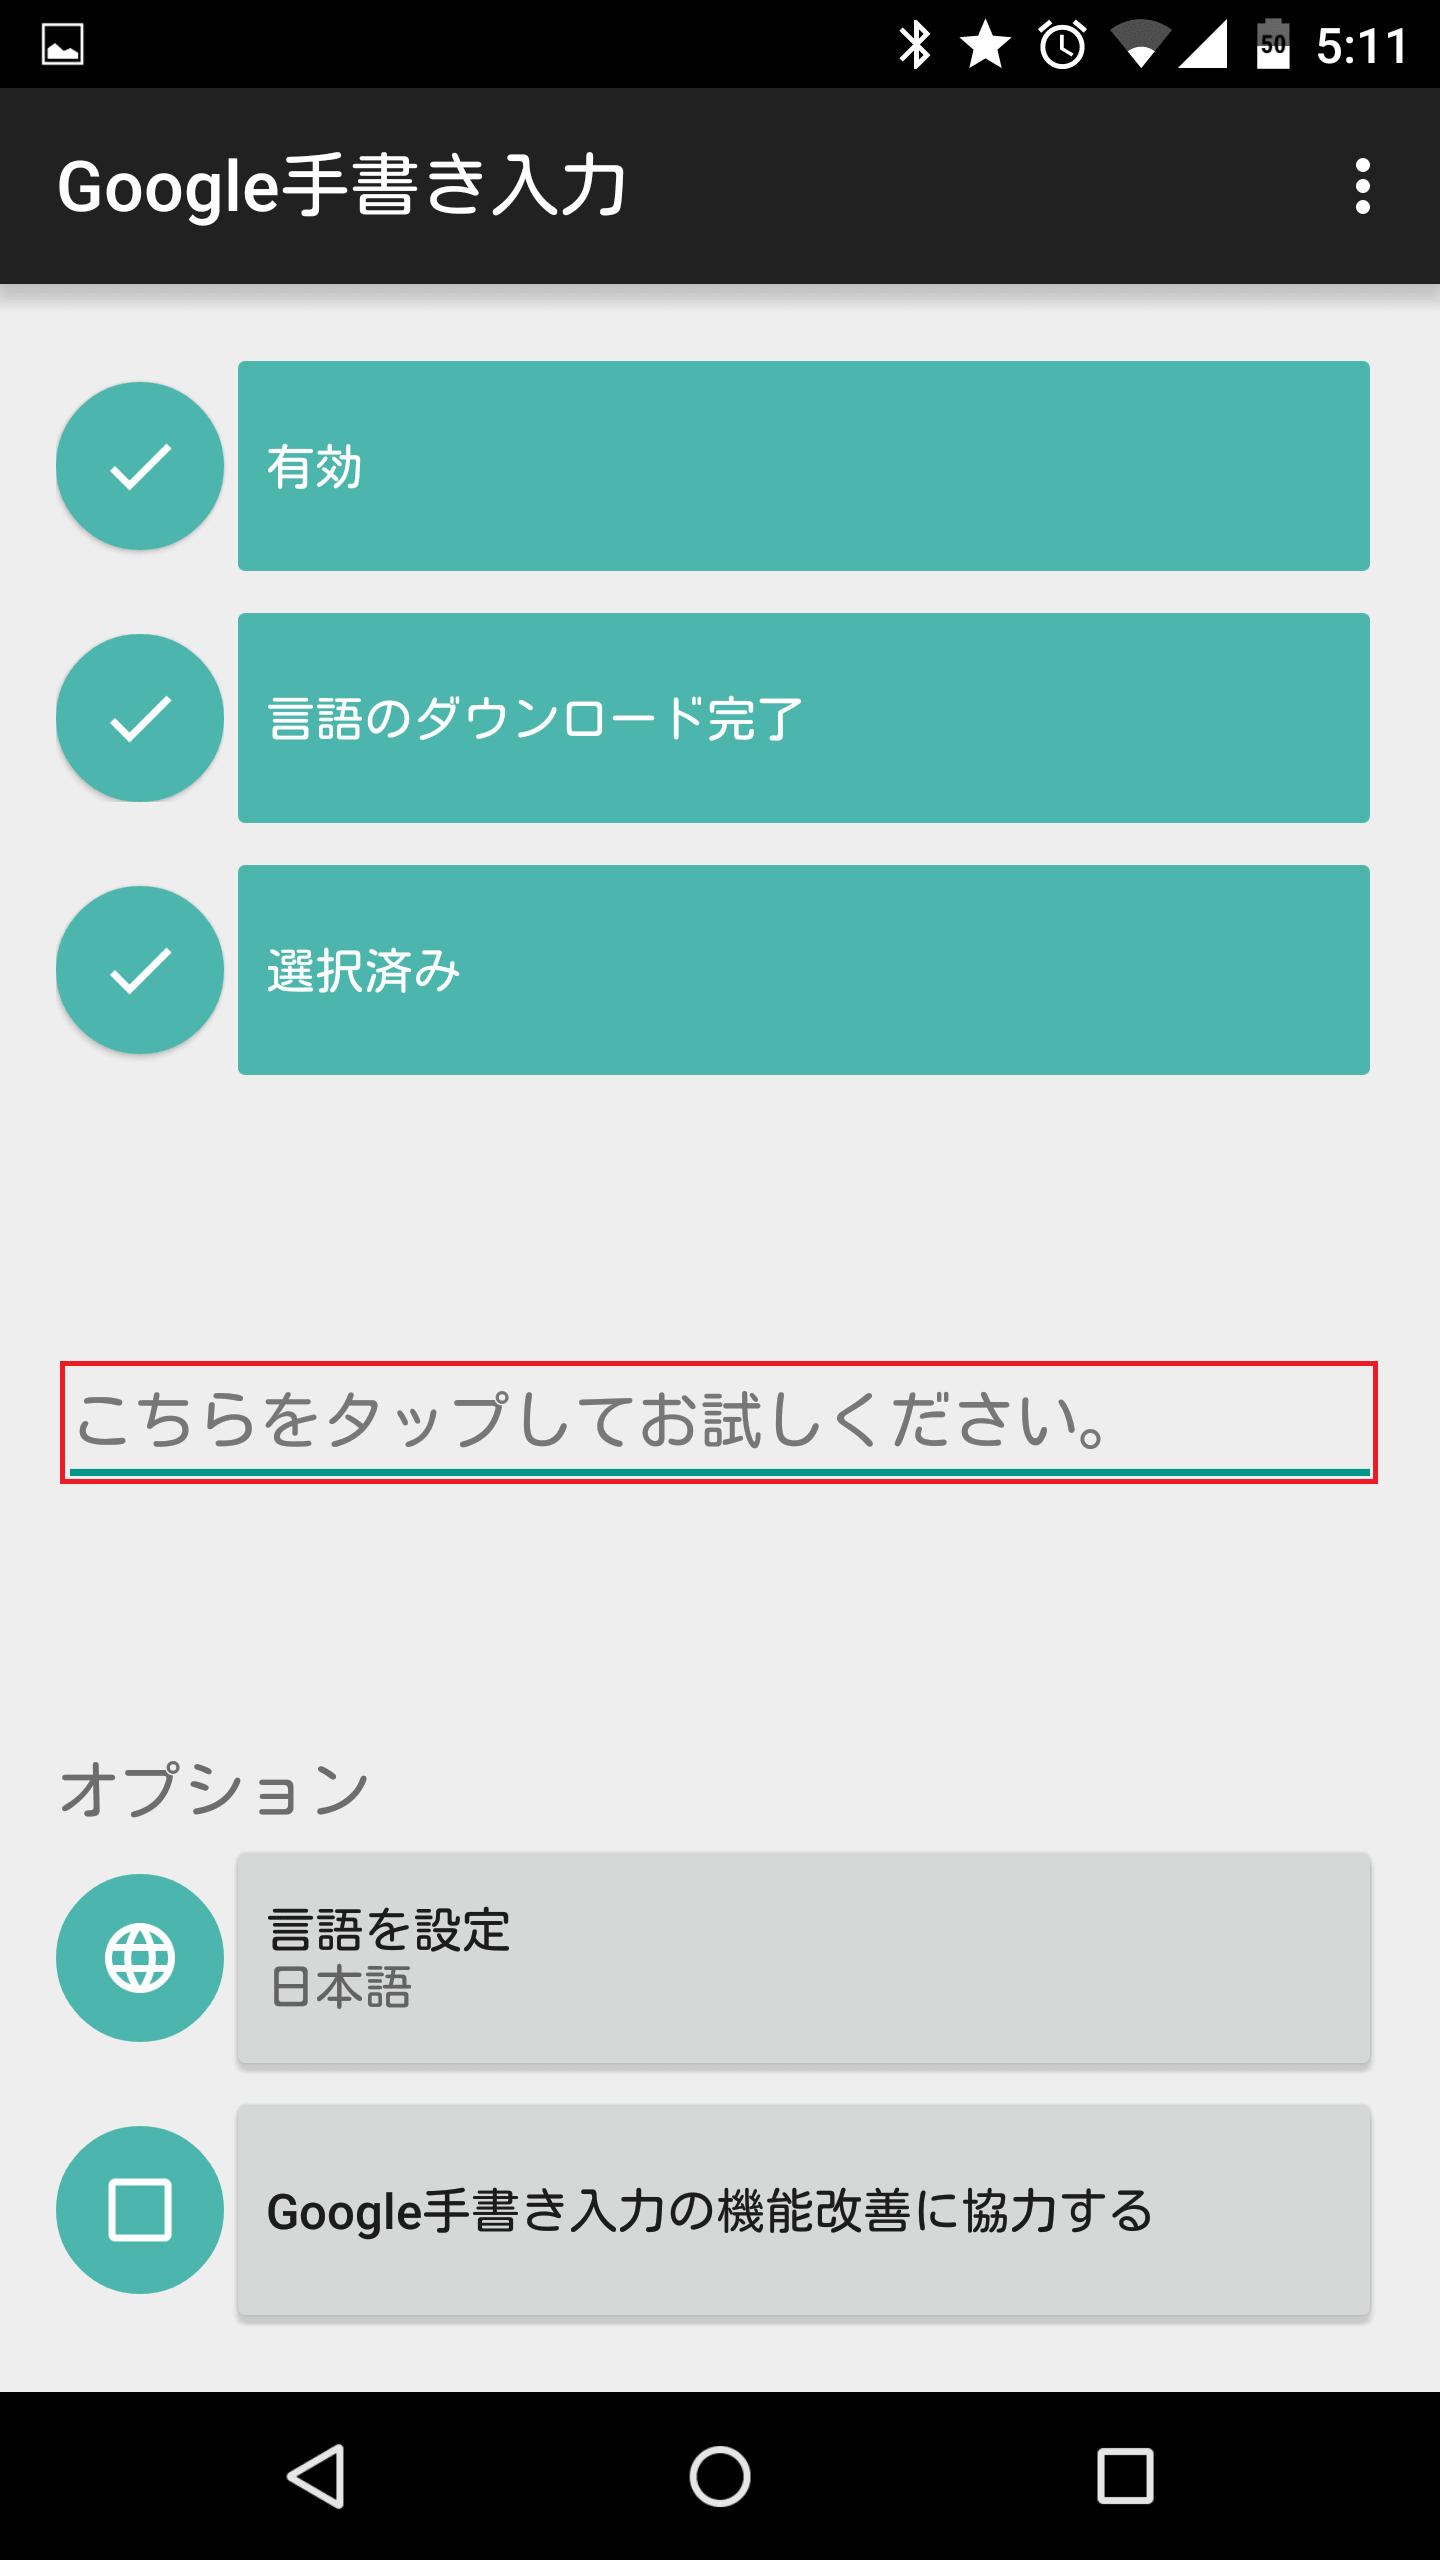
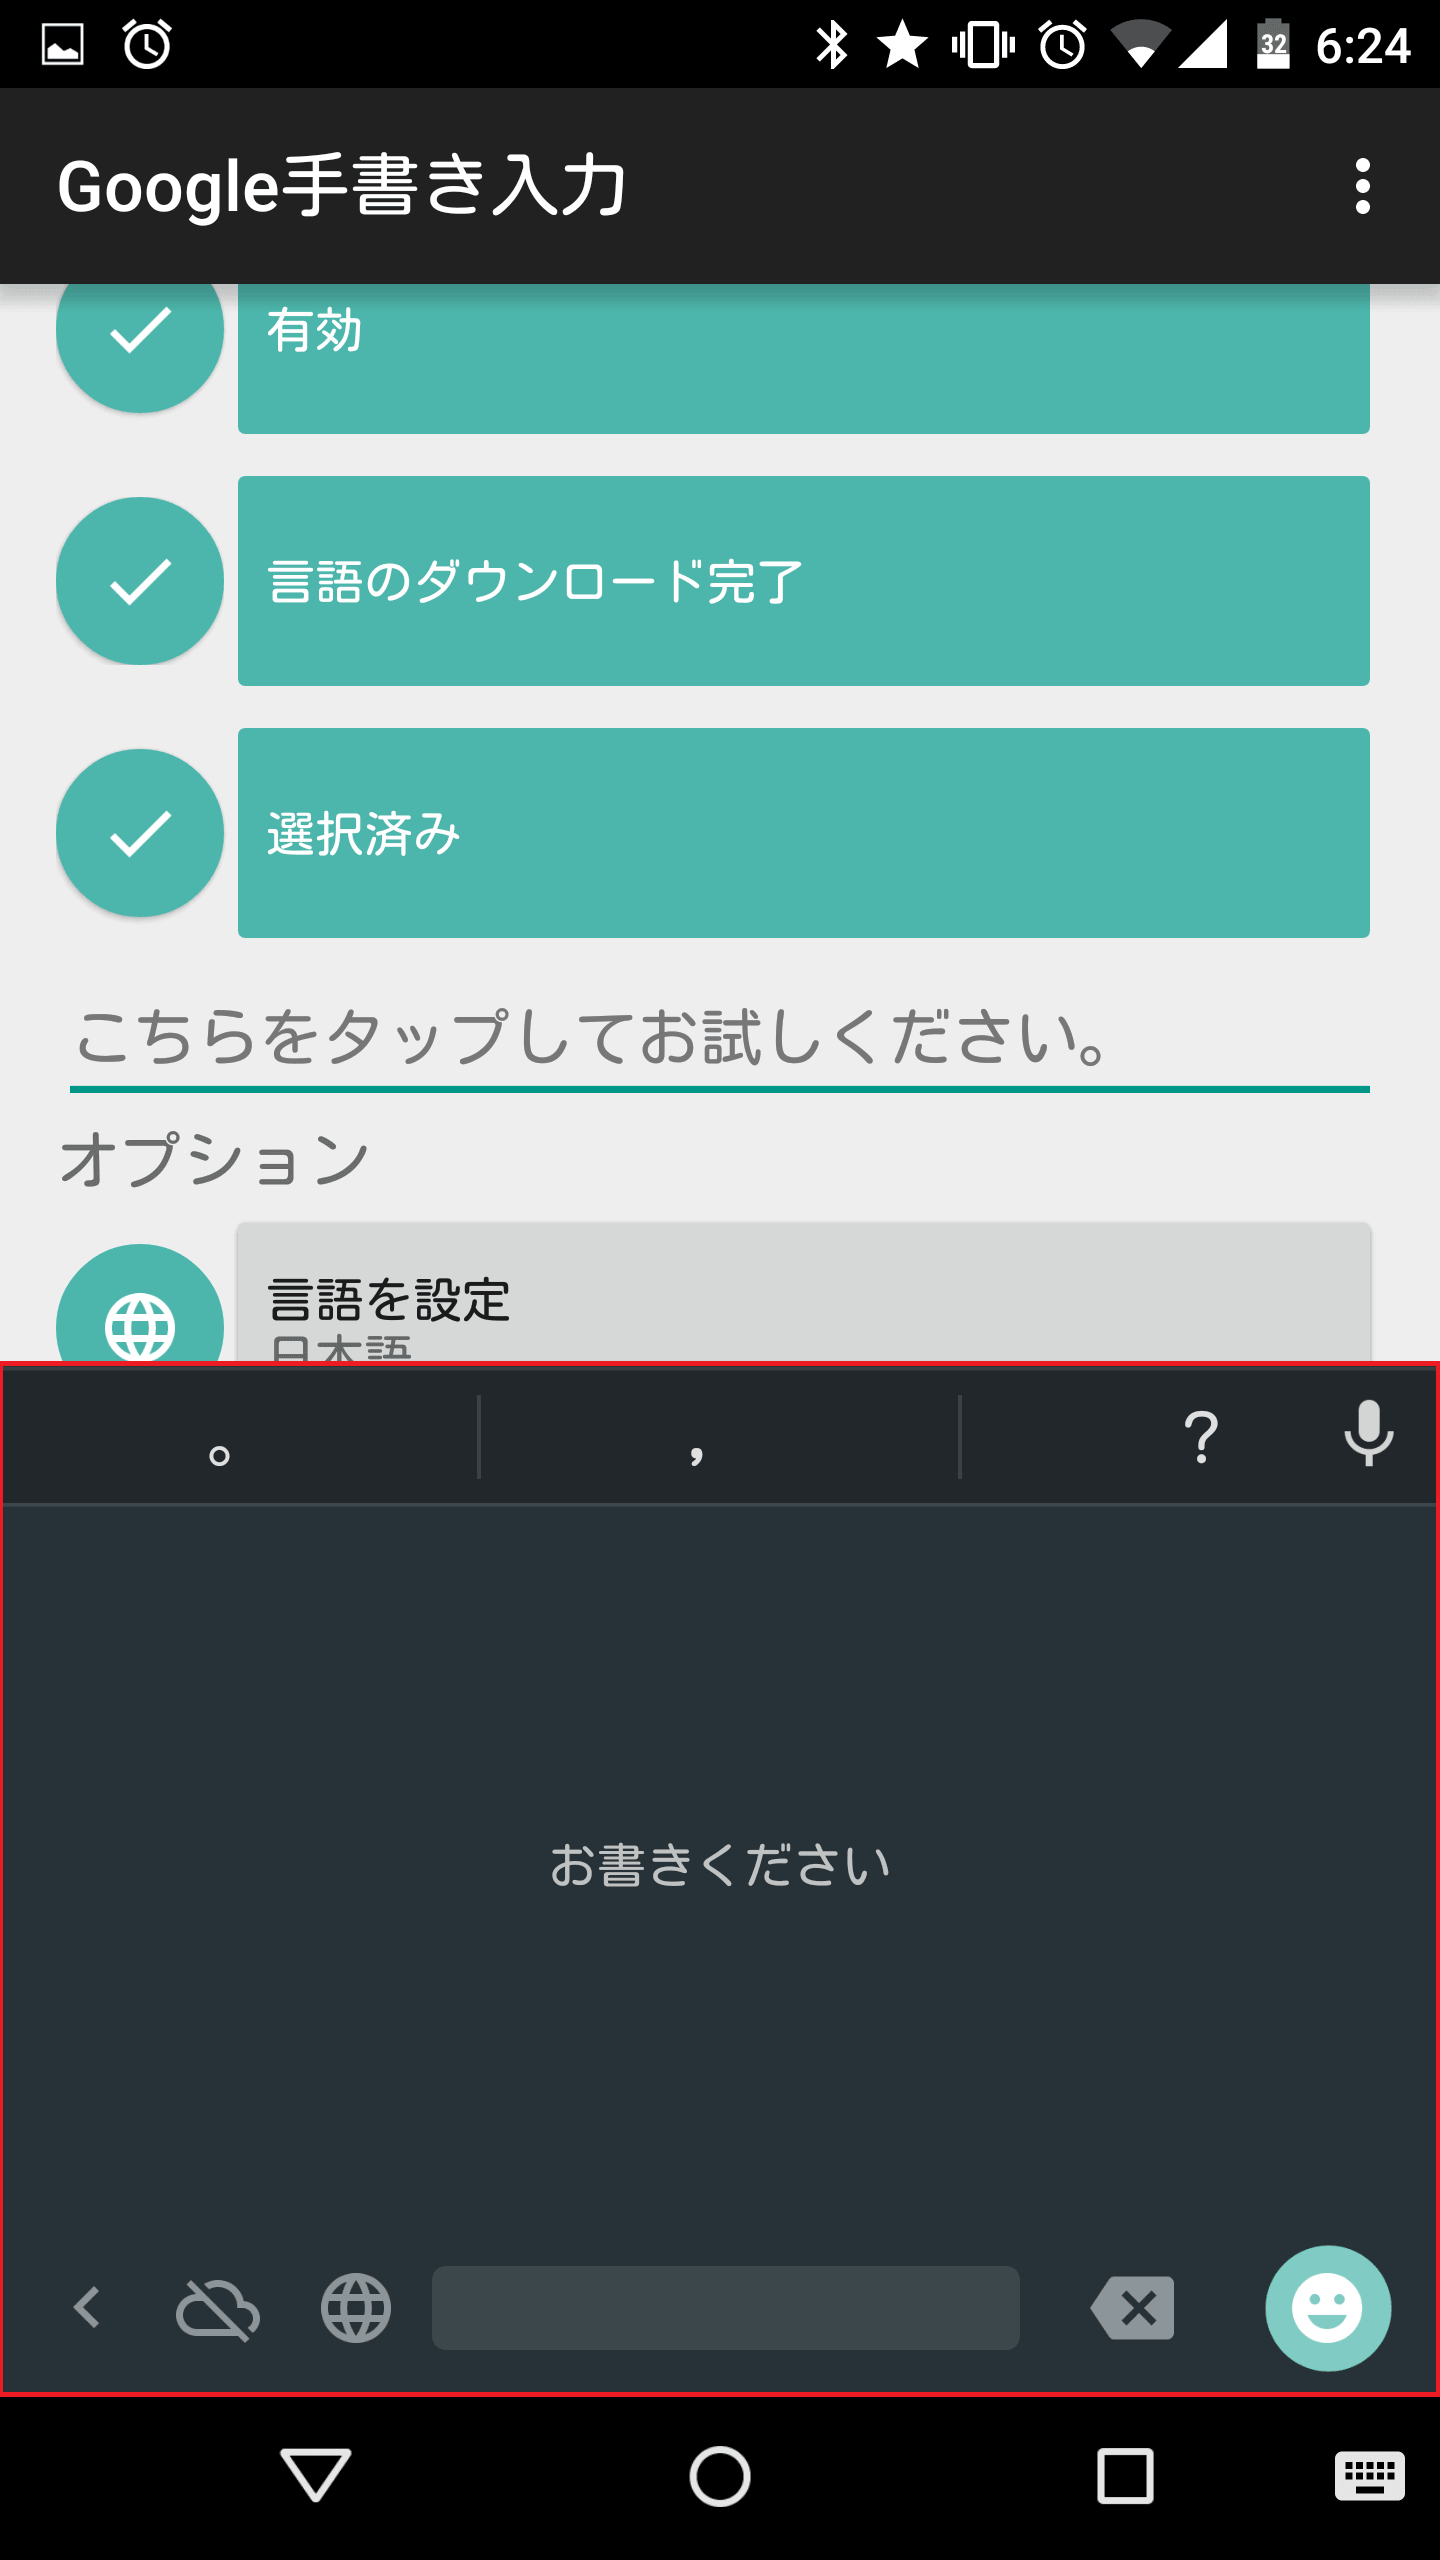
「言語のダウンロード完了」と表示されればOKです。
言語のダウンロード方法は以上です。
入力方法をGoogle手書き入力に切り替える
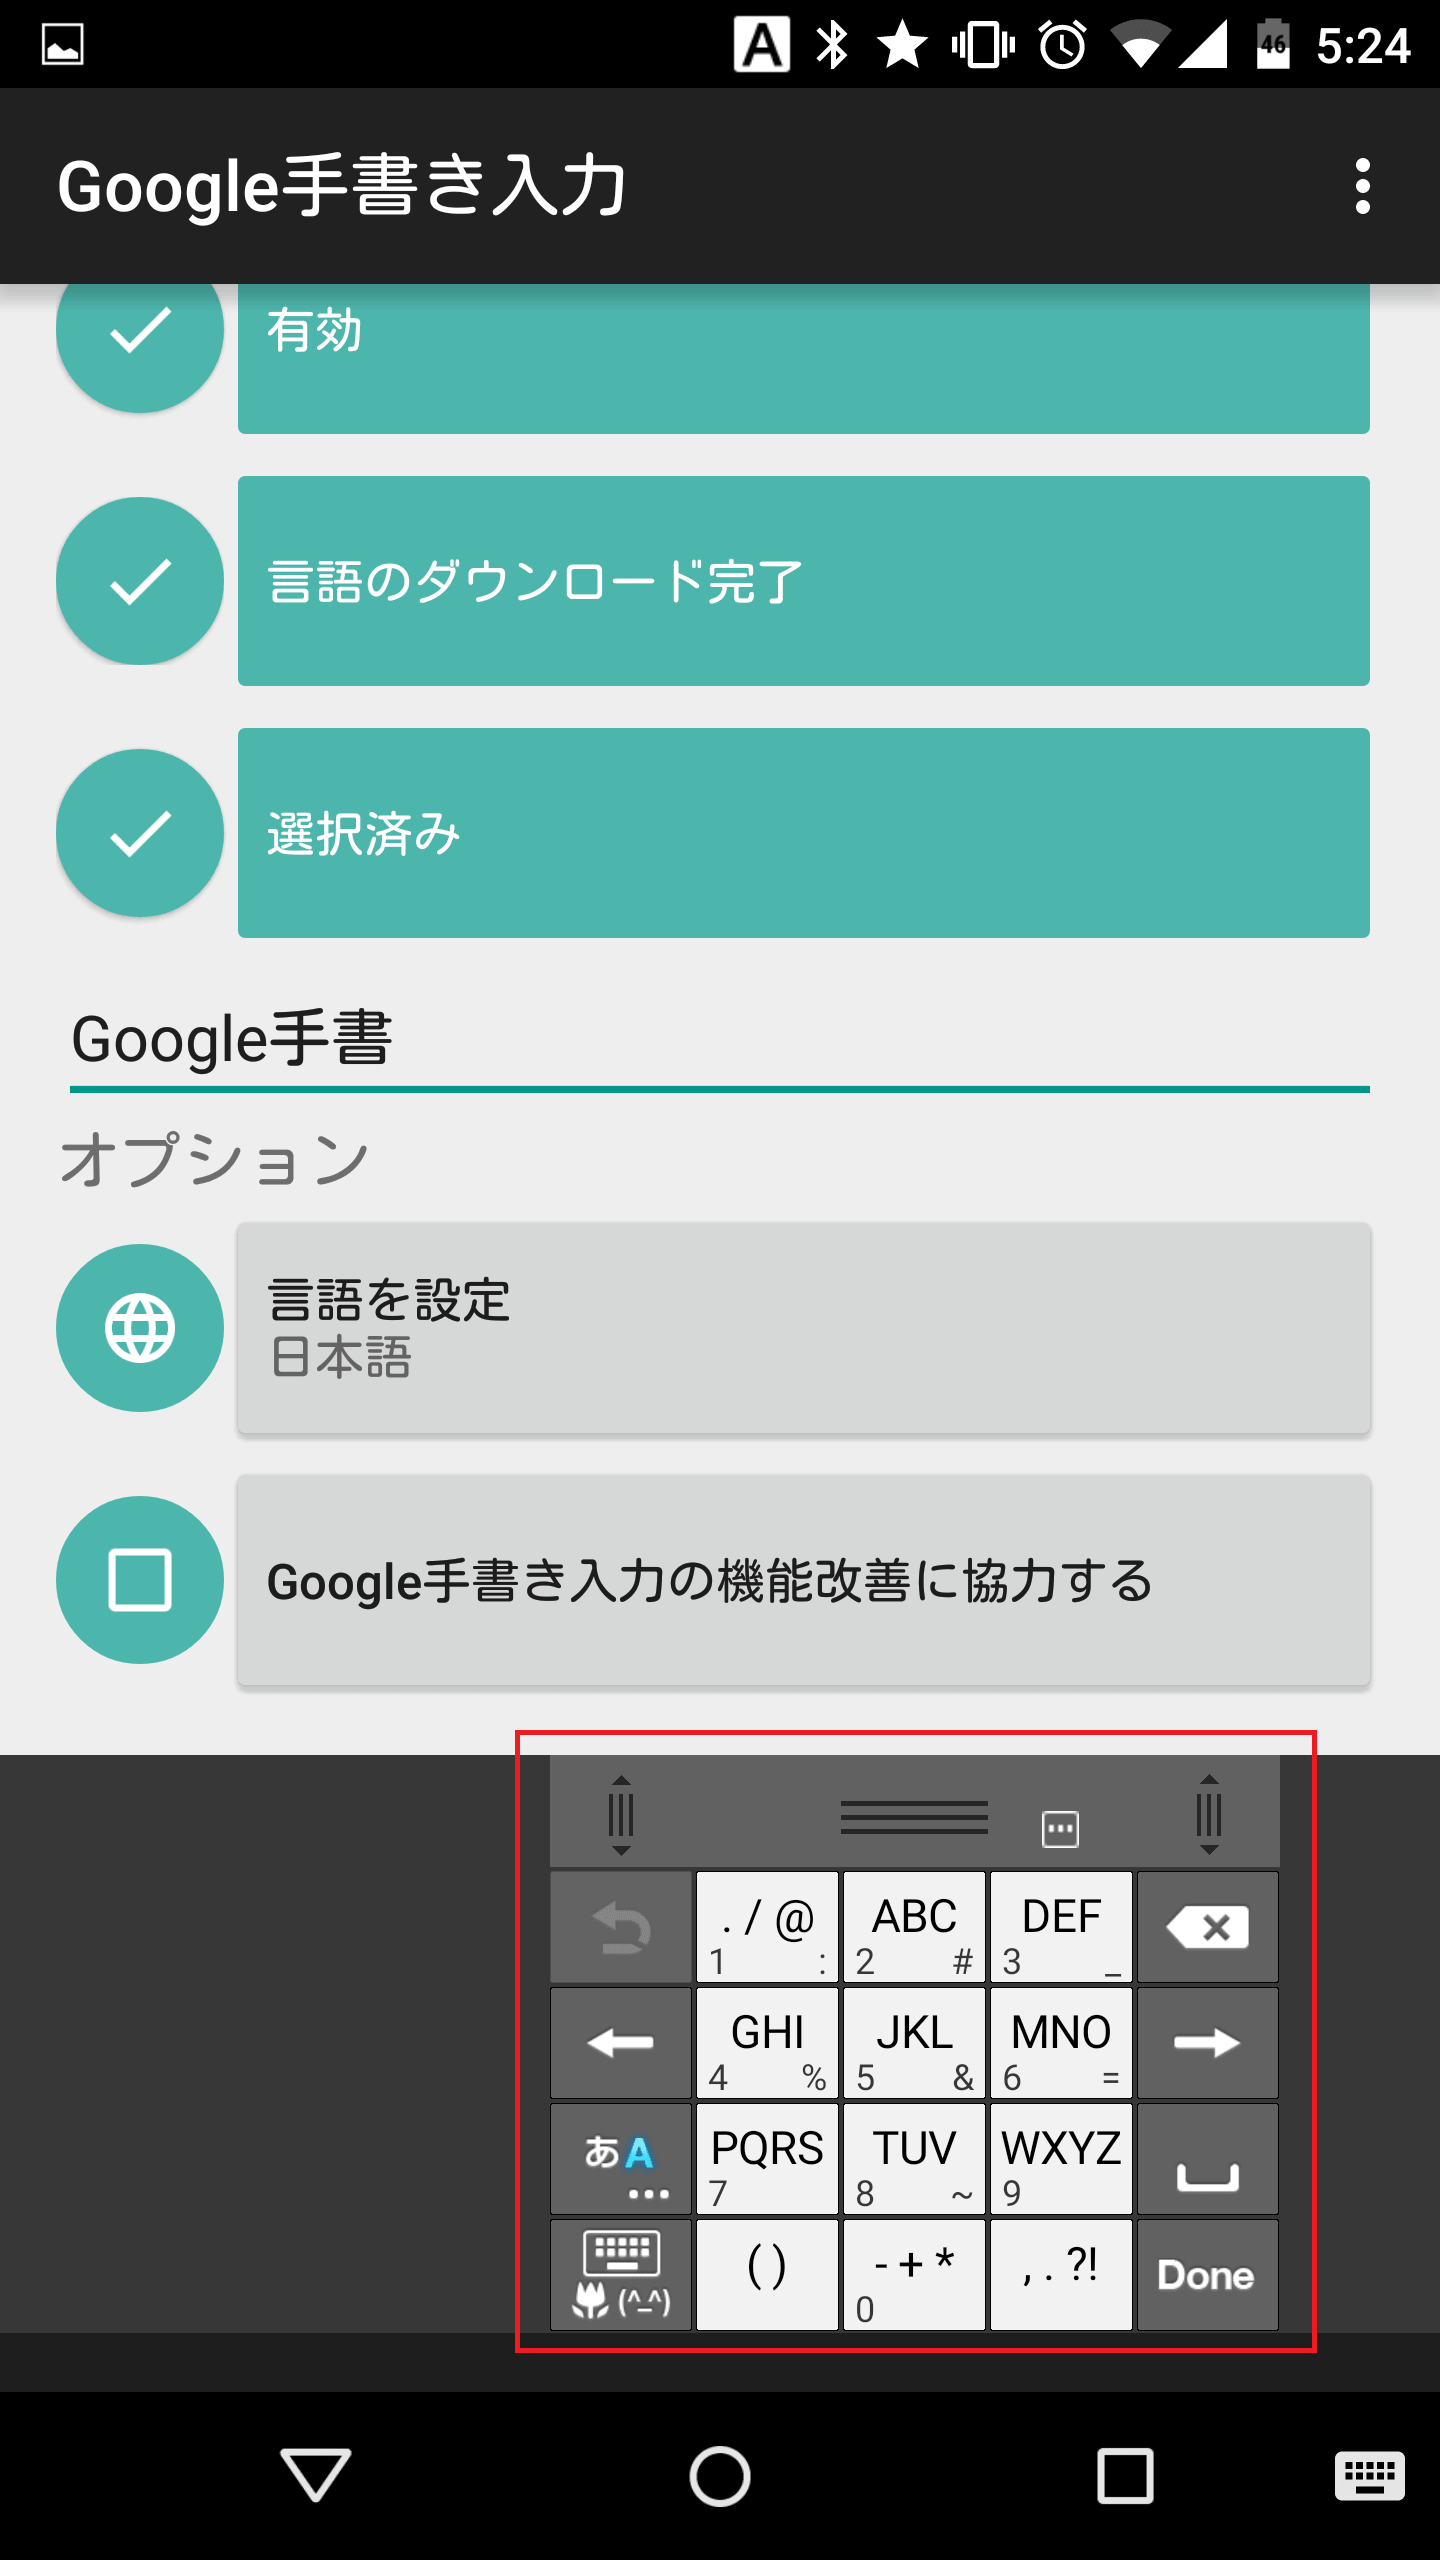
最後に、文字の入力方法をGoogle手書き入力に切り替えて変更します。「Google手書き入力を選択する」をタップします。
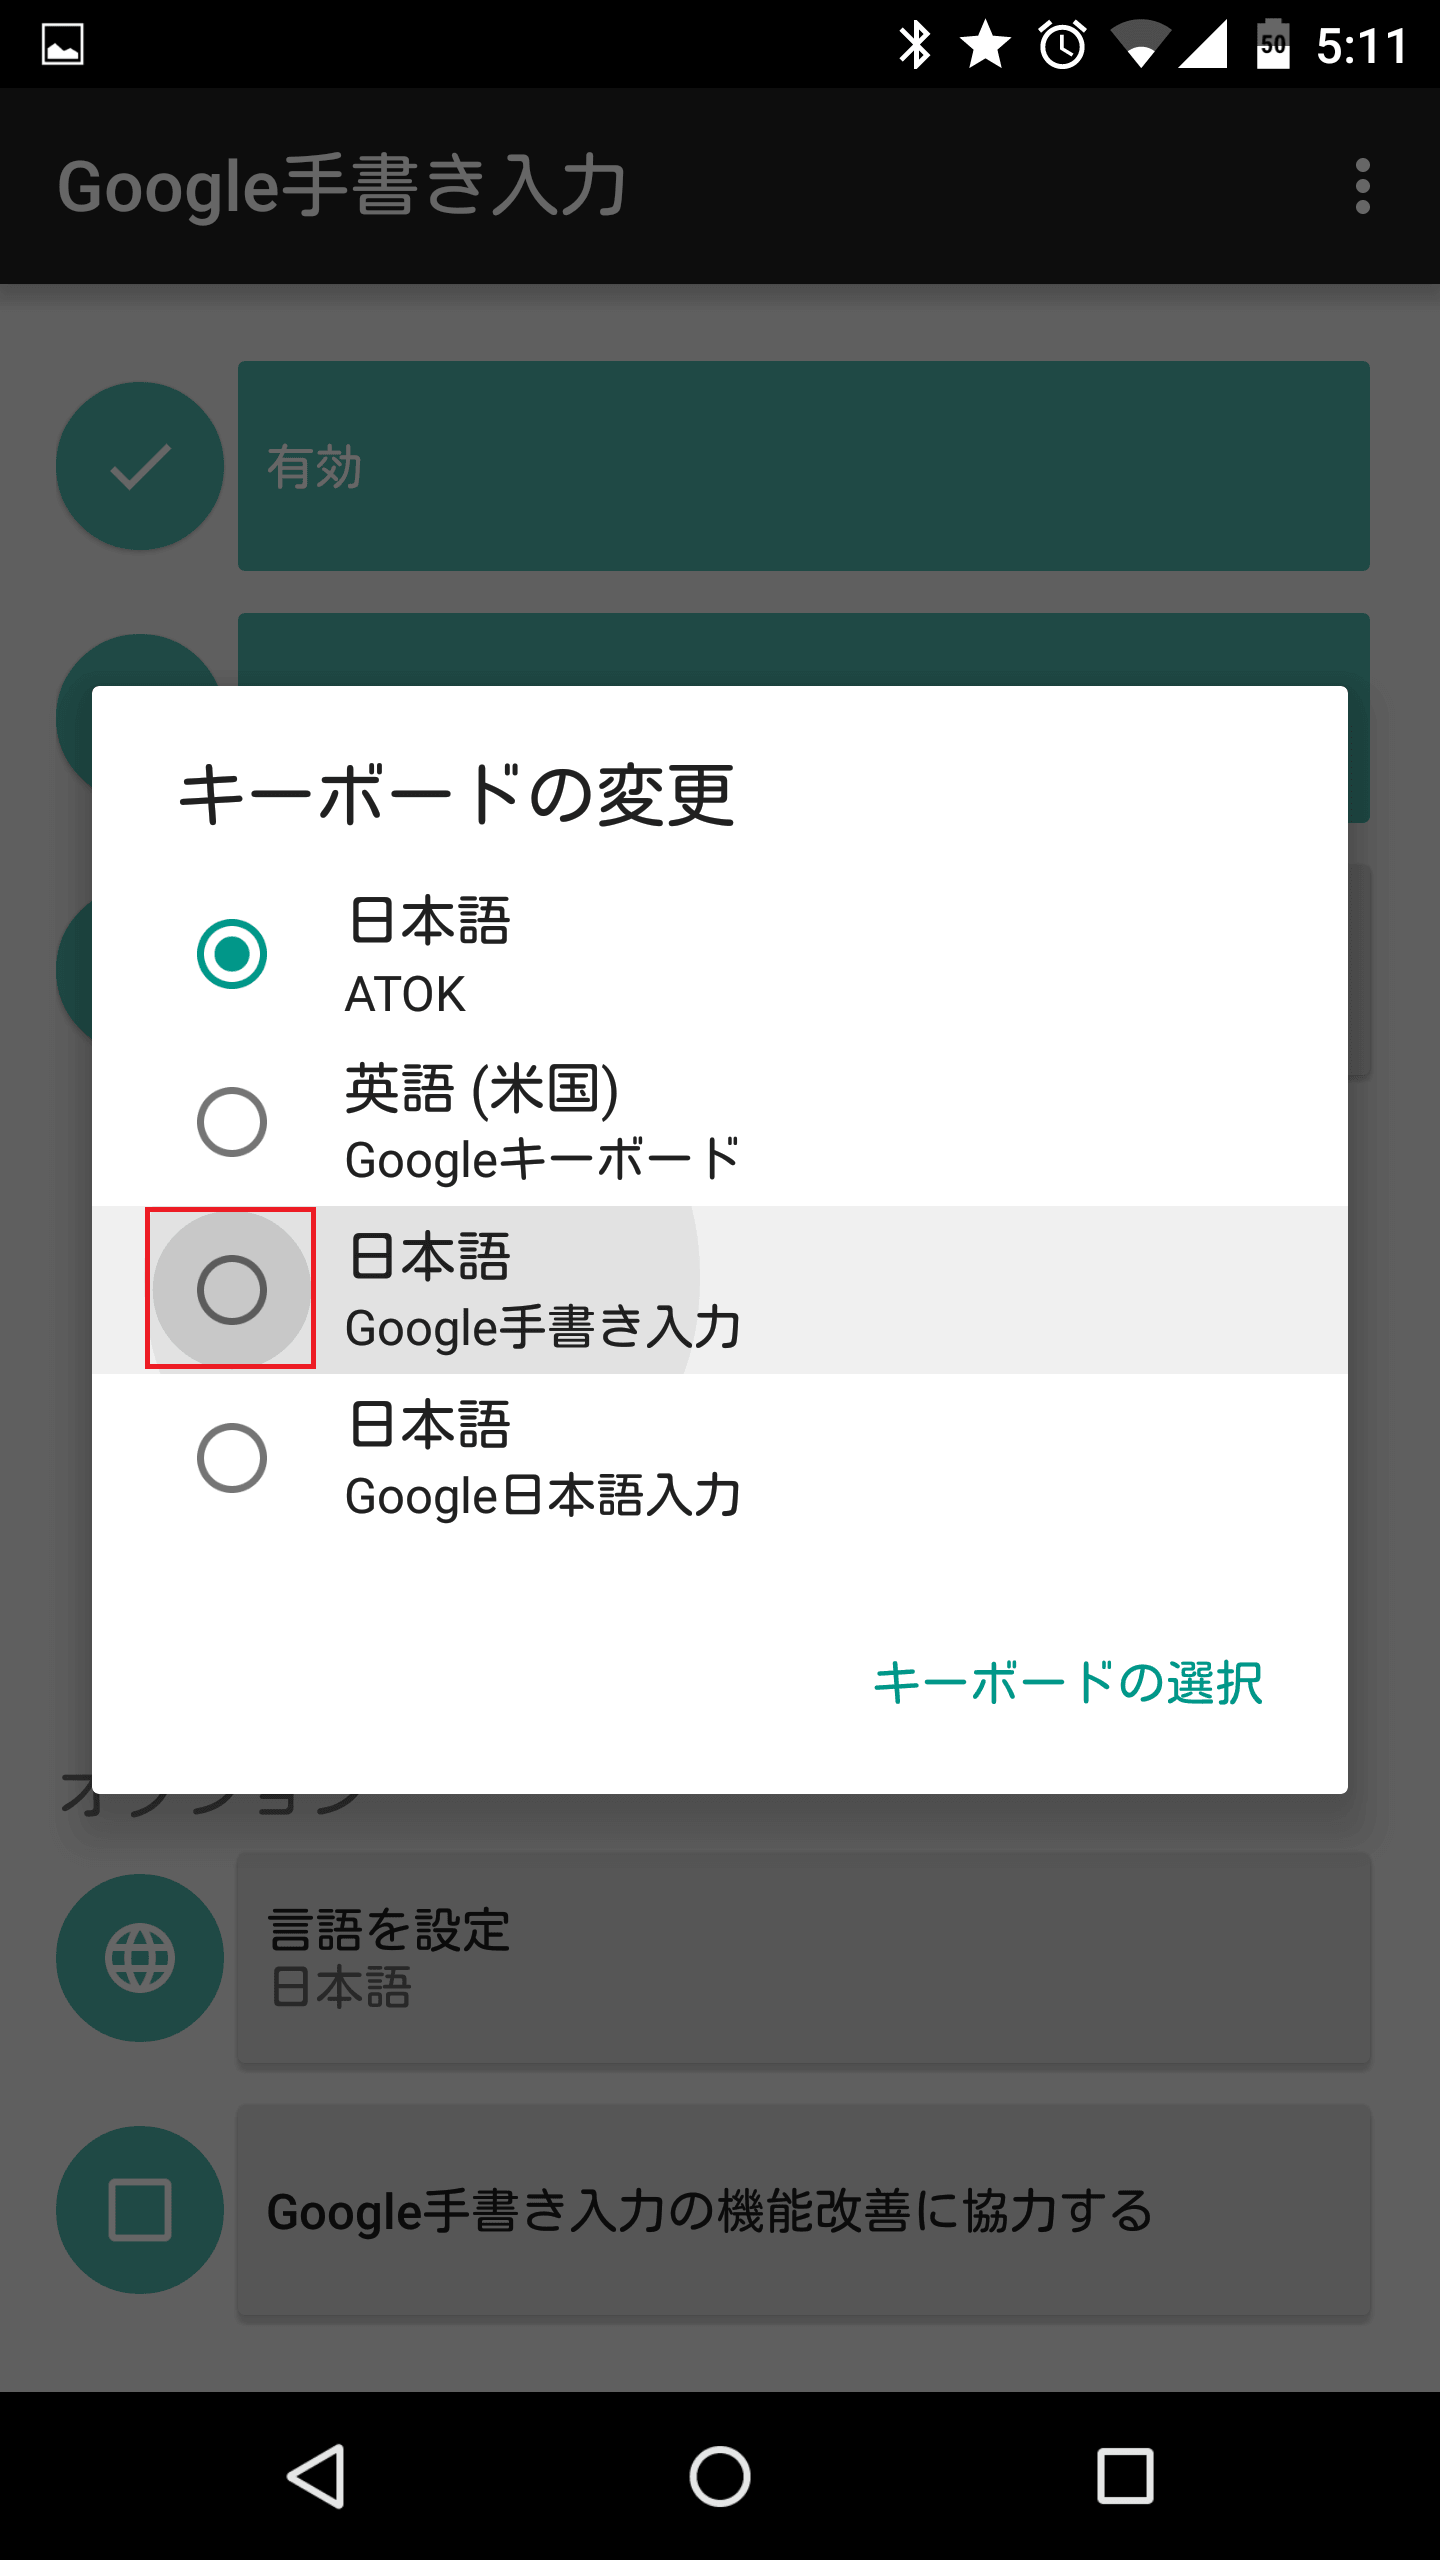
「Google手書き入力」をタップしてチェックを入れます。
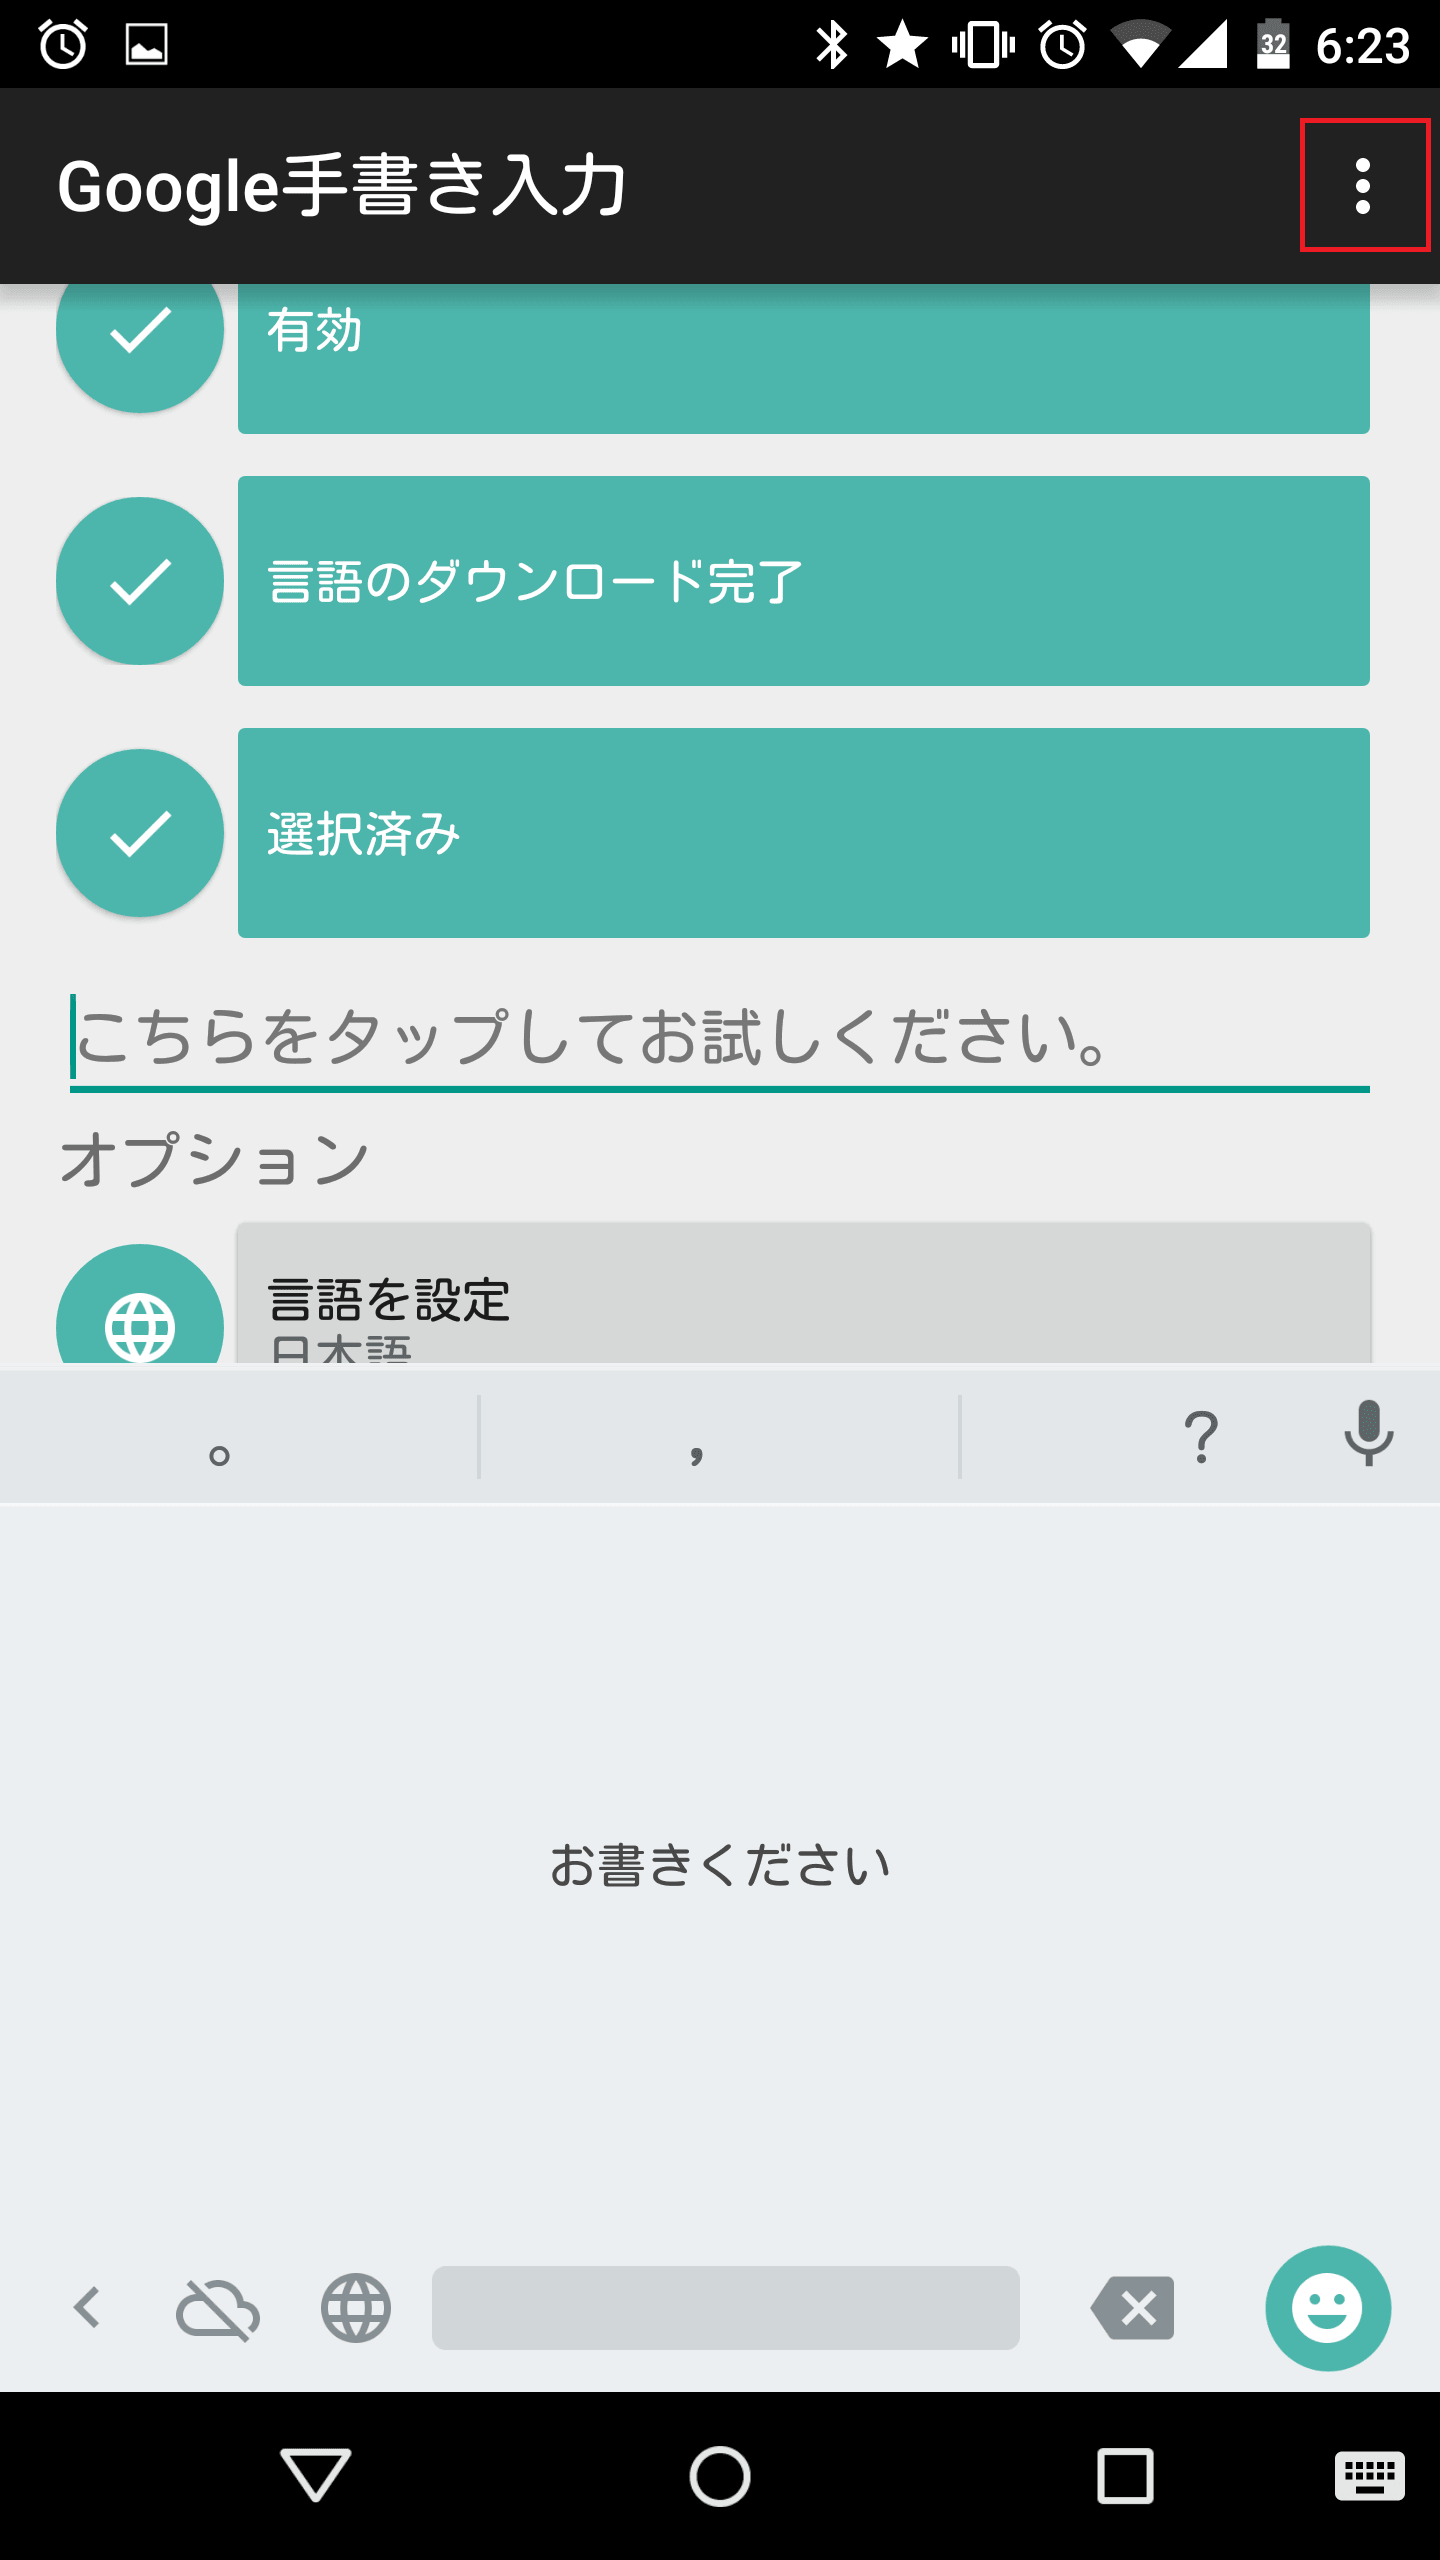
「こちらをタップしてお試しください。」の部分をタップします。
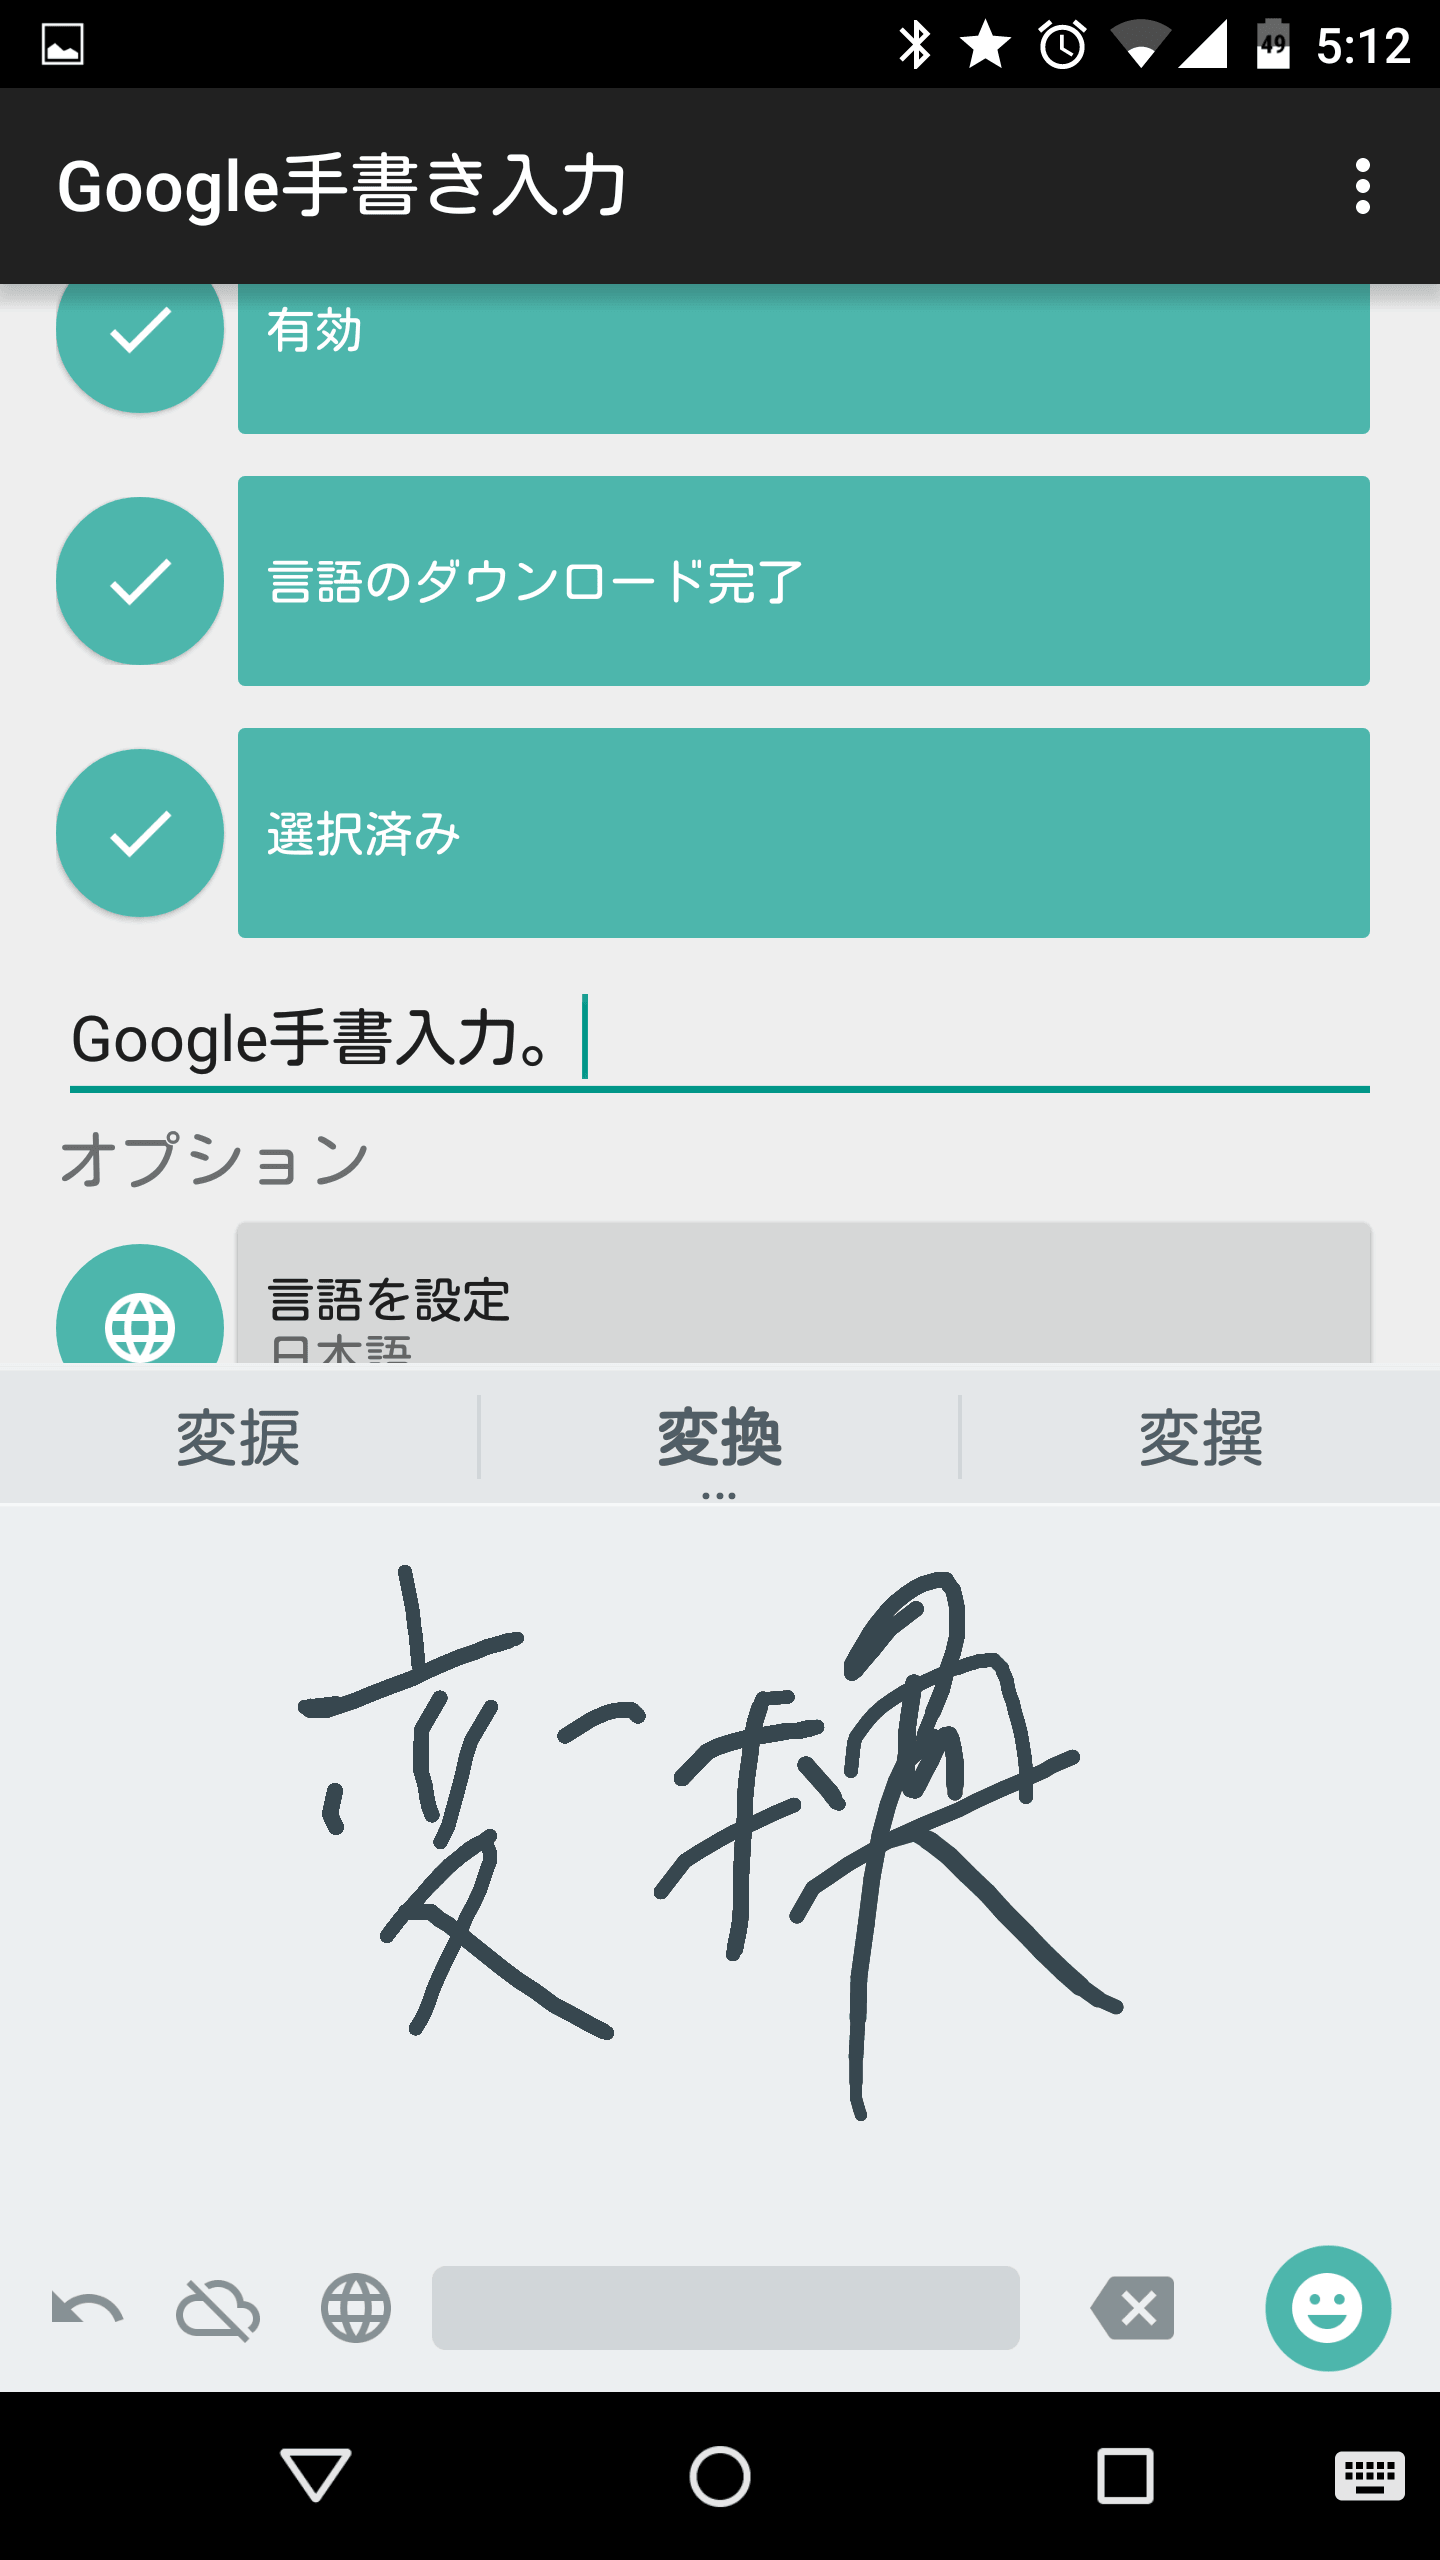
Google手書き入力で文字の入力ができるようになりました。
Google手書き入力を使うための設定は以上で完了です。
Google手書き入力の使い方
ここからは、Google手書き入力の使い方を説明していきます。文字を手書きでディスプレイに書く
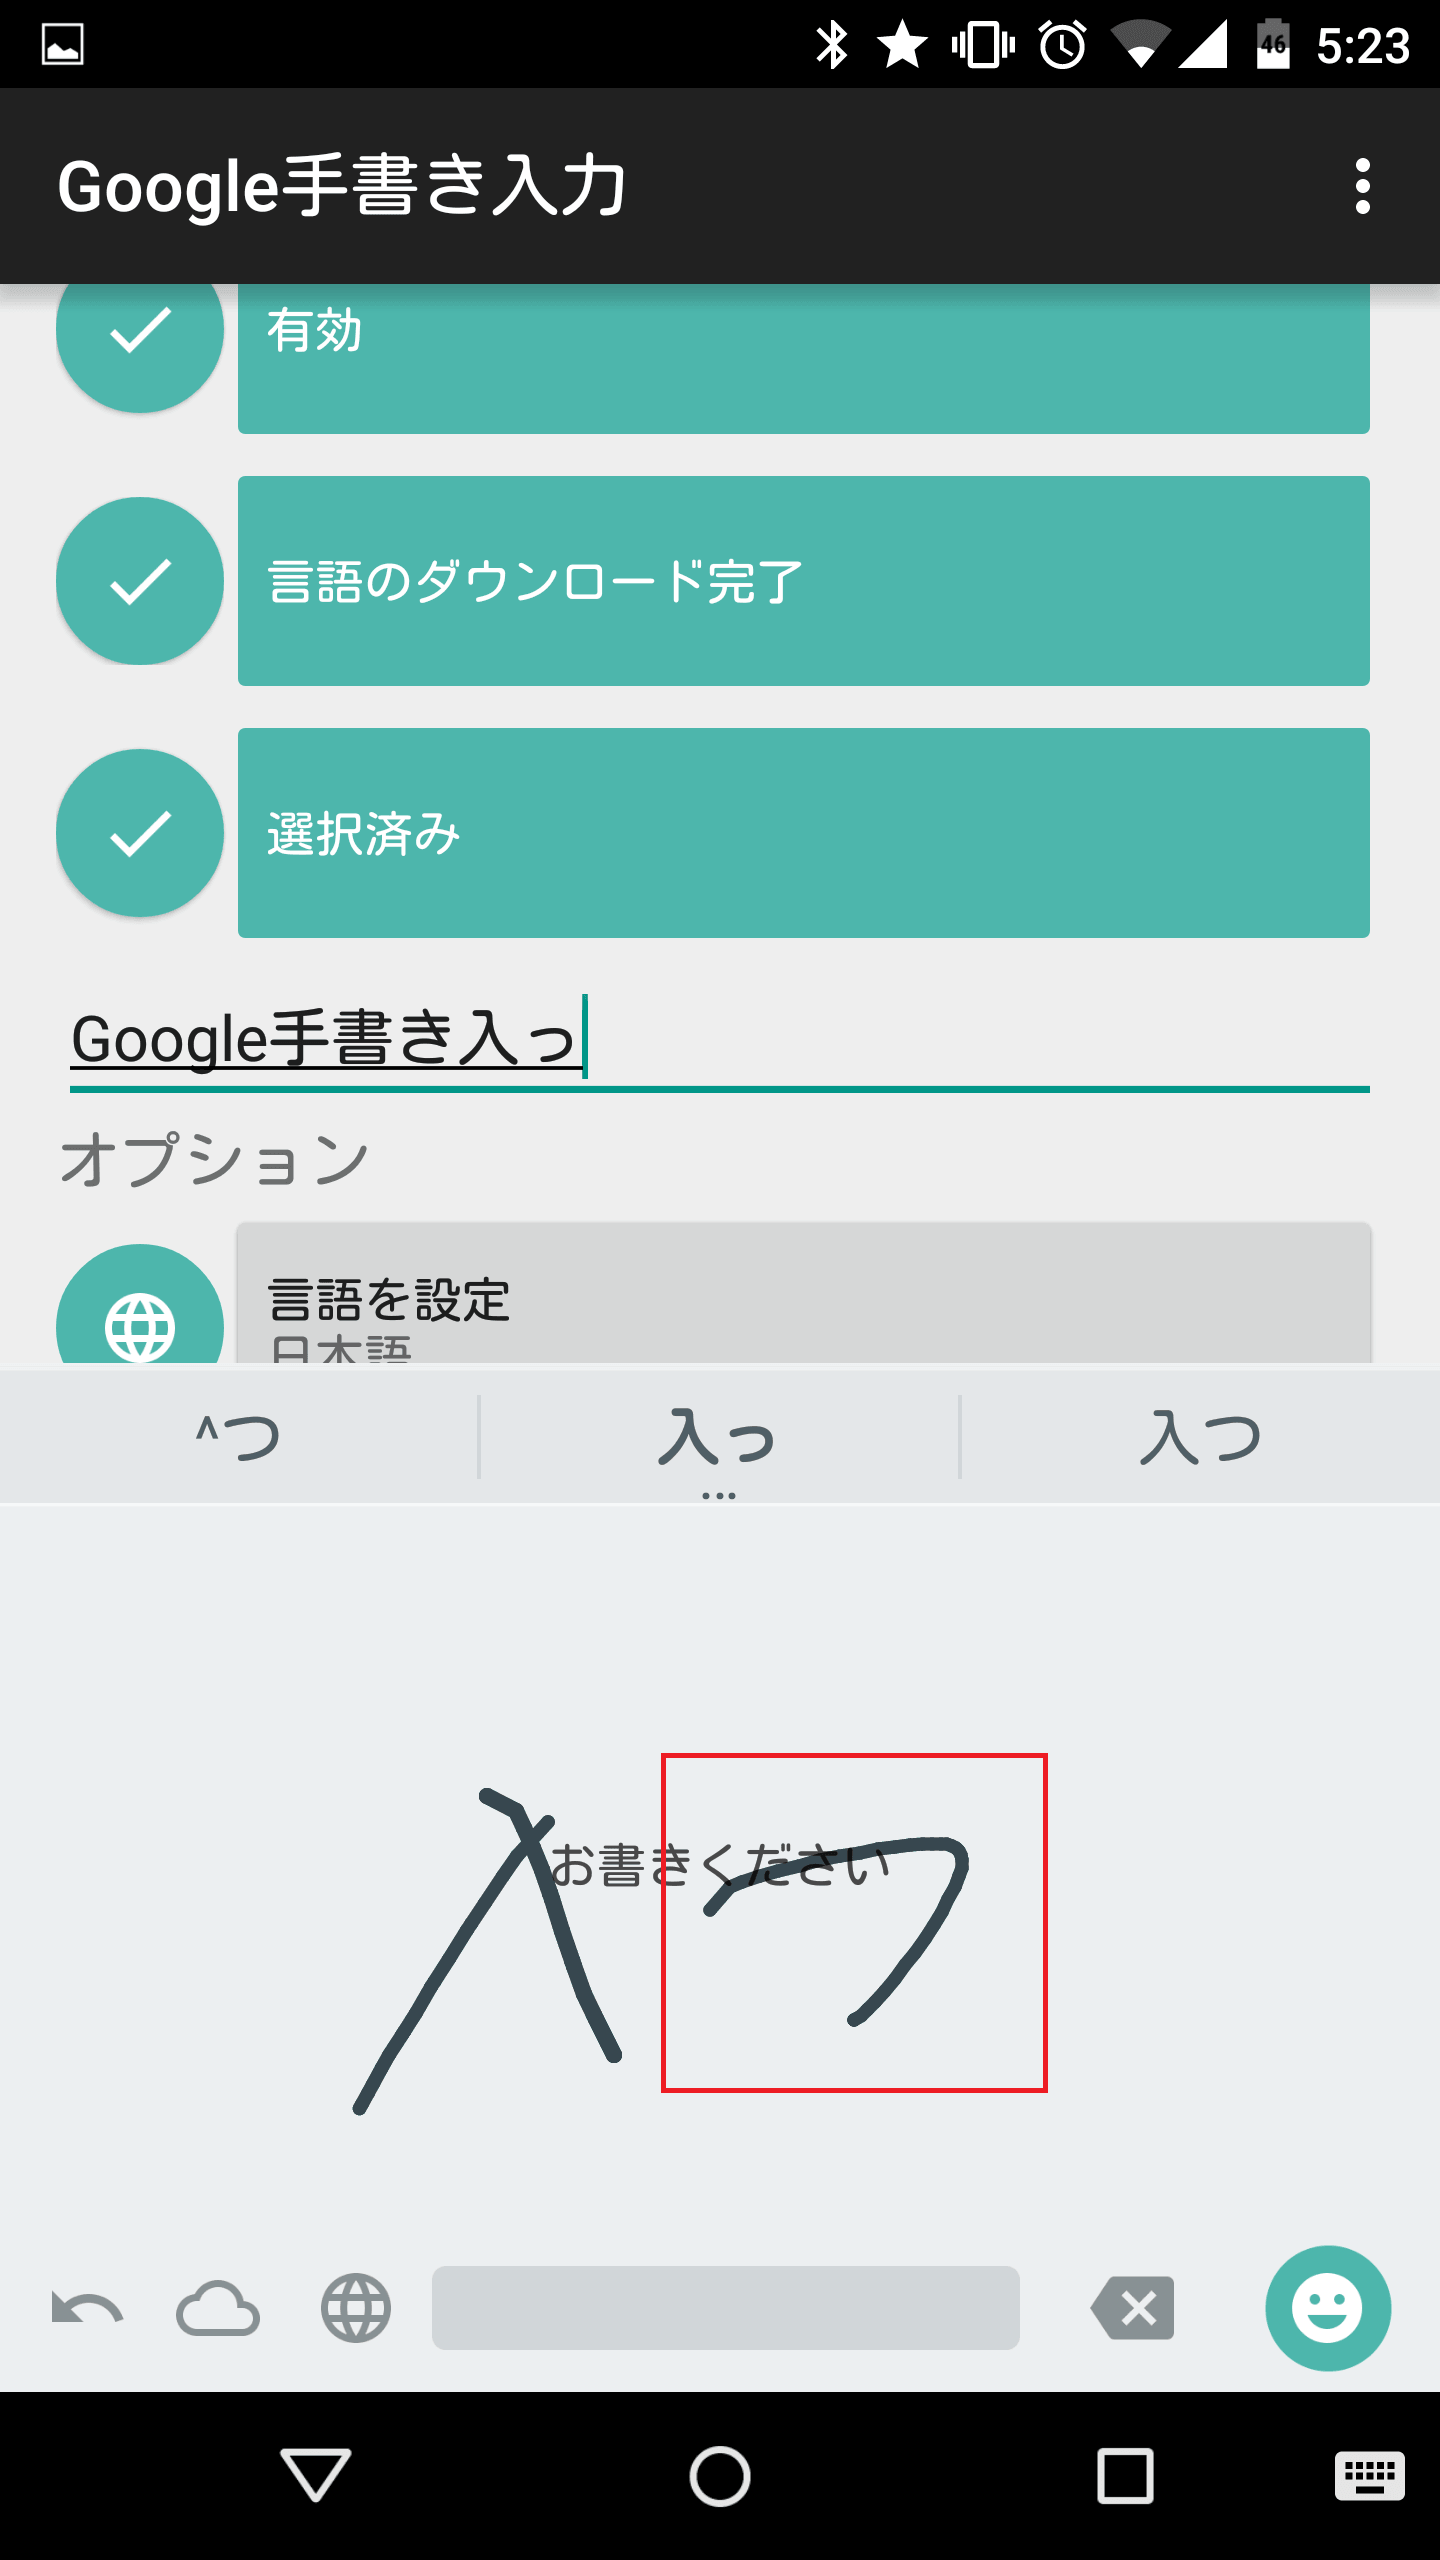
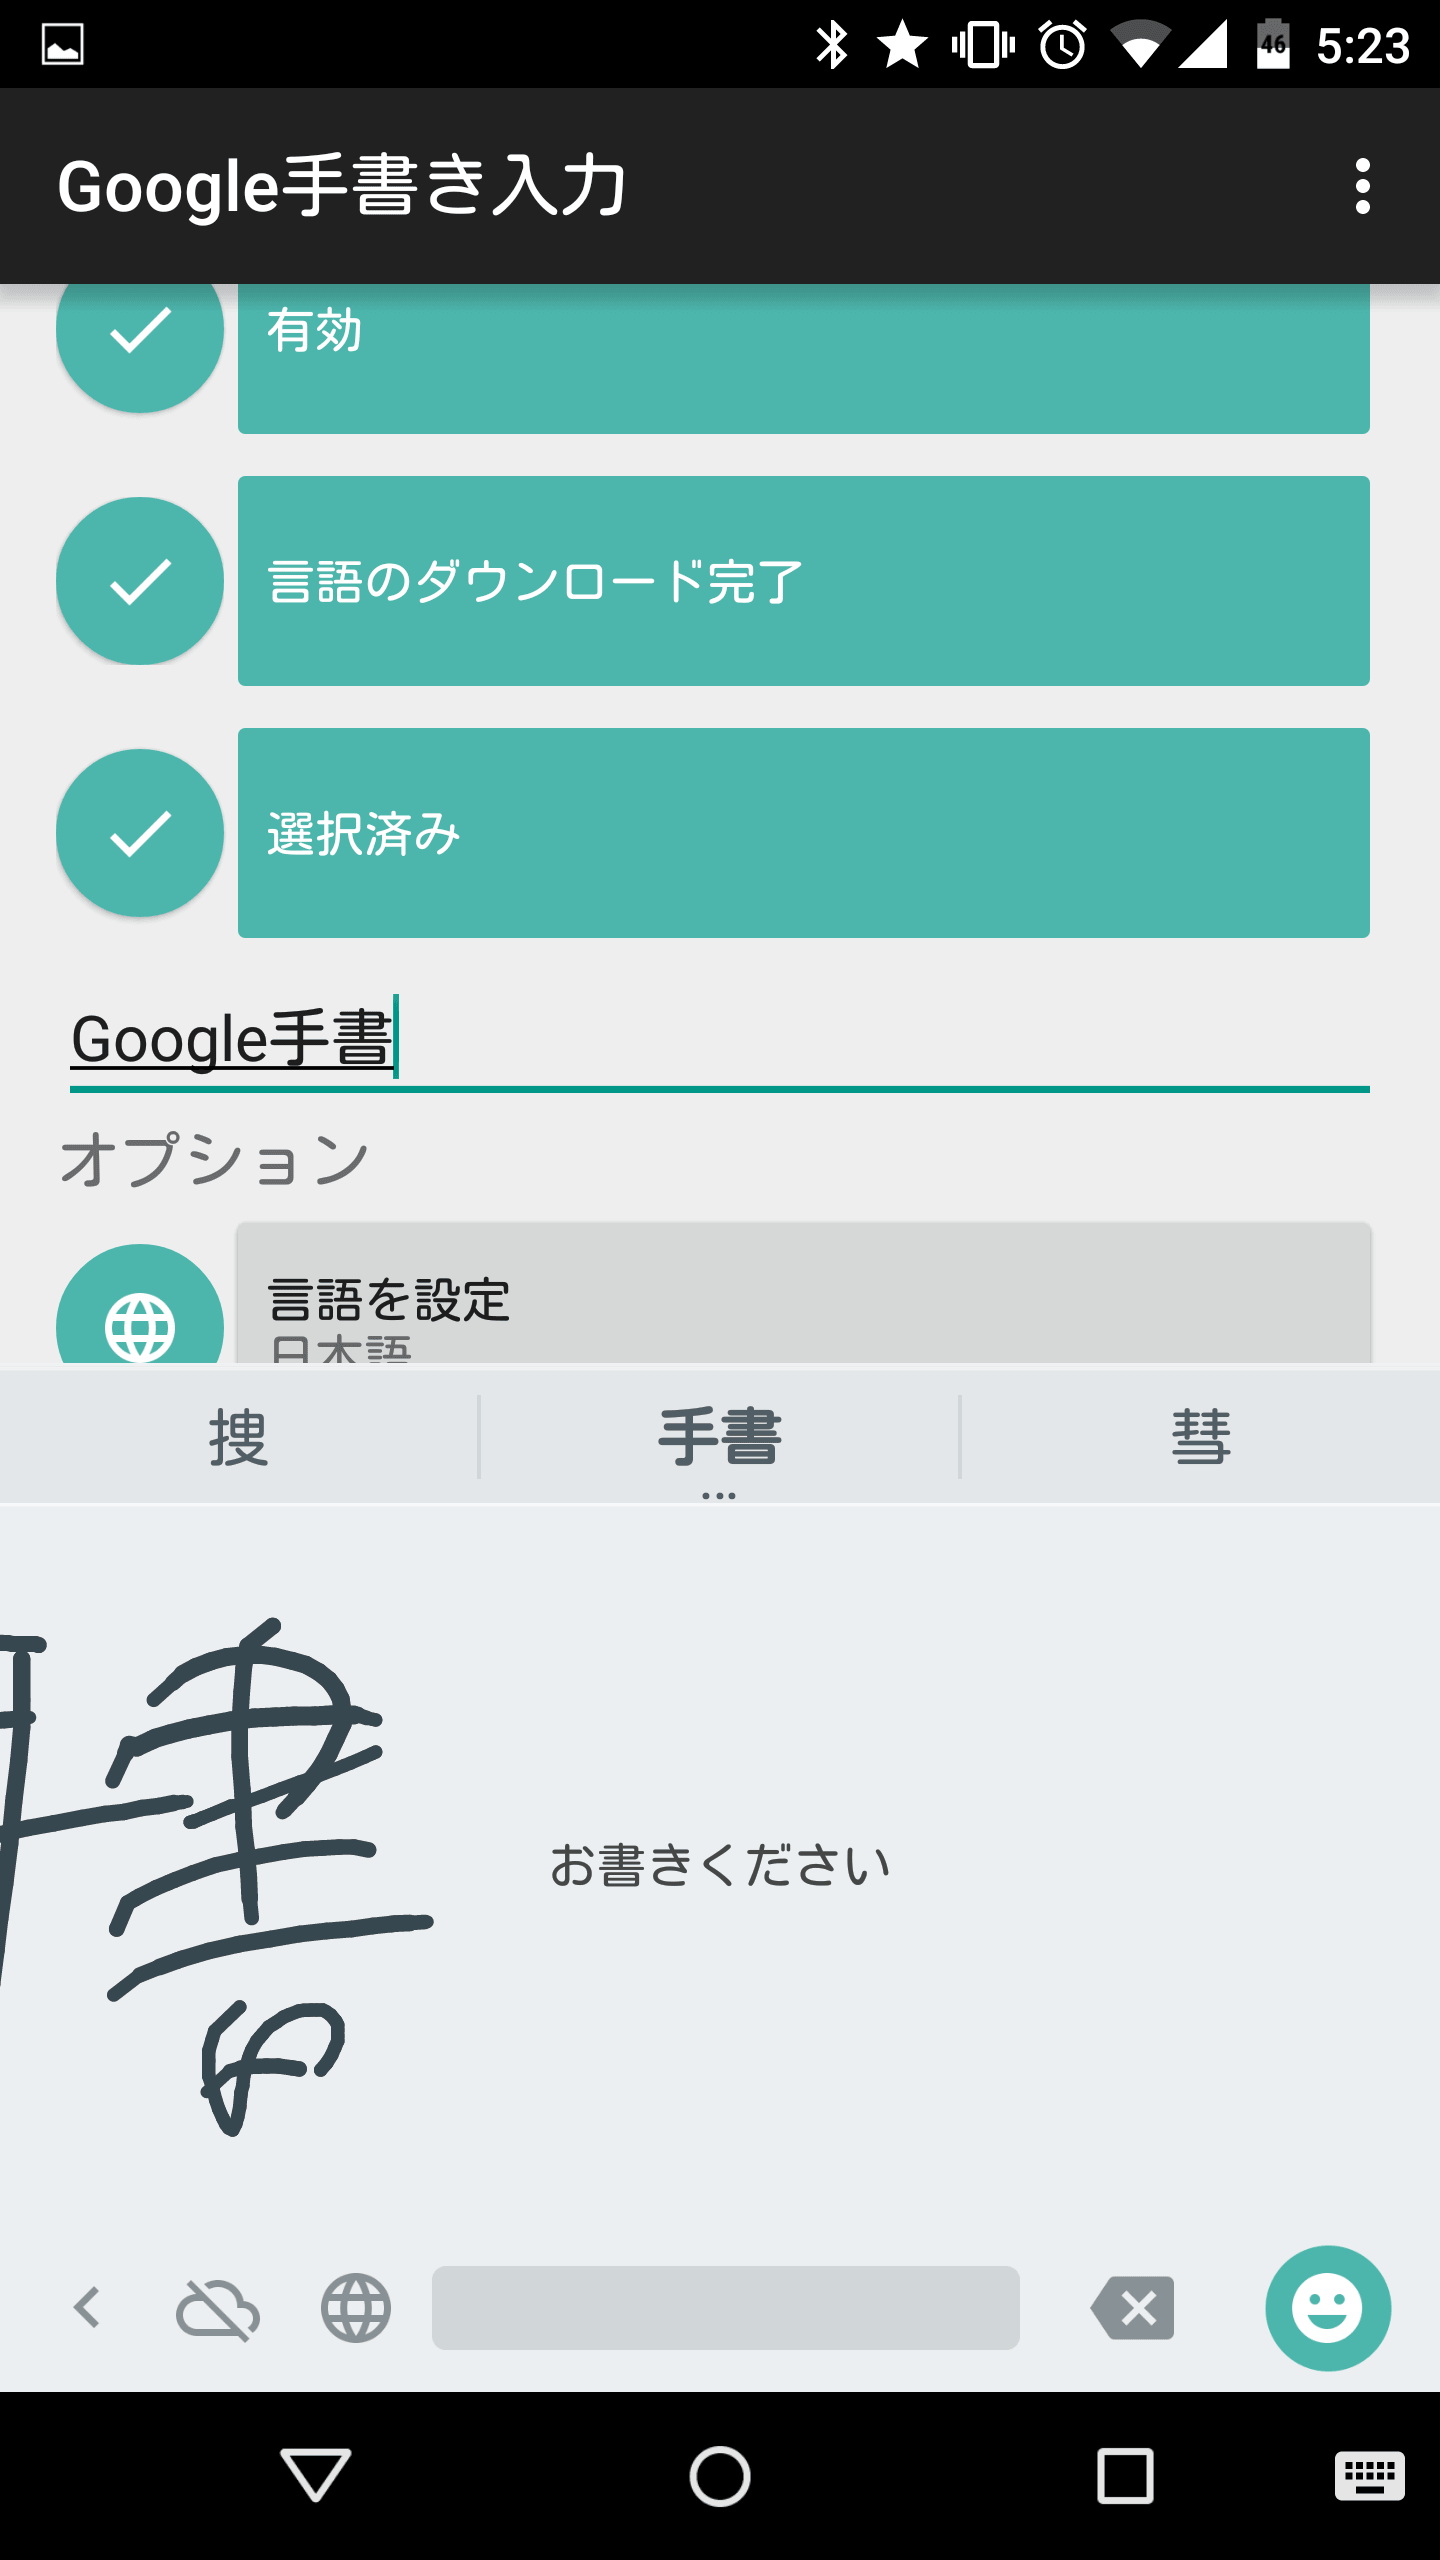
Google手書き入力の使い方は簡単で、自分が入力したい文字をディスプレイに書くだけです。それだけでGoogle日本語入力がテキストに変換してくれます。アルファベットだけでなく、漢字もかなり高い精度で変換してくれます。また、変換候補も表示されるので、もし自分が意図しない言葉に変換されたときも変換候補から選択することでほとんどが解決するはずです。

句読点は、「。」と書くとアルファベットの「o」、数字の「0」などと一緒に表示されます。

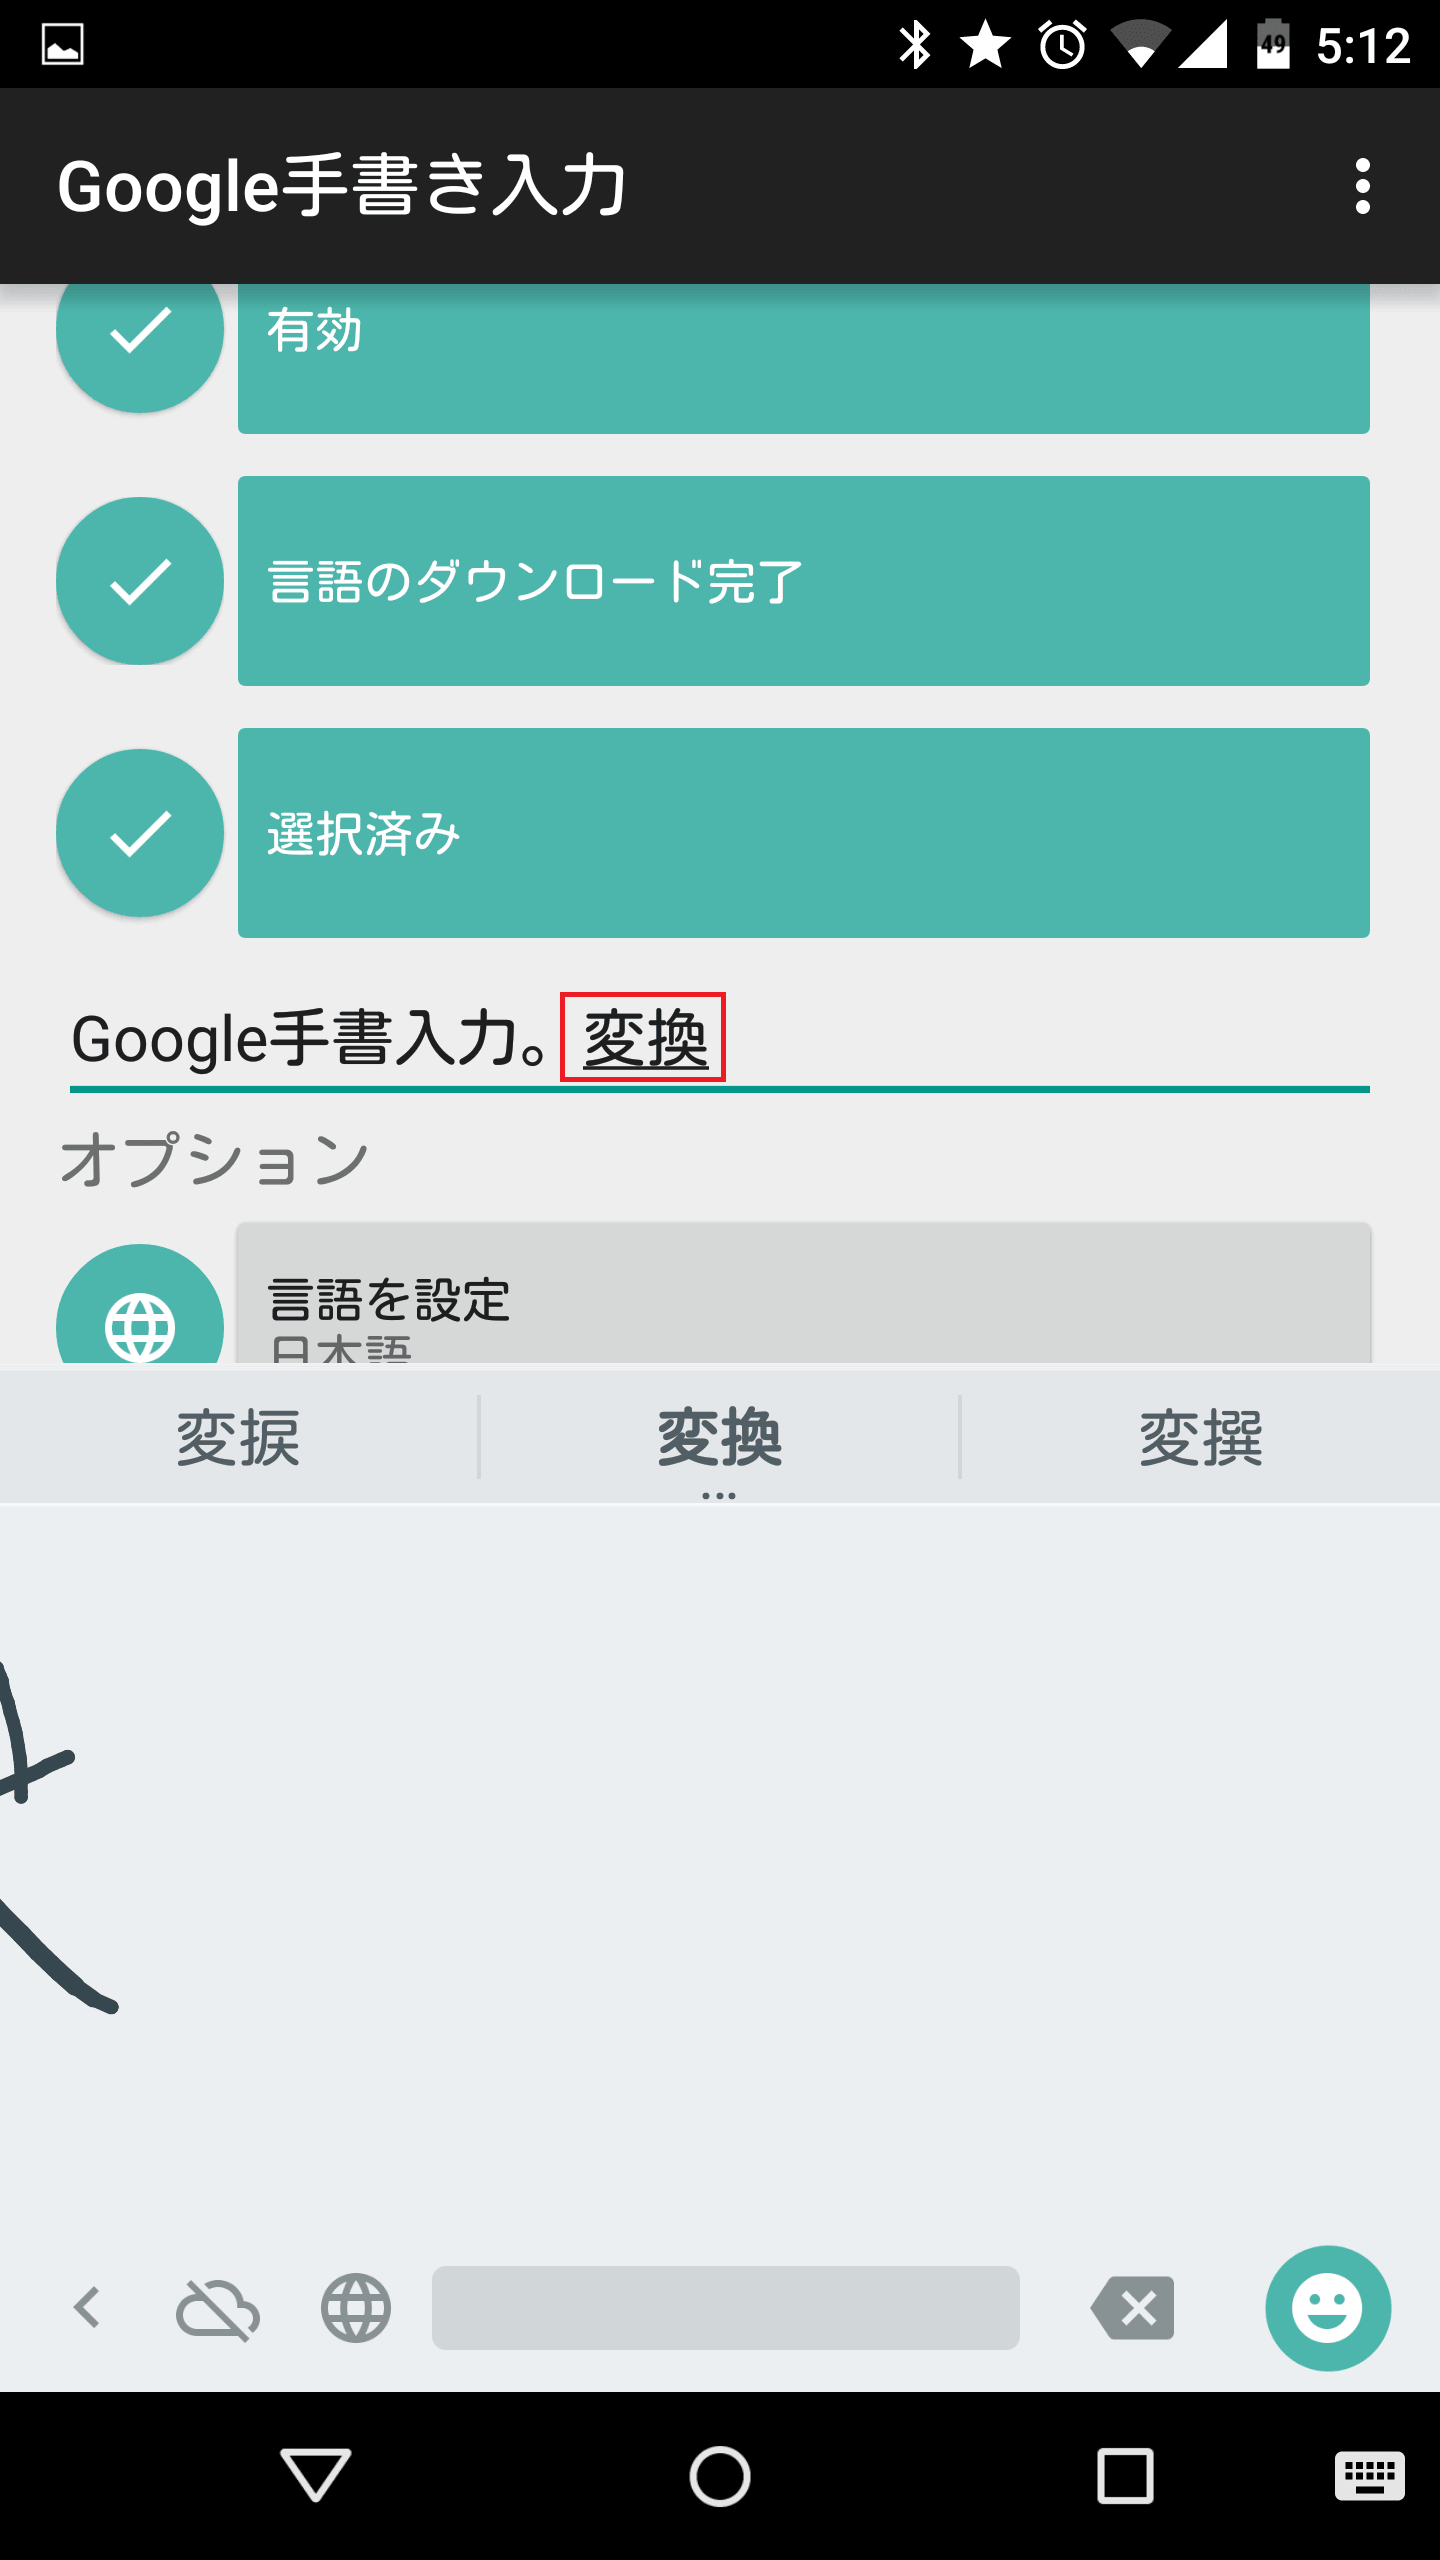
ディスプレイに書く文字もある程度適当に書いたとしても・・・
しっかりと変換してくれます。
絵文字を入力する
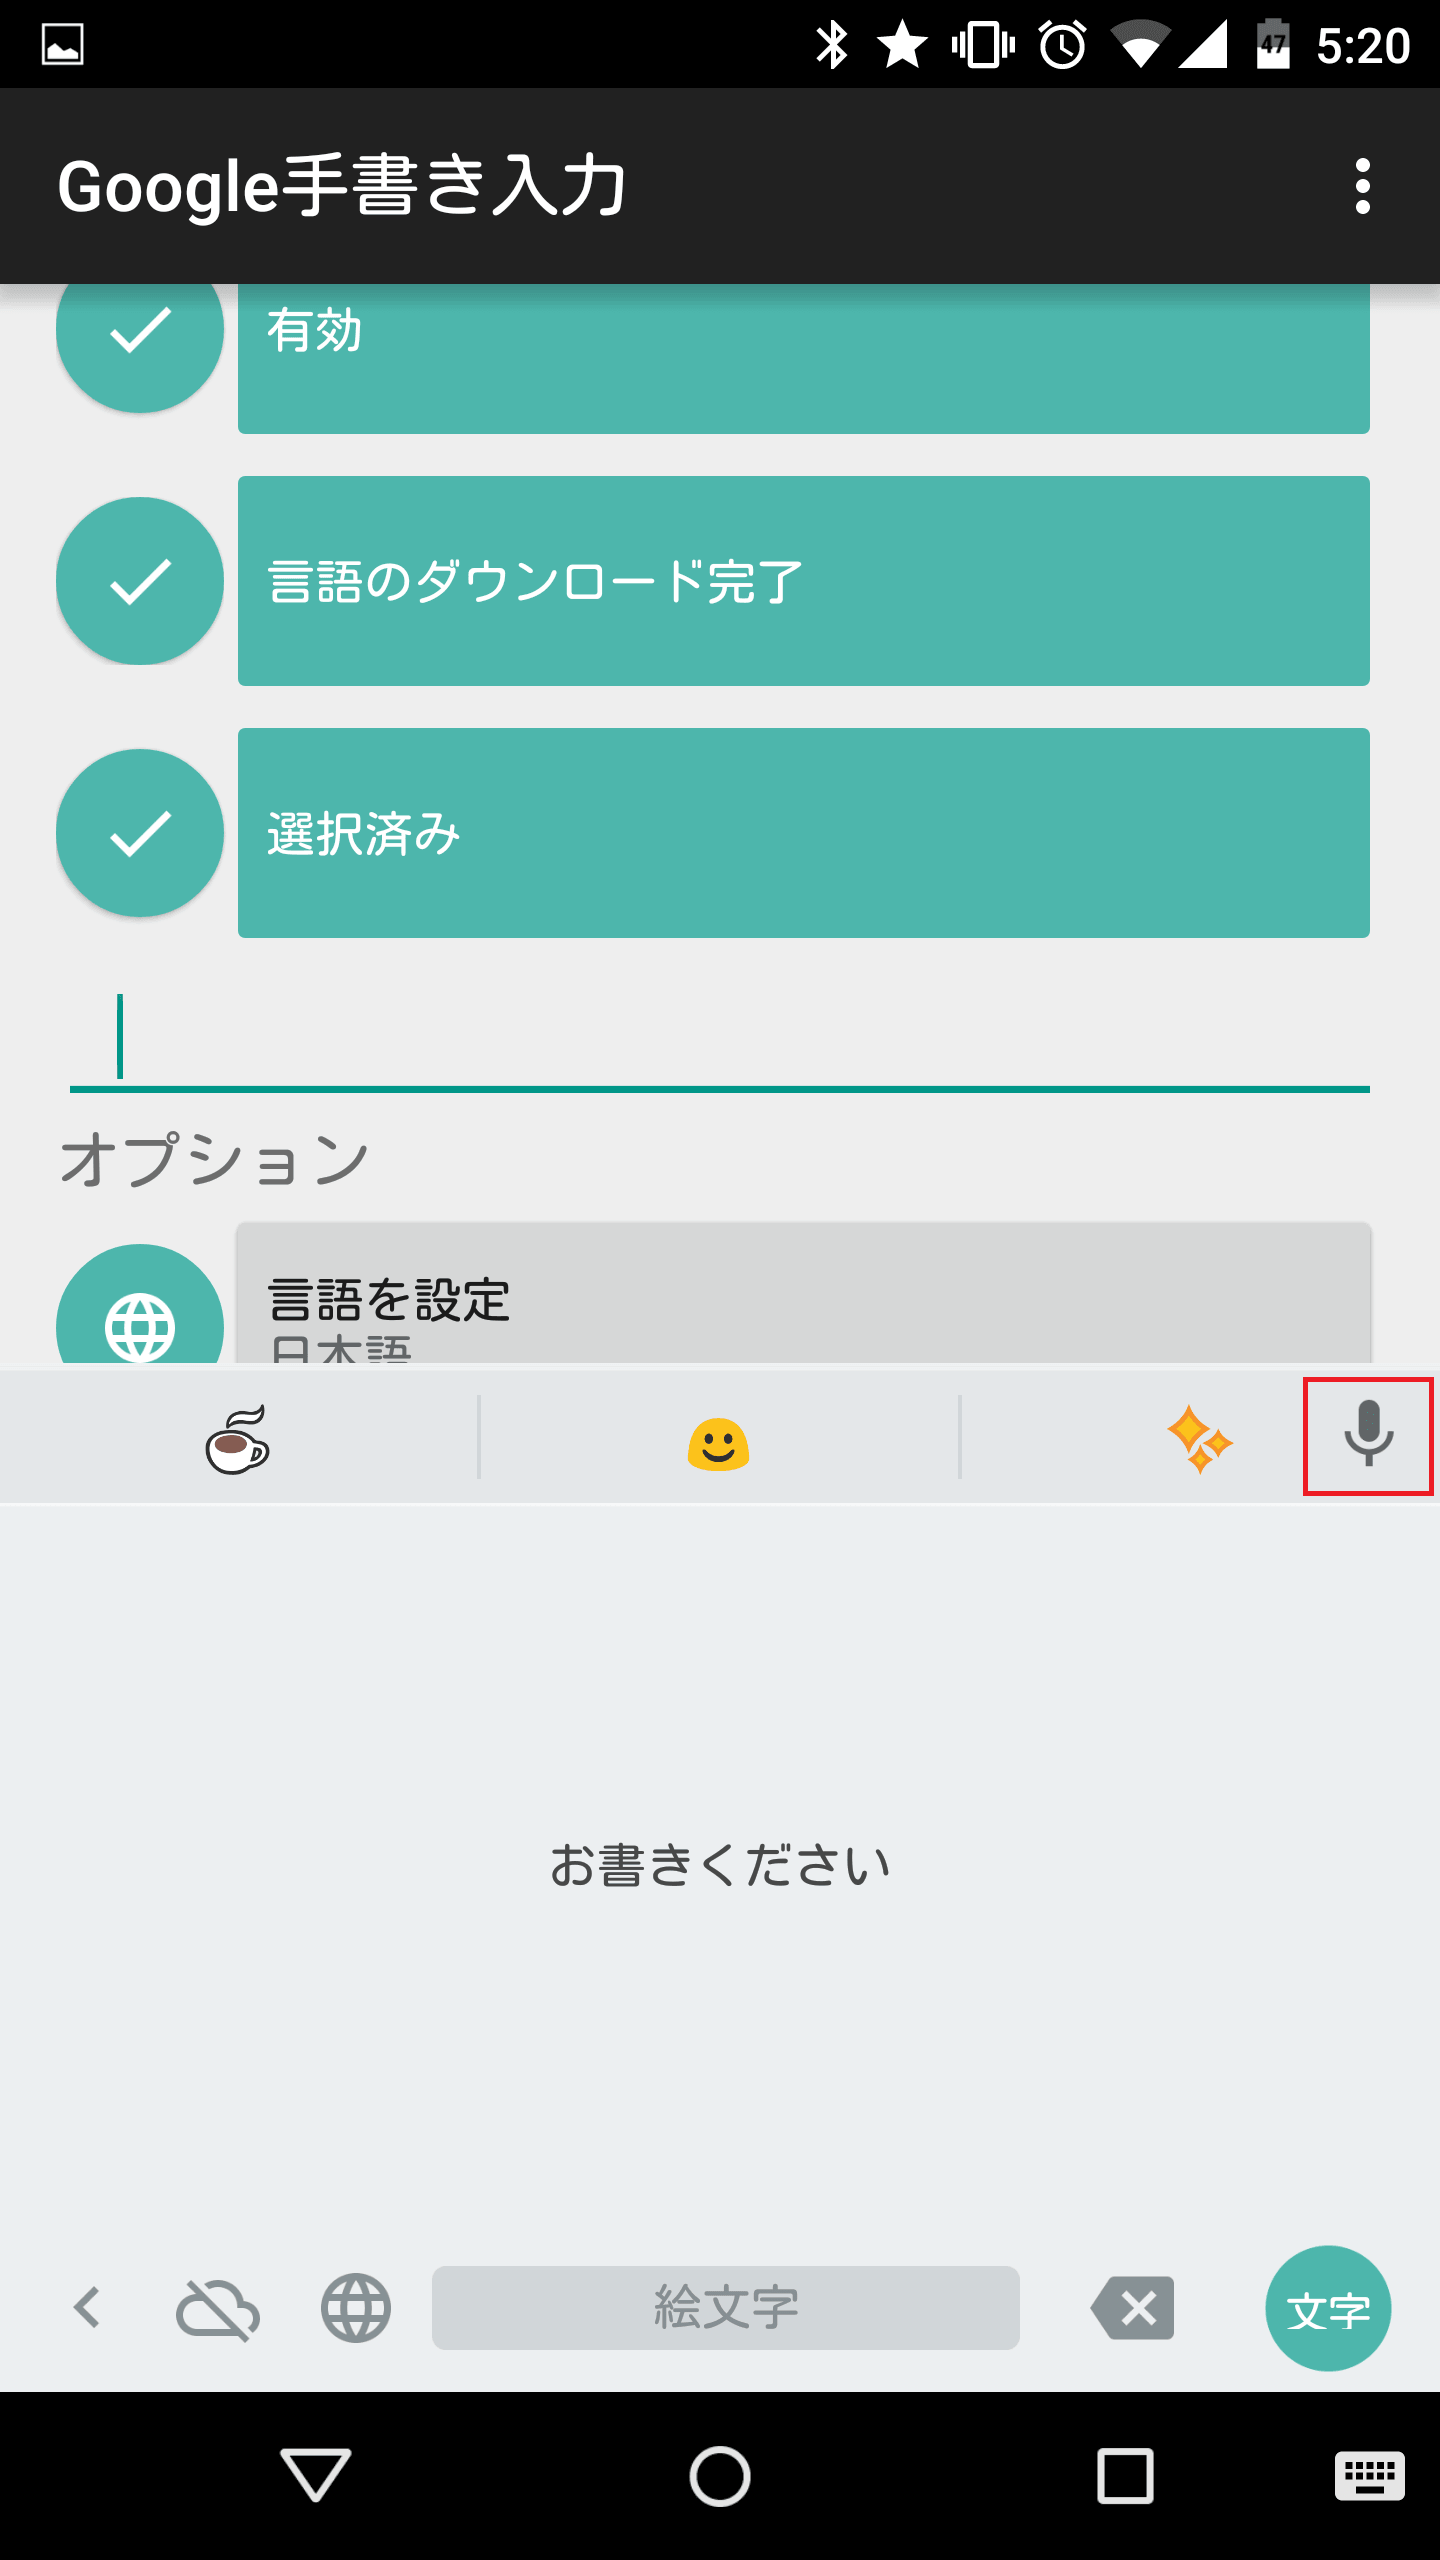
Google手書き入力は、絵文字を入力することができます。右下のアイコンをタップします。

すると、絵文字が表示されます。他の絵文字を選びたいのですが、上下左右にスワイプなどしても表示されませんでした。
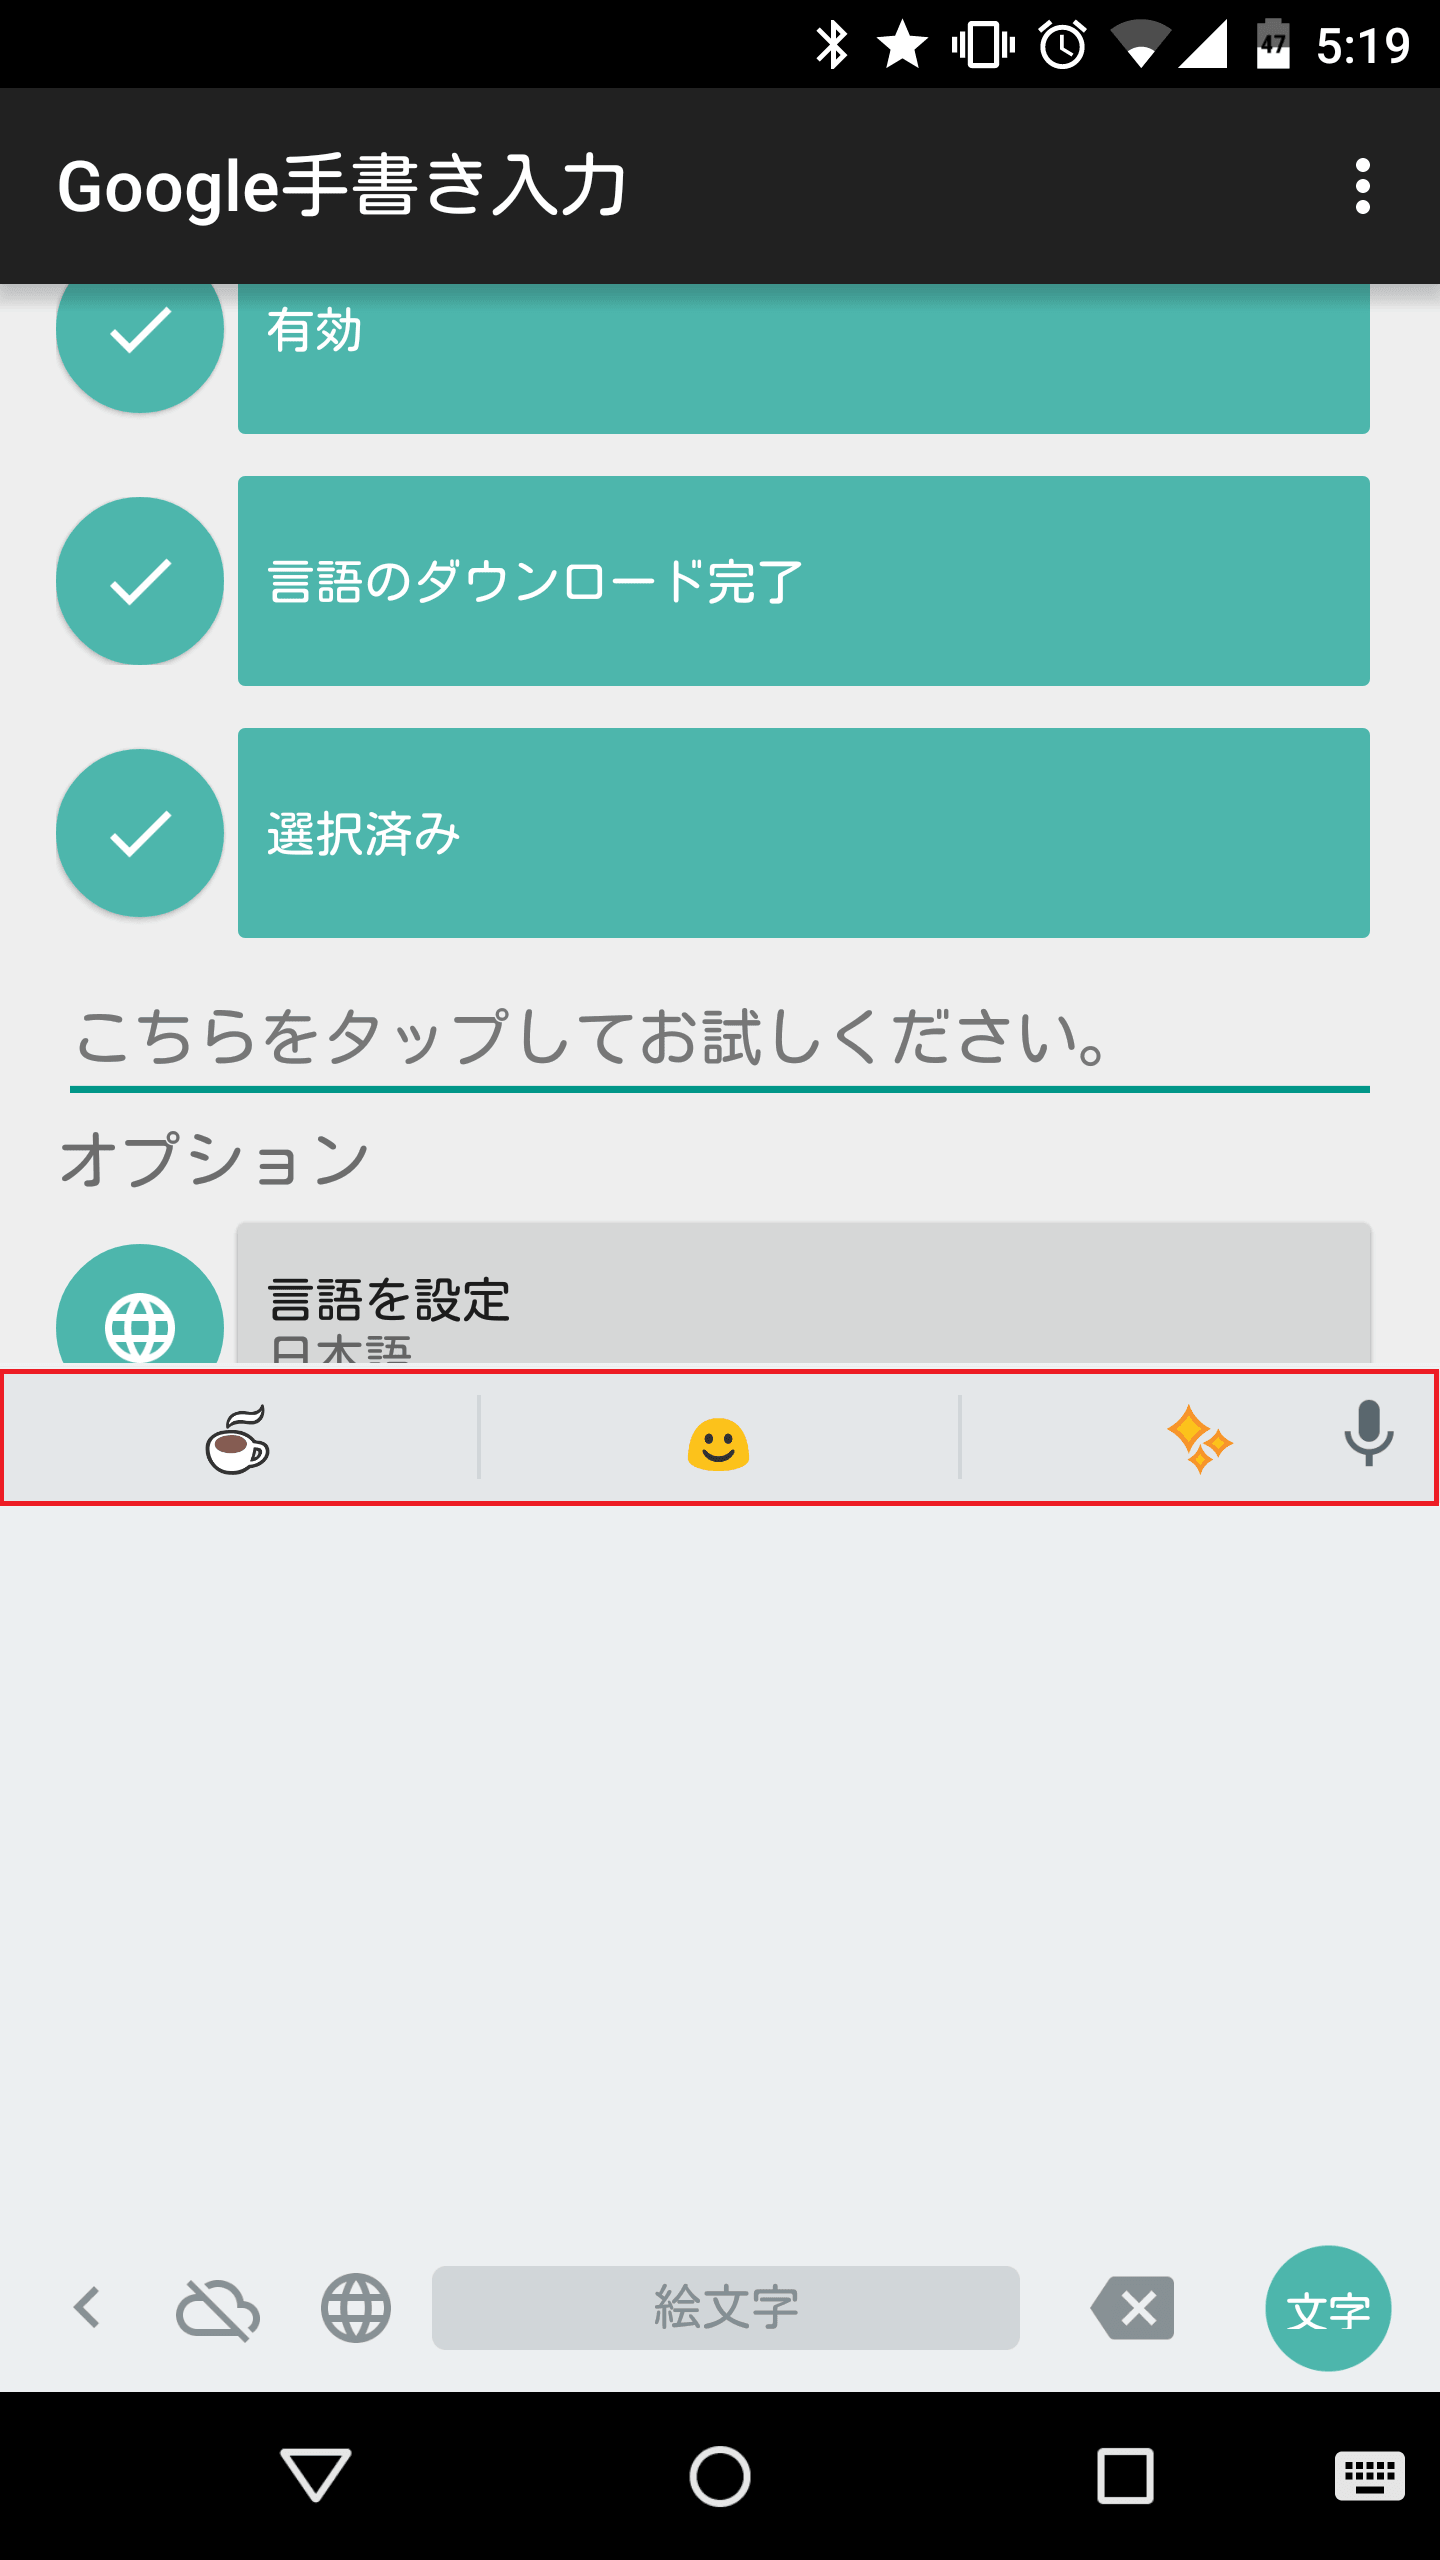
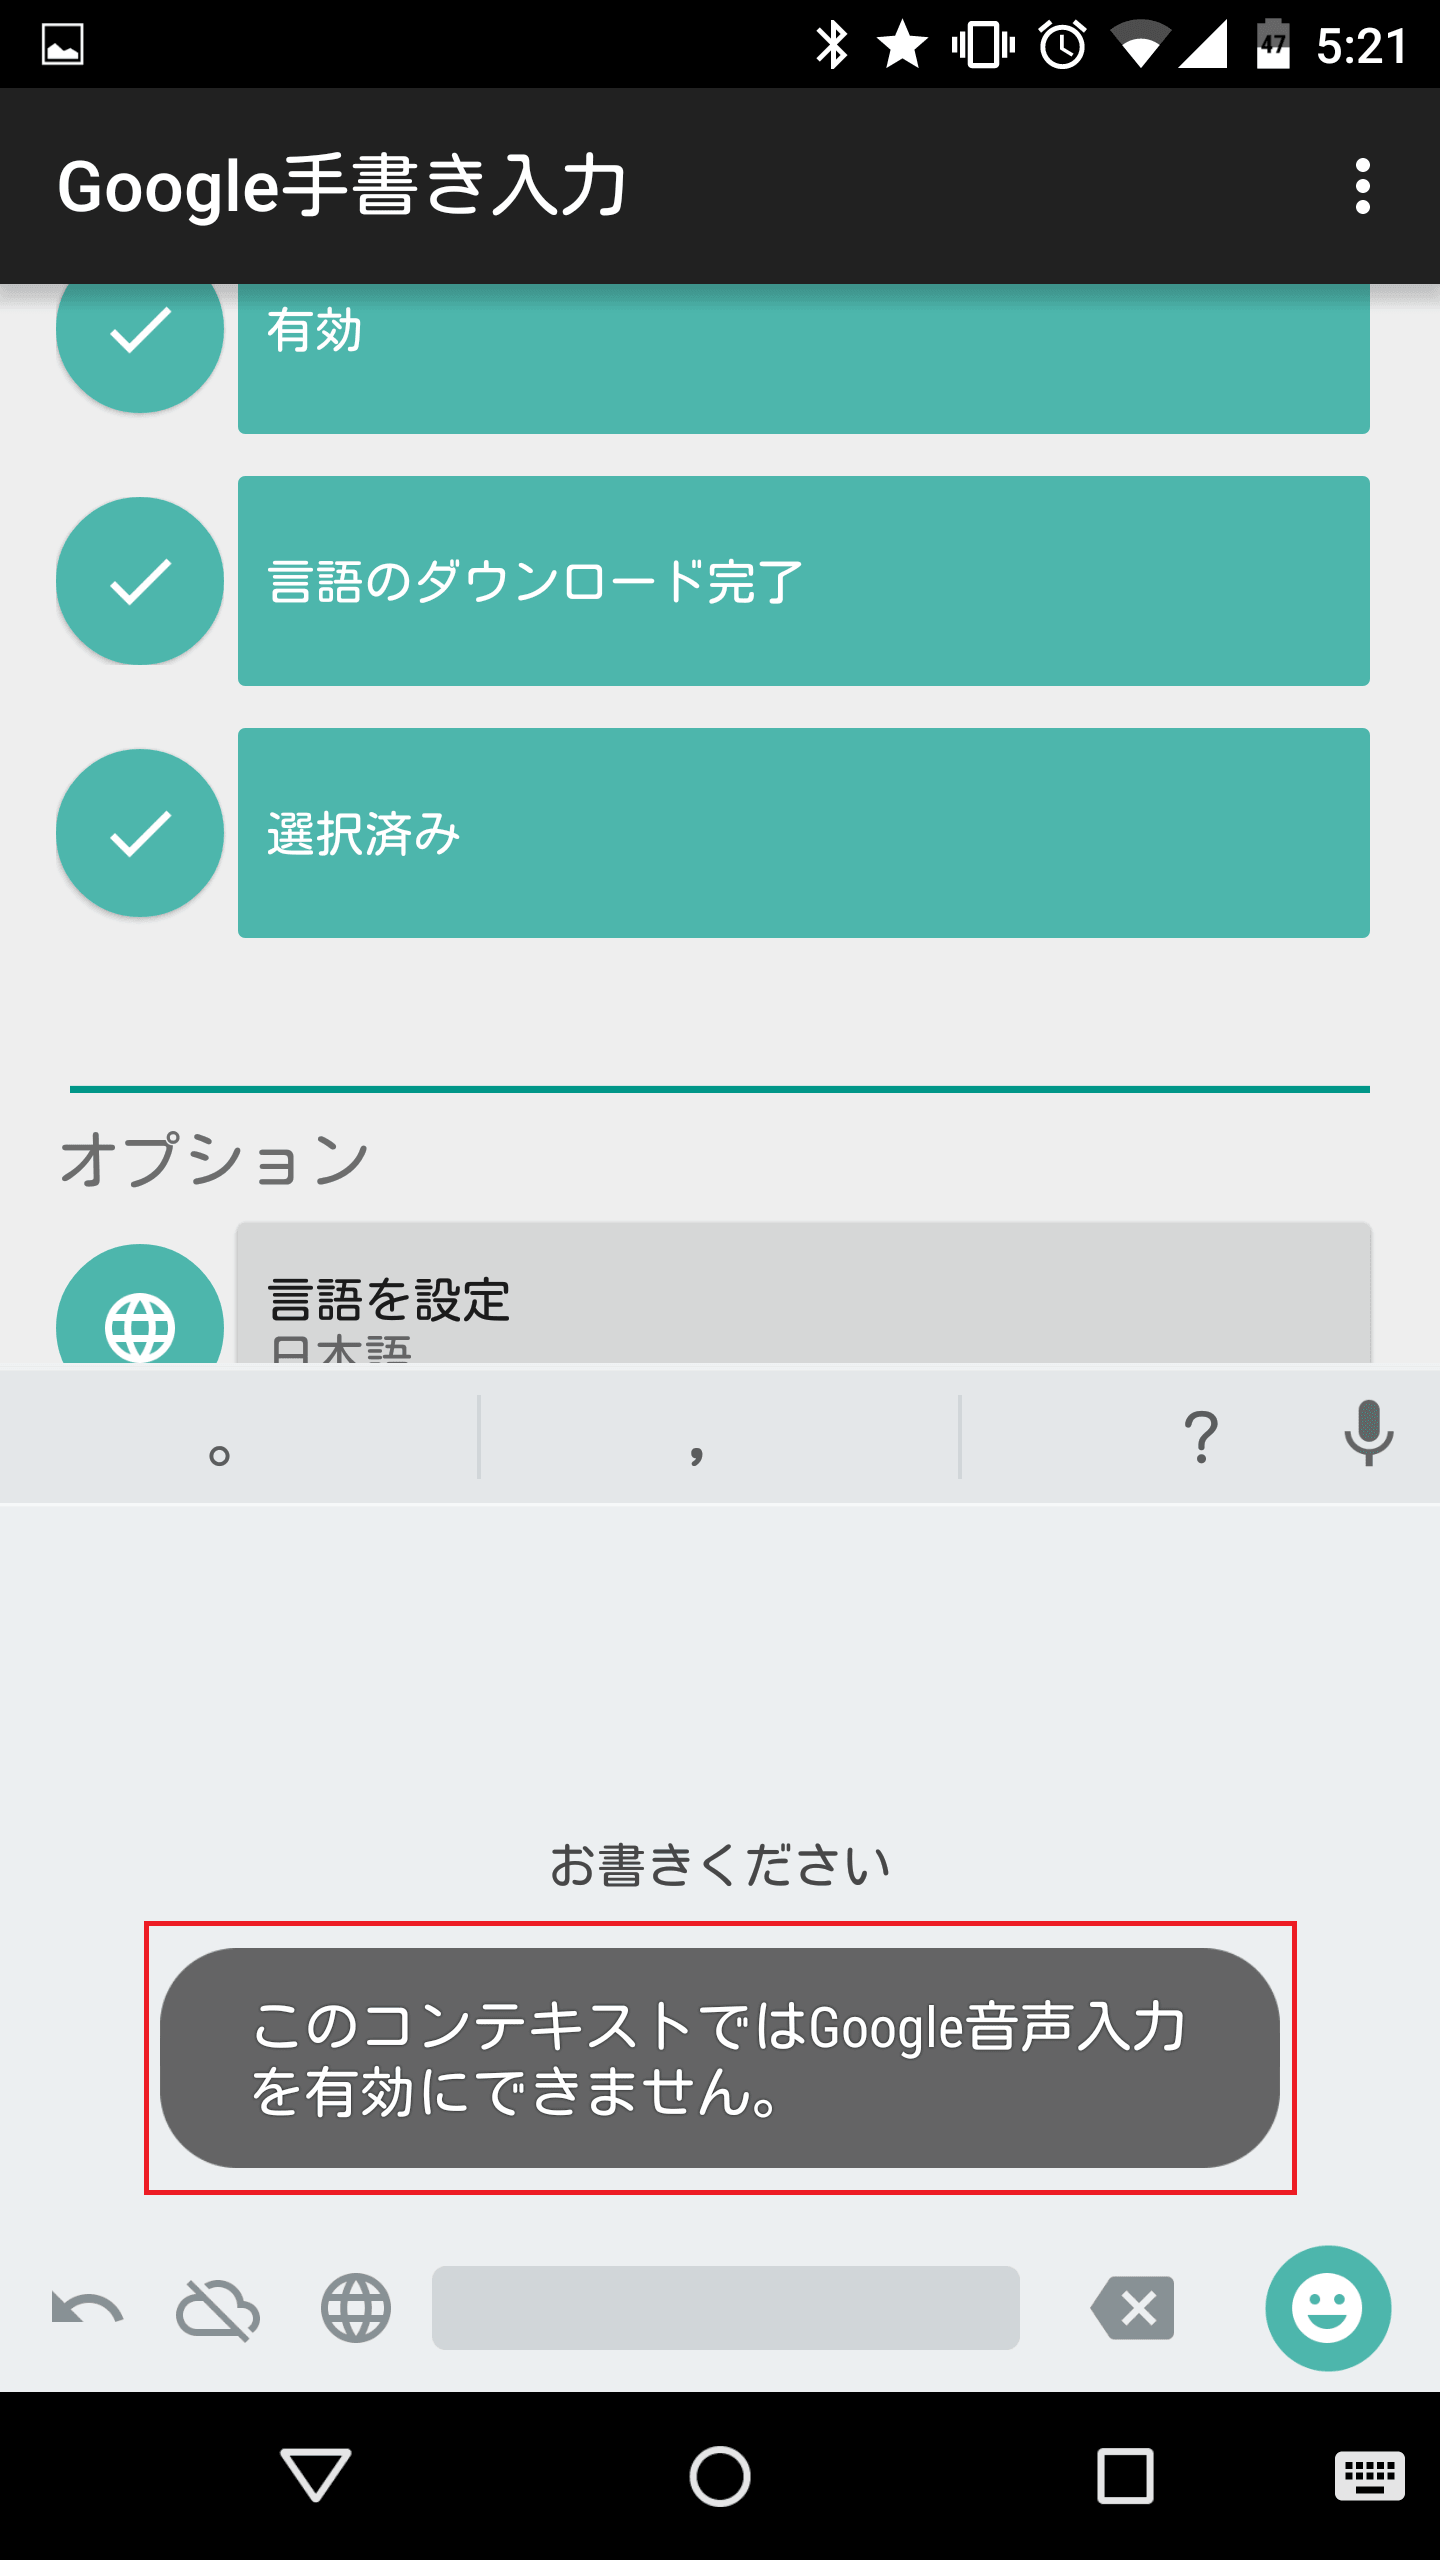
ちなみに、絵文字入力の右側に音声入力のアイコンがあります。これを使ってみようとタップすると・・・
「このコンテキストではGoogle音声入力を有効にできません」と表示され使えません。
Google手書き入力から他のキーボードに1タップで切り替える
Google手書き入力では、1タップでGoogle日本語入力に切り替えることができます。左下の地球儀マークをタップします。

すると、Google日本語入力に切り替わりました。もう一度タップすると・・・
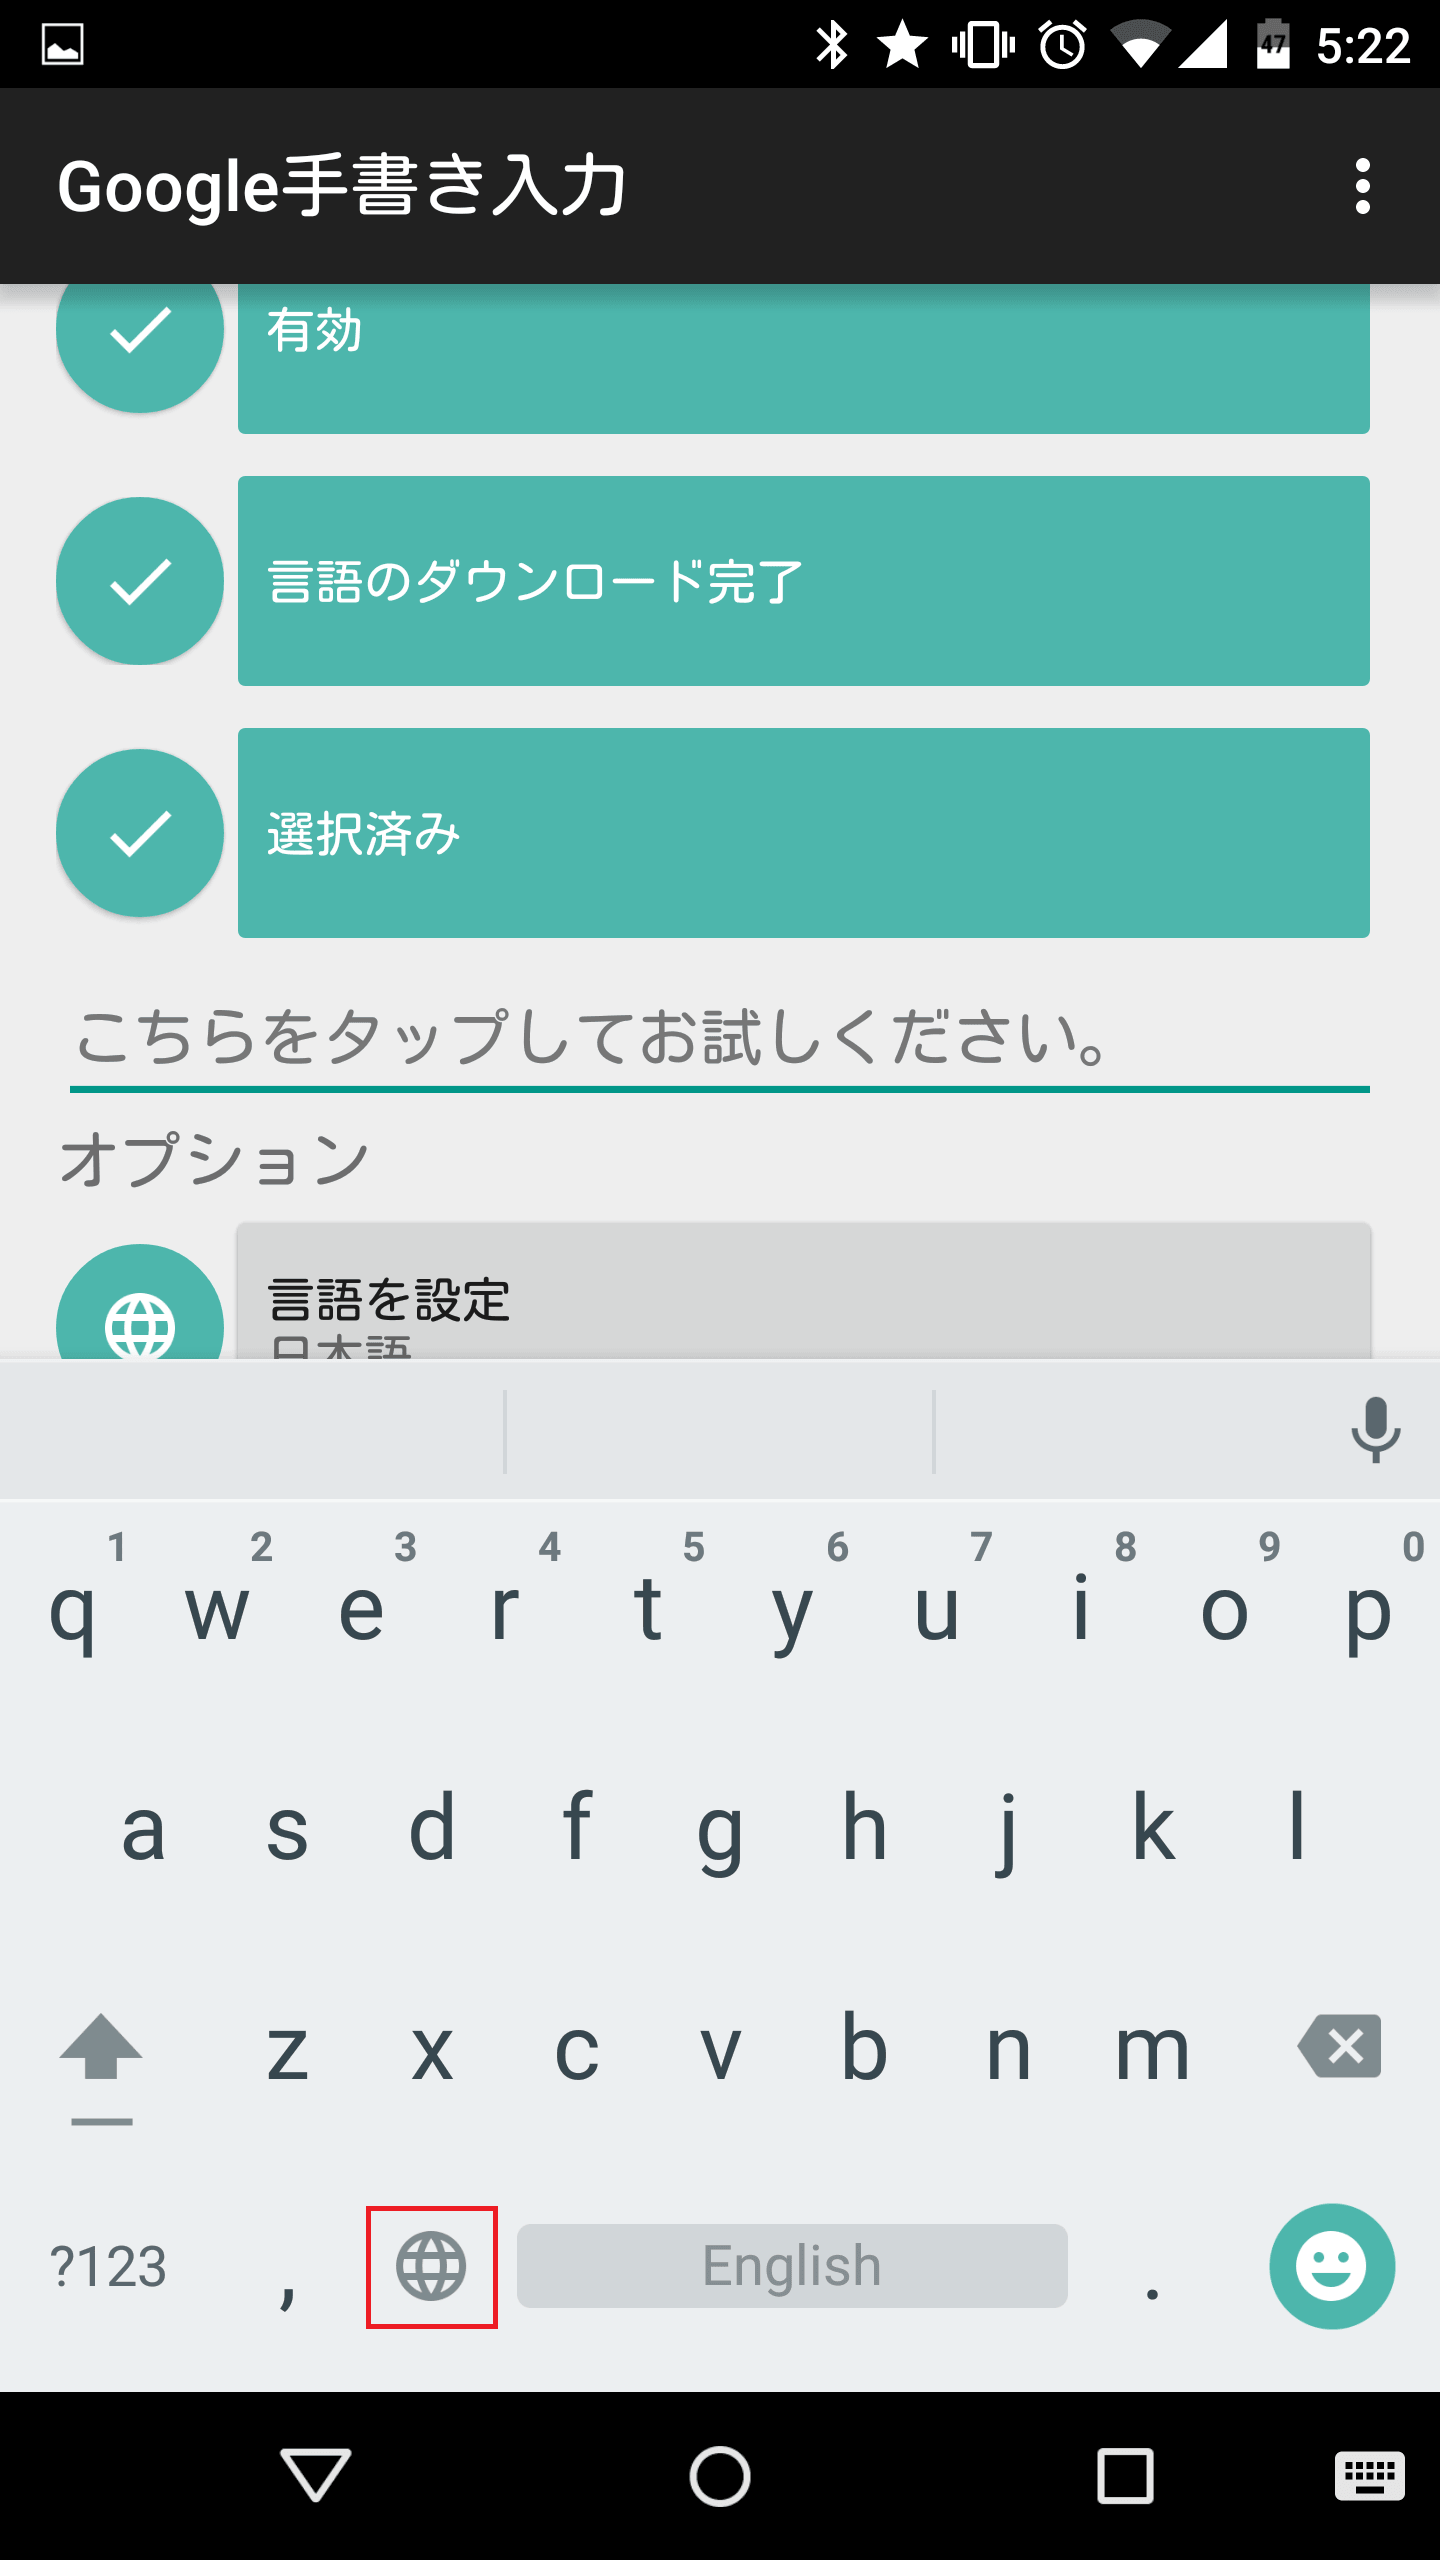
テンキーが表示されます。再度アイコンをタップすると・・・

Google手書き入力に戻ってきます。

ちなみに、Android 5.0やAndroid 5.1で文字入力アプリを変更するには、右下のキーボードアイコンをタップします。
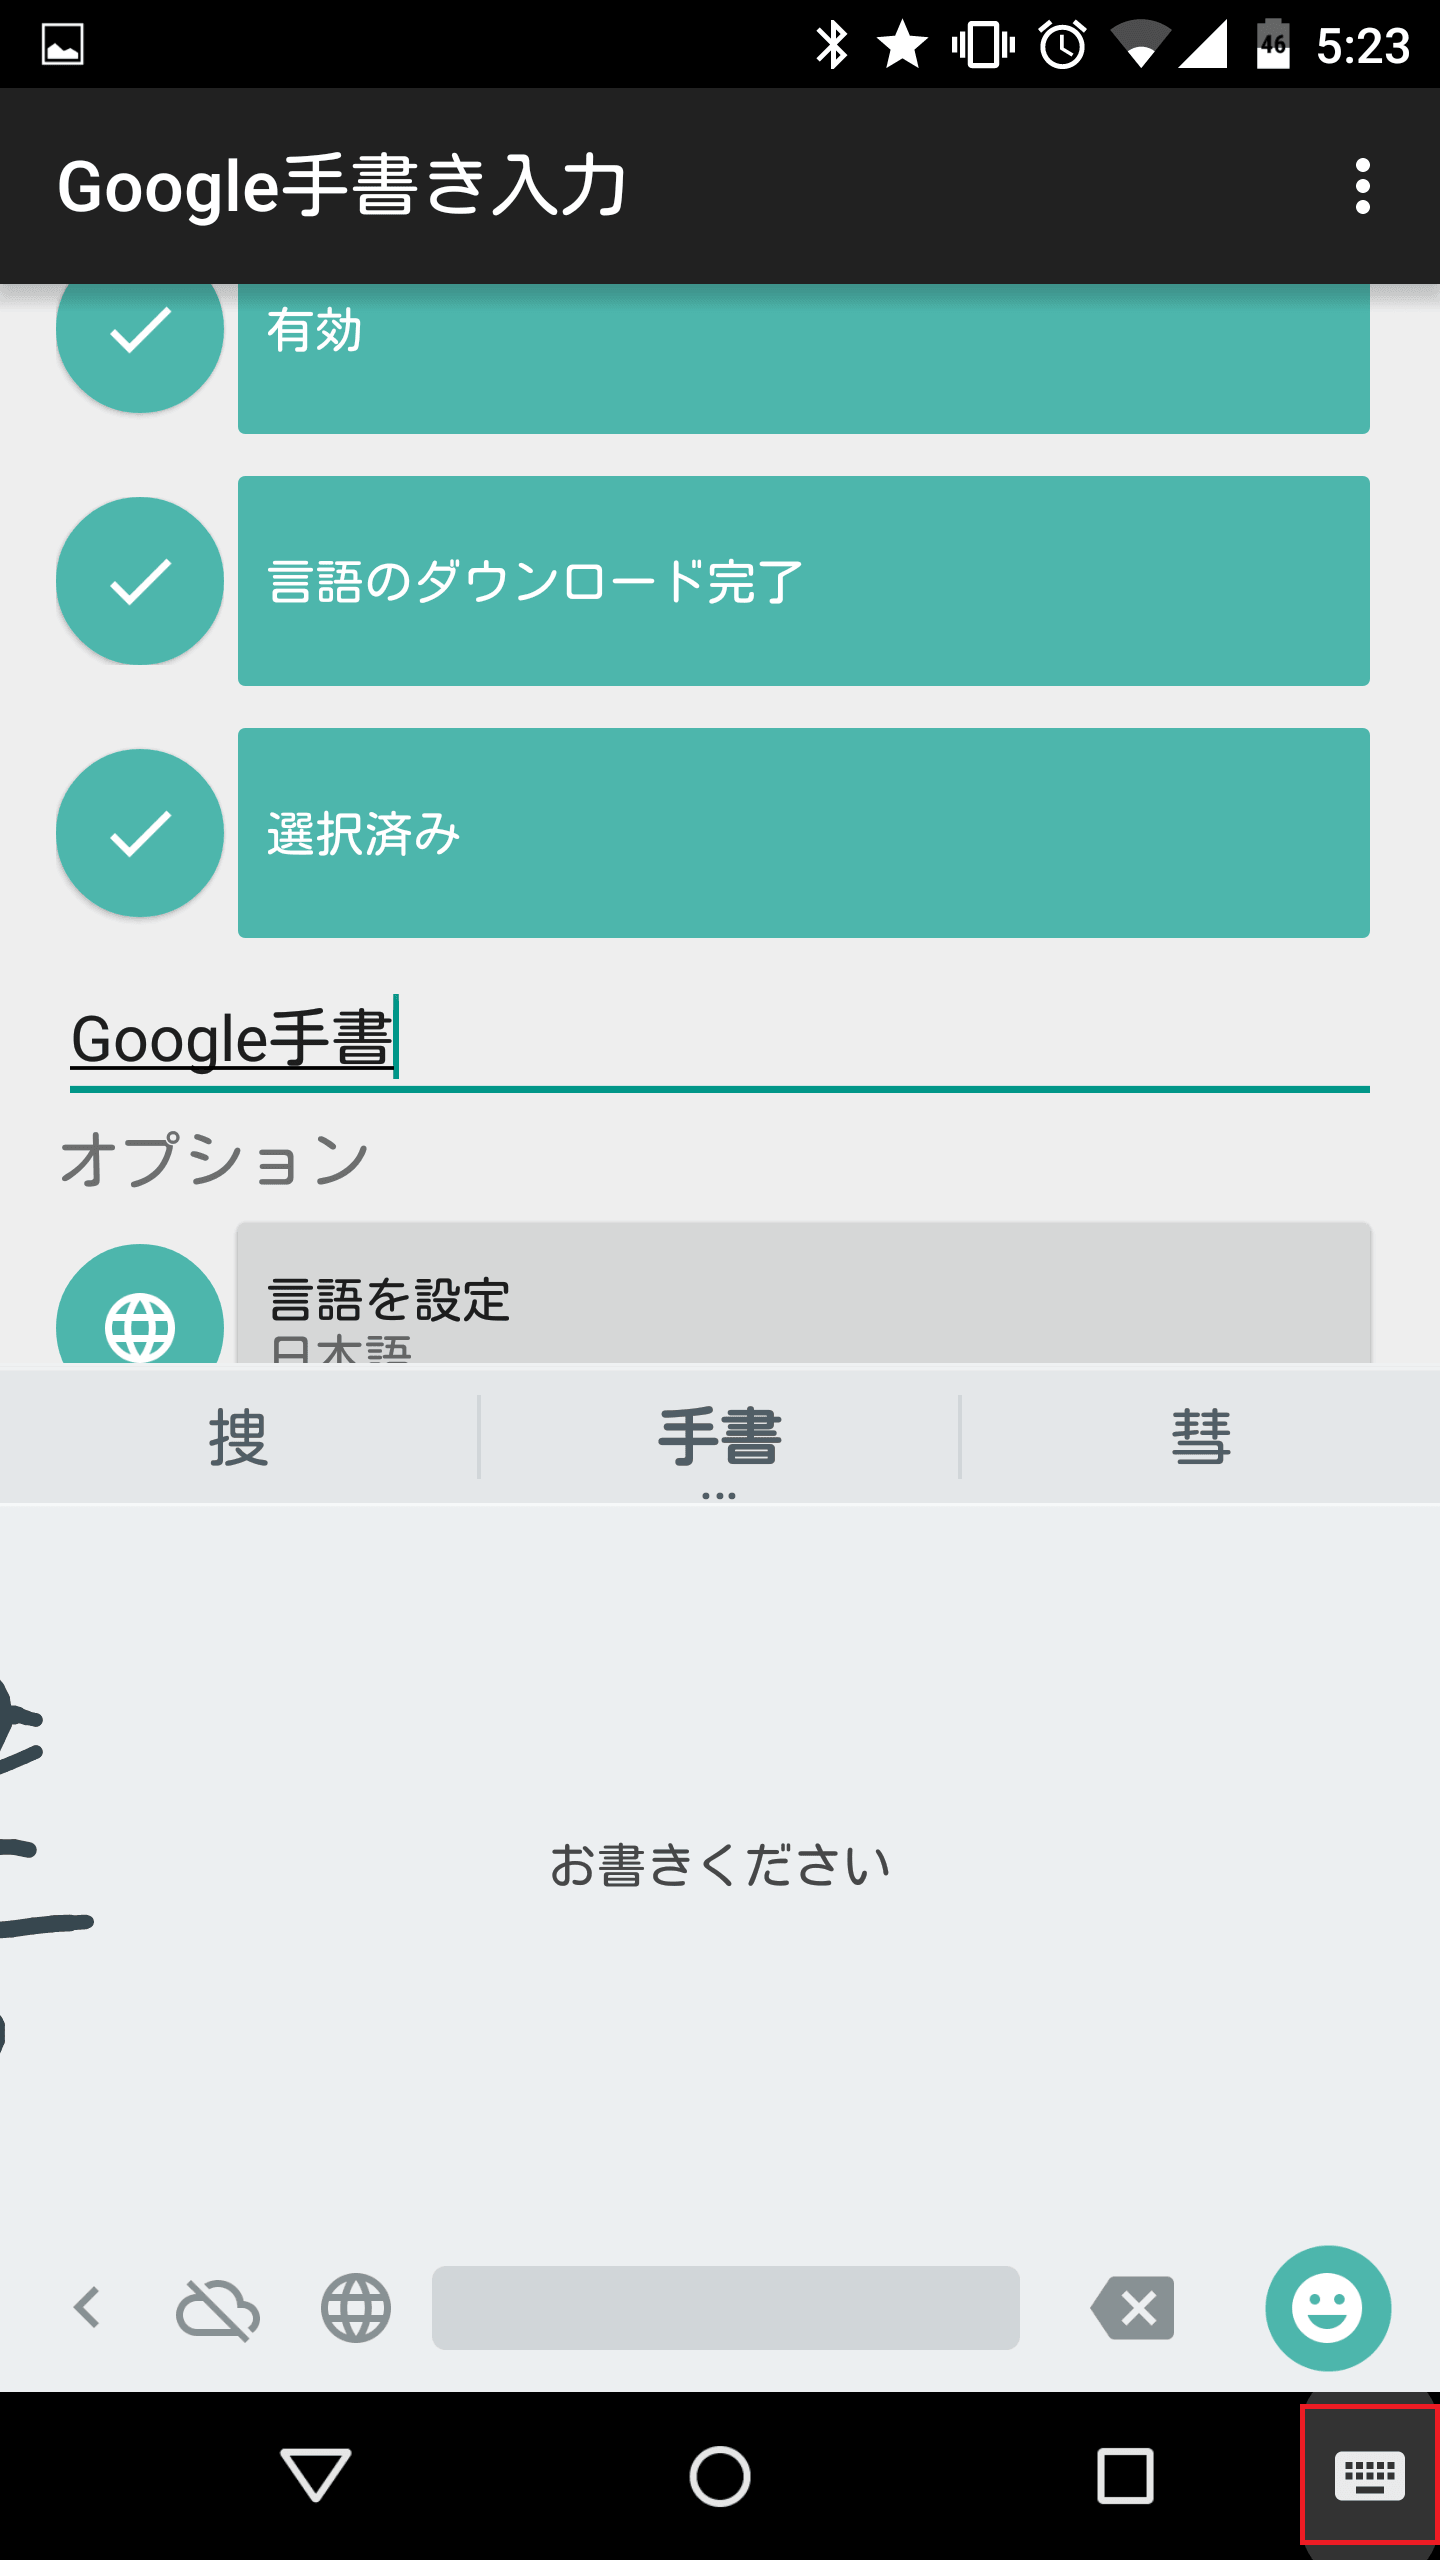
使いたい文字入力アプリを選びます。今回はATOKを選びました。

すると、キーボードがATOKに切り替わります。
オンライン認識を有効化する
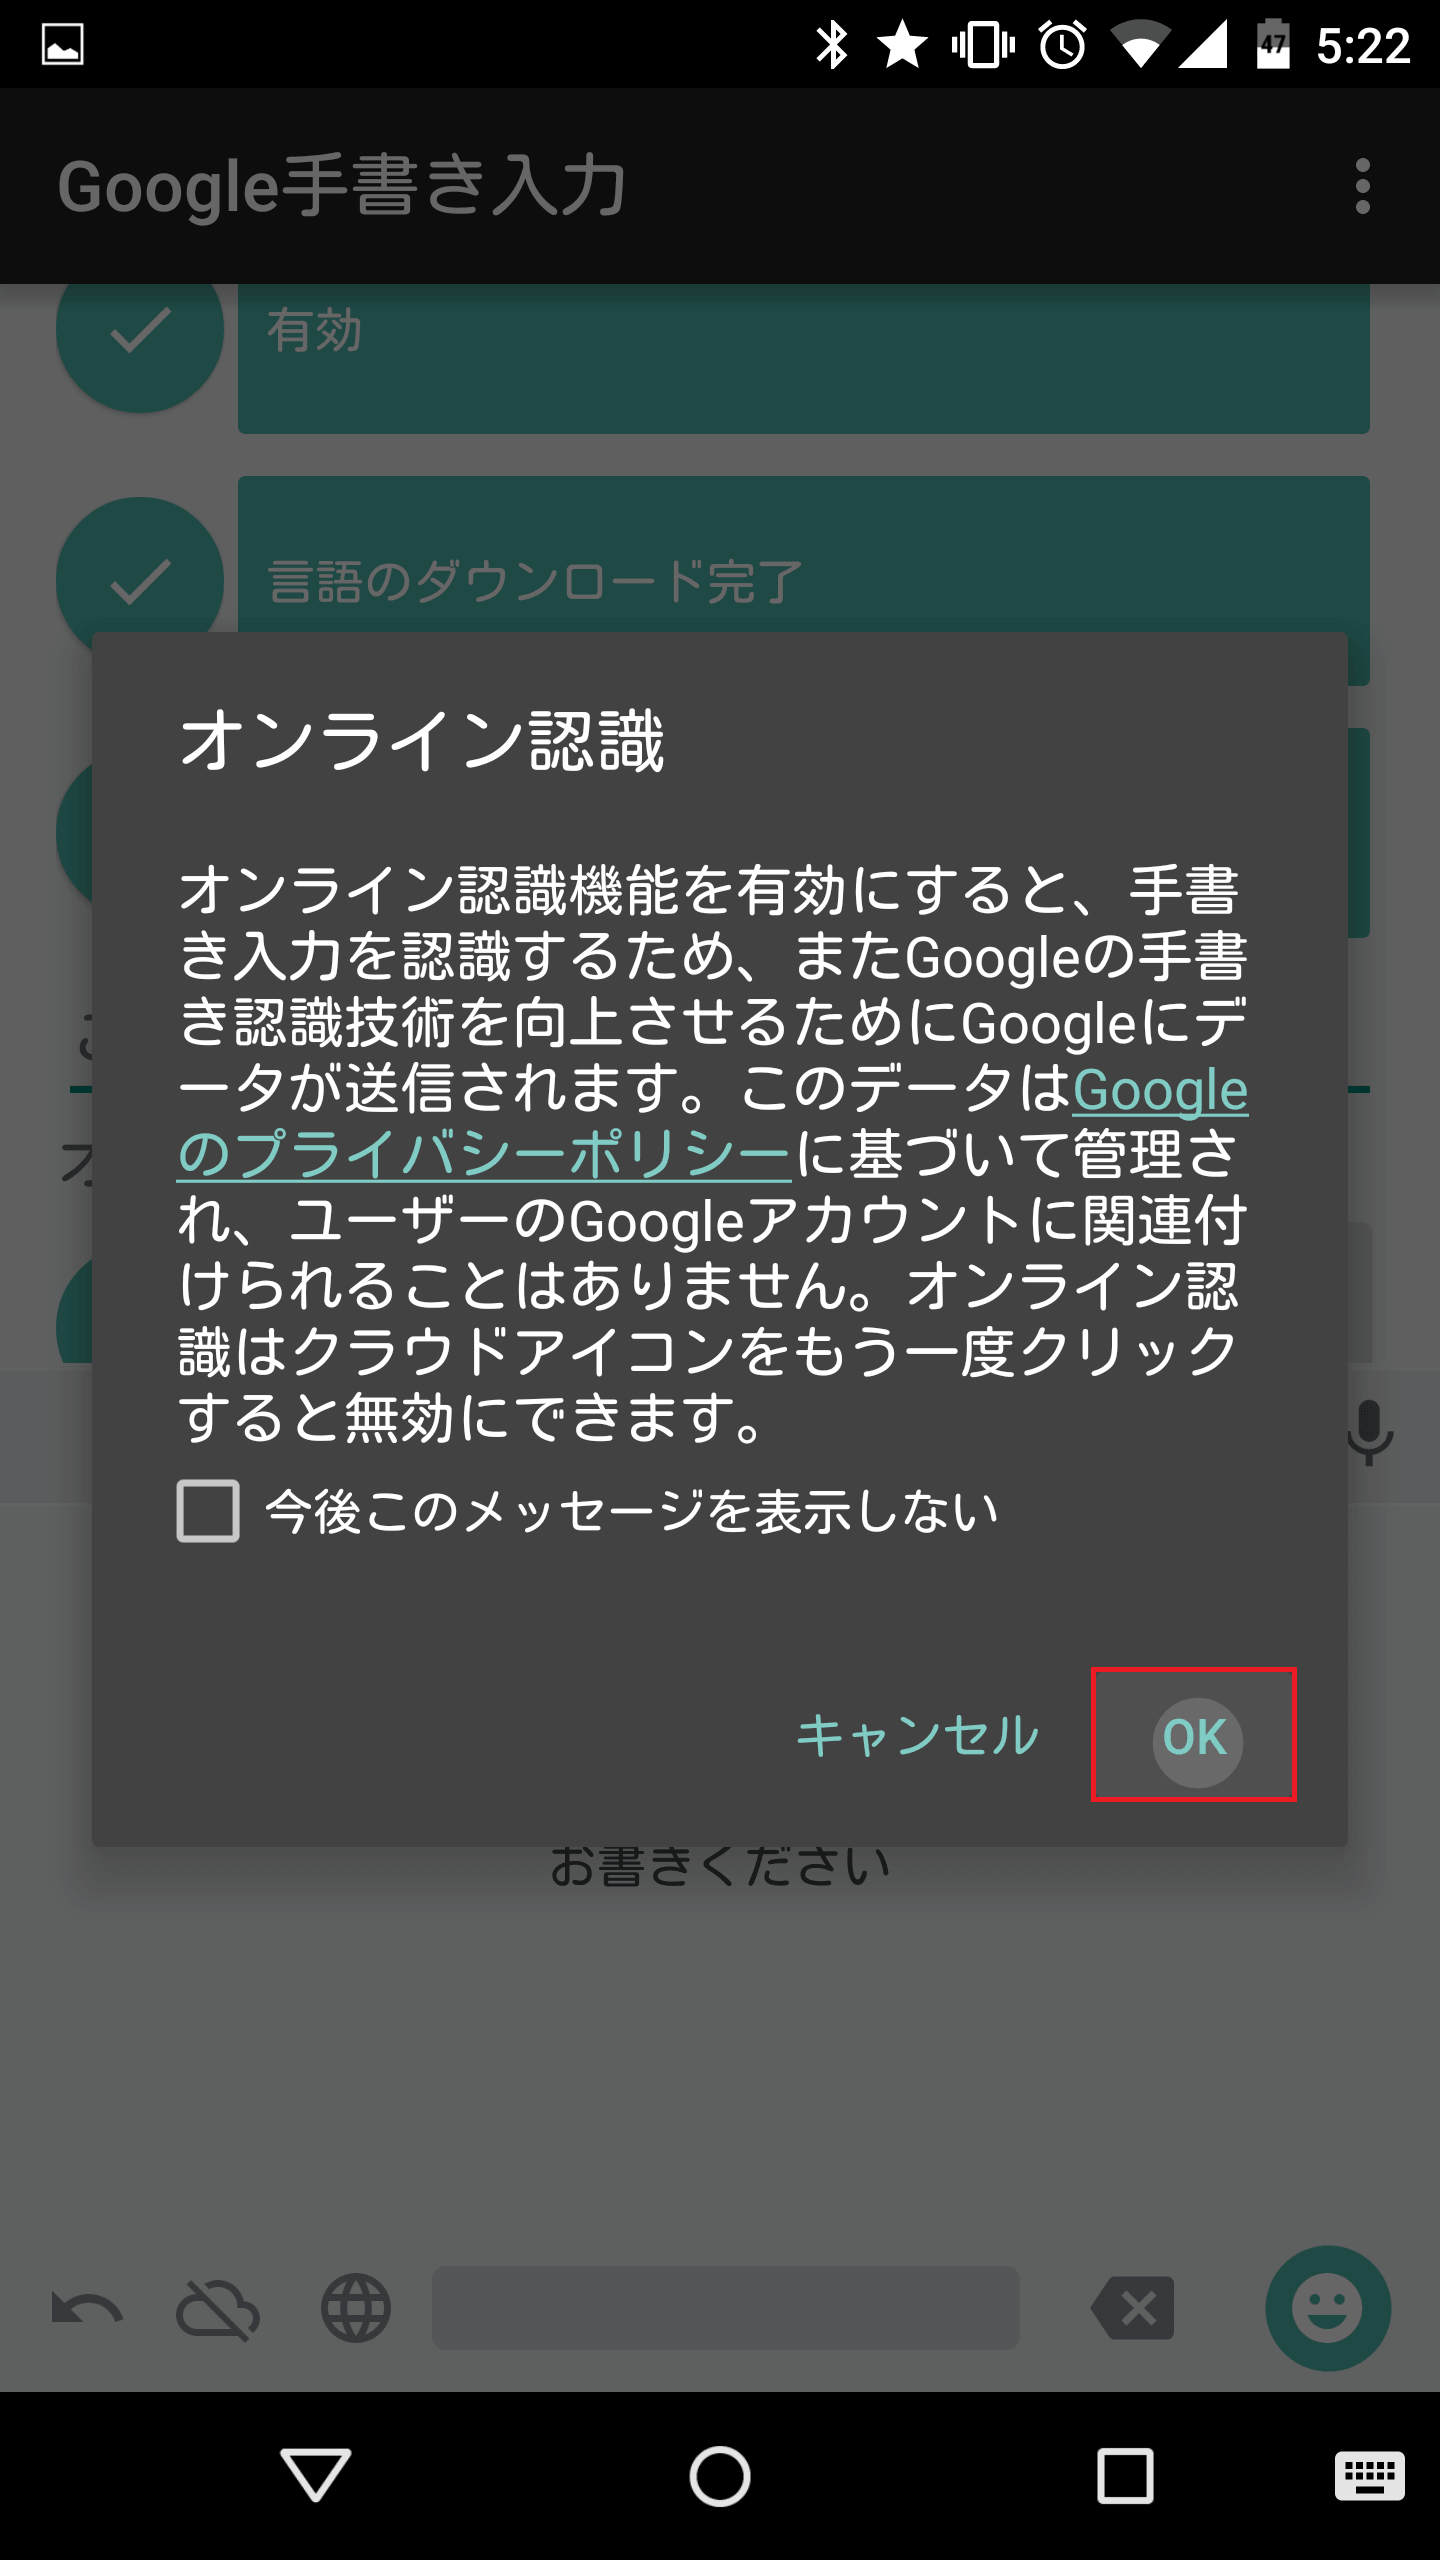
Google手書き入力では、オンライン認識を有効化すると、手書き入力や変換のデータをGoogleに送信することでGoogle手書き入力の変換精度をより高めることができるようになります。有効化するには、左下のスラッシュが入った雲のアイコンをタップします。

「OK」をタップします。
すると、左下の雲のアイコンからスラッシュが消えてオンライン認識が有効化されました。なお、オンライン認識を無効化したいときは再度雲のアイコンをタップすればOKです。
手書きした文字を1文字ずつ取り消す(アンドゥ)
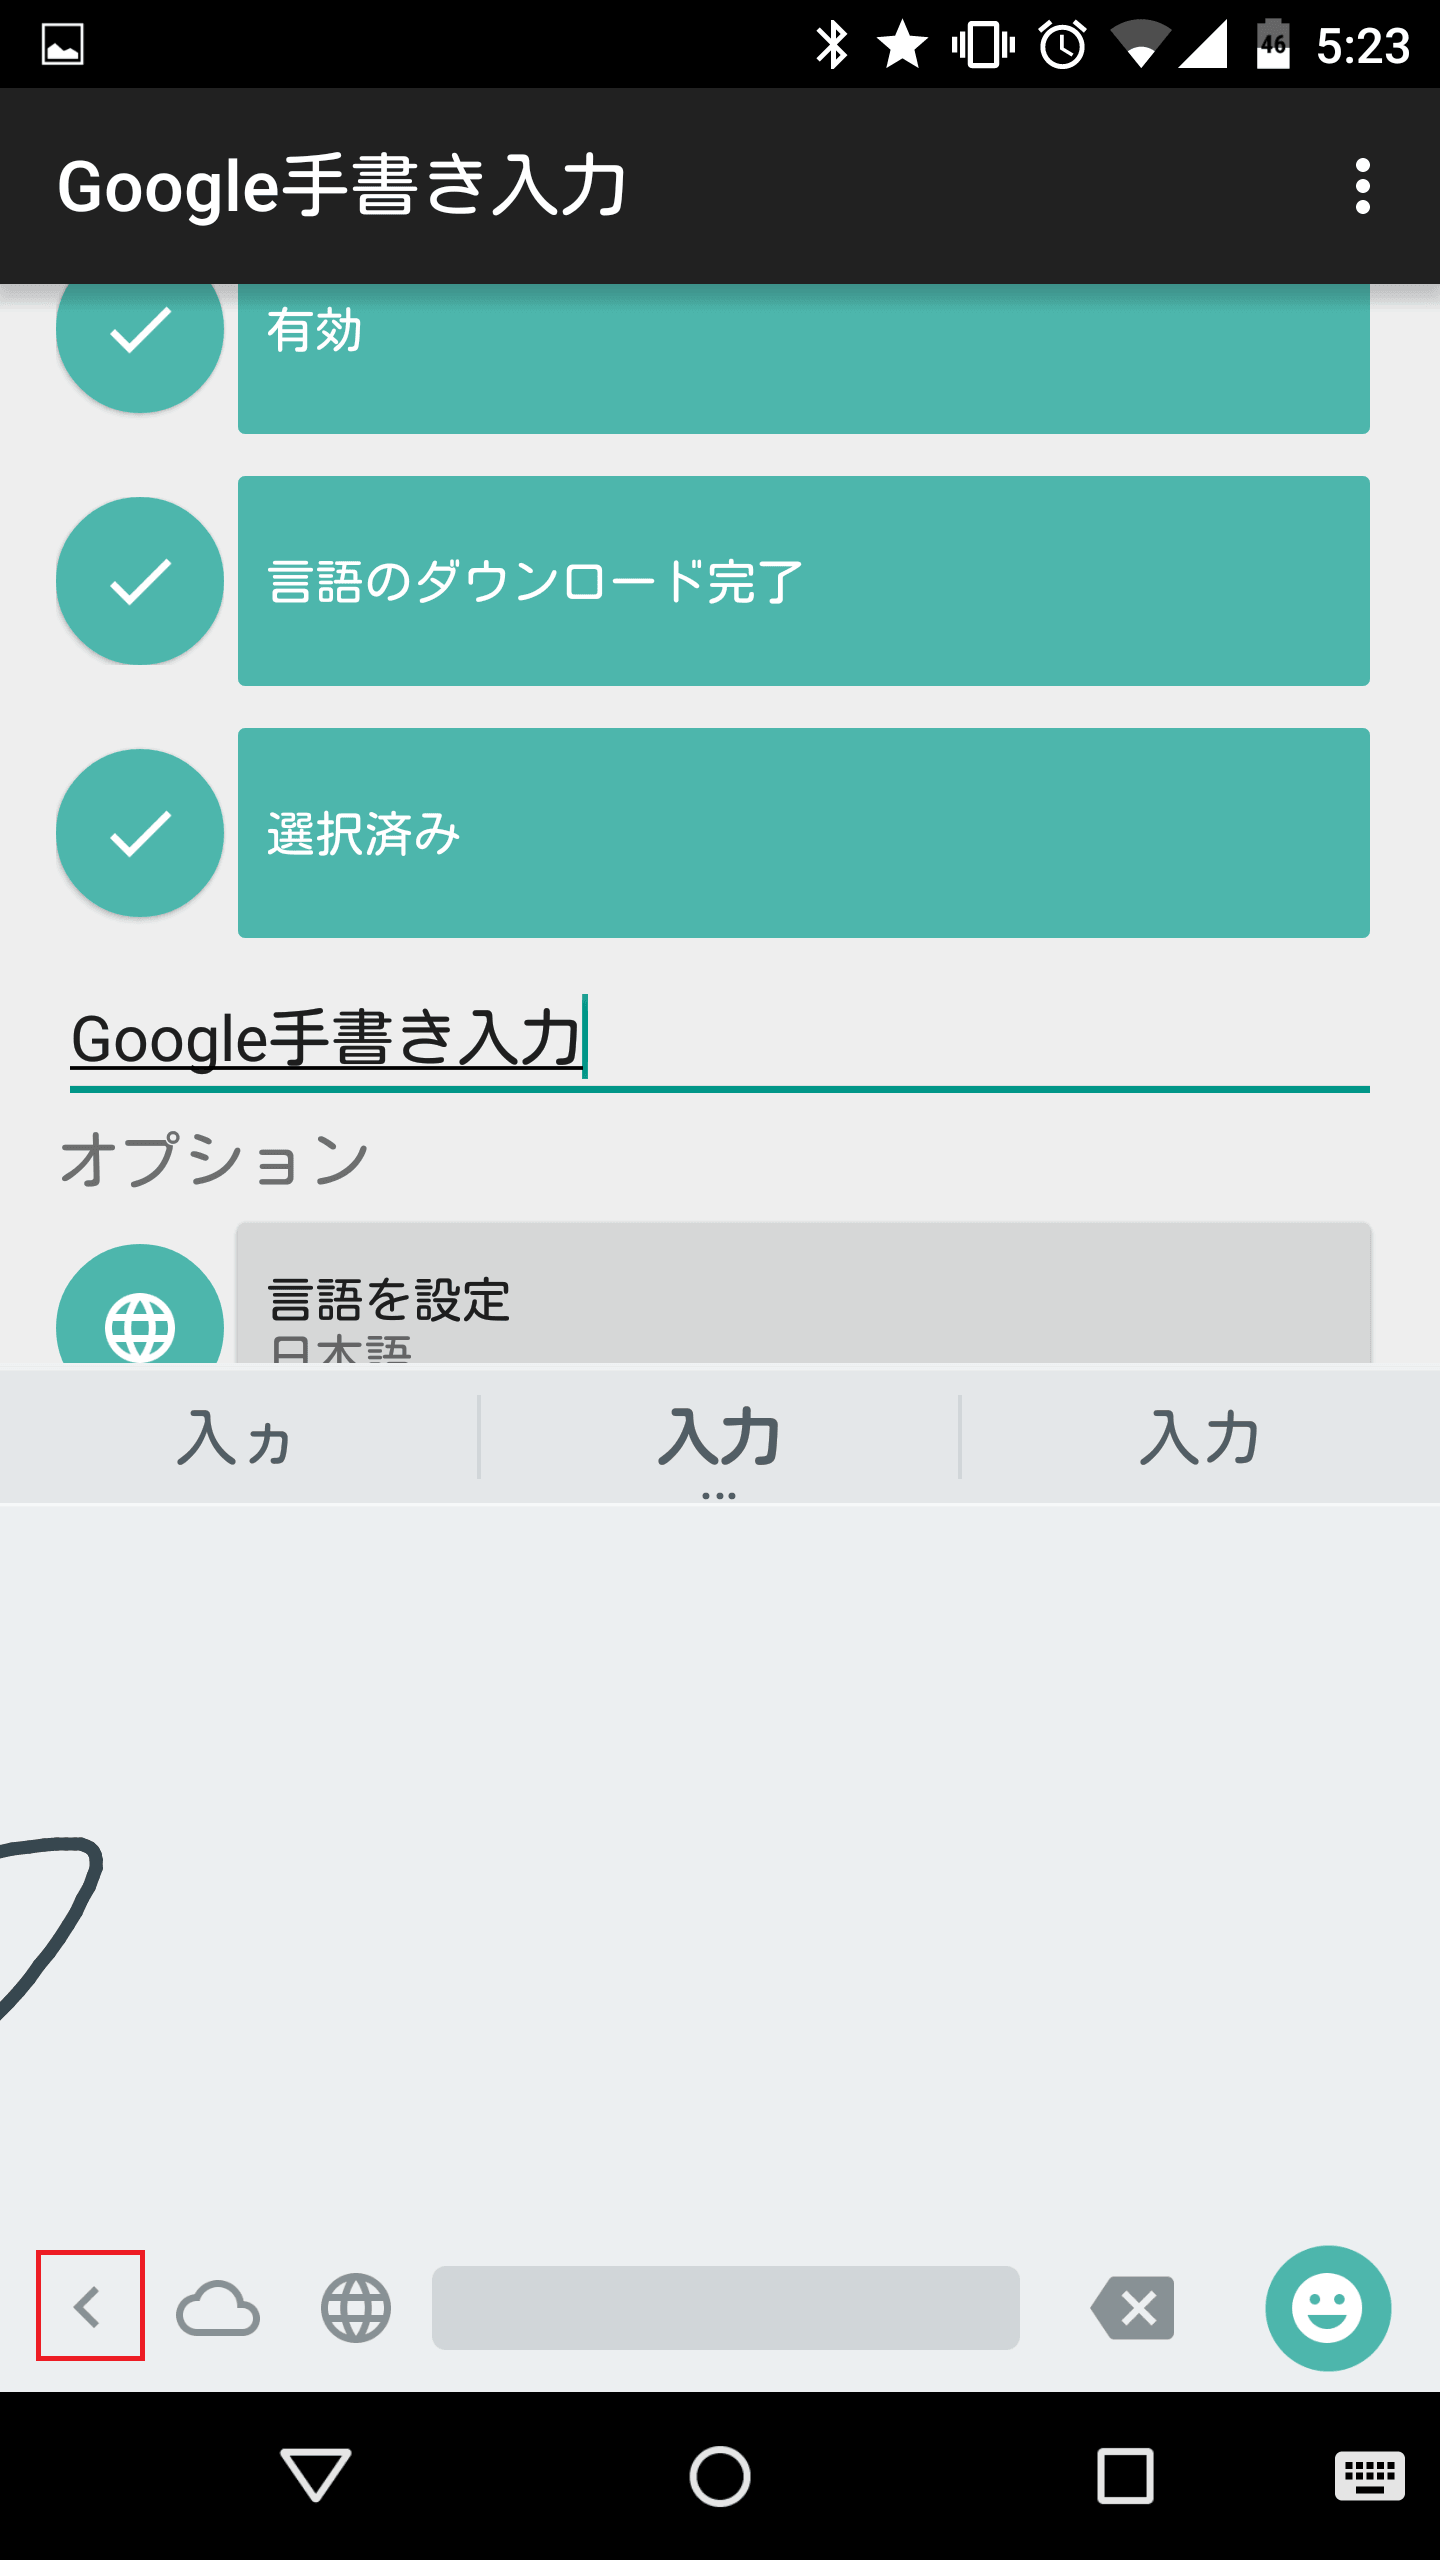
Google手書き入力には、手書きした文字を1文字ずつ取り消すアンドゥ機能があります。左下の戻るアイコンをタップします。
直前に手書きした文字が表示されるので戻るアイコンをタップします。
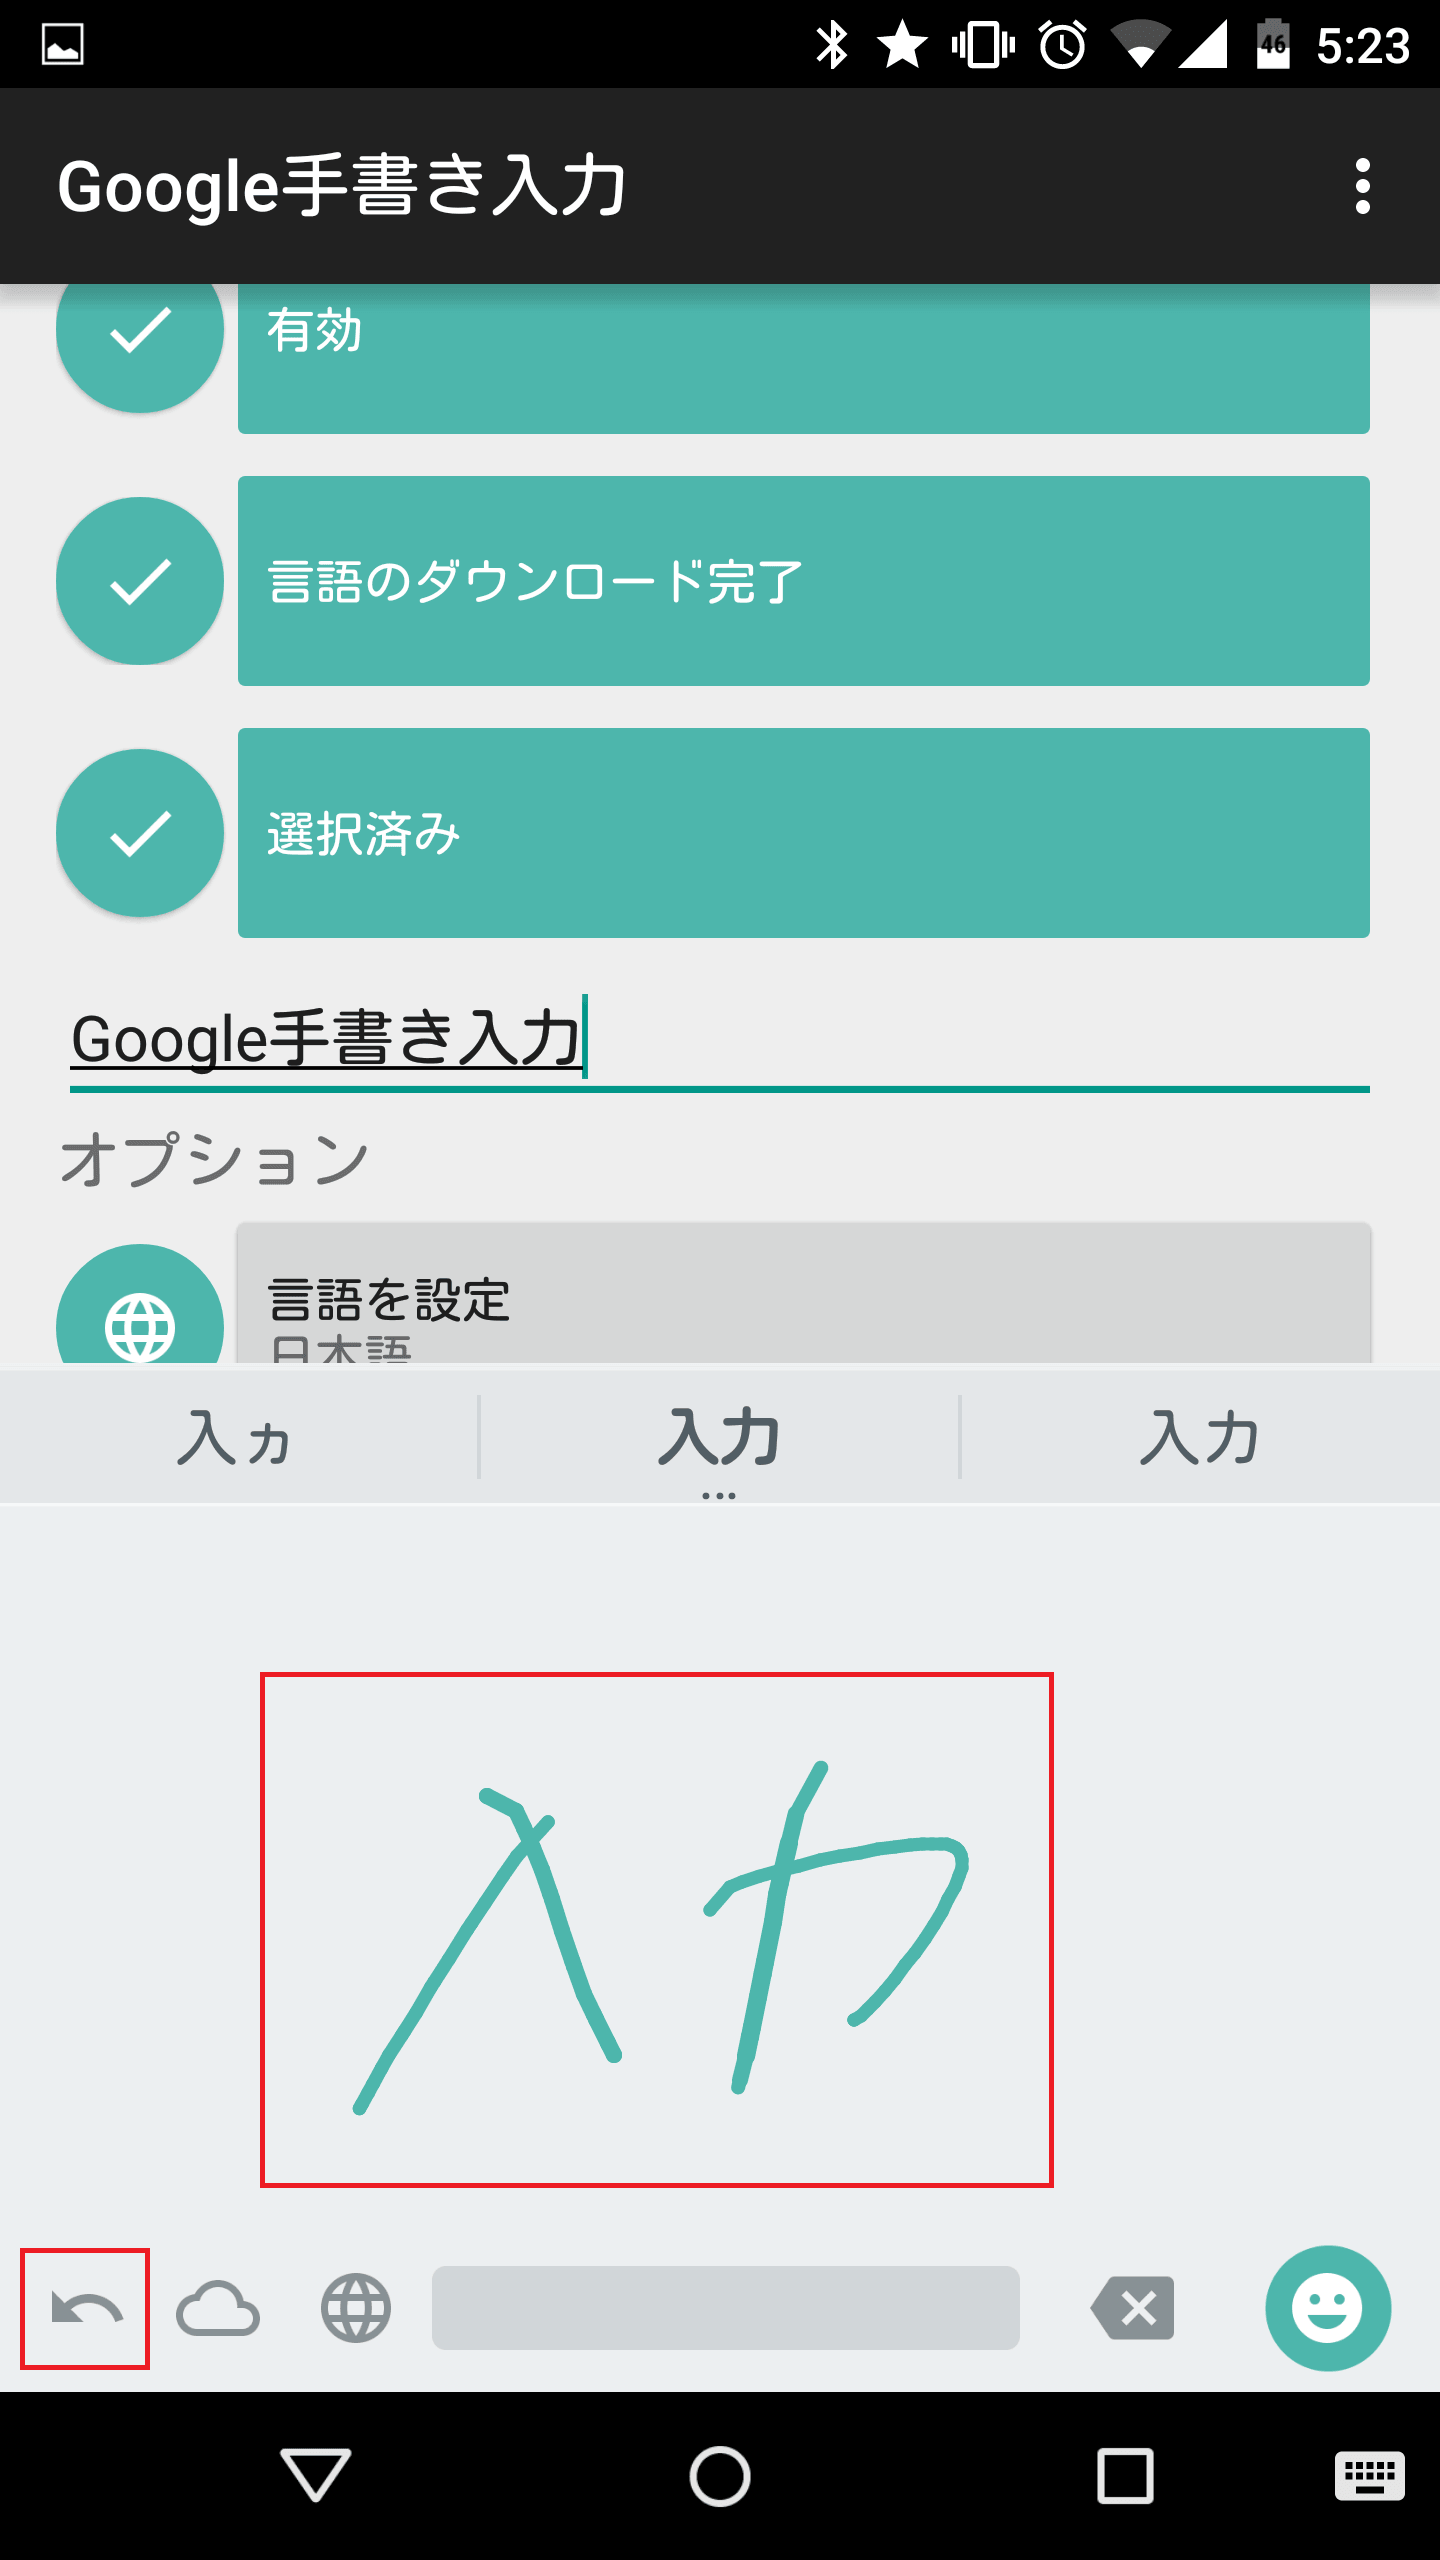
すると、「力」の「ノ」の部分が消されました。
戻るアイコンを数回タップすれば、その回数分取り消されます。
Google手書き入力のその他の設定方法
Google手書き入力には他にもいくつか設定があるので、以下に紹介しておきます。テーマを切り替える
Google手書き入力では、テーマを切り替えることができます。右上のメニューキーをタップします。
「設定」をタップします。

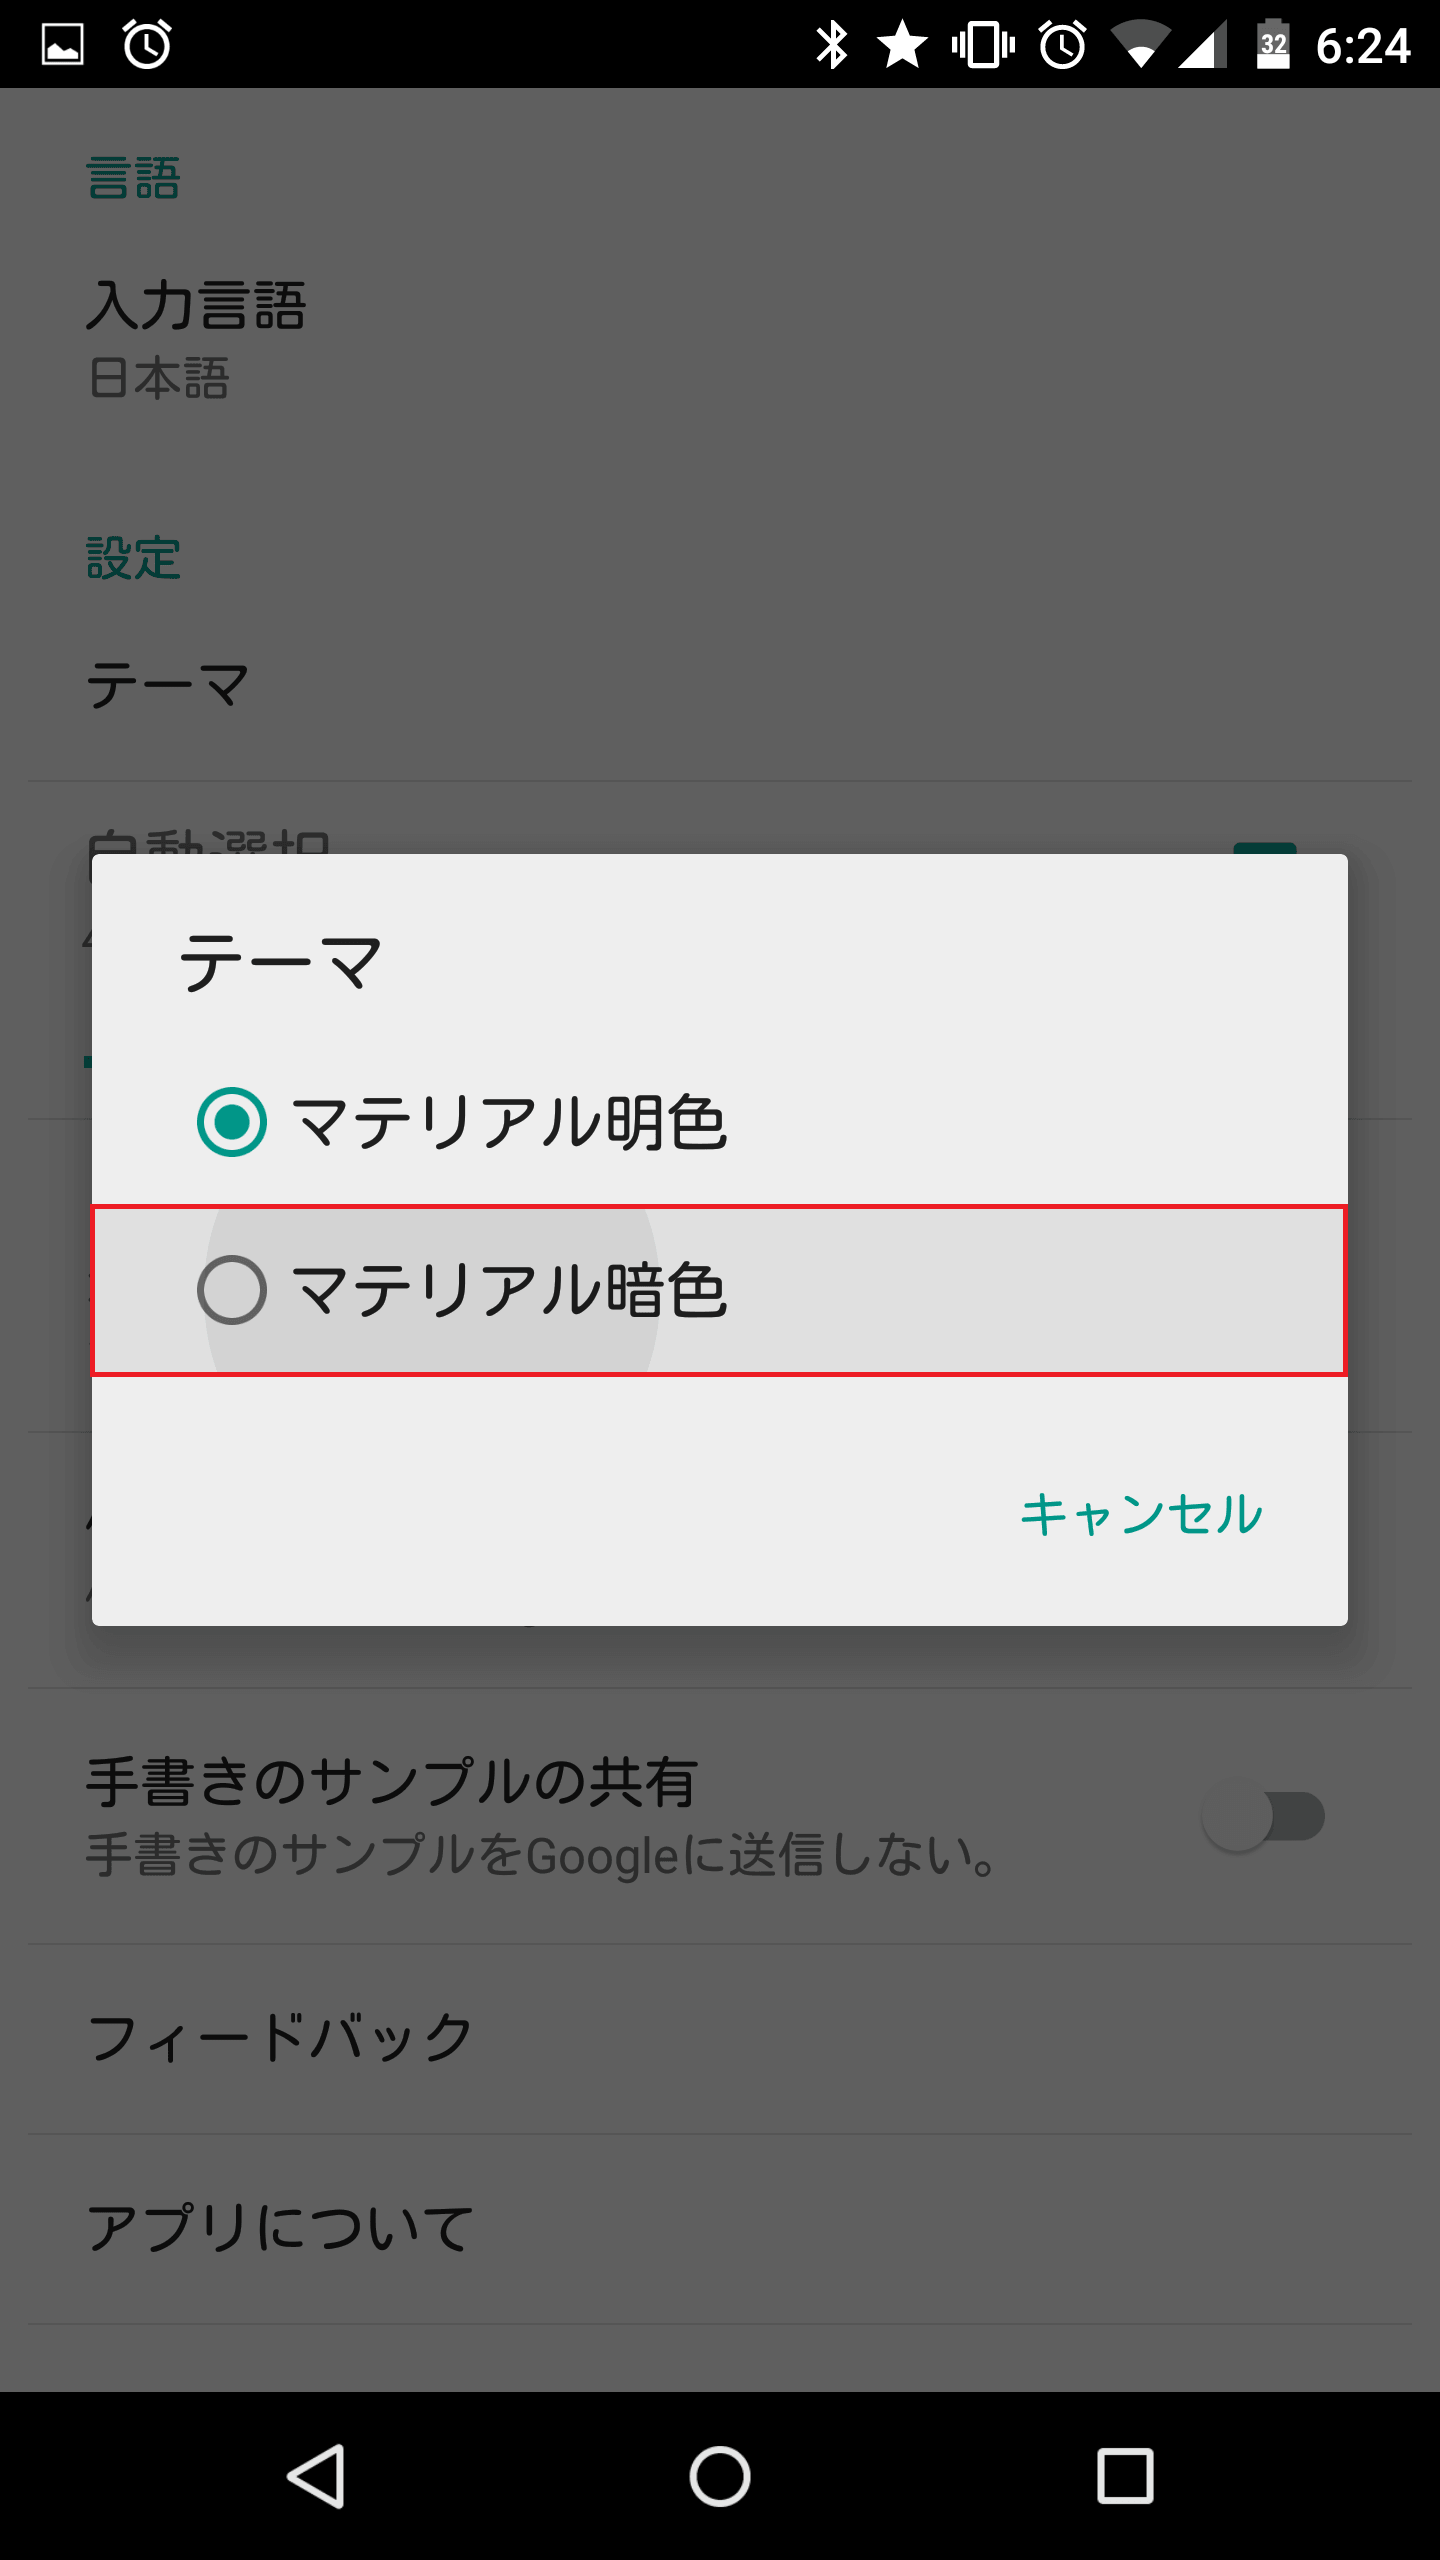
「テーマ」をタップします。
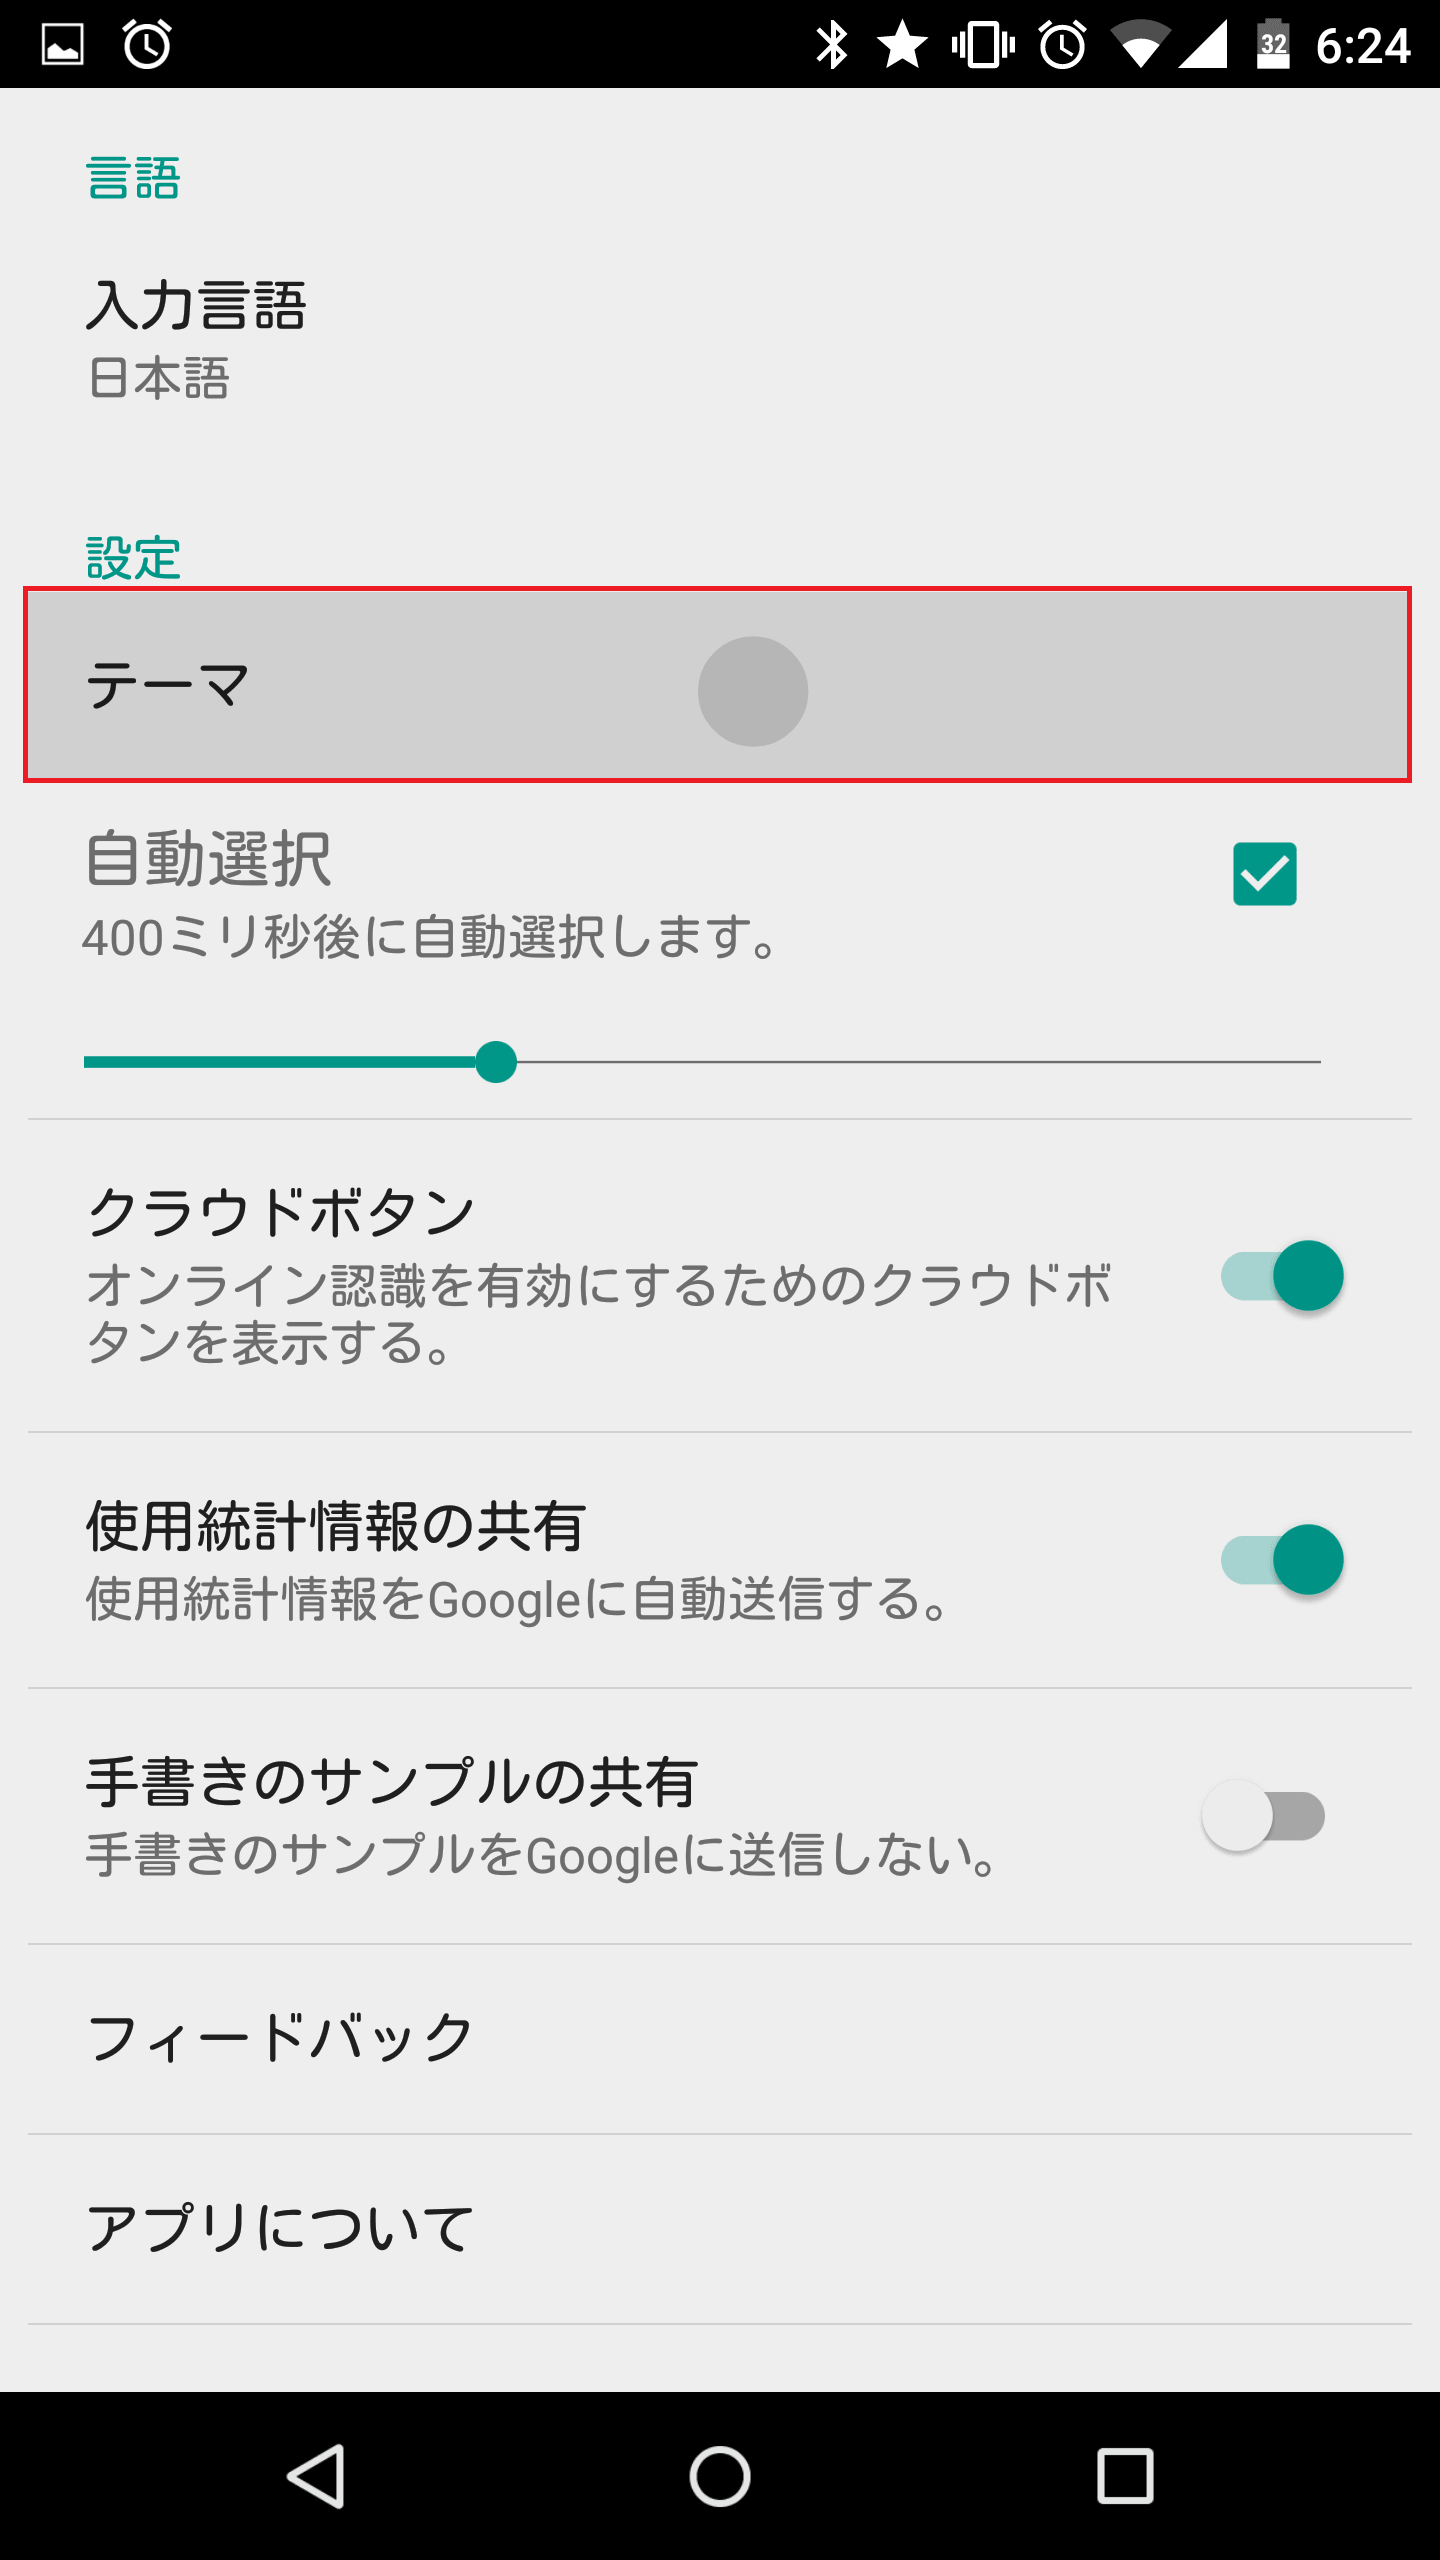
標準は「マテリアル明色」になっています。これを「マテリアル暗色」に変更してみます。
入力部分が暗いテーマになりました。
自動選択までの猶予時間を指定する
Google手書き入力は、自分が手書きで書いた文字に対して消したり別の変換候補の選択などのアクションを何も起こさなかった場合、一定時間後に自動で現在選択している文字に変換します。慣れていないうちは、この「一定時間」が短く感じることもあるかと思いますが、Google手書き入力の設定で一定時間を長く設定することもできます。
右上のメニューキーをタップします。
「設定」をタップします。
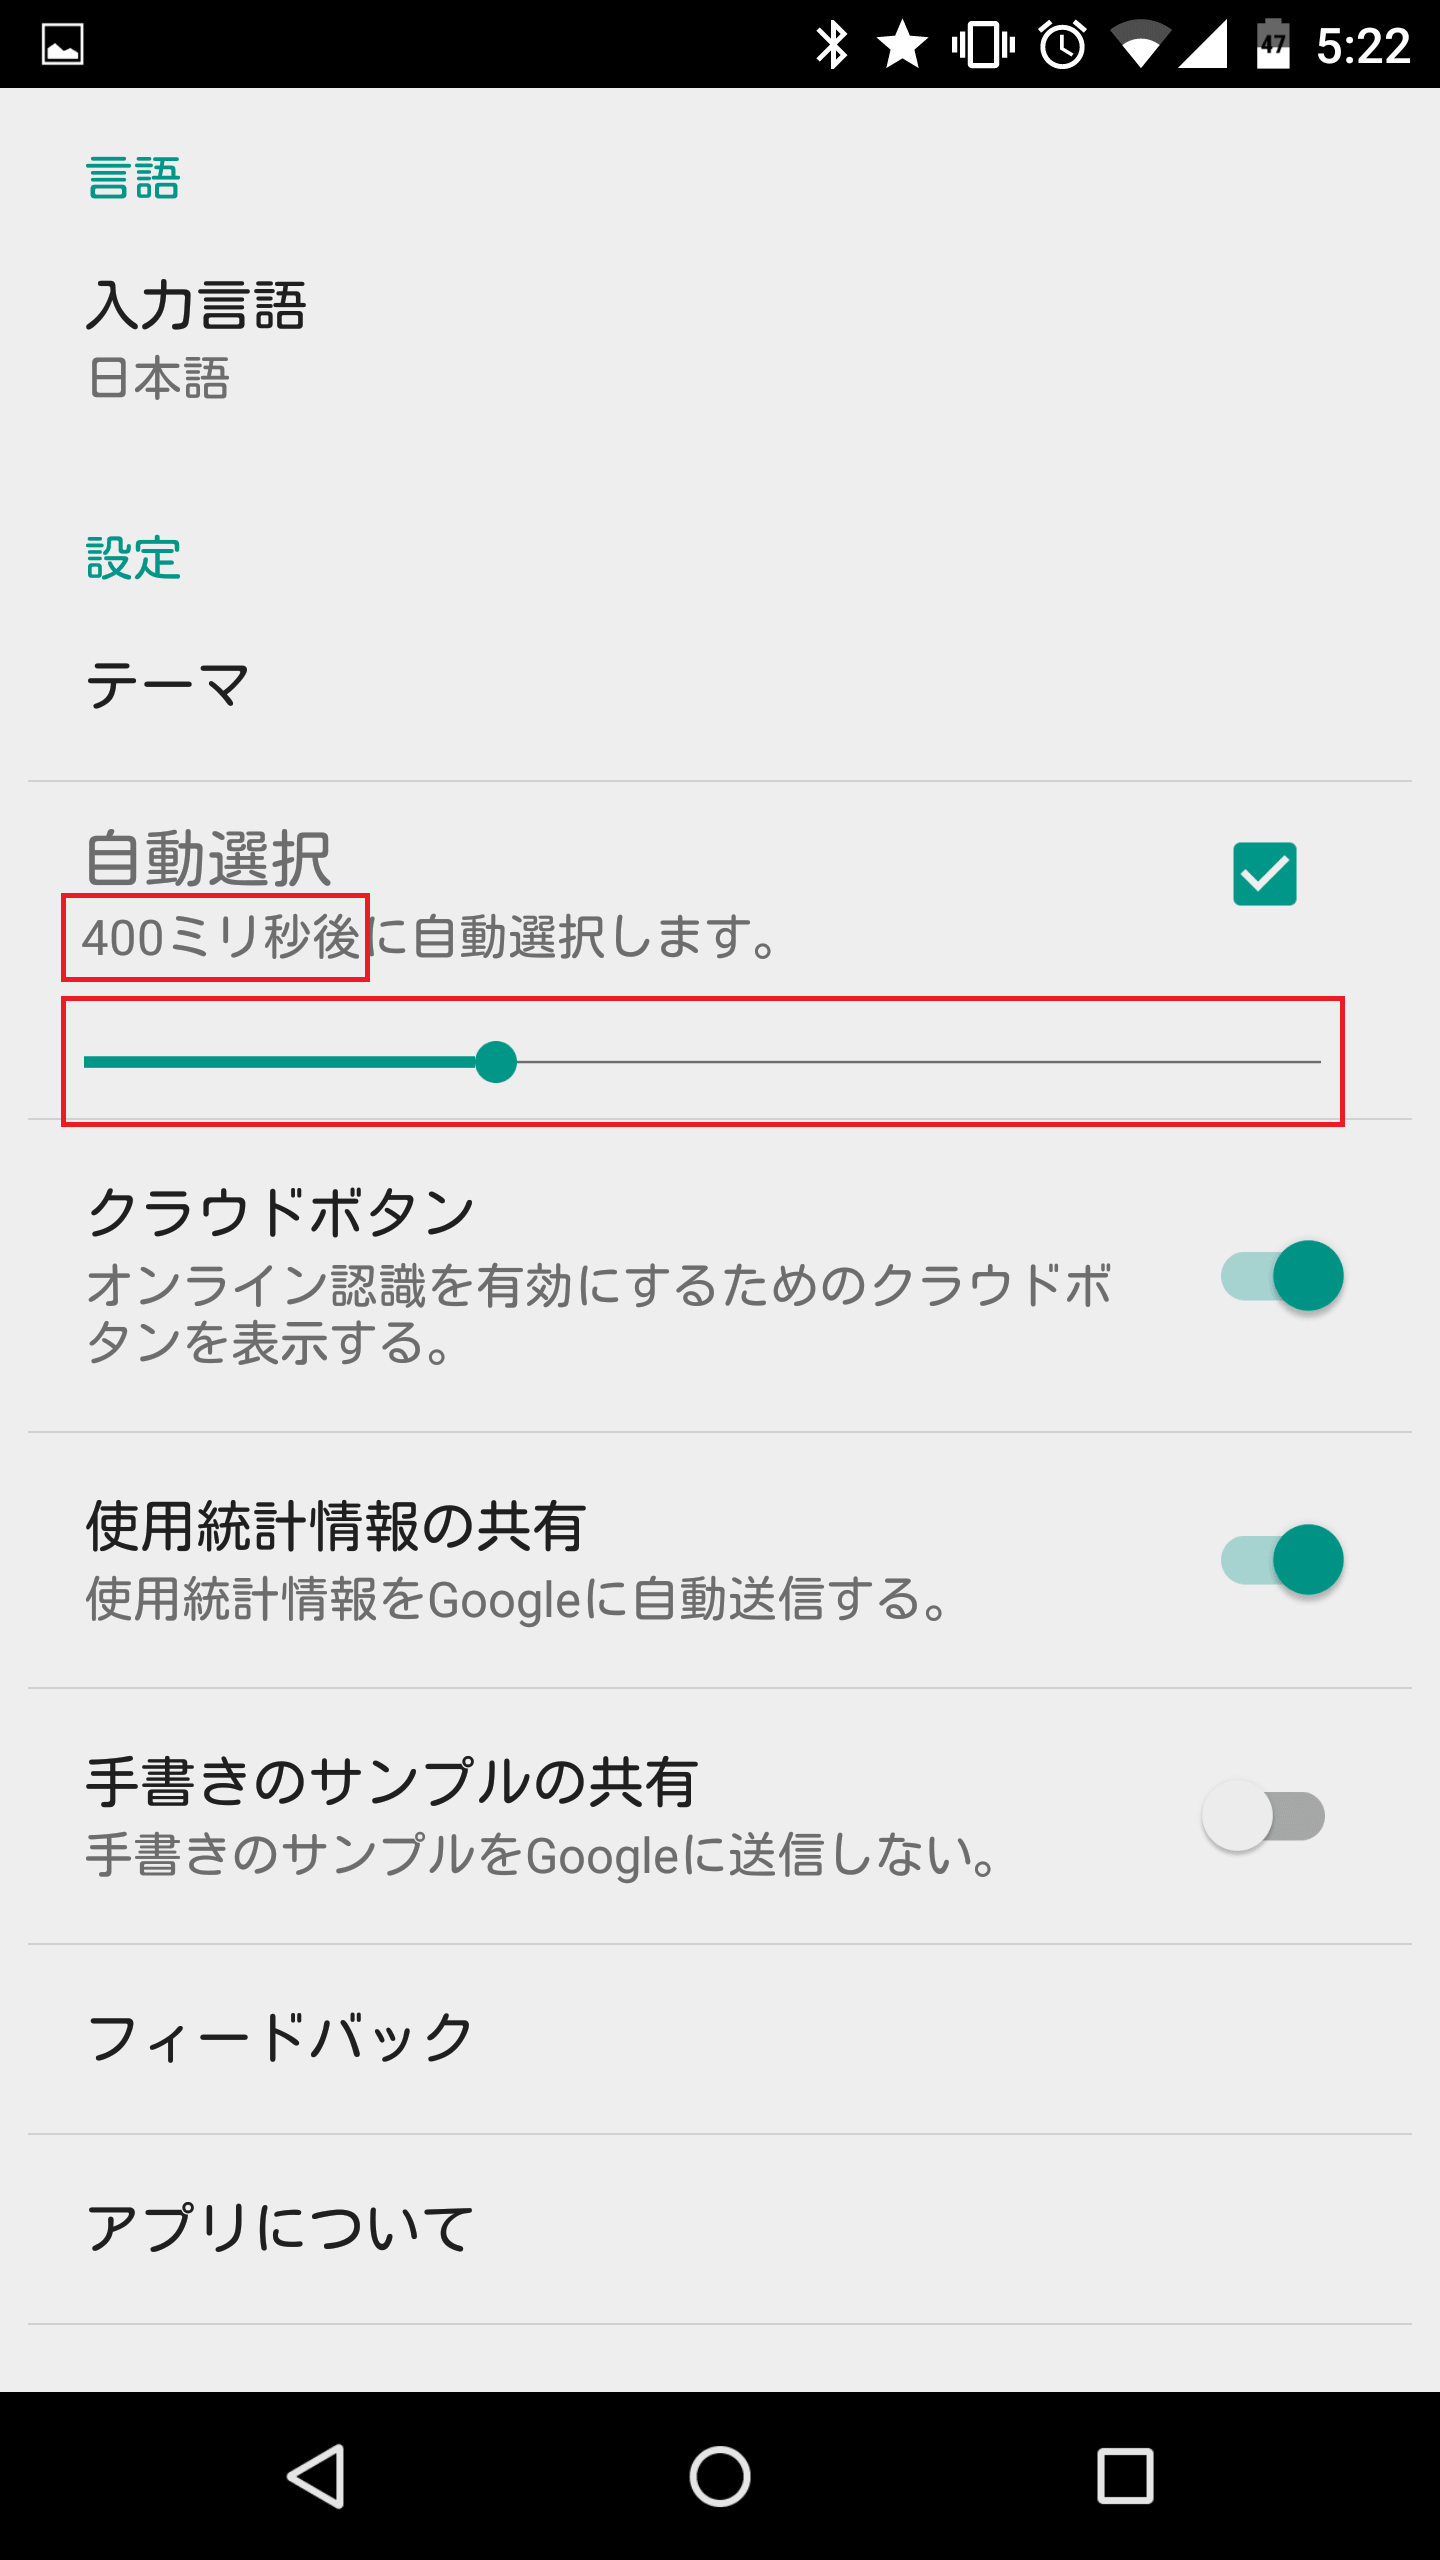
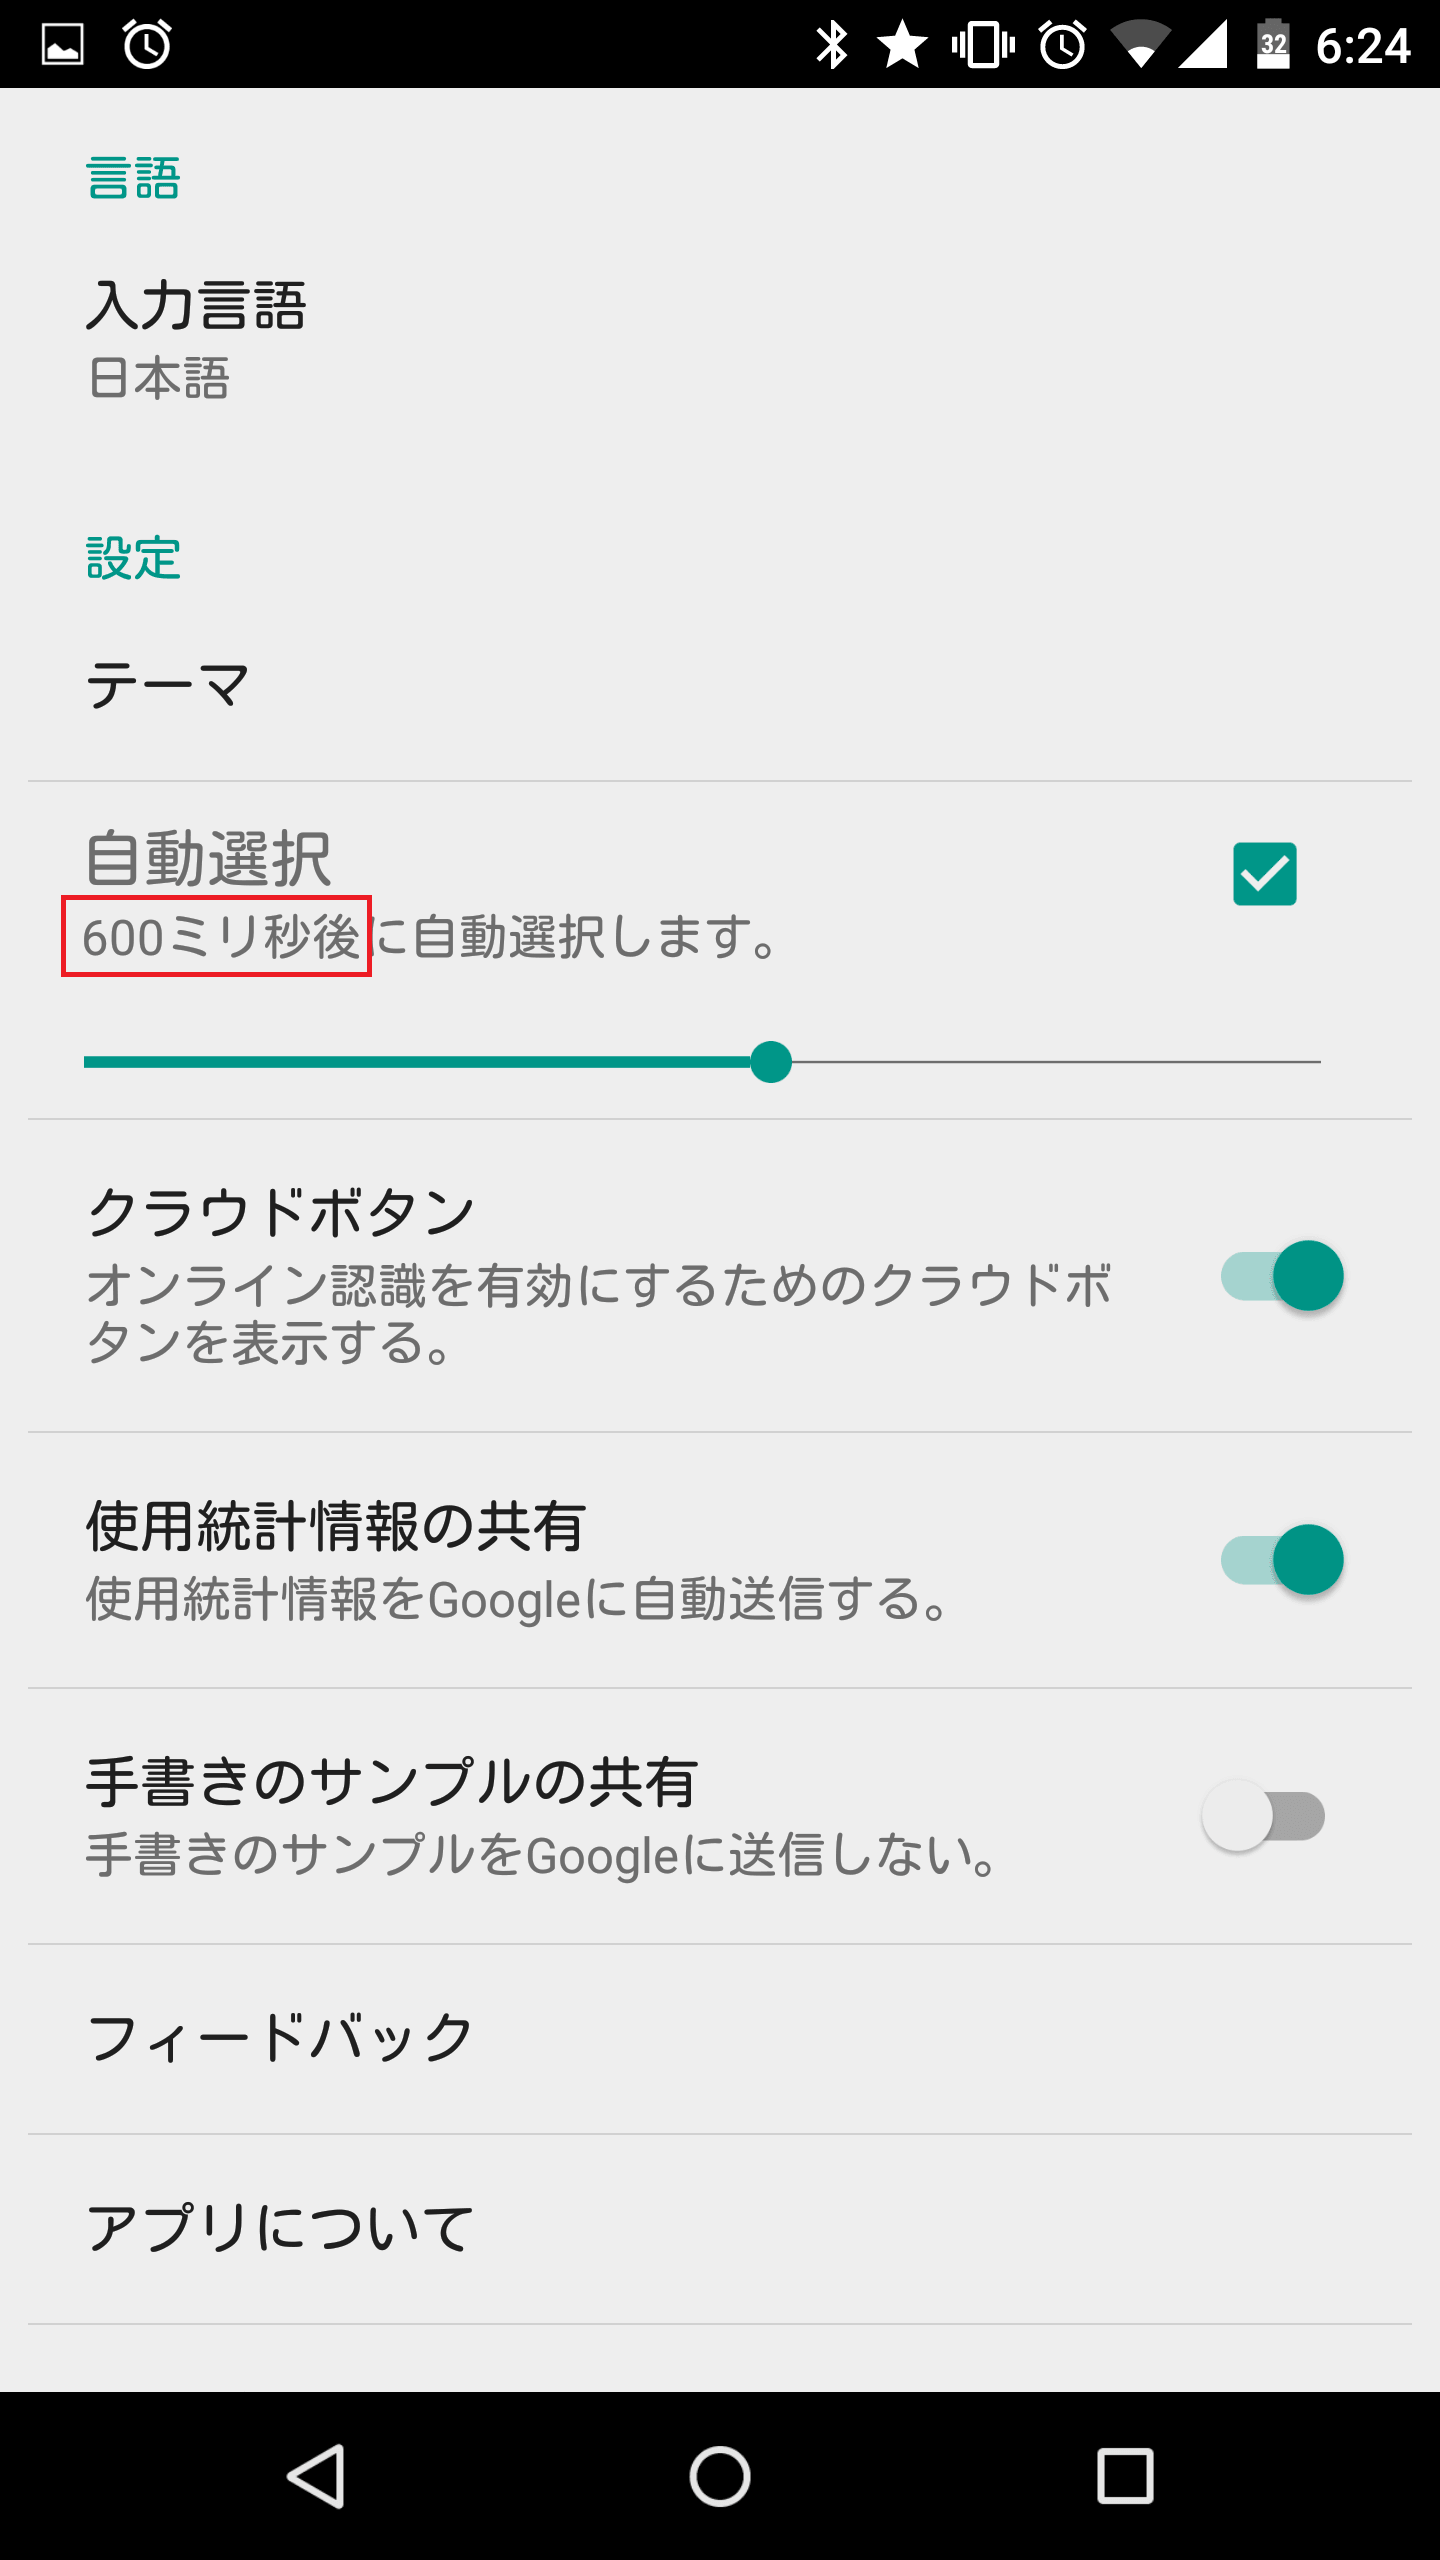
「自動選択」の項目のシークバーをスライドさせます。標準は「400ミリ秒後」になっていますが、シークバーを右にスライドさせることで長めに設定することができます。
「600ミリ秒」にするだけでも、体感で遅くなったのが分かります。自分の使いやすい秒数を選んでみてください。
Google手書き入力はまだリリースされたばかりですが、変換精度が高く使い勝手が良いと思います。
また、これが無料で使えるというのも大きなメリットですね。
Google手書き入力は、タブレットなどの大画面で特に便利に使えると思います。ぜひ試してみてください。
Google手書き入力の設定方法と使い方は以上です。
Google手書き入力 - Google Play のアプリ