目次
なお、Nexus6のドライバをインストールしたのはWindows 8.1搭載のPCです。
Google USB Driverのダウンロード
Nexus6のドライバをインストールする前に、まずはGoogle USB Driverをダウンロードします。Google USB Driverにアクセスします。
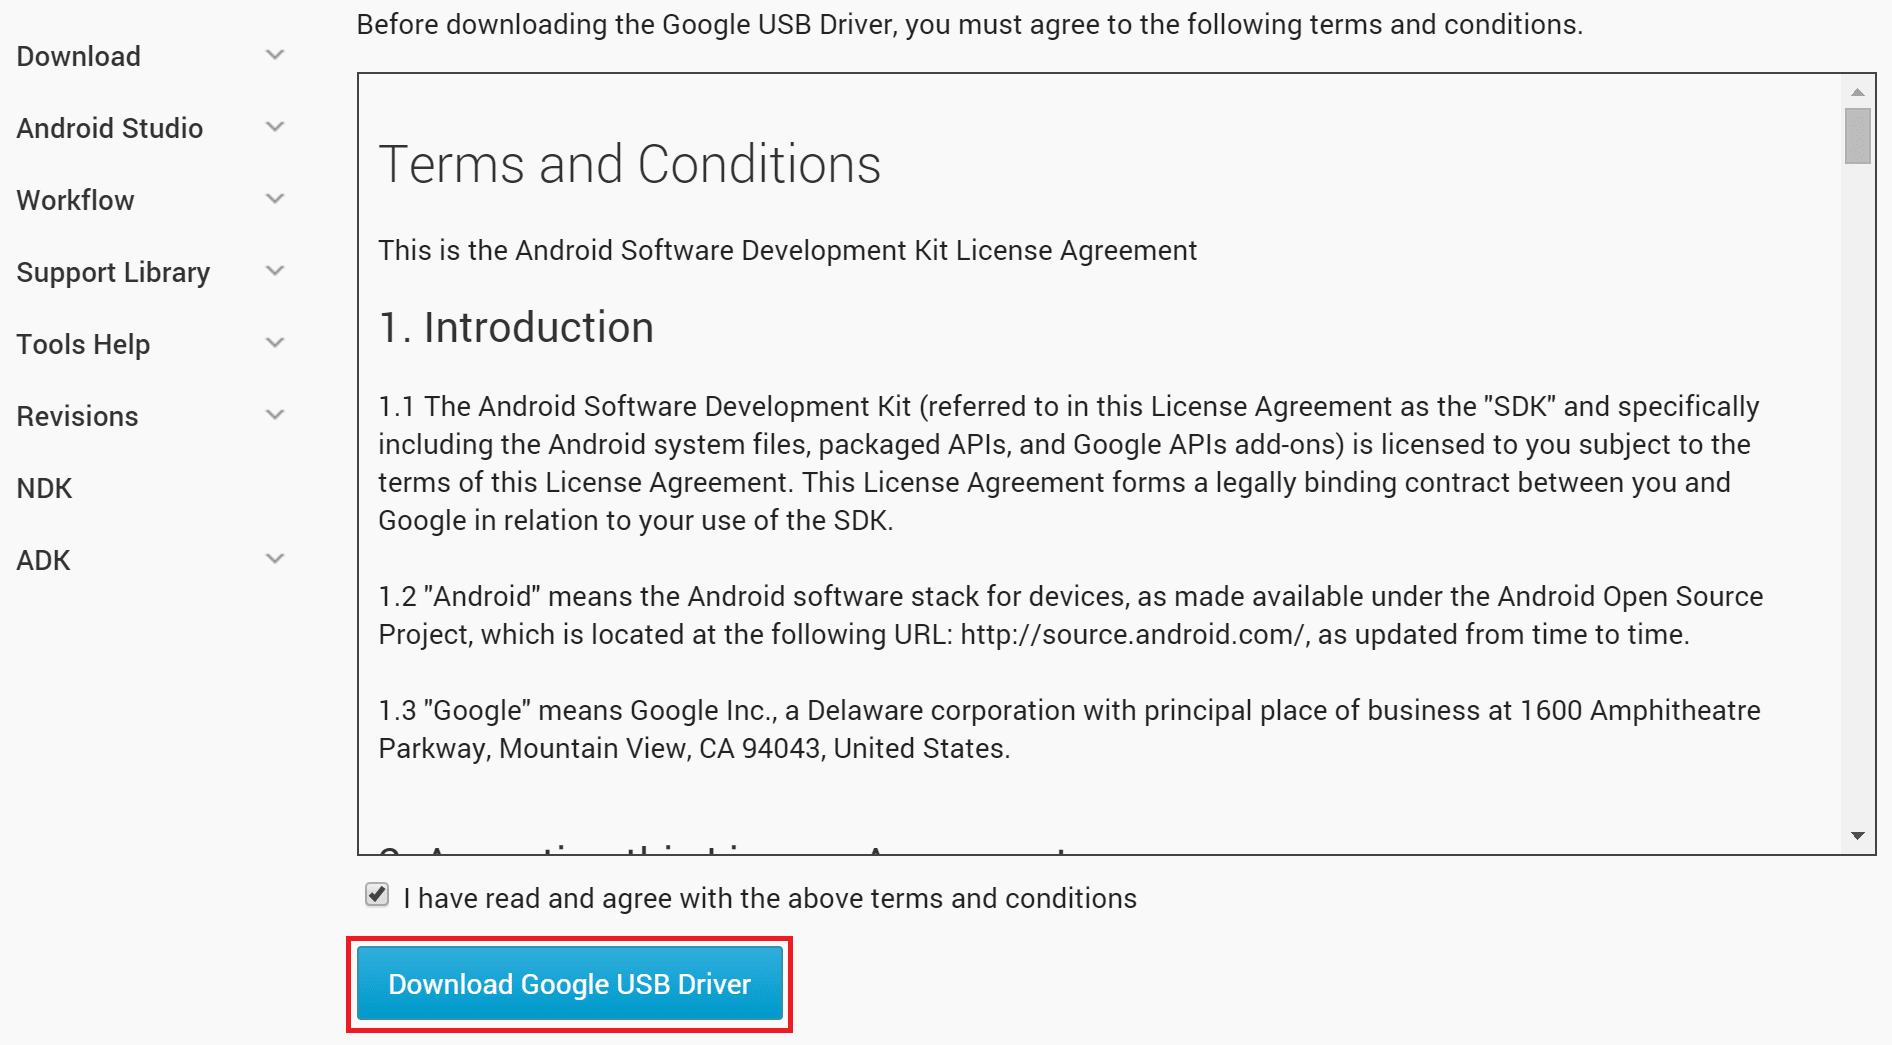
「Download Google USB Driver」をクリックします。

「I have read and agree with the above terms and conditions」にチェックを入れて「Download Google USB Driver」をクリックします。
ダウンロードしたzipファイルを解凍しておきます。

Nexus6 USBデバッグオン時のドライバ(Android Composite ADB Interface)インストール方法
Google USB Driverのダウンロードと解凍が終わったら、ドライバをインストールしていきます。Nexus6のUSBデバッグを有効にすると、USBデバッグオン時のドライバ(Android Composite ADB Interface)のインストールが必要になります。
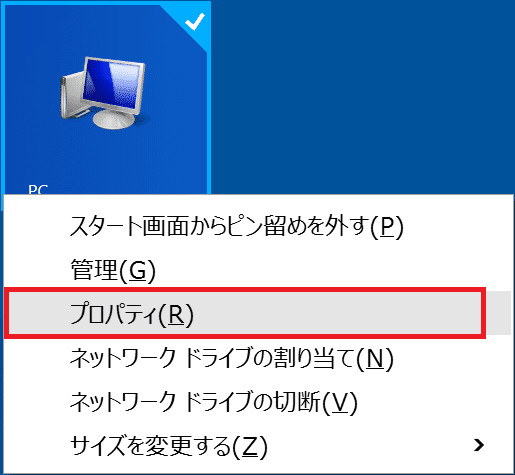
PCを右クリック>プロパティをクリックします。
「デバイスマネージャー」をクリックします。

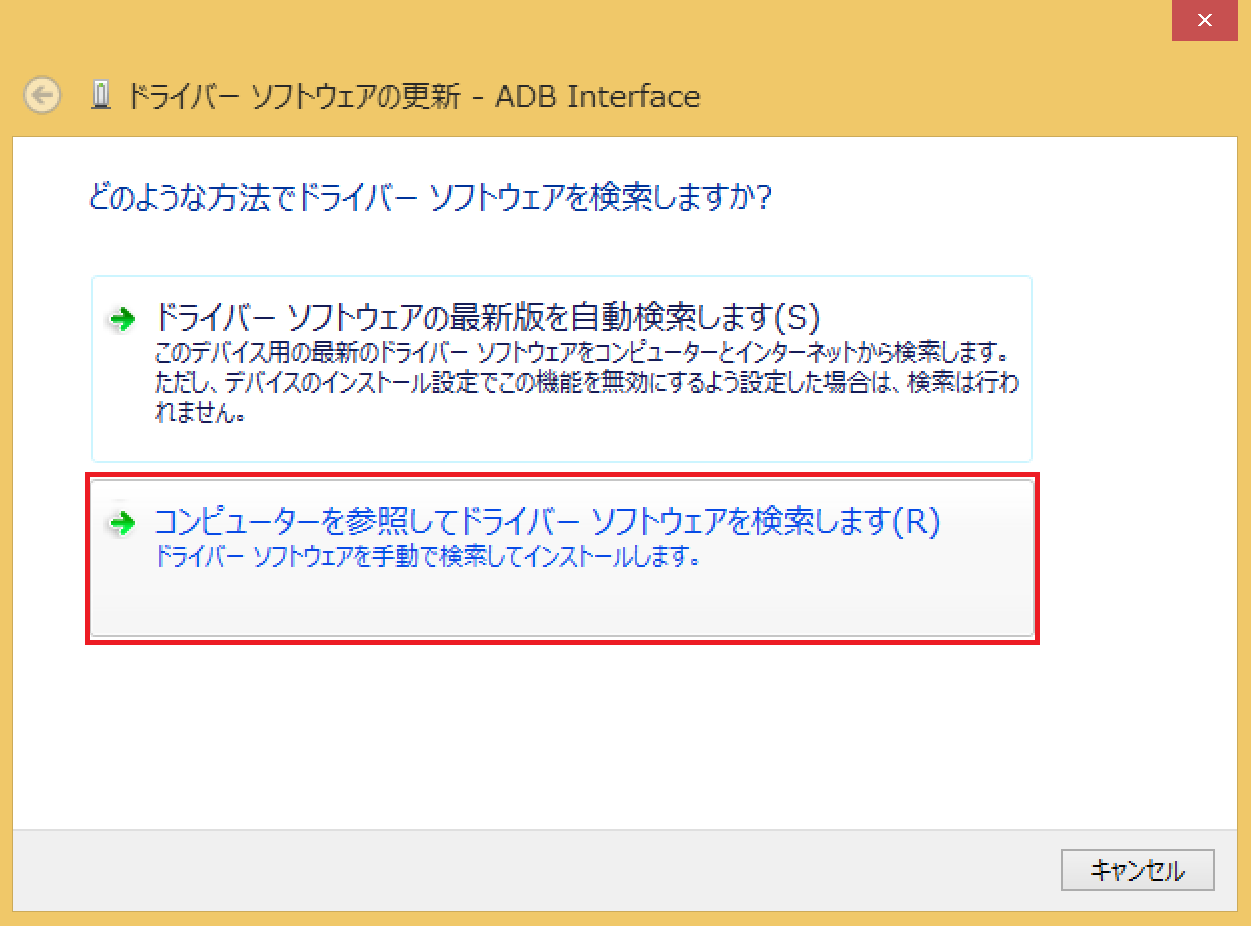
「ほかのデバイス」に!マークのついた「ADB Interface」があるので、右クリック>ドライバー ソフトウェアの更新(P)をクリックします。

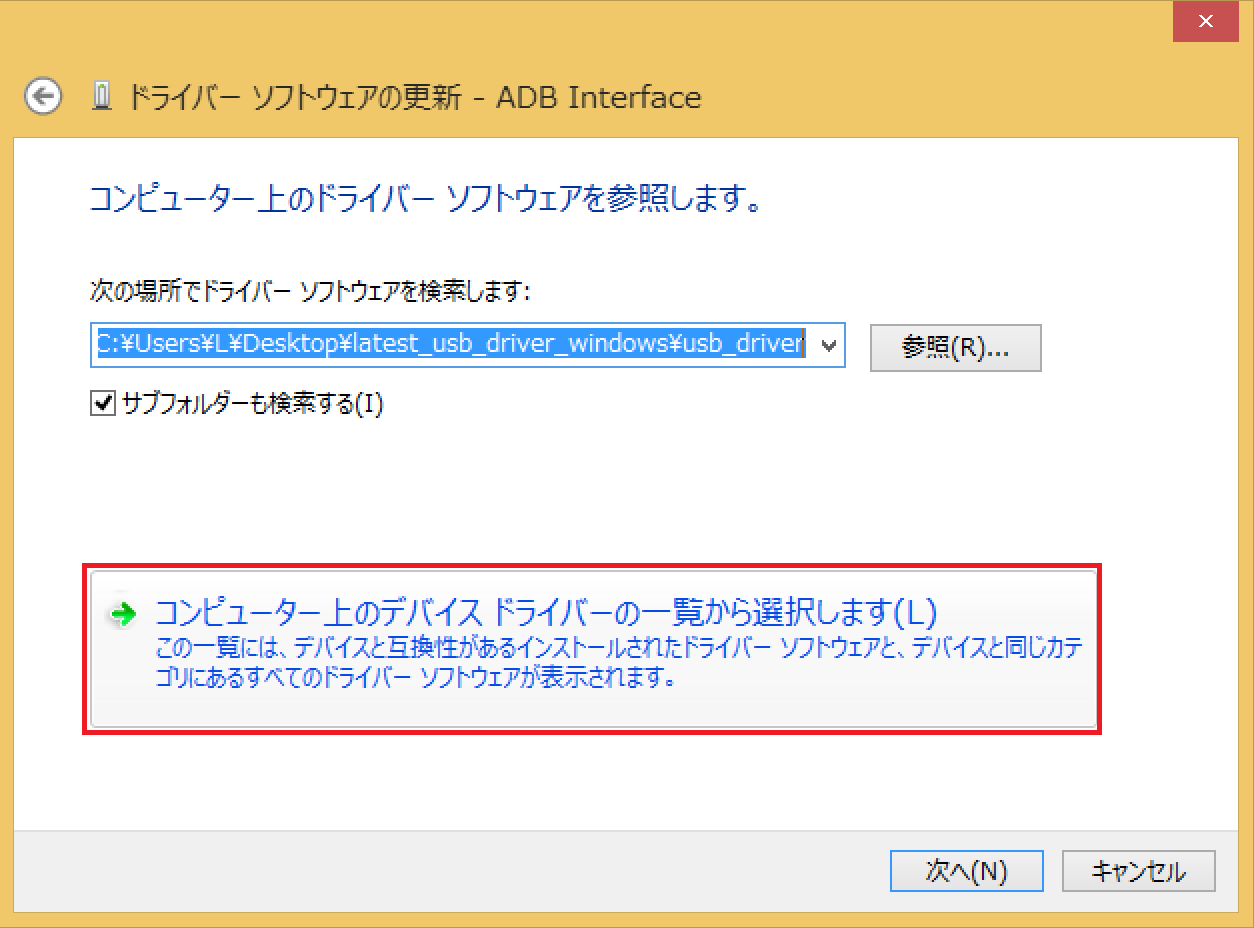
「コンピューターを参照してドライバーソフトウェアを検索します」をクリックします。
「コンピューター上のデバイス ドライバーの一覧から選択します」をクリックします。
「すべてのデバイスを表示」を選んで「次へ」をクリックします。

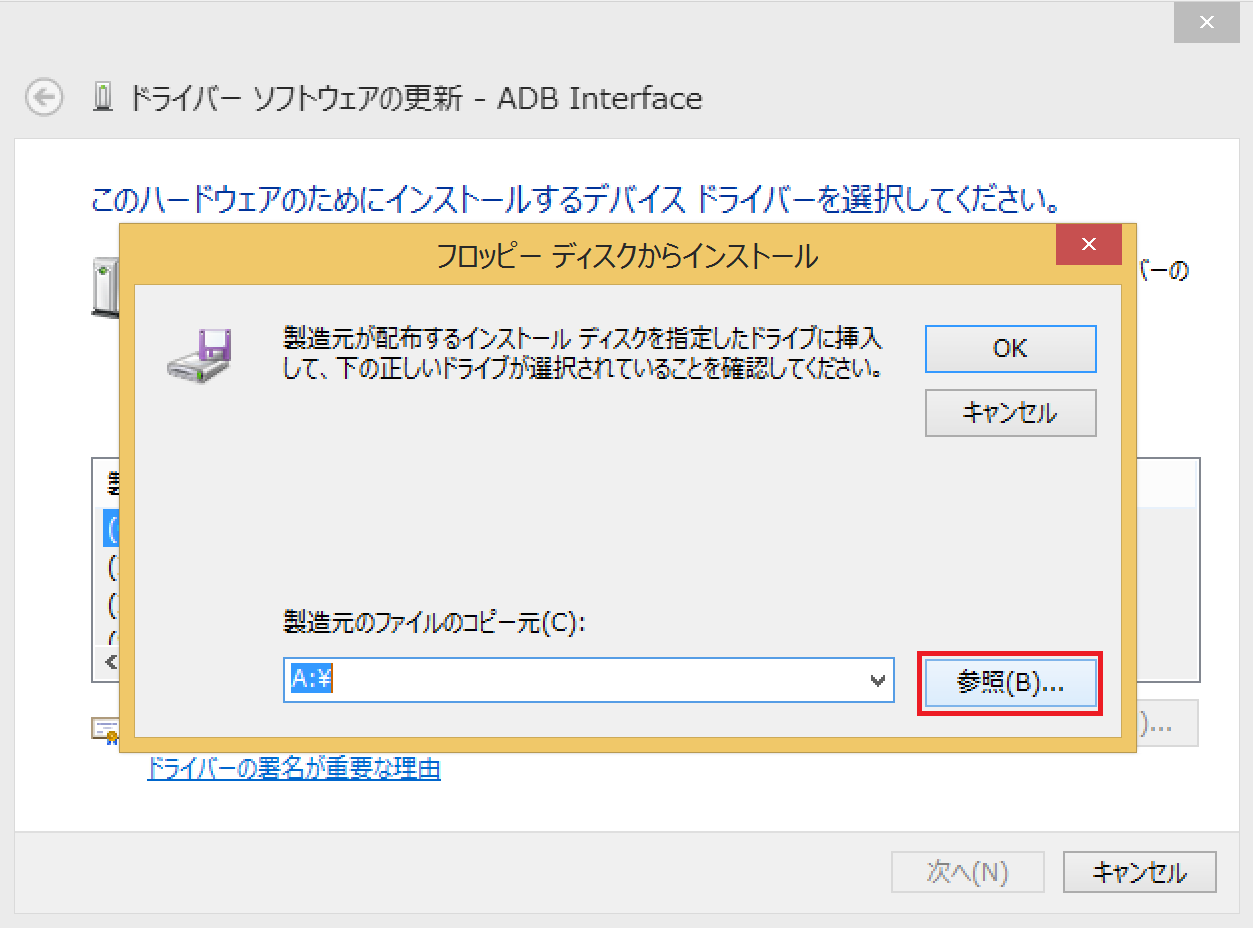
「ディスクを使用」をクリックします。

「参照」をクリックします。
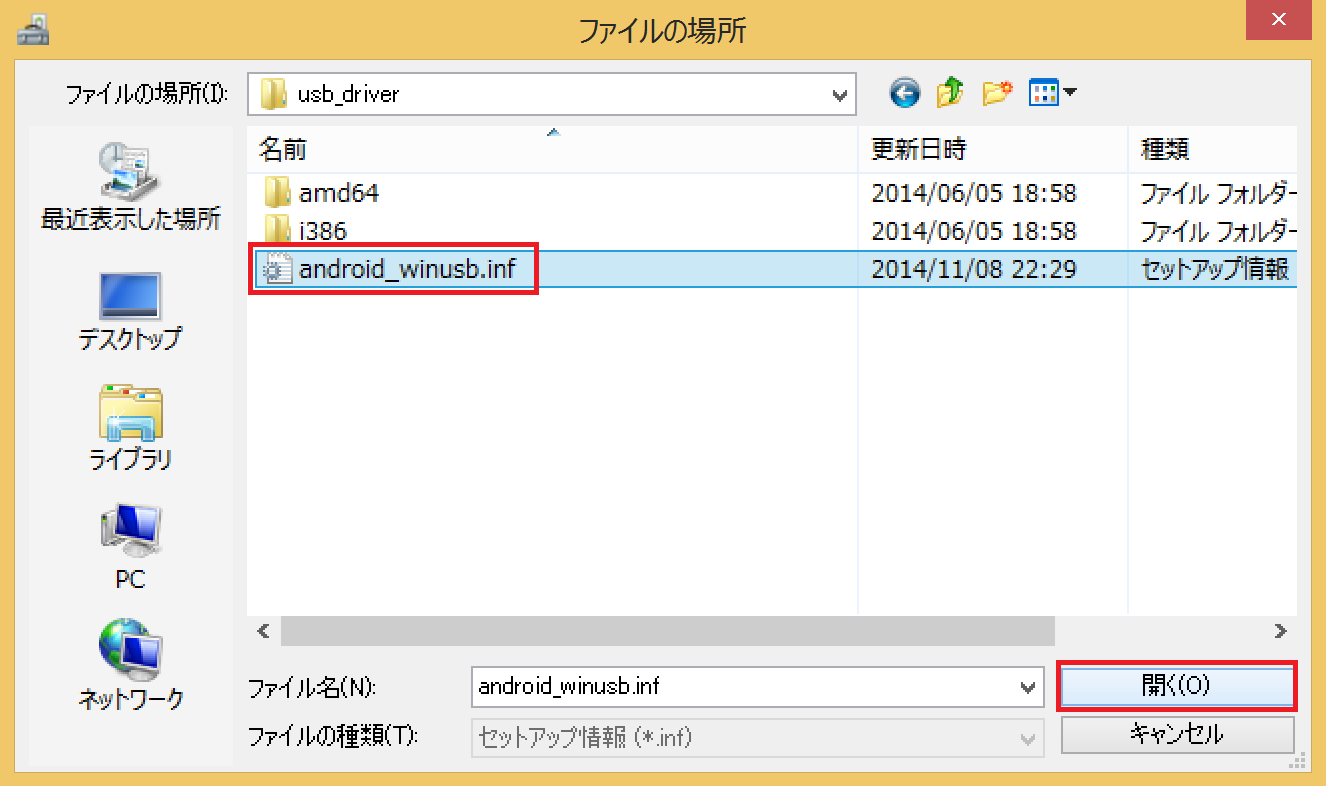
最初にダウンロードしておいたGoogle USB Driverのフォルダの中の「android_winusb.inf」を選んで「開く」をクリックします。
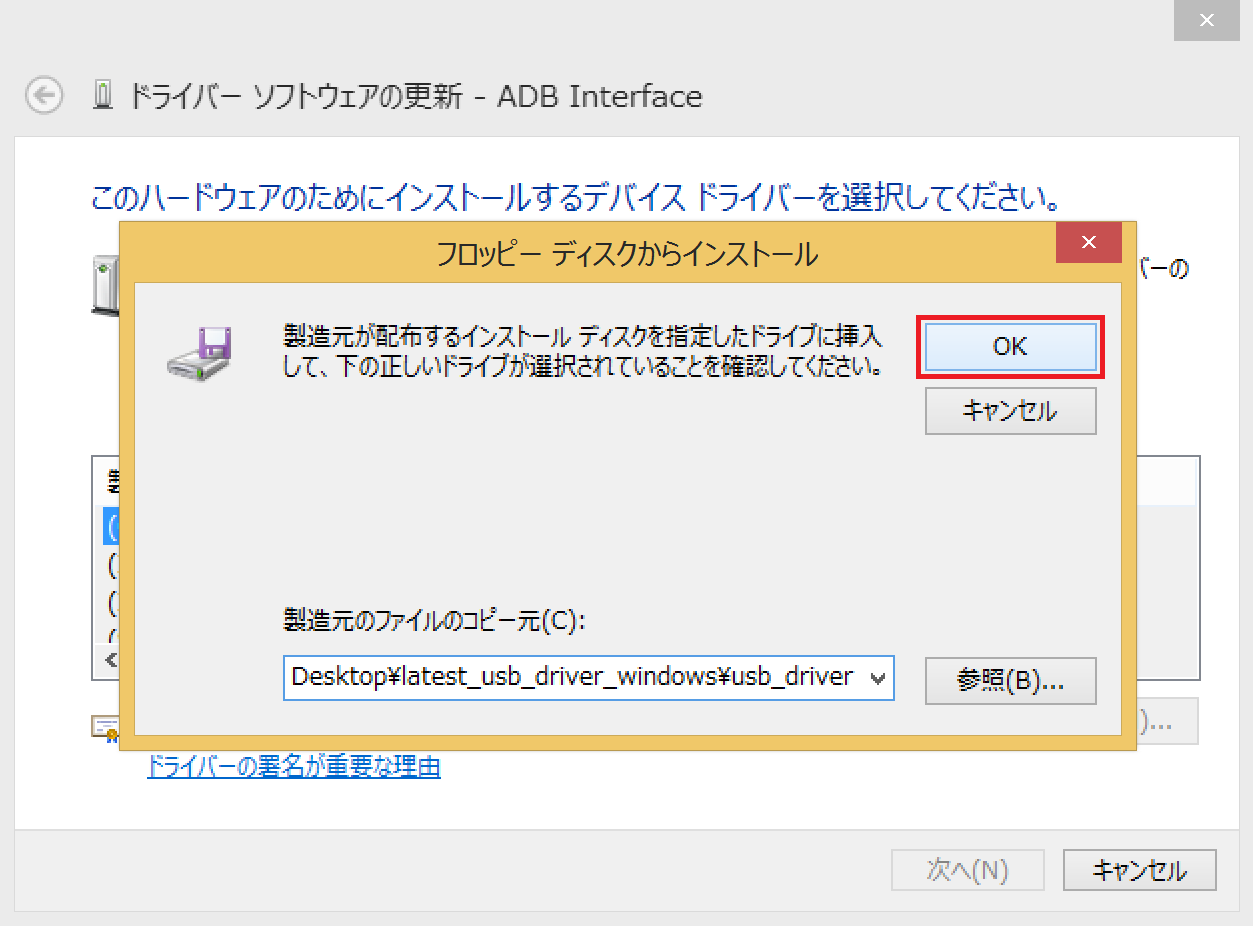
「OK」をクリックします。
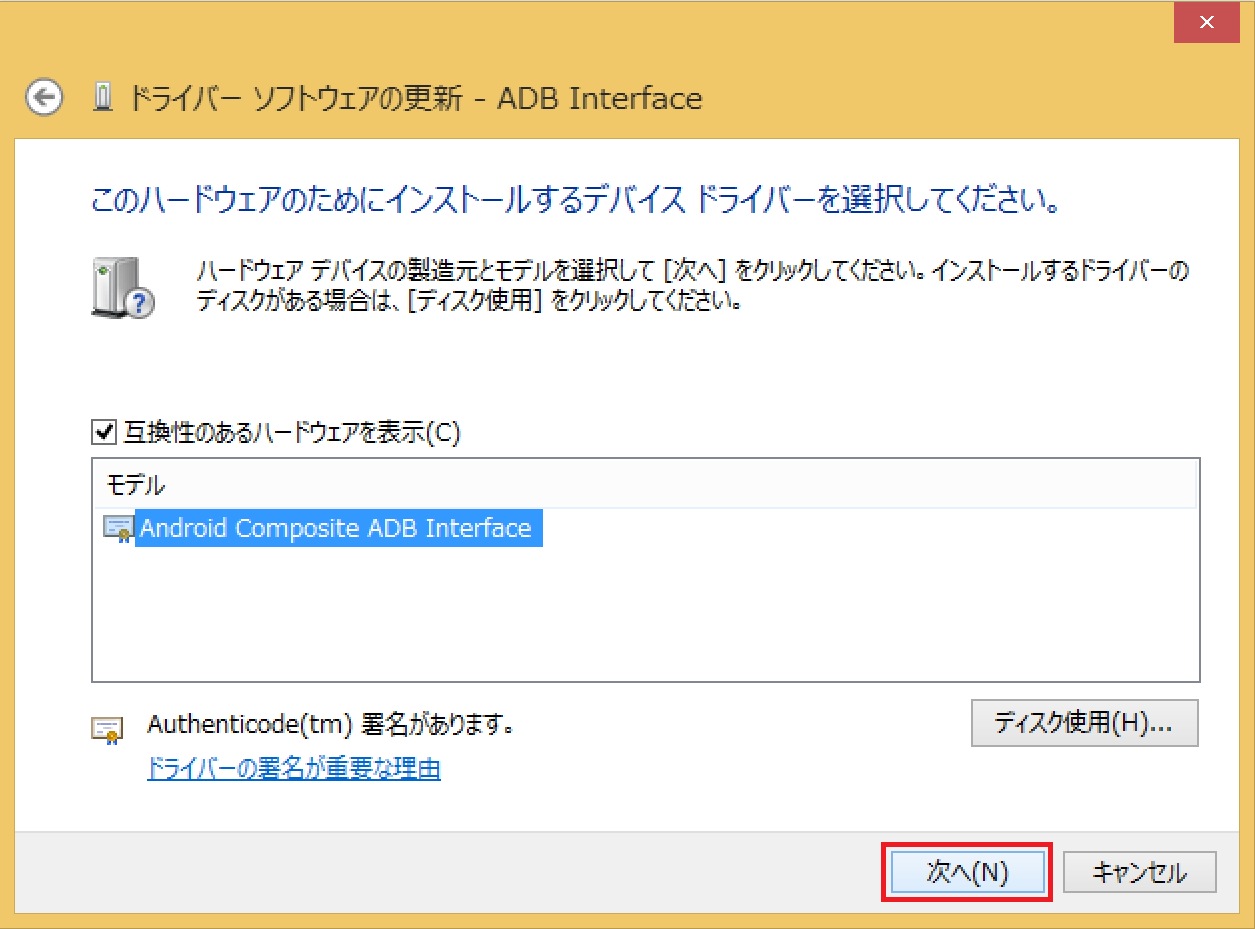
「Android Composite ADB Interface」が一覧に表示されるので、それを選んで「次へ」をクリックします。
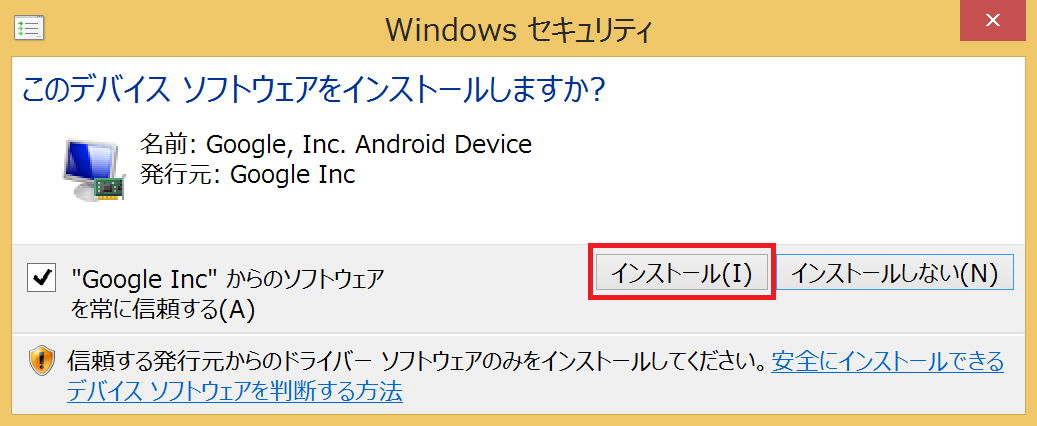
ドライバをインストールするか尋ねてくるので「インストール」をクリックします。
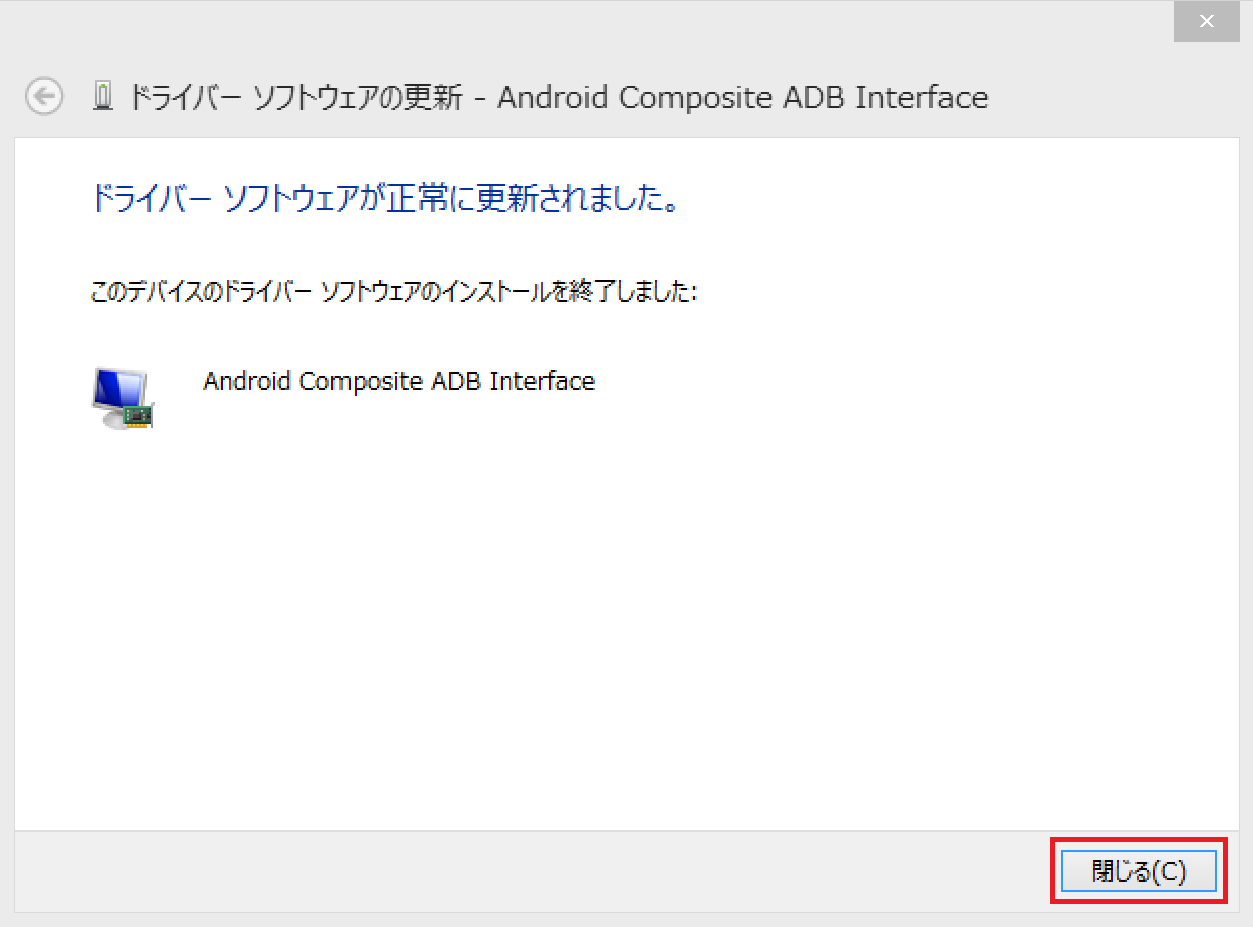
「ドライバー ソフトウェアが正常に更新されました。」と表示されれば、Nexus6のUSBデバッグ時のドライバ(Android Composite ADB Interface)のインストールは完了です。「閉じる」をクリックします。
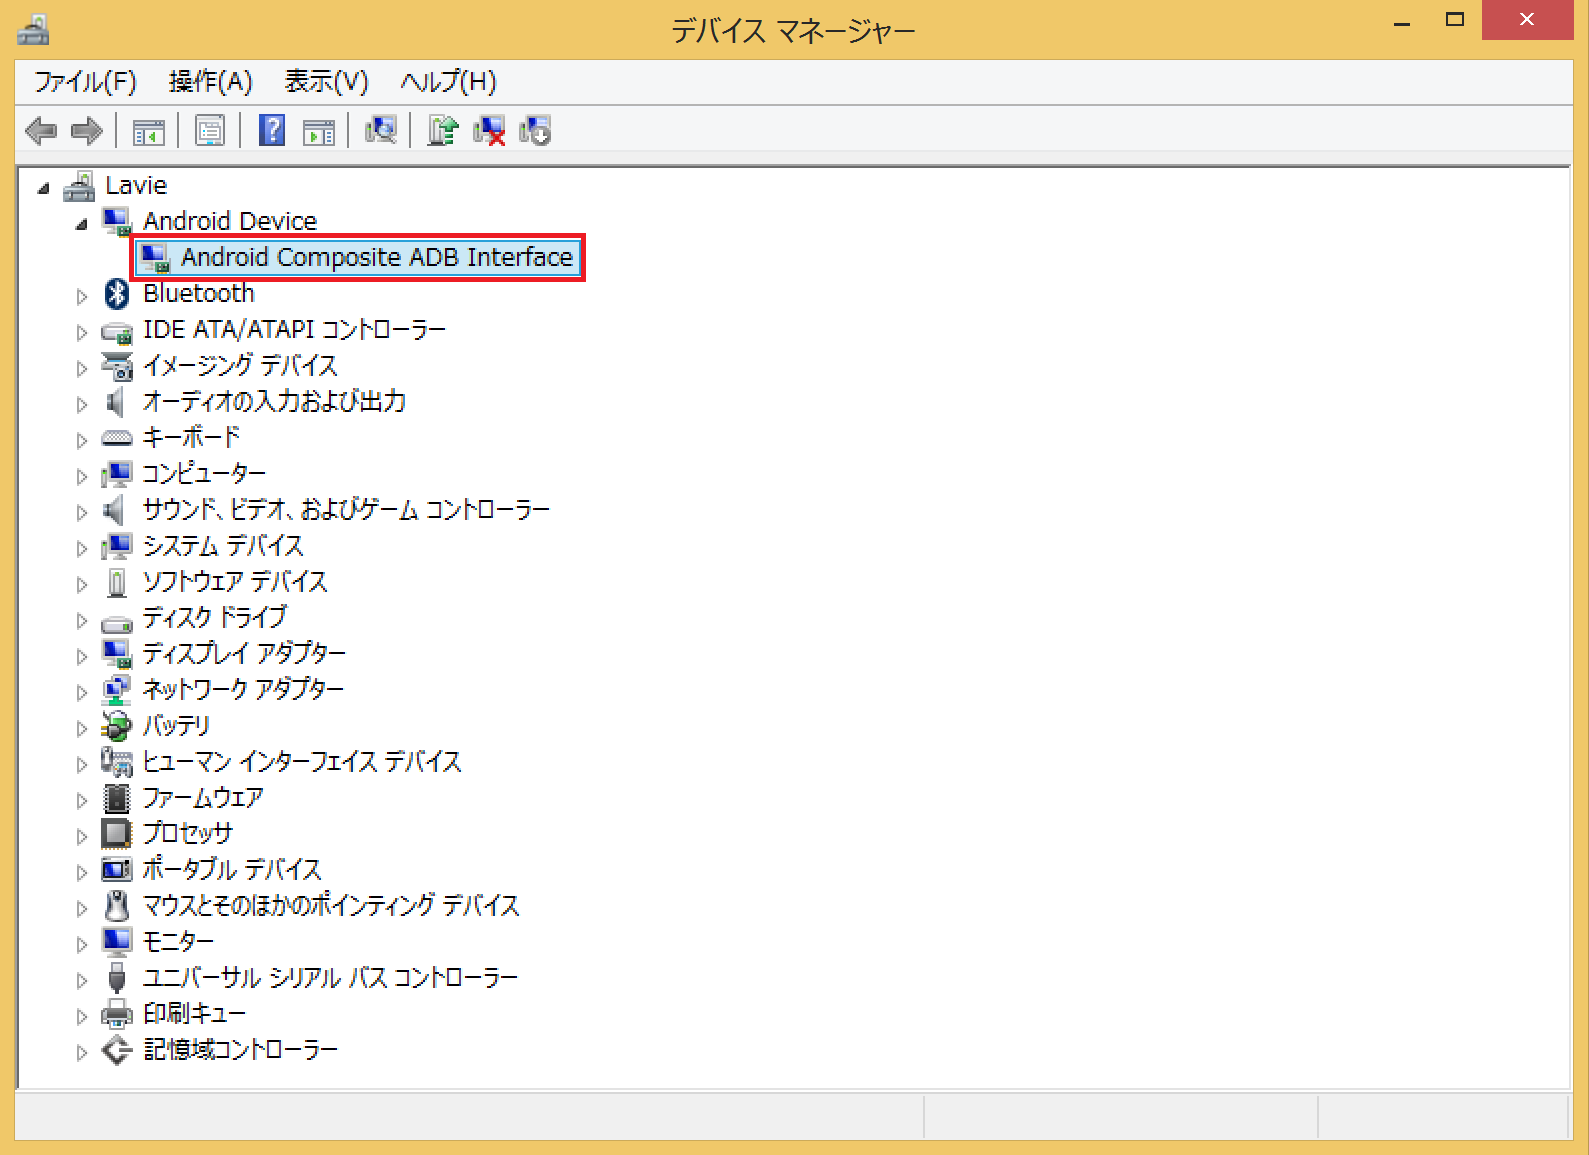
デバイスマネージャーにも「Android Composite ADB Interface」が表示されればOKです。
Nexus6 Fastbootモード時のドライバ(Android Bootloader Interface)インストール方法
次に、Nexus6でFastbootモードを起動しているときのドライバインストール方法です。Nexus6がUSBデバッグオン時のドライバ(Android Composite ADB Interface)がインストールされていれば、Fastbootモード時のドライバも自動でインストールされるはずですが、ここでは手動でインストールする方法を紹介しておきます。
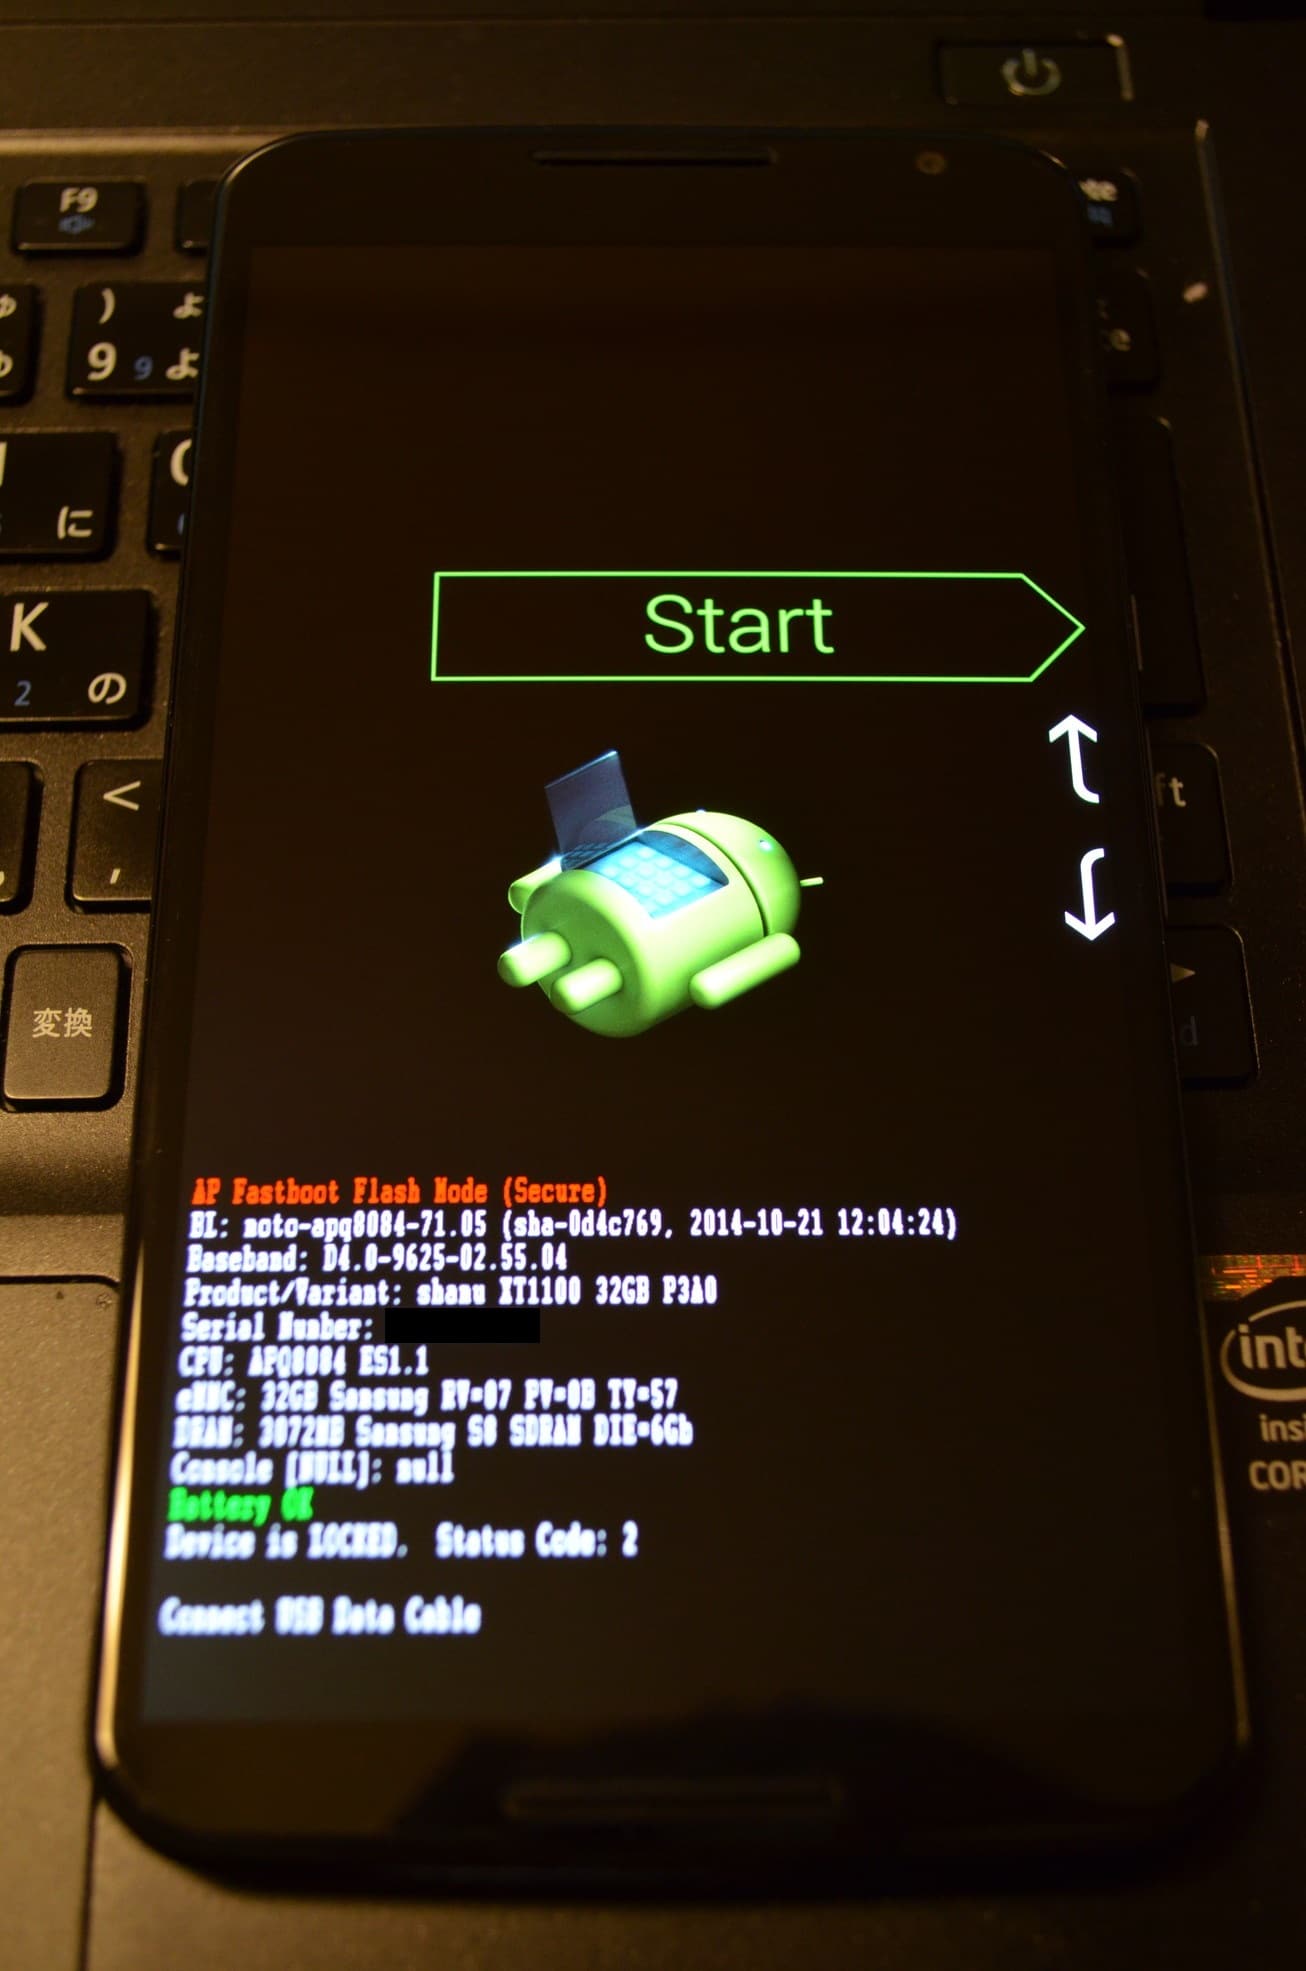
Nexus6のFastbootモードは、電源ボタンとボリュームダウンボタンを同時に長押しすると起動します。
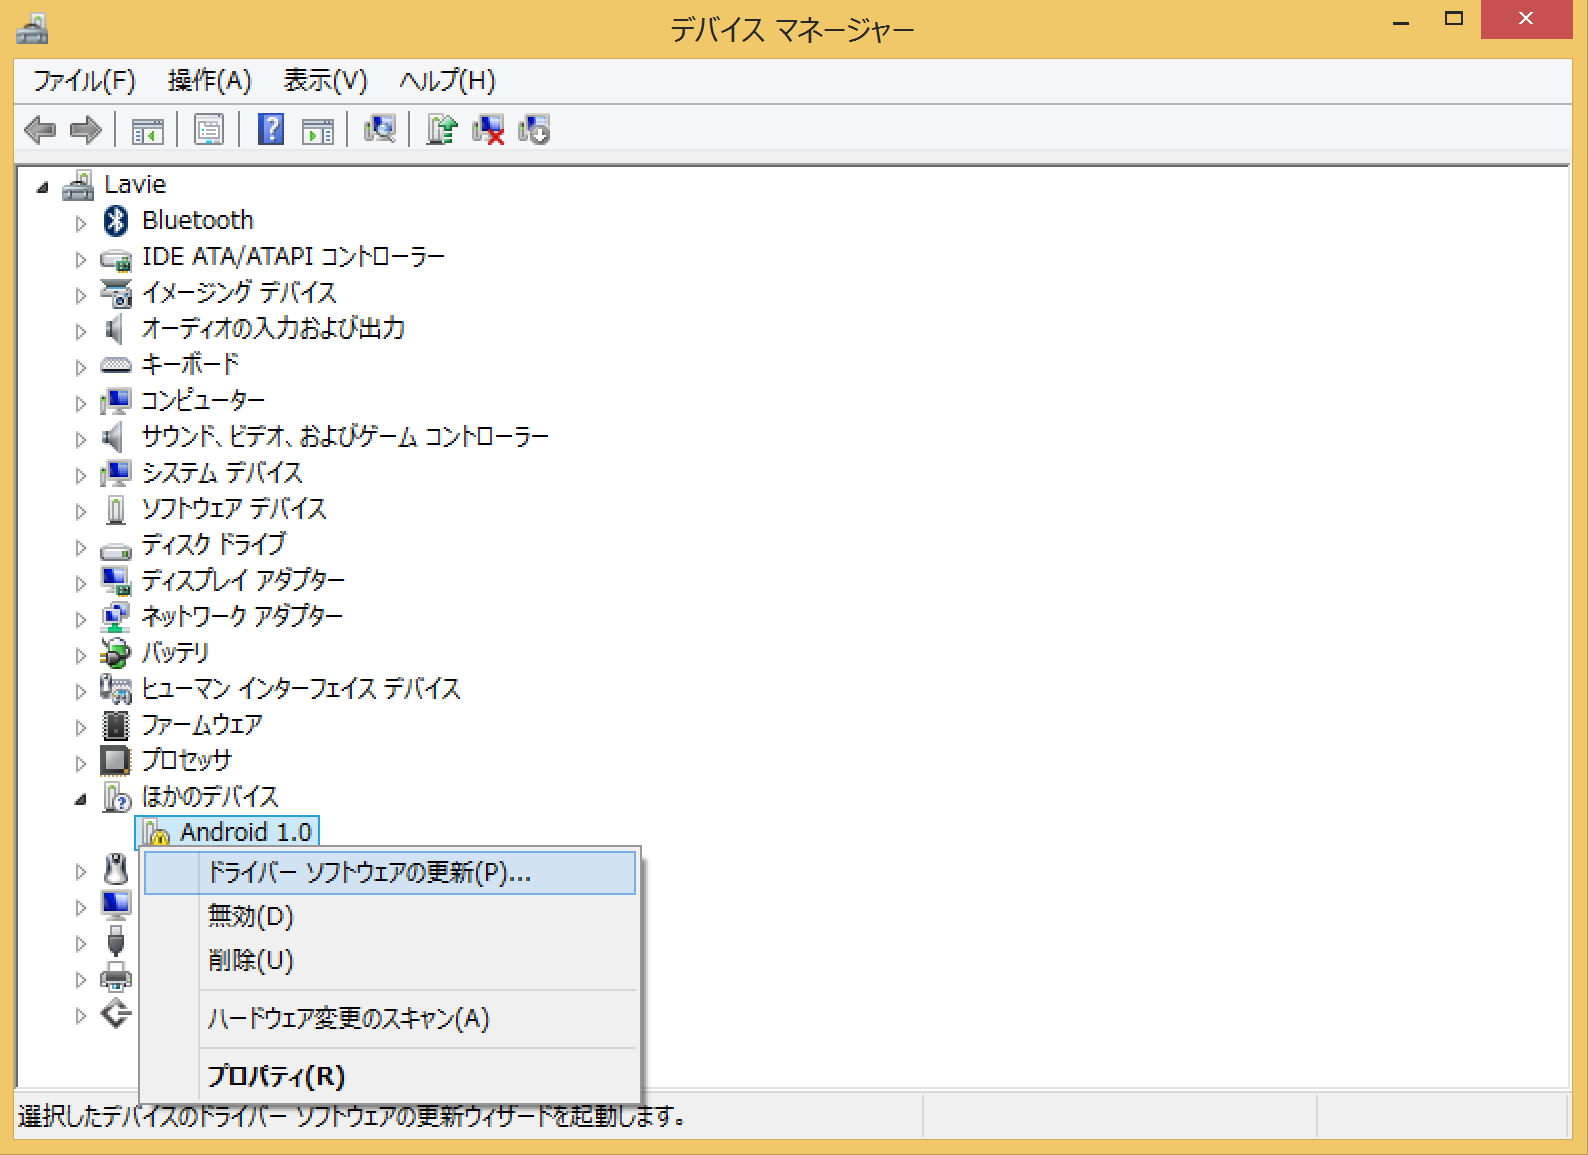
Fastbootモードになると、デバイスマネージャーの「ほかのデバイス」に「Android 1.0」というデバイスが表示されるので右クリック>ドライバーソフトウェアの更新をクリックします。
「コンピューターを参照してドライバー ソフトウェアを検索します」をクリックします。

「コンピューター上のデバイス ドライバーの一覧から選択します」をクリックします。

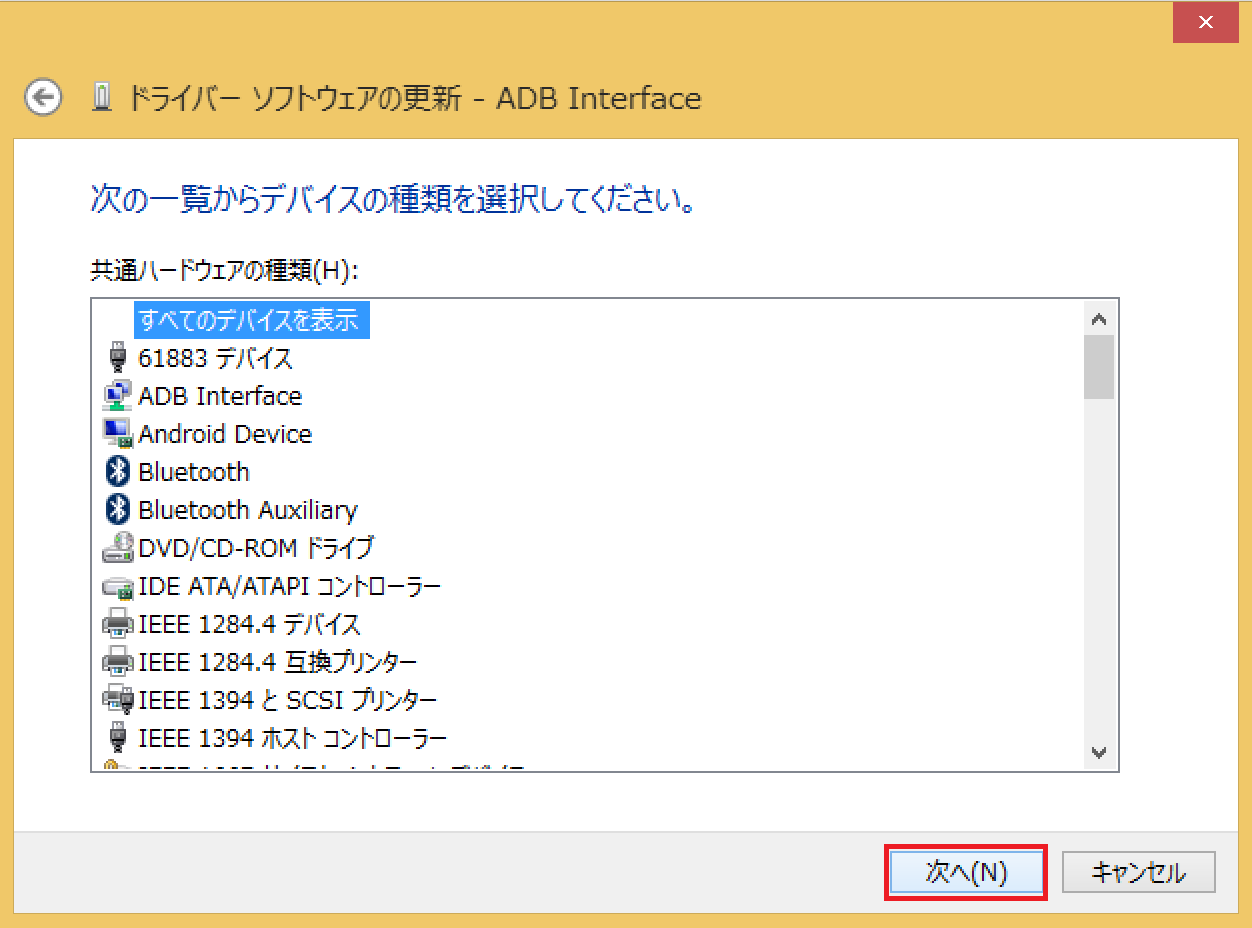
「すべてのデバイスを表示」を選んで「次へ」をクリックします。
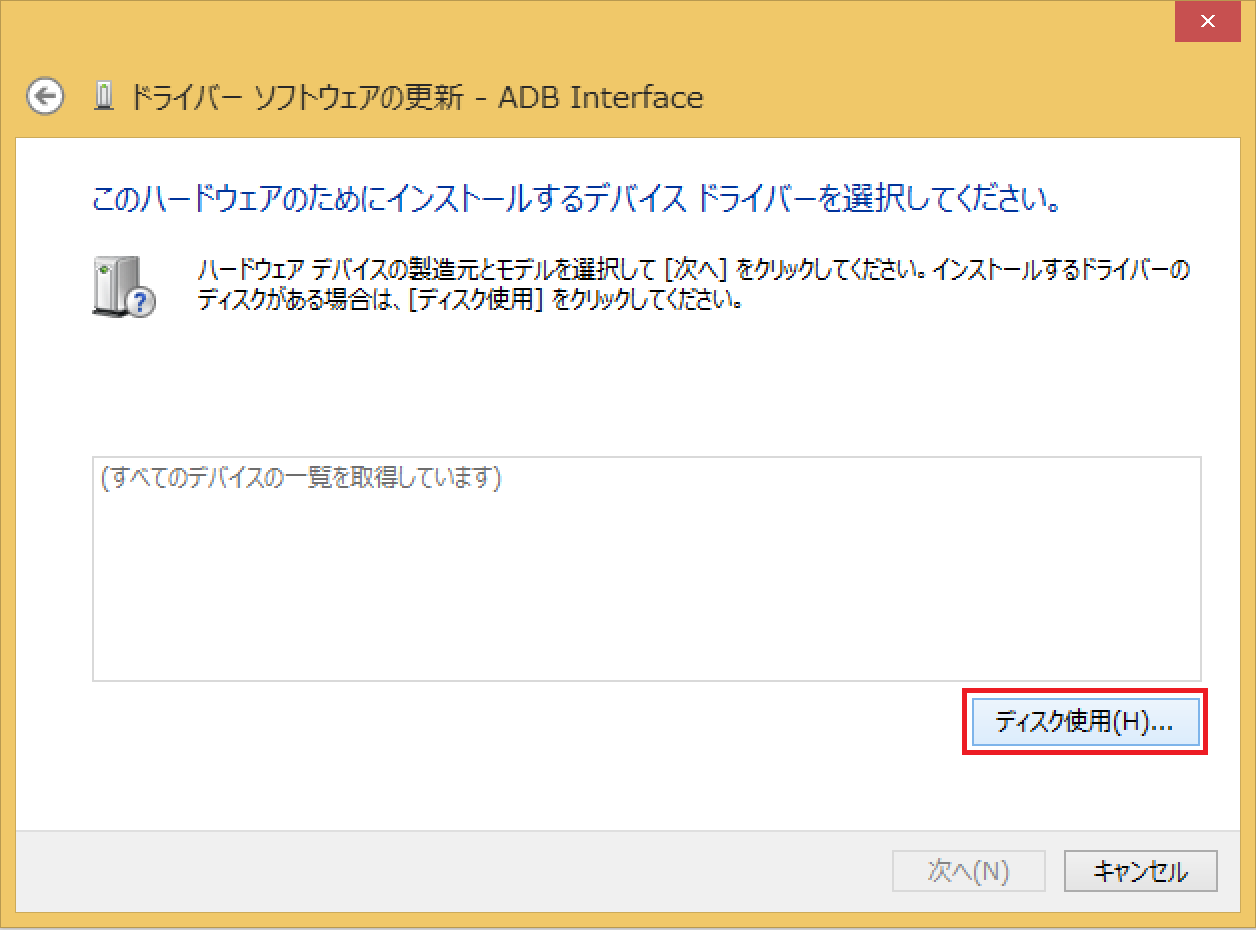
「ディスク使用」をクリックします。
「参照」をクリックします。

最初にダウンロードしておいたGoogle USB Driverのフォルダの中の「android_winusb.inf」を選んで「開く」をクリックします。

「OK」をクリックします。

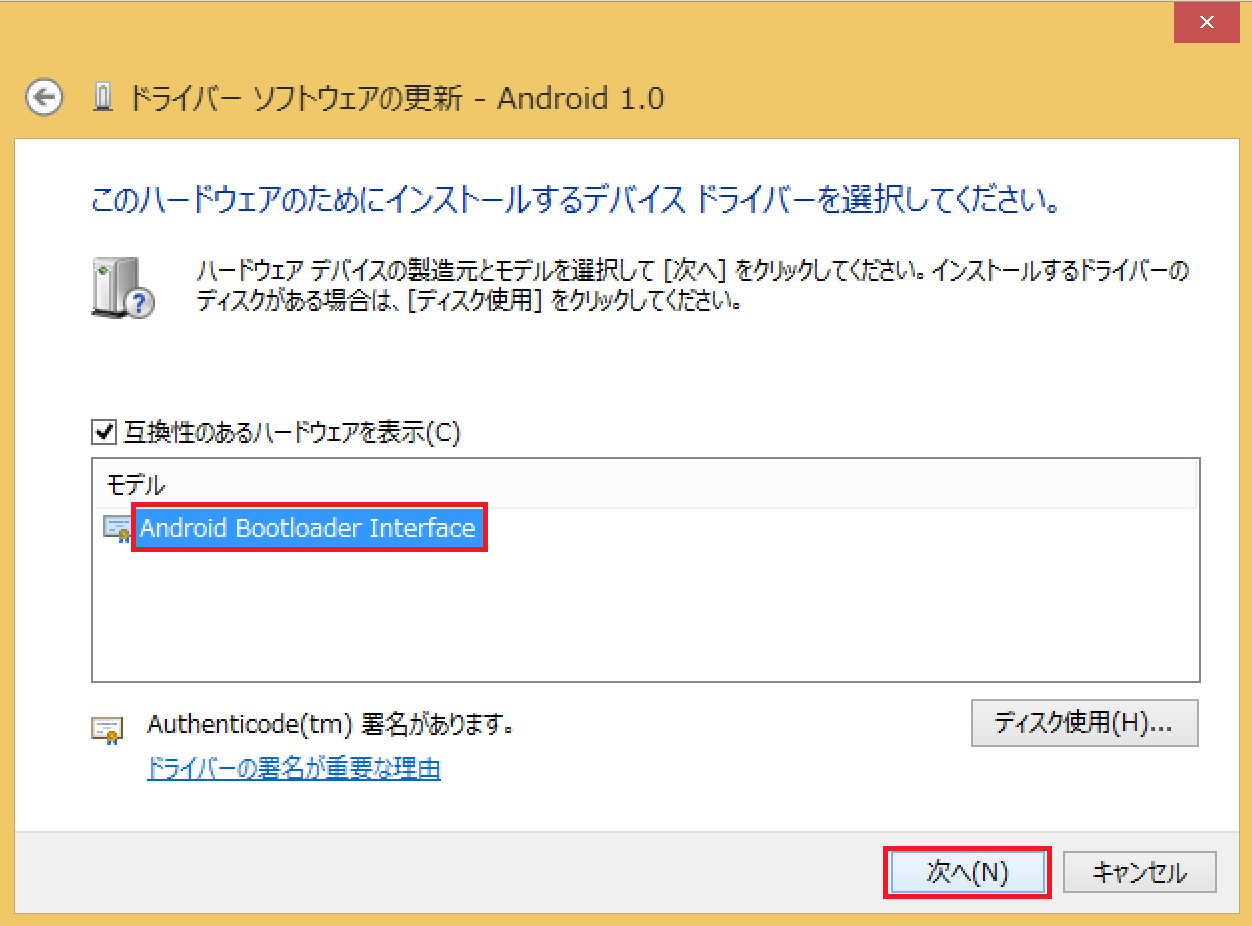
「Android Bootloader Interface」が表示されるので「次へ」をクリックします。
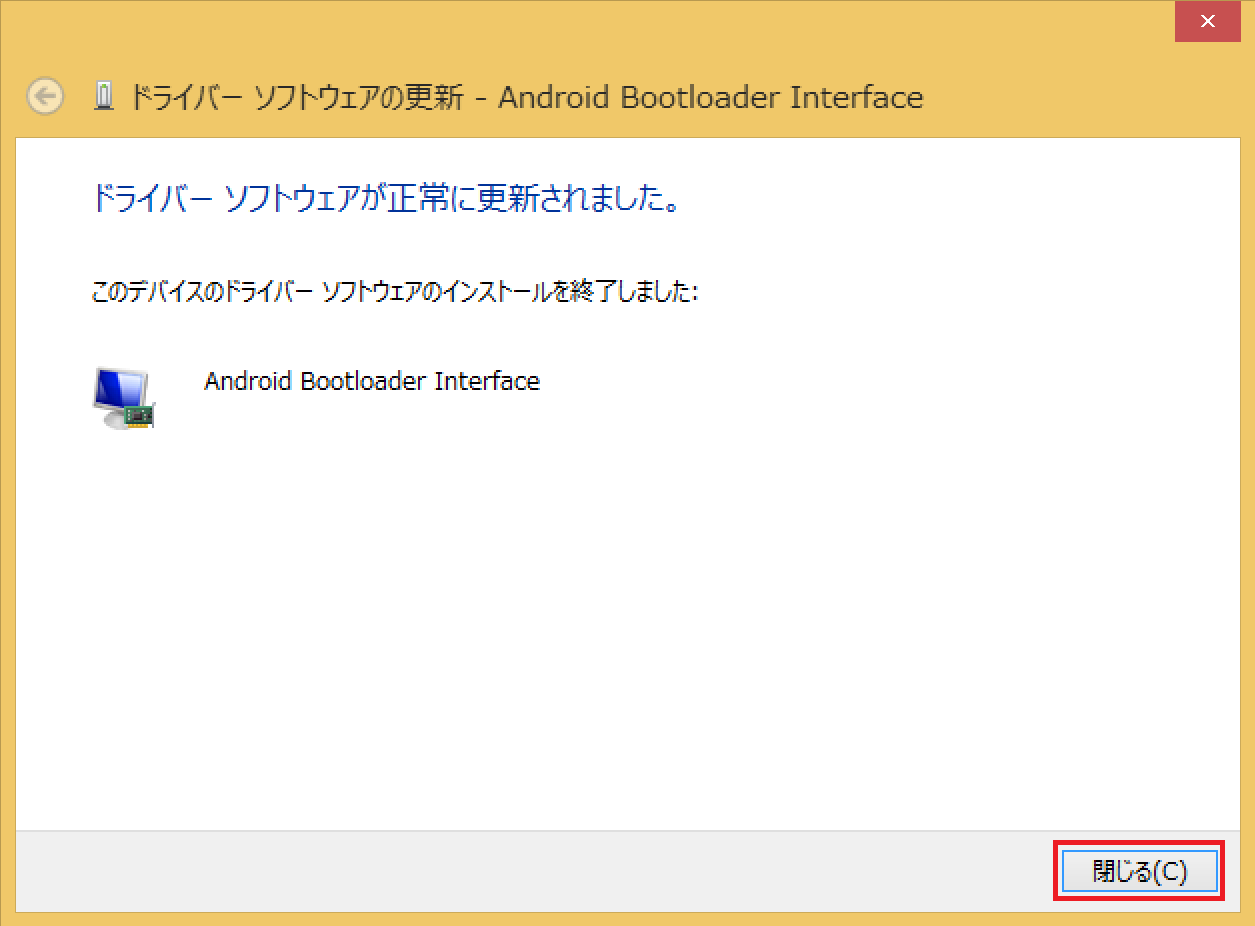
「ドライバー ソフトウェアが正常に更新されました。」と表示されれば、Nexus6の Fastbootモード時のドライバ(Android Bootloader Interface)のインストールは完了です。「閉じる」をタップします。
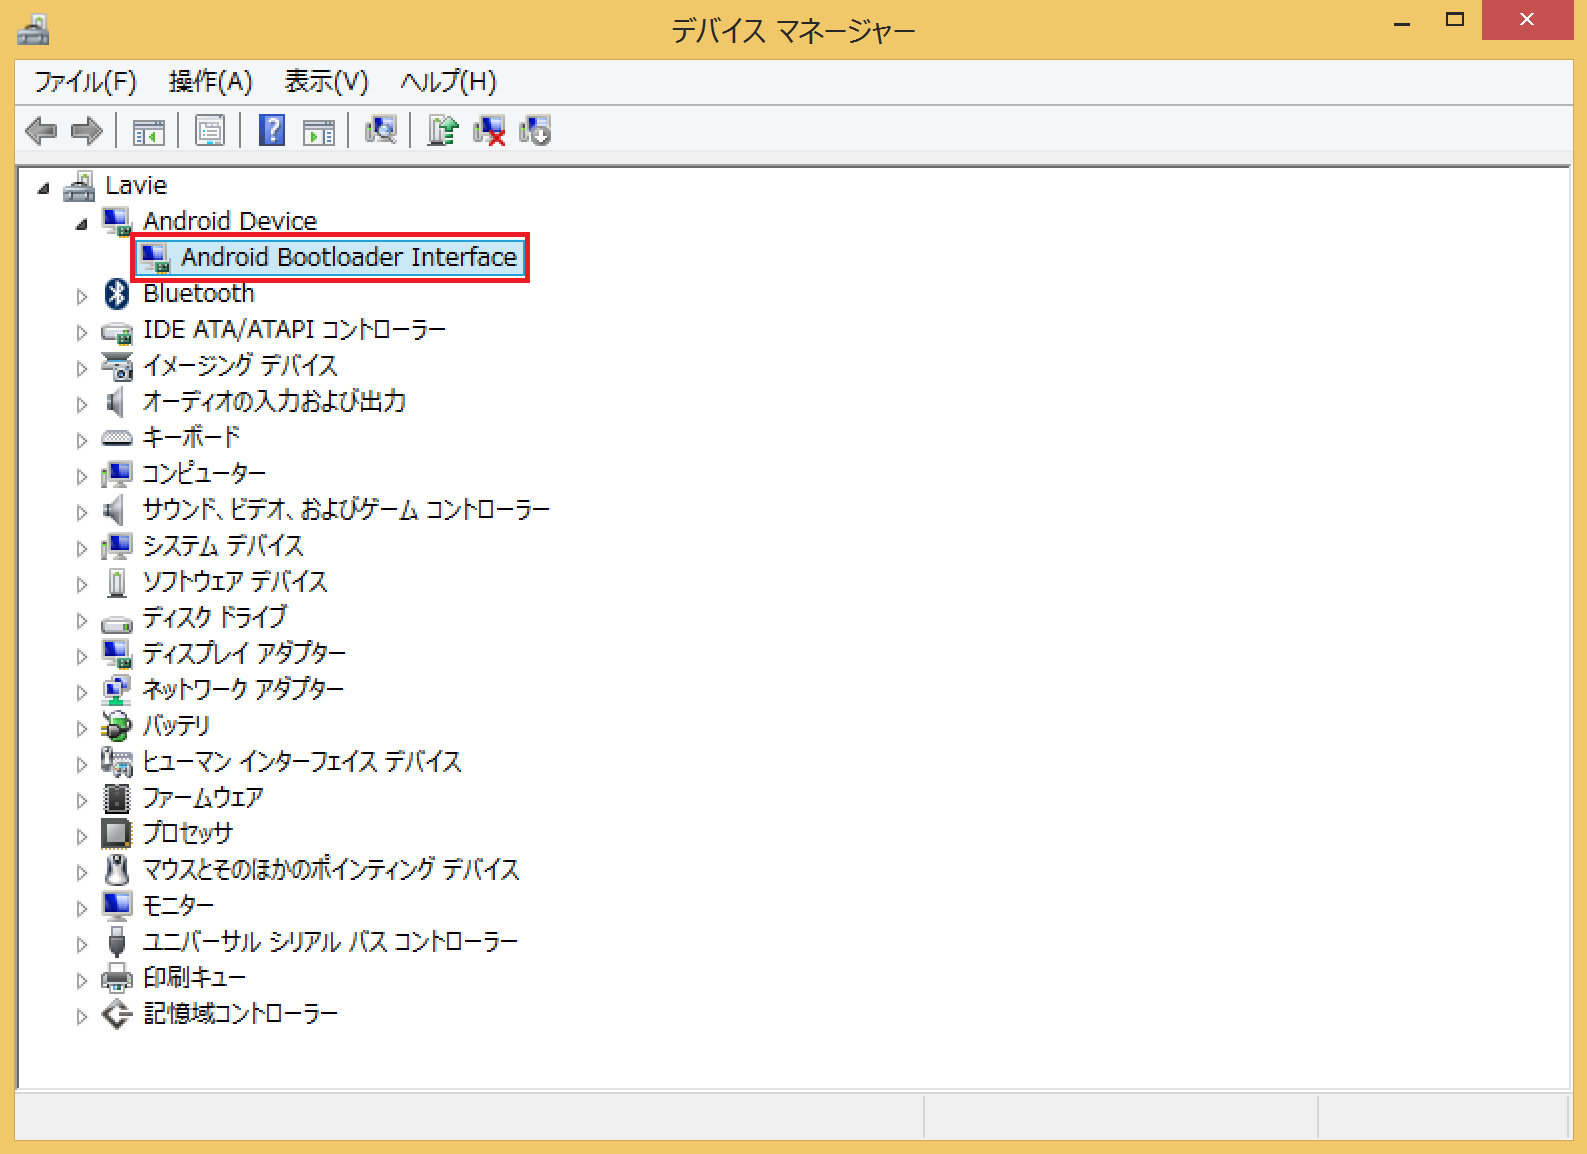
デバイスマネージャーにも「Android Bootloader Interface」が表示されればOKです。
Nexus6のドライバインストール方法は以上です。
なお、Nexus6の詳細レビューや便利な使い方はNexus6を購入後3週間使ってみて分かった良い点・悪い点などのレビューとNexus6を使いこなすための使い方まとめ。を参照してください。