
なお、今回Nexus Playerのドライバをインストールしたのは、Windows 8.1 64bitのPCです。
目次
Nexus Playerのドライバが必要な場面
Nexus Playerは基本的にはPCとつなぐことはなく、テレビに接続して使うものなのでドライバをインストールする必要はありません。ただ、Nexus PlayerのUSBデバッグをオンにしてPCとつないで作業するときやFastbootモードで起動してFastbootコマンドを使うときなどはドライバが必要になります。
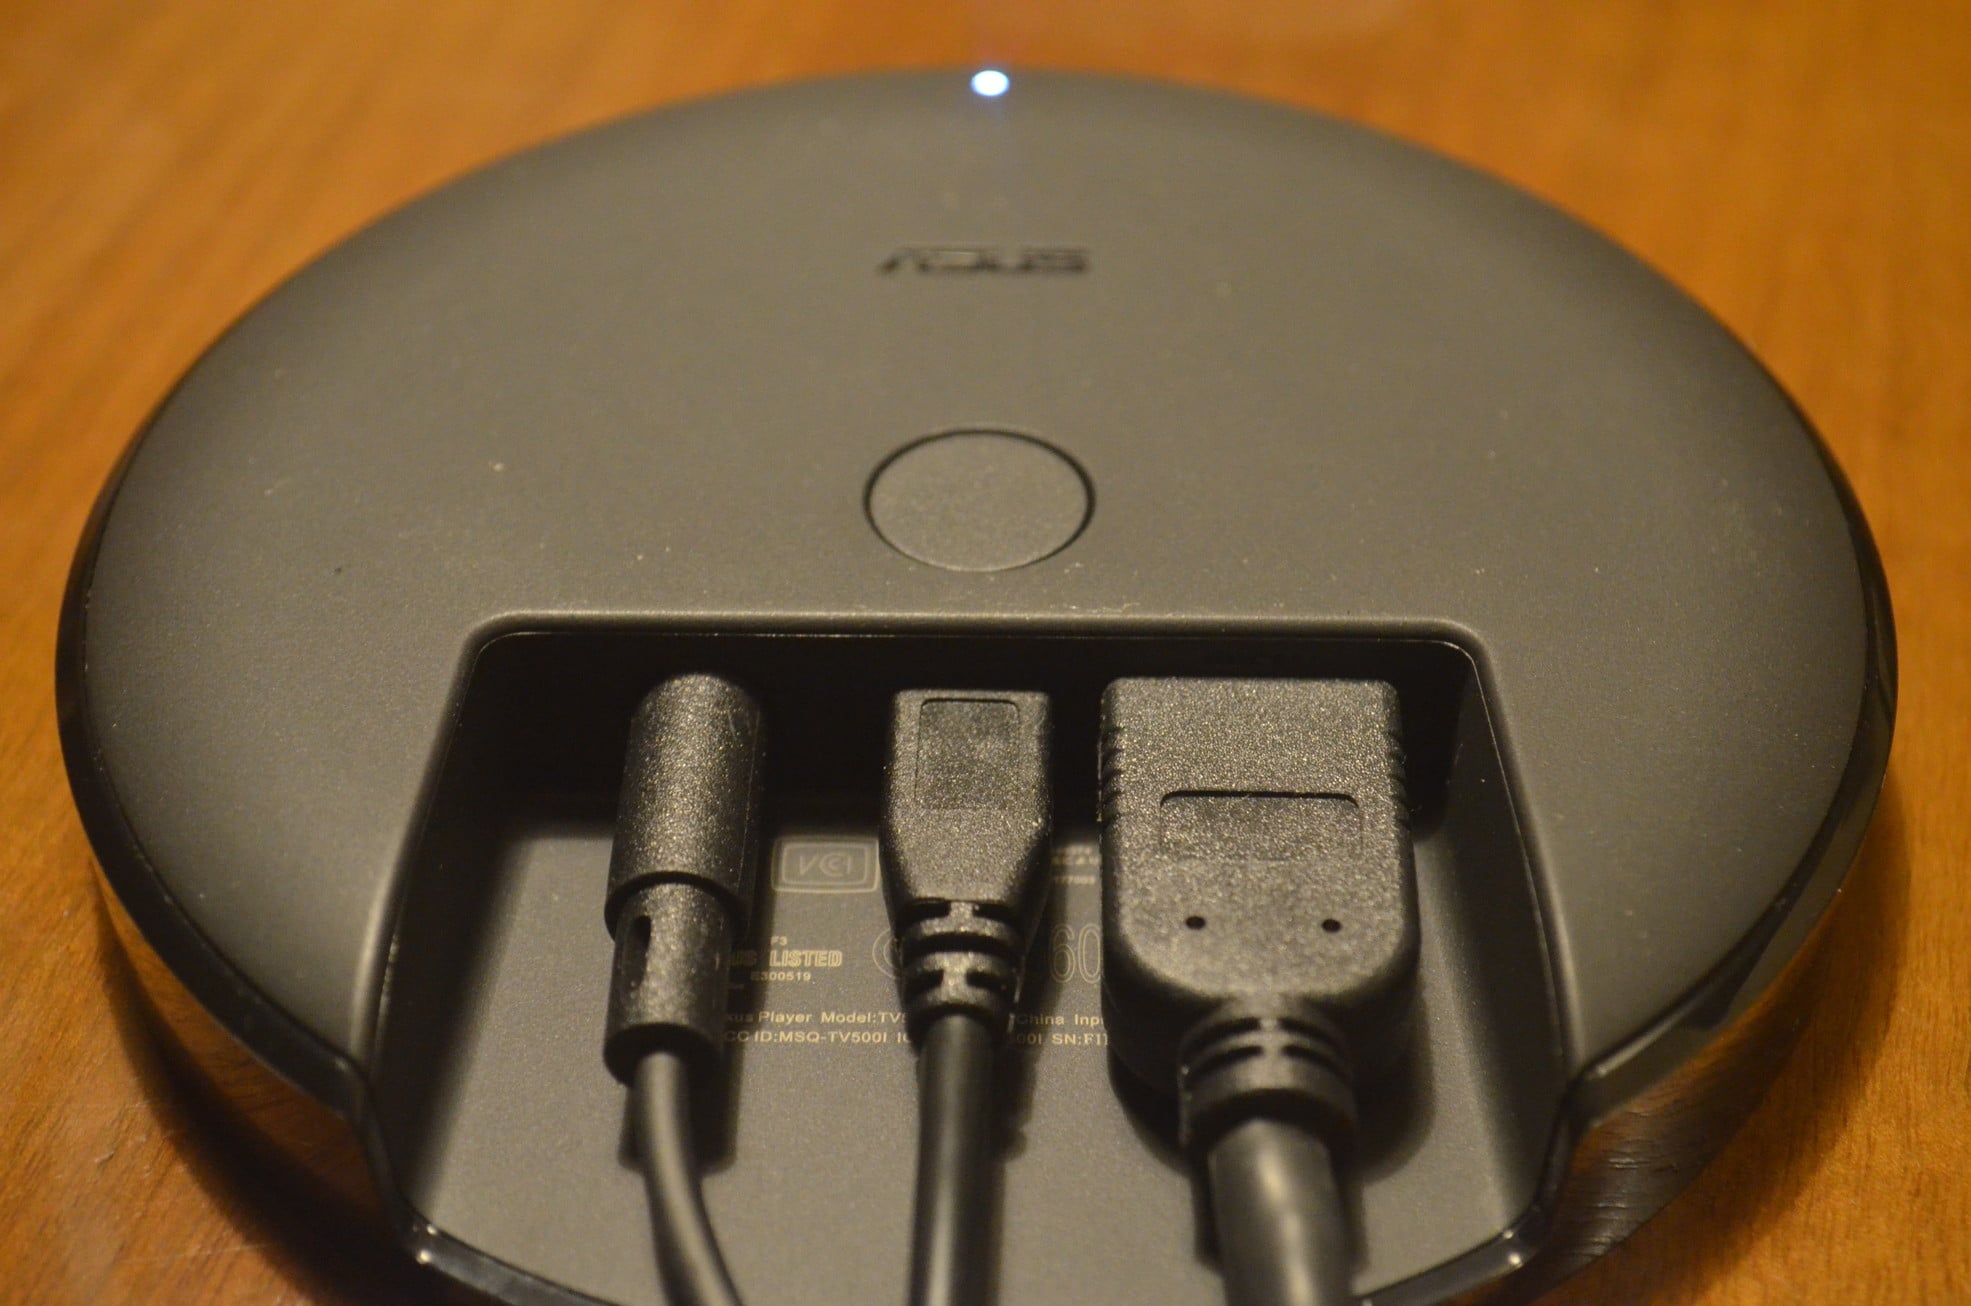
なお、Nexus PlayerとPCを接続するには、Nexus PlayerのACアダプタとHDMIケーブルのポートの間のmicroUSBポートを利用します。
Nexus Playerのドライバインストール方法
ここからは、Nexus Playerのドライバインストール方法を紹介していきます。ドライバのzipファイルをダウンロード
まず、Nexus playerのドライバをインストールするために必要なzipファイルをダウンロードします。Google USB Driverにアクセスします。
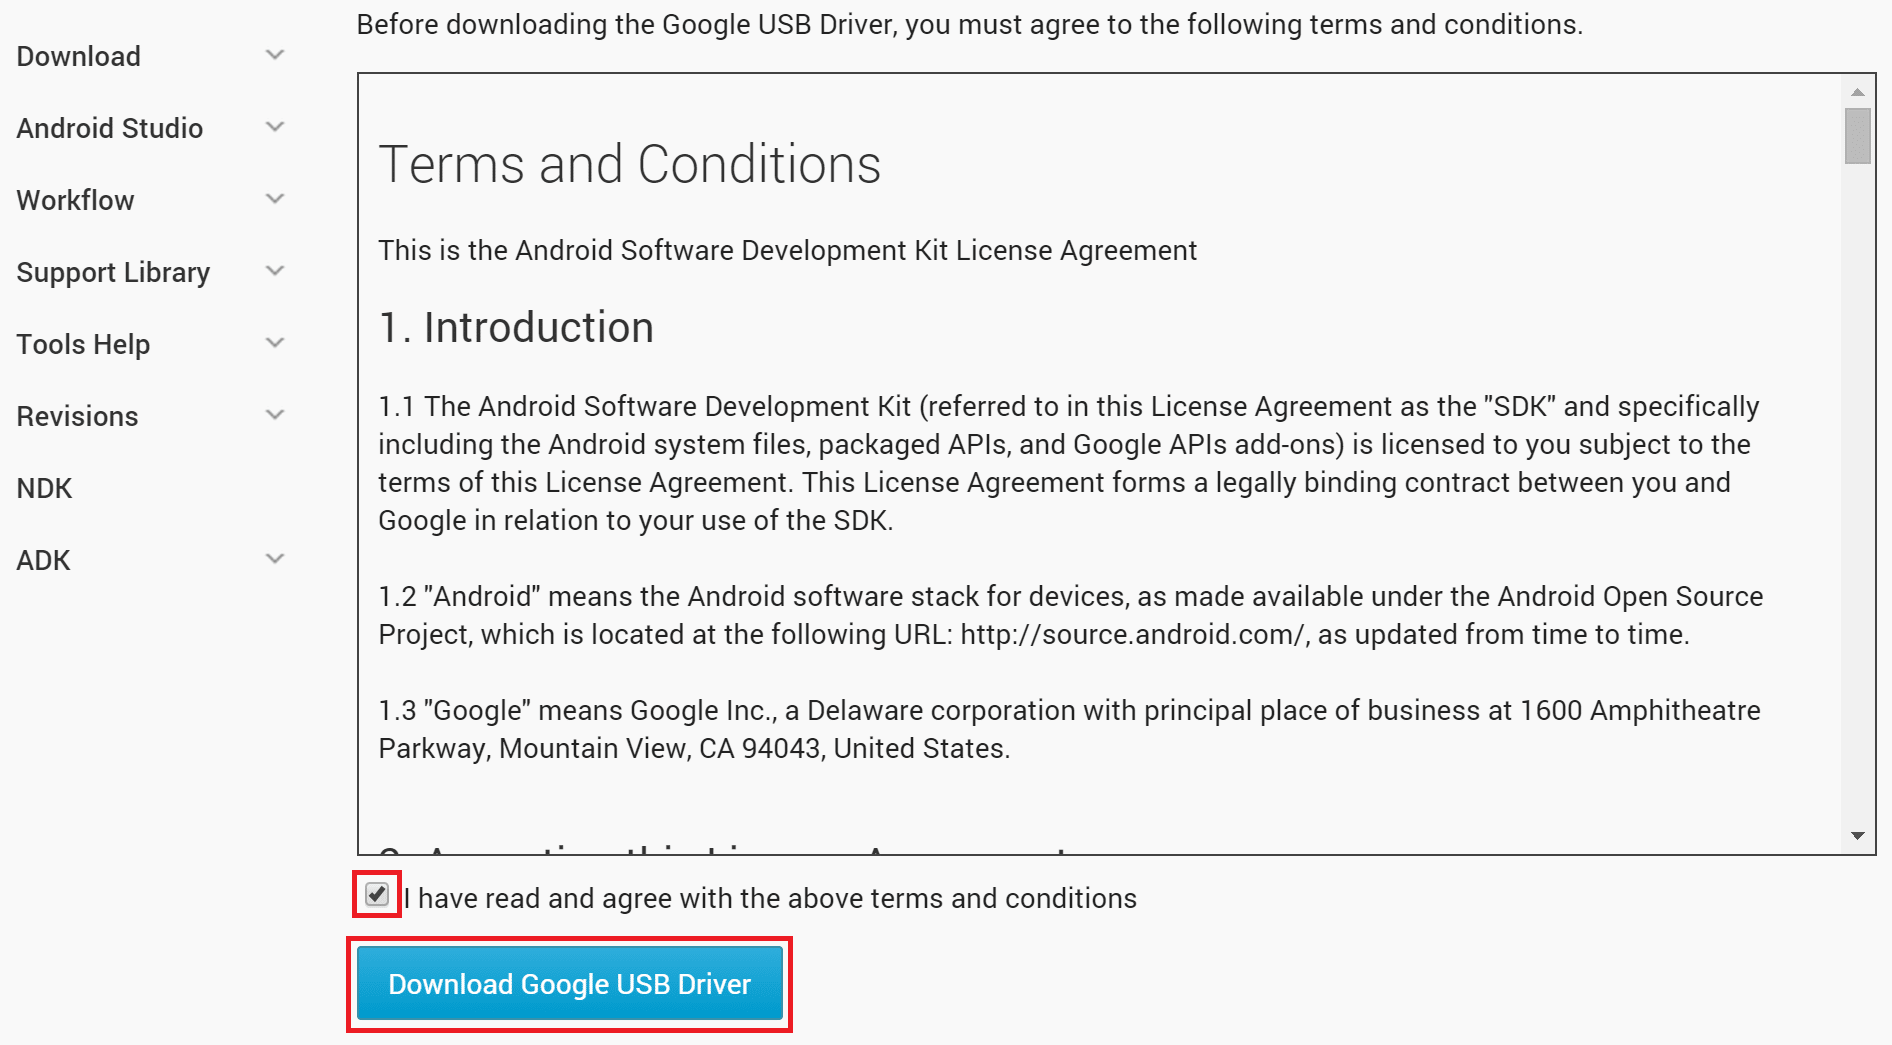
「Download Google USB Driver」をクリックします。

「I have read and agree with the above terms and conditions」にチェックを入れて「Download Google USB Driver」をクリックします。
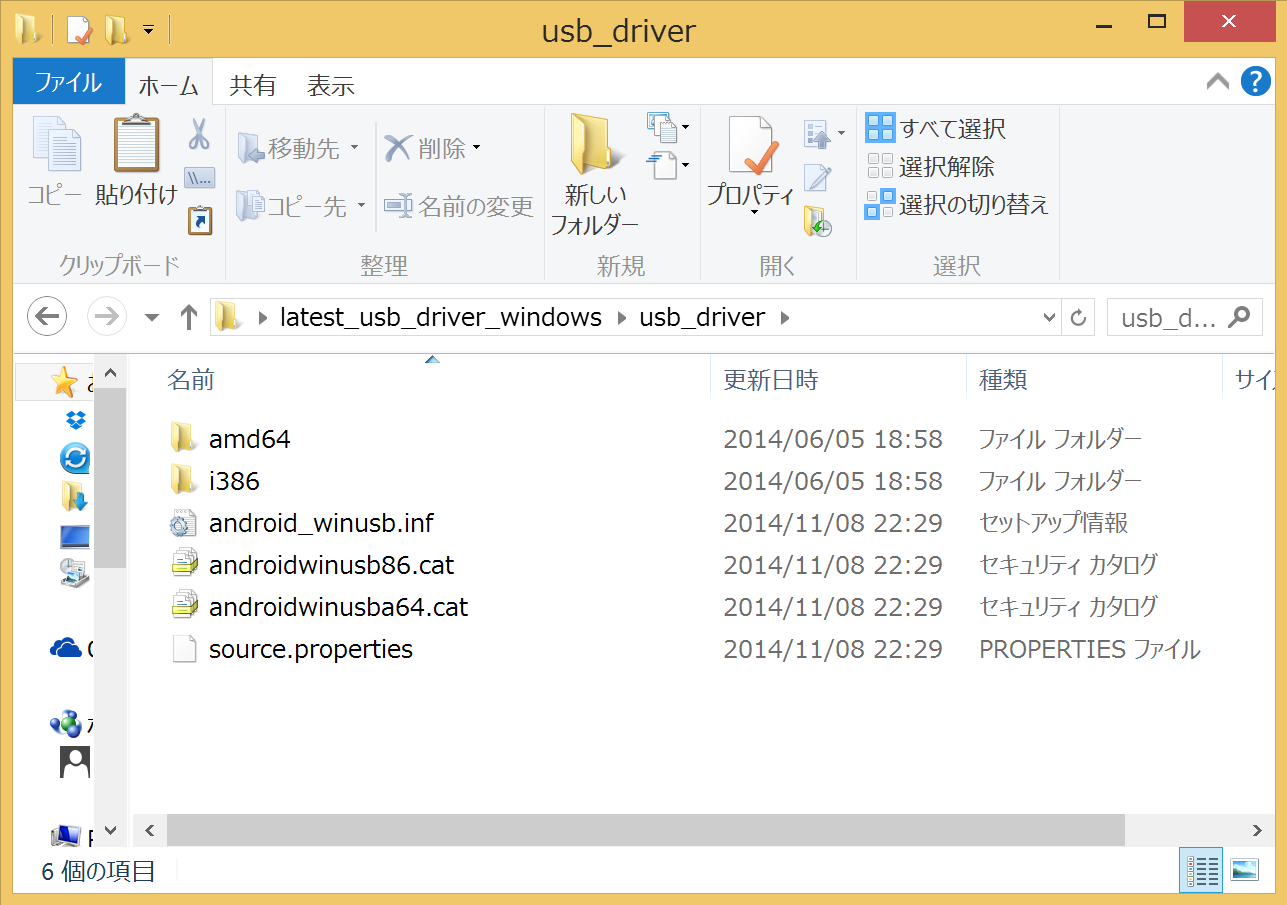
ダウンロードしたzipファイルを解凍しておきます。
Nexus PlayerがUSBデバッグオン時のドライバをインストールする
Nexus Playerのドライバインストールに必要なzipファイルをダウンロードして解凍したら、実際にドライバをインストールしていきます。まずは、Nexus PlayerのUSBデバッグをオンにしてPCとつないだ時のドライバをインストールする方法です。
Nexus PlayerのUSBデバッグをオンにする方法は、Nexus Playerの開発者向けオプションを表示させてUSBデバッグをオンにする方法。を参照してください。
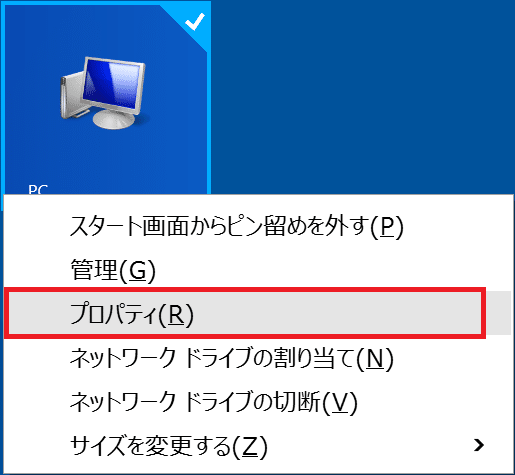
PCを右クリックして「プロパティ」をクリックします。
「デバイス マネージャー」をクリックします。

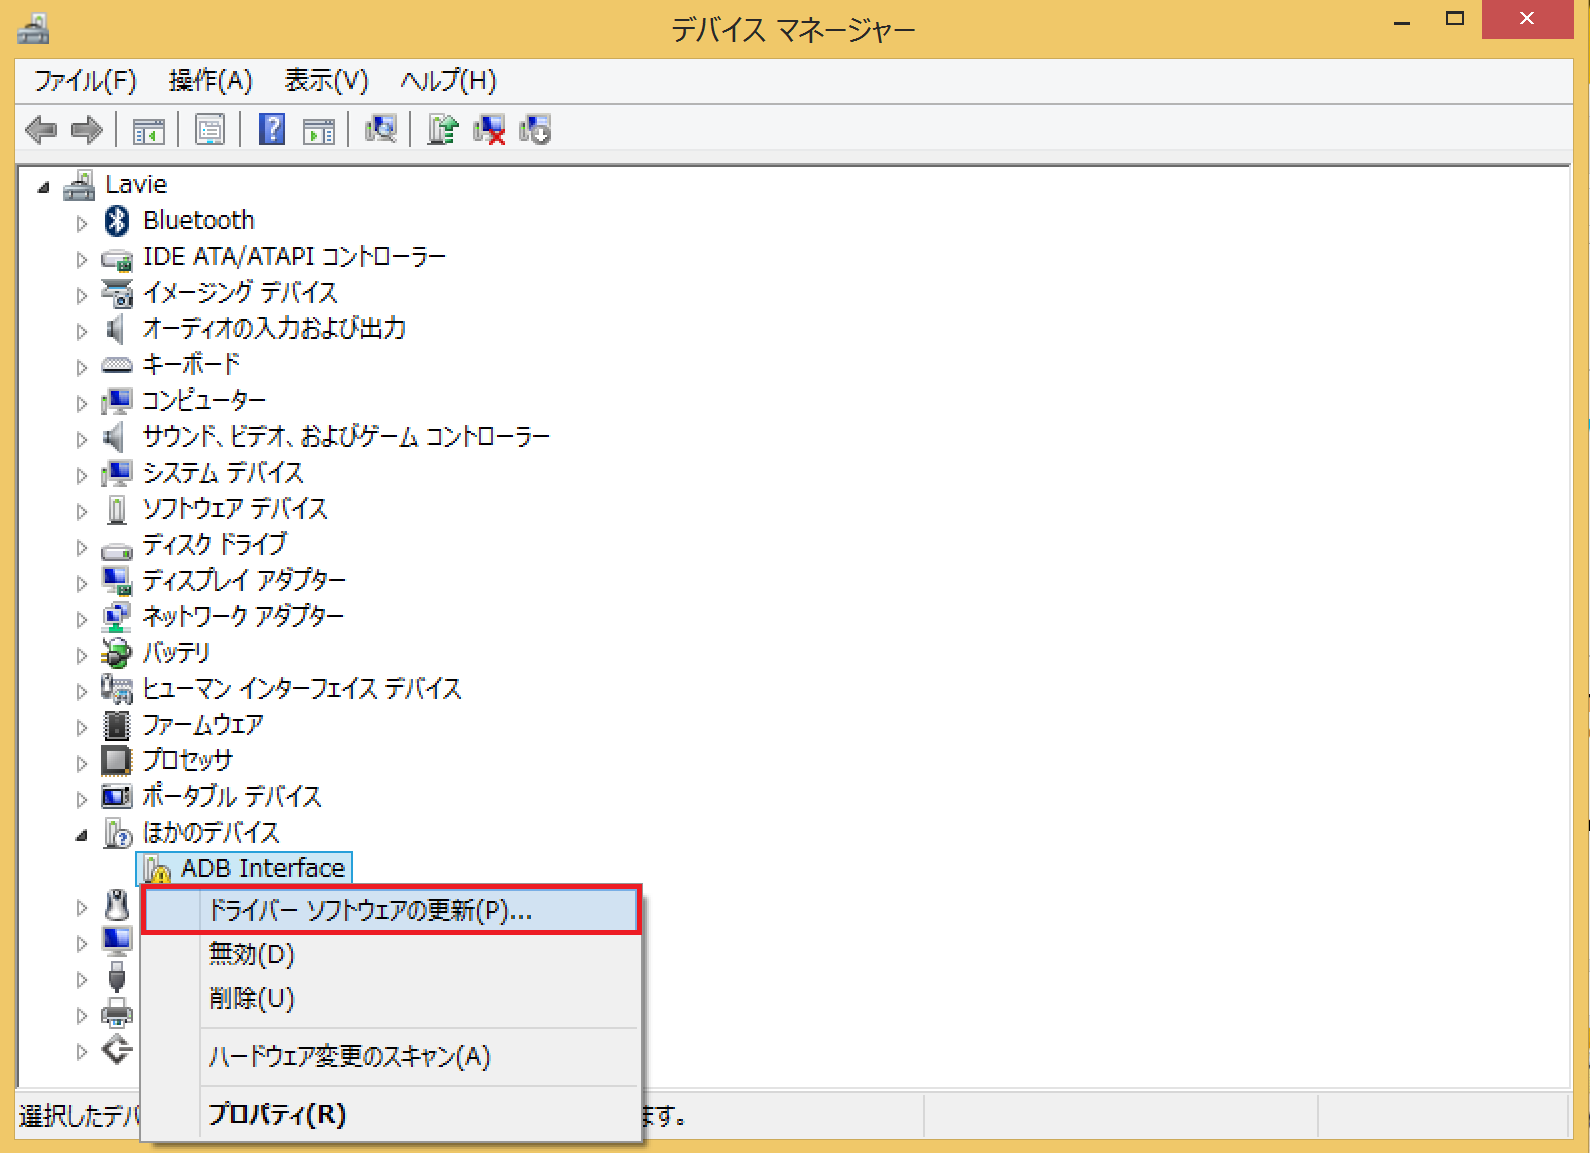
デバイスマネージャーの一覧に!マーク付きで表示されている「ADB Interface」を右クリックし、「ドライバー ソフトウェアの更新」をクリックします。
「コンピューターを参照してドライバー ソフトウェアを検索します」をクリックします。

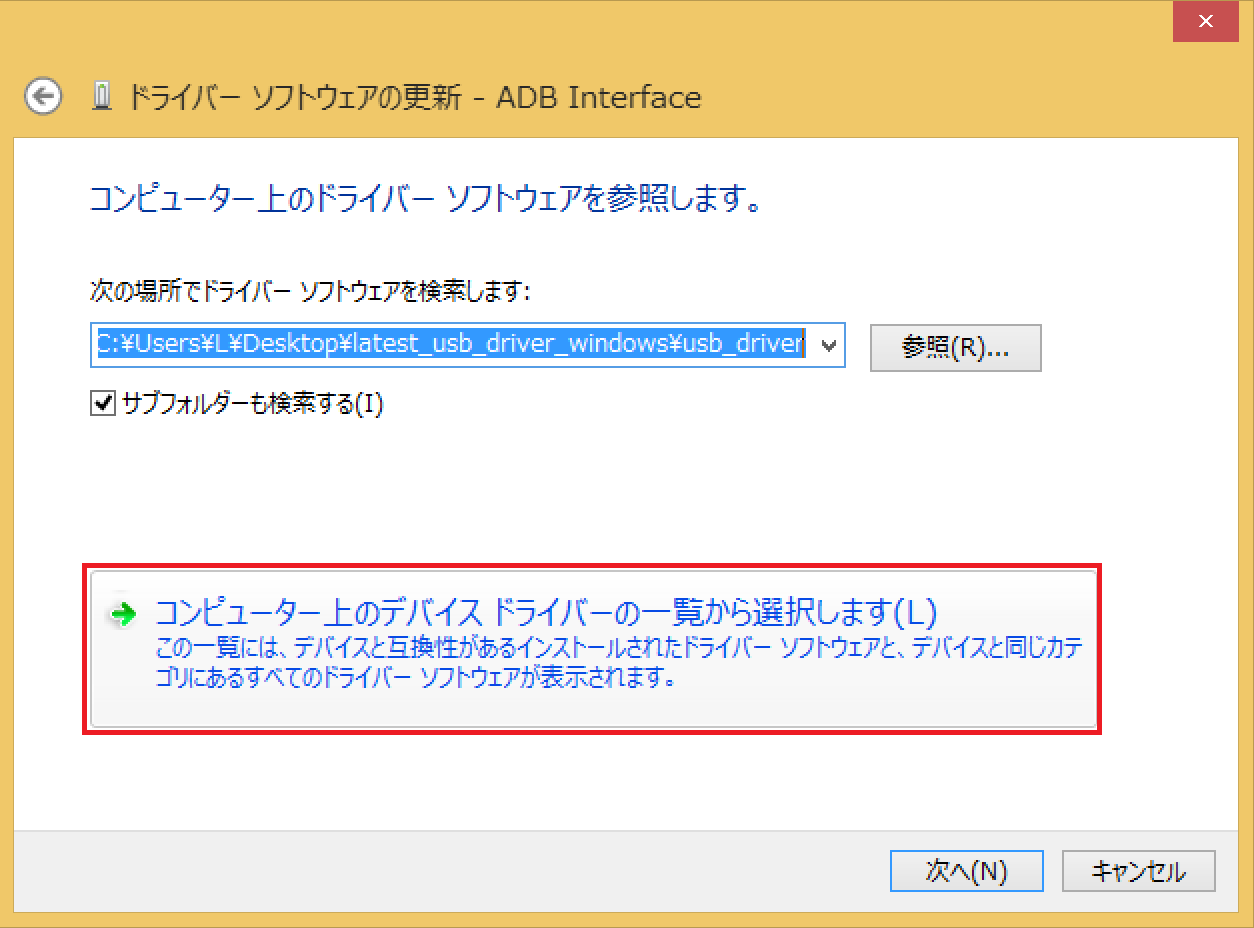
「コンピューター上のデバイス ドライバーの一覧から選択します」をクリックします。
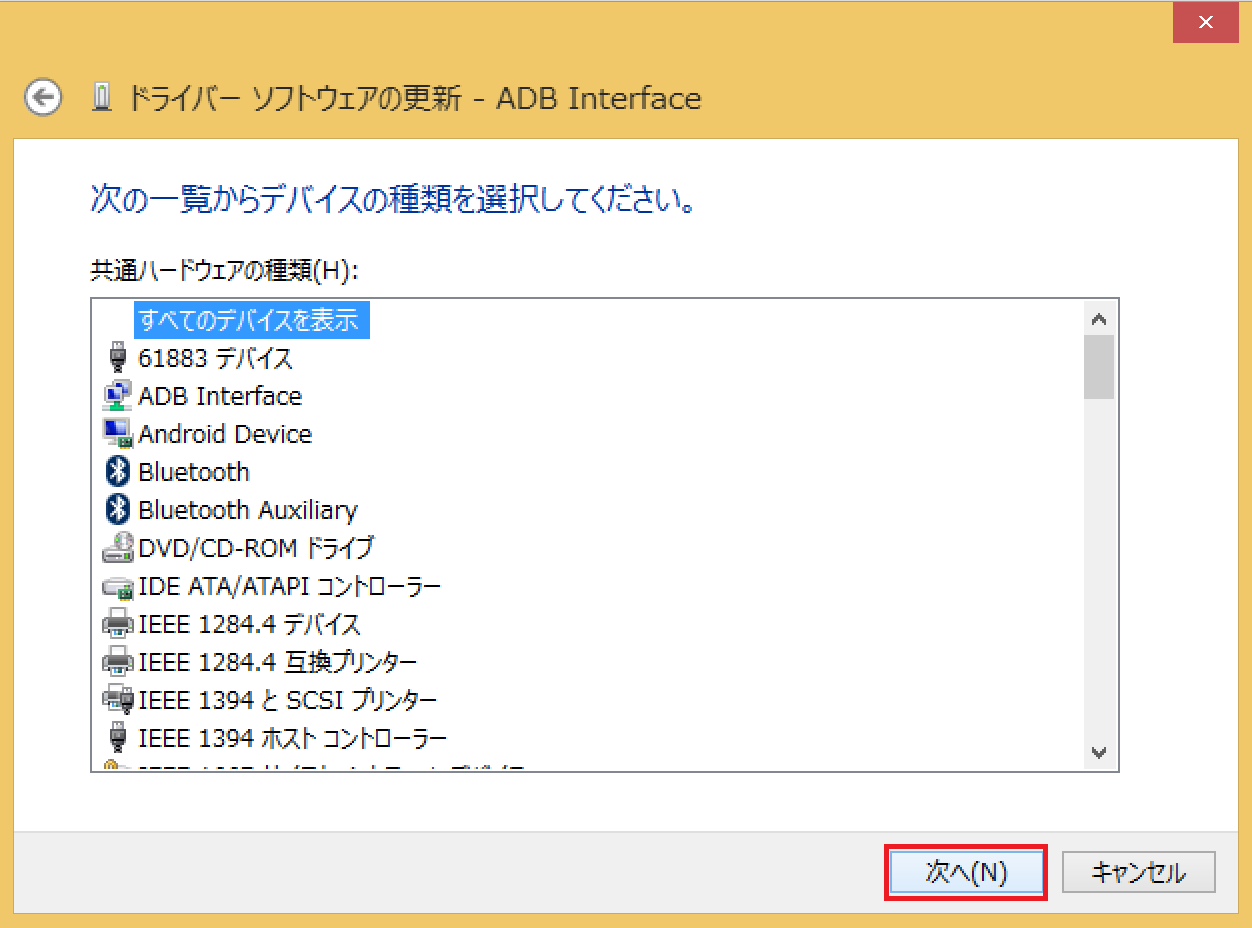
「すべてのデバイスを表示」を選んで「次へ」をクリックします。

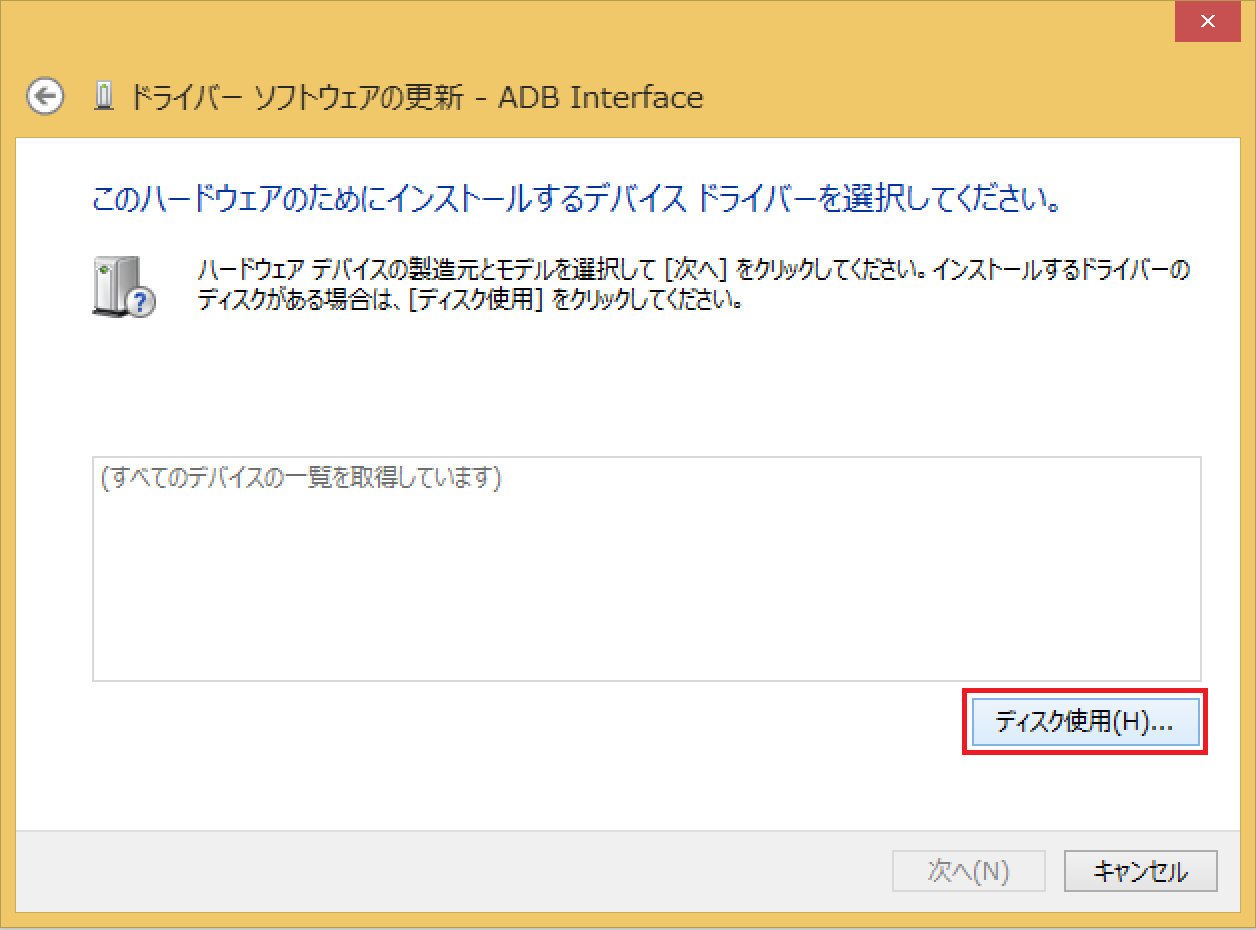
「ディスク使用」をクリックします。

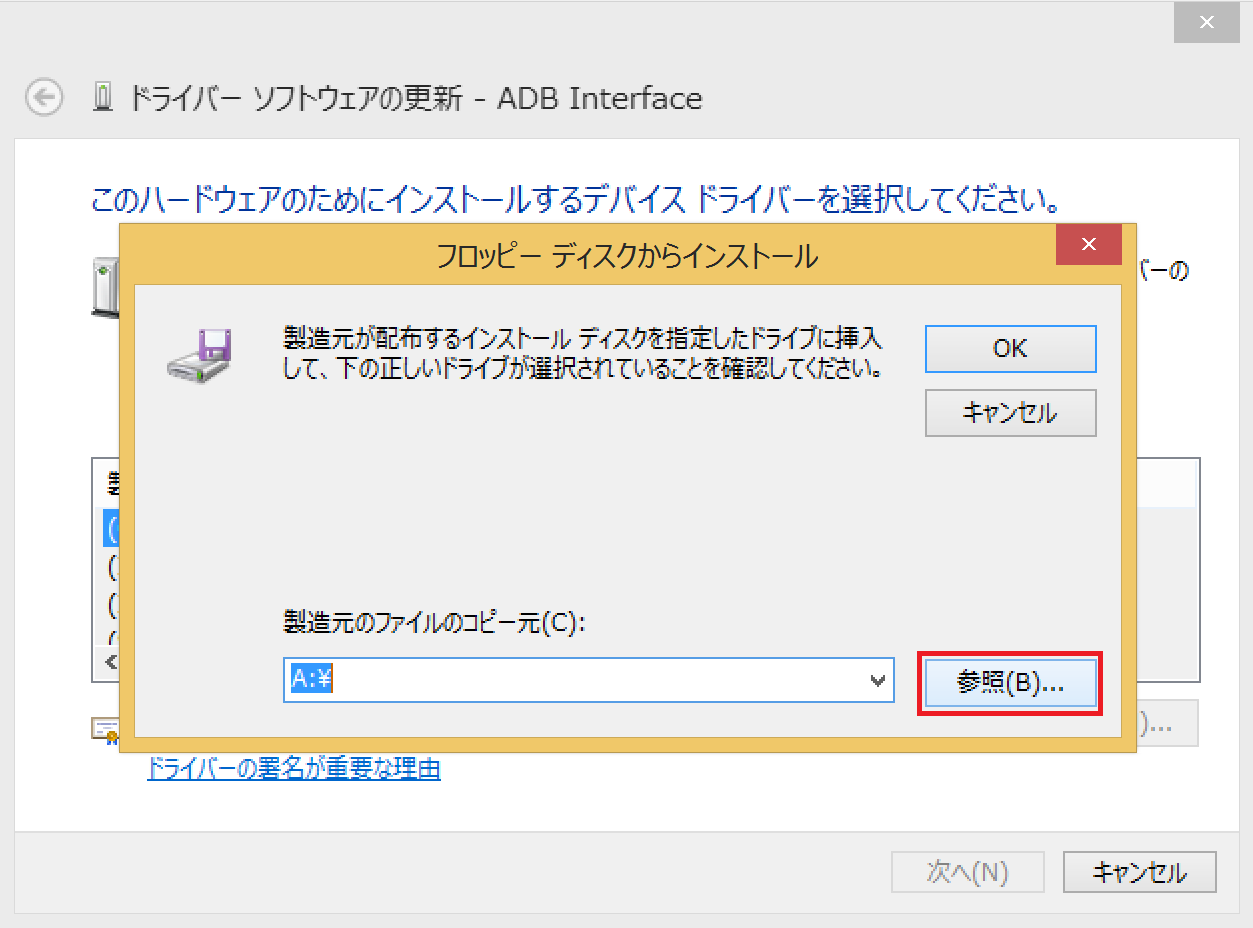
「参照」をクリックします。
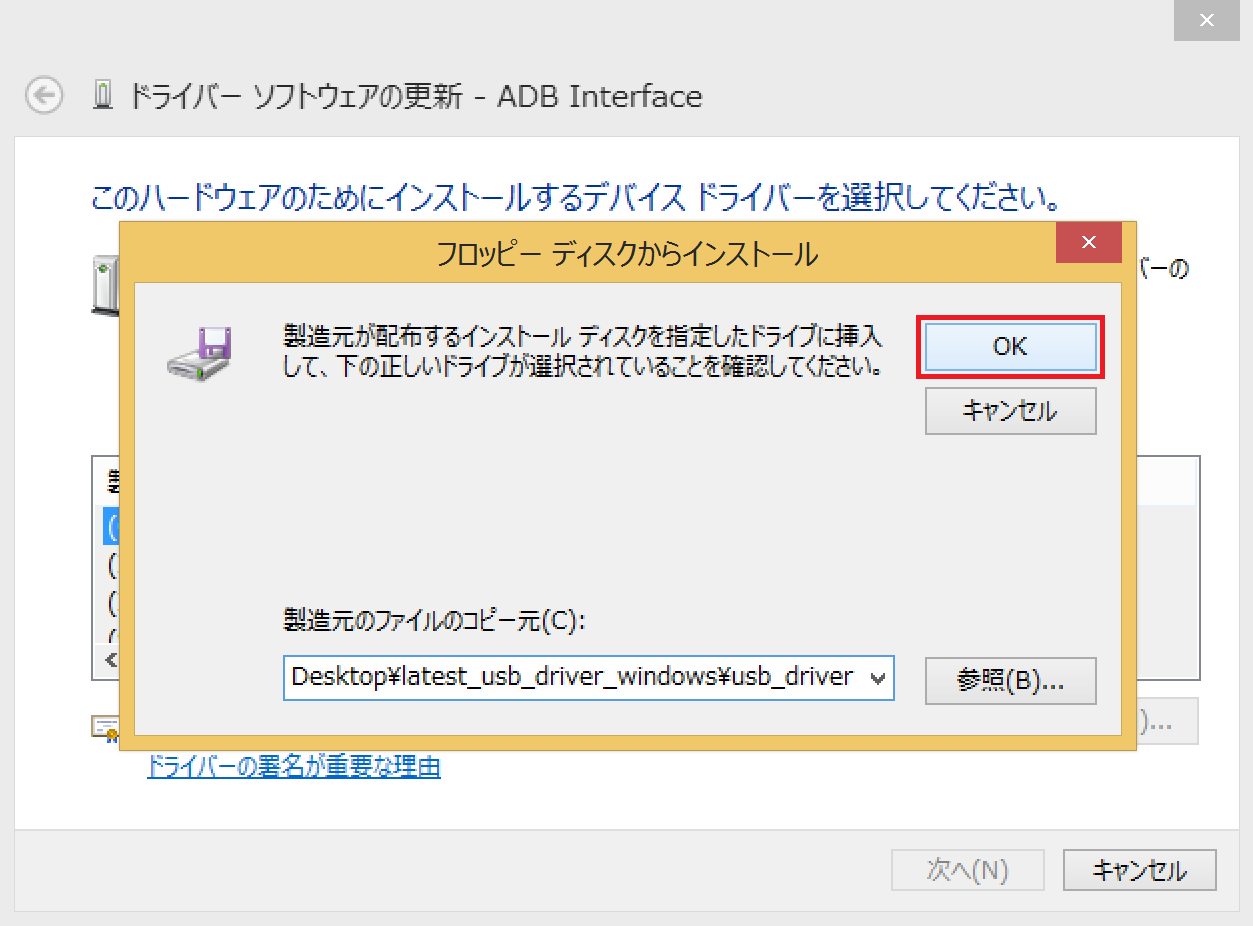
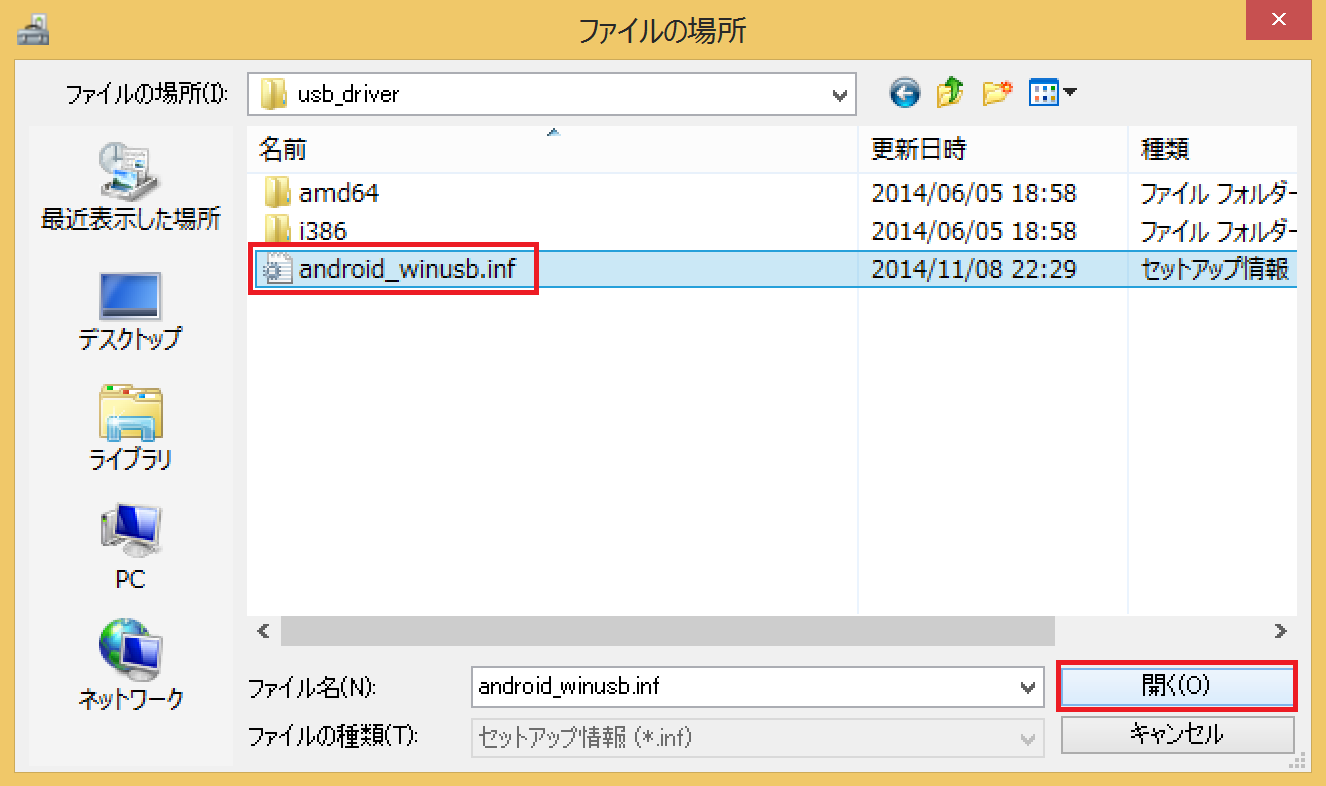
ダウンロードして解凍しておいたGoogle USB Driverの中にある「android_winusb.inf」を選んで「開く」をクリックします。

「OK」をクリックします。
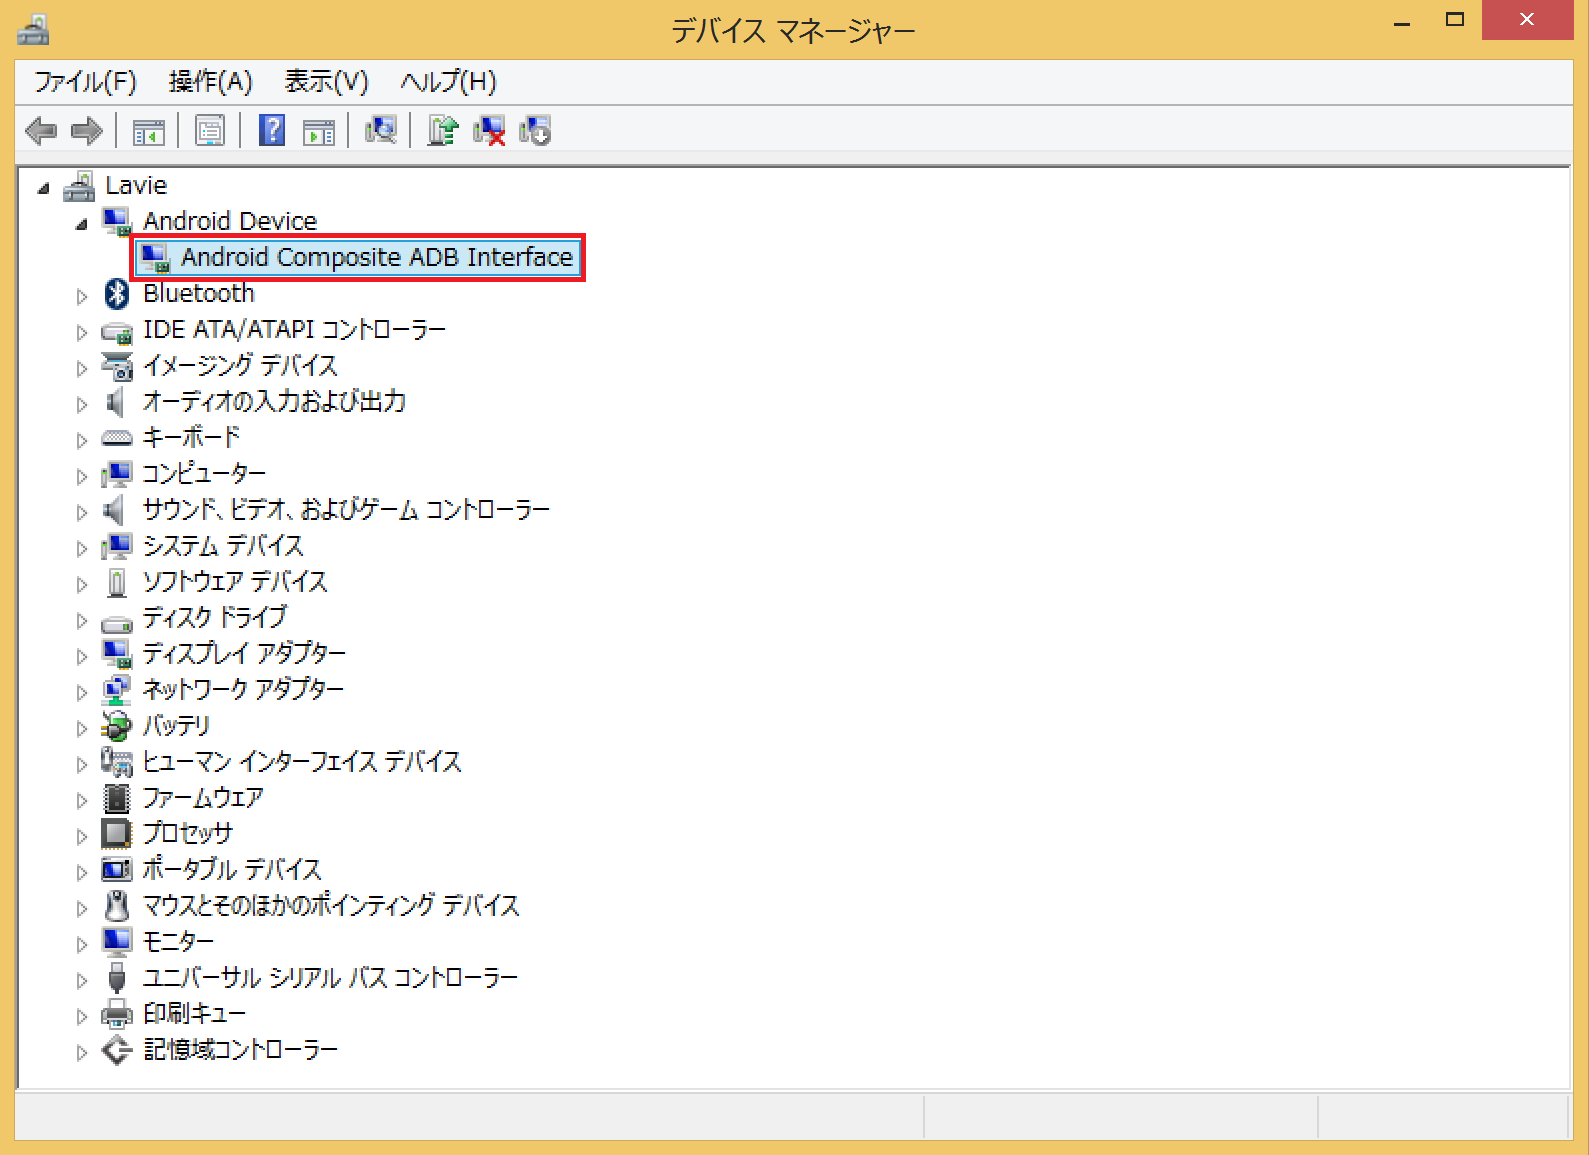
「Android Composite ADB Interface」が表示されるので選択して、「次へ」をクリックします。

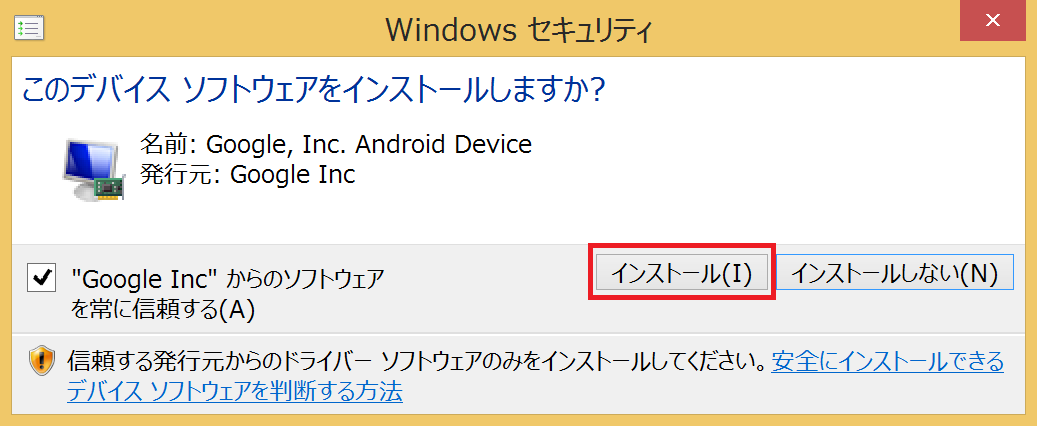
「インストール」をクリックします。
「閉じる」をクリックします。

最初は!マークのついていた「ADB Interface」が、「Android Composite ADB Interface」として認識されています。
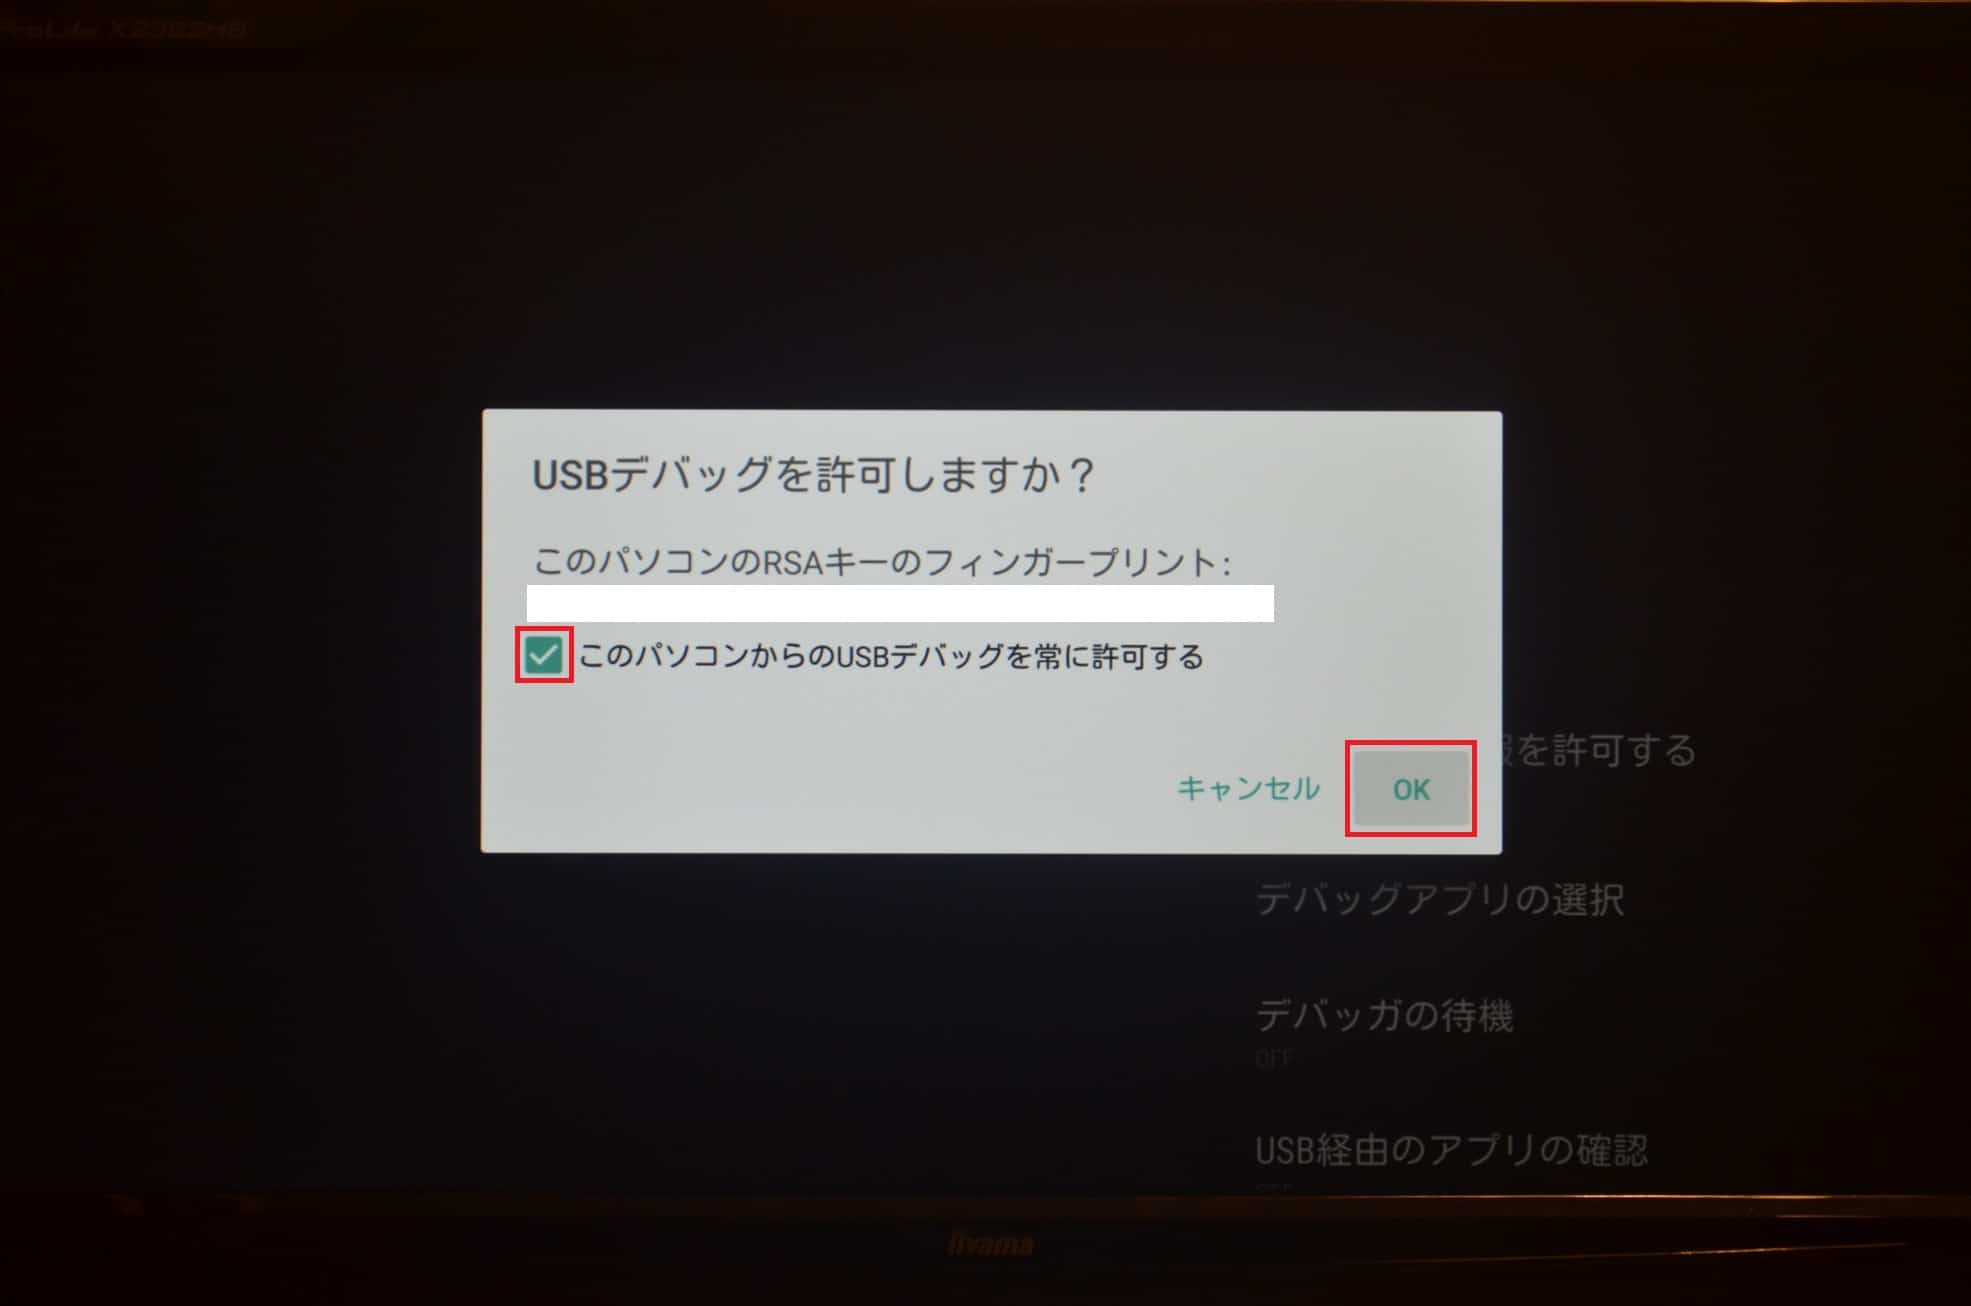
なお、Nexus PlayerのUSBデバッグをオンにしている場合は、ドライバが正常にインストールされると「USBデバッグを許可しますか?」とフィンガープリント付きで尋ねてくるので「OK」をクリックします。
Nexus Playerのブートローダーを起動した時のドライバをインストールする
次に、Nexus Playerのブートローダーを起動した時のドライバをインストールする方法です。基本的には、Nexus PlayerのUSBデバッグをオンにした時と同じ手順です。
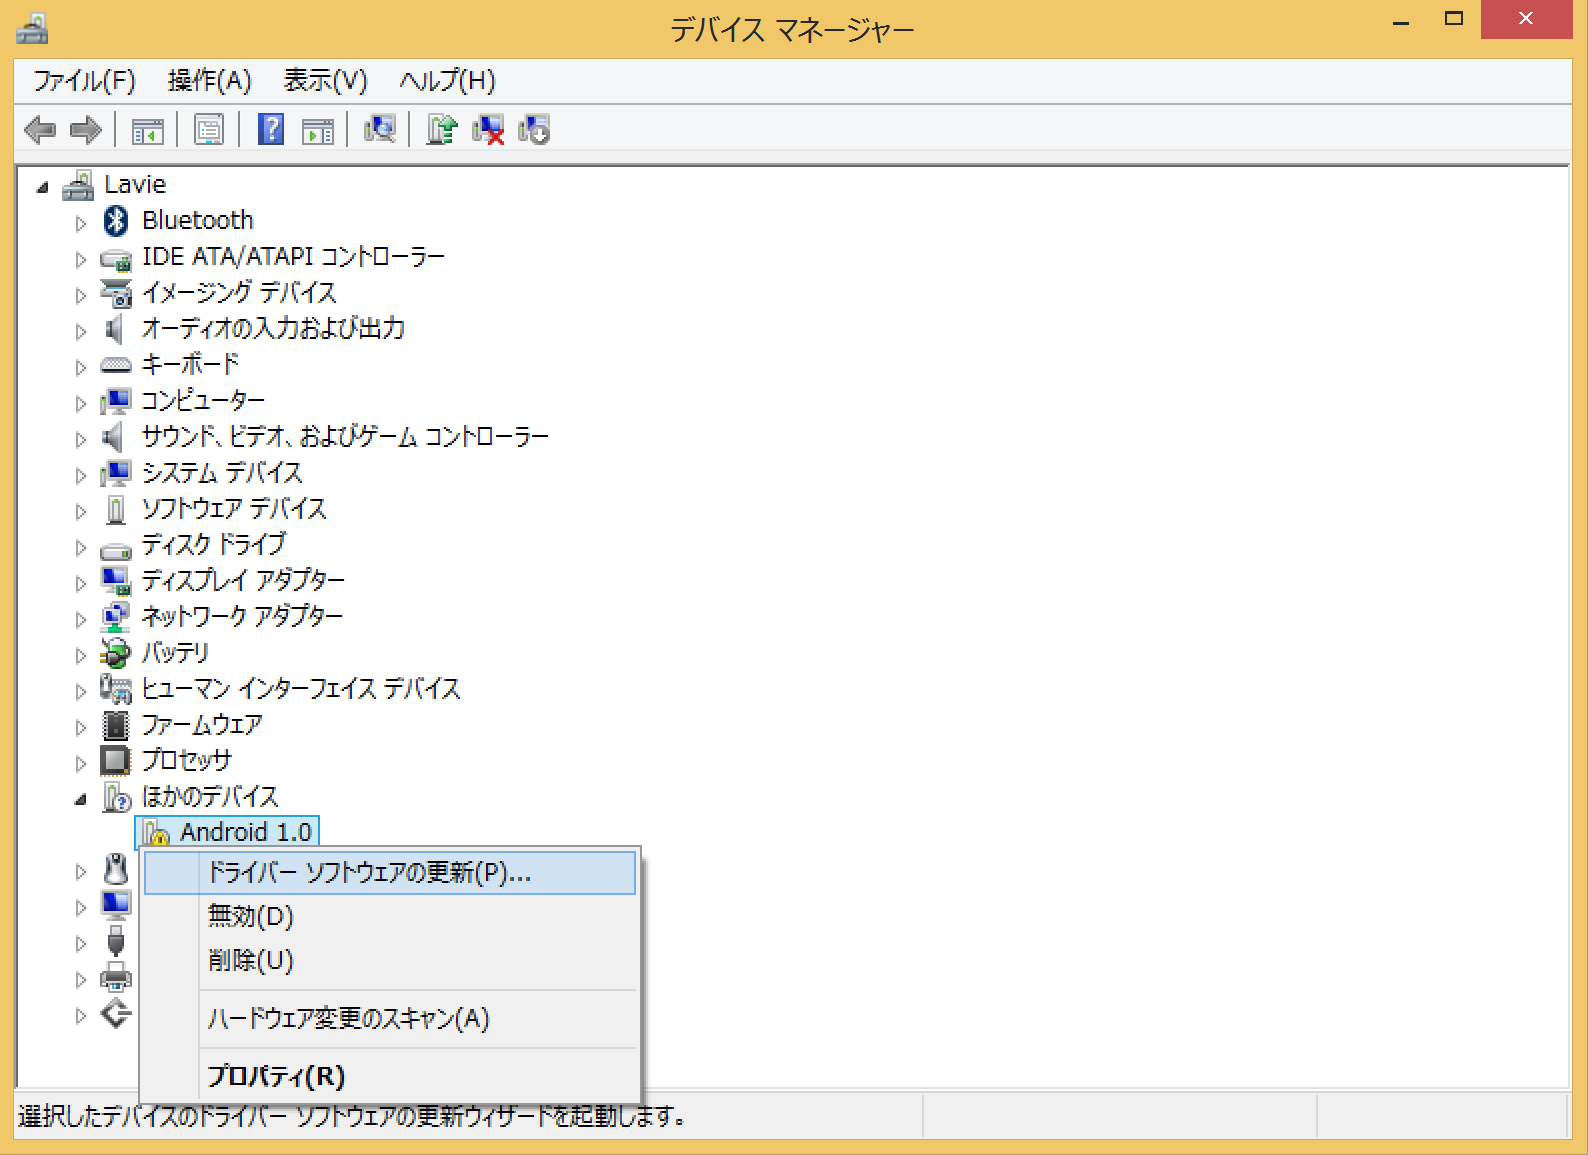
Nexus Playerのブートローダーを起動した状態でPCとつなぐと、!マーク付きの「Android 1.0」が表示されるので、右クリックして「ドライバー ソフトウェアの更新」をクリックします。
「コンピューターを参照してドライバー ソフトウェアを検索します」をクリックします。

「コンピューター上のデバイス ドライバーの一覧から選択します」をクリックします。

「すべてのデバイスを表示」を選んで「次へ」をクリックします。
「ディスク使用」をクリックします。
「参照」をクリックします。

ダウンロードして解凍しておいたGoogle USB Driverの中にある「android_winusb.inf」を選んで「開く」をクリックします。
「OK」をクリックします。

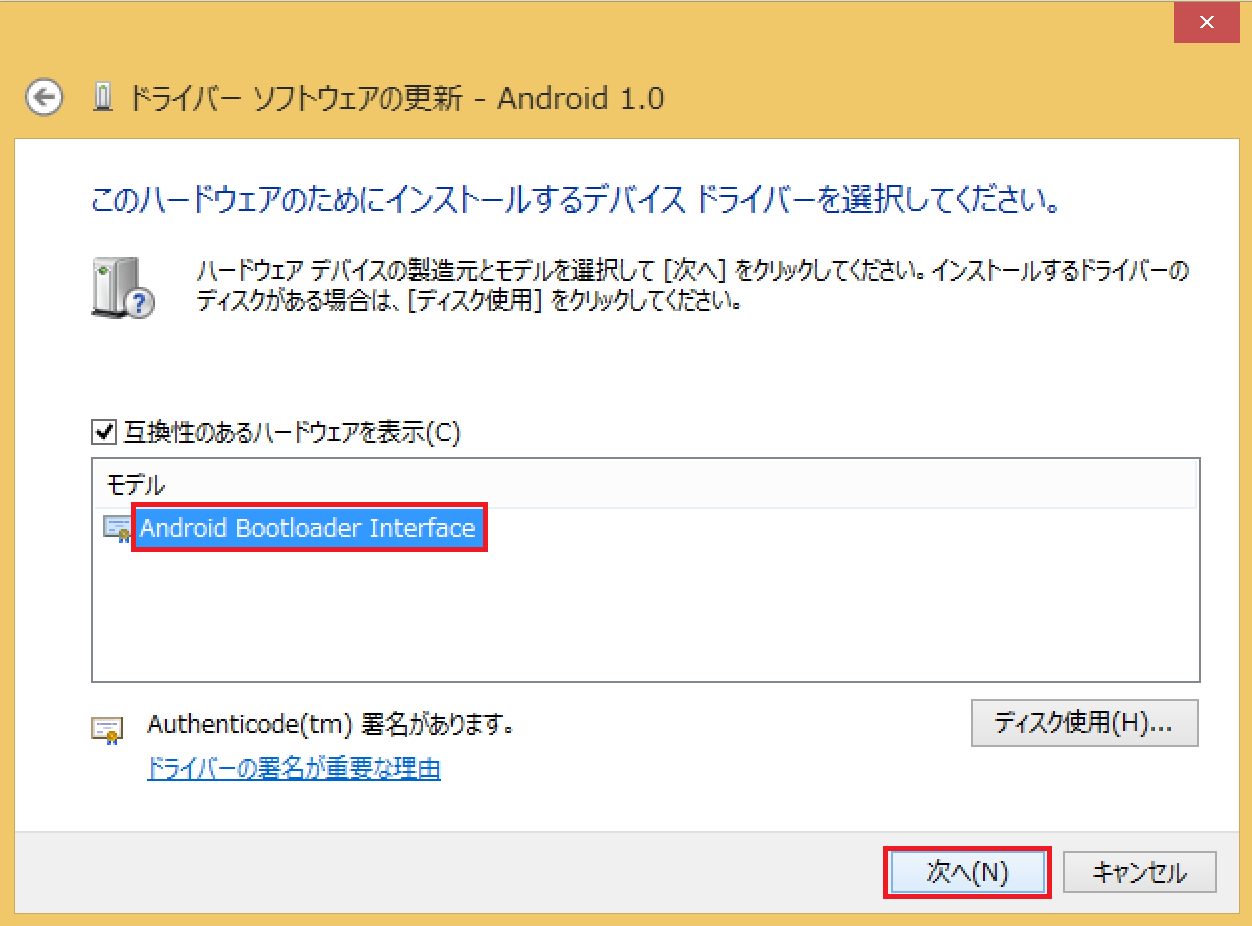
「Android Bootloader Interface」を選んで「次へ」をクリックします。
「ドライバー ソフトウェアが正常に更新されました」と表示されればドライバのインストールは完了です。「閉じる」をクリックします。

デバイスマネージャーで「Android Bootloader Interface」と表示されていれば、ドライバは正常にインストールされています。
Nexus Playerのドライバインストール方法は以上です。