Google NowランチャーがNexus5以外のNexusデバイスなどでも使えるようになったので、早速Nexus7(2012)とNexus7(2013)とNexus4にインストールしてみました。
Google Nowランチャーの大きな特徴の1つに、「OK Google」と話しかけるだけでGoogle検索が起動する点があげられます。
以前、Android 4.4 KitKatで「OK Google」の音声コマンドを使う方法。を紹介しましたが、Google Nowランチャーの「OK Google」の音声コマンドは2014/2/27現在もAndroidのシステム言語設定が英語でのみ使えて日本語では使えません。
ただ、Google検索に関するファイルを少しいじることで簡単に日本語でも使えるようになります。
なお、今回の方法を実践するにはNexus5のRoot化が必要です。
注意事項
ブートローダーアンロックやカスタムリカバリ導入、カスタムROMの導入、Root化によって、メーカーの補償は一切きかなくなります。また、作業中にデータが消えたり、端末が起動しなくなってしまったとしても、当方では一切責任は負えません。
全て自己責任で作業を行ってください。
準備しておくこと
1.NexusデバイスのRoot化。NexusデバイスのRoot化方法は新型Nexus7(2013)のRoot化方法・手順。を参照してください。2.Rootオプションがある(system領域を変更できる)ファイルマネージャーをインストールしておく。私はESファイルエクスプローラーを使っています。
ESファイルエクスプローラーのRootオプションを有効化するには、まず左上の地球儀アイコンをタップします。

スライドメニューが開くので「ツール」をタップします。
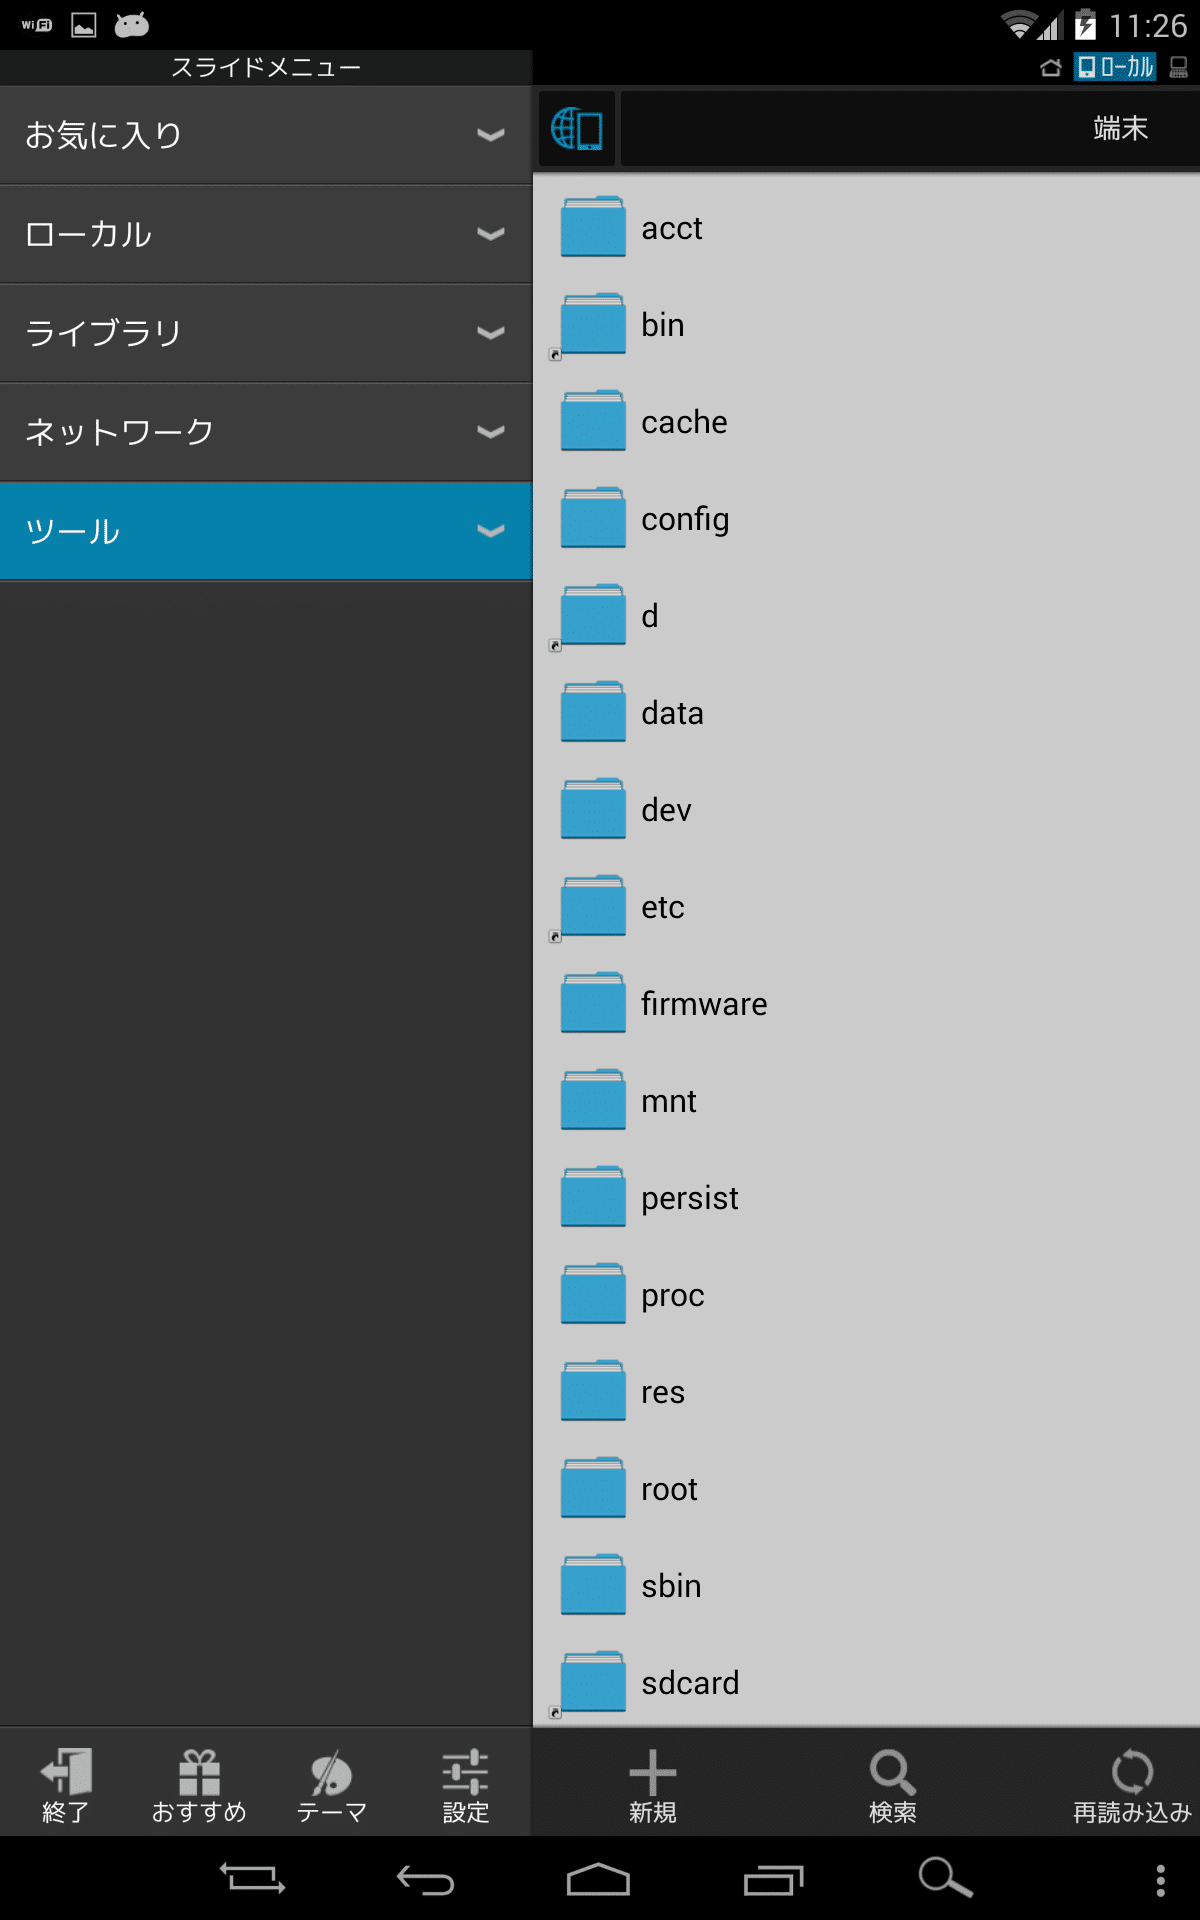
RootエクスプローラをONにします。

3.Google Nowを有効化して、最低1度はGoogle Nowランチャーの検索ボックスを起動してGoogle検索しておく。ここまでしておかないと、これから編集するファイルが文字化けして編集できません。
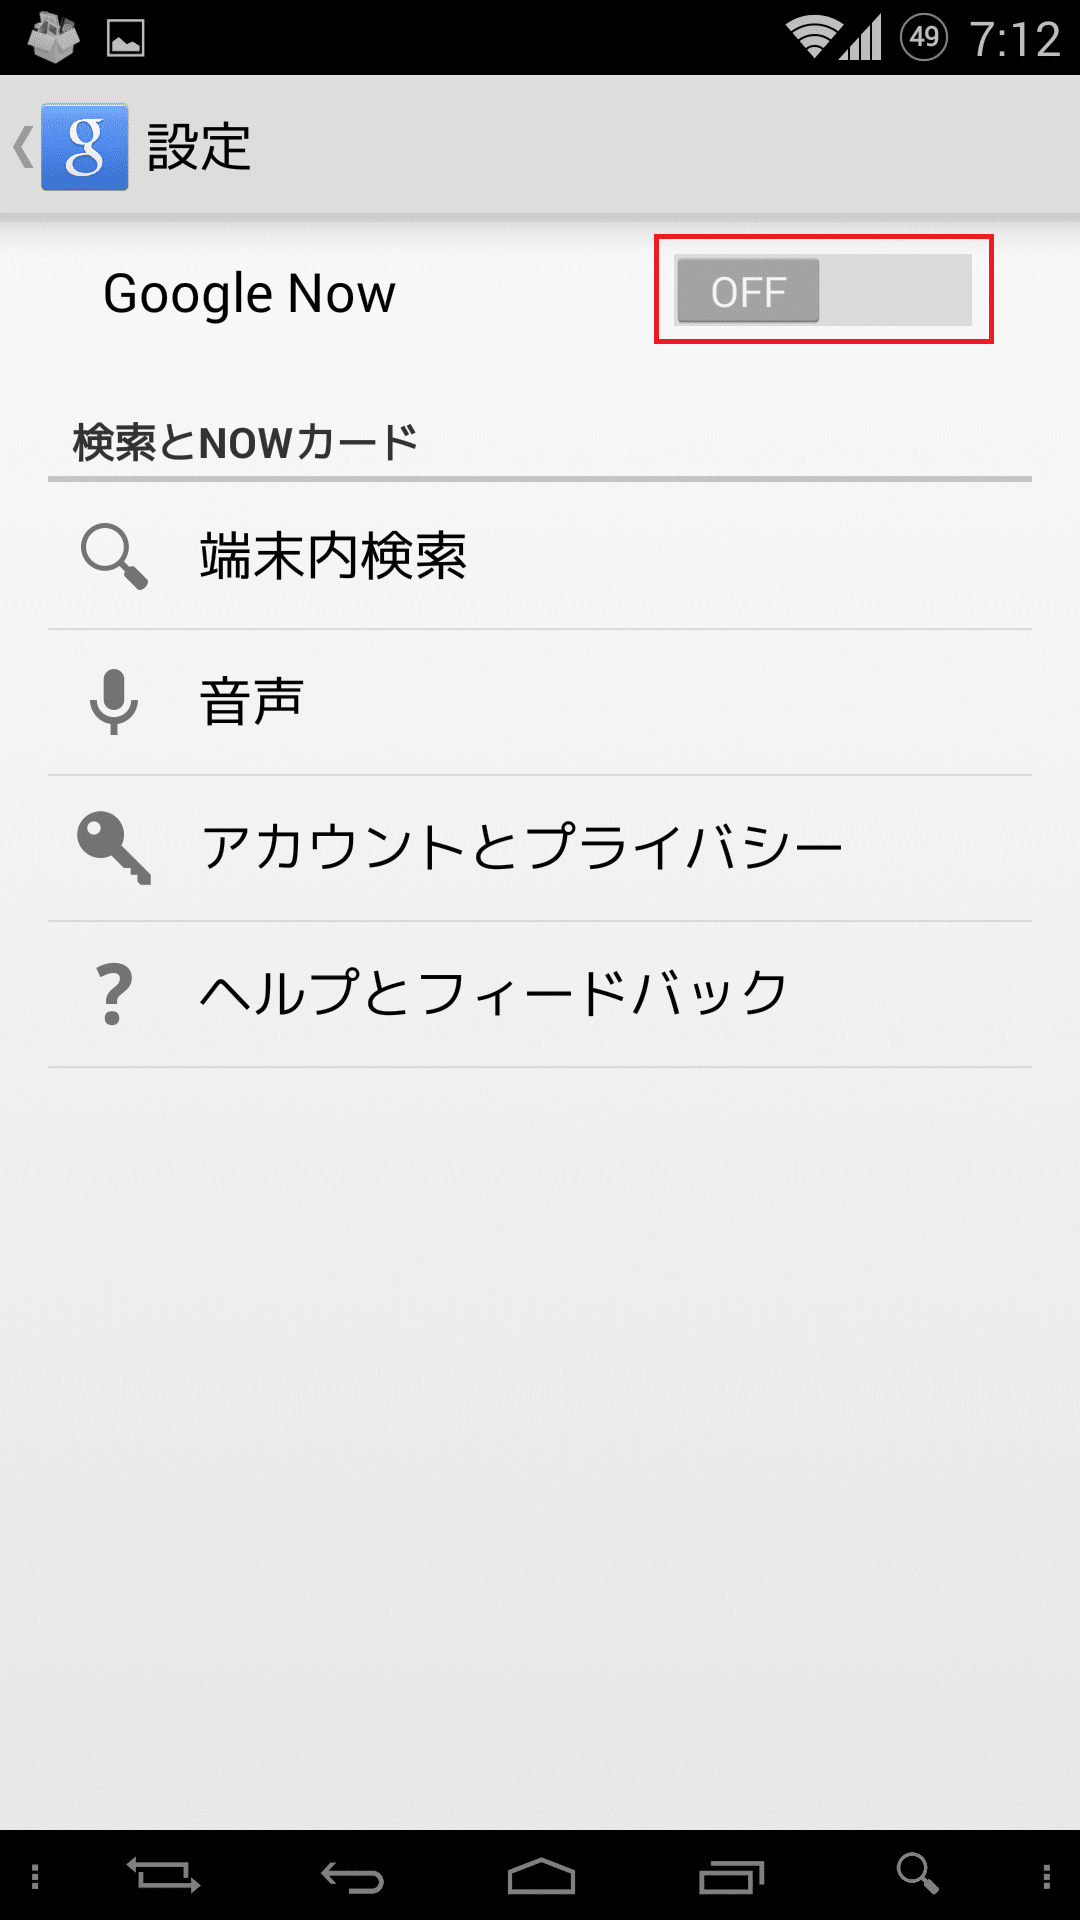
Google Nowの有効化は、まずホーム画面を長押して設定をタップします。

Google NowをONにして、「使ってみる」をタップしてGoogle Nowを起動します。

OK Googleを日本語ロケールで使えるようにする
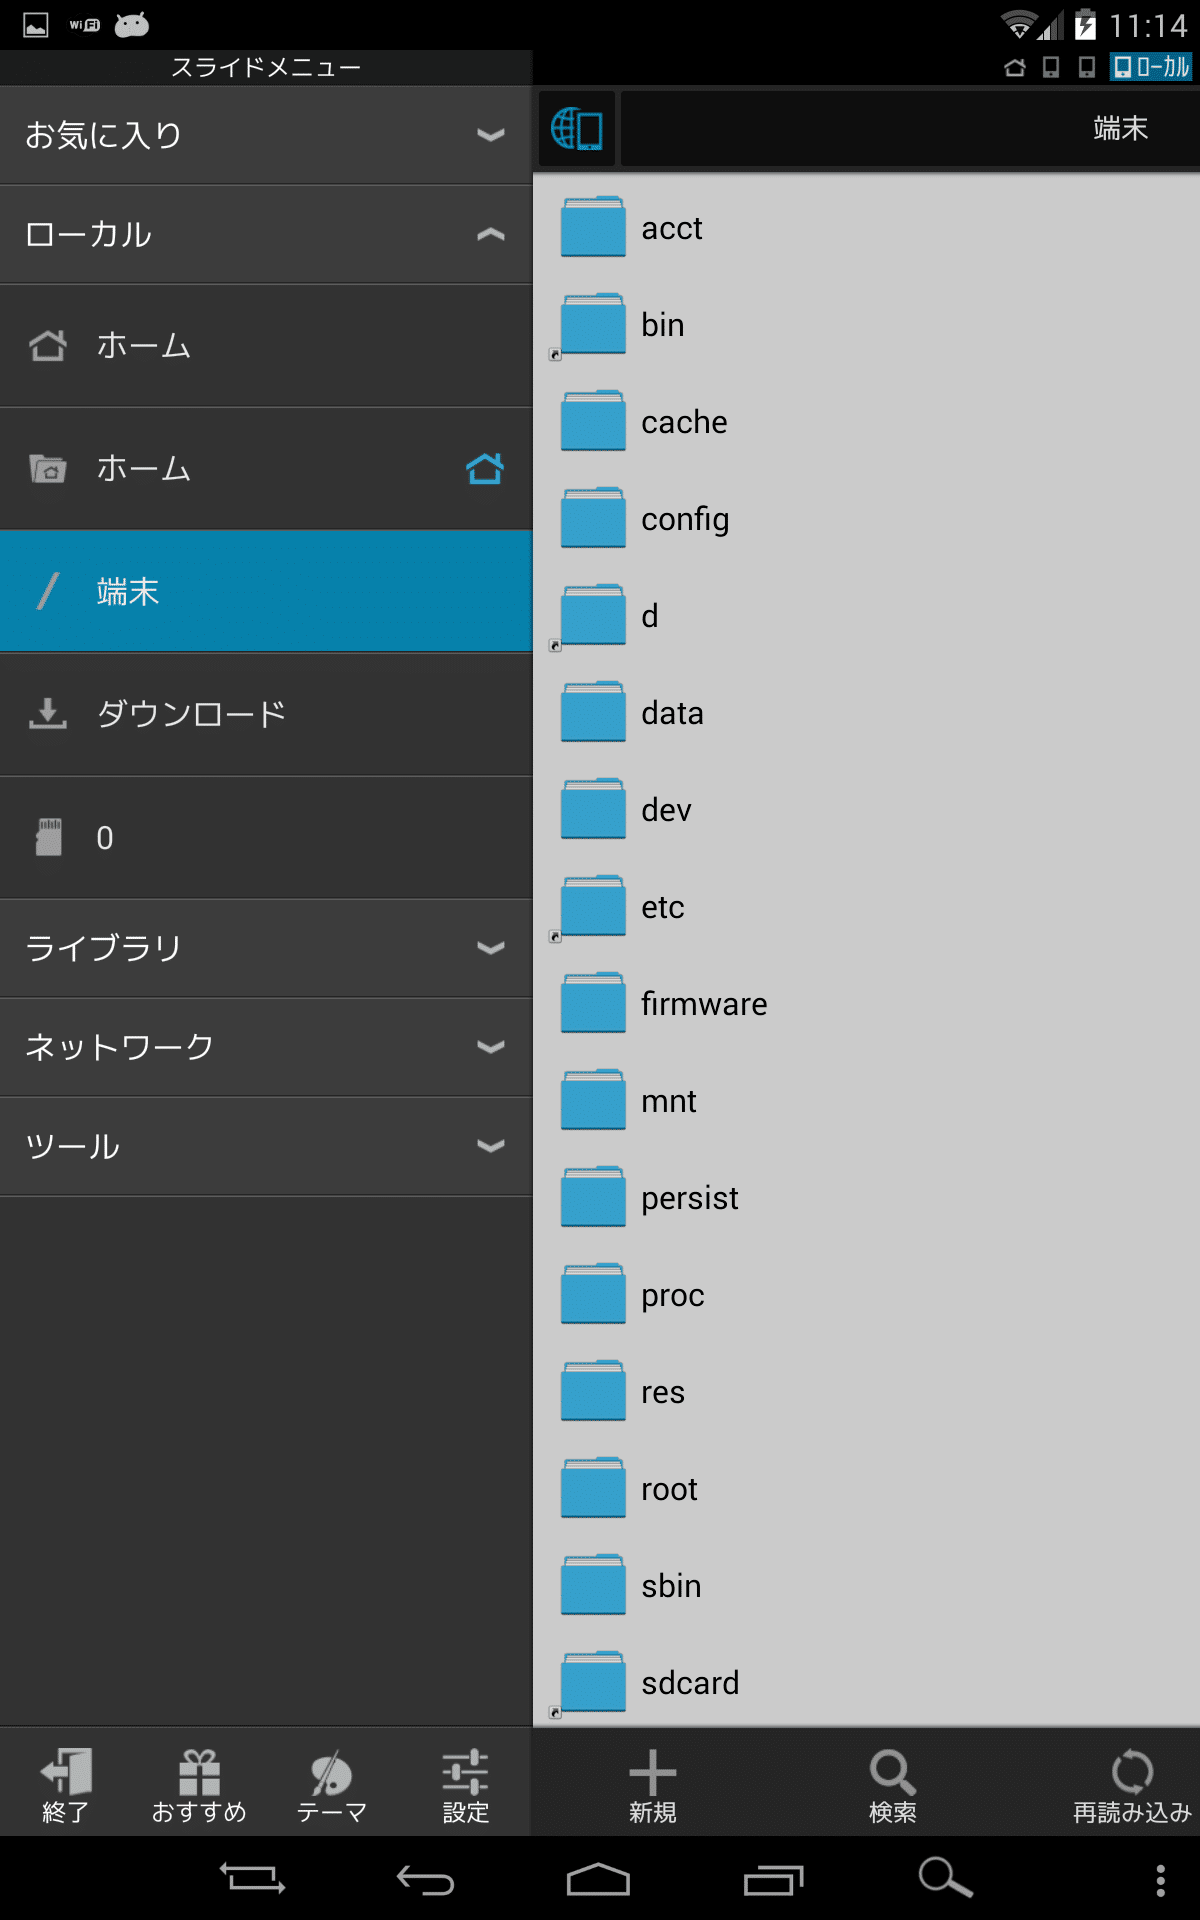
ここからは、Nexus7やNexus4で実際にOK Googleを日本語ロケールでも使えるようにしていきます。左上の地球儀アイコンをタップします。
「/端末」をタップします。
dataフォルダをタップします。

再度dataフォルダをタップします。
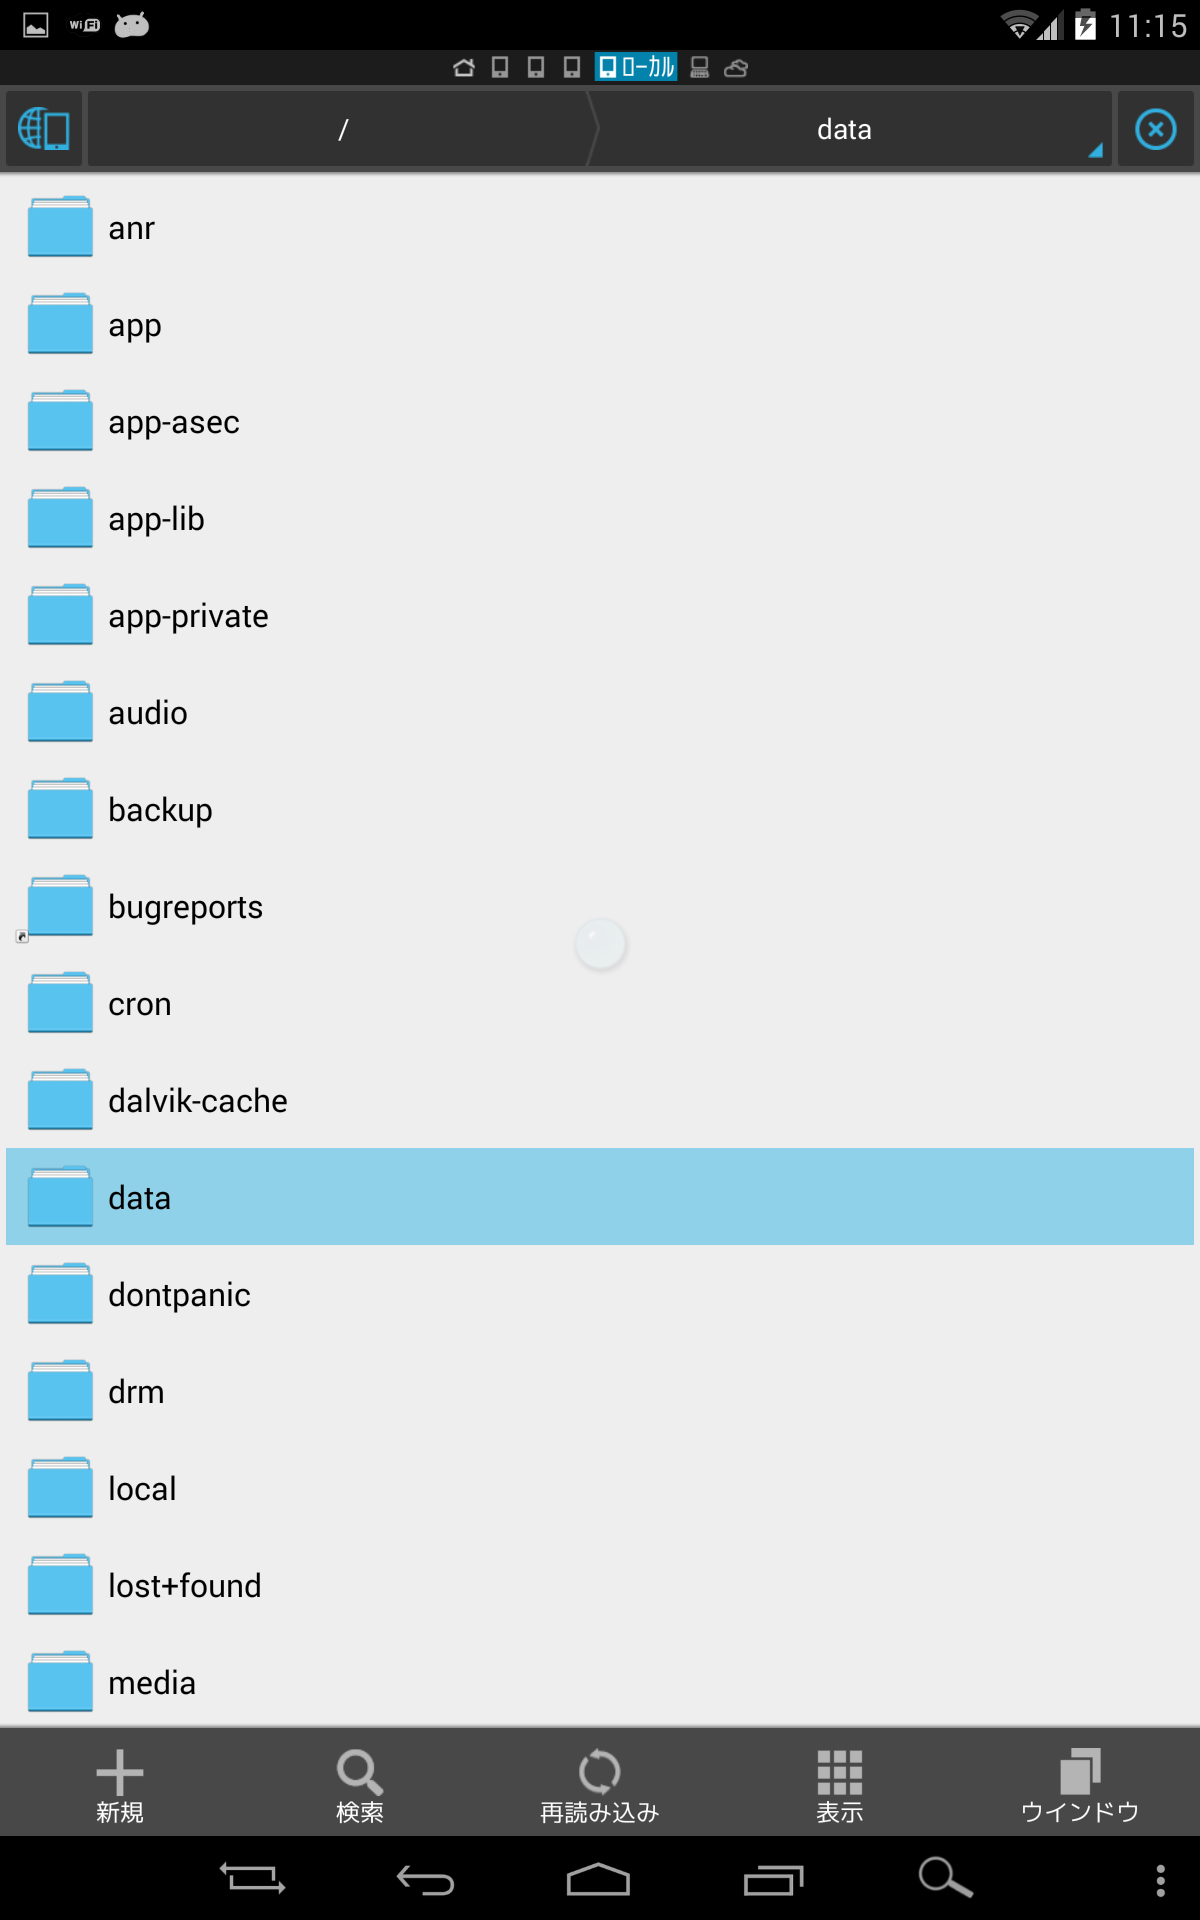
com.google.android.googlequicksearchboxフォルダをタップします。

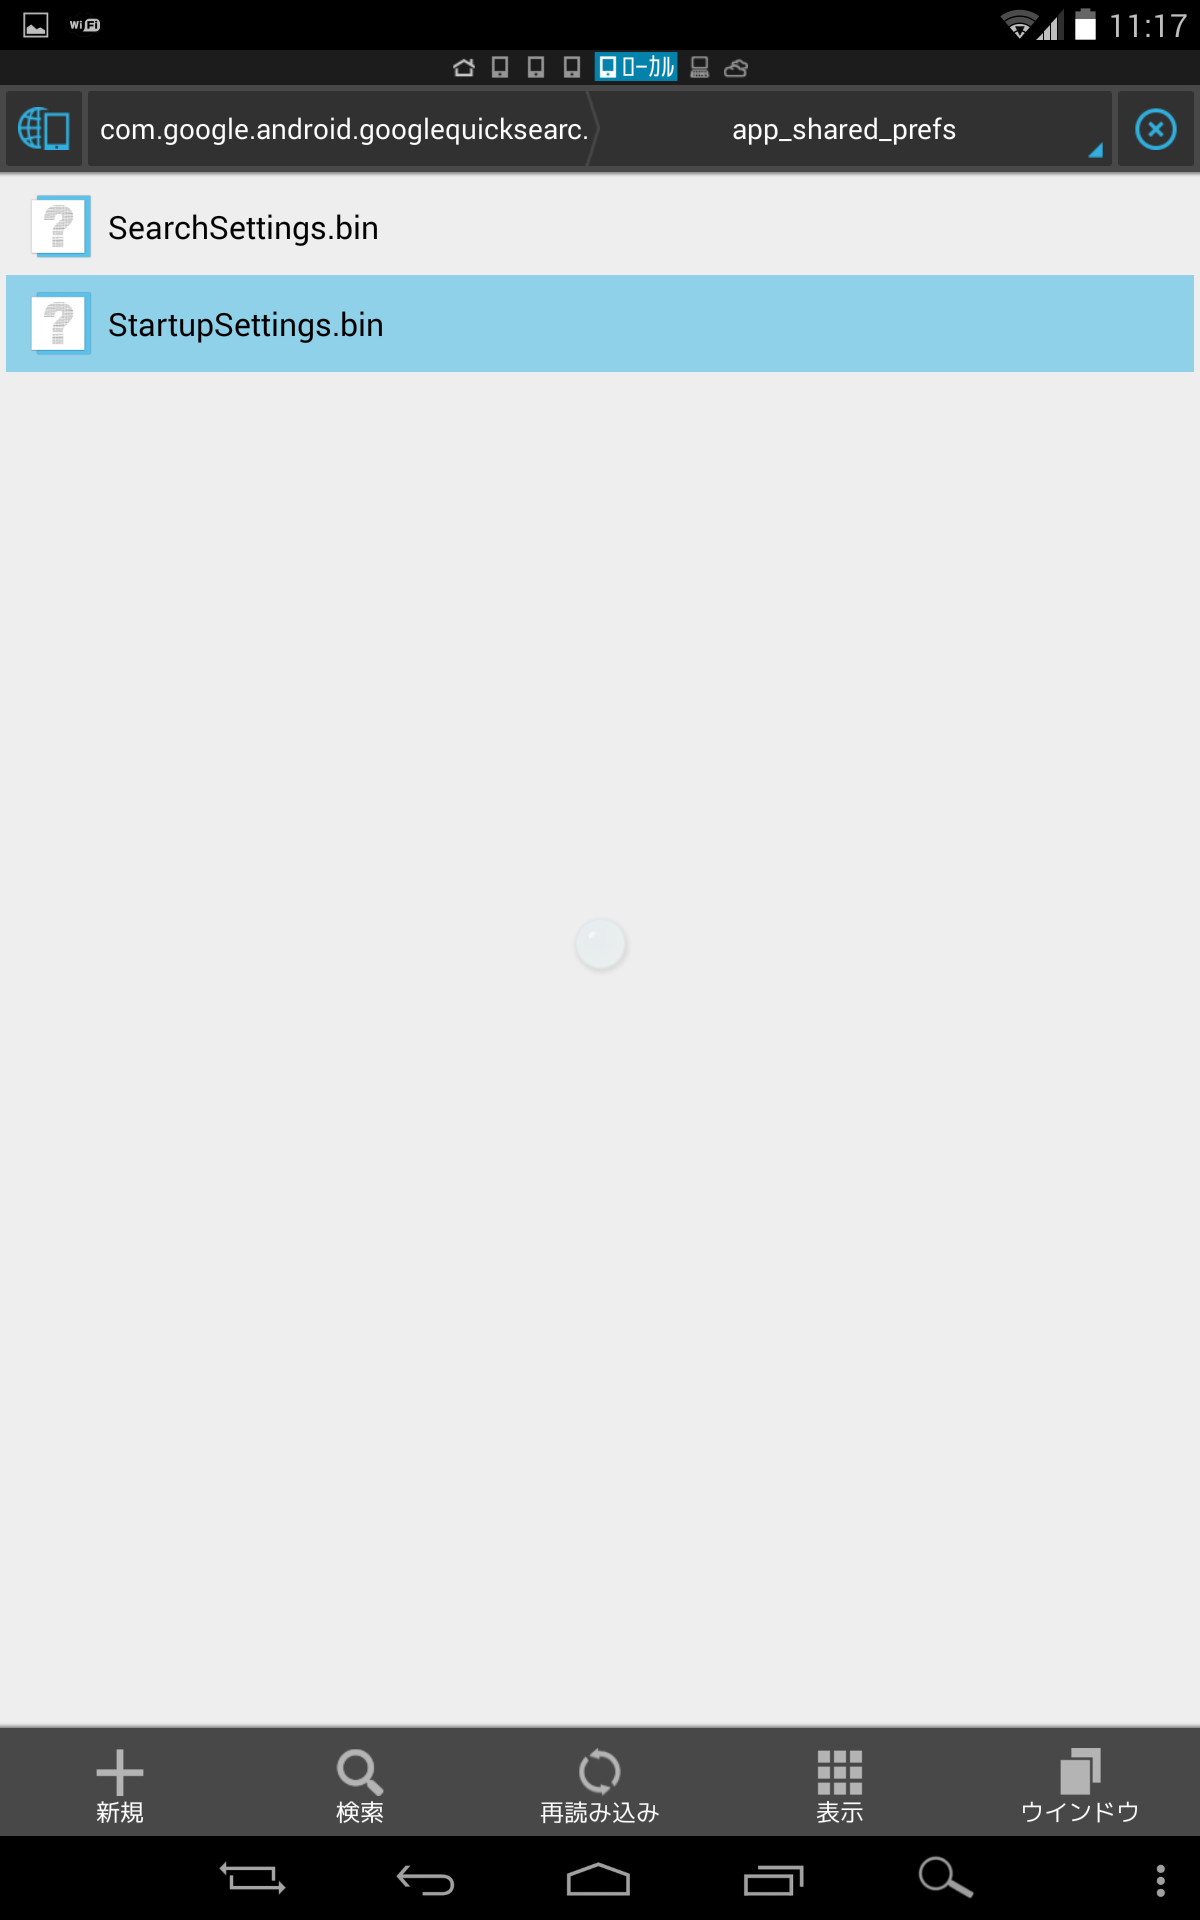
app_share_prefsフォルダをタップします。

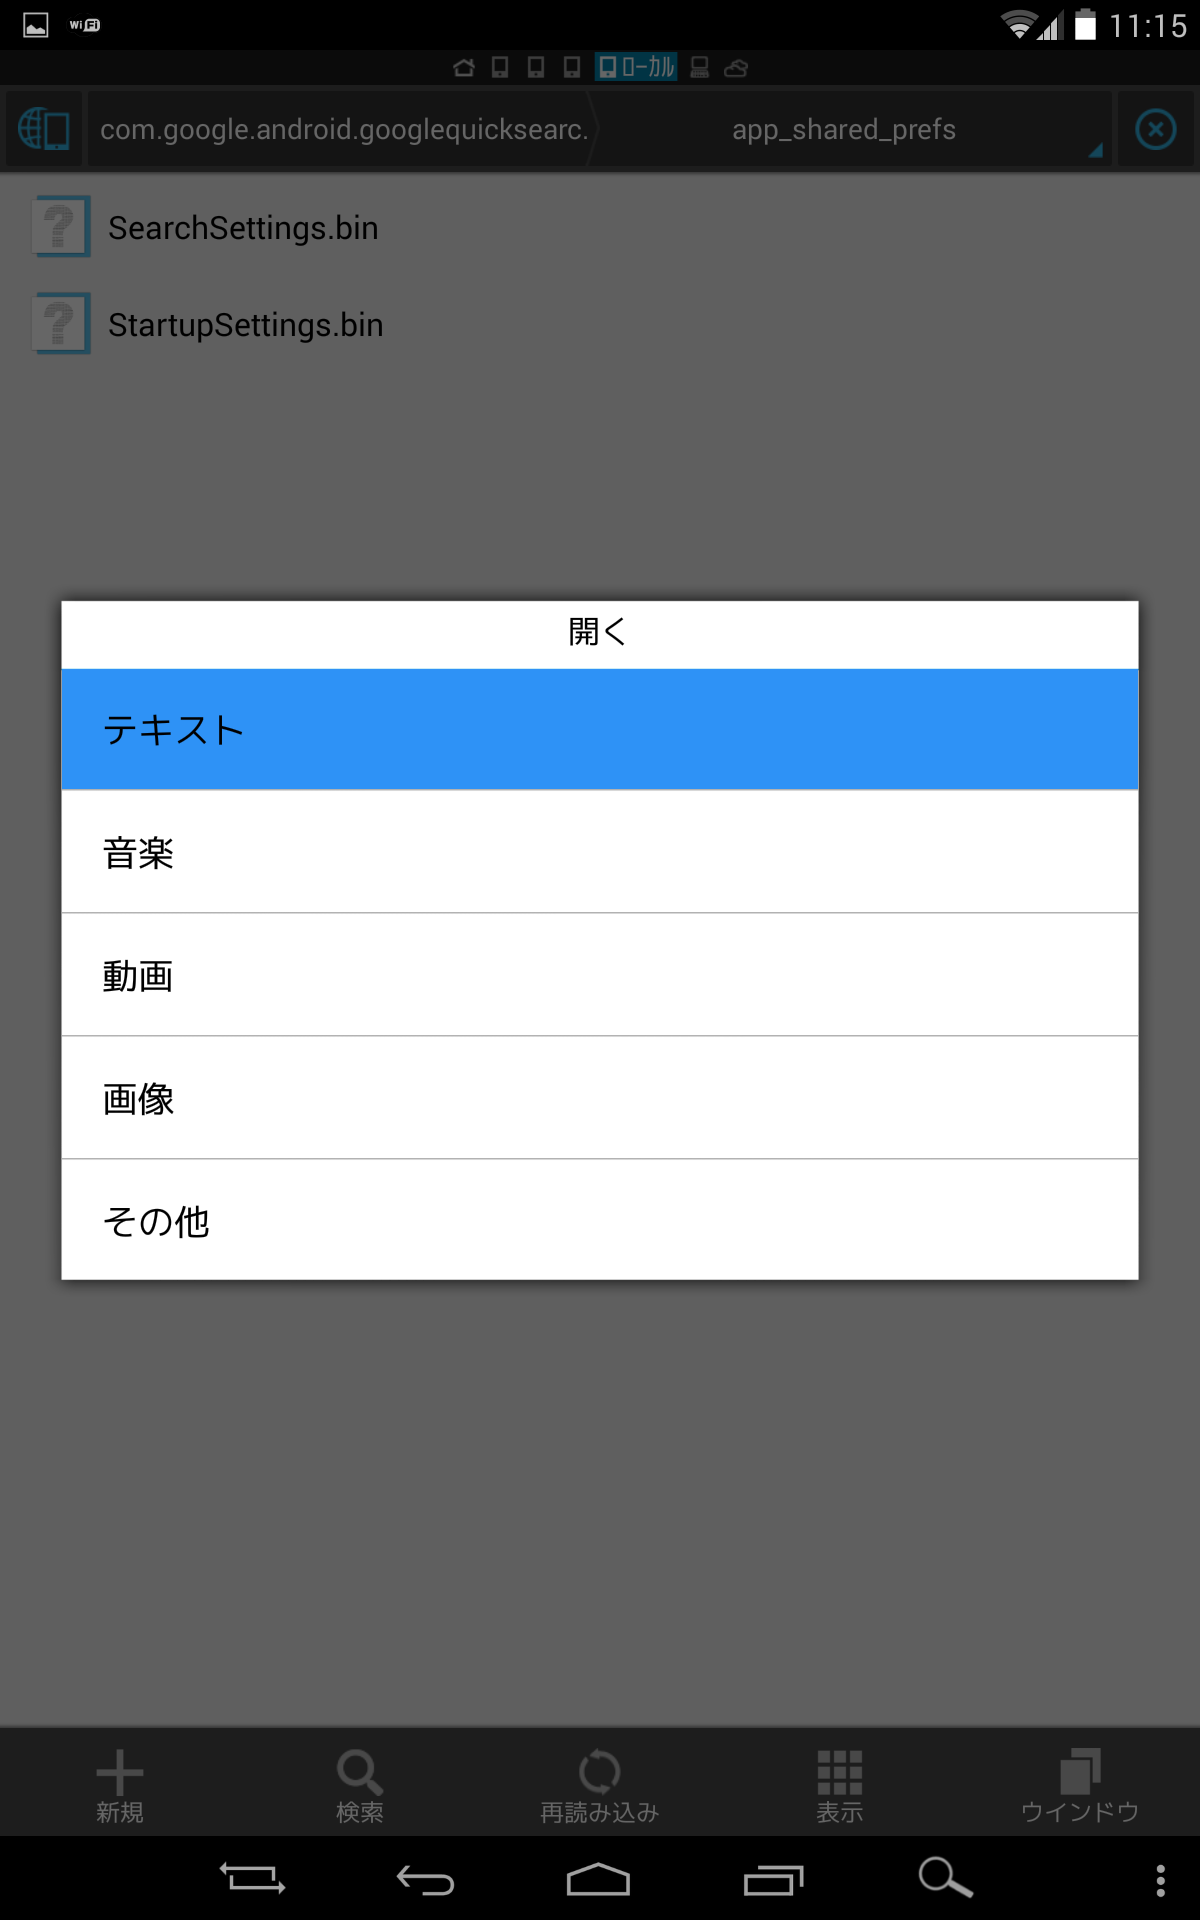
「StartupSettings.bin」をタップします。

「テキスト」をタップします。
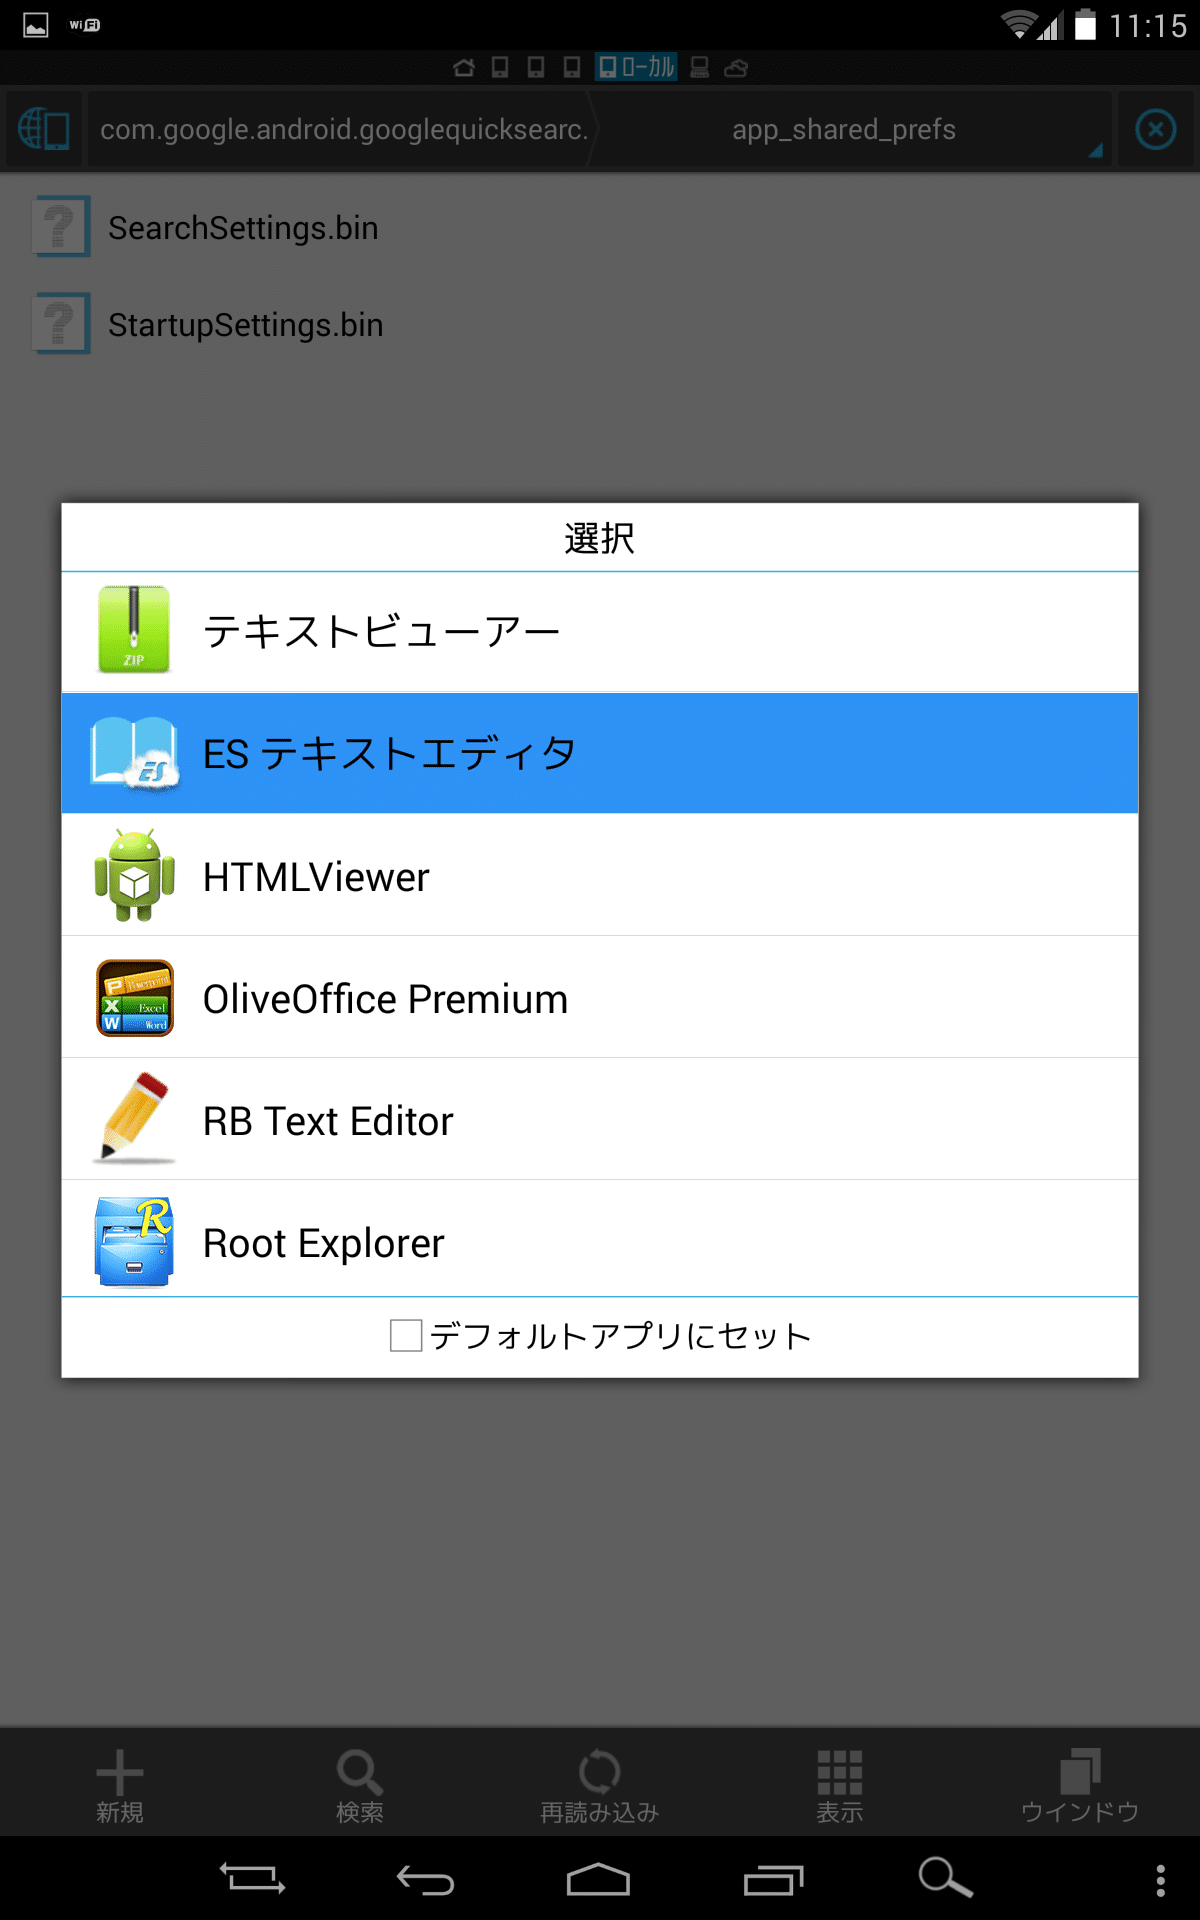
「ESテキストエディタ」をタップします。
右上のメニューアイコンをタップします。
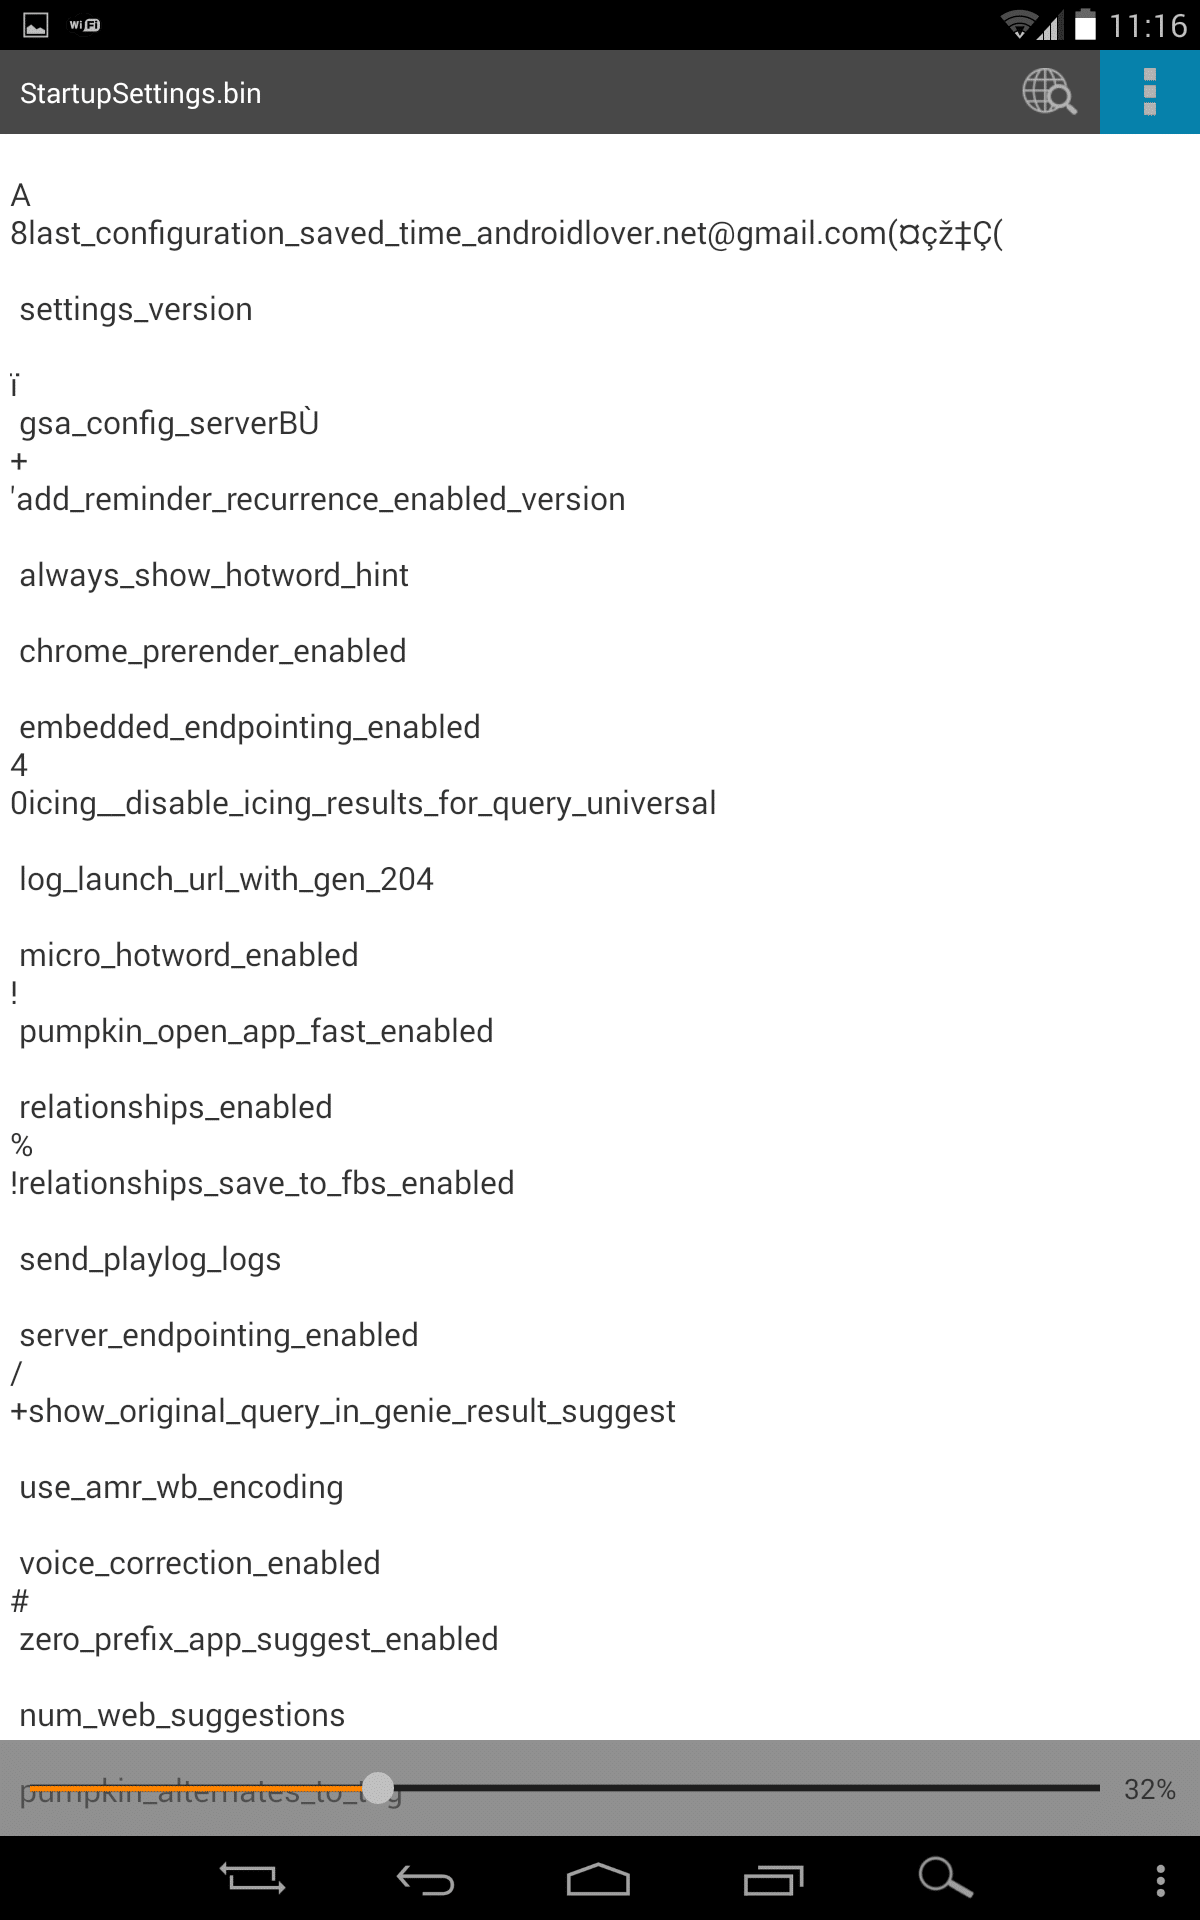
「編集」をタップします。

「micro_hotword.data.Ok Google.en-CA」を探して、「en-CA」を消します。

消した「ec-CA」部分に「ja-JP」と入力します。

戻るキーを押します。

保存するか尋ねてくるので「はい」をタップします。

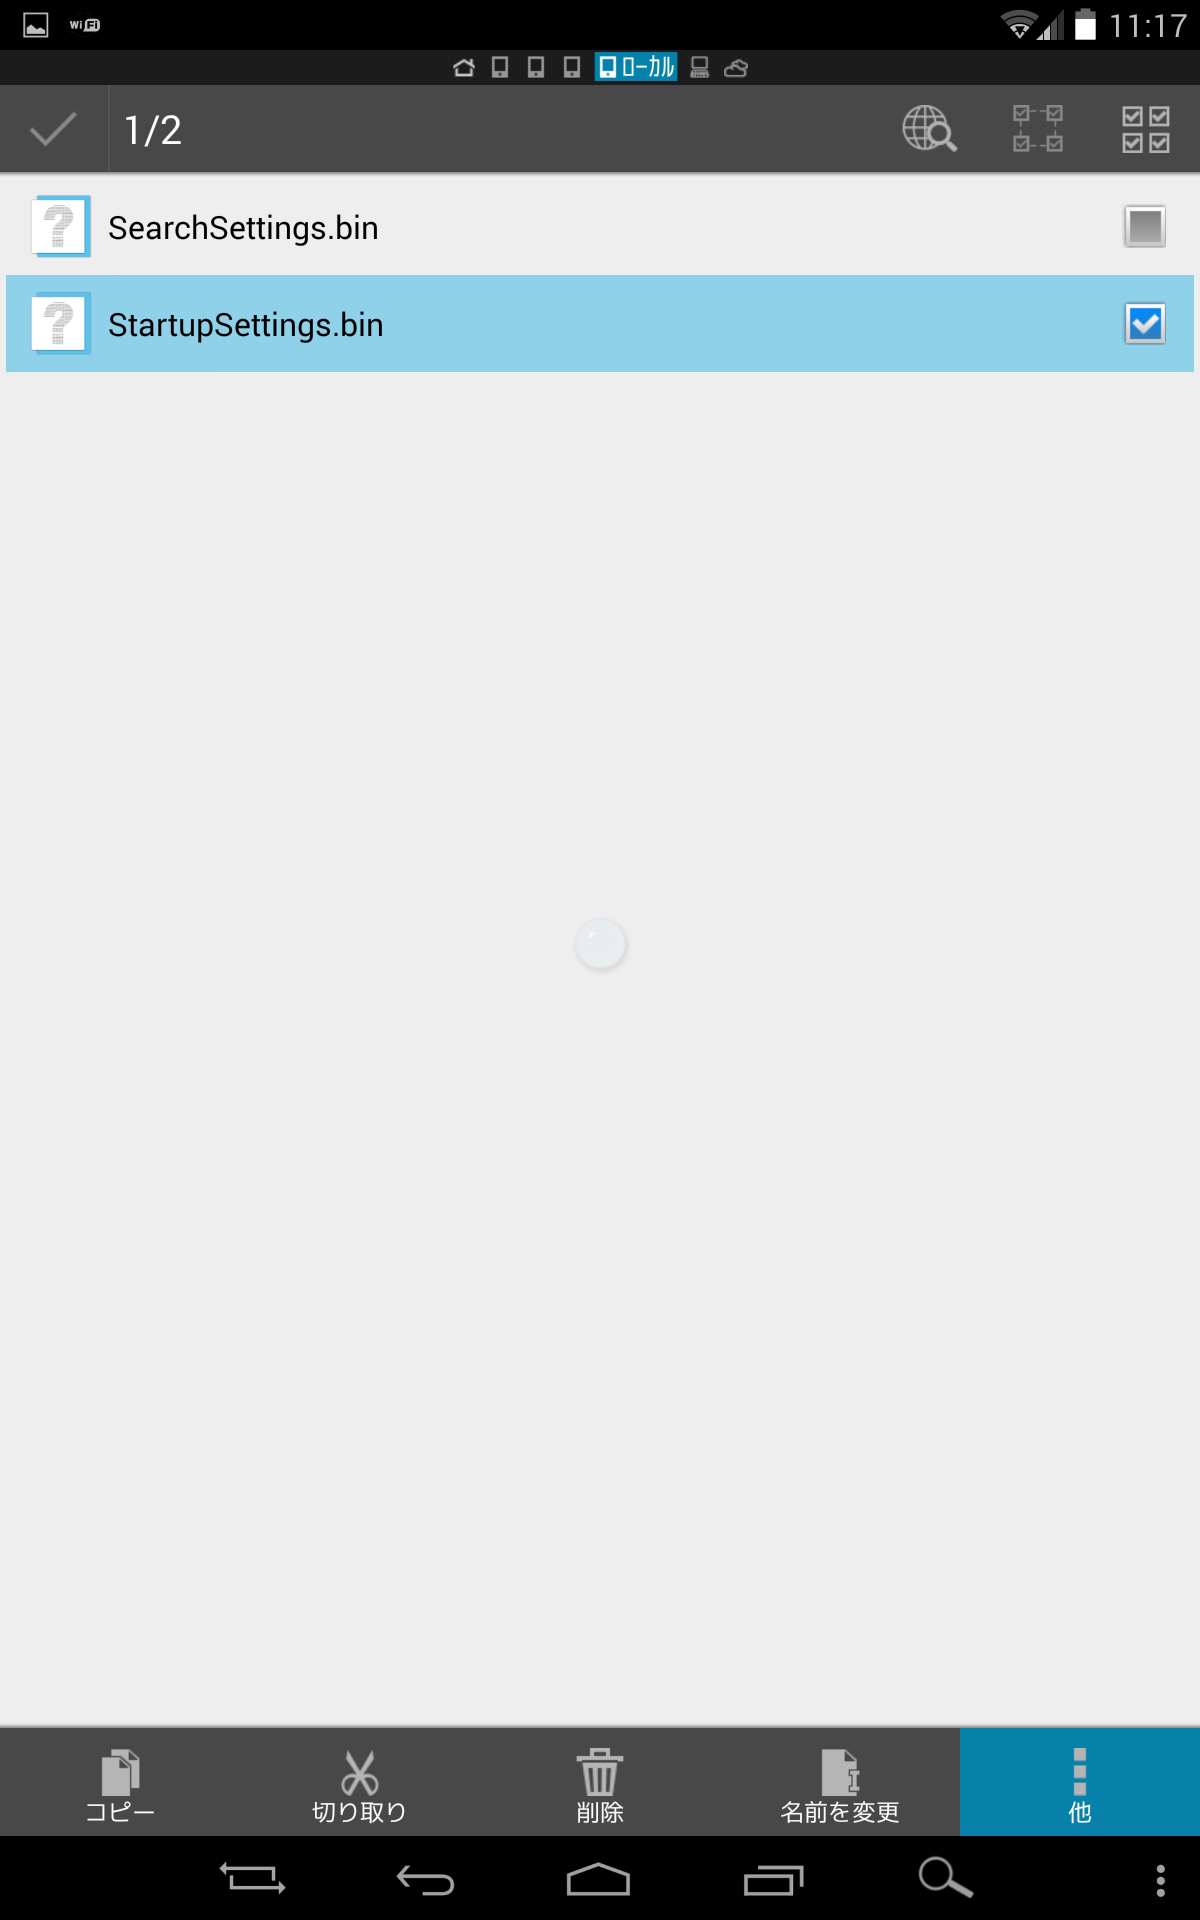
「StartupSettings.bin」をロングタップします。
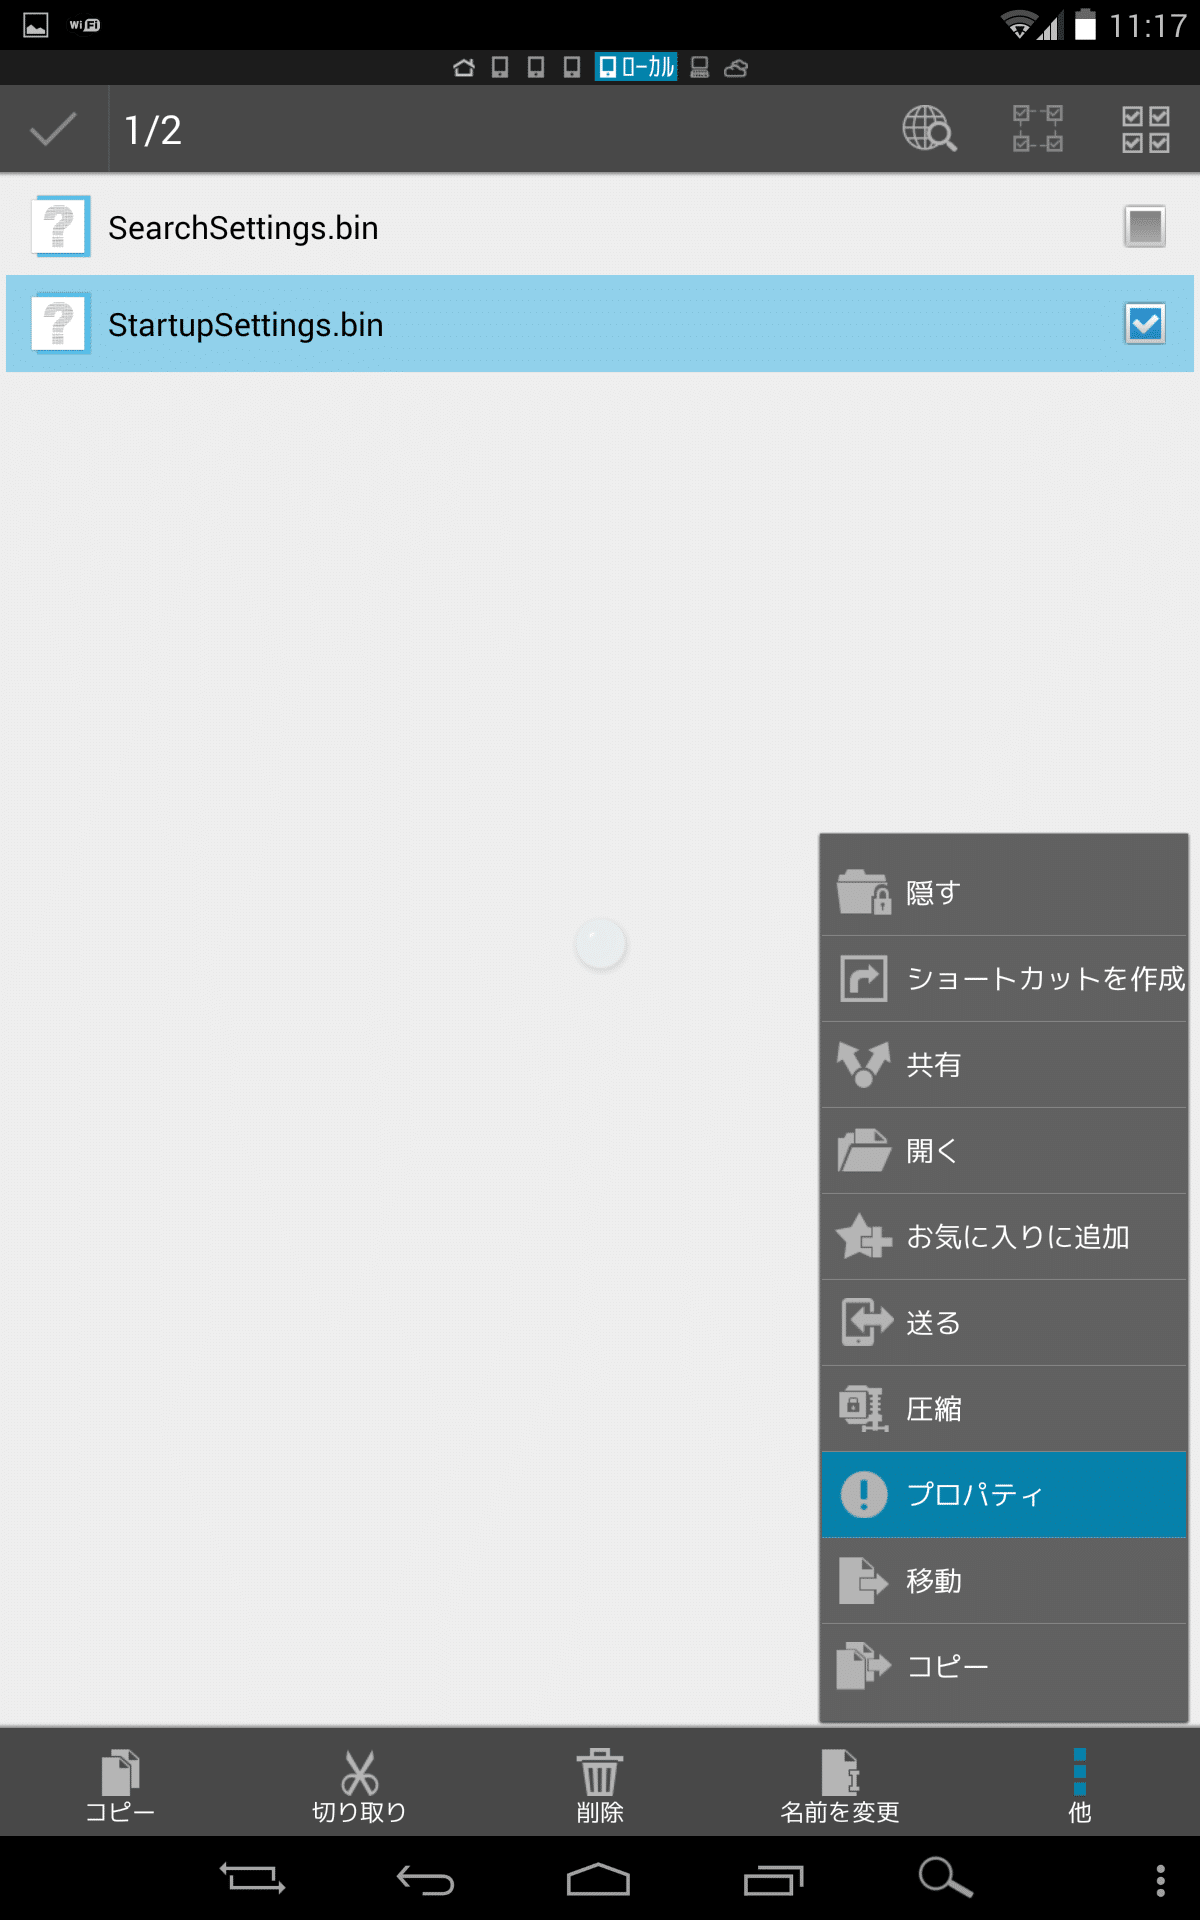
右下の「他」をタップします。
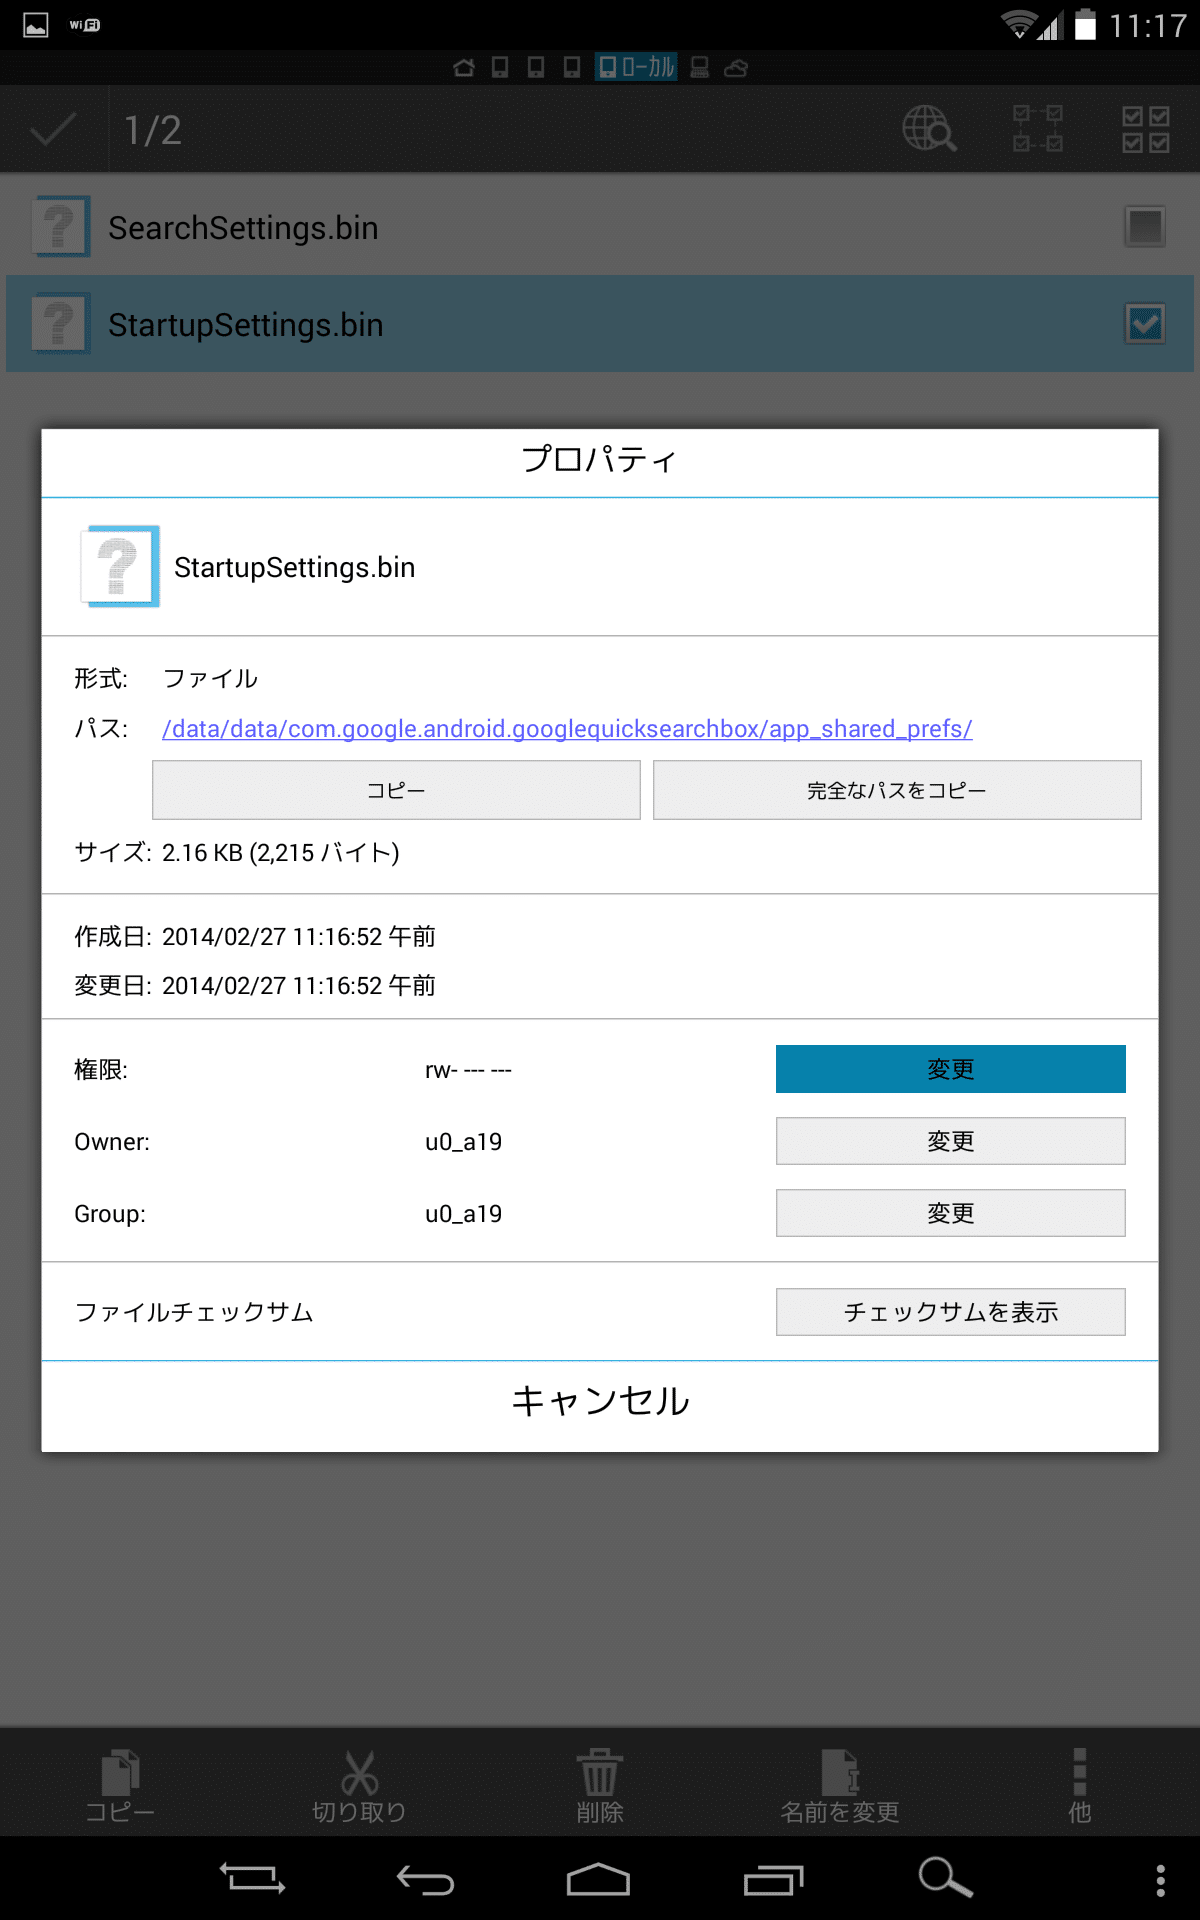
「プロパティ」をタップします。
権限の「変更」をタップします。
キャプチャの通り全てにチェックを入れて「OK」をタップします。
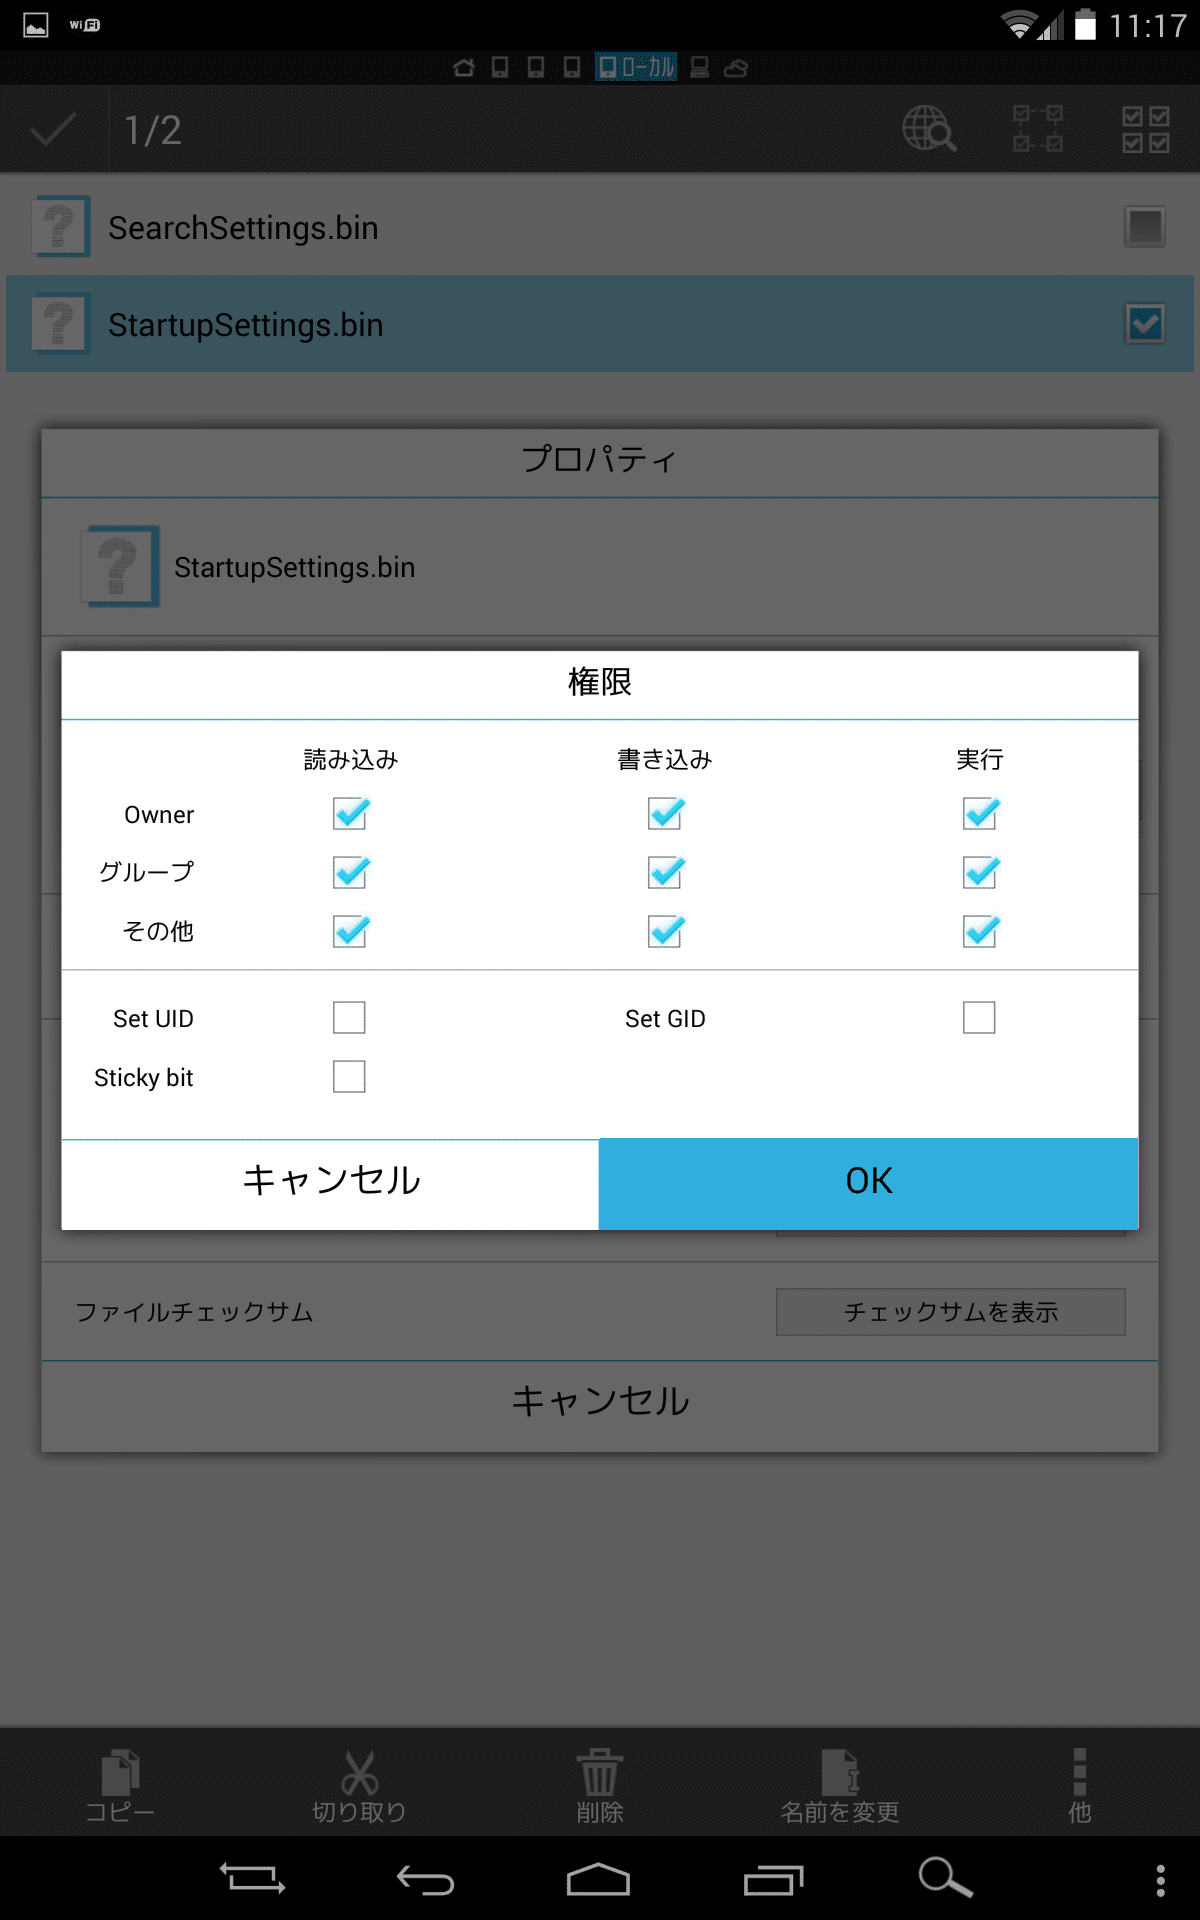
権限が「rwx rwx rwx」となっていることを確認して「キャンセル」をタップします。Nexus5を日本語ロケールで「OK Google」を有効にする方法と同じですね。

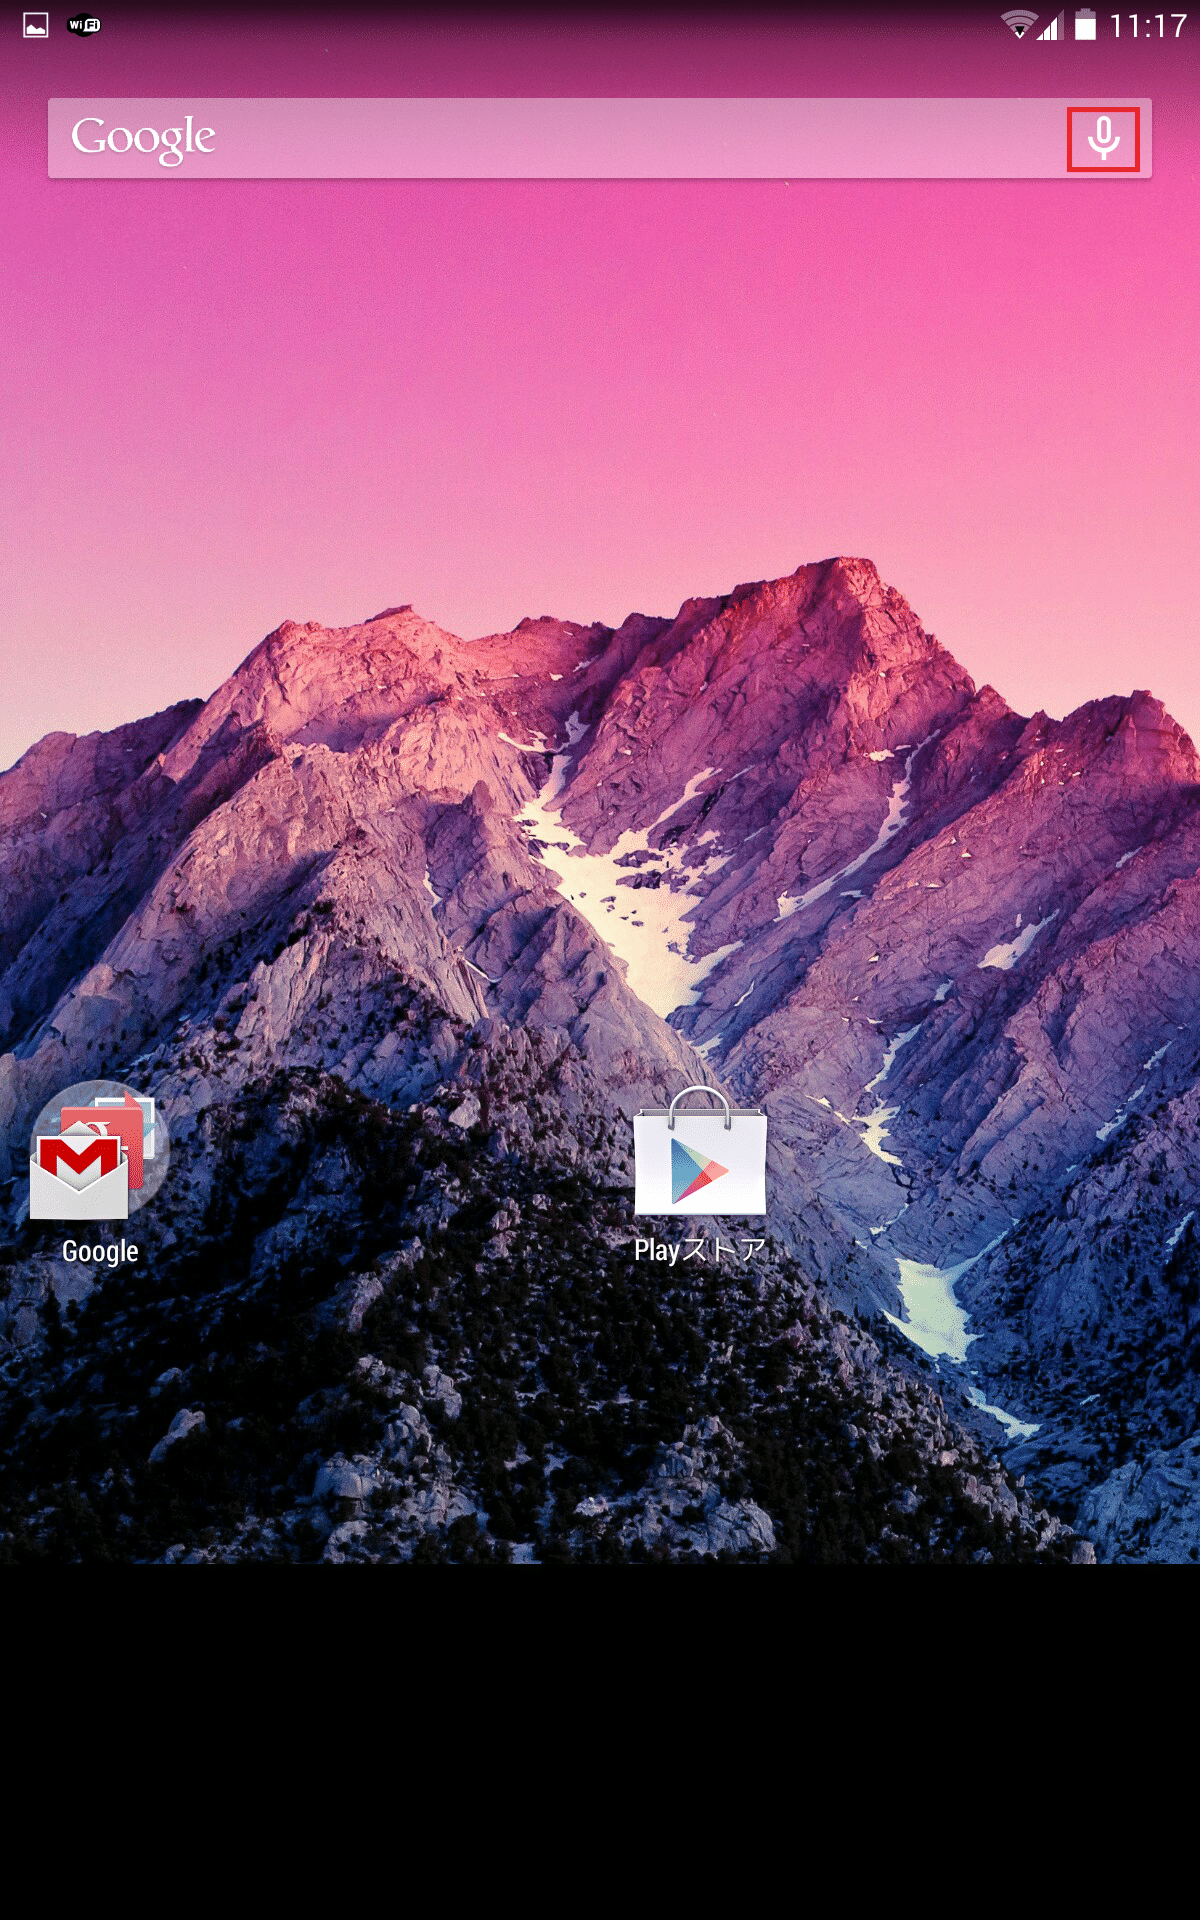
「OK Google」の音声コマンドが無効の時は、マイクアイコンが白抜きになっています。上記作業実施後、一度端末を再起動させます。
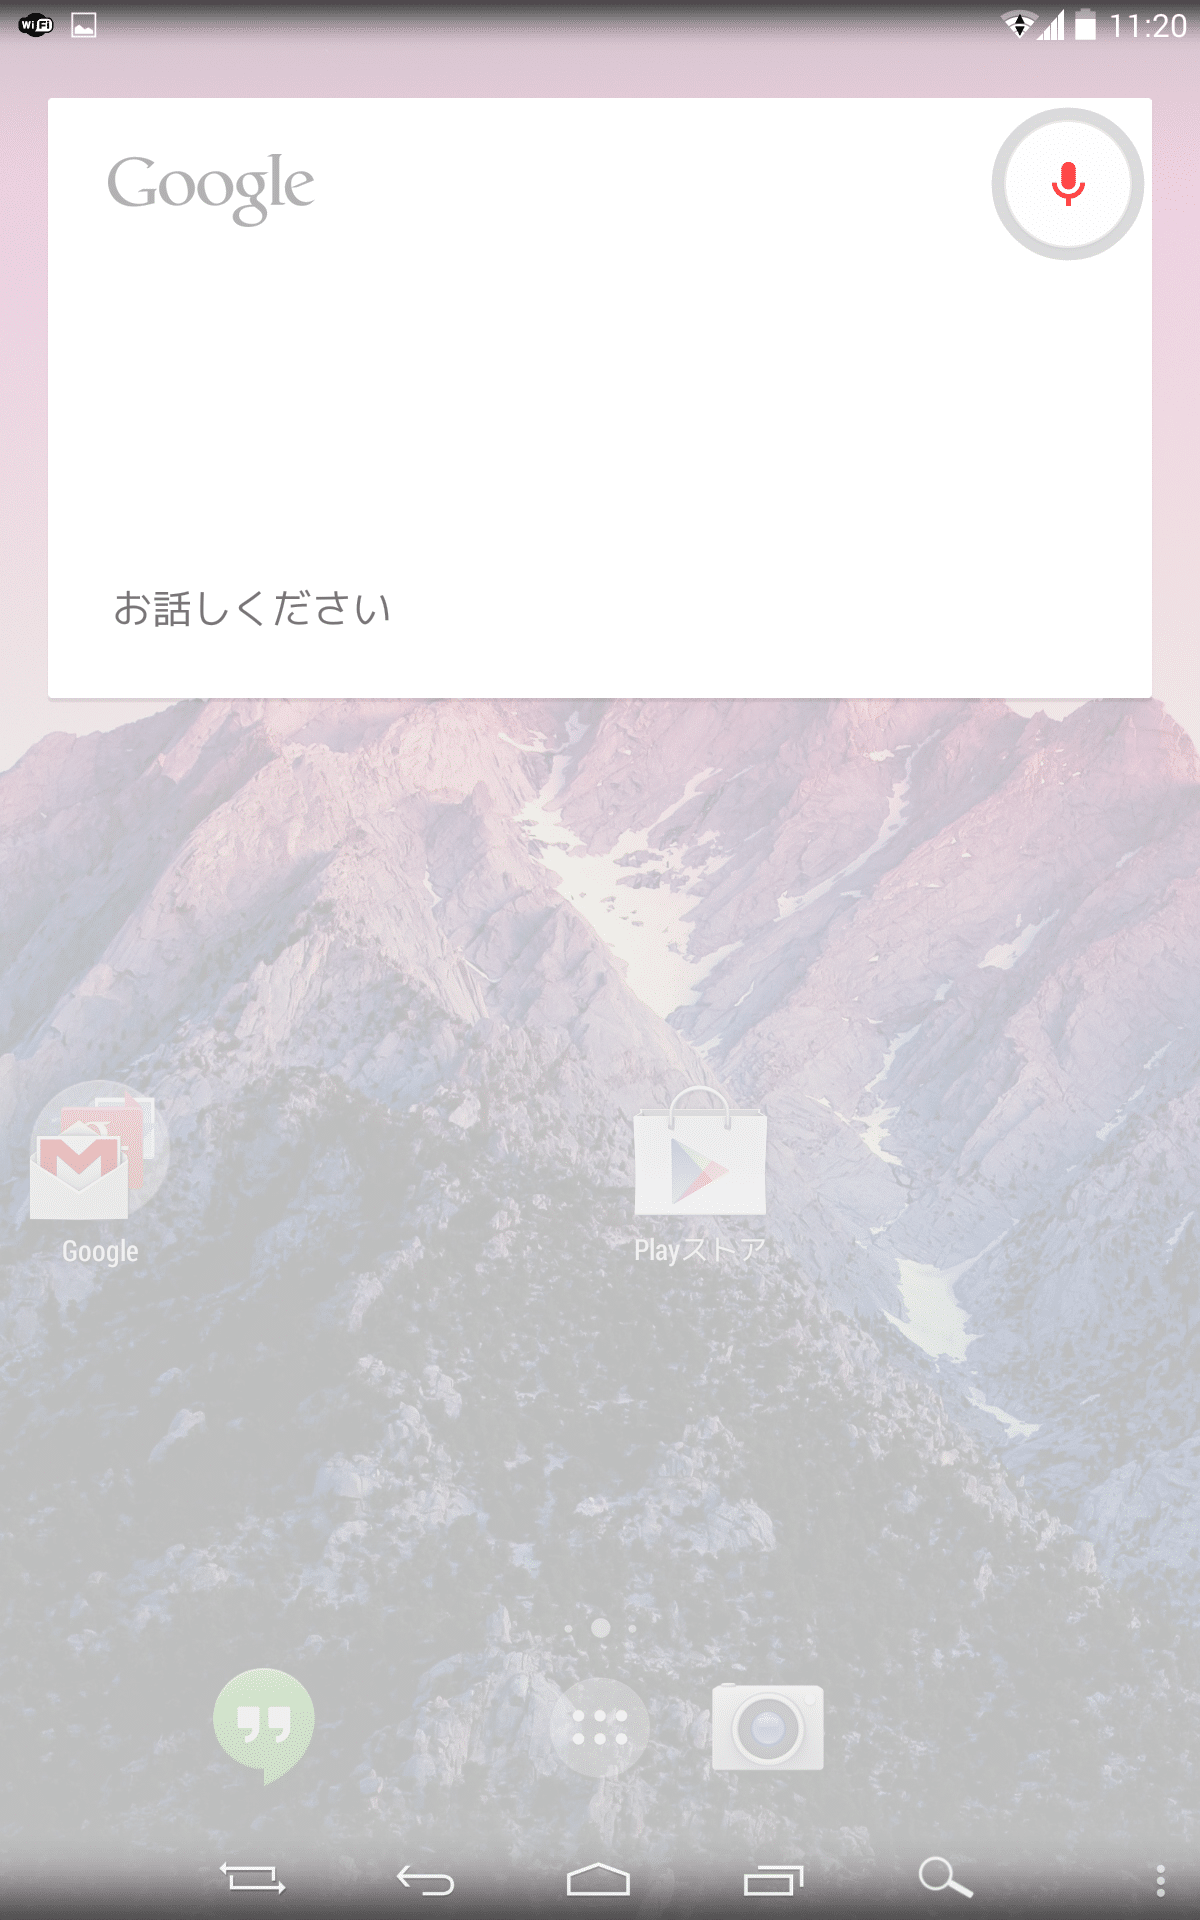
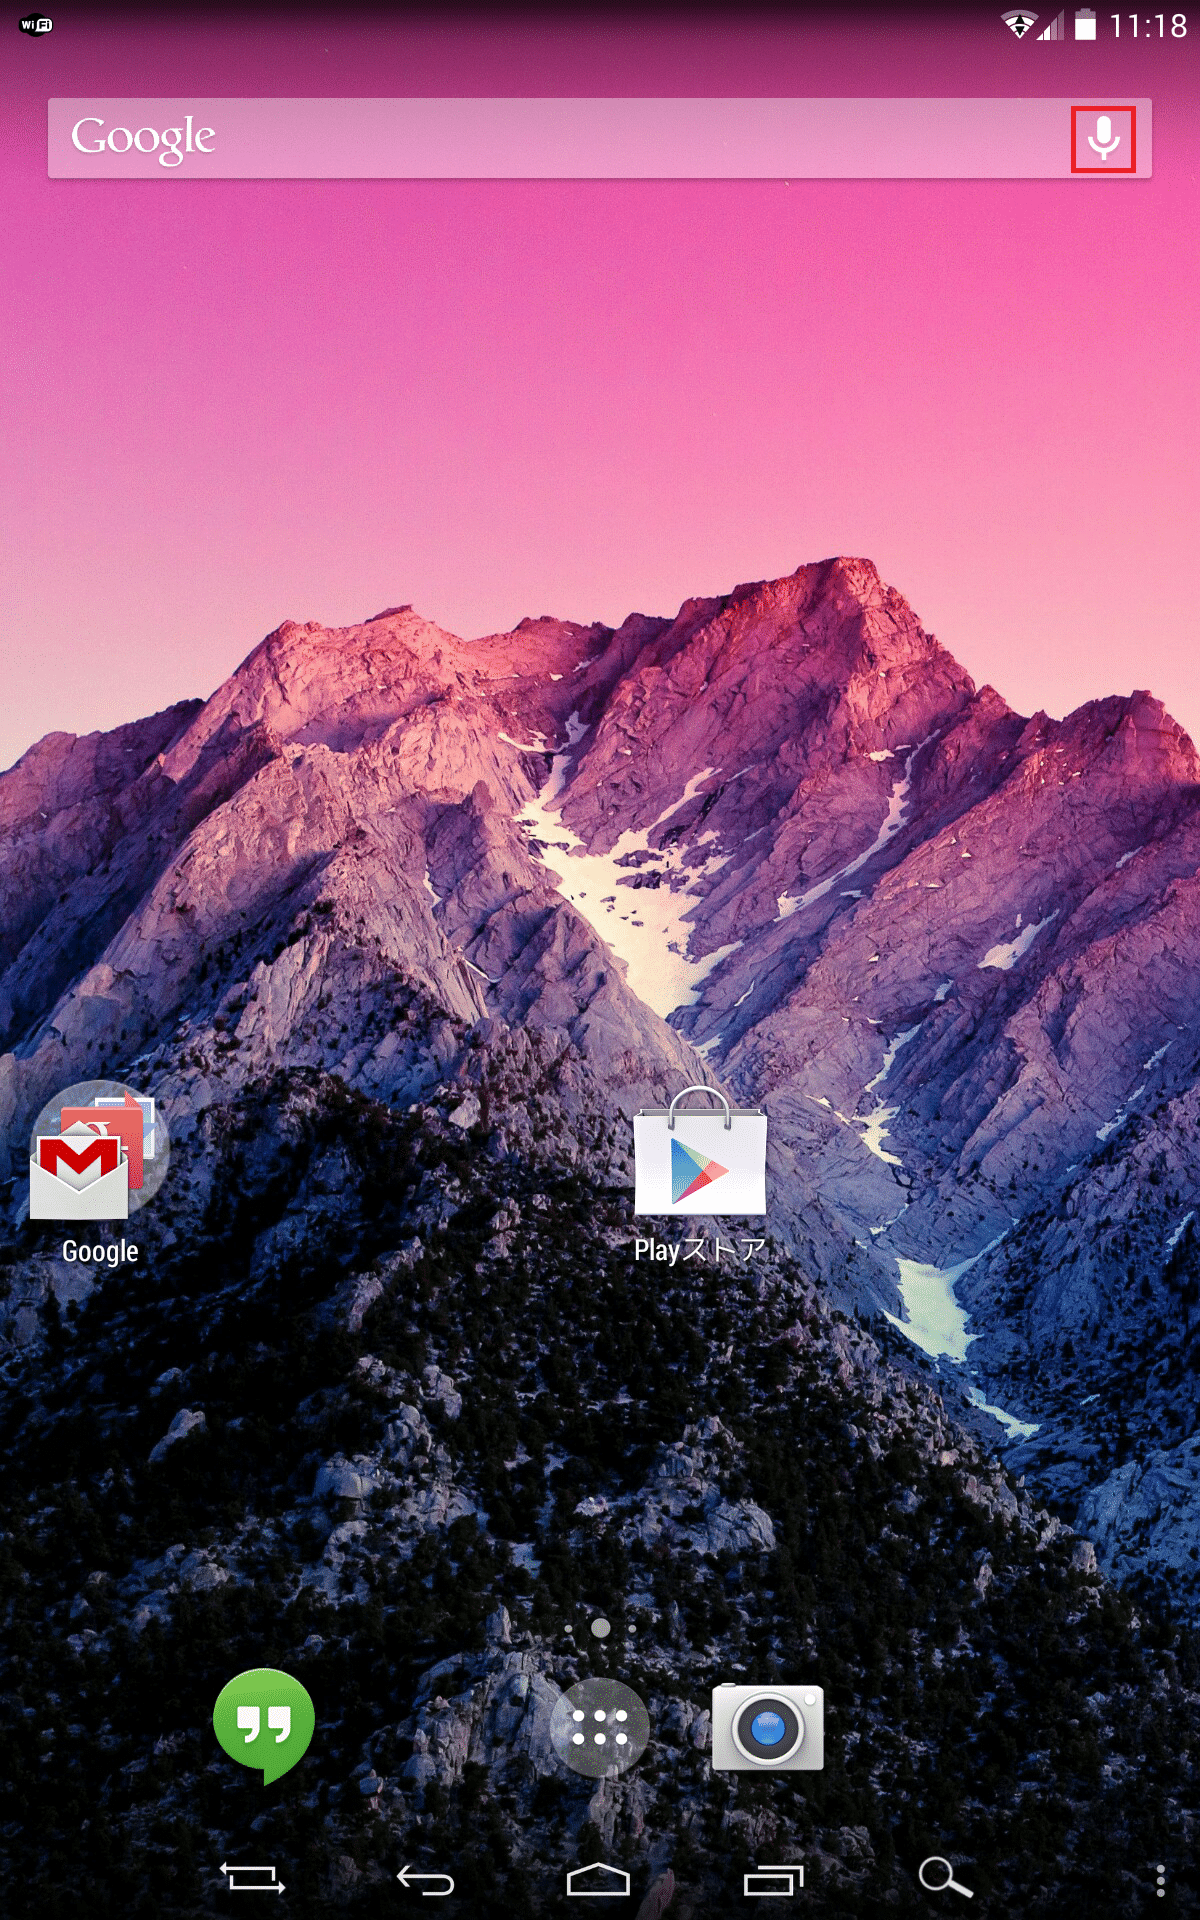
再起動後、マイクアイコンが白塗りになっています。このアイコンになっていれば、「OK Google」が日本語ロケールでも有効になっています。試しに「OK Google」と言ってみると・・・
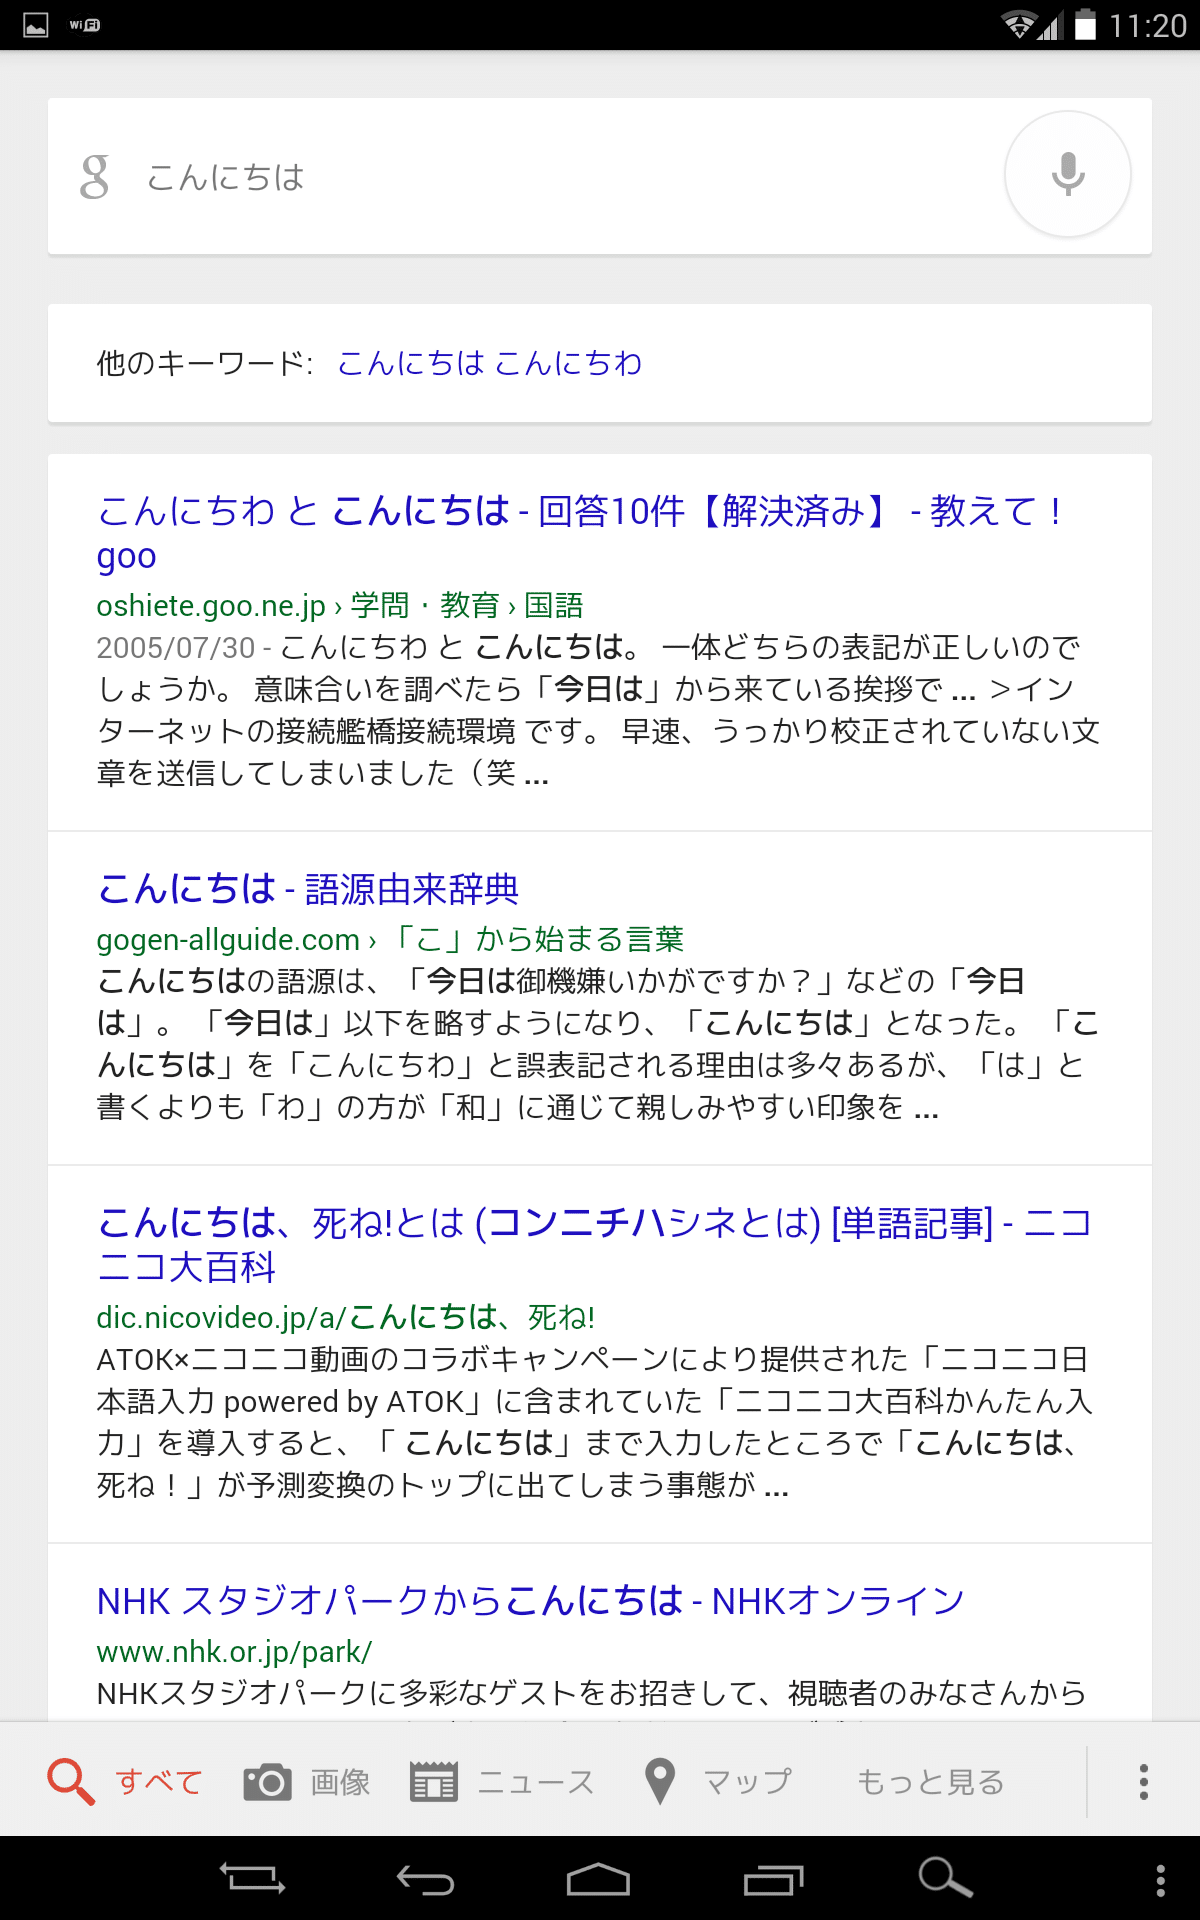
音声検索が起動します。
英語ロケールでは、「こんにちは」と言っても「konichiwa」と認識されるので音声検索が使い物になりませんでしたが、日本語ロケールではきちんと日本語として認識してくれるのでとても便利に使えます。
既に手持ちのNexusデバイスをRoot化している人は、作業も簡単なのでぜひ試してみてください。
Nexus7(2013/2012)とNexus4でGoogle Nowランチャーの「OK Google」の音声コマンドを日本語ロケールでも使えるようにする方法は以上です。
関連記事
・Nexus5の「OK Google」の音声コマンドを日本語ロケールでも使えるようにする方法。
・Android 4.4 KitKatで「OK Google」の音声コマンドを使う方法。
・Android4.4の新型Nexus7(2013)で、Nexus5に提供されているホームアプリ「Google Home」を使って「OK Google」の音声コマンド機能を使う方法。